Thought I would start a new thread documenting my rebuild project. It’s a 1952 car that I have just re-patriated back into the UK. It is not a matching numbers car so am not particularly precious about keeping original, although will try to keep it reasonable period. It has a few anomalies - later XK150 engine (with matching tacho), 150 disc brakes all round, and a surprising lack of rust
Anyway, I have already started the strip-down process…
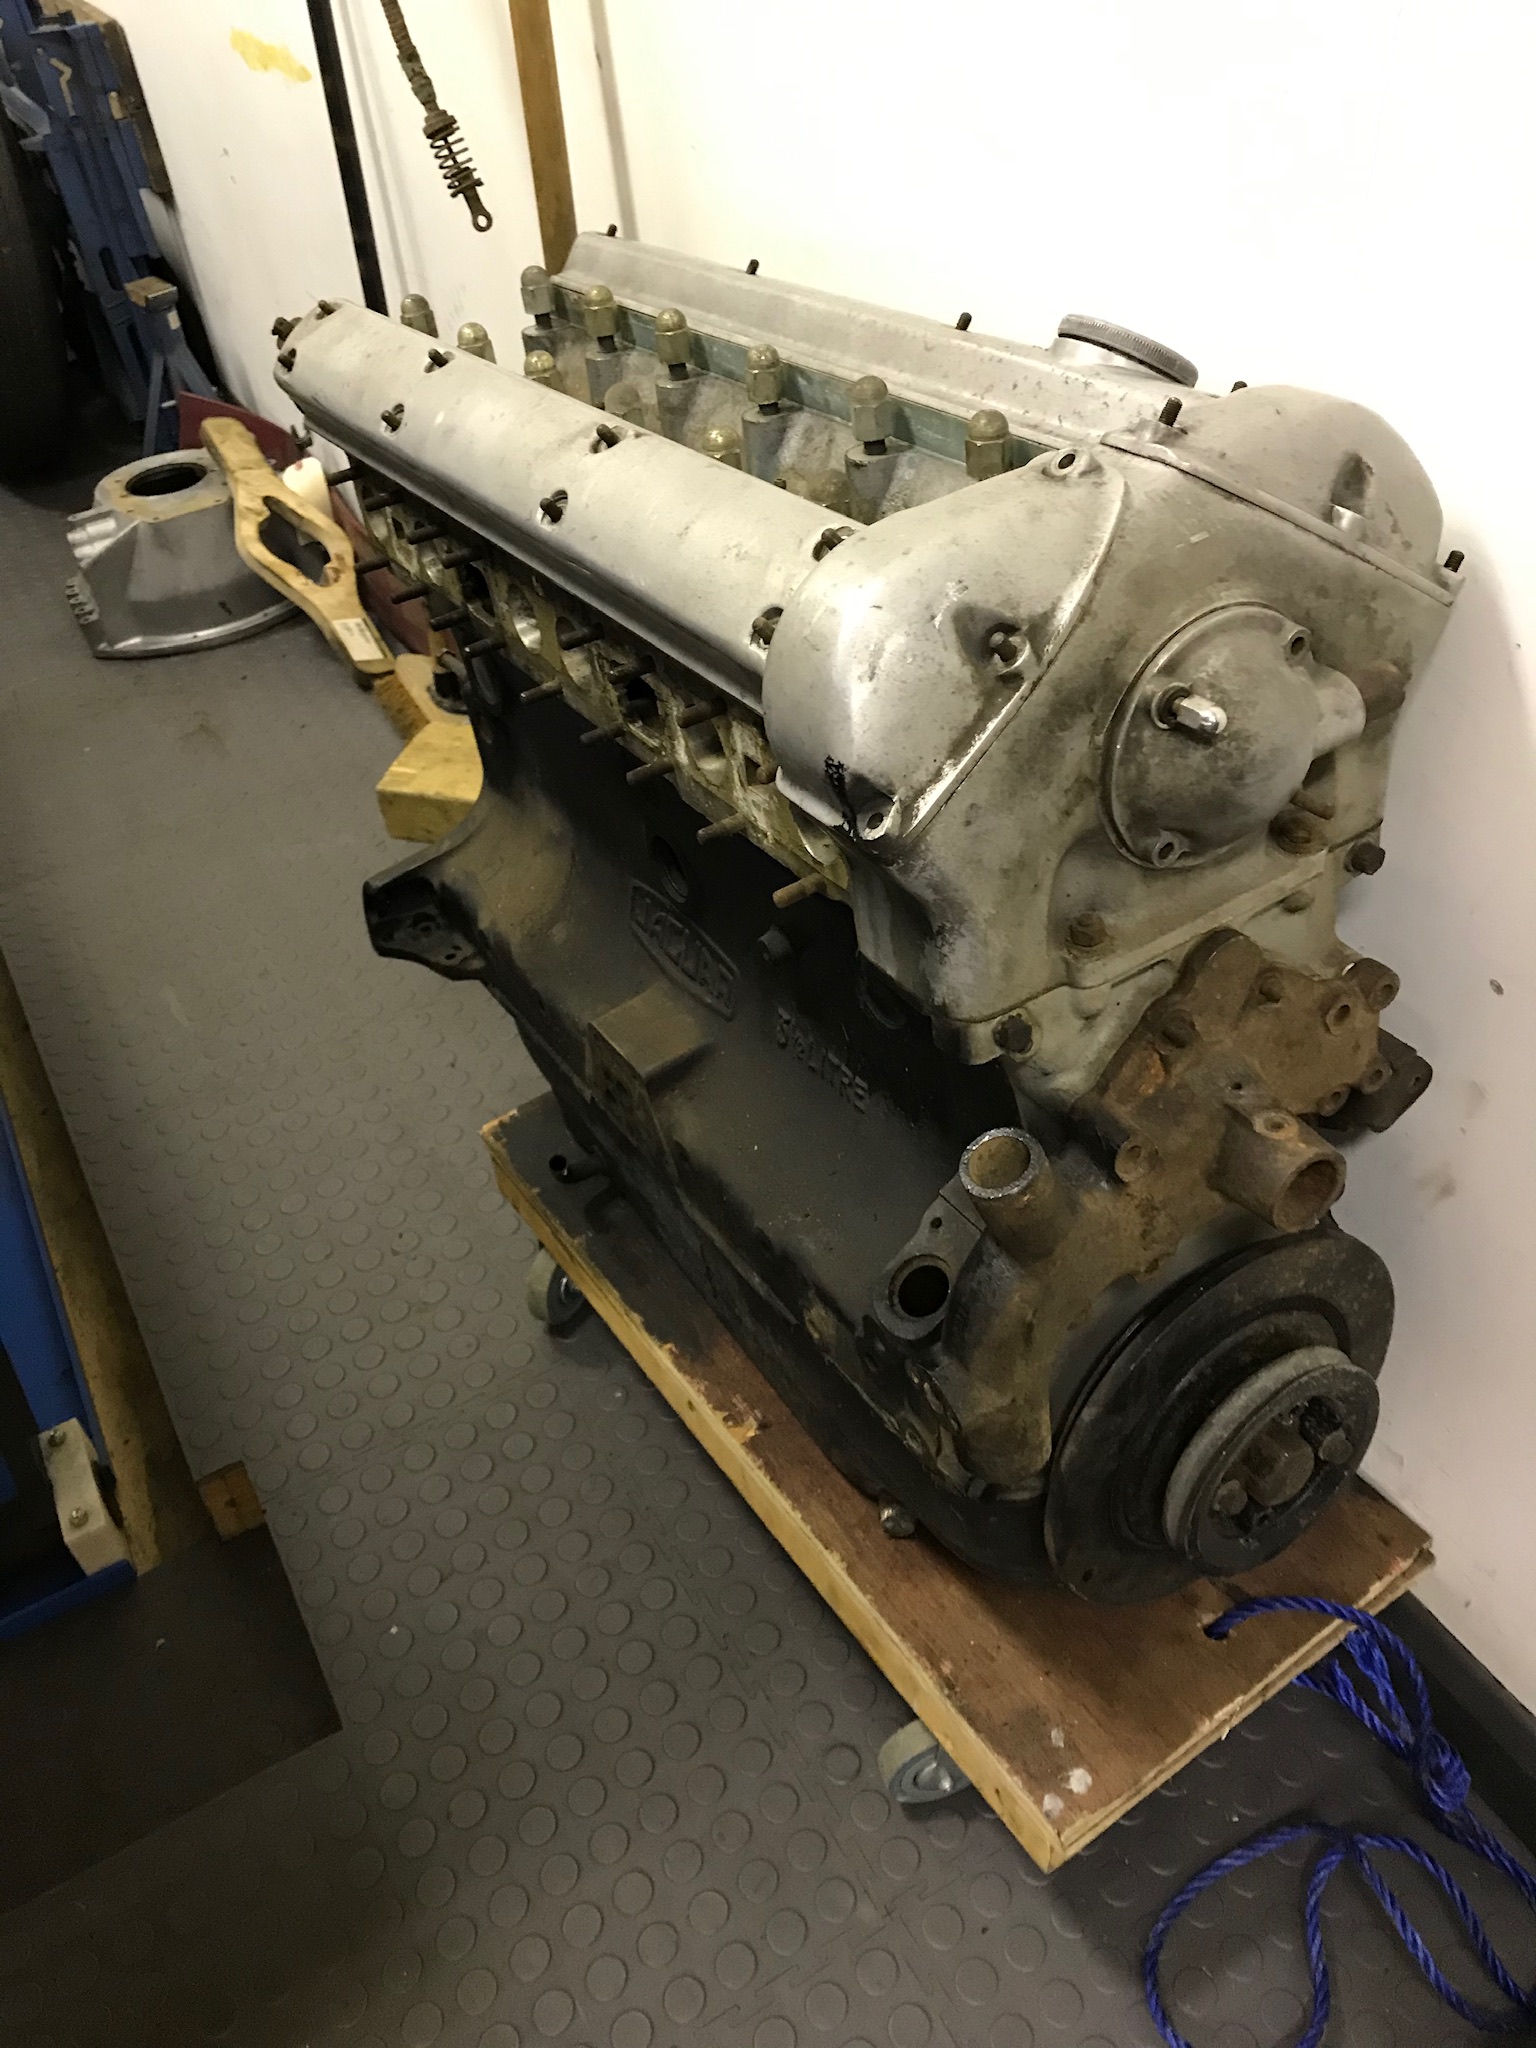
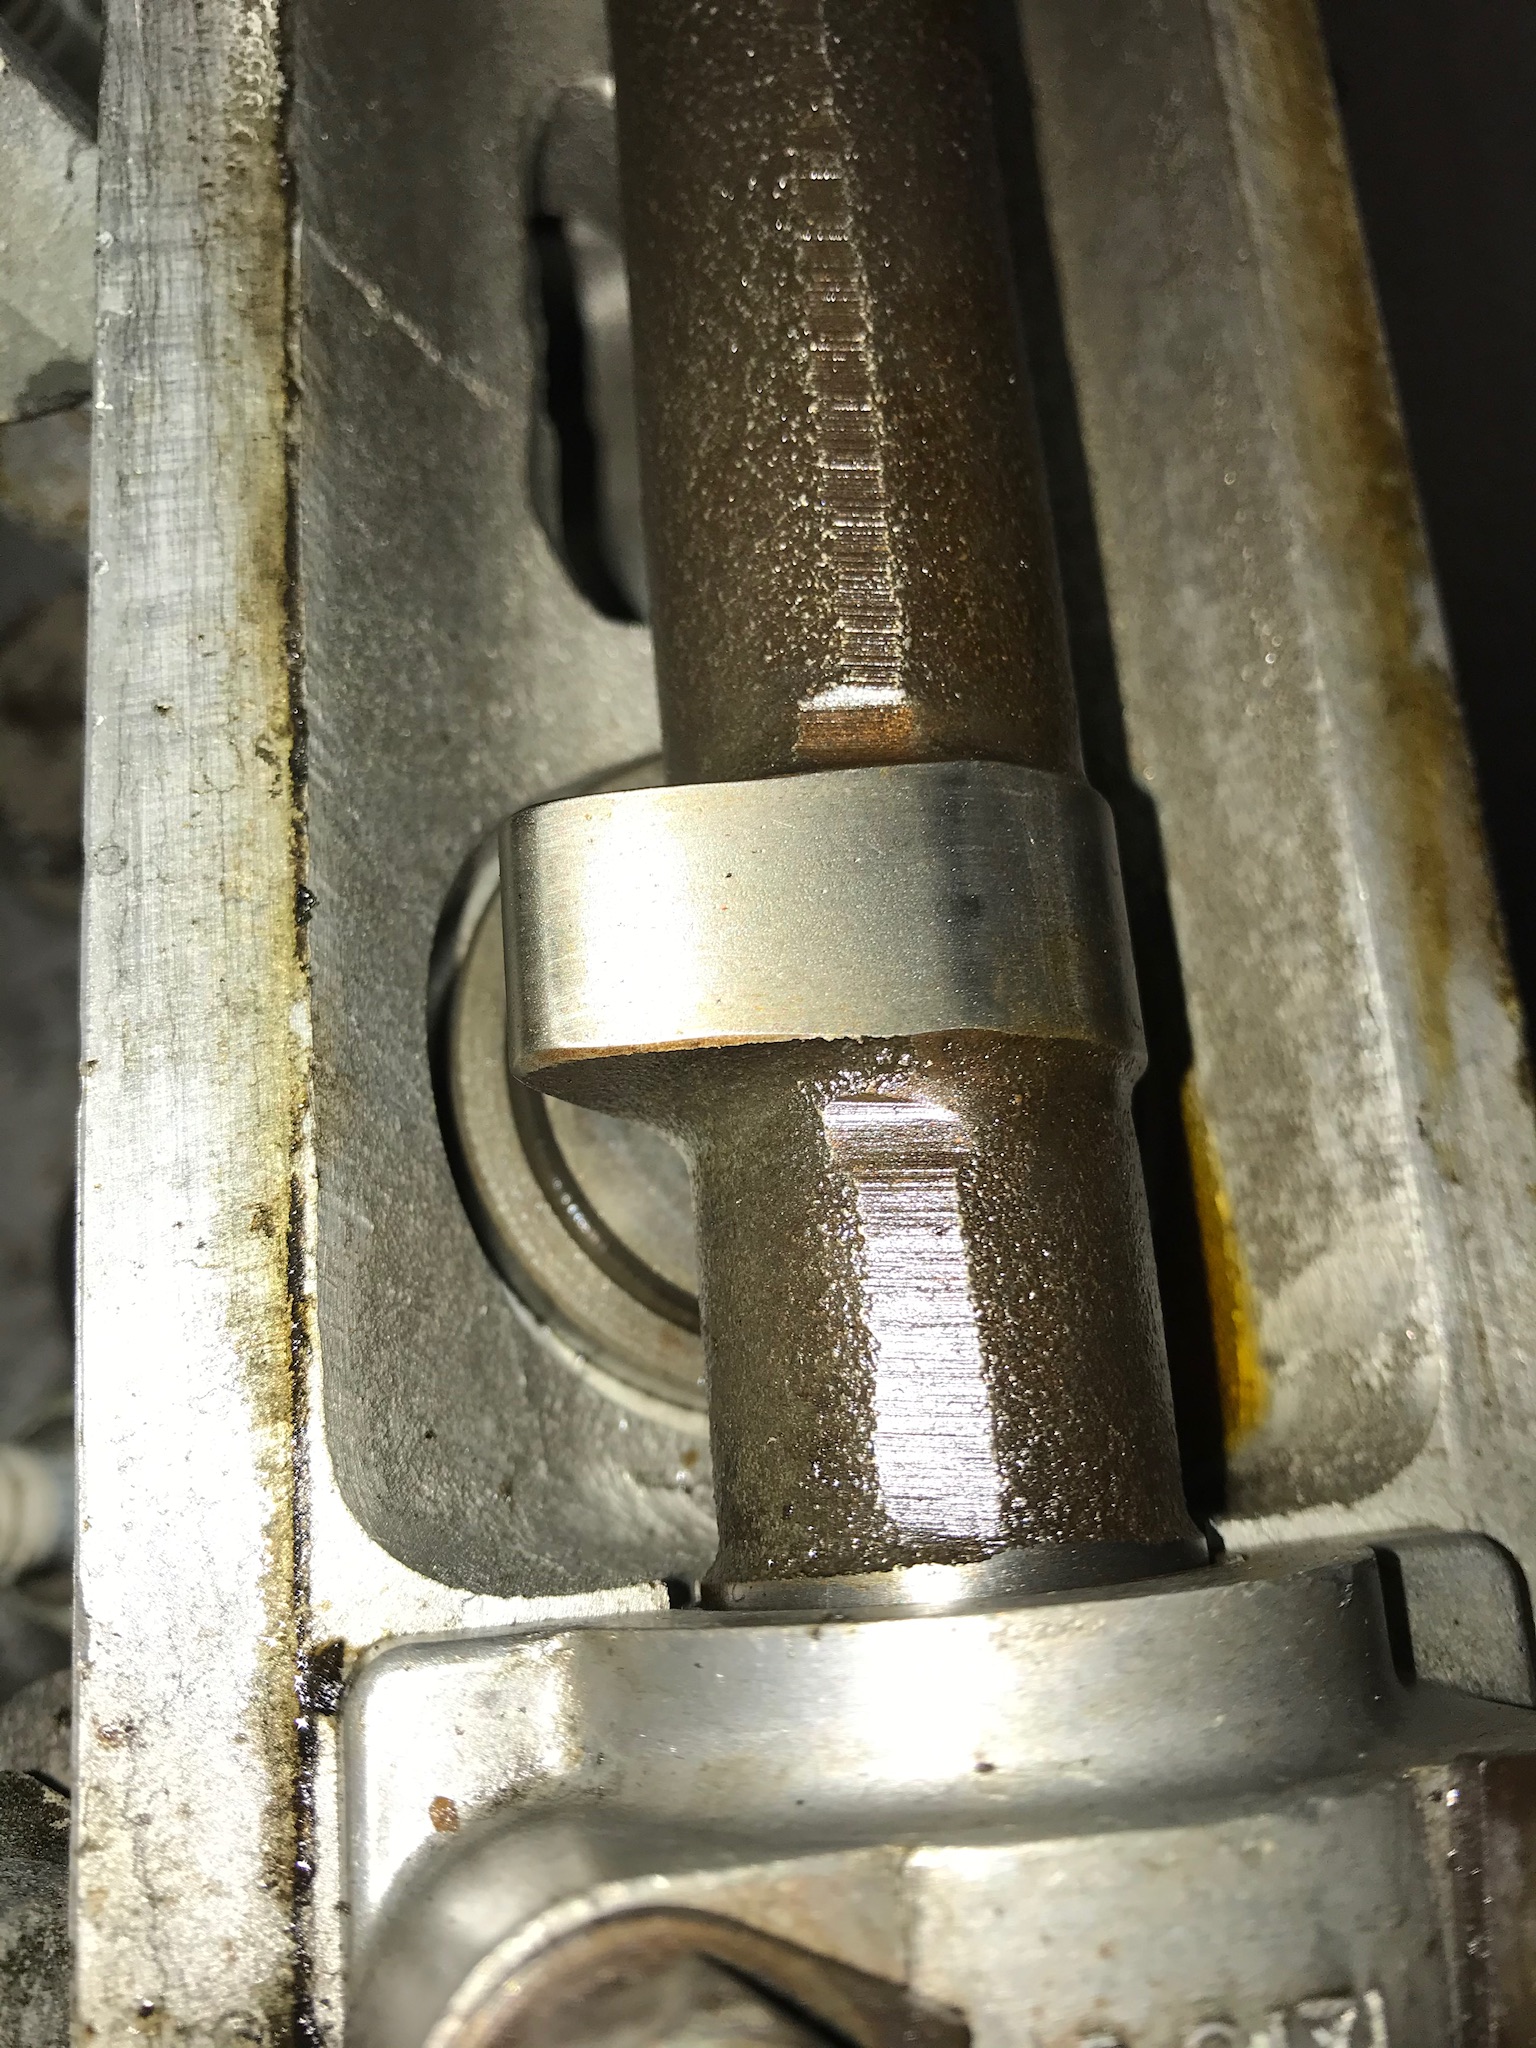
The engine looks like it was rebuilt and never fired up before it was put into storage. The cams look almost new and hold-down clamps have been fitted to the tappet buckets which I think is a good sign!
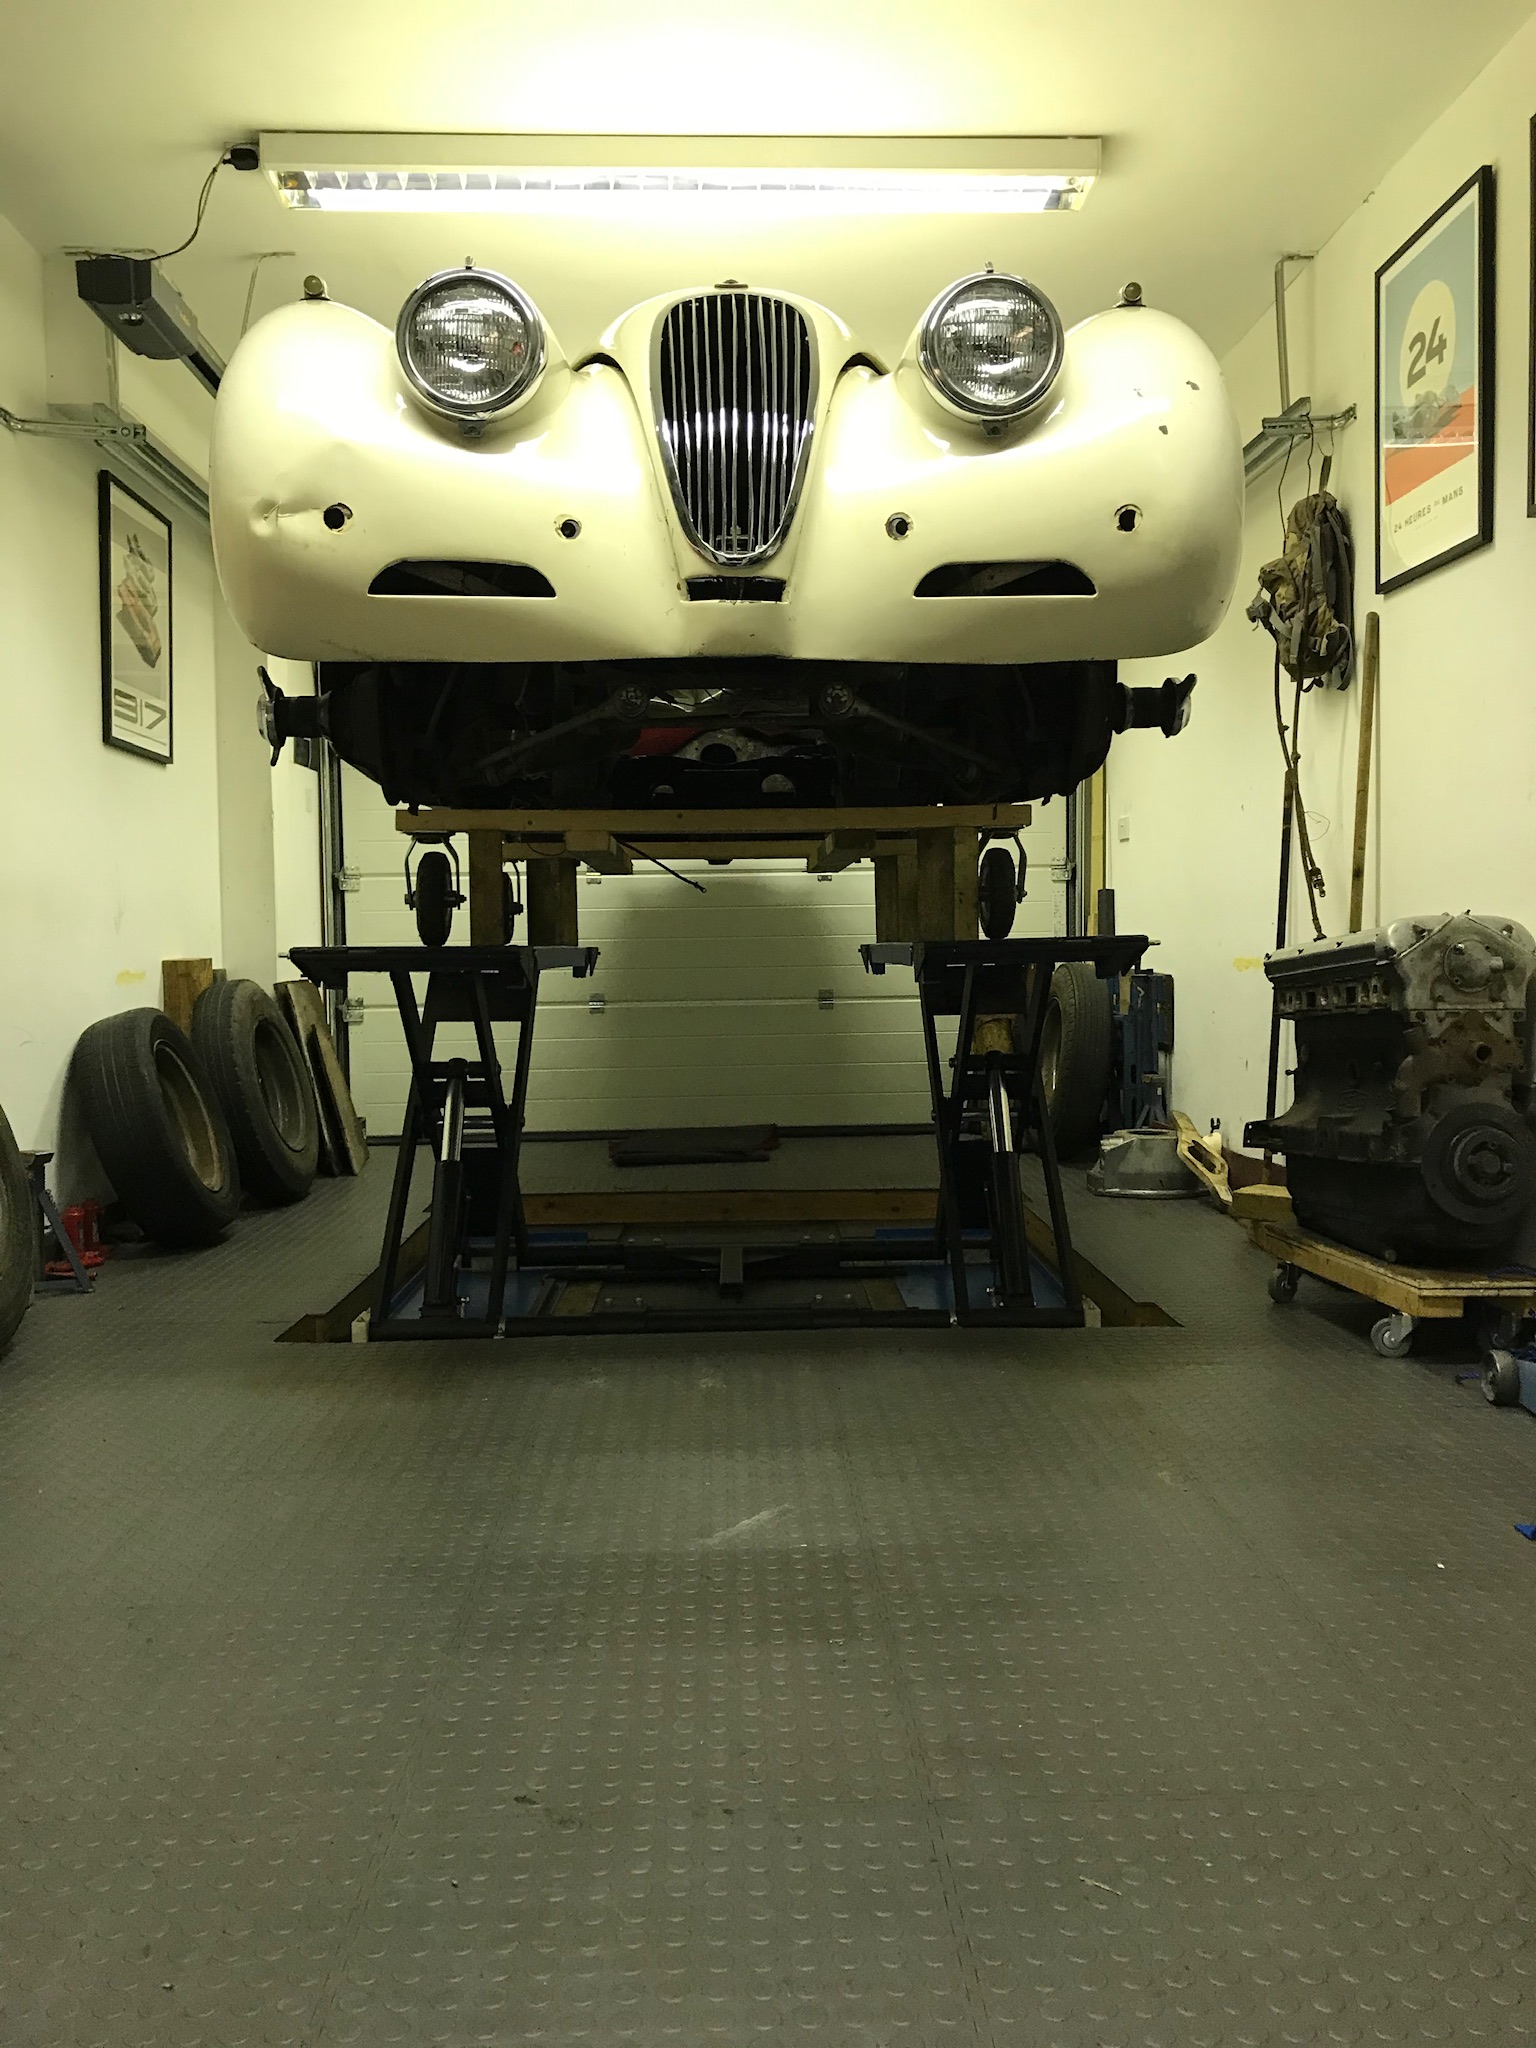
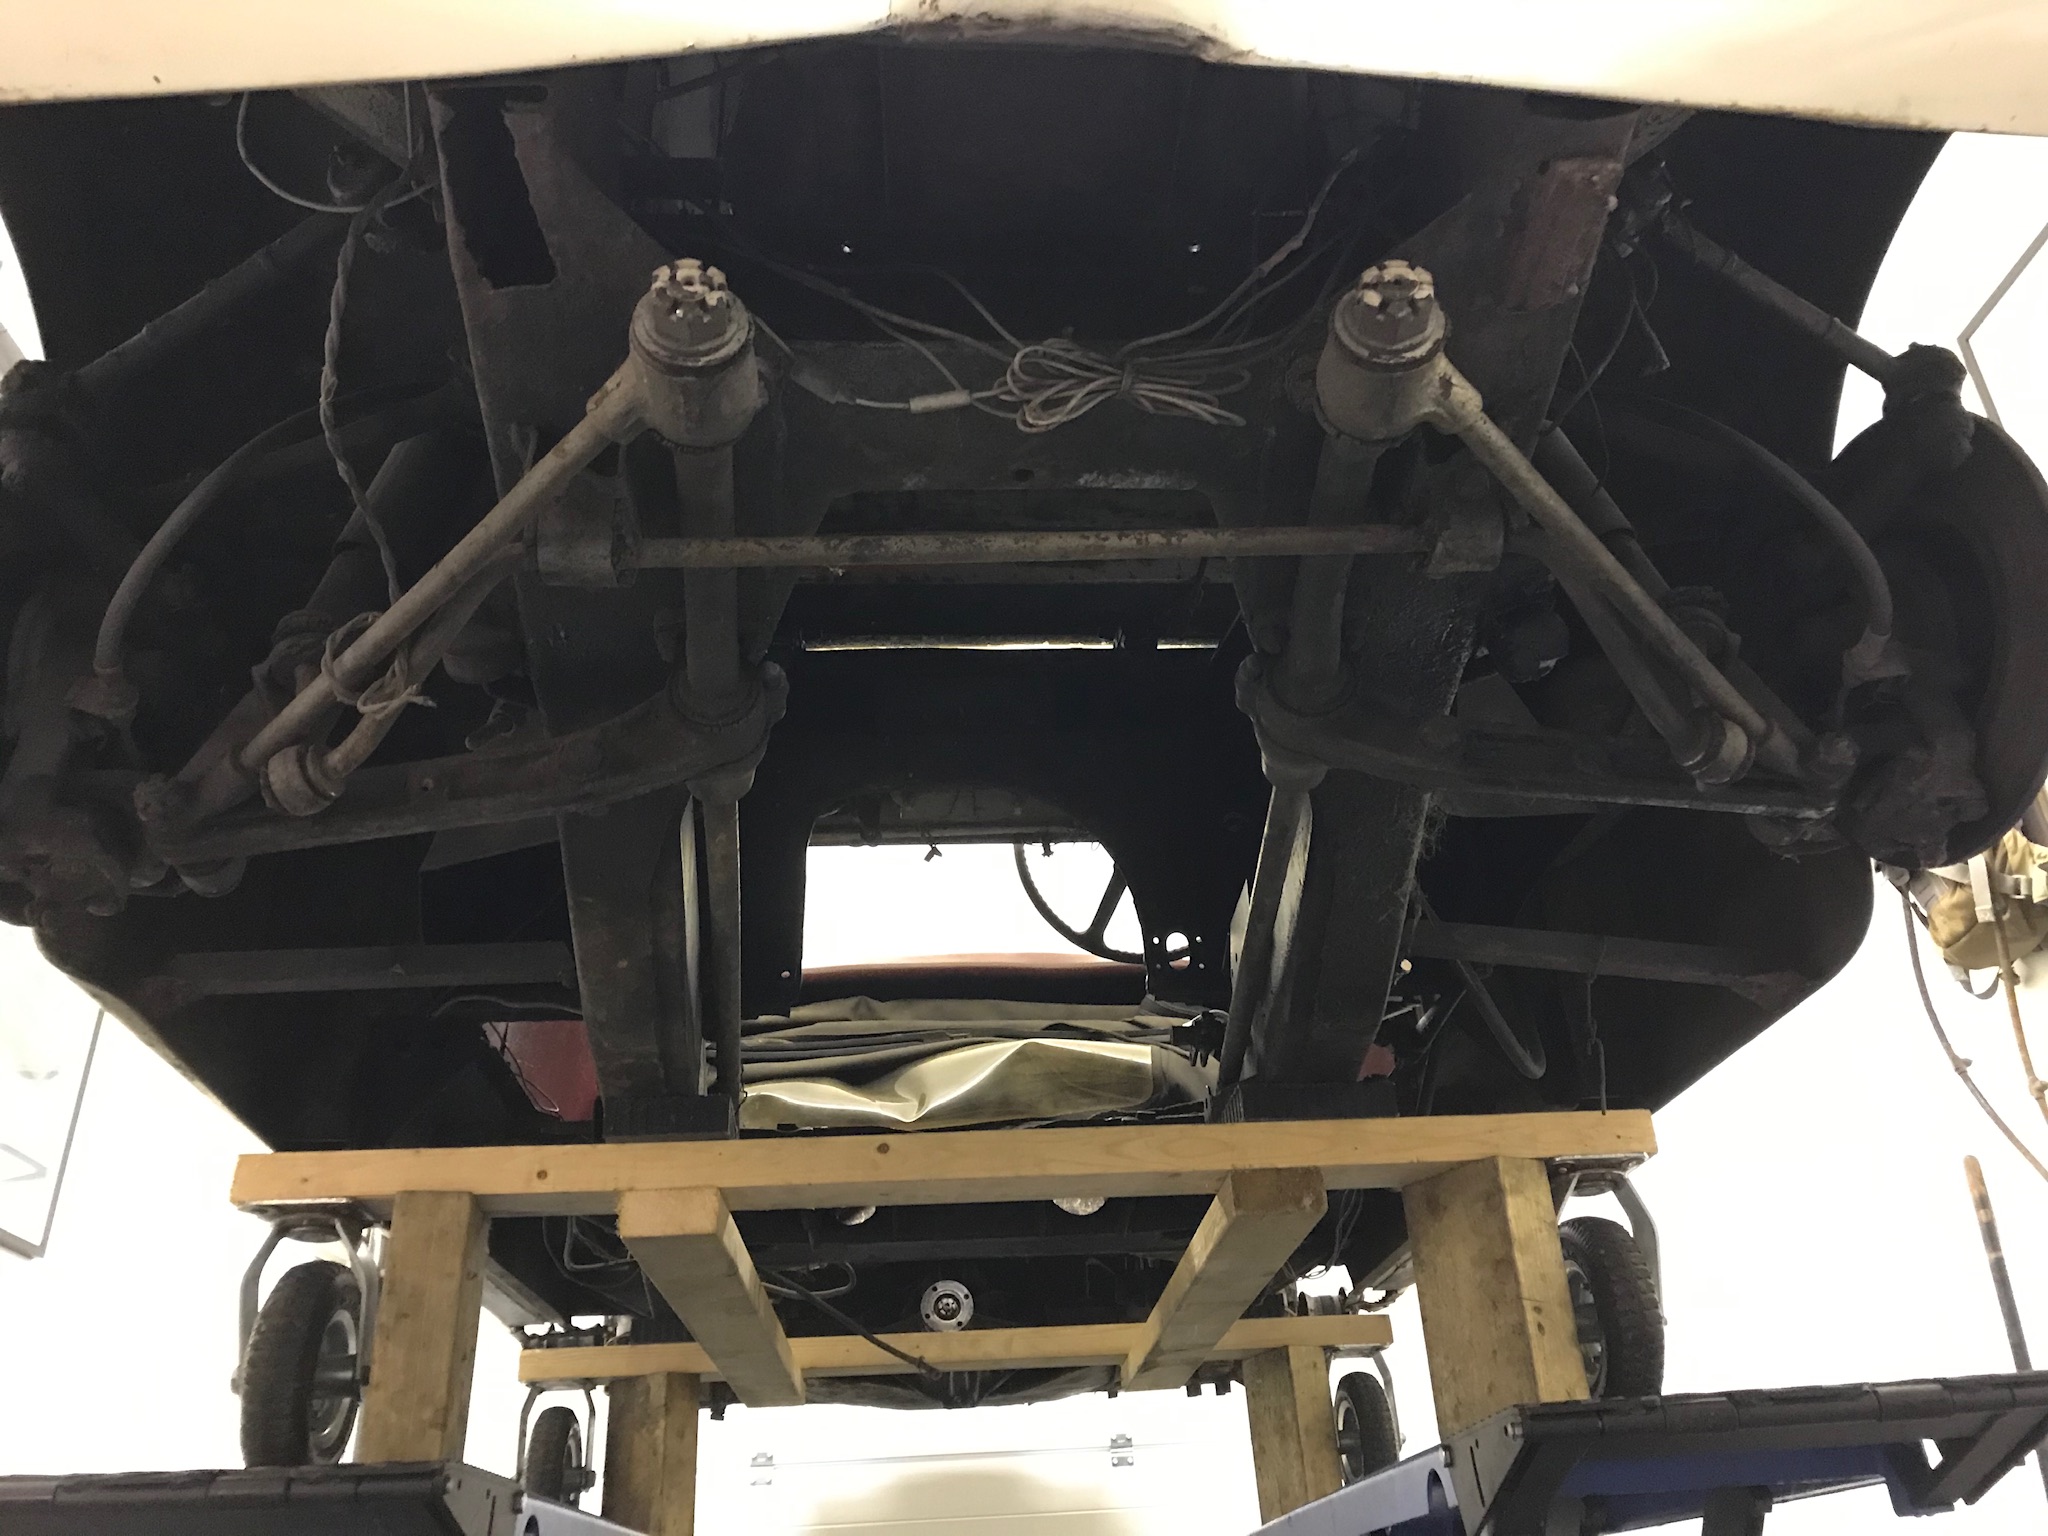
I have built a mobile platform so I can start to remove all the suspension and steering. I plan to convert to rhd so will try and source original rhd components or maybe fit a later rack??
hi simon, interesting looking project. I’ve just finished a 120 FHC which I converted to rhd. happy to share experiences if you need anything. where about in the uk are you?
Hello Phil, I also wish to convert a LHD XK120 to RHD. Although I am in the United States, I feel RHD is “right”! The car I wish to do this to is a “bitsa” car made from many other parts cars so I do not feel badly about making the switch (although I respect the need and desire for UK owners to convert just about any car to RHD). I do have a RHD steering idler box but what if I did not? What about the conversion of a LHD steering gearbox? Is it a case of only reorienting the steel top cover, although I am not entirely clear about that even? What do you UK folks do about pedals? Any other tidbits you could share with Simon and I? Any and all advice would be most appreciated. Many Thanks in Advance, Gary
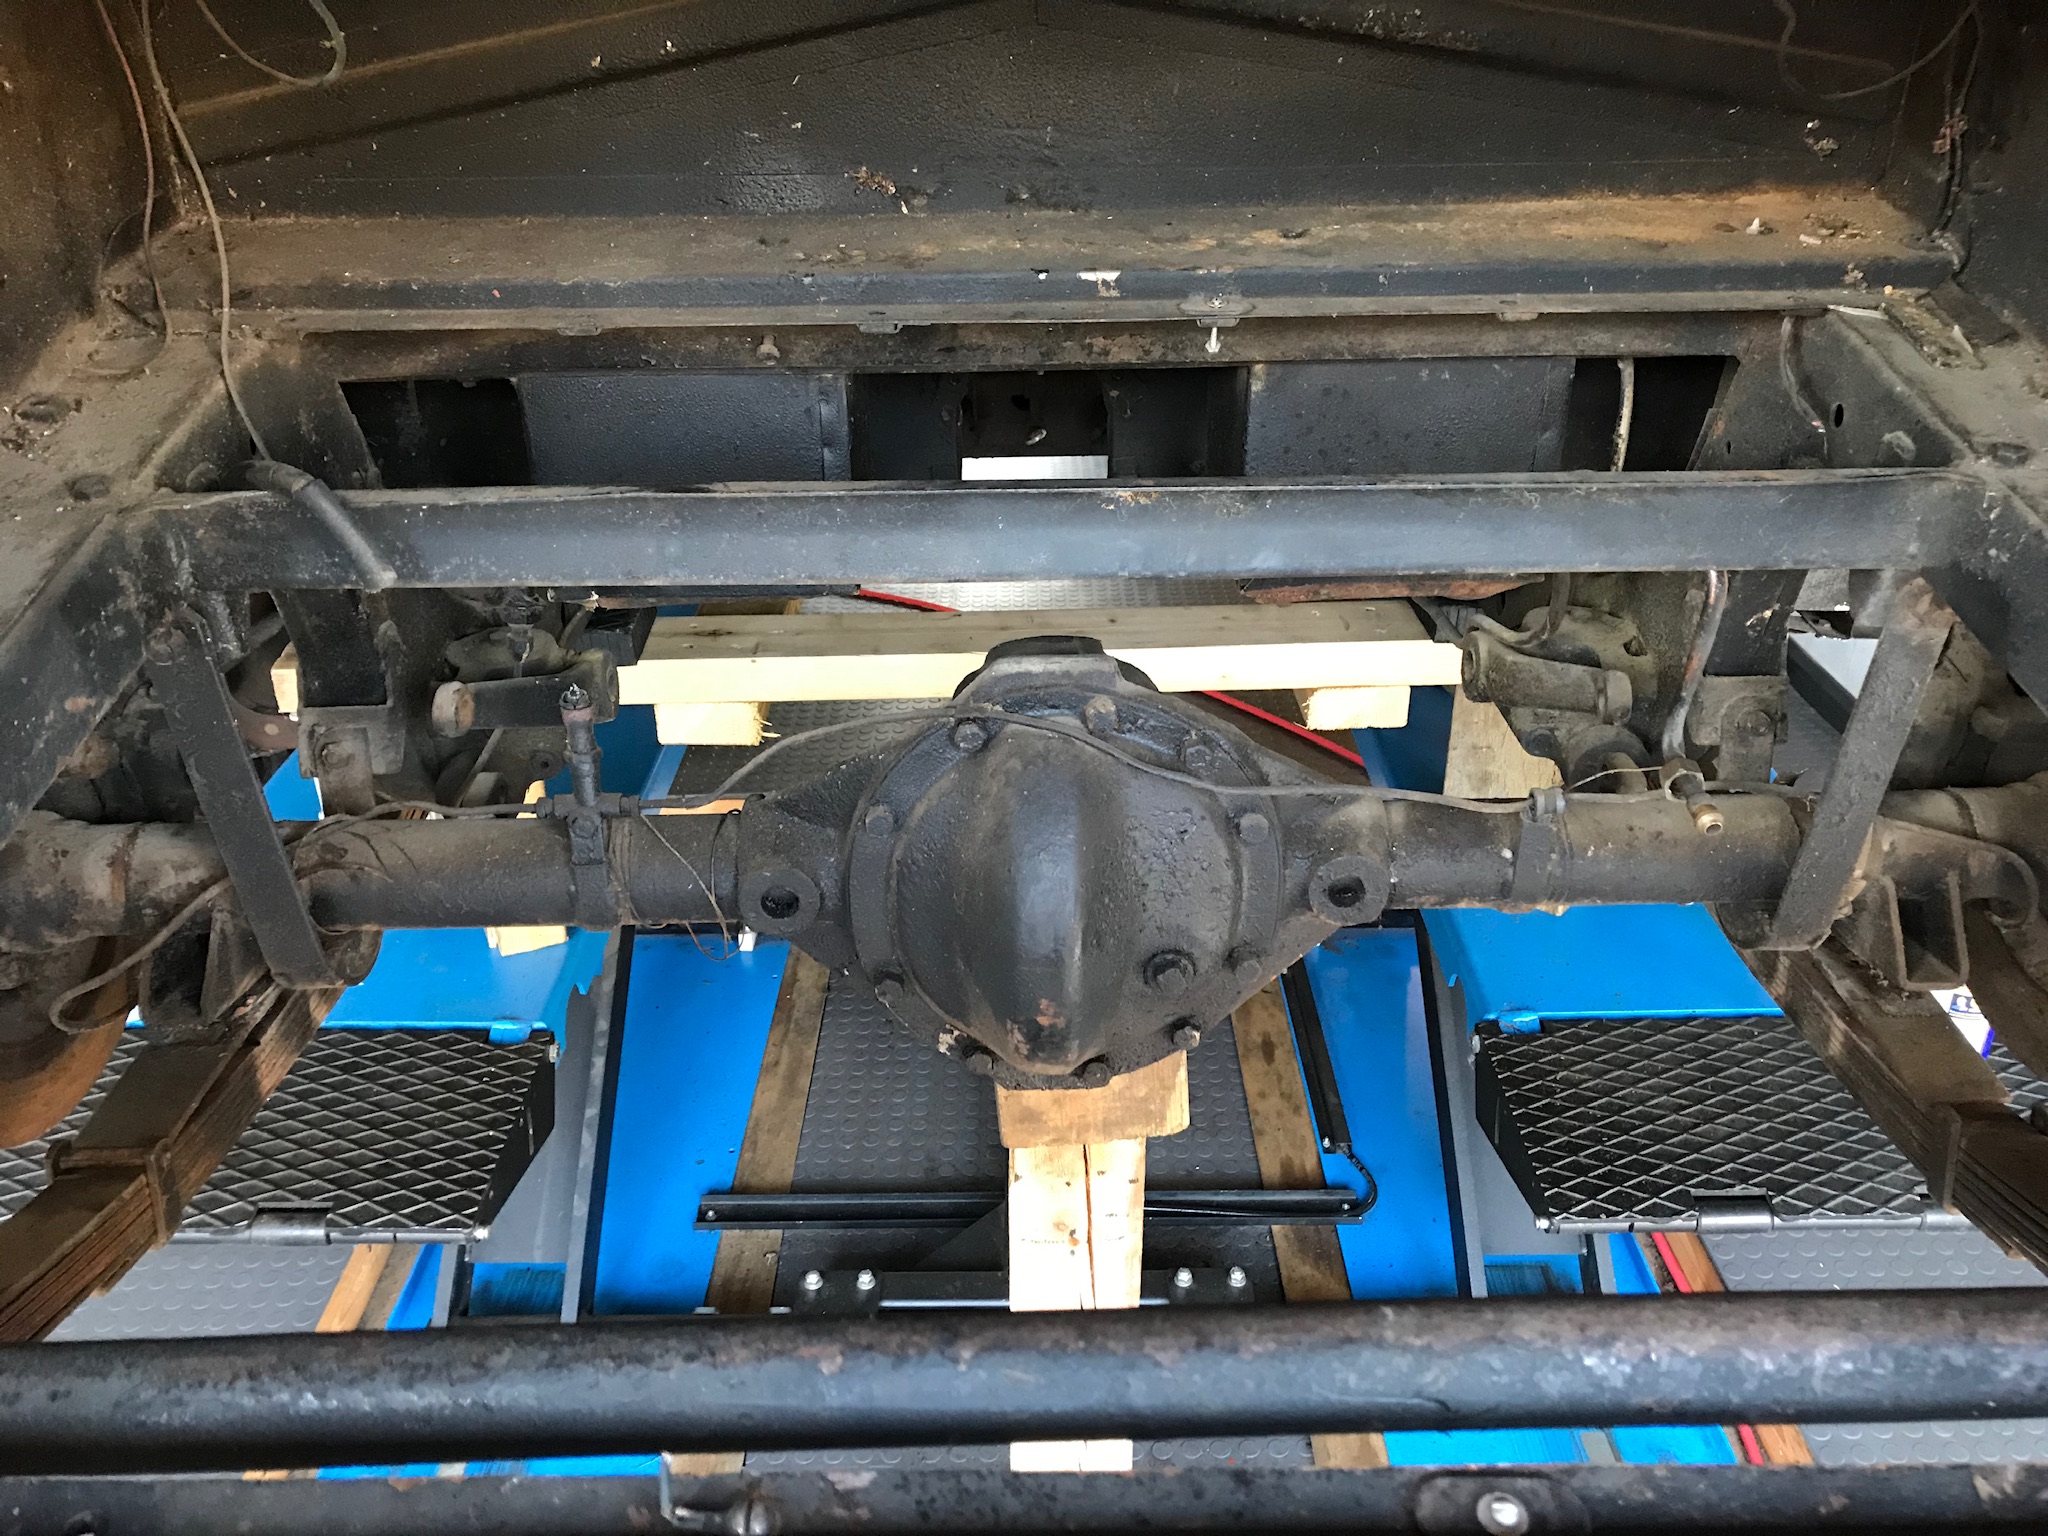
Spent most of the day in the garage today and made some good progress; got the fuel tank out, leaf springs off (almost, one bolt seized), and rear axle out.
The front bolt holding the LH spring has sized onto the metal bush inside the rubber. The nut is off, but can’t hammer through. Will be a slow process of cutting through the bolt either side of the spring mount - nothing lime a challenge
You would need a new worm gear with the opposite hand “thread”.
You can sort of use the top cover, but the filler plug will be too low.
I wouldn’t do it, I like LHD, shifting with my right hand.
The 2ha Salisbury rear axle is probably original to the car, the disc brakes and most likely the wire wheels would have been a later modification done by an owner.
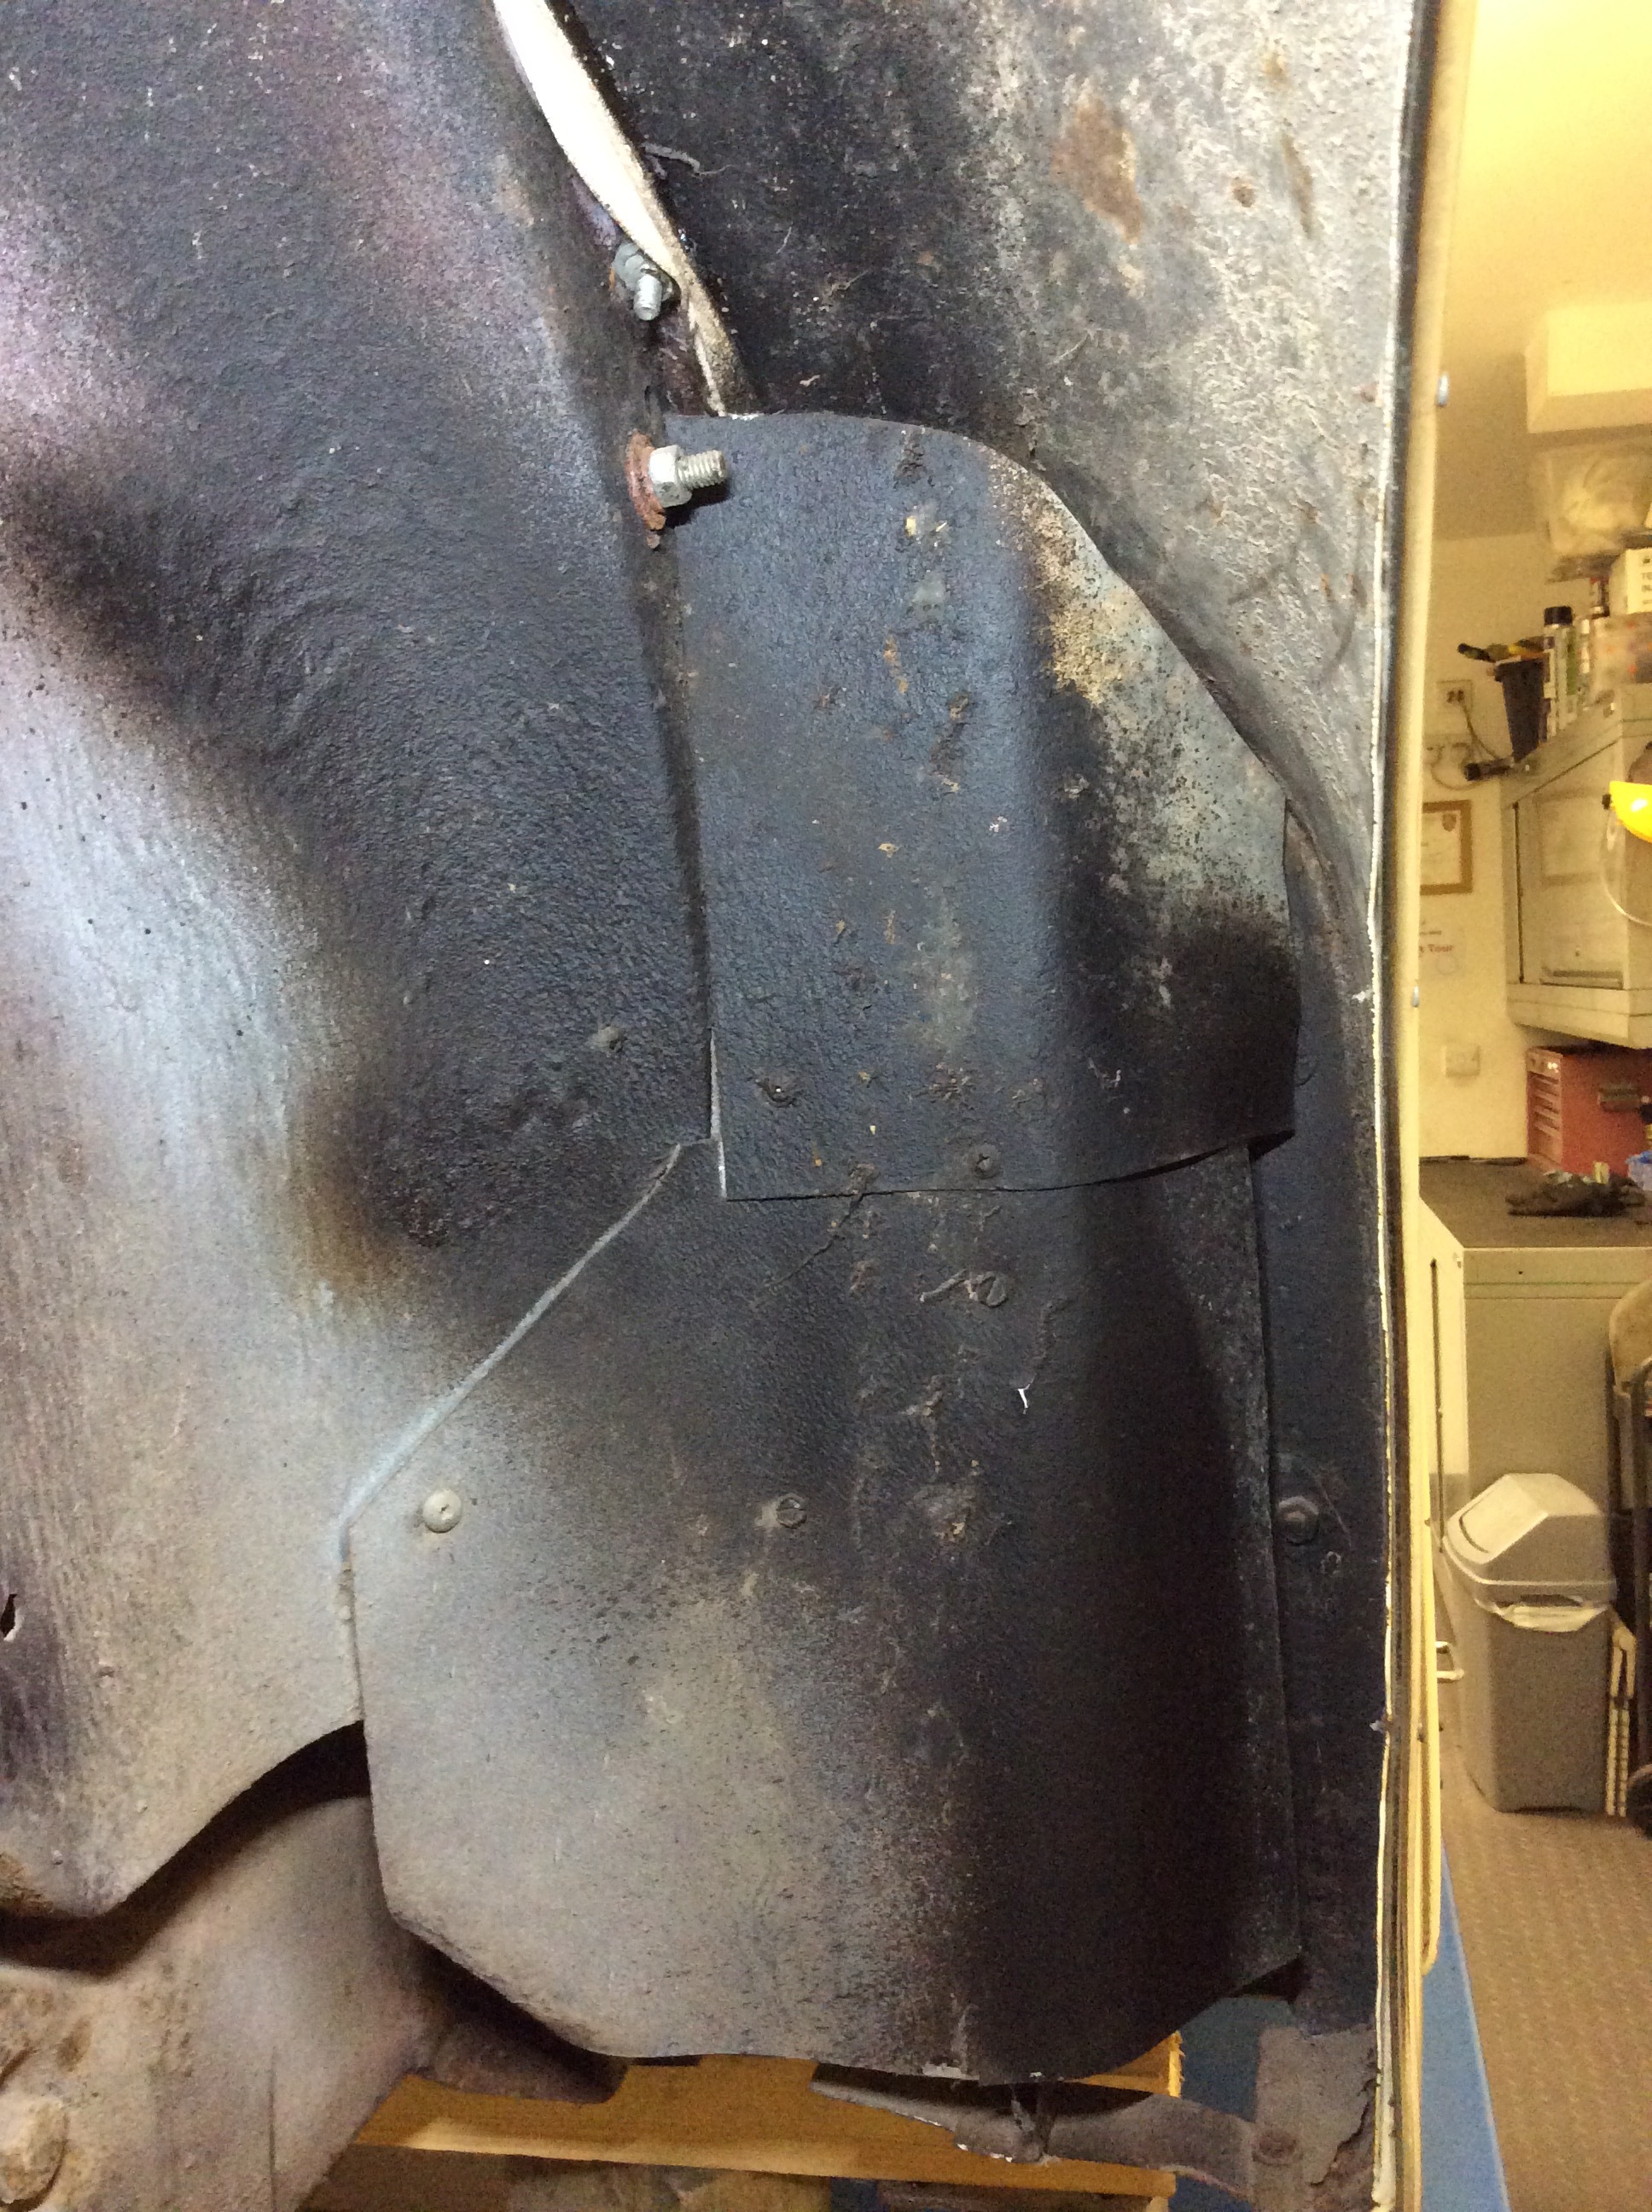
Can you give us a few more pictures of the rear wheel splash shields? Mine went missing years before it went in to storage – leaving the door B posts exposed. Not an issue as my car is a largely rust-free California car too, but I will be wanting to fabricate something in that area before it goes back on the road.
Try heating it up with a torch. Propane is easy and might work. Oxygen and Acetylene is better if you know how to control it. It worked for me on a similar situation with the rear spring shackles.
Sorry I wasn’t clear, I meant to heat up the bolt head and the threaded end. A few heat cycles with alternating shots of penetrating oil will free it up. Your rubber is probably shot anyway.
The pictures Simon posted of the rear wing area at the “B” pillar showing the inner panels on his 120 appear to have been fabricated by a PO. Some years back, shortly after I joined this Forum, a lister who is no longer active was kind enough to send me a drawing showing the specifications of the panel in question. As at the time my car was also missing these items I was able to make up a pair. I thought I had retained his sketch, however, looking through my workshop manual (into which go assorted notes on anything 120 related that I think may be useful at some point in the future!) I did not find it.
How close are you to requiring fitment? I could pull a spat, remove one and make a similar sketch for you, I believe without the necessity of having to pull a rear wheel. If interested contact me off list with your mail address.
The 2 top pieces are very similar in shape to the actual dust shield that was fitted to all late XK120’s The LH sie is almost identical Someone has had an original or by coincidence made one very close. Will dig out photos these were held on by 1/4 Unf nuts to two bolts welded to B post pillar and had 2 4 g cheese held self tappers as well.
I’ve got all next week to focus on the XK so plan to make some decent progress. Plan to get the rear wings off and start making good the whole rear end. I just love having this car in my garage: