


Hello.
Not sure where my post went. I thought it would have been with the pictures. No idea just what I did or didn’t do. I will try to rewrite this again.
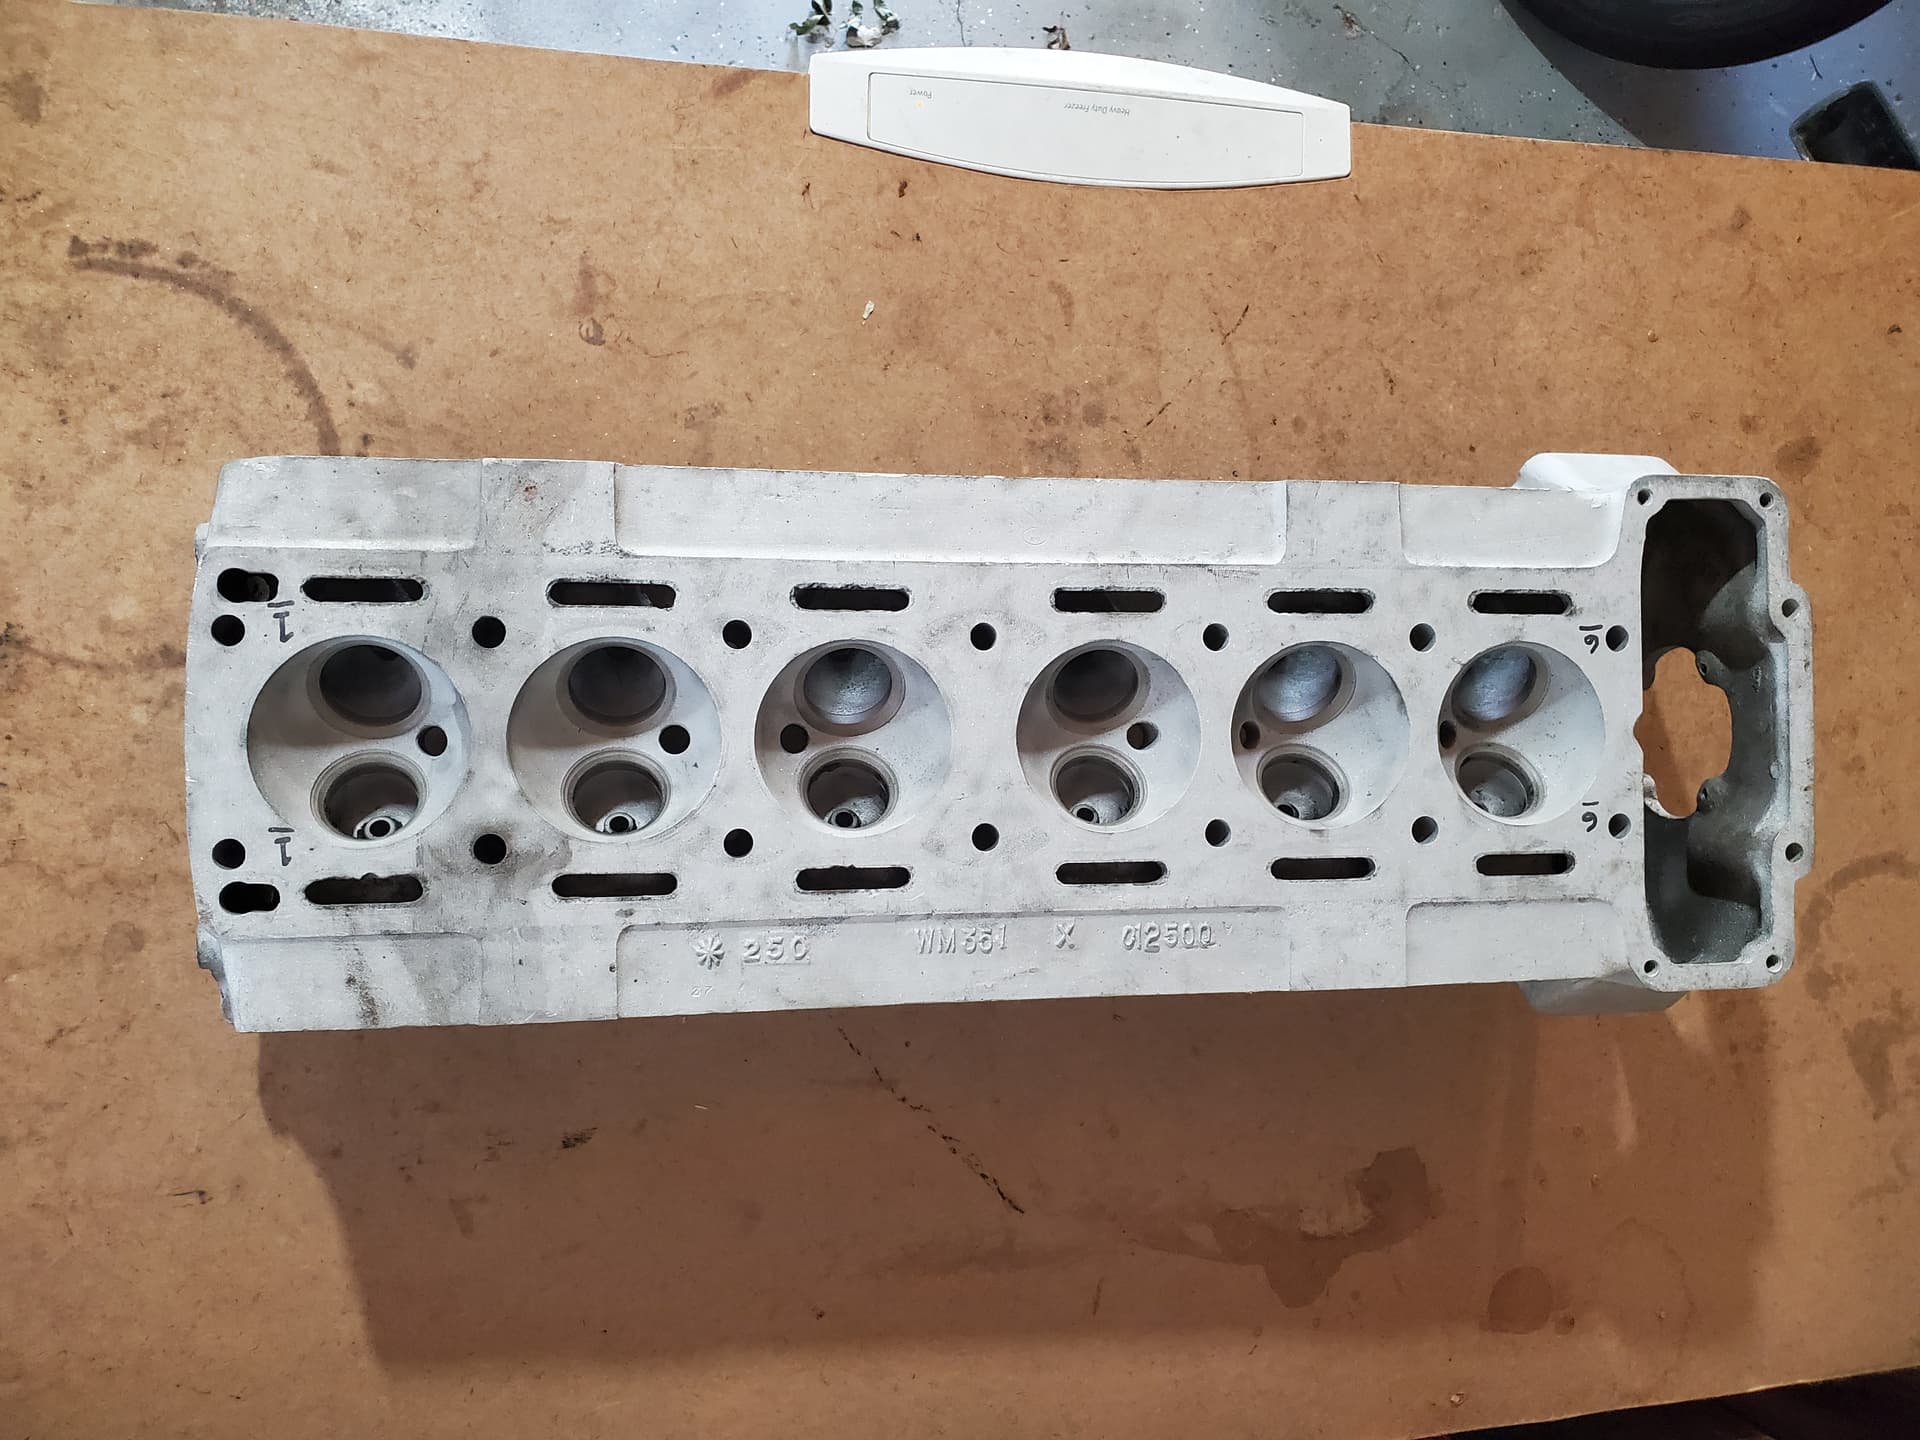
I have a 1958 XK 150 3.4L that I am rebuilding. The motor was froze and after further investigation, I pulled the engine and the trans. Took the motor apart and sent the block and head to machine shop. Found out the head has a crack in it. It is not leaking coolant which was evident by the combustion chamber before it was cleaned. So just what to do.
A Leave it alone as it was not leaking before and will be fine now.
B Get it welded. I have spoken to many professional welders and all have been reluctant to try to weld and be successful. Suggestions?
C Grind out the crack and fill with high temp aluminum epoxy resin. Has anyone had experience with this?
D Grind out the crack and aluminum braze fill then machine to contour. Has anyone had experience with this?
Any and all suggestion will be much appreciated.
Thanks
Tim
Tim, the valve seat in question seems to have been cut excessively, or is that an optical illusion?
If so, you would be better off looking for a replacement head of a later MK2 or equivalent.
Option C is a complete non-starter, as is Option D.
The only real chance of a proper repair is removal of the seat, vee-cutting the crack, then welding, by a competent aluminum welder.
1 Like
I’d say it was time to source a replacement cylinder head. I used to live in the San Diego area of southern California and sold a spare 3.4L cylinder head from an XK150 to a small independent shop owner. Send me a PM if you are interested in it and I will provide you with the contact info for the guy I sold it to. I suspect that it is still available. I have no idea where in the world you live, but it is one option for you.
Paul
1 Like
Before spending all the money fixing that one–unless it was a very rare part, which I don’t believe it is–yes, your suggestion is a good one.
Welding is the only viable option. And probably not much more expensive than any ceramic epoxy that would tolerate the temperature and pressure of a combustion chamber. To determine just how far the crack has propogated, it will extend farther than you can see by eye, get yourself a two-part penetrant dye crack test kit. You spray the cracked area with part one. It wicks into the crack. Wipe off the excess then spray on the developer. The developer reacts with the Part A that wicked into the crack and leaves a blue/purple witness mark.
1 Like
TIG welding with Argon purge.
This job is similar to many XK heads that have corrosion around the water passages. You want someone who is familiar with aluminum welding. Not all pro welders are.
First determine the depth of the crack. Then with a cutting wheel, grind away a weld prep somewhat wider than the crack, so the welder can feed the rod down to the bottom and fill it. As I recall when I did this 25 years ago, we used E4043 rod. You want to weld on fresh clean material, that has not had a chance to oxidize, so do the welding within 30 minutes of the grinding. Weld slow, taking time for cooldown between passes, so it won’t warp.
I used a router to face off the surface down to .001", then a hand file to finish.
3 Likes
This 3.4 head has been on marketplace in dfw for quite awhile.
1 Like
Any idea where it is ? I am not on facebook.
It lists as Inman, SC
I don’t think you need to be on Facebook to use Marketplace, though I could be wrong about that.