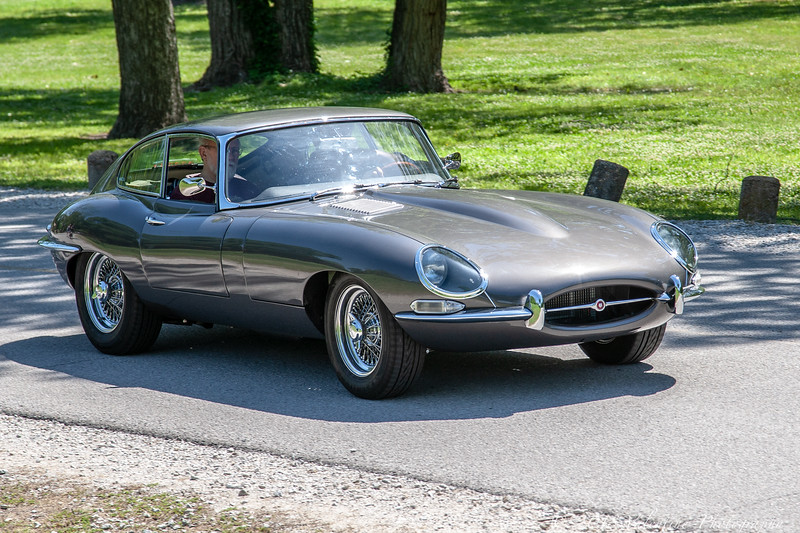
Description: Originally titled in California. 65,000 miles at start of rebuild in 2007. Approximately 600 since completion in 2017. OP Gunmetal/beige interior (OSJI). Bare metal respray with epoxy primer coat followed by RM Diamont finish. Complete engine rebuild including tappet sleeve hold downs and valve guide seals on new intake and exhaust valves. Telfon front crank seal, Terry’s rear lip seal. Reduction gear starter. All chrome re-plated. Cad plating as original. Suspension rebuild front and rear. Sleeved brake calipers. Jet hot coated entire exhaust system. Heat and noise barrier materials. New windshield. Air conditioning kit. Coolcat fan. Electronic ignition, alternator with easily reversed electrical system upgrades (new wiring diagram). LED dash lighting. New 6x15 center laced wheels. EJ transmission. 3.07 gear set. Driver’s seat discretely modified for tall driver. A few chrome pieces were left off by owner preference (included with sale). All original left overs included…starter, generator, Moss gearbox, steering wheel, original wire wheels, etc. Hundreds of restoration photos available. Carefully built to JCNA standards with exceptions for driver comfort and reliability. No corners cut and no expense spared.
Asking price: $120,000 (Hagerty lists a #2 S1 FHC at $147,000).
Location: DFW area
Contact information: PM or respond here
Willing to ship worldwide? Yes (will deliver to Houston)
–
Please always be careful before sending money or valuables to someone you don’t know. Use an escrow service if you’re not 100% certain of the identity and integrity of the person you’re dealing with.
By using this service you agree to resolve any and all disputes with the other party directly, and to indemnify and hold Jag-lovers harmless from any claims, losses, liability, or expenses (including attorneys’ fees) that arise from your use of Jag-lovers and this service.
Thanks, Joey. Movin’ on to other pursuits like installing a trailer hitch on the XJR…by the way I left that car for five months over the summer with a battery tender plugged in and it fired right up when I took it out of storage. Also, thanks again for helping me sort out the computer reset on that car last year.
Nice appearing car. You mention it was built to JCNA standards. Being heavily involved in JCNA over the years, I was wondering what standards those were.
I used the concours judging guidelines for the S1. The thinking was I might want to remove the upgrades to the car and show it some day. So the plating, paint, hardware,etc are correct. In fact I was really annoyed way back when the paint color for the brake/cluutch bracket was changed/clarified and I had to completely disassemble that area to change the tint of the paint. But there are clearly many non-compliances from the upgrades. Why do you ask?
I’d guess Eric means slalom tech inspection standard Dick, rather than anything to do with concours? Maybe he means the ‘Specials’ class where originality isn’t an issue?
That said, I know bugger-all about concours so maybe there’s a limit even in that class as to how far you can go down the Restomod track? Of course, I like to think I’m building my D to better than Lynx standards, that would depend on them judging it and letting me know whether I was correct or deluded!
I have people that are always looking for cars and had one inquire about yours. In looking at it, I could not figure out what JCNA standards it was restored to as it has a lot of non original modifications. Thanks for answering.
It would take some effort to get it back to complete compliance with the judging guidelines, but the bones are there if someone wanted to do so. For example the electrical system changes (primarily additional relays) were done with jumpers and rededicating wires in the original (brand new) engine harness, That harness with the fabric loom is under the plastic loom tubing so it stays nice. But if someone wanted the car back to the precise factory configuration, I could strip out all of the upgrades and modifications and have it in original “trim:” in a couple of weeks…a little more if I had to put incandescent bulbs back in the instrument panel. The original fan, starter, generator, etc are sitting on the shelf. The AC could be removed in a couple of hours. I’d have to buy a new lucas points style voltage regulator. But removing the upgrades would be ludicrous in my estimation. The only thing that needed attention was that shift lever binding issue I asked you about a while back, and I think I have that addressed…need to wait until it gets really hot outside.to be sure. You’ll be getting the cover/shift mechanism if the issue persists in the Spring.
I just had an inquiry this morning. I usually do not watch the classifieds. I used to run a couple of my Jaguars in the modified class as they were modified to my tastes and needs. No reason to remove stuff. Might be an added benefit to offer the original items with the car but these usually sit on the shelf as the more modern stuff works better. Like I said, nice looking car.
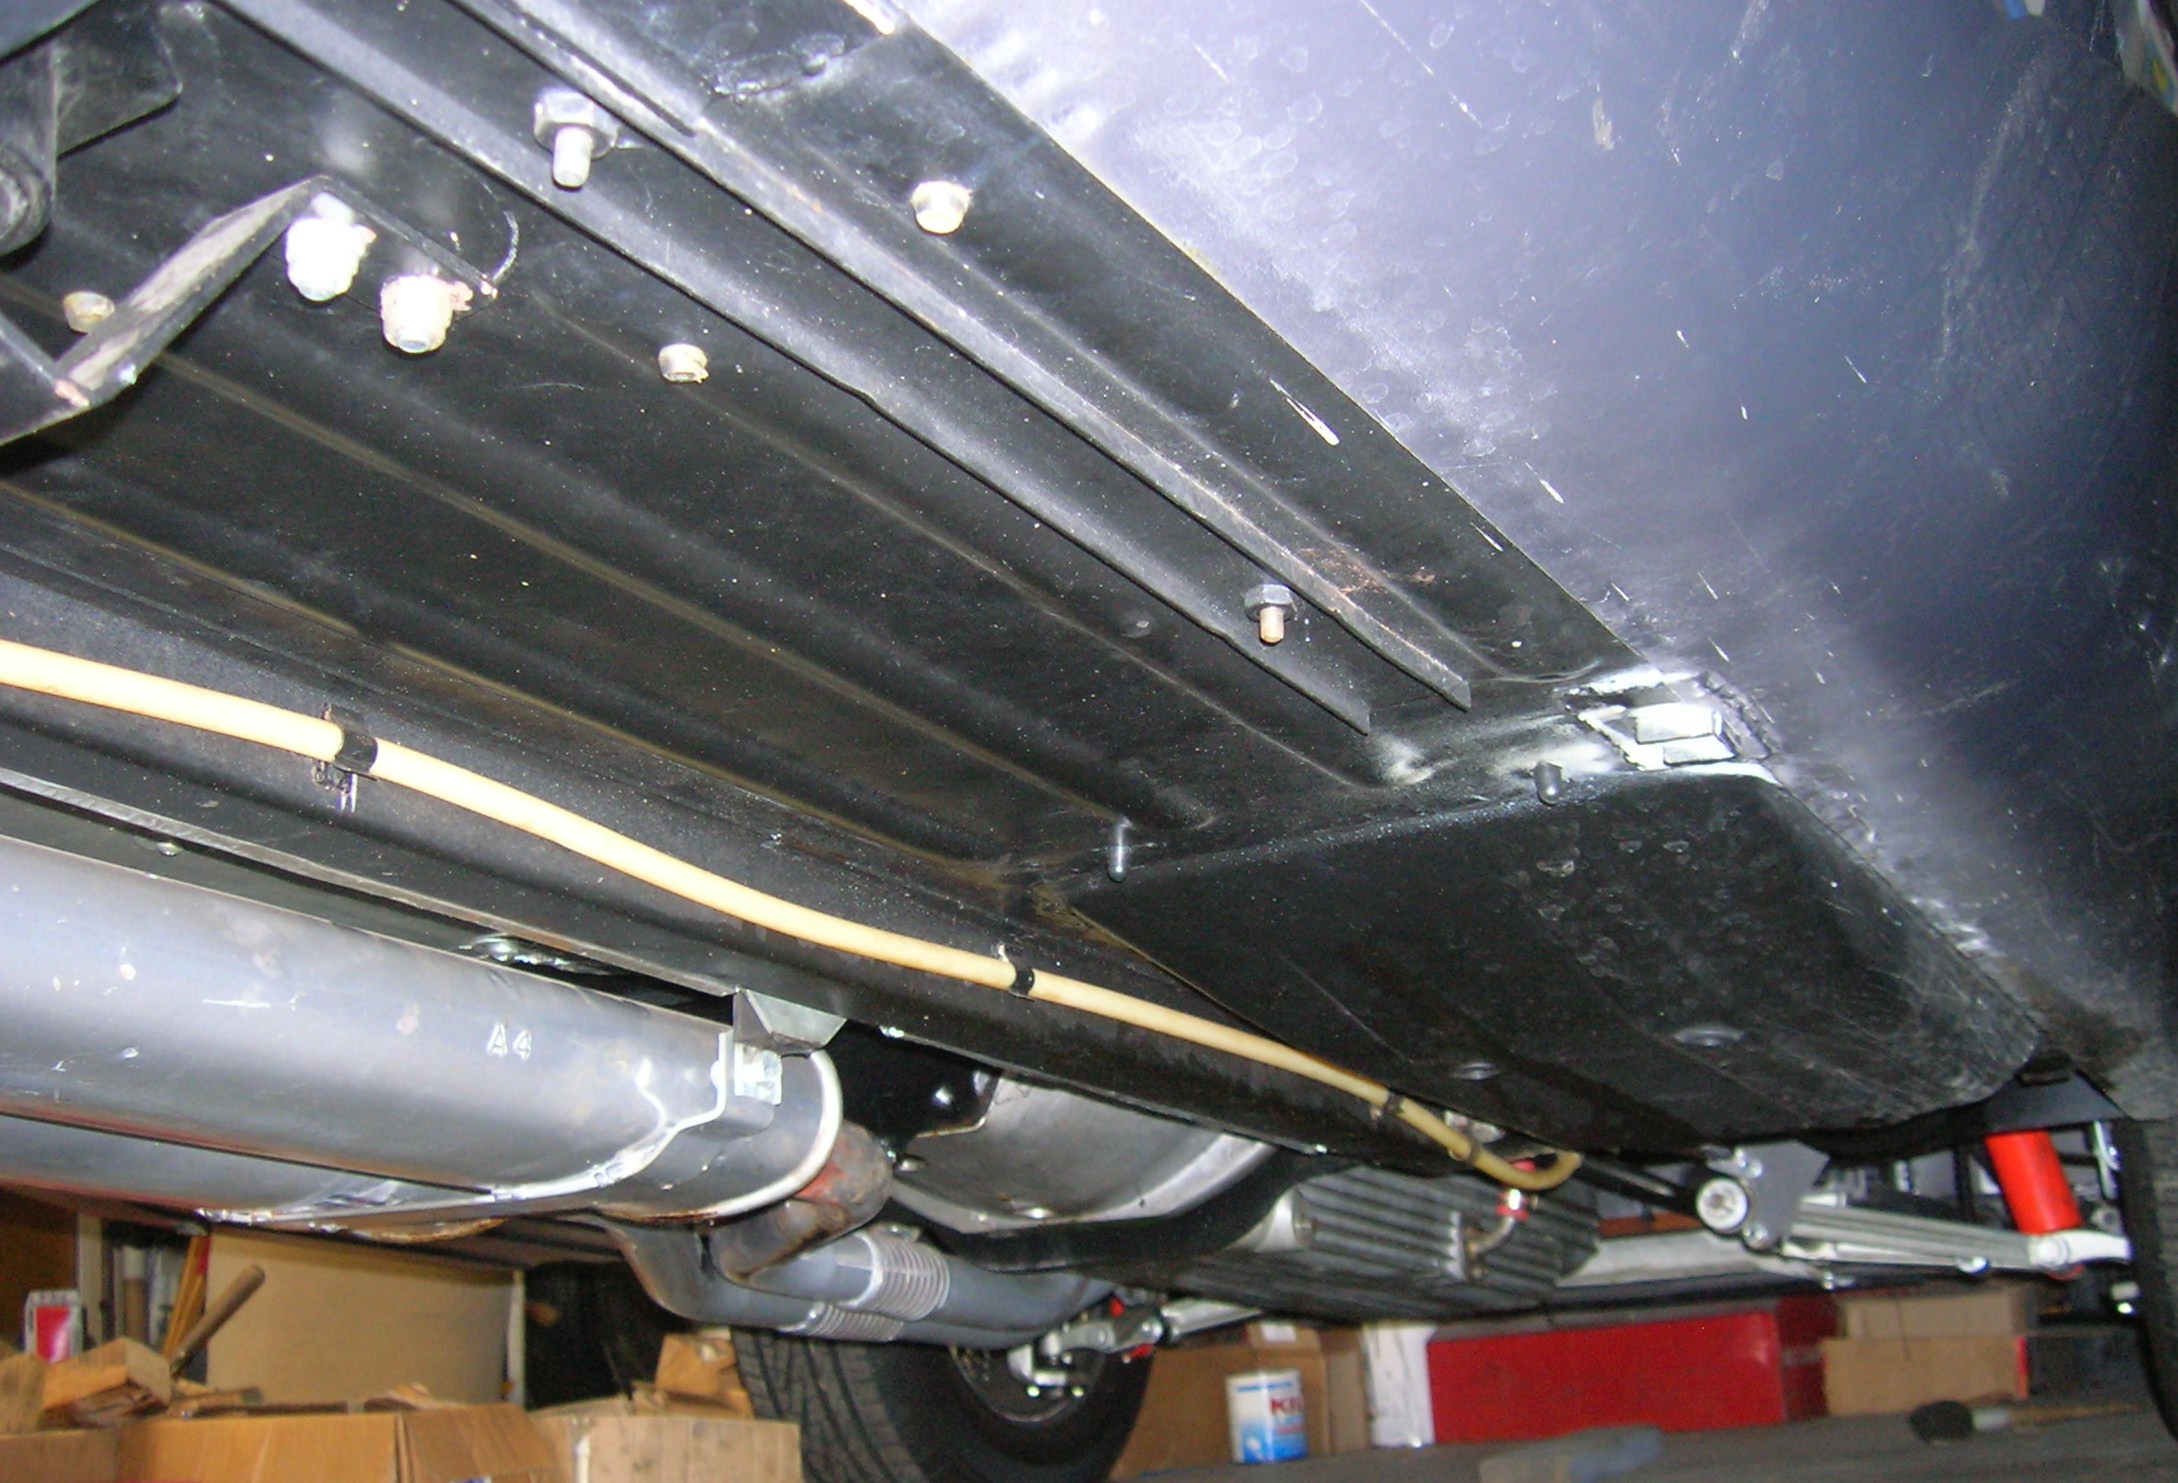
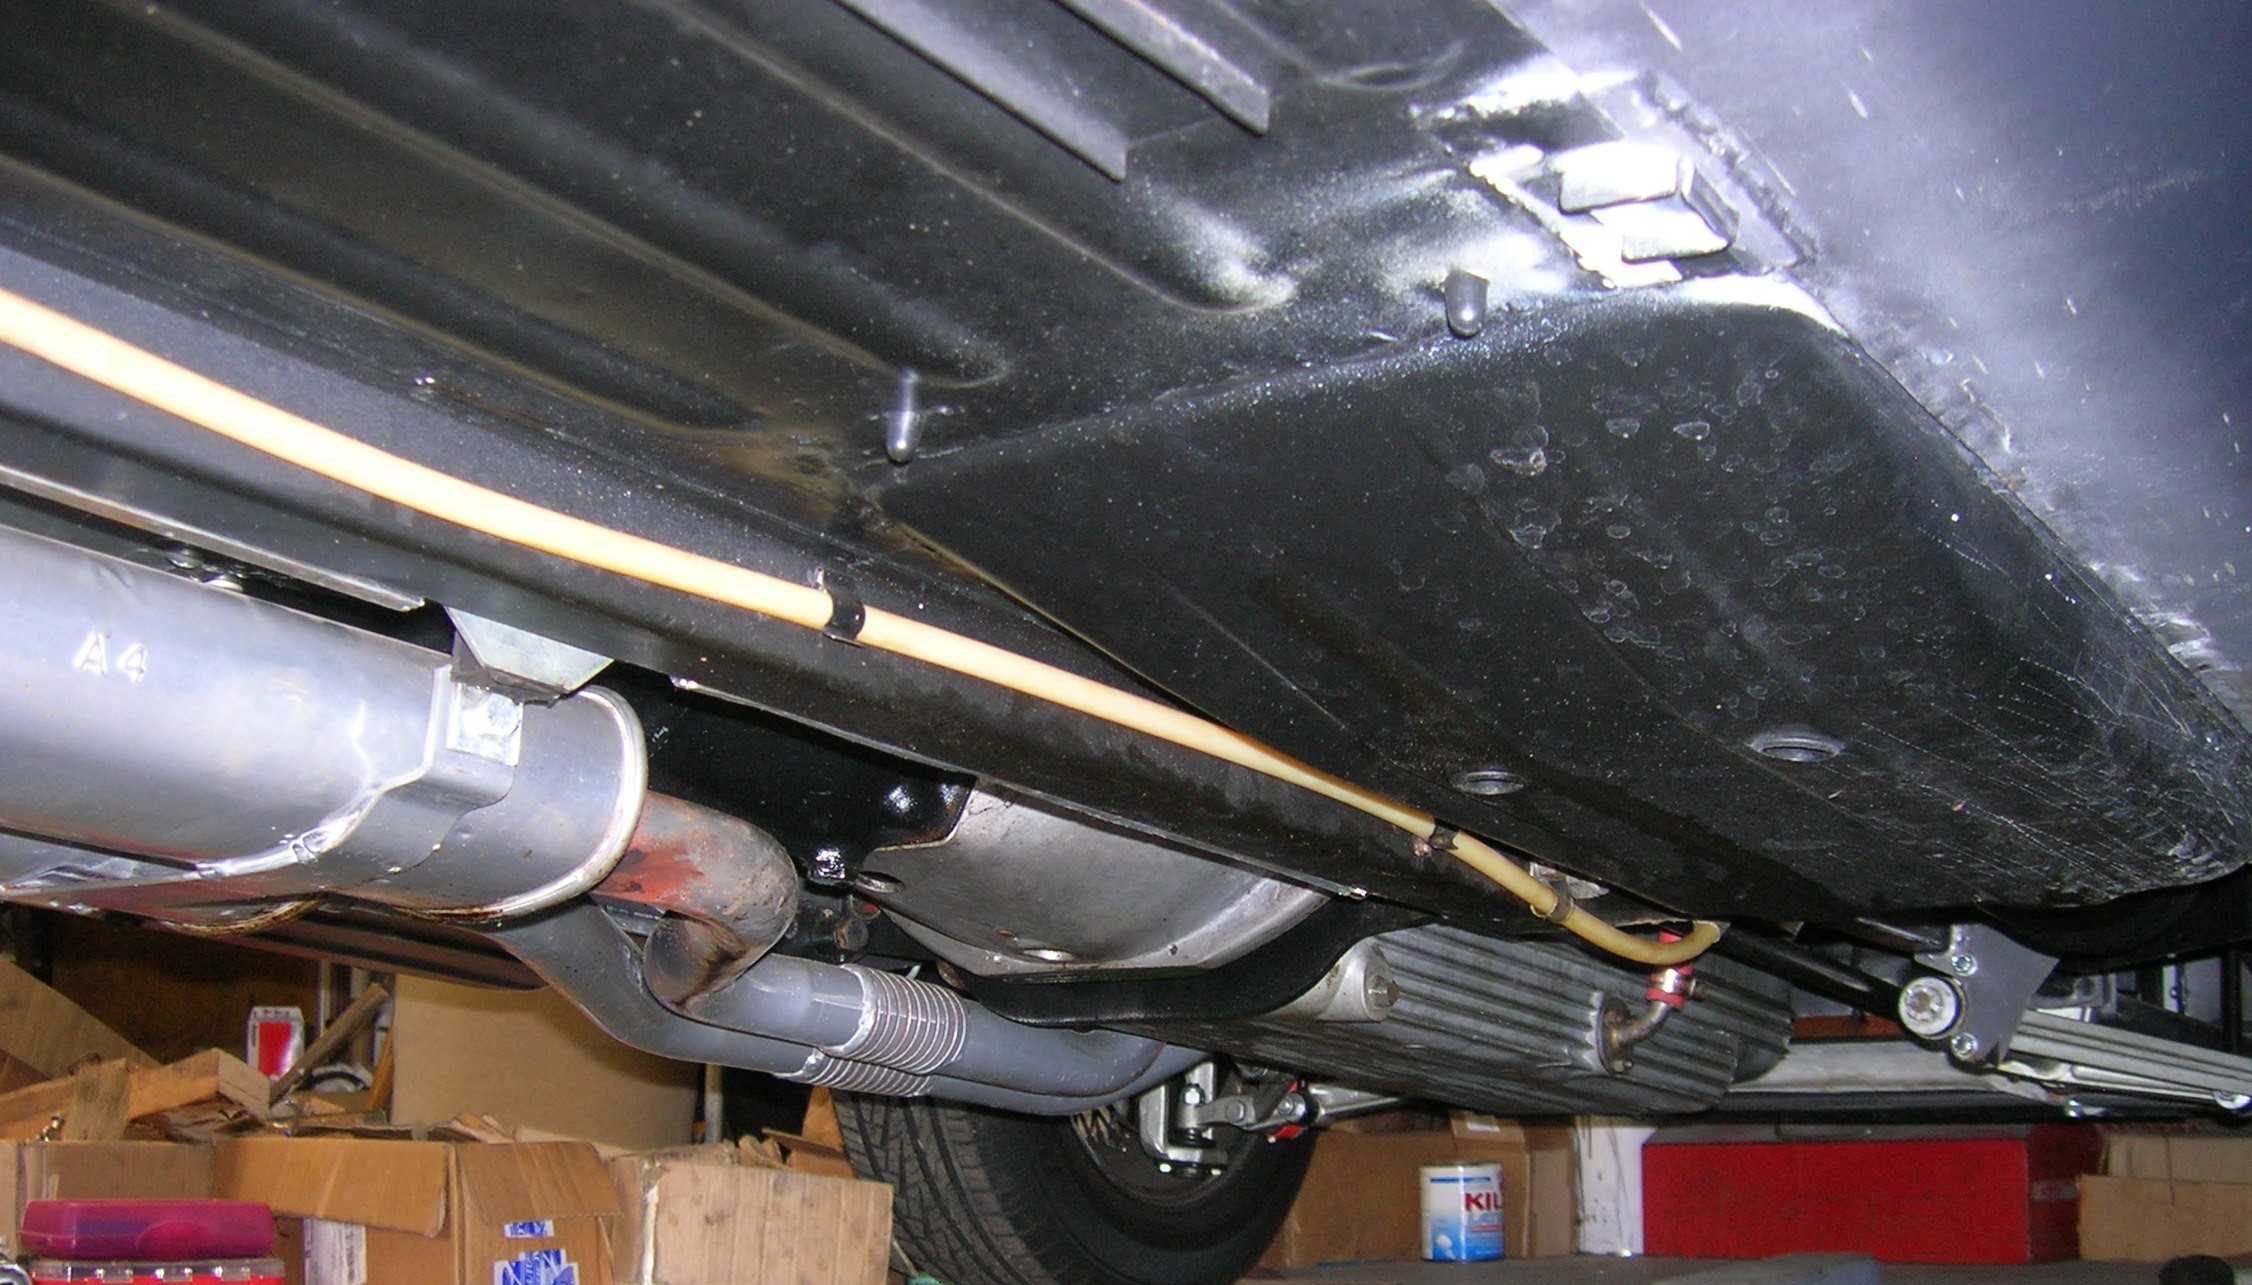
I’ve had requests for bottom photos, so am posting a few here.
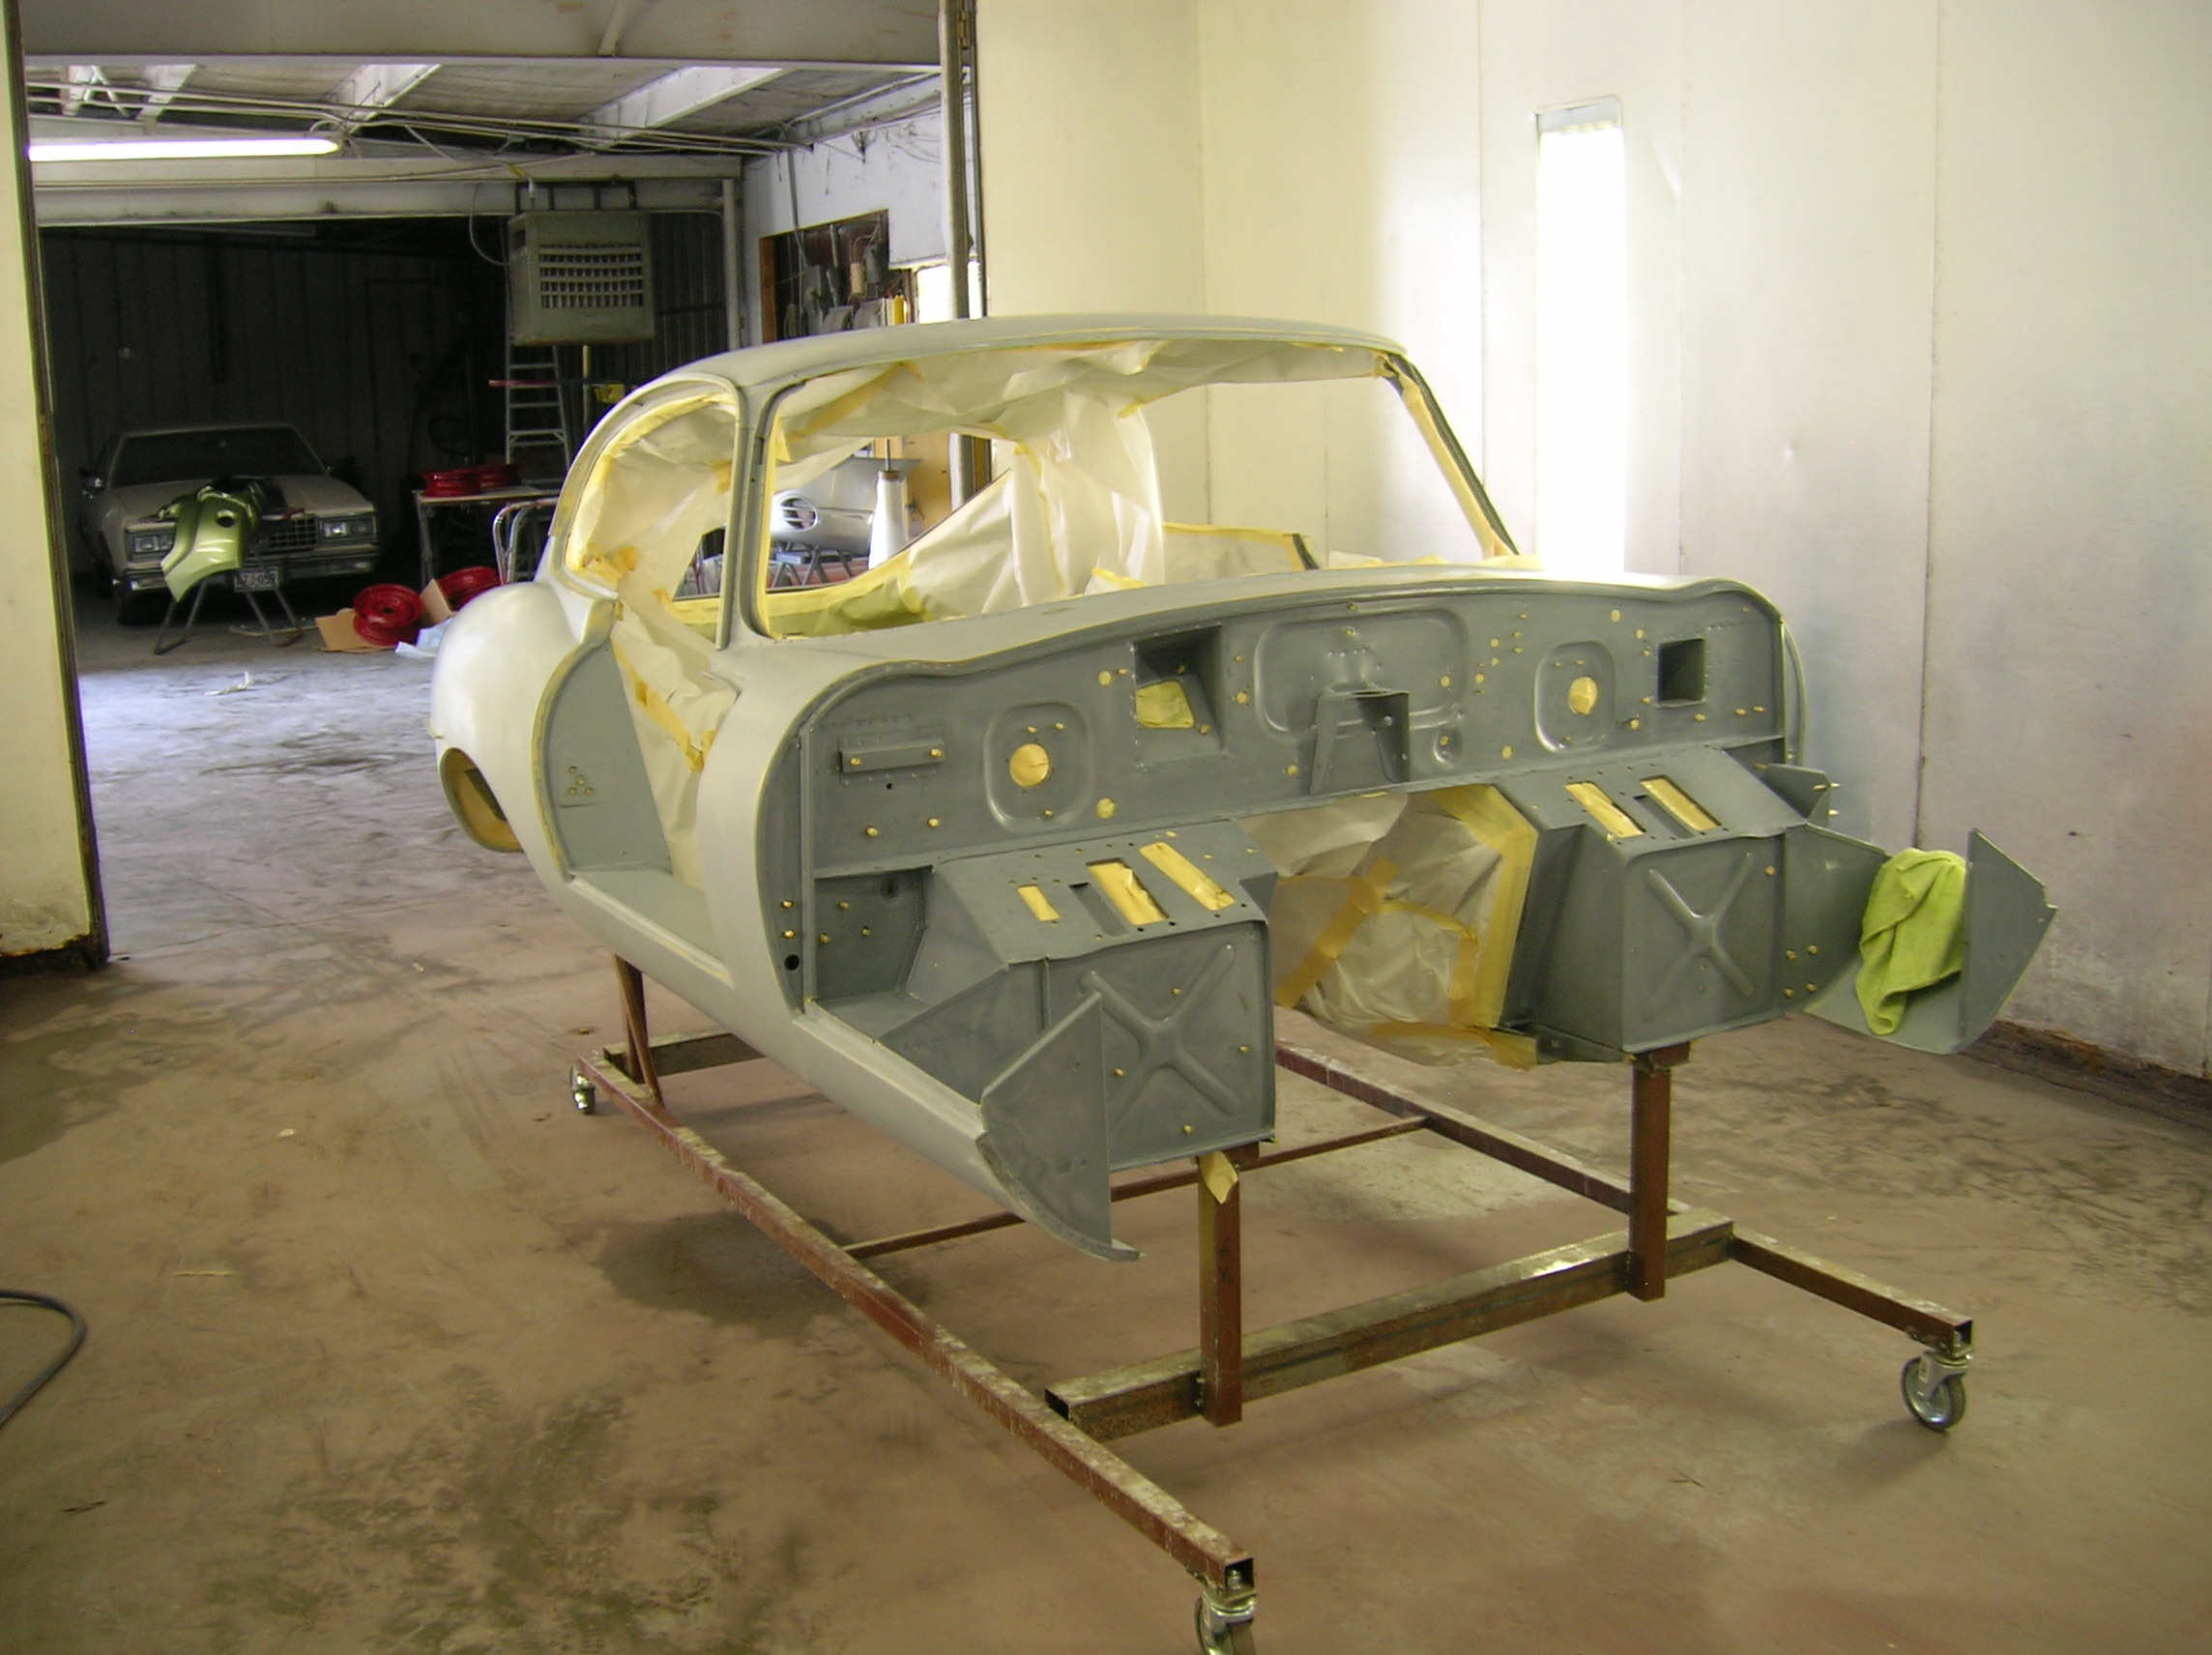
I just reinstalled the IRS after replacing output shaft seals (which were screwed up by the shop who retrofitted the 3.07 gears). So the next three photos were taken this afternoon while the car was still jacked up. It’s never been in the rain since recommissioned after the restoration, although it did pass through some standing sprinkler water. The bottom was stripped to bare metal along with the rest of the cabin. The boot floor (rust in the low area), and the footwells (dents/no rust) were replaced… A small section of the left side outer sill was replaced due to battery rust. That’s the extent of rust repairs. Inside of sills were scoped and found to be in good condition. Surface rust inside the sills was removed by pumping/spraying Evaporust via wands inserted into access holes in the rear wheel wells (literally for days). Same process for all voids. When the insides were spotless, Boeshield T-9 was sprayed in, followed by Wurth wax. Access holes are closed with rubber plugs in the event follow-on treatment is deemed appropriate in future years. Potential buyers are invited to scope the inside of the sills themselves. There is no rust in this car.
The bottom was sprayed with two coats of DP90 epoxy, followed by two coats of Eastwood Chassis Black (applied during the open time for the epoxy to assure a chemical bond). Undercoating has not been used except for the rear wheel wells (over epoxy).
Note the ceramic coated exhaust, new gas line, new brake lines (throughout). The custom full width/length heat shield is visible above the mufflers.
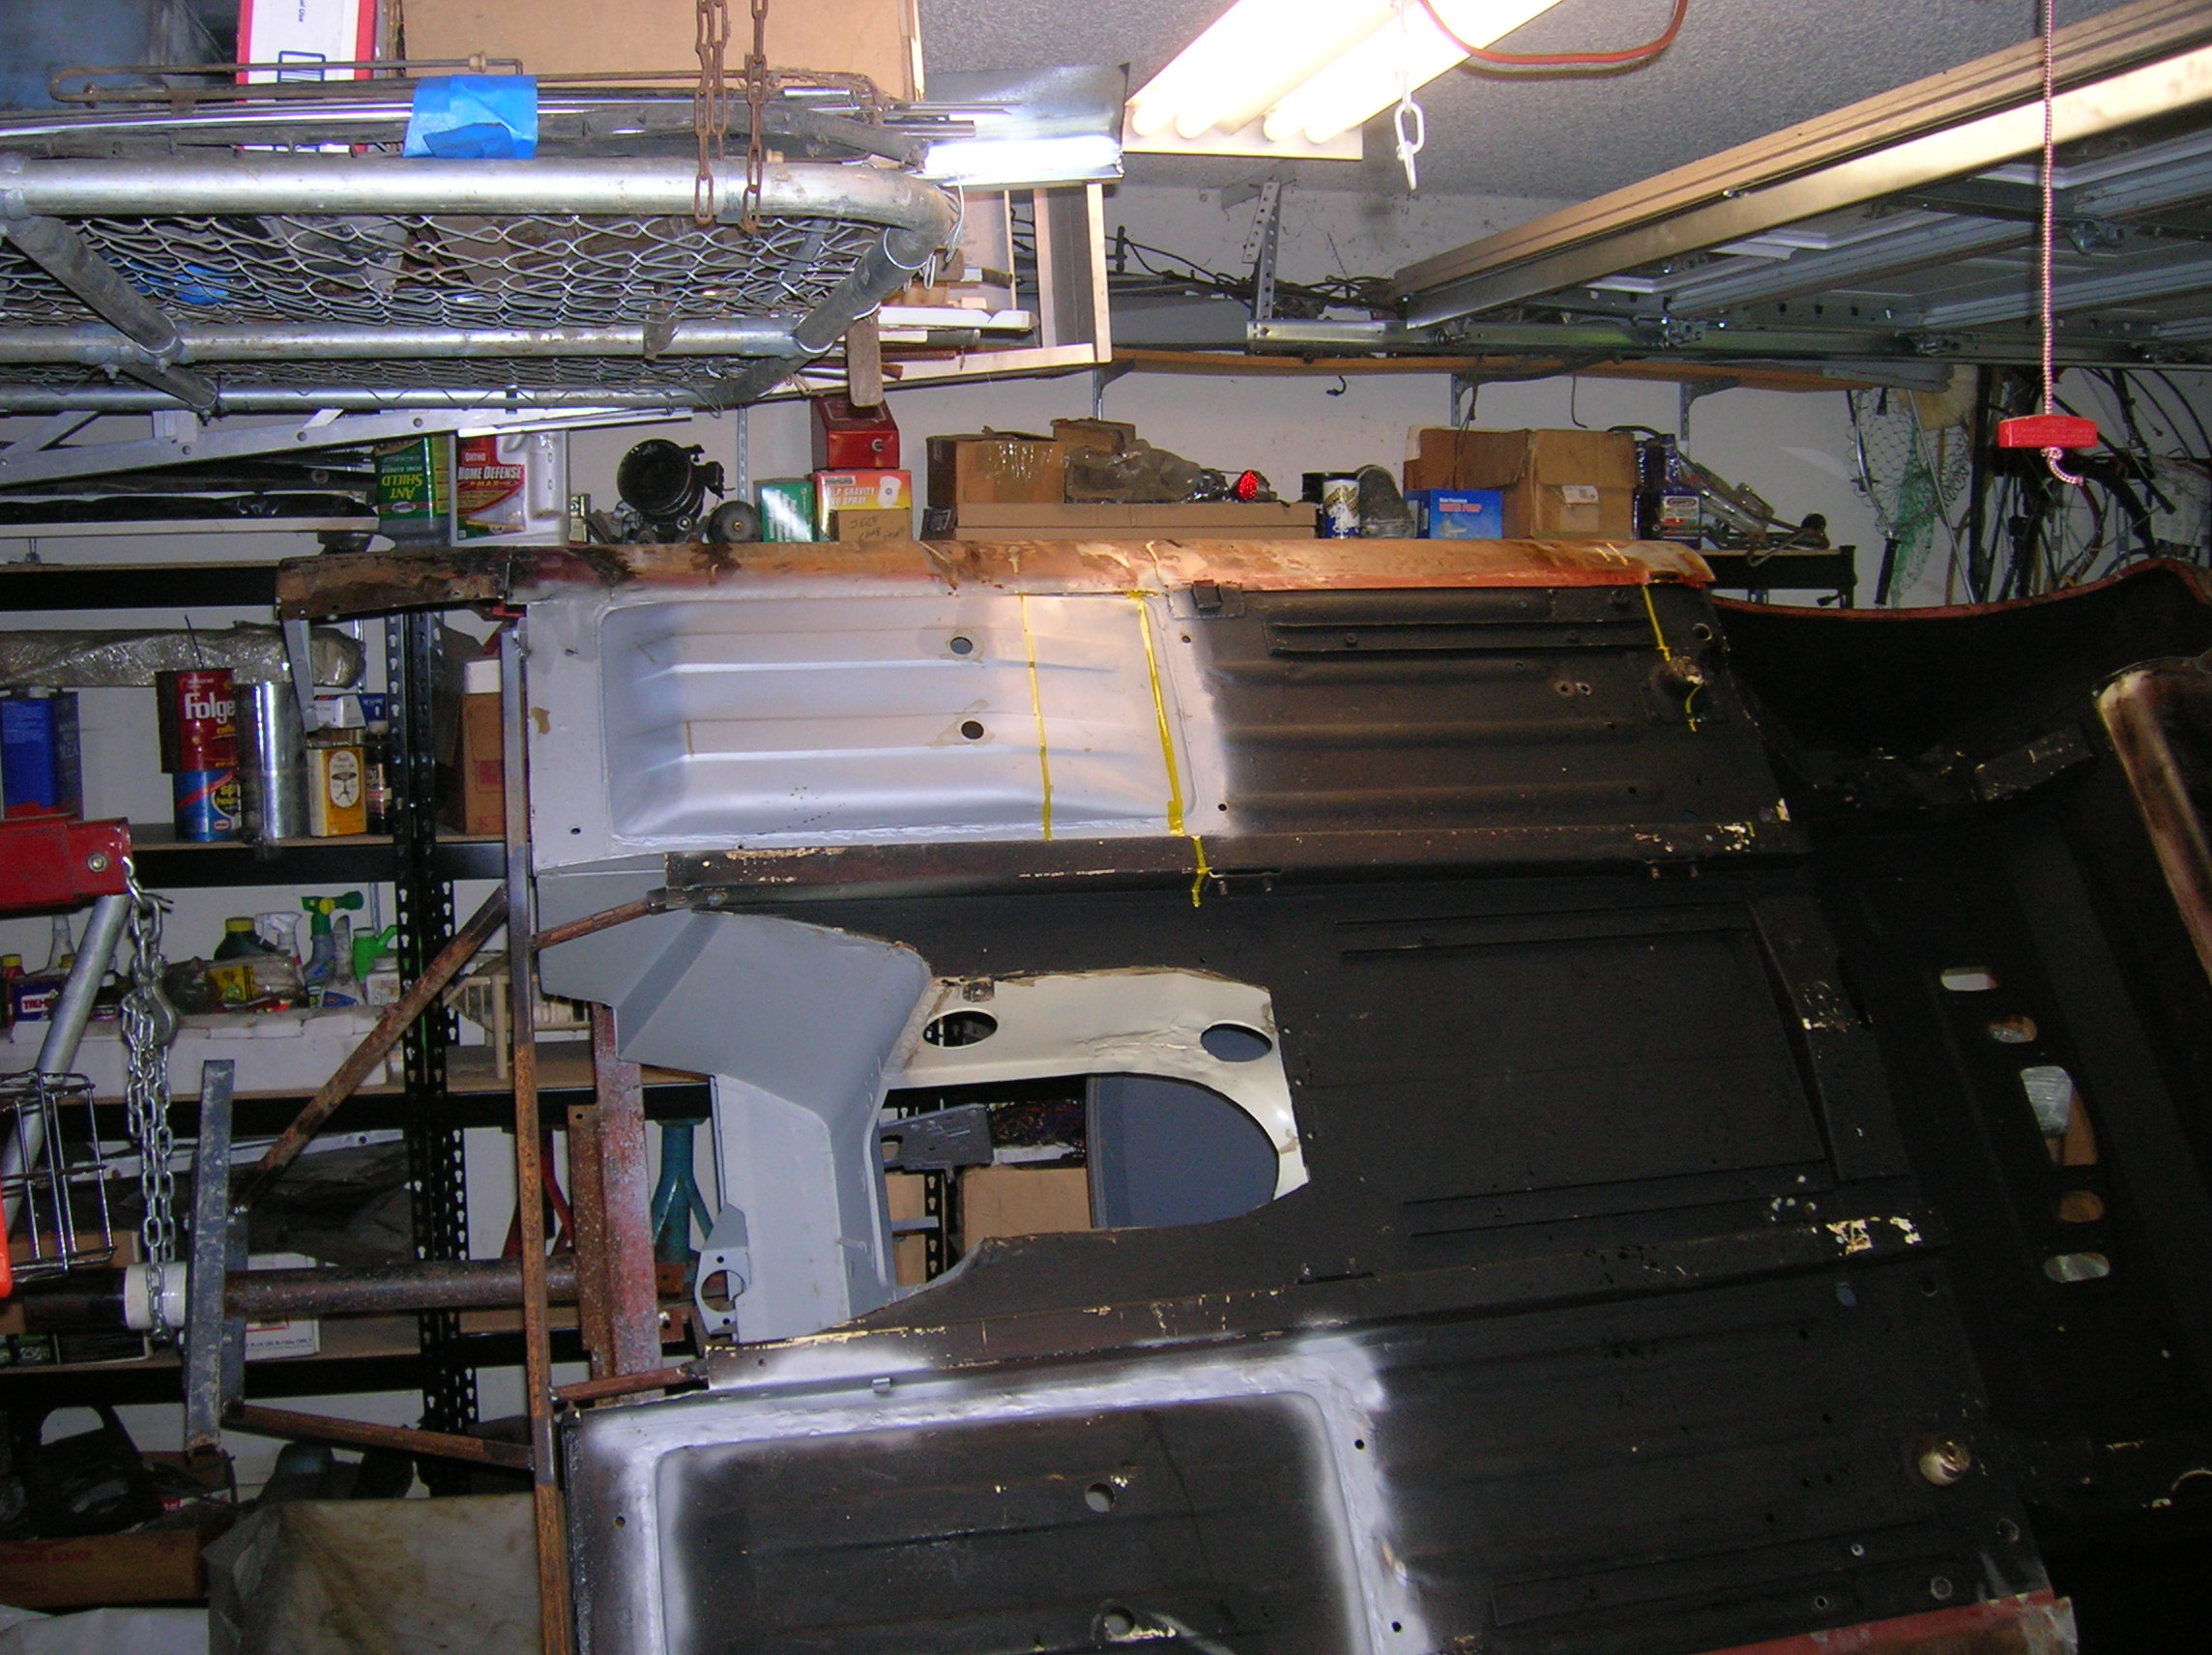
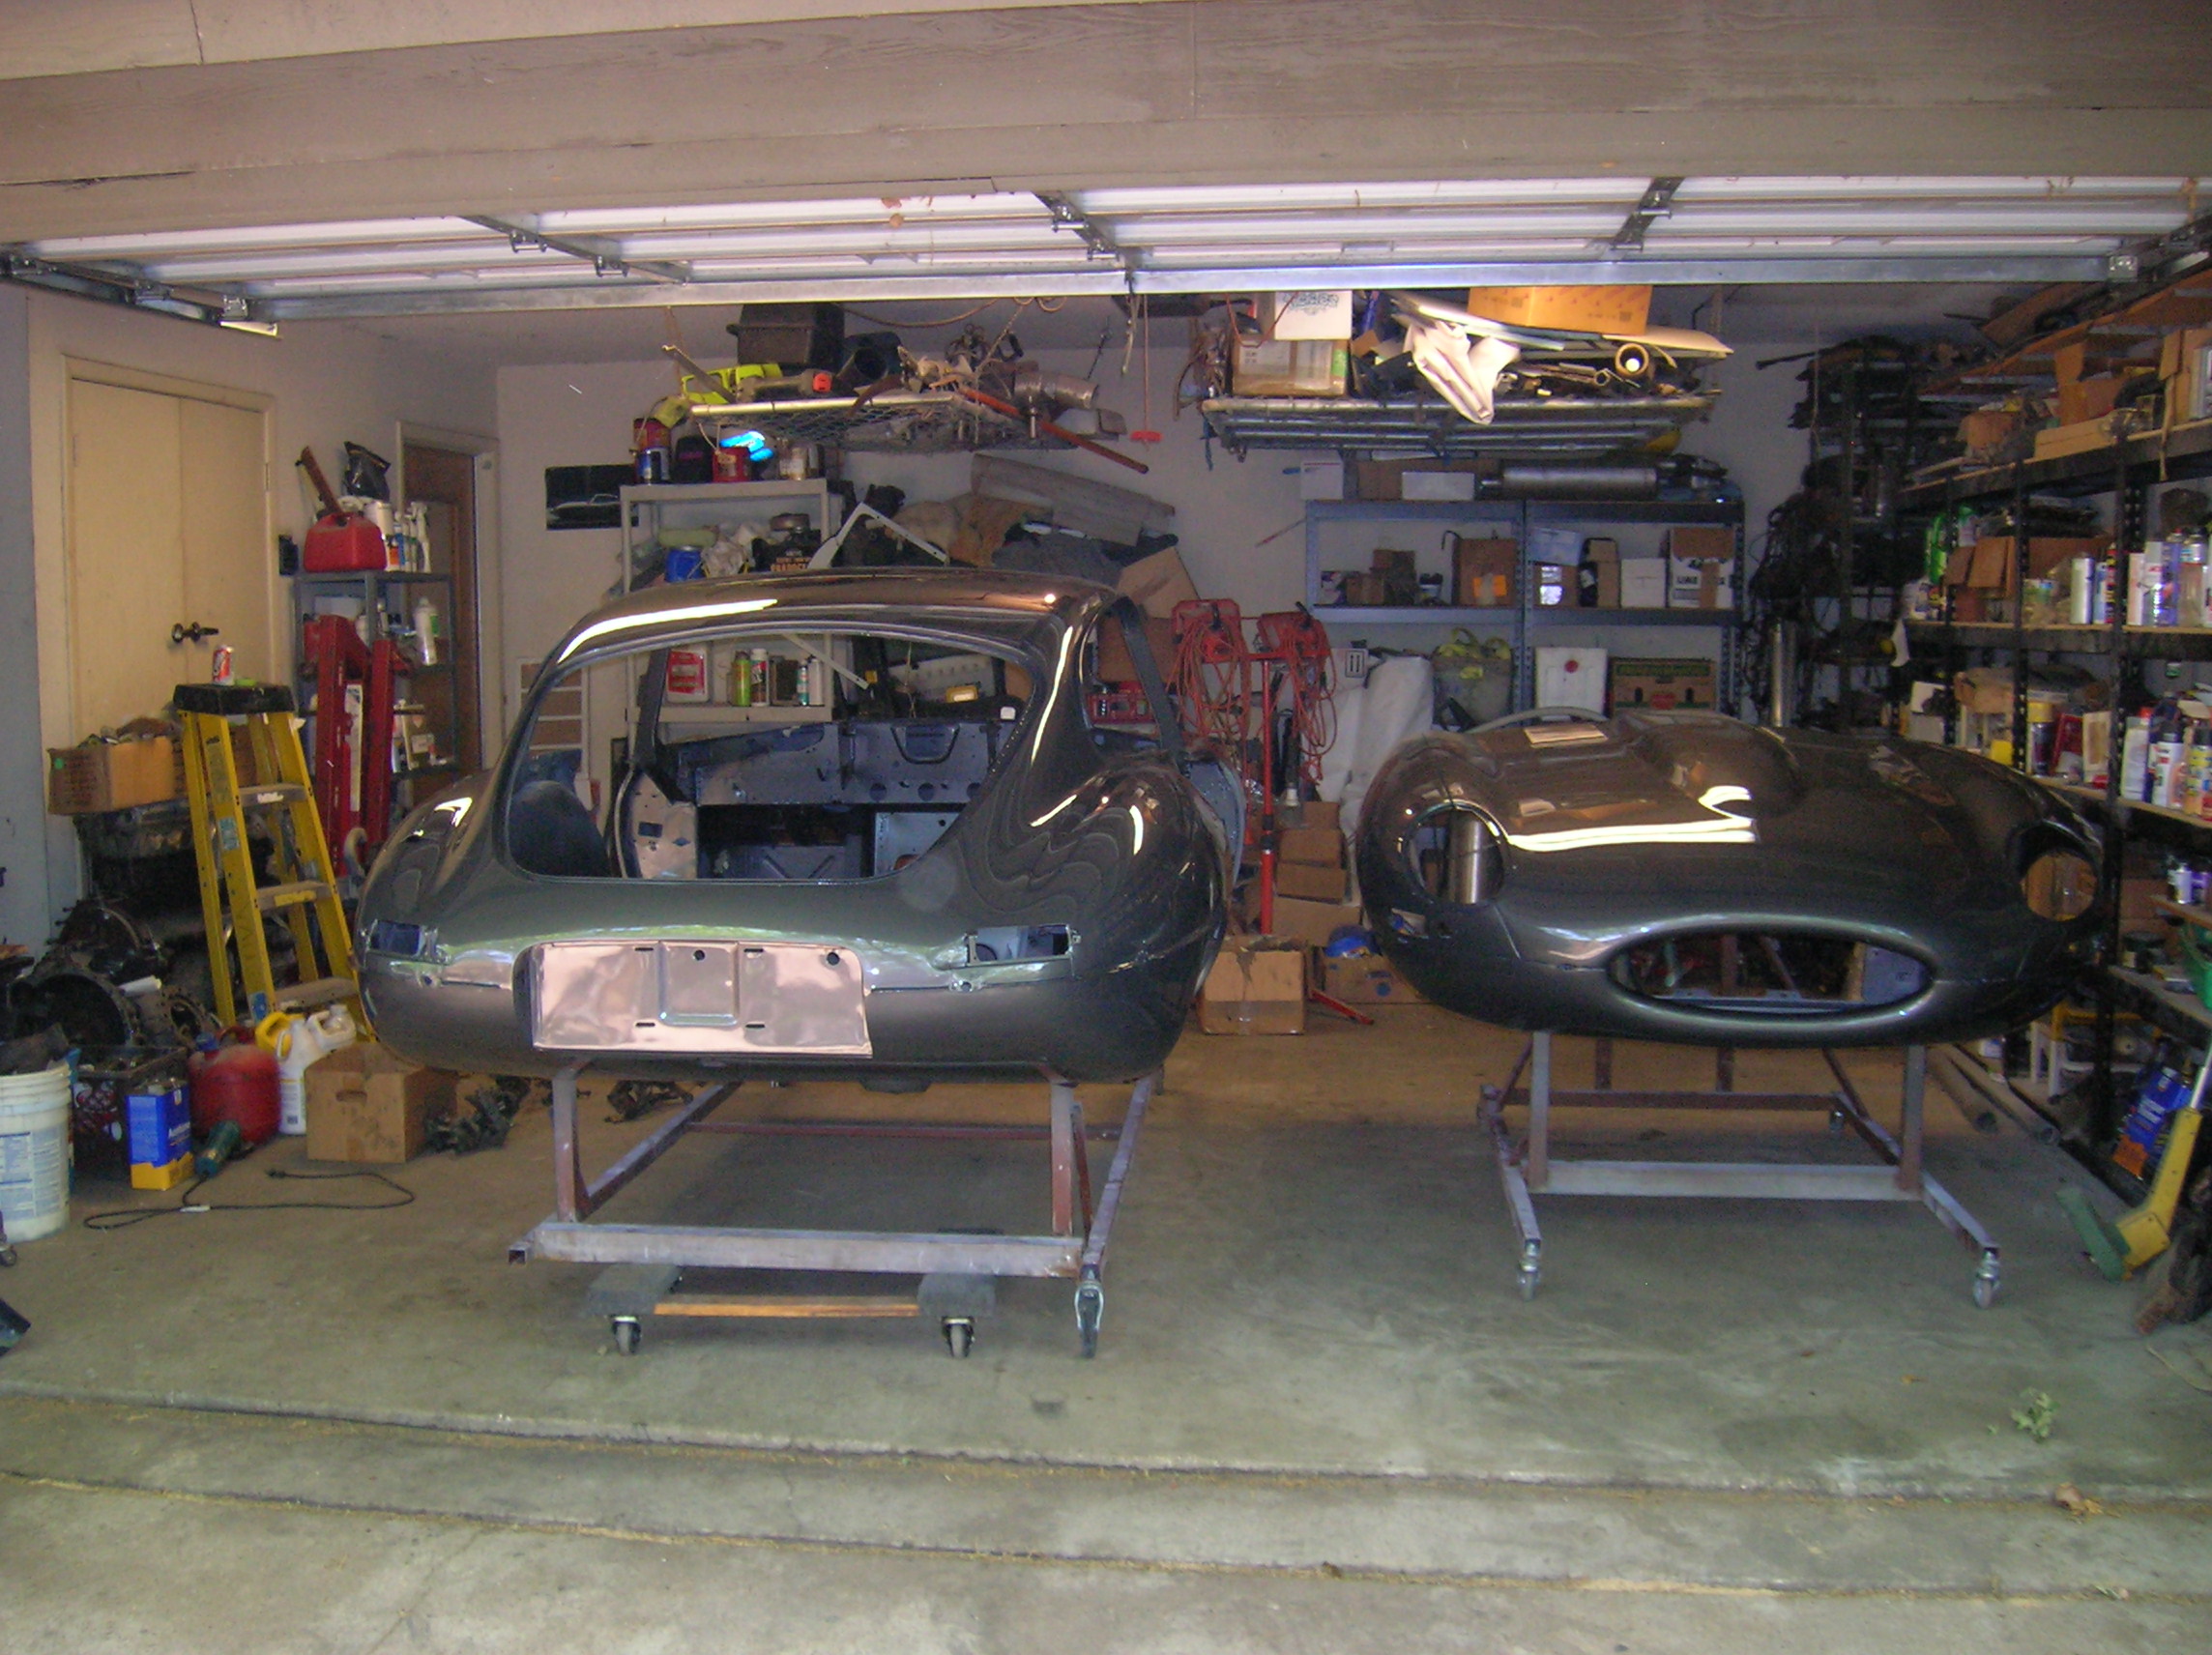
Car “hung around” the garage from the mid-80’s until around 2007 when I started the rebuild in earnest. I have a few hard copy pictures from when it was in one piece.(before I completely disassembled for restoration). Most in-process photos will have to be dug out of an old computer.
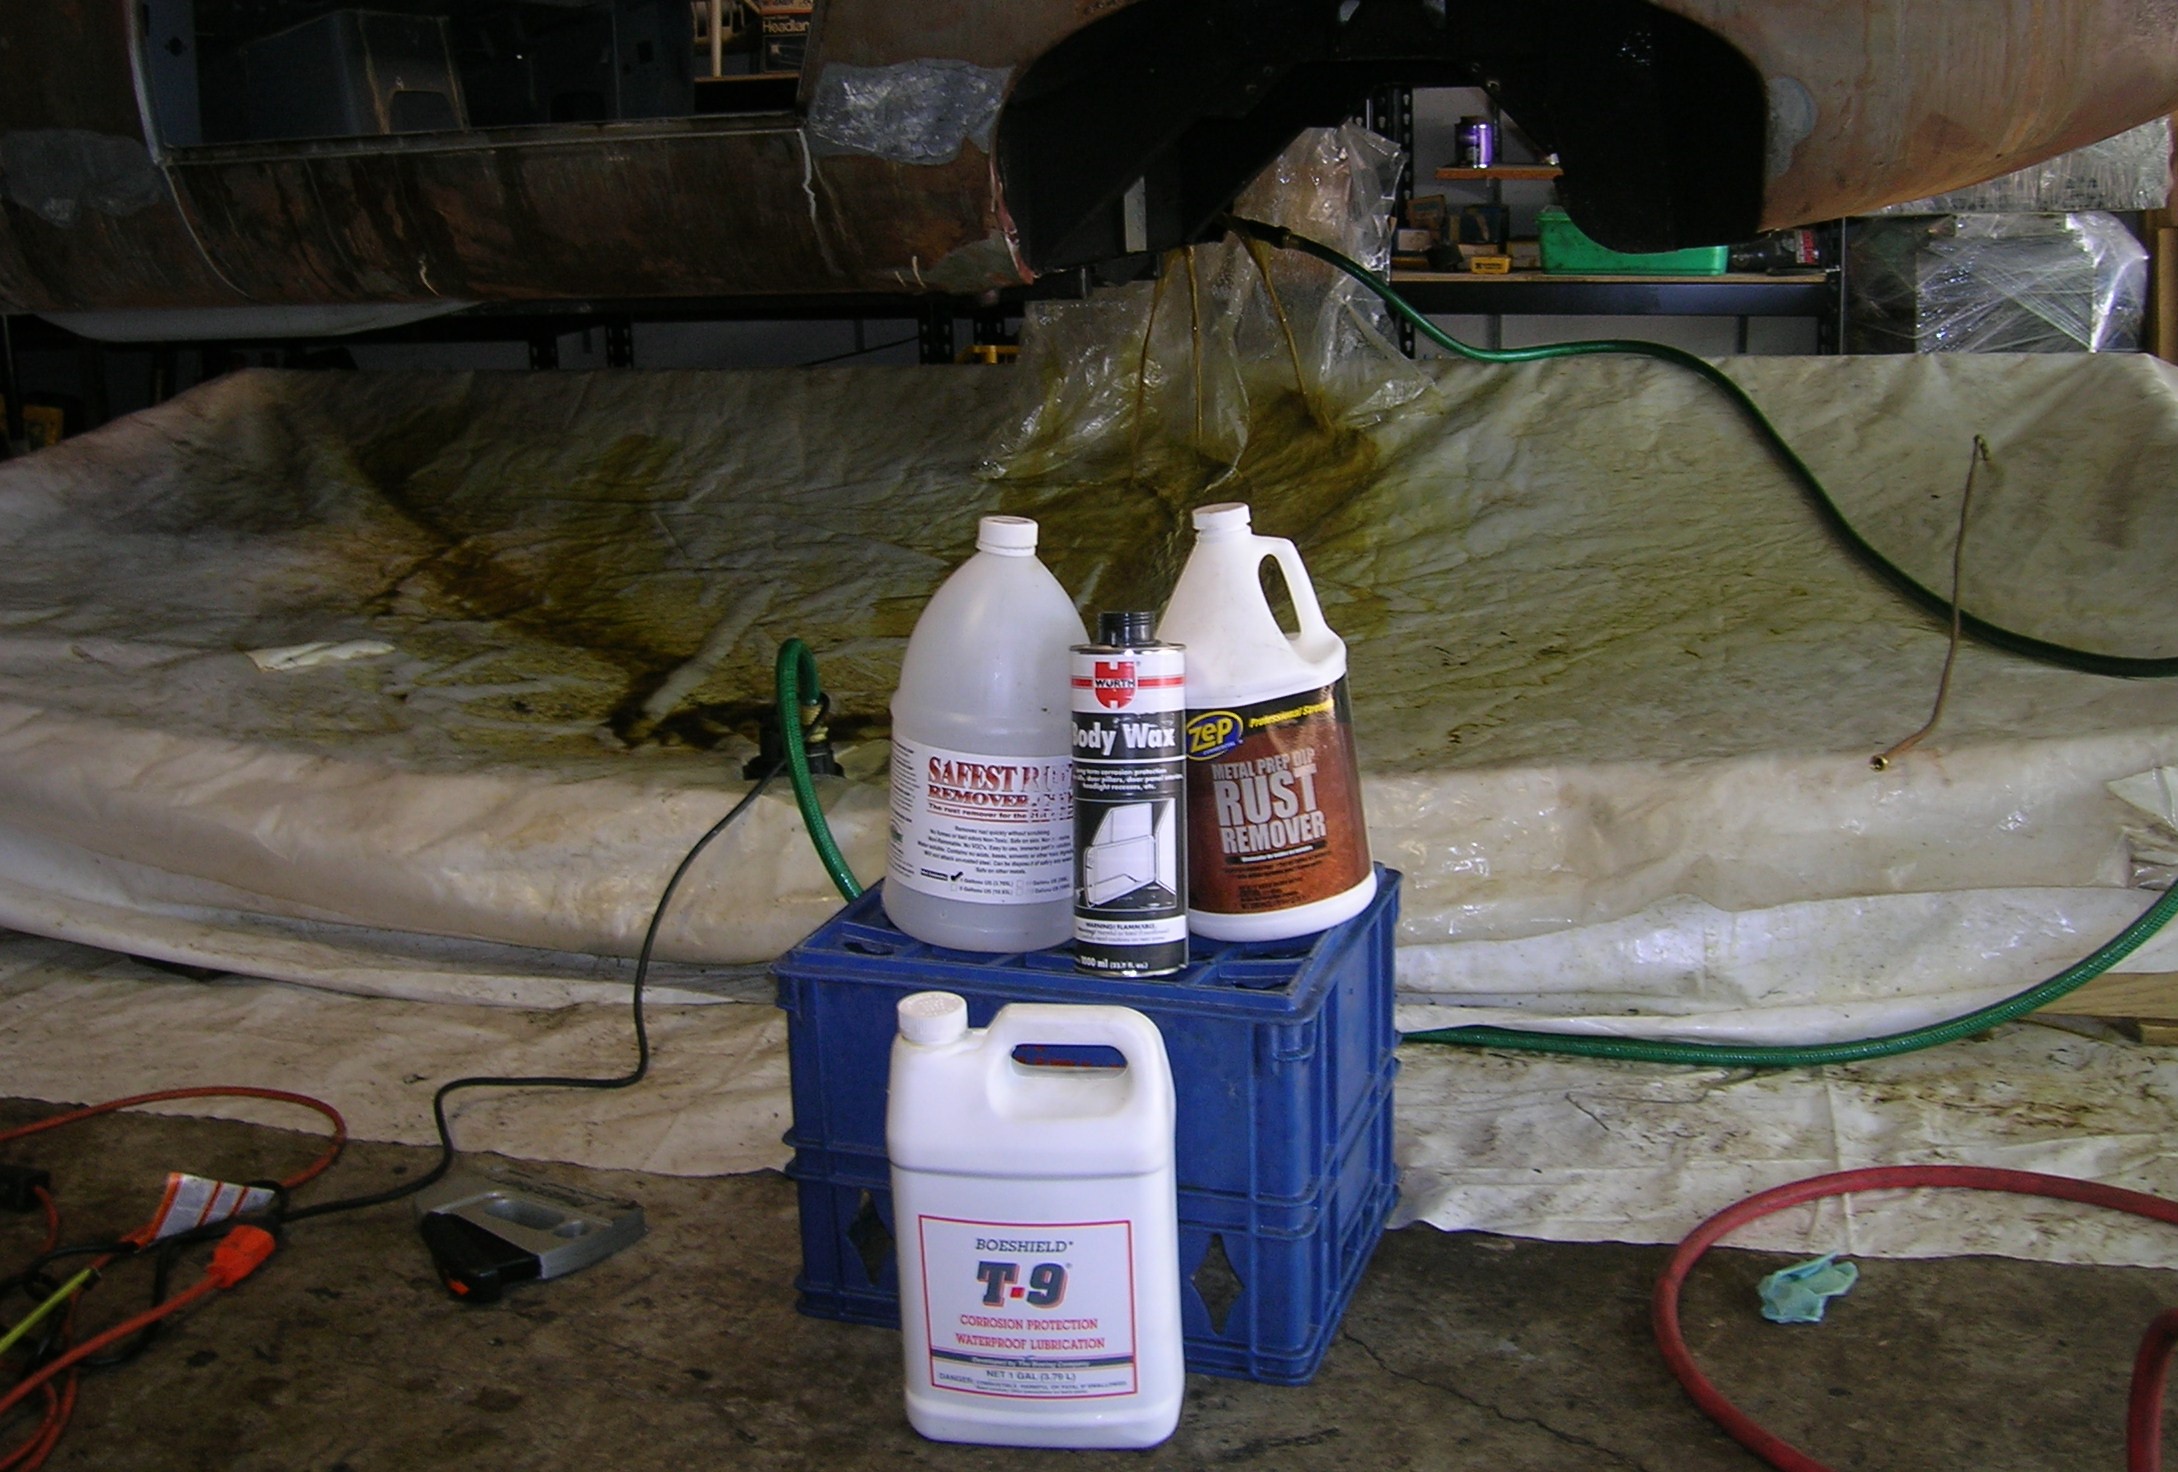
The Tub was dipped at the start of Phase I in1985 (project put on hold for two decades shortly thereafter). The rust visible in the photos is light surface accumulation after hanging in the garage for 20years. The Evaporust shower/bath dissolved it away. Areas with primer sealer had no rust.
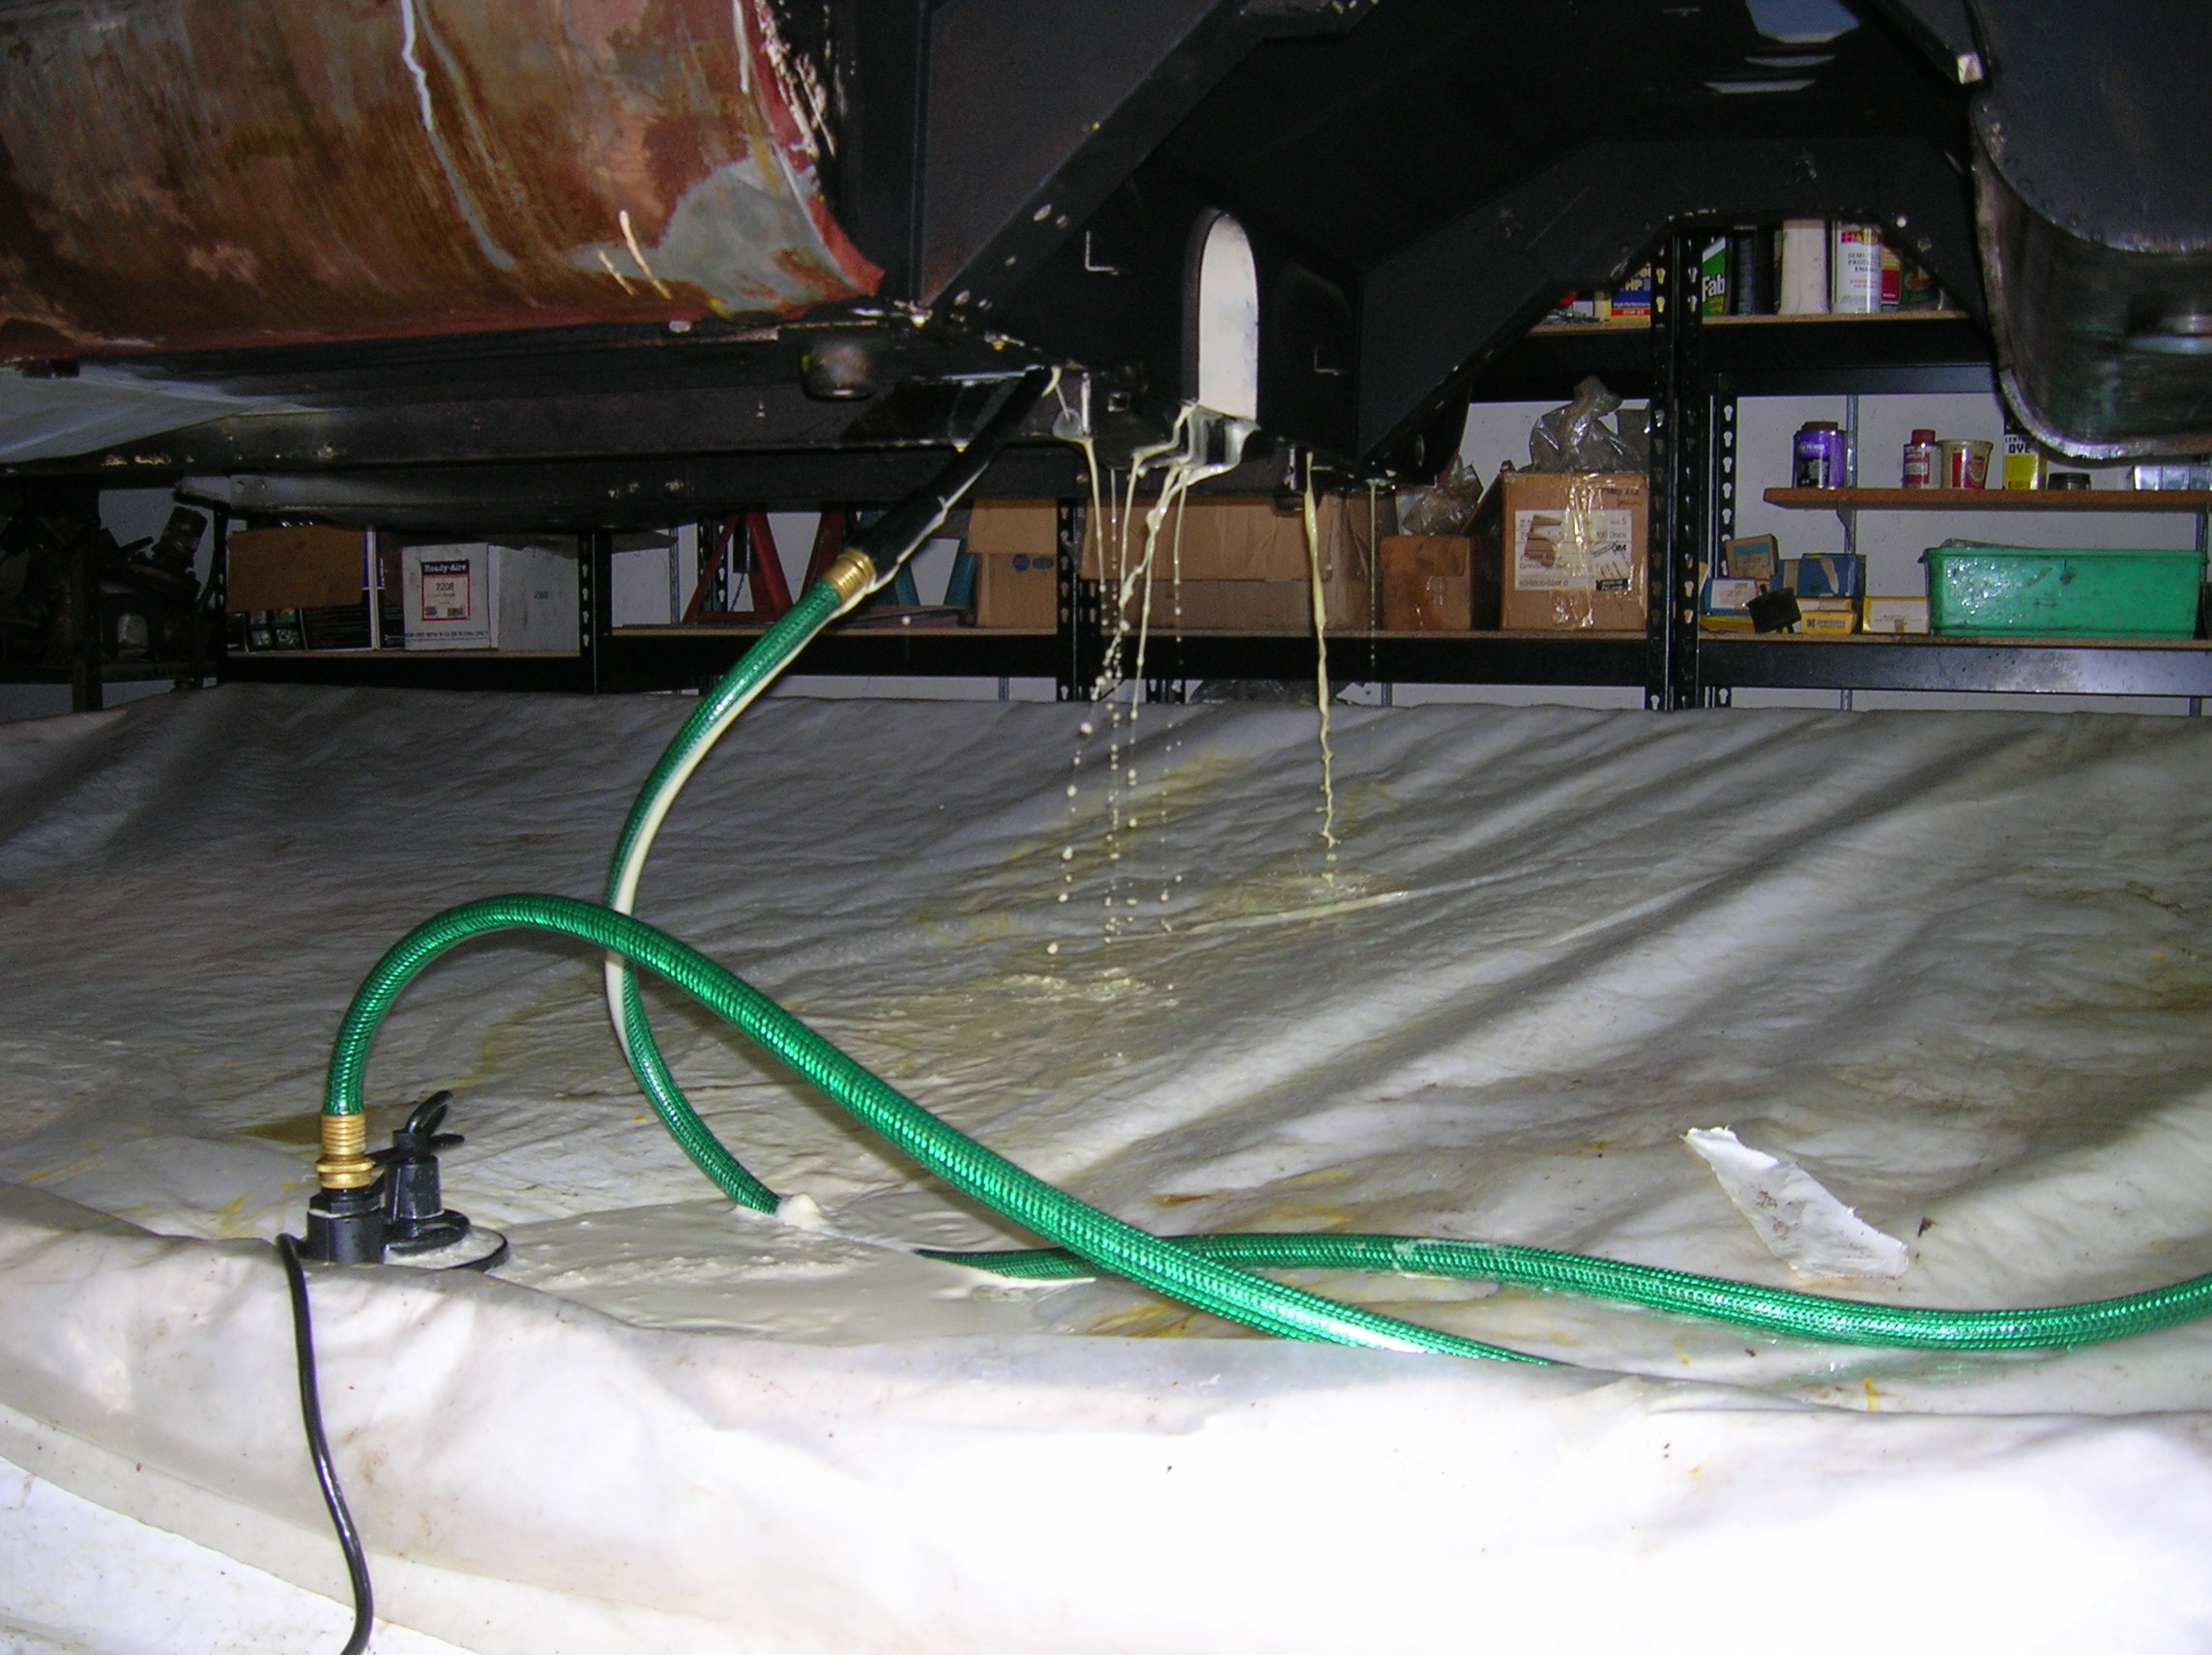
Follow-on to last post regarding bottom strip/preparation and paint. These are a few representative photos from among hundreds. A brief caption provides explanation.
Another photo of the Evaporust basin at the start of the chelation process.
Clean fluid being injected into one of the voids behind the seats.
Right side sill being sprayed (for many hours) with Evaporust. The fluid wears out over time and must be changed during the process. I tried several chelation products and eventually settled on Evaporust as being the best. I used 10 gallons. The dark color is rust being removed and carried away in the fluid. The wand inside the sills is plastic irrigation tube with hundreds of small holes drilled radially over the length. A fairly elaborate filter system in the catch basin extracts the rust particles prior to recirculation. A lighted Army surplus medical endoscope with controllable head proved an excellent tool for inspecting the inner voids and sills.
The bottom with new footwells installed. Photo is prior to stripping the previously applied undercoat product. Note the Wurthwax oozing out between spot welds.
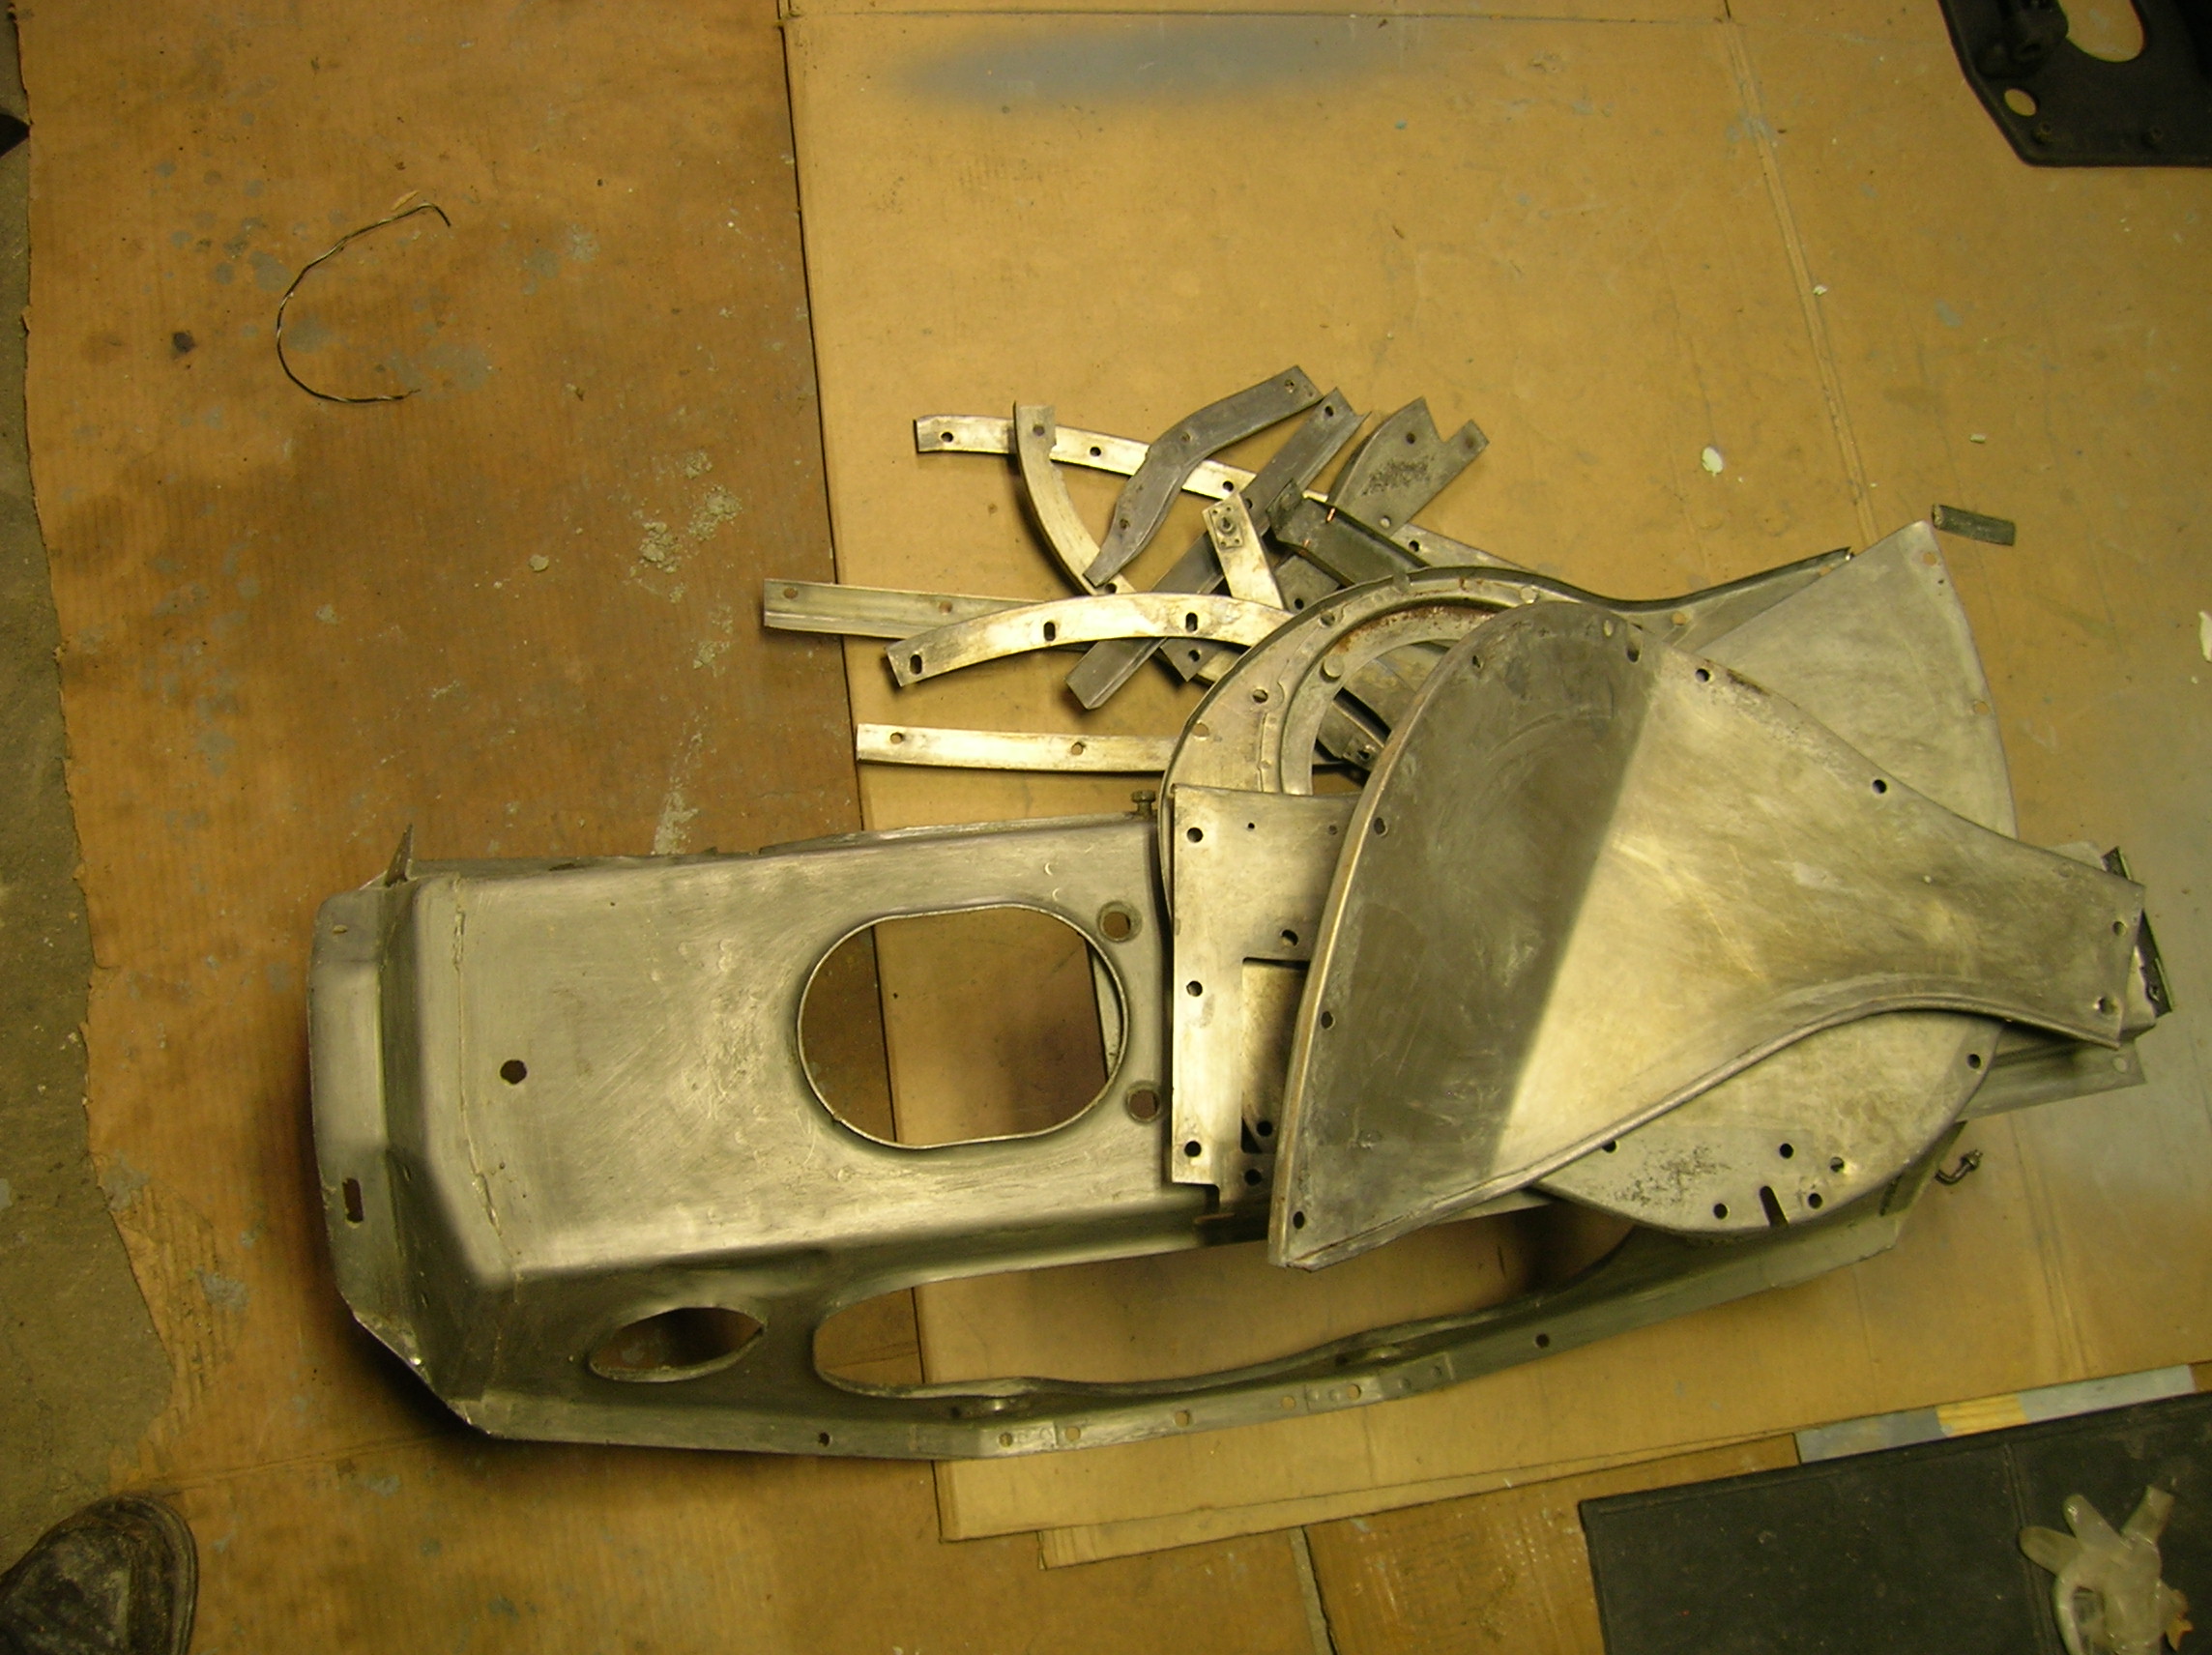
Doors and boot hatch were sent out to a metal shop for stripping in alkaline tank, followed by de-rust in chelation solution. Two Ferrari bodies and a line of high dollar muscle cars were in line for the tanks.
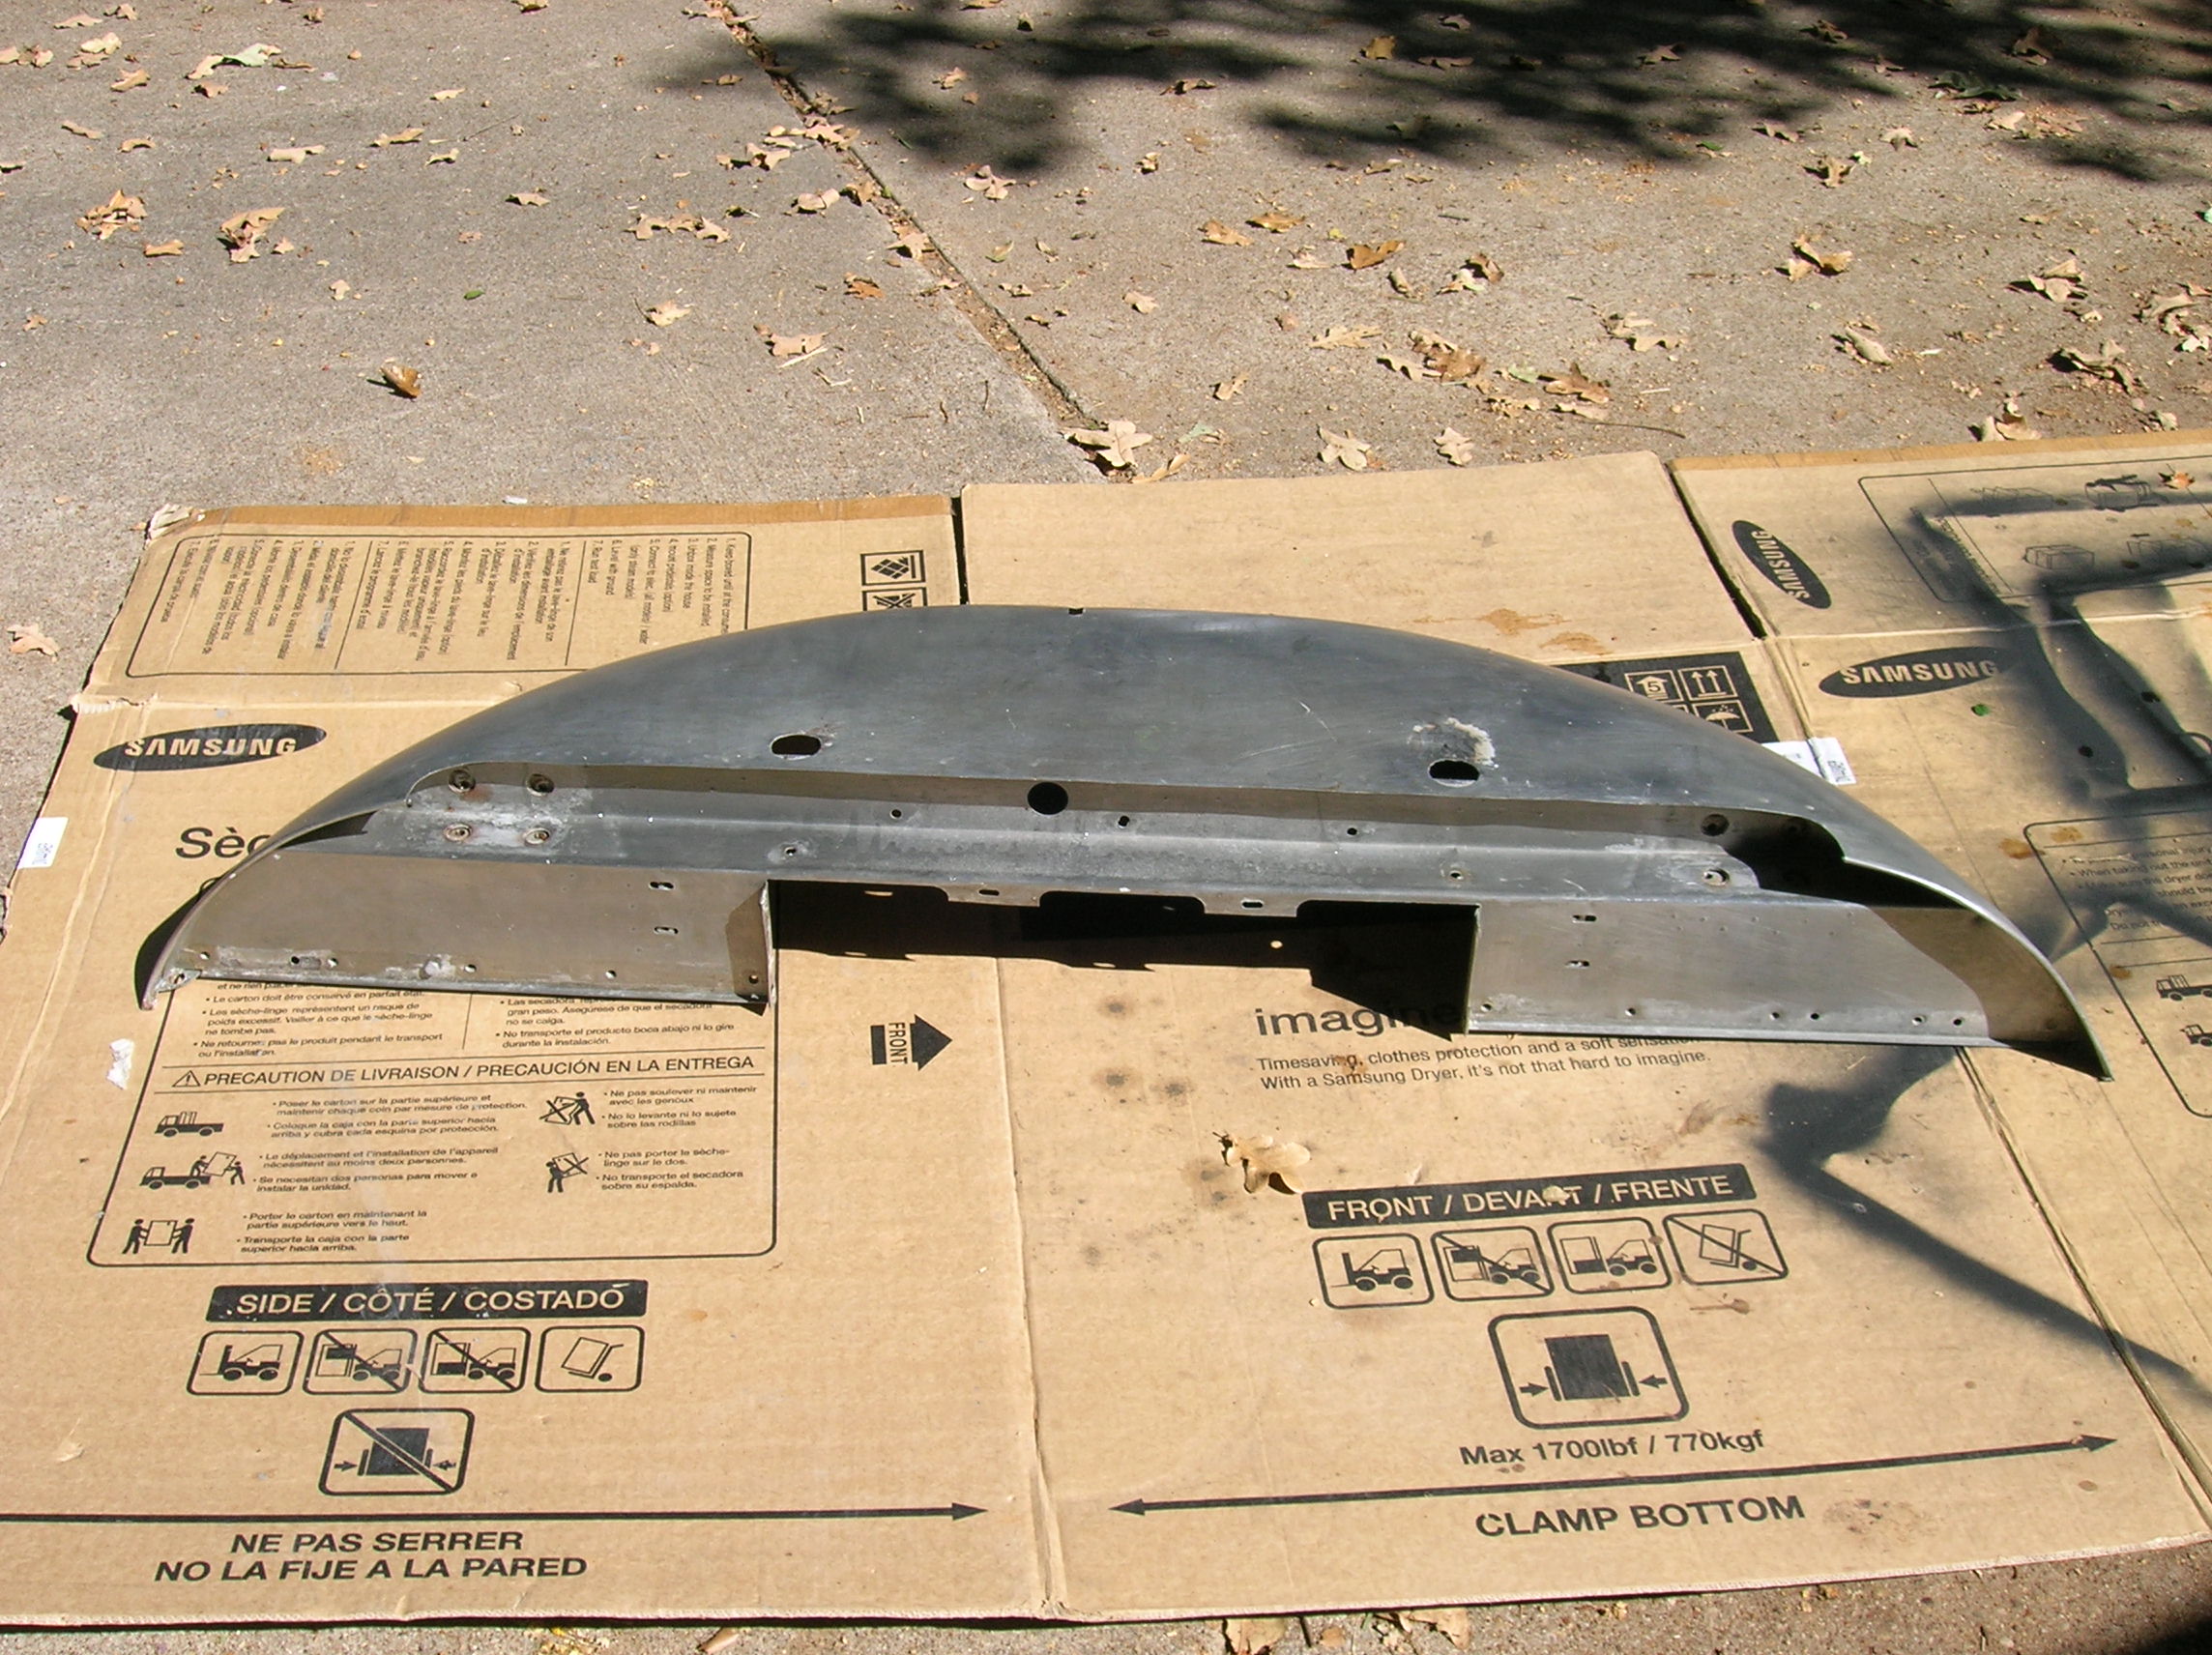
The bonnet and miscellaneous sheet metal were disassembled, stripped, de-rusted, phosphated and primed in epoxy. Dings we were subsequently addressed by a well regarded body shop in the area.


