As the car is now back home from paint, I will soon be starting the rebuild.
I was reading Chris Rookes book again in preparation.
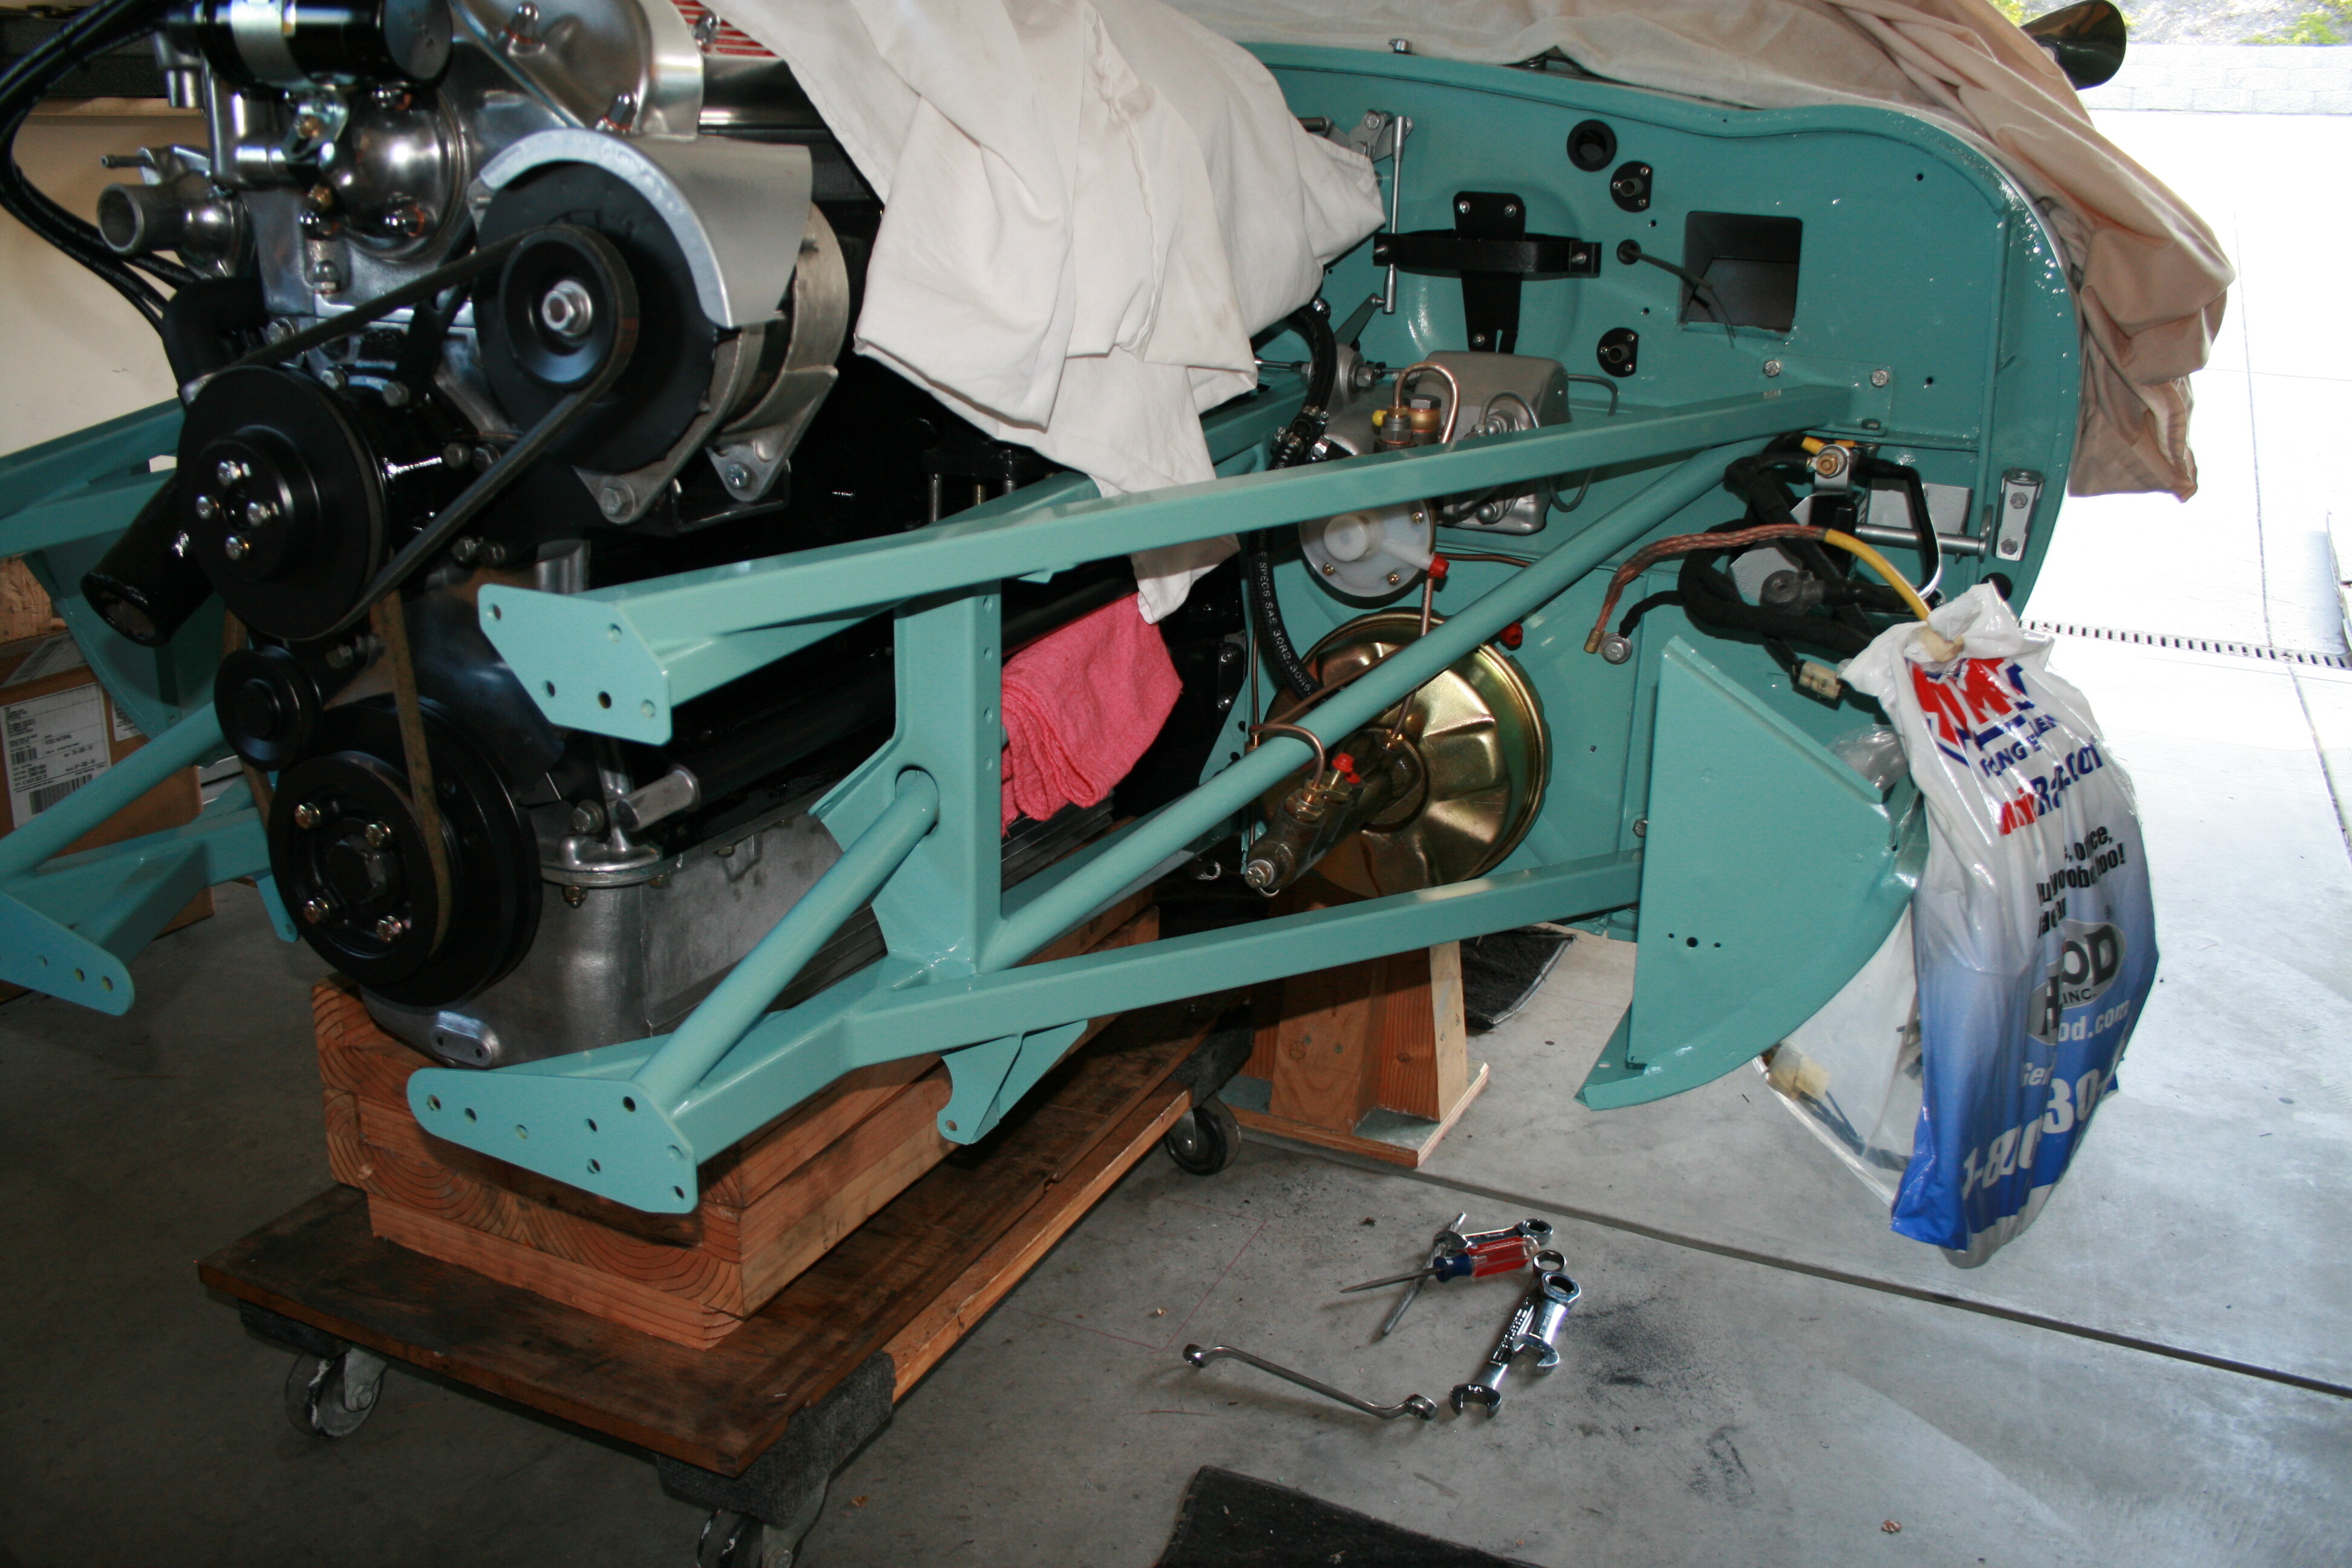
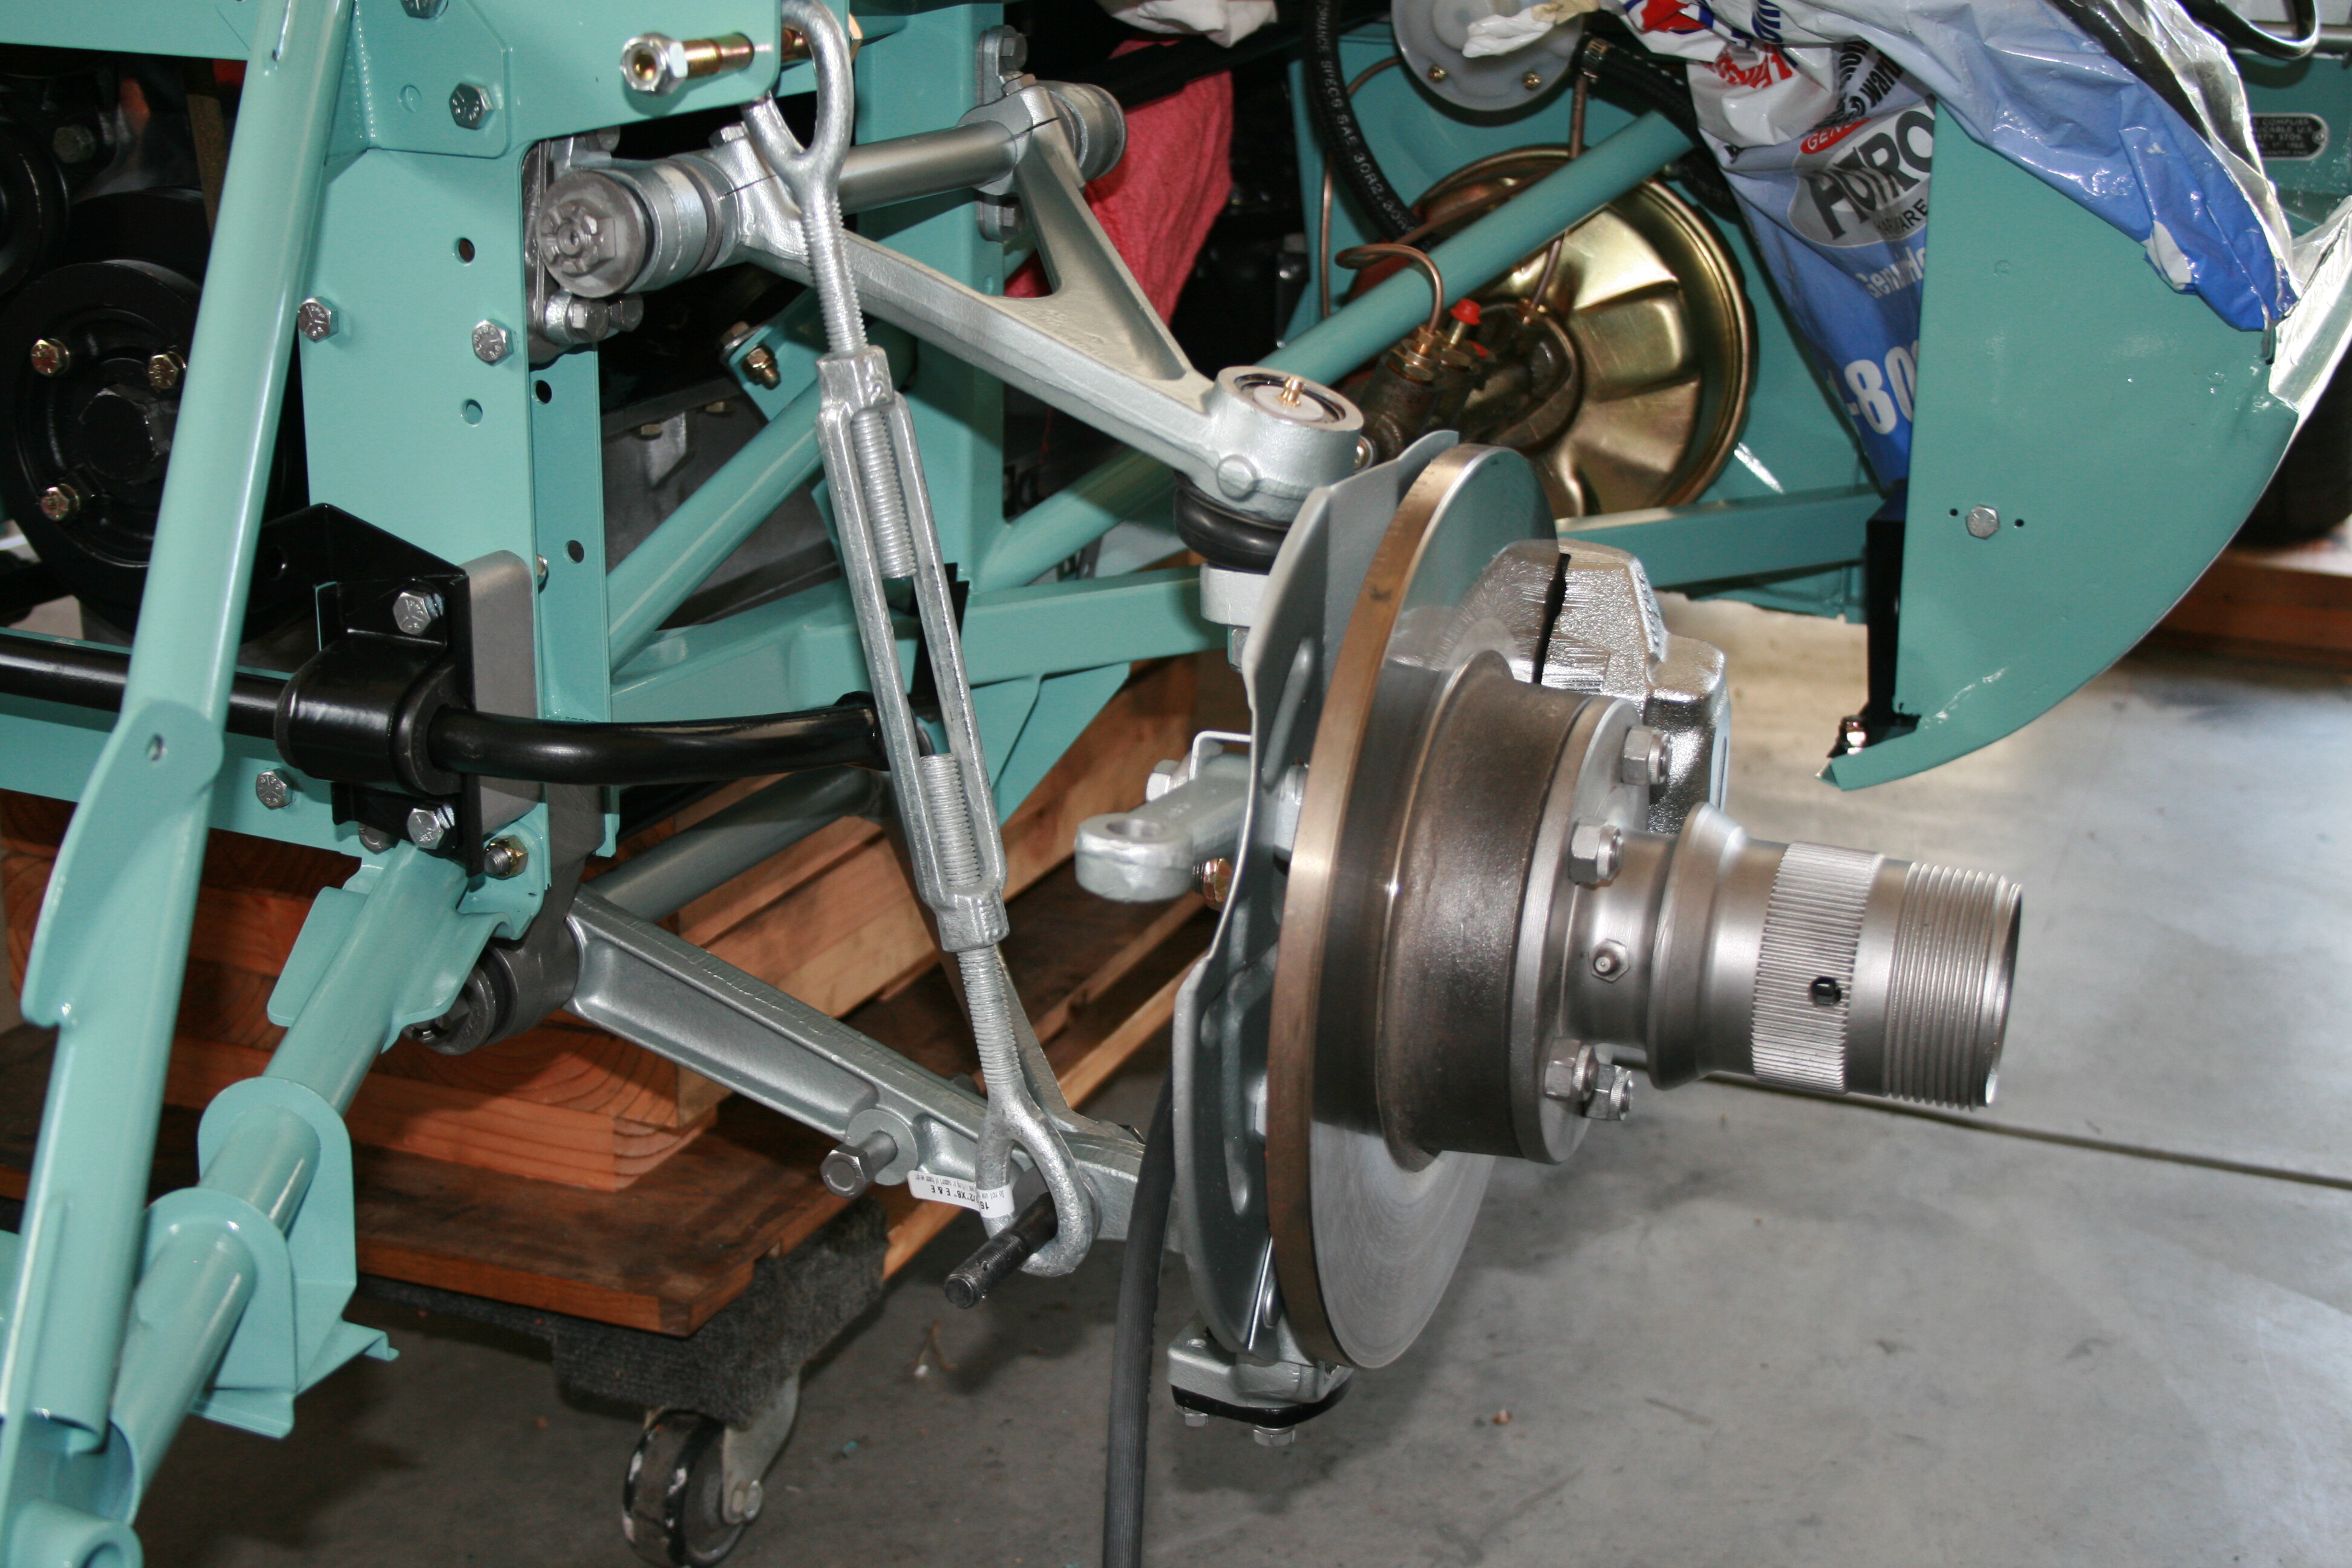
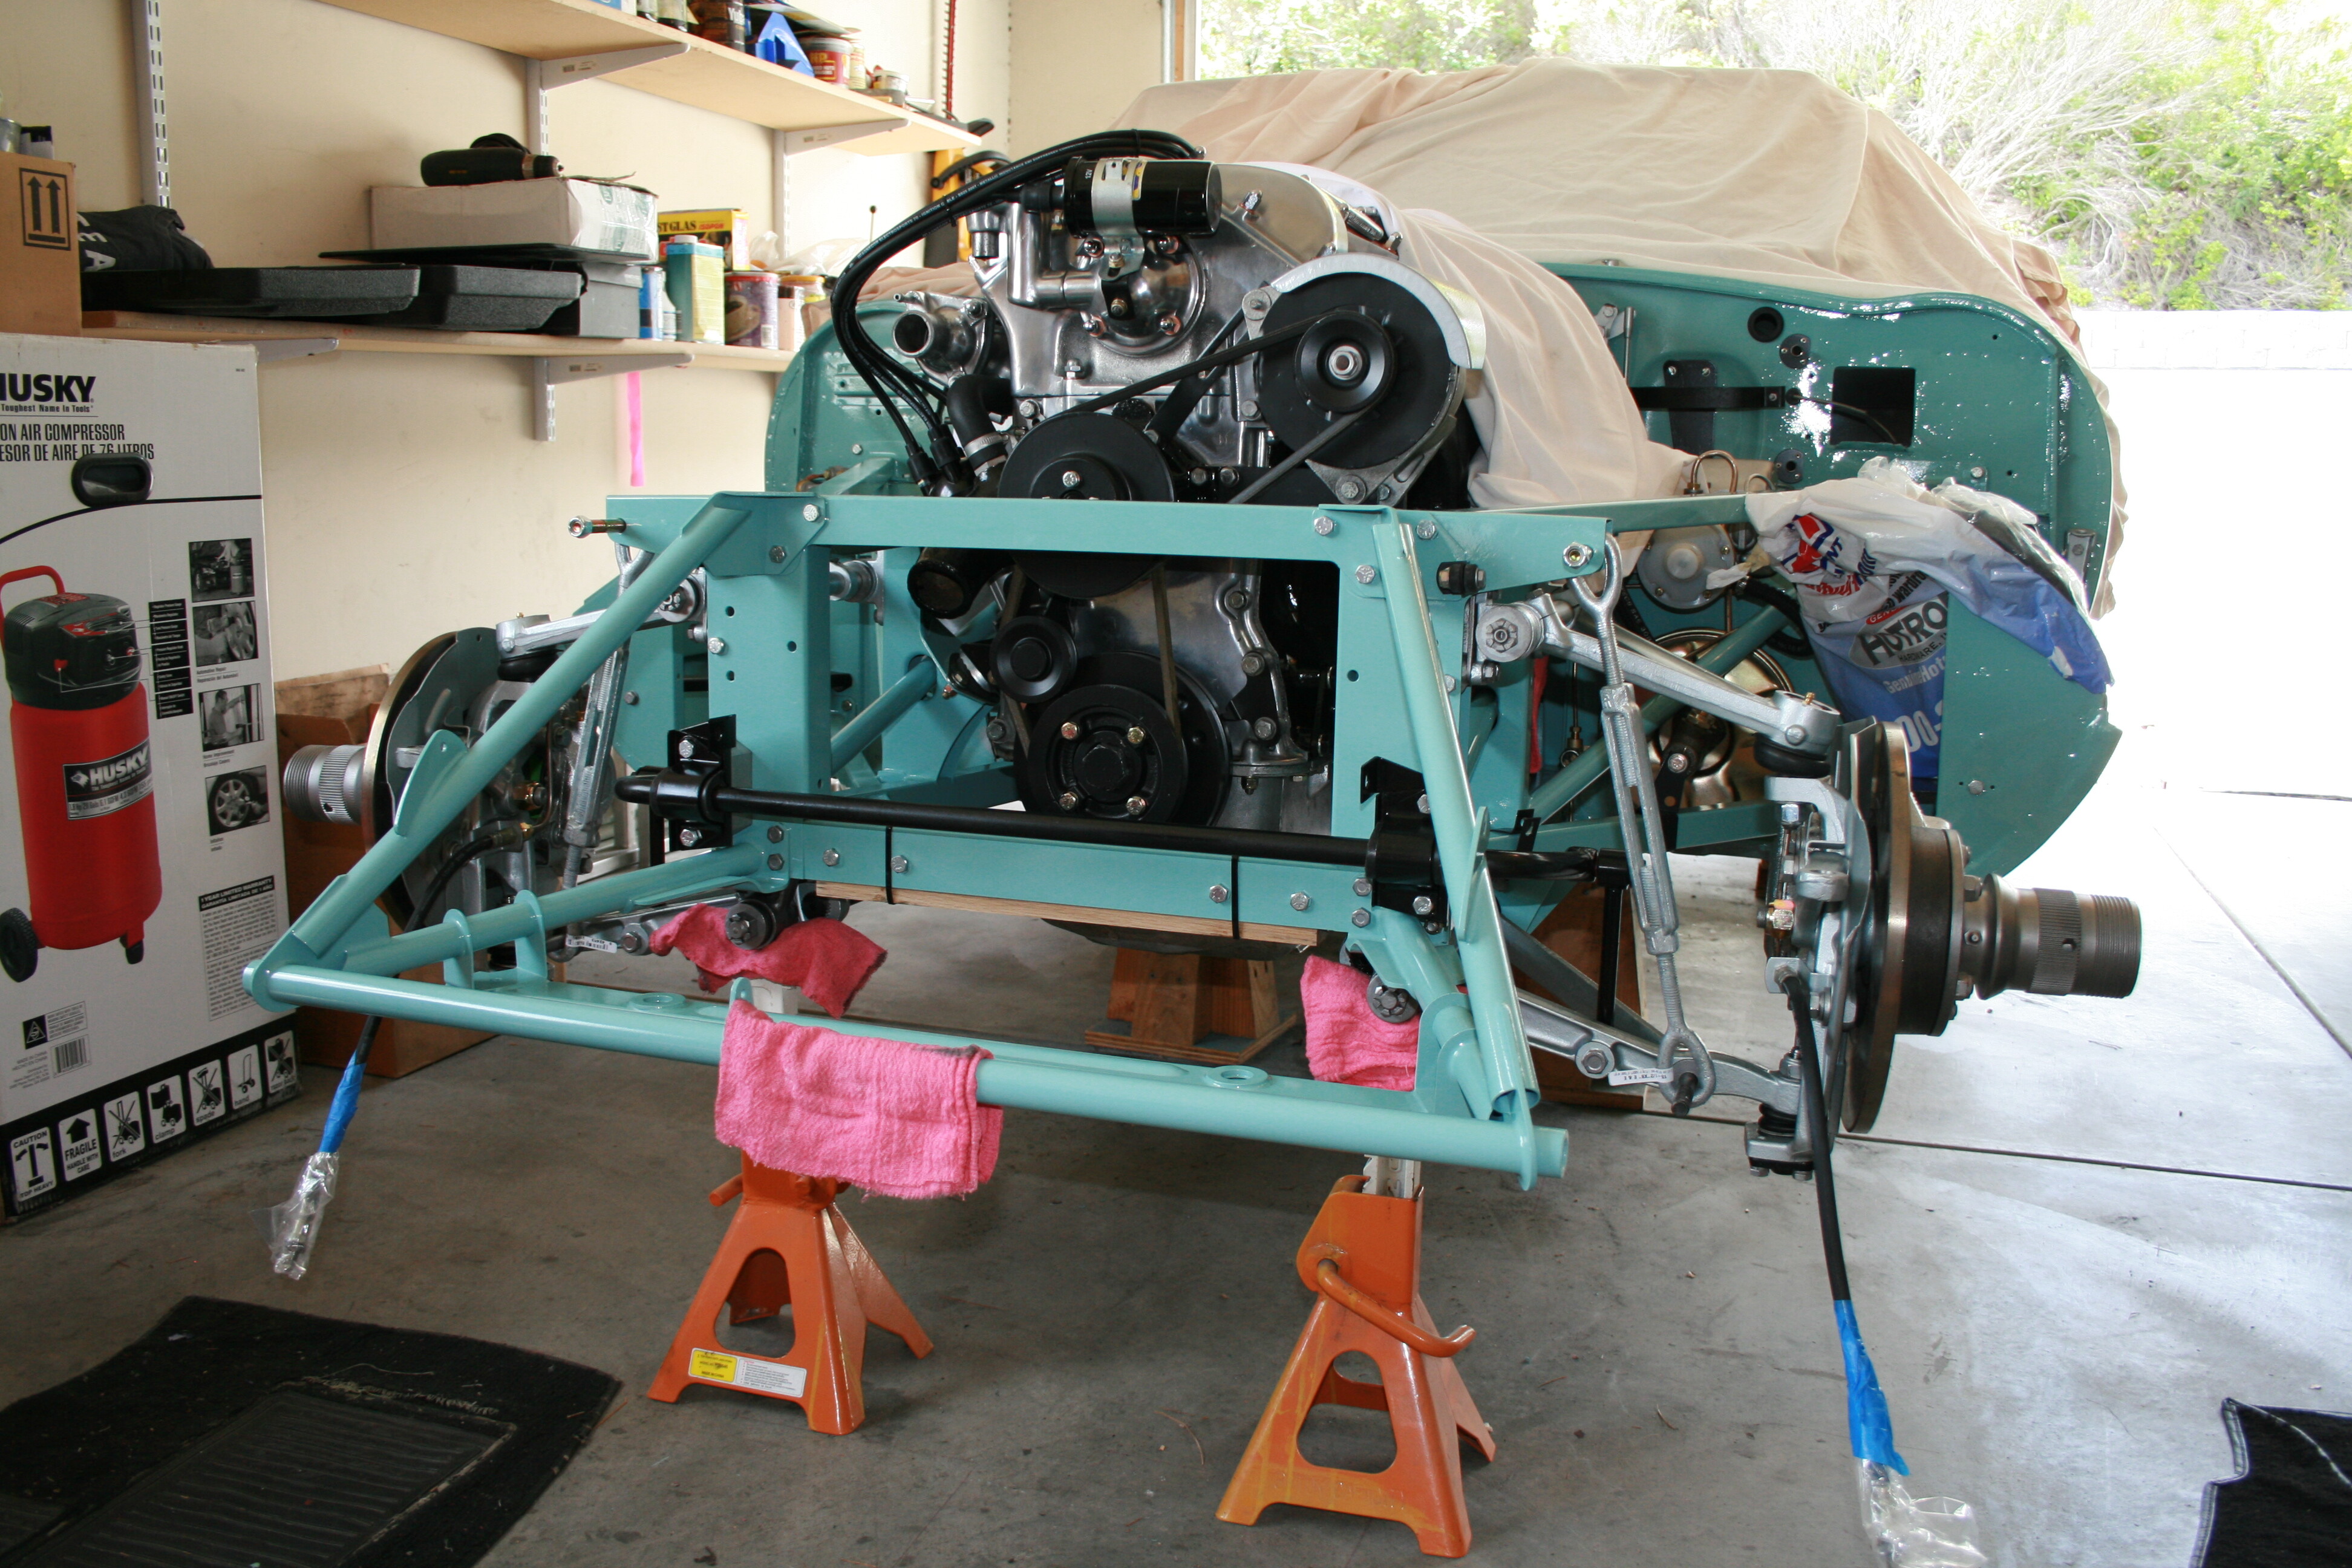
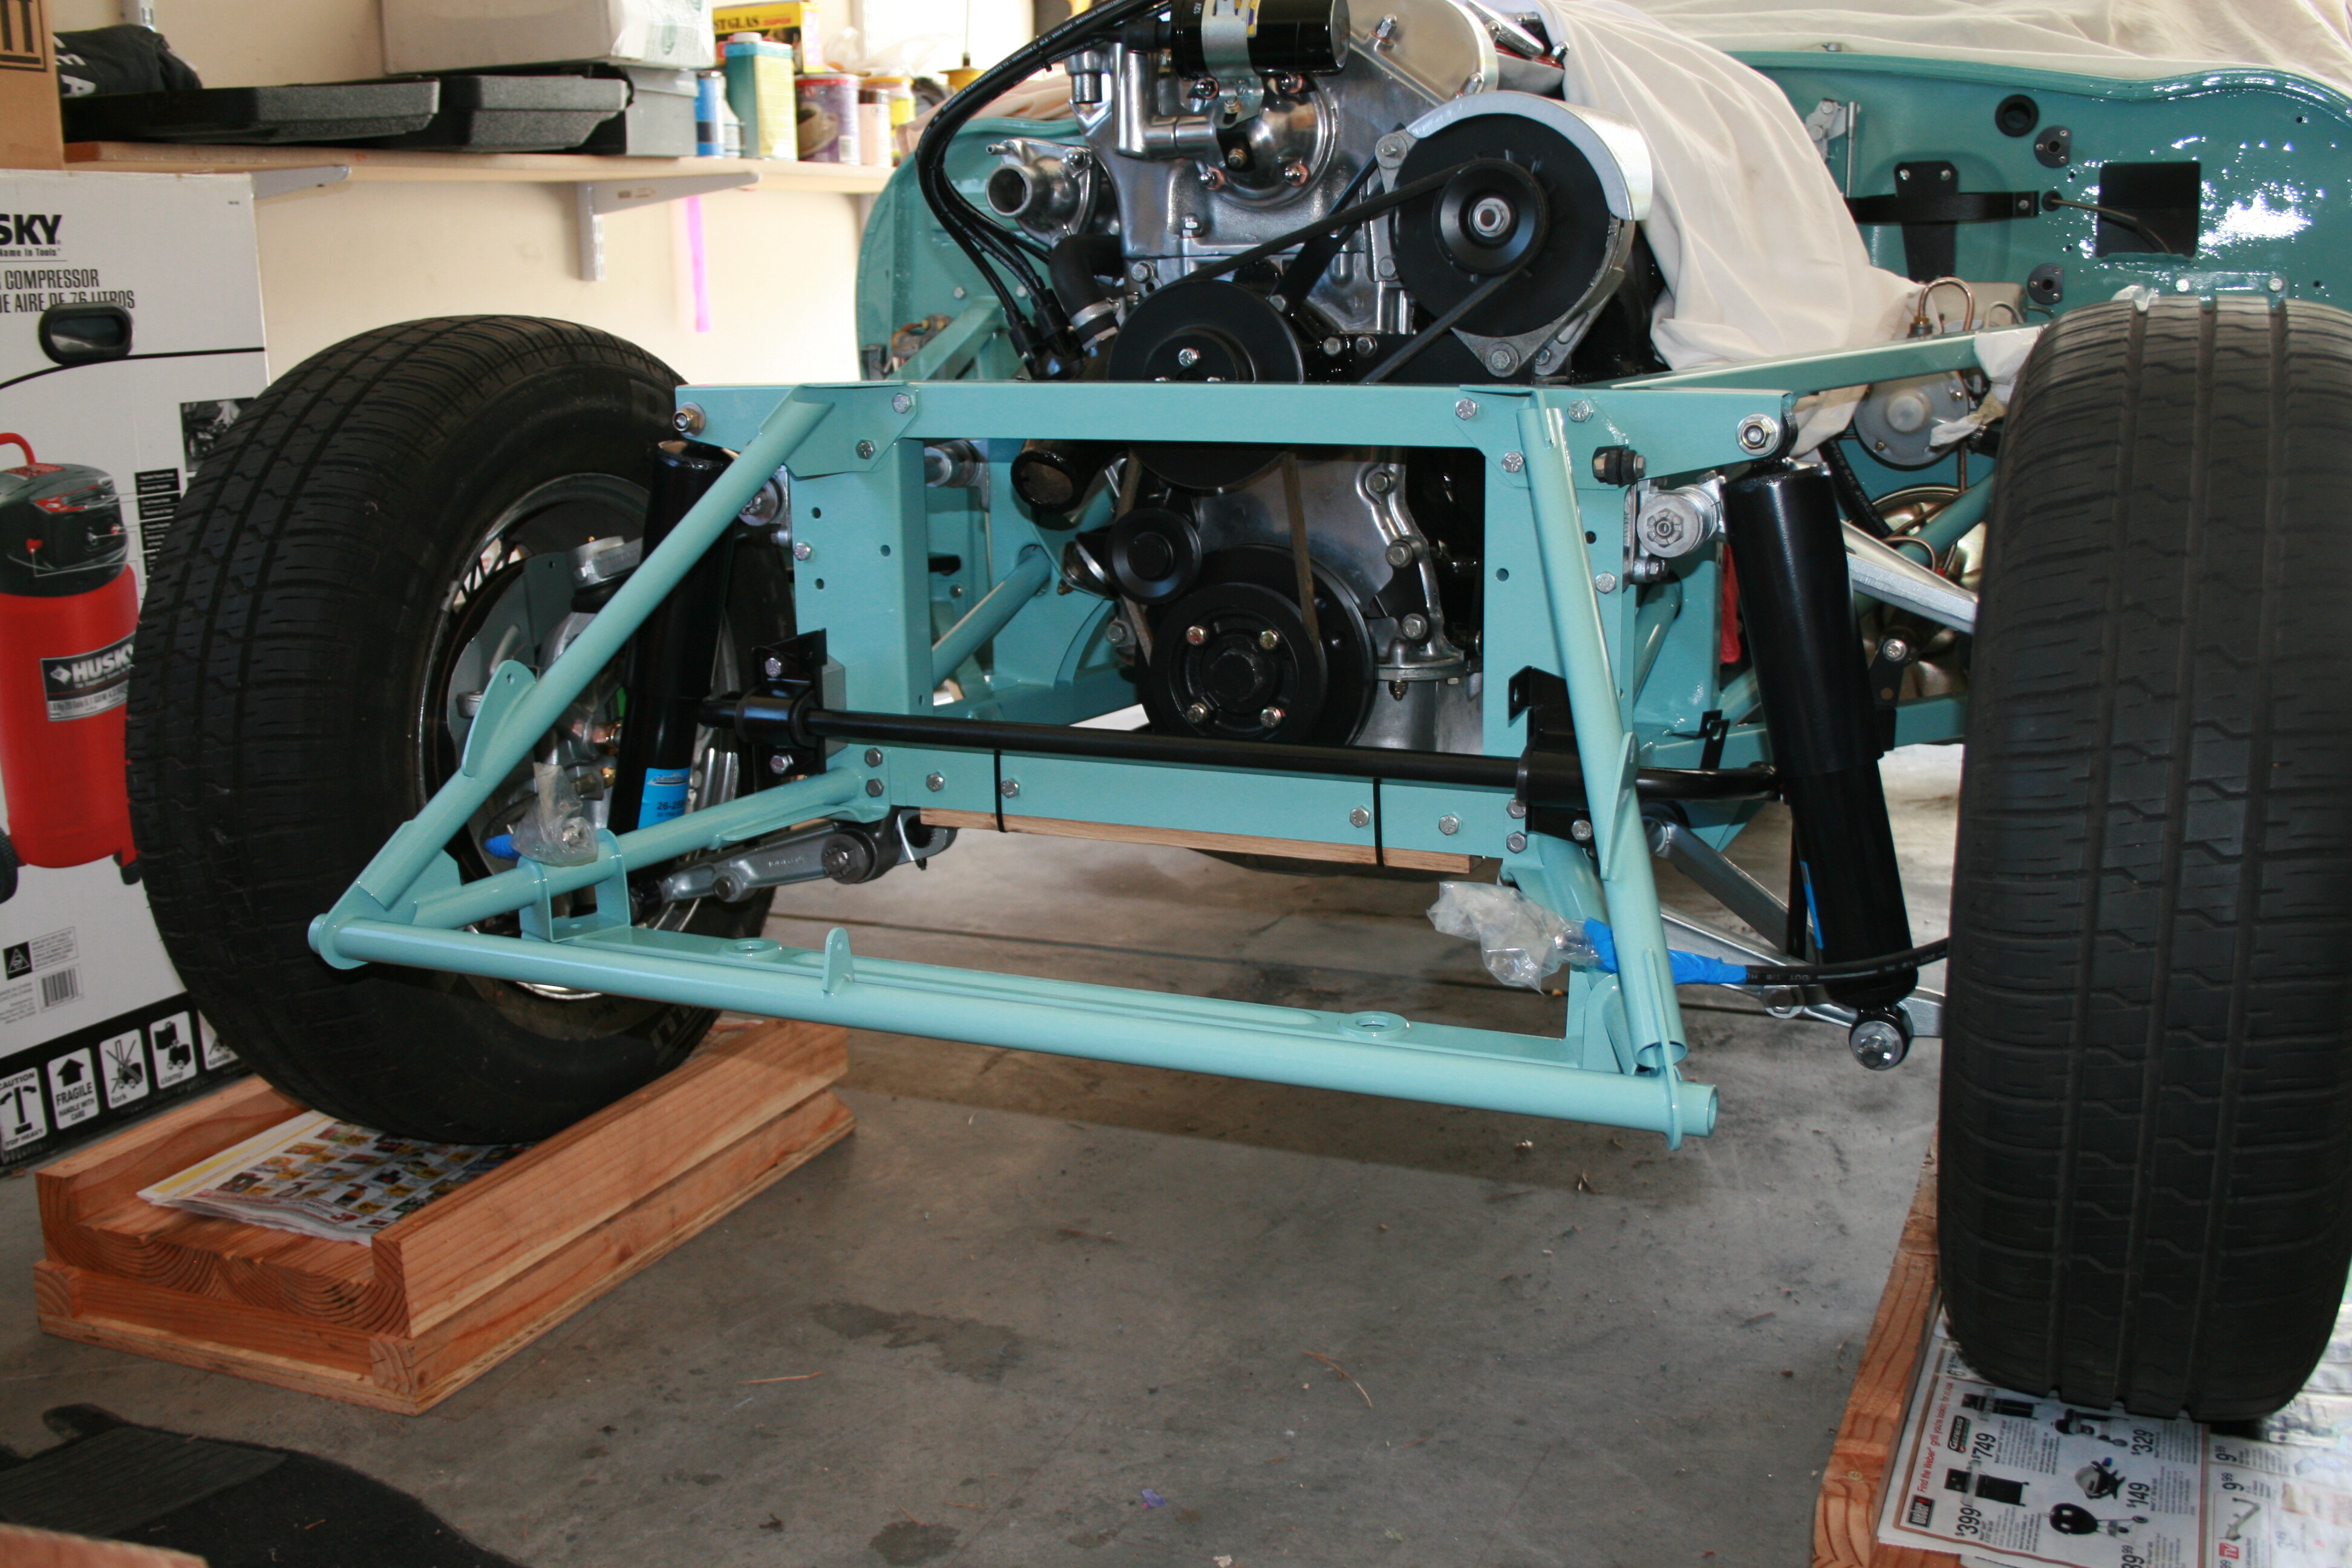
I notice that Chris rebuilt the front frames around the engine and gearbox (in position). That looks like a sensible thing to do.
QUESTIONS:
Has anyone got any experience of rebuilding that way?
Are there any pitfalls to the method?
It just appears a sensible low risk method and convenient…but I’m sure there are views on the process.
My opinion, FWIW, since I’ve never followed that path…
It looks like it trades stability for access.
Once assembled, the engine rests in the frame which puts pressure on the suspension system which transfers the load to the tires.
What this procedure seems to require is supporting the engine while assembling the frame around it. Then supporting the frame while reassembling the suspension.
That’s a whole lotta pieces to attach until it can stand on it’s own.
Obvious advantage: Minimal risk of scratching paint while several hundred pounds of engine and gearbox, dangling from a chain are carefully angled and re-angled into place. And have to raise the front end half-way through the process.
If you get the engine into just the right place first and support the tub properly while assembling and supporting the frame. There’ll be much fewer heart-stopping moments. Miss the pre-positioning of the engine or miscalculate temporary supports and you’ll discover brand-new curse words.
See if the published instructions tell you how to preposition the engine so the motor mounts can be bolted in. IIRC the engine drops into the left one during the traditional process…
As always it’s a trade off. I have built the frames around the engine but that was not on a total restoration, it was a frame replacement and clutch overhaul. So I removed everything from the frames and ‘wheeled the engine plus gearbox out with the frames attached.
In your case I think i would prefer not to have the engine installed until after the wiring looms, brake pipes heater pipes etc etc are in their permanent place. The better access and reduced weight without the engine and trans in place must make life easier?
once everything is installed I would roll the engine in from underneath.
Just my humble opinion
While ever way you choose it’s an exciting time! Keep the photos and commentary coming!
Hi Phil…this has been done and detailed plenty of times over on the UK E type forum…another option depending on your access is to install the side frames and everthing else but leave off the picture frame then wheel the engine in from the front…fit picture frame etc…Steve
Hi, If I am not mistaken I believe Jaguar made the cars with the engine and frames all attached. It was installed as a unit. I think I recall seeing the engines and body frames in a photo.
Regards,
Allen
It was an advantage having taken the car apart this way and documenting each step when it came time to reassemble it, as I just did the steps in reverse order avoiding any possible gotyas about sequencing.
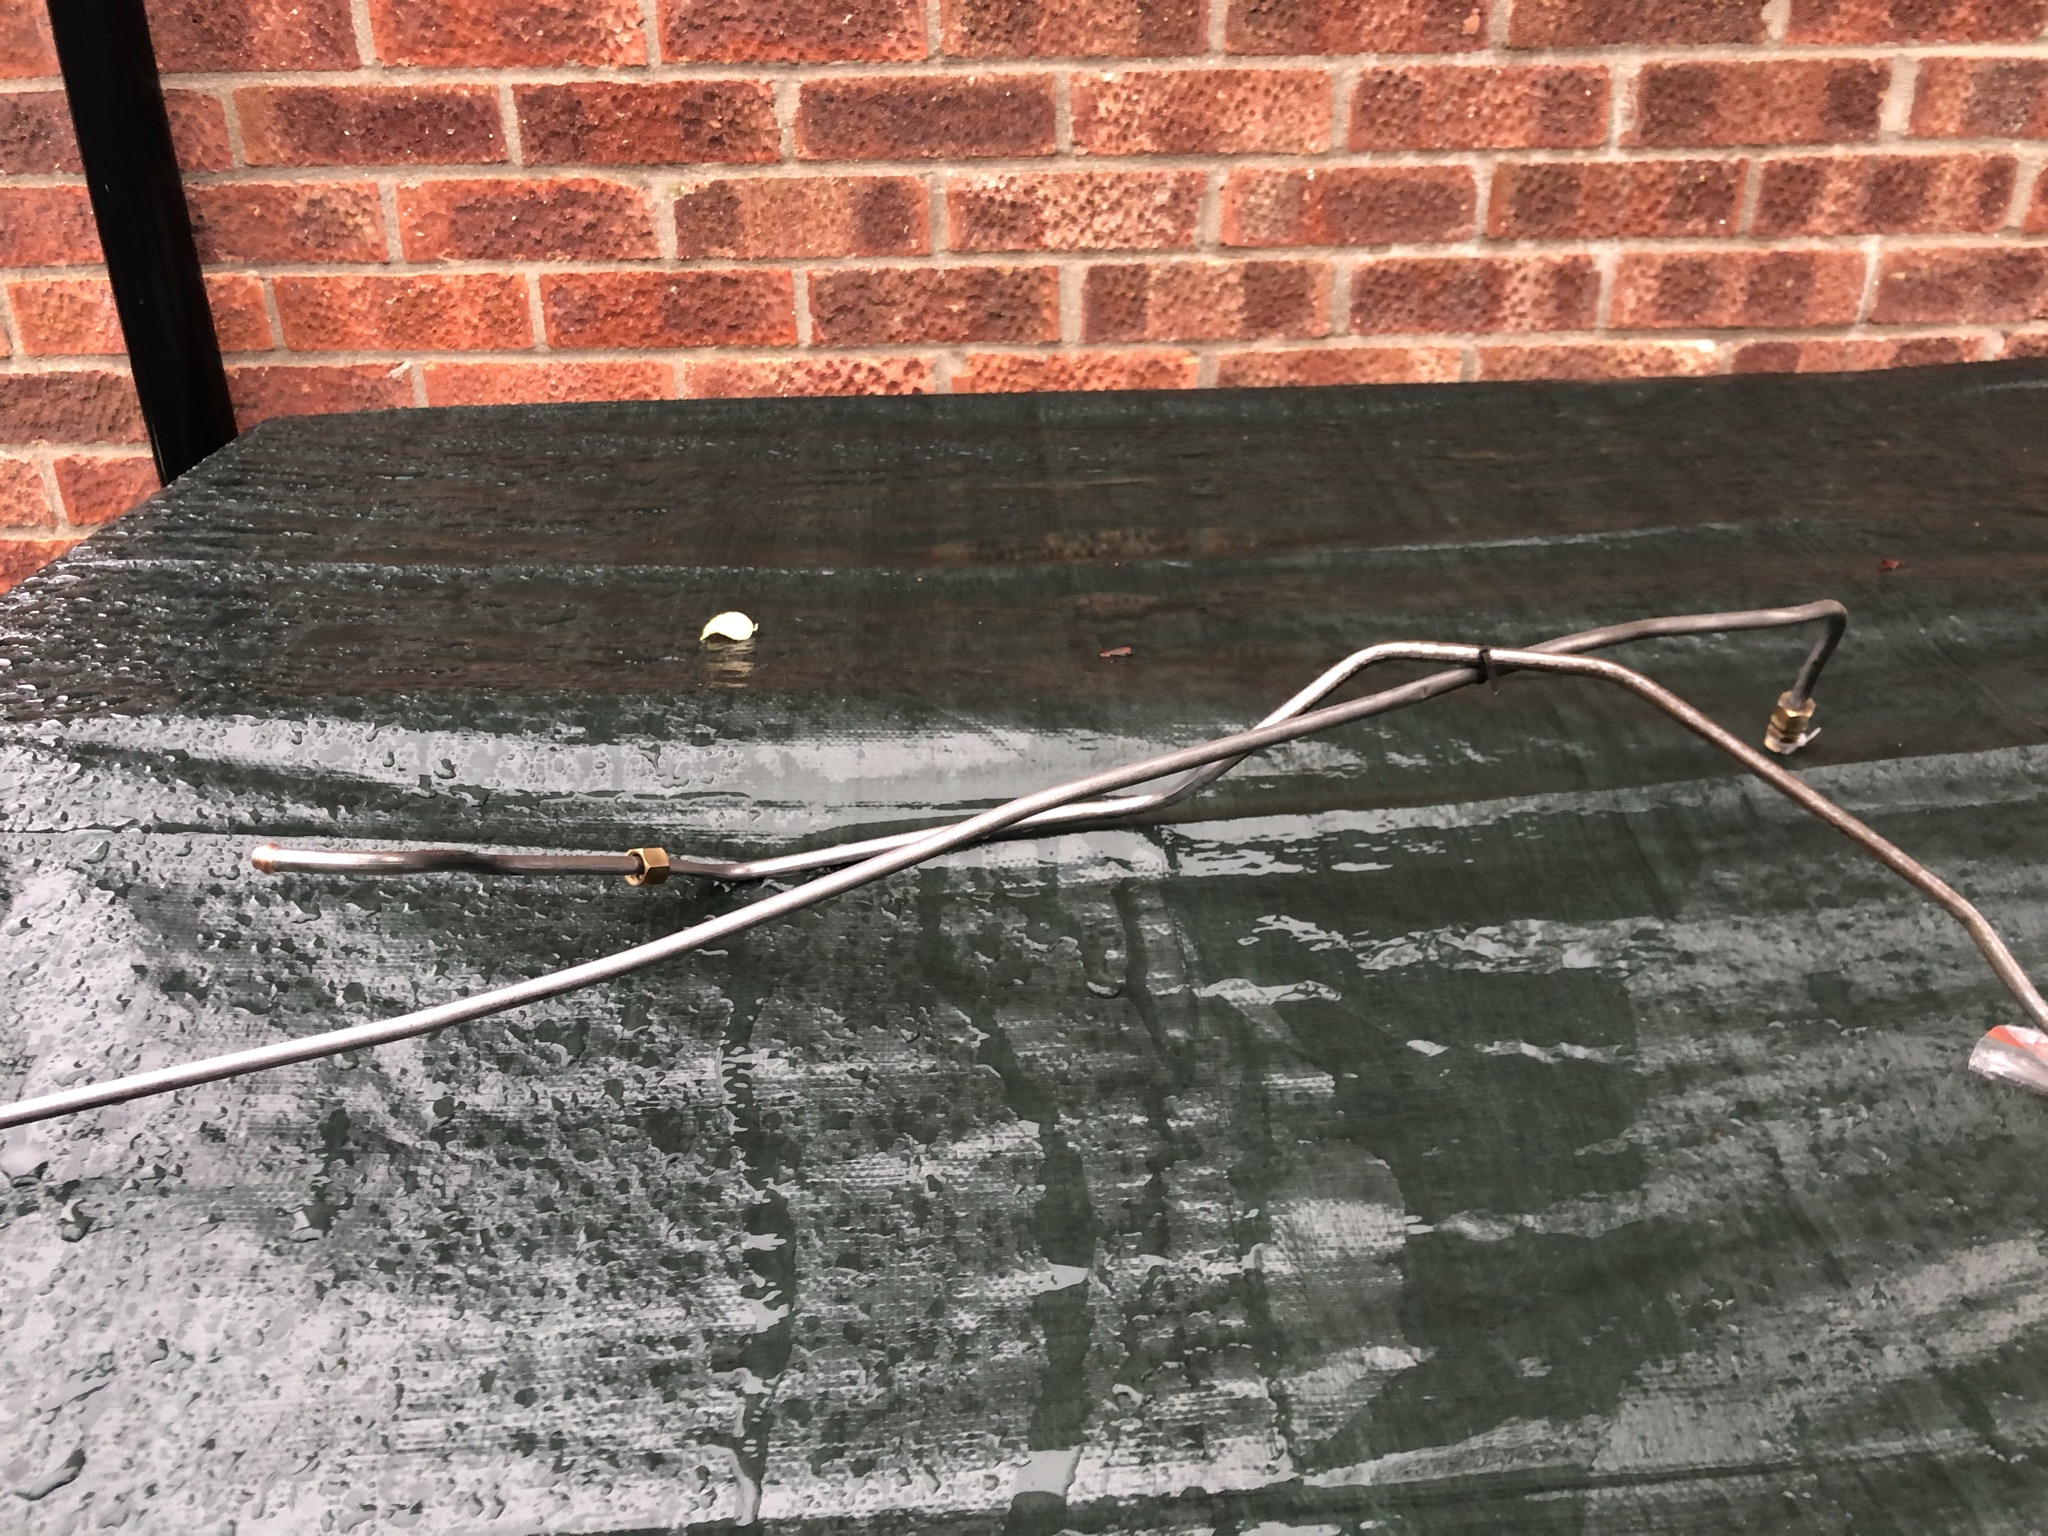
What alternatives have people used to replace the rigid fuel pipes from the irs bulkhead to the front fuel filter?
I’d like to use the originals but don’t know how to protect the surface finish…plus they have suffered dinks over the years.
I can reuse the fittings, but what pipe is easily available available? Would copper be suitable?
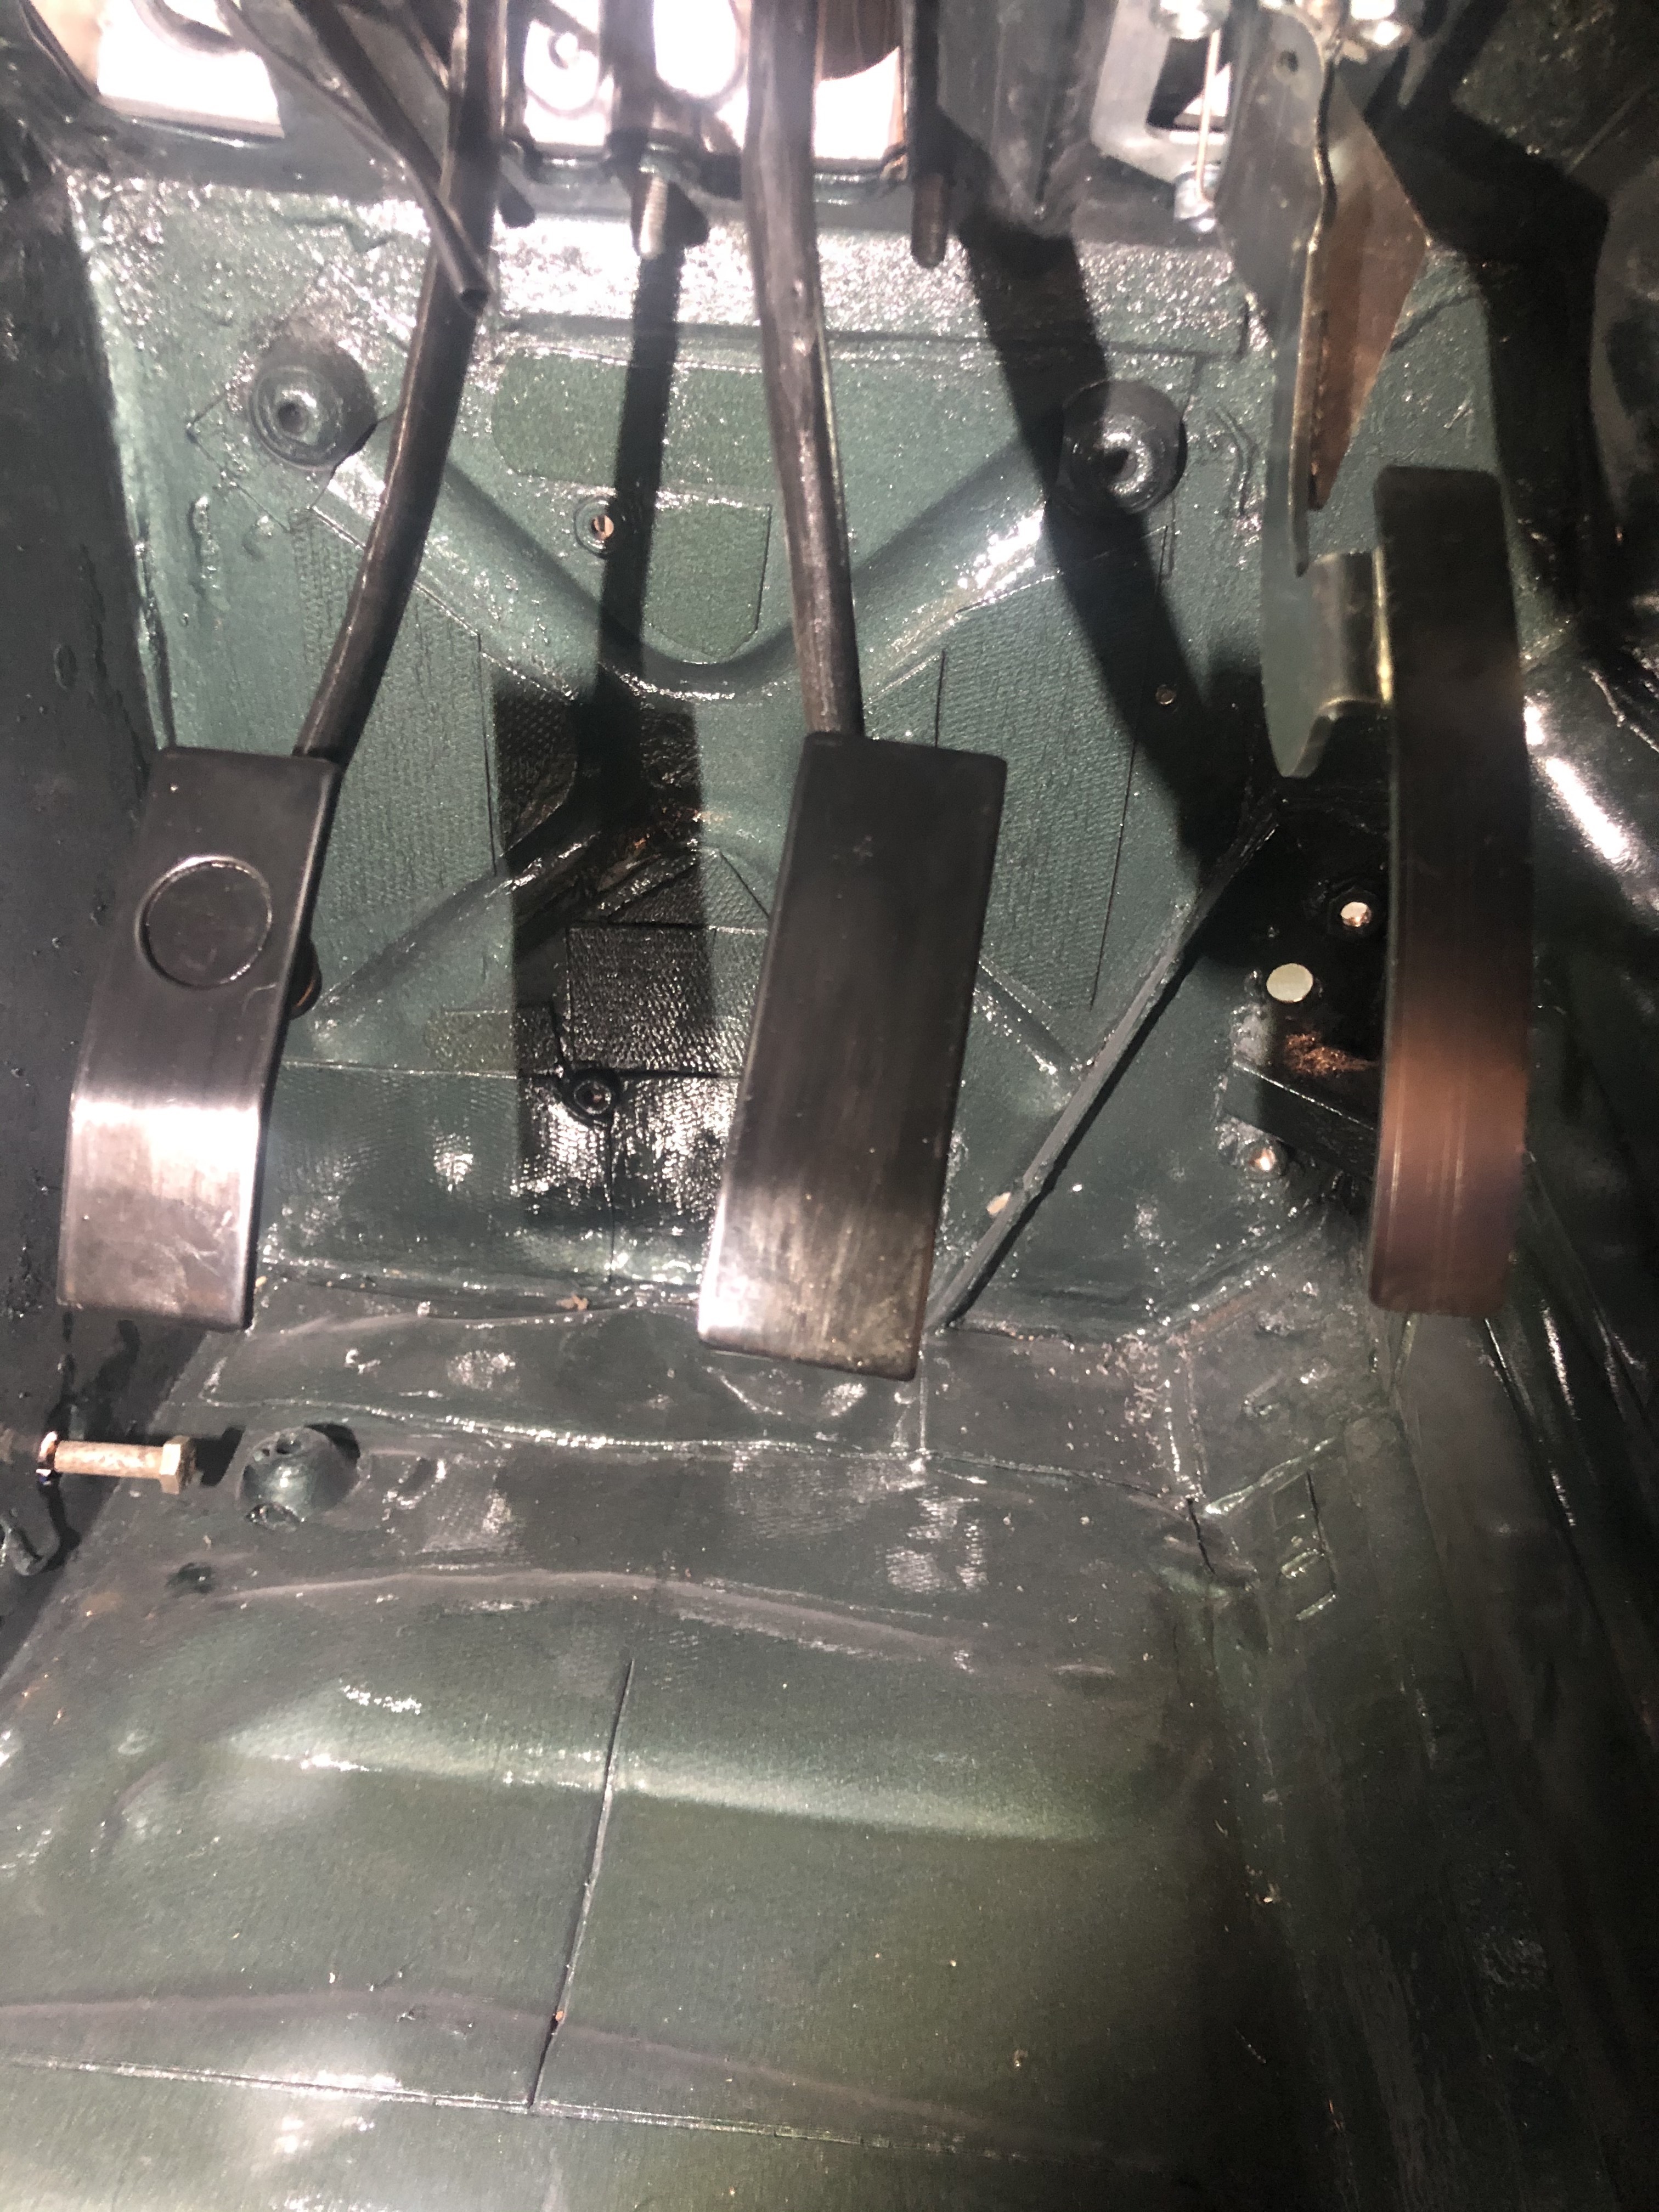
Phillip, I am confused on two levels. I own two 1966 build date 2+2s. Neither have a “suspended” throttle pedal as shown in your picture. The base of the throttle pedal is hard mounted to two captive studs on the floor. Also, I would not consider them adjustable from a gap standpoint, if by gap you mean the horizontal distance between the pedals. You can of couse adjust, to a limited degree, how far up towards the driver they come before they hit their respective stops.
The original poster has a RHD E-Type. The pedal configuration is different. I suspect that any advice on pedal setup from those with LHD cars will have limited benefit to the original poster, as the action of the accelerator pedal is very different.
Hi Philip.
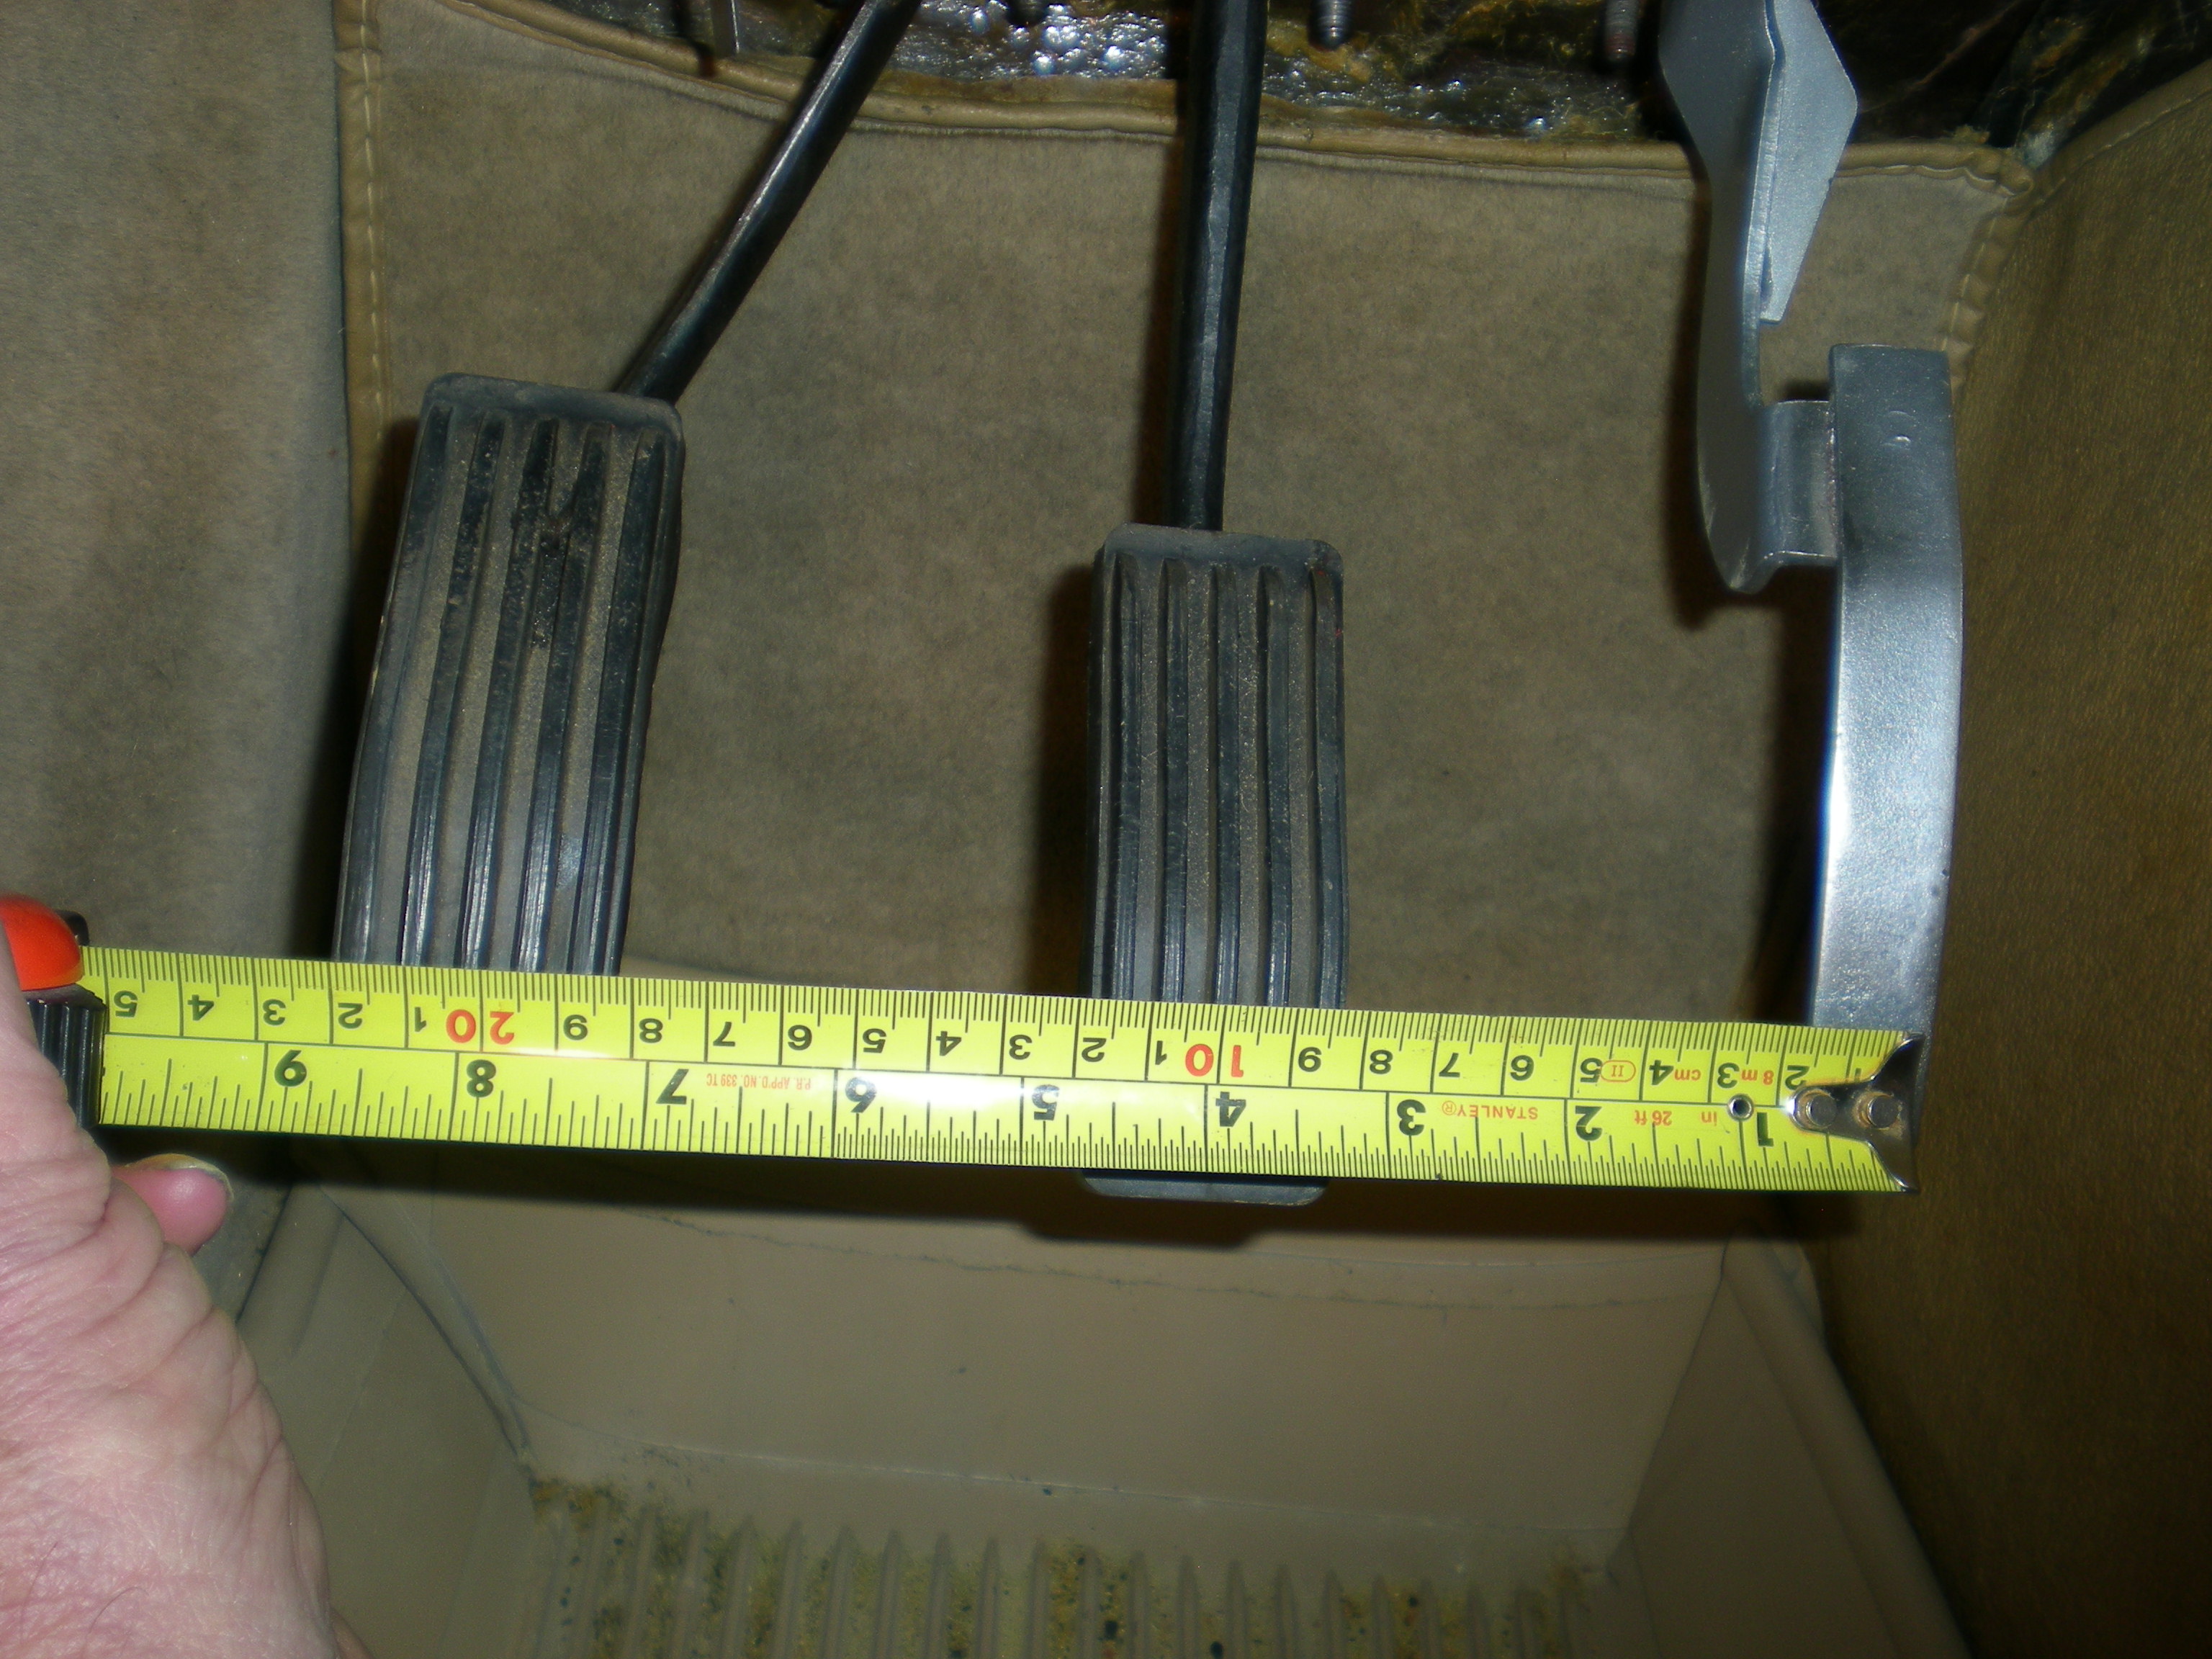
Here’s a photo of my pedals. I’ve just converted my car to RHD. Before l converted it l found the accelerator pedal / brake pedal were to close together (see Harvey’s photo) and l would occasionally hit the accelerator pedal when l braked. I tweaked the pedals to give me approx 4 inch centres between them.
Philip.
I have a friend who runs an engineering shop, he gave the pedals a couple of light swings on a fly-press cold. Using heat would be just as effective.