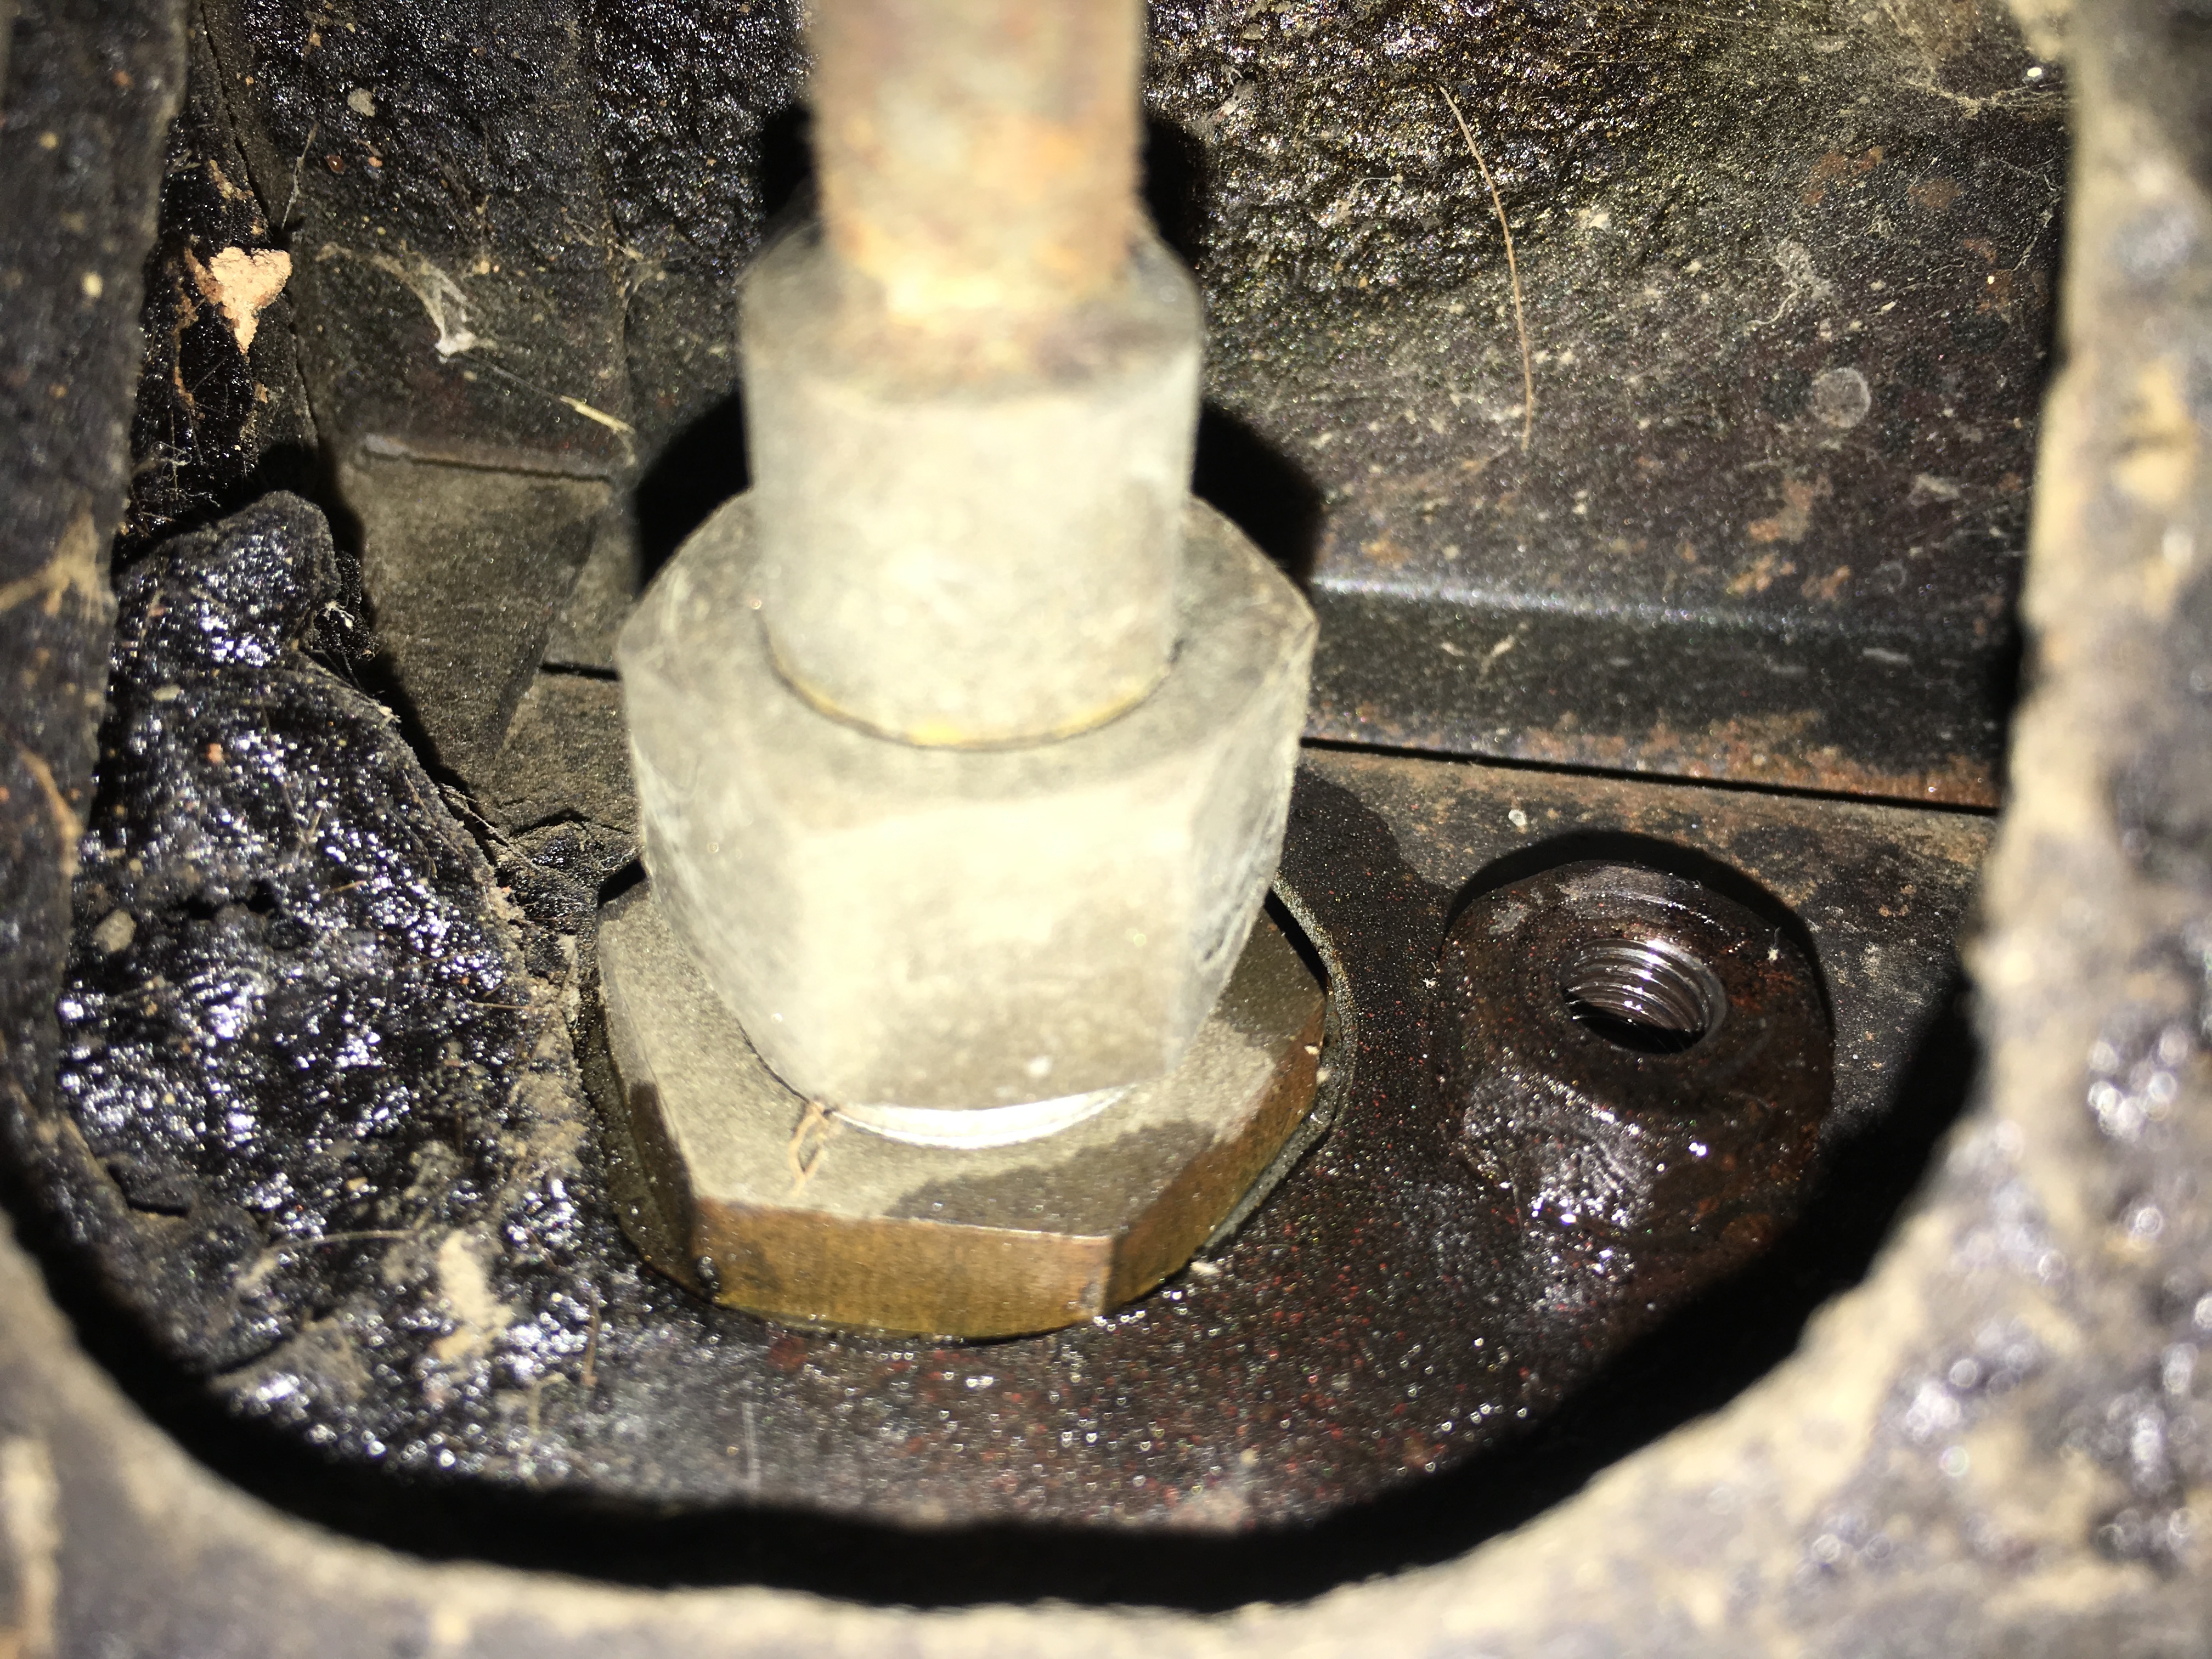
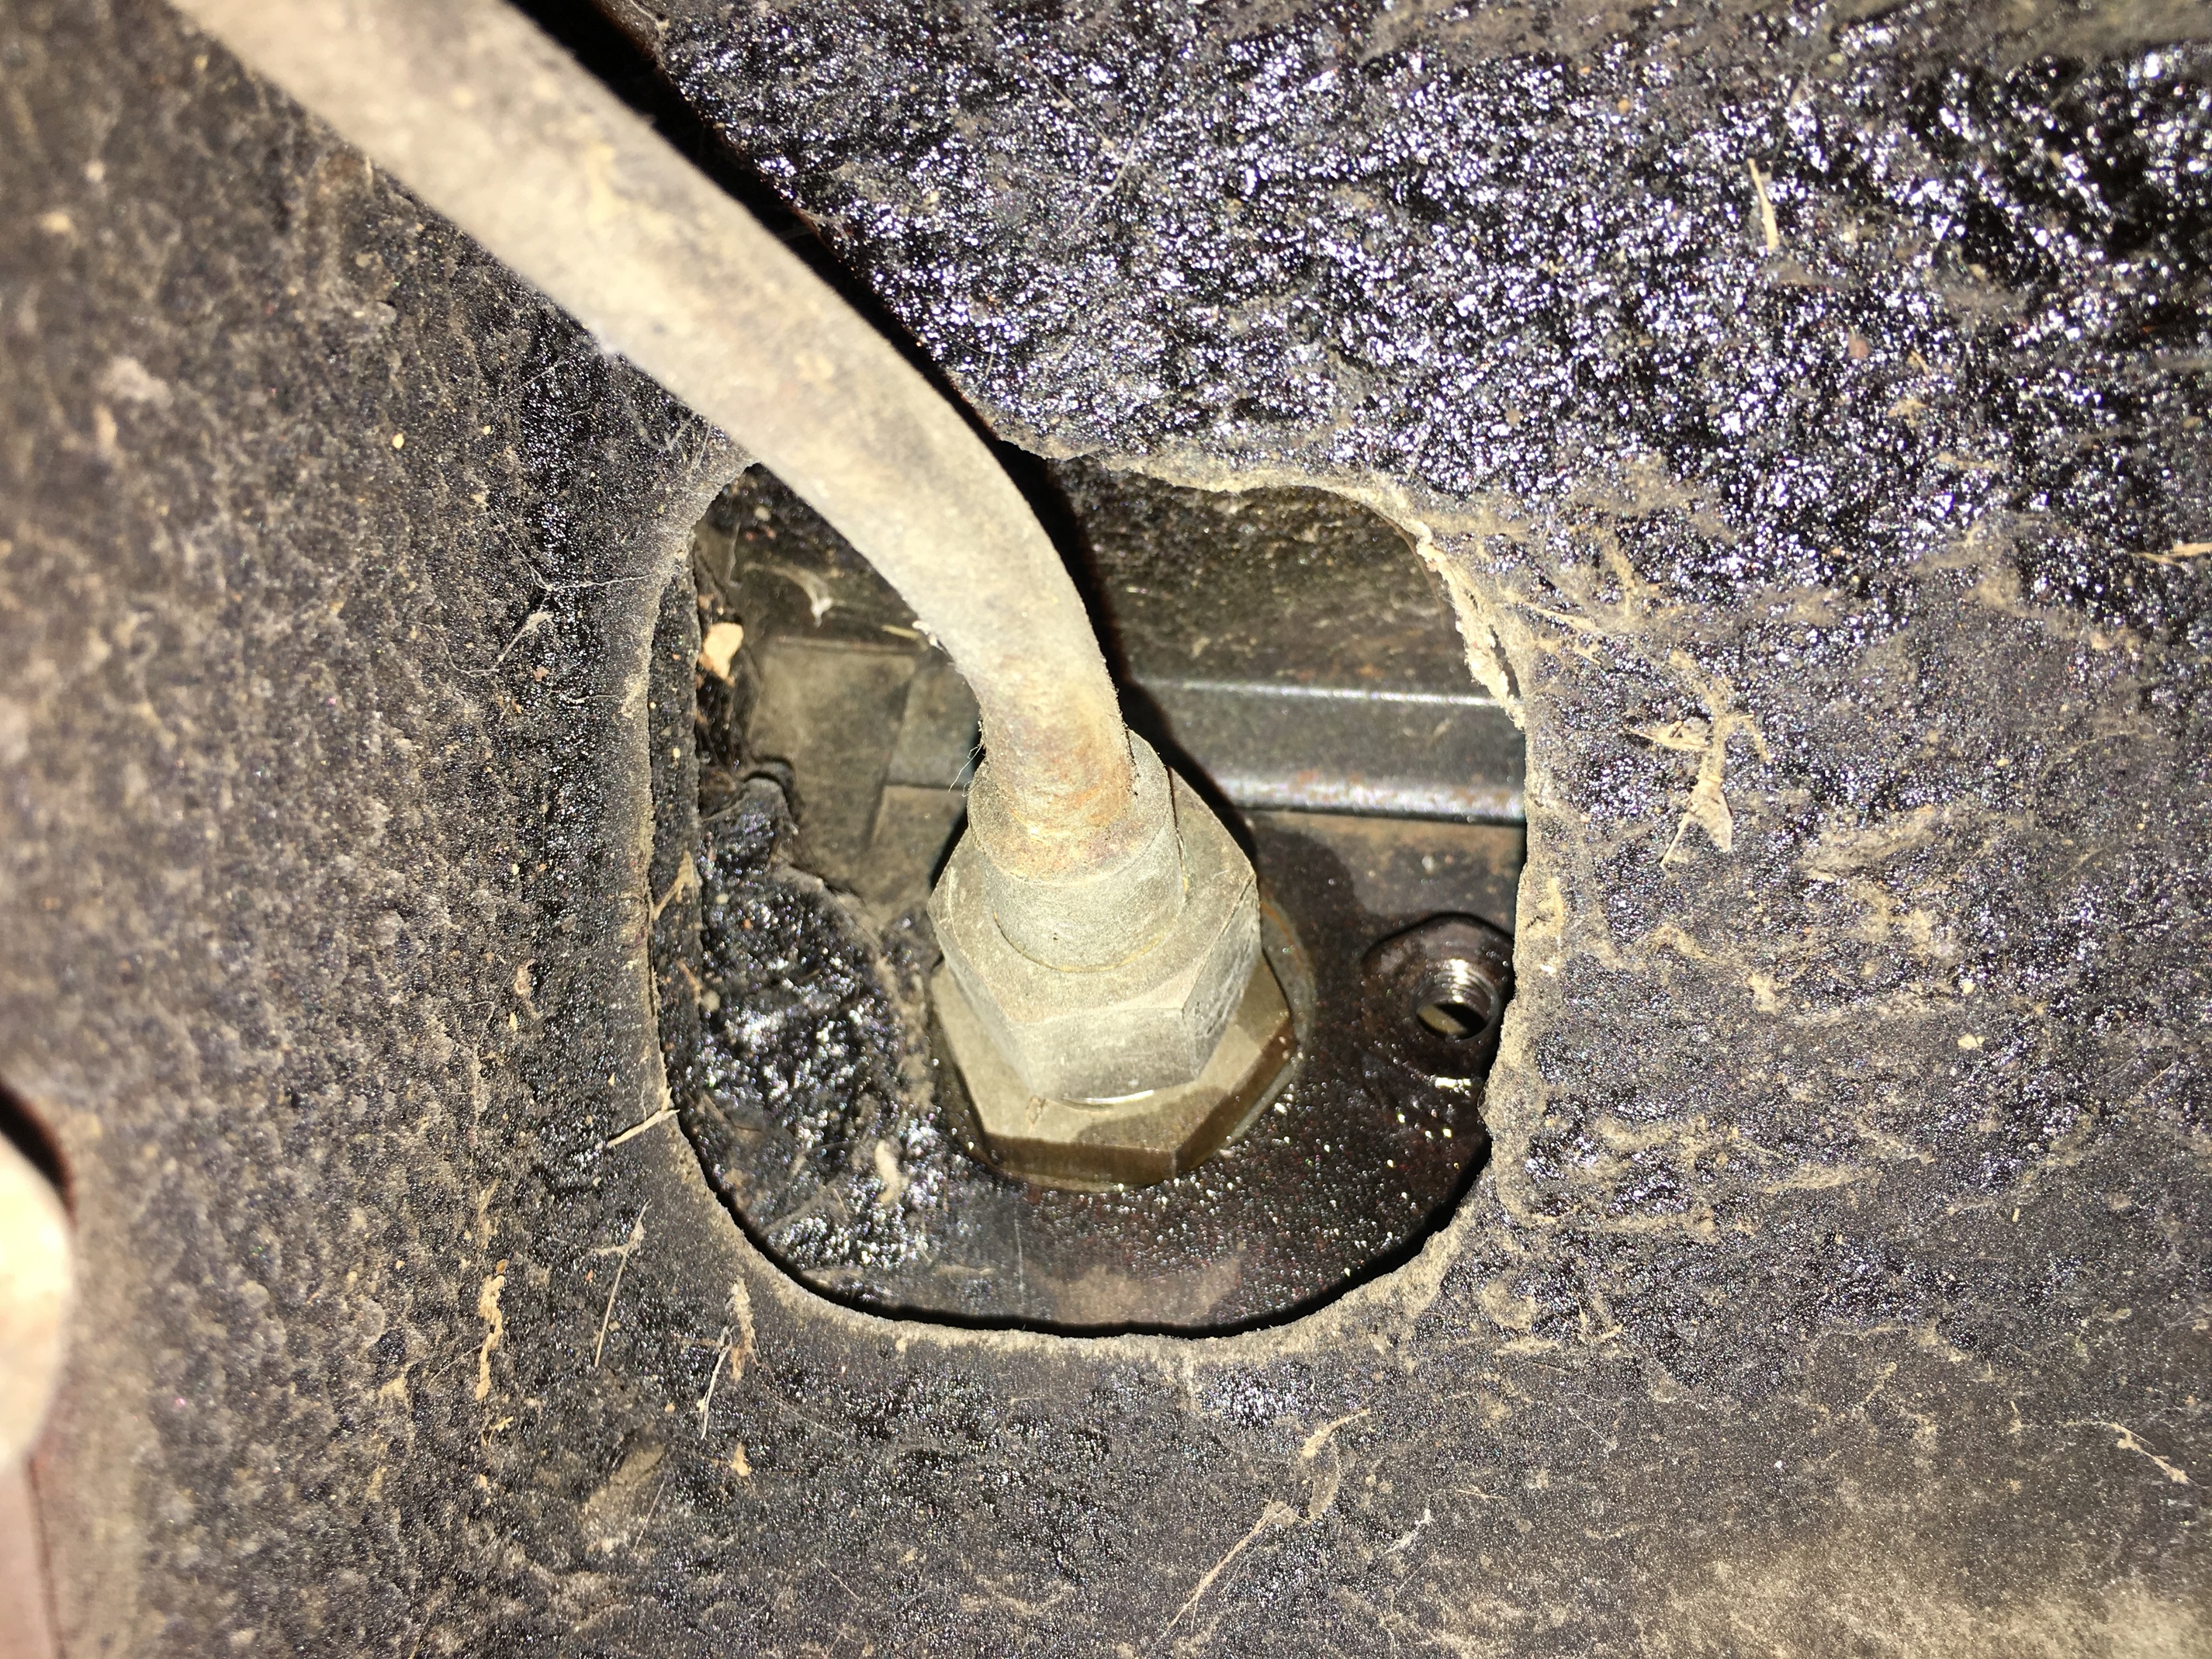
Considering the amount of rust and gunk under the qtr window seal retainers, I’m glad I decided to remove them. The original finish appears to be chrome, so if they don’t clean up nice, I will buy new ones or have them rechromed. Interestingly, one of them was about an inch longer than the other at the top?!? Anyone else experience this?
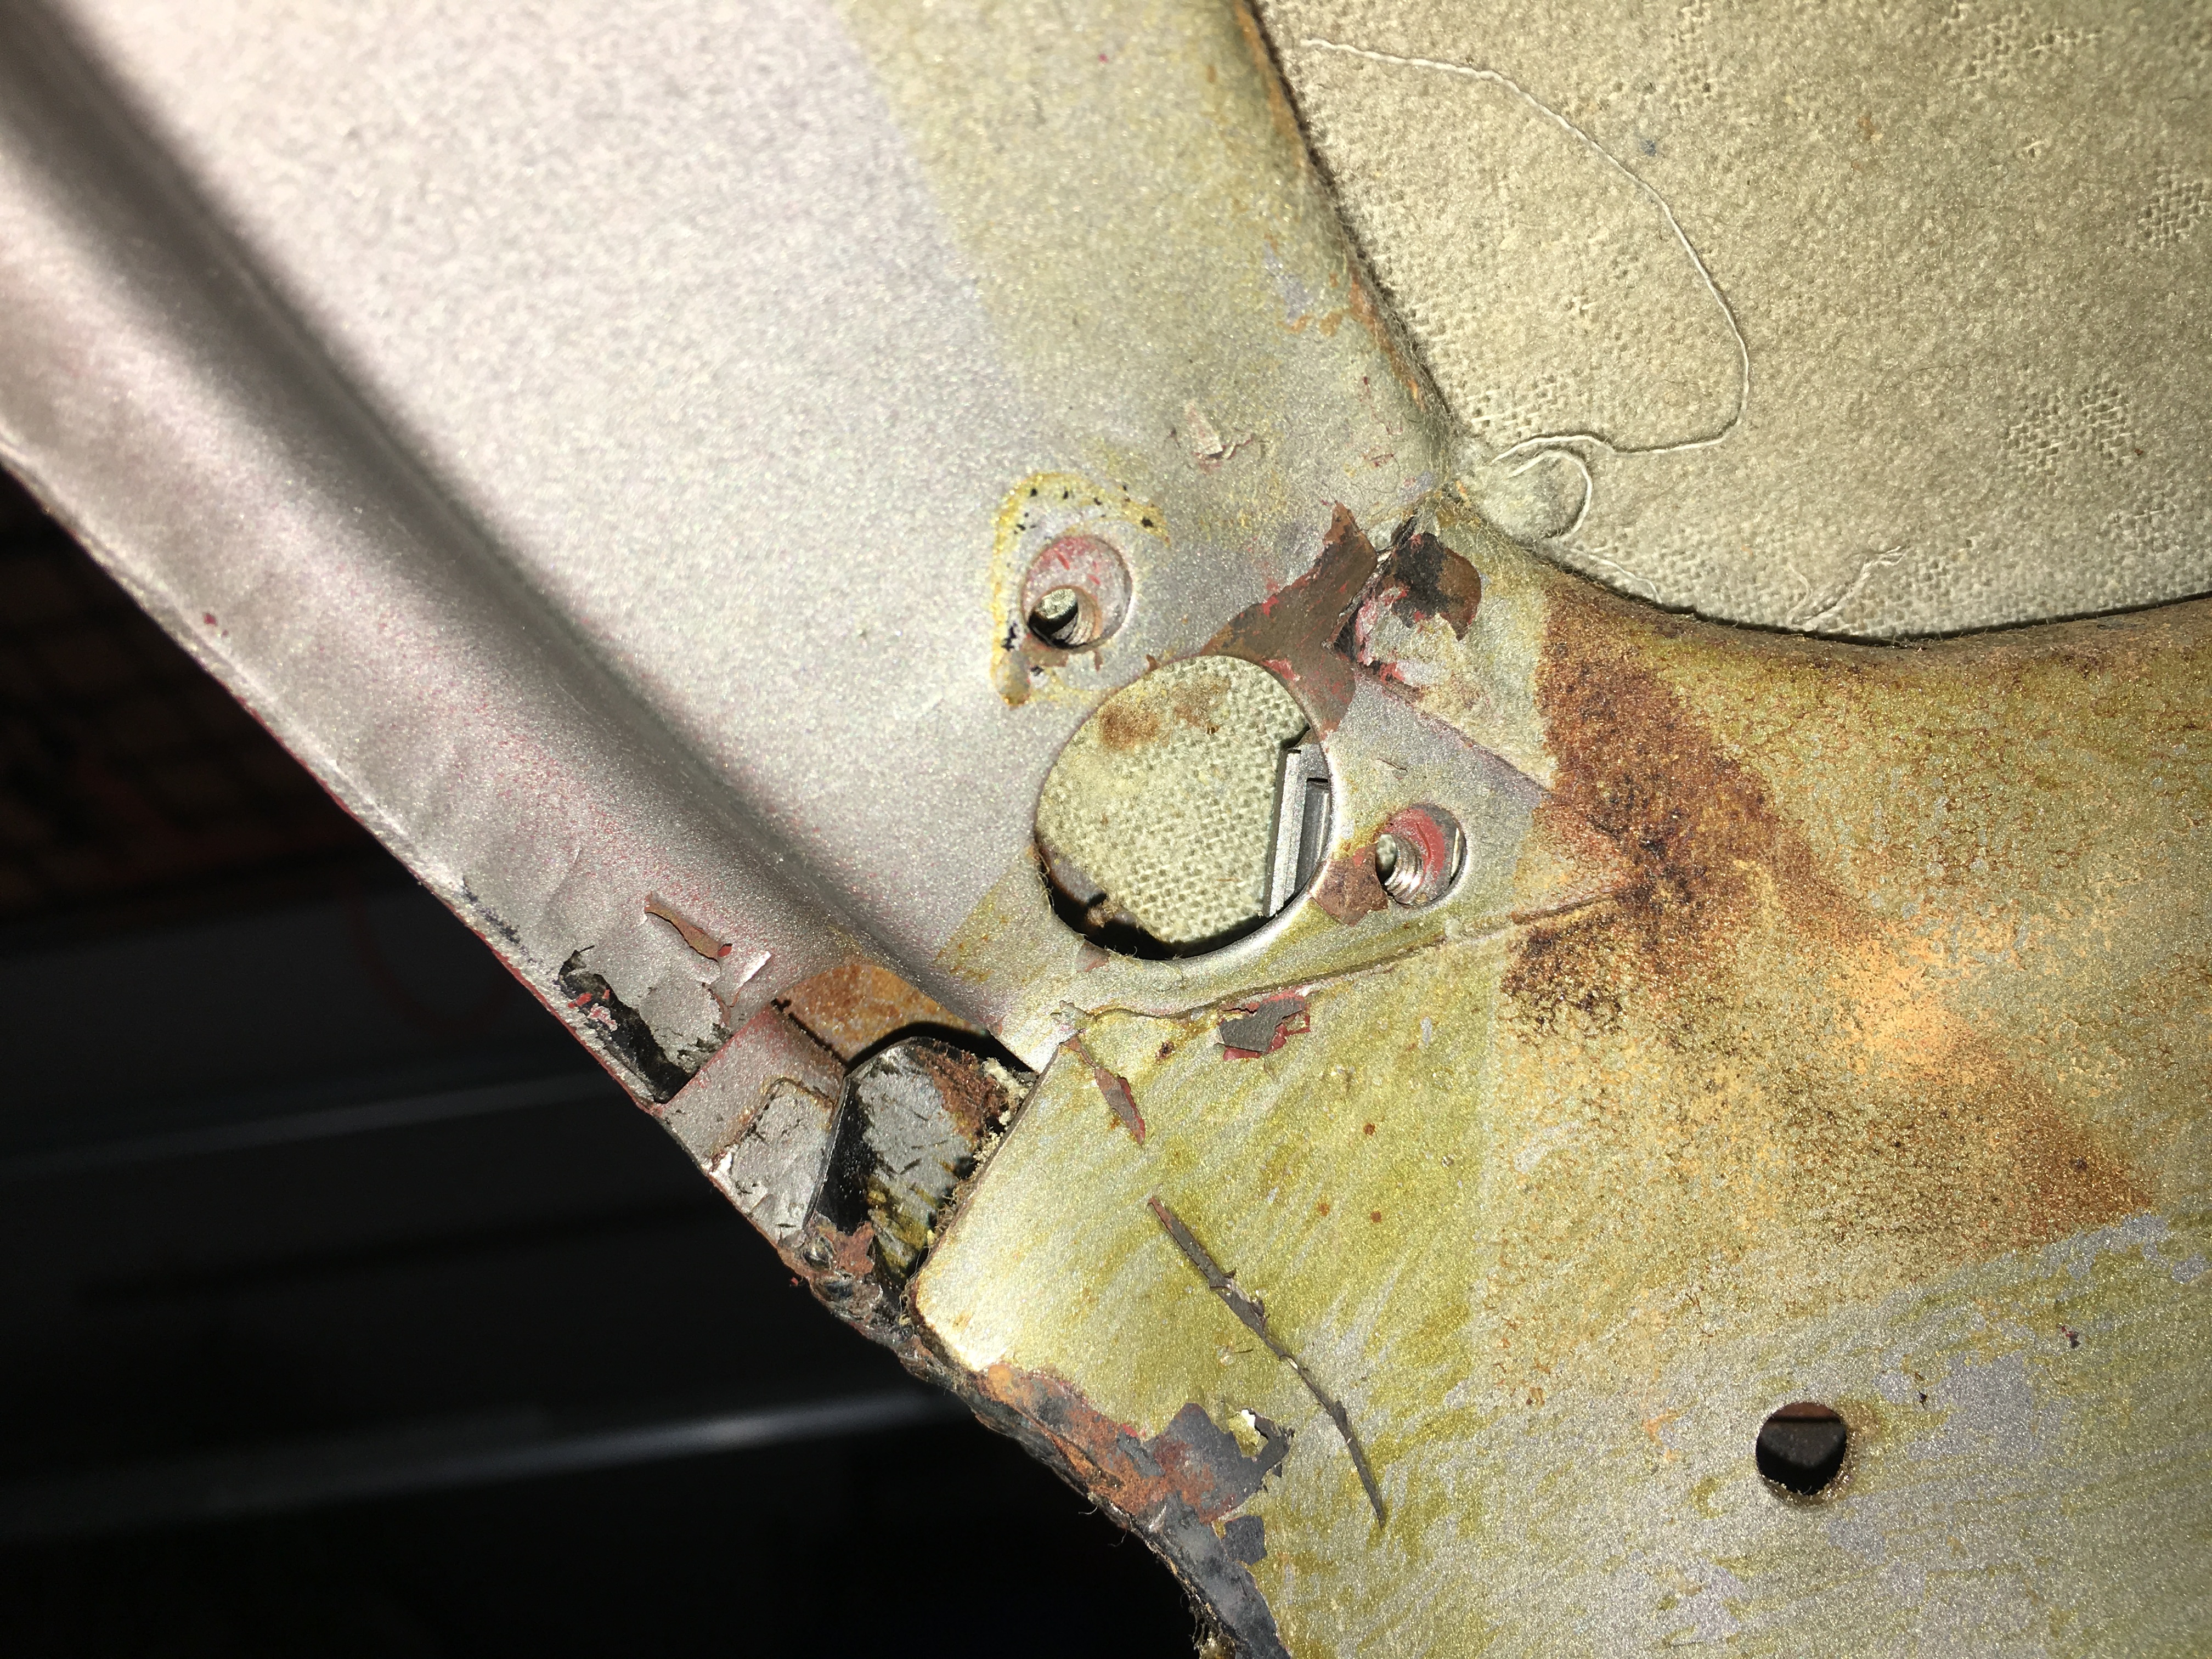
Also, as nice as the wheel well vinyl was, and as difficult as I’ve read that the installment of new vinyl is, I removed the originals. Just couldn’t see trying to protect them during the entire restoration process. I have kept ALL interior upholstery intact and will store it in case there is some value to it someday. It does reveal some clues as to where exactly the foam was glued to the body. Not sure if the foam to the vinyl is similar or if it is glued fully to each other?
Very good witness marks. The reproduction weatherstrip retainers are OK-ish, which I bought, but reused the originals as they fit better. Used 3M strip caulk under them after sandblast. The 3M stuff seemed to mimic the original stuff nearly exactly.
If I ever have my car apart down to this level I think I would explore cutting out those indentations in the boot floor that are right above the rear brake calipers and putting in access panels to be able to get at the calipers from above. I do not know too much about the pure Series 2 rear brakes but one of the worst jobs I have done on my 1.5 is replacing a broken parking brake pad fork since I did not want to drop the IRS. I remember the basket case Series 1 that I had 20 years ago had access plates in this location. Sure would make things easier if my '68 had the same access plates. Just a thought.
David
68 E-type FHC
Steve,
Your seal retainers look great compared to mine. My '63 set had no trace of any chrome and were one-piece - I could not find a source for good-fitting repros and the one set I did purchase were two-piece and do not fit the rear window curve to the point that I may just re-used my rusted broken ones, at least in part. If you go, or anyone else has gone, the replacement route and find ones that really fit, please identify the source.
Steve;
The seal retainer strips on my car were painted and not chromed. This is the only Jag I have any real experience with but I have not heard anyone else mention chrome for these. If others have found chrome seal retainers let us know.
Regards, Joel.
Mine are definitely chrome and probably salvageable
Nearly done with removal…
I need help determining the best way to remove the headliner. I understand it is held on by the teeth under the cantrail support, but do I gently pry the support rail away from the roof to access the hidden teeth? I have read of installation requiring the dead blow hammer to bend the cantrail piece snug to the roof.
I can obviously rip the old stuff out but to clean the hidden perimeter and rustproof it, it needs to be free of old debris. (I also have been trying to save ALL the original parts so am interested in removal of the headliner with as little damage as possible)


Update: I’m sure it’s not the correct way but here is the approach I’m taking. Using a prybar to persuade the cantrail away from the roof enough to pull the fabric/rubber out. Using a putty knife to protect the roof. I have bent some of the areas, but one side complete!

Look at the corner where the RH visor attached. Based on the depth of the headliner, wonder if it was placed first, then the cantrail supports spot welded to the roof?
Link to the YouTube time lapse.

Let me guess, it looked like someone took a box of saltines and crumbled them up and threw them in the car. Right?
Aren’t you glad you own a shop vac?
Exactly!!! Nice bite-size little bits
Ah, but one of the many joys I’ve missed never having restored a coupe.
The hardtop headliner was bad enough. It was a walk in the park in comparison. And I didn’t even get that simple job done right.
Steve:
I think that piece of material headliner was glued to is removable, at least it is on a 2+2, and once removed you can then glue new headliner material to it easily.
You will have to use care as you remove it or else it will tear. slide it back and forth and side to side and then as it moves more freely slip a portion of the front edge out from under the metal and work it free through the wind shield opening. At least that is how I remember it.
As I mentioned this works for a 2+2 and maybe it will for a FHC.
Joel.
Removal is forgiving because damage is irrelevant, but when it comes time to reinstall a new one, are you saying the rubber-encapsulated side piece was to be slid in from the front all the way along the length of the cantrail?
time lapse of part of my procedure…
You realize, of course, these videos will live on in the annals of Jaguar restoration folklore, right?
Like Jerry Mouton’s, like Bill McKenna’s, like Mark Delong’s?
Good on ya!
I remember well the “petrified foam fall!”
Steve;
Once I watched your video the question about a possible difference between a FHC and a 2+2 is answered. The FHC has the headliner glued to the roof where as the 2+2 has a fiber board that ‘slips’ into the area.
The ‘cantrail covers’ have a rubber ‘side piece’ that is pushed into the slot between the roof and the cantrail. It is not possible to slide the piece the length. Just push in the fabric covered rubber with a putty knife (I used a egg turner {new} covered with teflon) and straighten it out. I glued Landau foam on my cantrail before inserting the cantrail covers. I thought it would come out better.
Here is a link to some photos that might help, esp. #9.
jag-lovers.org/snaps/snap_view.php3?id=1420332979
Your video was (is) good.
Joel.
Thanks for the tips. I do appreciate the feedback.
Maybe next time one of my kids ask “What did you do all day?” I can just show them the video… and when they ask “Can I drive the Jag?” I’ll just say “Who will help me plant the seeds…”
The Little Red Hen just drives away.