I suggest you put the bolts back in and then use a line wrench to remove the fuel line. Then remove the bolts.

2 Likes
The site for the attached link along with Jerry Mouton’s photos, the UK factory original thread, and John Carey’s videos were my go to sources during my '64 restoration. Different year than yours, but much of it still applies. I linked to the sub section regarding headliner installation, but there are many great tips elsewhere in the blog.
1 Like
You get a special badge if you remove and refit this connection on your own, with the IRS installed.
Put the two setscrews holding the flange to the body back on, then remove the olive nut on the IRS side (Half a flat at time iirc), then take the setscrews back out.

Fellow Jag enthusiast. Met up on my recent trip to Austin to help me visualize the future for my car!!
5 Likes
Bruthas, from different muthas??

Glad you could come by today, Steve! It was a bright spot on the rainy and gloomy day. Sounds like you’ve got your car restoration going in all the right directions. Best of luck as you move forward!
–Drew
2 Likes
It’s all in the lighting!!!
If so, muthu spent all the time and money on HIS Jag!
1 Like
Clues…
In watching BAT auctions, this 1968 2+2 showed up and it has A/C. It is missing the “3rd” bottle who’s location was called in to question early in my car’s story. Do you think mine was added later? I know older cars had 3 bottles. This 2+2 does not have one.
What’s going on with my 3rd bottle and it’s “location”?


Do automatic transmission cars have a clutch fluid bottle?
It’s an automatic…
Yours had the bottle moved, because of the AC lines running in its OE area.
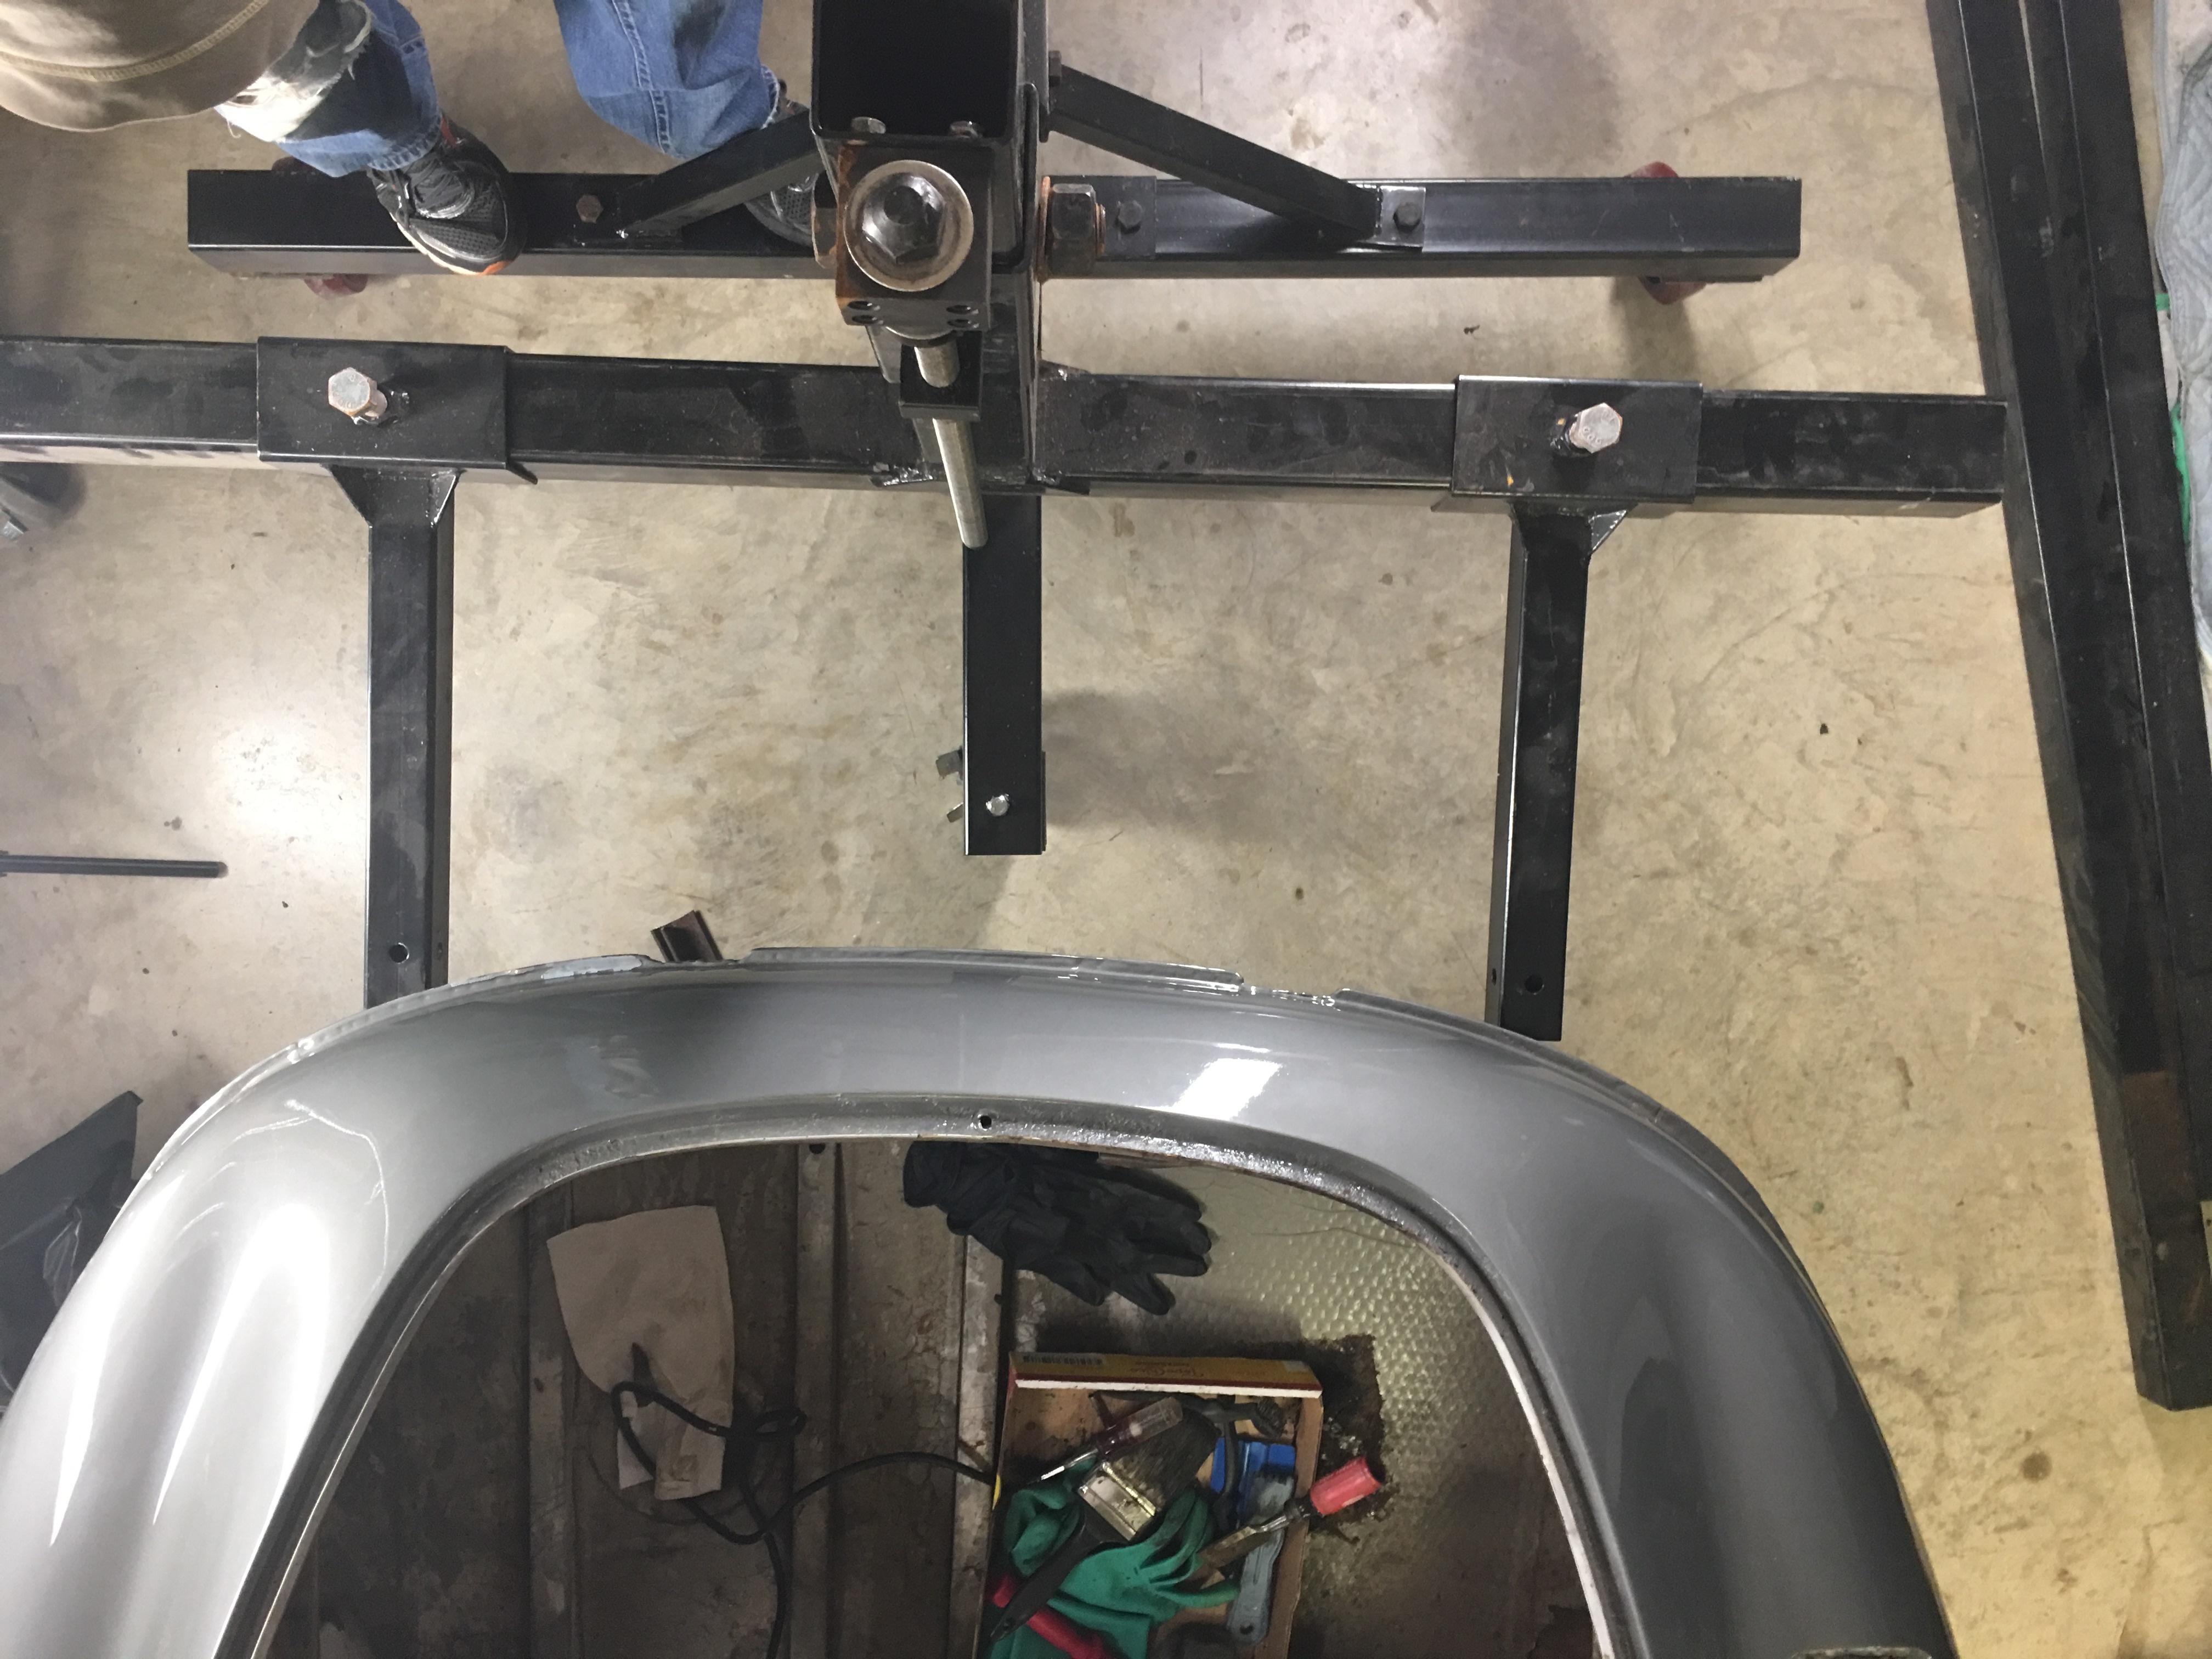
Built two braces for the doors. First time running the welder on 1/8” stock. I laid a pretty decent looking bead, I must say! Painted ‘em cuz they were rusty… and it makes ‘em look naaaace!

2 Likes
You have come a LOOOONG way, pilgrim*…
*(Bear Claw, to Jeremiah Johnson…)
Now I feel bad that I neglected to paint my bracing!
My plan to attach the rotisserie to the back of the car is to use the 2 bumper locations to attach a 3x3 angle that spans the distance then rig to the rotisserie as approximated.
Any problems forseen?


Sent you a “how-to.”
Today’s menial task…
pull the front frames from the shadows of the workshop and explore the inside with my new boroscope. What is the acceptable/usual amount of rusty bits to expect from the inside of one? I’ve cleaned the exterior of one enough to examine the welds, and they appear good from the exterior. I’ve watched Chuck @ MM’s method of preserving them and plan on implementing it.

That pile of rust slag didn’t fall out of your frames did it?
None. The Reynolds alloy is less than a millimeter thick. If you’ve got rust flakes inside it’s time to start thinking about replacing them.
1 Like
The majority of them, do, and Nick is correct. The rust pile tolerance is near zero: if Steve’s frames havent rusted through, given the humid climate in which he lives… they soon will be.