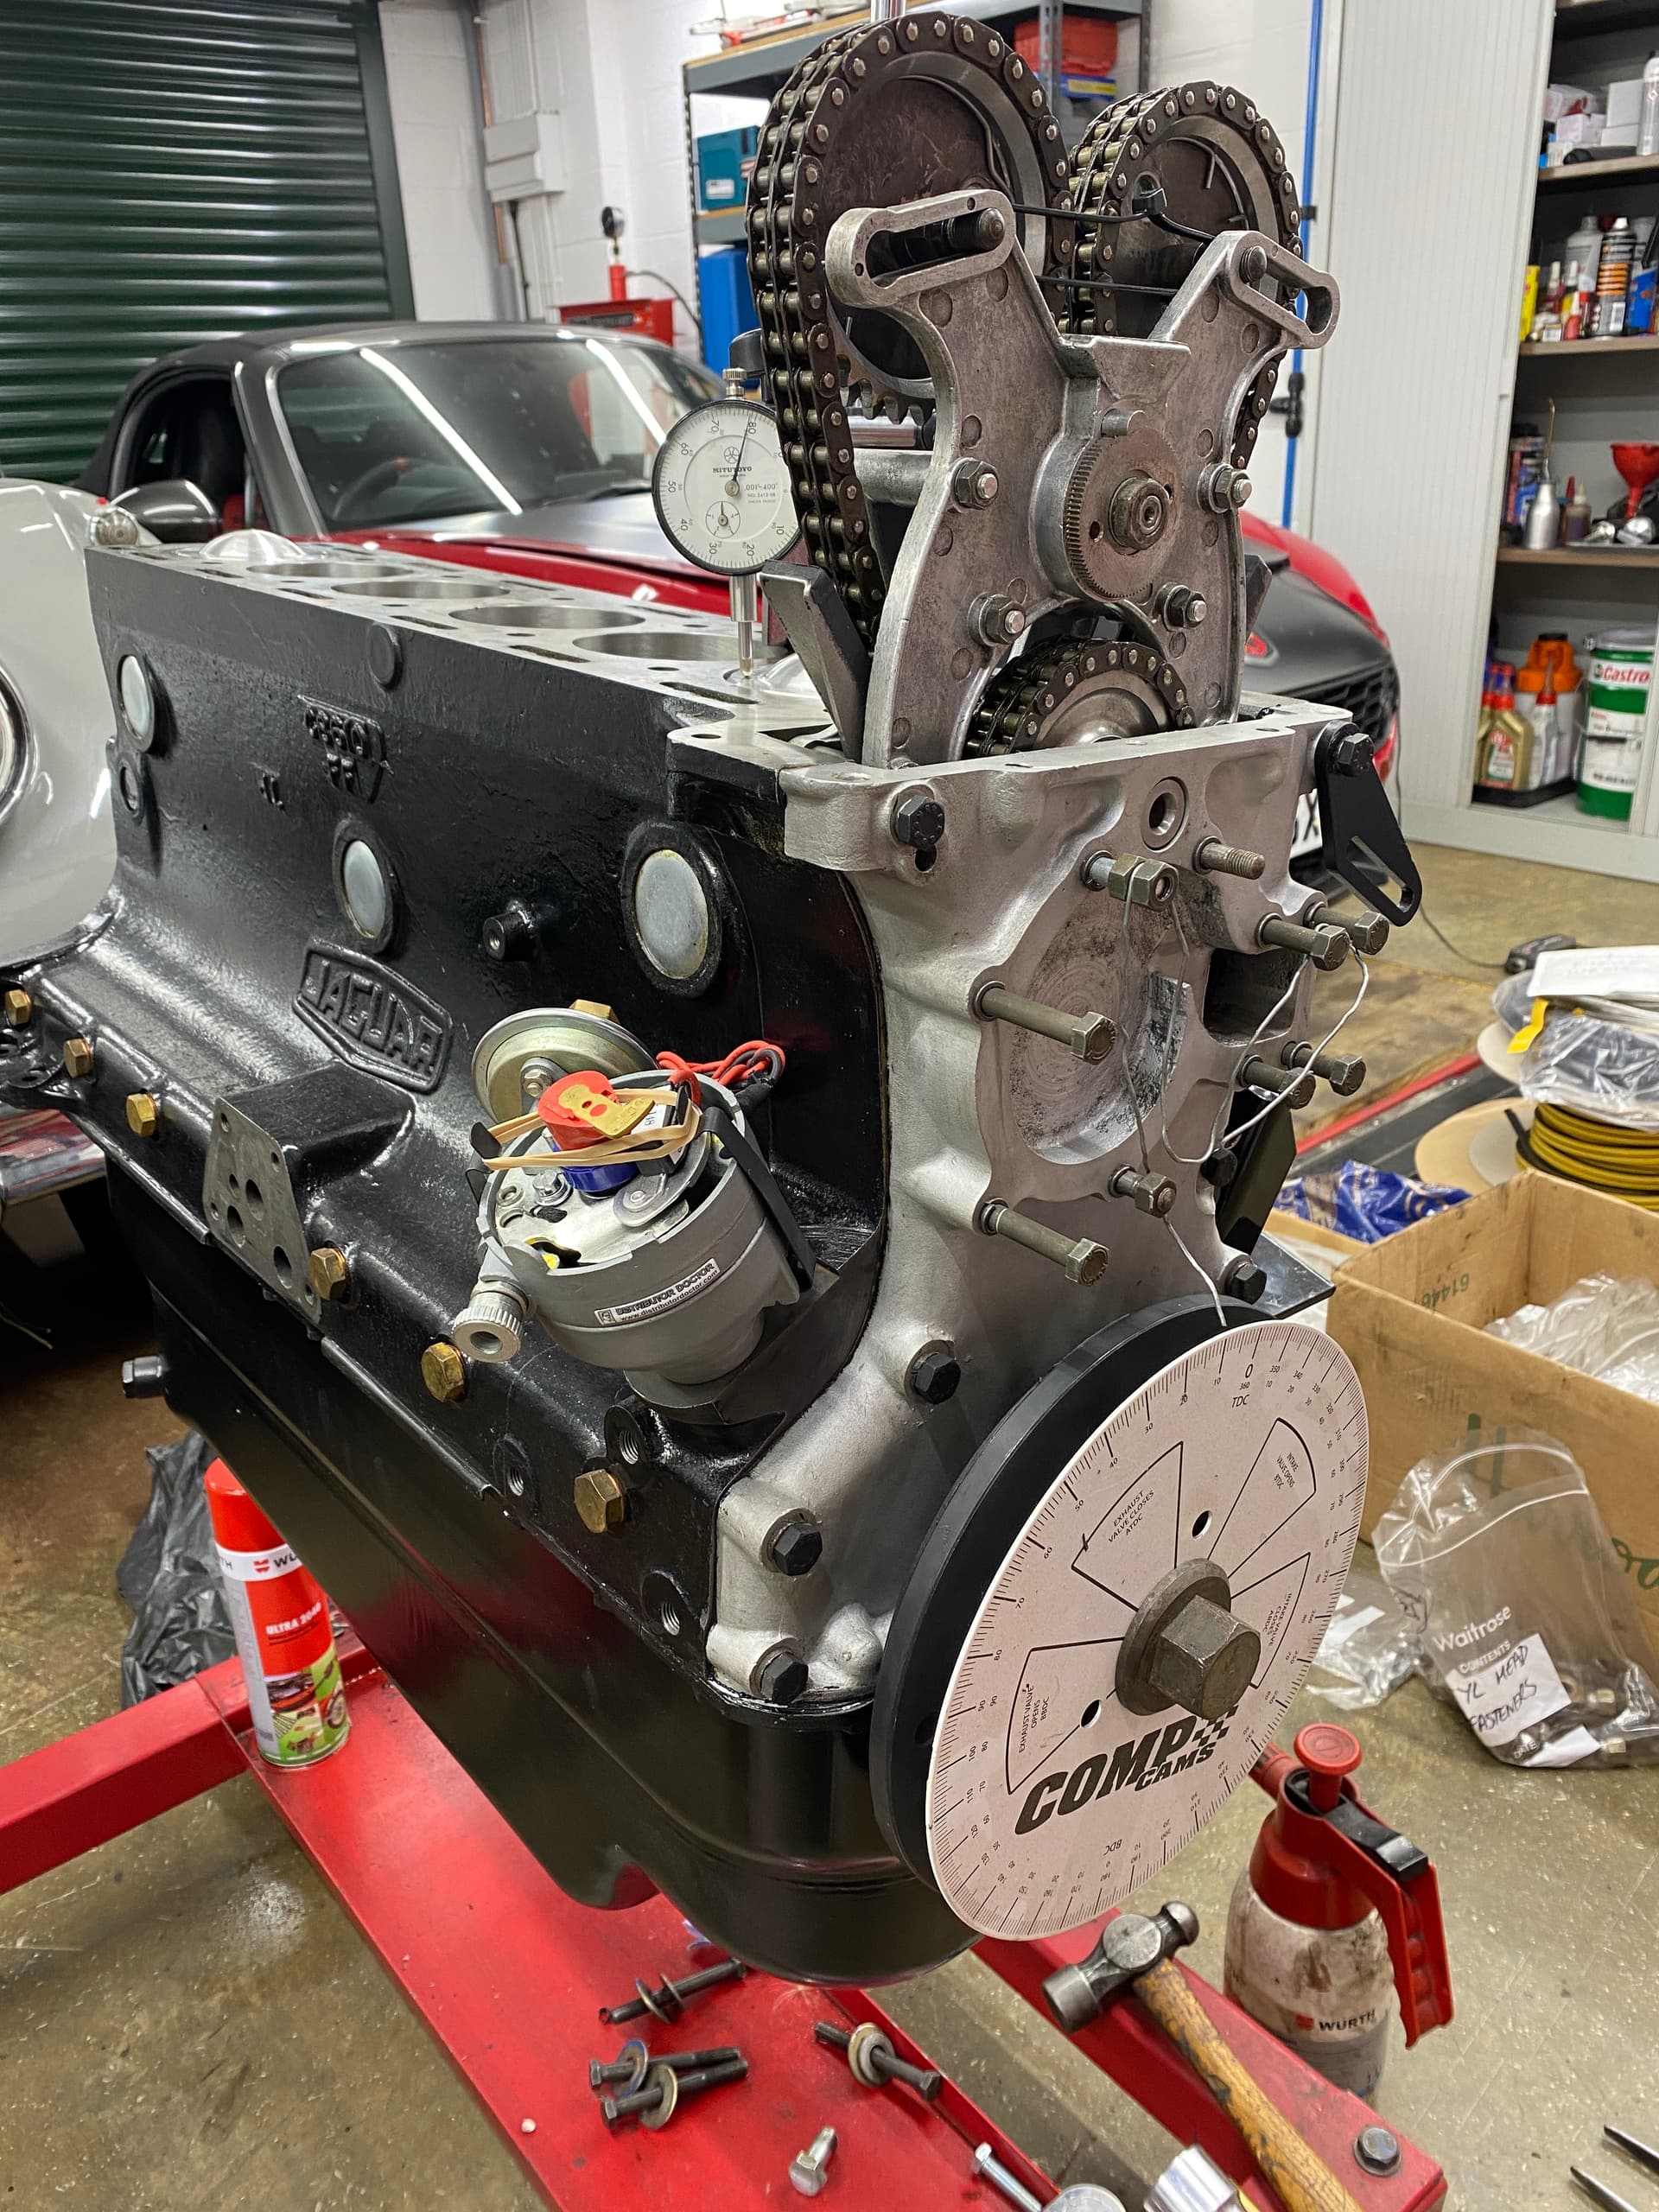
I’ve now set the valve clearances and the cams on my 1955 3.4 engine, so am preparing to refit the head.
My old studs all came out cleanly, but all had markings from significant corrosion in the ‘waisted’ areas, so I have bought a new set of studs. These are better quality studs from one of the usual suppliers, and are all the same - there is a slip-over dowel for the locating stud.
What is advised for fitting the studs into the block, please? I’ve run a tap down the threads, but was not going to use any sealant, Loctite or lubricant. I would assume using fingers or a stud gripper only, but if any are too stiff I could double-nut them. I’m guessing these should not need torquing into place.
I’m planning on using the embossed steel gasket, with a light spray of copper gasket coating on both sides first. There seems to be a slightly sticky coating on the gasket as supplied, but I presume if I’m using the copper spray, I should use a solvent to remove this before application.
Any comments on the above?
I would just double nut the studs and run them down tight, one neck cord should be sufficient. No comment on the gooey side of the HG sorry.
My opinion on long stud studs is somewhat different to short stud
You have options to consider
I have heard dry & finger tight is ok
I personally prefer to use either the lightest thread locker/sealer, to prevent any coolant entering the the thread, aiding corrosion, and to prevent to studs winding out if the head nuts have to be undone. I use anti-seize on the head nuts
As I said, its critical on the long stud, as getting them out can be a nightmare, and having them wind out if the head gasket needs doing for instance, and sludge enter is a disaster waiting to happen
I think this applies to the short stud ones, but the problem is not so bad, I have always been able to get the short studs out by double nutting.
I am unsure whether any of the head/stud junctions are exposed to coolant in short stud ?
These are just totally my own opinions,
I use anti-seize on most studs that go into the head, everywhere unless a sealant or locker would be more suitable
Short studs don’t enter any of the water ways from memory.
No sign of them doing so on my block, Robin.
Now, before I get everything aligned, just got to get my head around distributor position.
With no.6 (front) at TDC, the rotor arm is sitting parallel with the crankshaft with the rotor arm ‘contact’ pointing forwards. Correct? I presume that if I fit the head with it in this position and both cams at TDC using the gauge it can’t be 180˚ out, is that correct?
Finger tight is adequate for studs. Threaded fasteners are essentially a spring. You typically seek to provide enough stretch, technically this is called strain, to load the fastener to 90% of its allowable axial stress. Properly stressed, it will not loosen of its own accord.
Studs are preferred over capscrews for long assemblies because they greatly reduce the combined stresses of simultaneously twisting and stretching. They are a more purely tensile fastener, compared to a capscrew.
Antiseize does no harm, and will reduce the risk of siezed studs the next time you disassemble.
IF you are only using one dowel stud, I would install that one, then fit head, then install the other studs. This procedure will prevent any aluminum chips being sloughed off and down onto the mating surface between gasket and head. You could also tape the threads on the top of the studs if you fit all of the studs b4 the head fitment.
The dizzy drive should have it’s slot parallel to the crank but I can’t remember if the “short” side of the slot goes toward the block or the other way around. Once the drive slot is properly oriented, the dizzy will drop right into it’s proper orientation.
Thanks all - good tip on taping the threads, Lee. It does seem a bit odd that only one stud has the dowel, but that’s how it was so I’ll replicate that.
It’s the wide section of the offset that’s nearest the crank, and I’ve trial positioned the distributor which looks OK. I made sure to mark true TDC on no.6 with a dial gauge and degree wheel before fitting the studs (approx 20° before and the same after, then calculate the midpoint), and marked up the pointer.
I just need to get an assistant over to help lift the head and I’m ready to fit it, I think. Mustn’t forget to scrape the red paint from where the chrome washers will sit first, though.

It seems not! Experience tells me that paint is not a good idea under parts that need to be torqued accurately as the paint ‘collapses’ over time. I might have a bit more paint on mine than the factory applied, as well…
It’s no too late to add another dowel stud…or make 3 more, as I did…b4 head fitment. My factory, C-type head had 4 of the stud holes counterbored to accept the additional dowel studs. I used 2 to locate the MLS gasket, and the other 2 to orient the head, You have also noted how unusual it is to have only one dowel to locate the head, as is normal with American V-8s.
Interesting… my Ford 289 and 351W both have two per head.
It would be very easy to add an extra one to the Jag head as the replacement type simply slips over the stud. Like yours, my head has four recessed holes placed symmetrically. Diagonally opposite would probably be best.
Why modify the existing arrangement of one only dowel stud ???
It has worked perfectly well on 10000’s XK engines over 70 years and without any problems…
Do some quick geometry - from the dowel stud to the most distant normal stud - a long way on a XK straight six block, and with a few thou clearance only of the standard stud, you wouldn’t be able to measure the maximum possible misalignment…
Lot of wasted time and effort fitting even a second dowel stud and reaming out second hole in head (let alone 3 or more) that achieves nothing ![]() - in my opinion…
- in my opinion…
Point taken, Roger - although both my head and Lee’s have four holes already oversized from factory. Does seem odd they would do that but only fit one dowel. Extra dowel(s) might make head installation a little trickier.
Since these dowels are a tight fit, they will certainly make removal more difficult in 15 or 20 years.
Hi Roger,
I wouldn’t use a tap. Taps cut…I think it’s better practice to employ the use of a chaser whether it be purchased or made. You don’t want to alter the threads…
Taping, not tapping, Doug… to stop the sharp threads shaving the aluminium
Sorry Roger,
I was sort of replying to this and assumed that you had made a typo subsequently.
Too late now for my suggestion. Best of luck.
No problem Doug, I have a tired old blunt set of taps that I use for thread chasing. I wouldn’t use a good sharp set on old threads!
Roger,
where did you get to with the tacky product on one side of the head gasket? I’m about to reassemble as well as was wondering if this should be removed, or spray the copper right over it?
Also, the suggestion above from Lee140FHC to only install the Dowel Stud before the head, and install the rest of the studs once the head is fitted… I’d be concerned about alignment of the head gasket, would you block the head so it sits up a bit so you could ensure the studs don’t bind on the edges of the holes in the gasket?