after cleaning and renovating the valley of my 6.0 XJS, I was about to refit the plastic engine cover, which would hide most of the job
Last time I took it off, I had to loosen the accelerator cable adjustment in order to get the cover back
I couldn’t find any other way to slide it under the said cable, next to the capstan
so first question : is it normal to release the cable from the abutment ? or is there something I missed ?
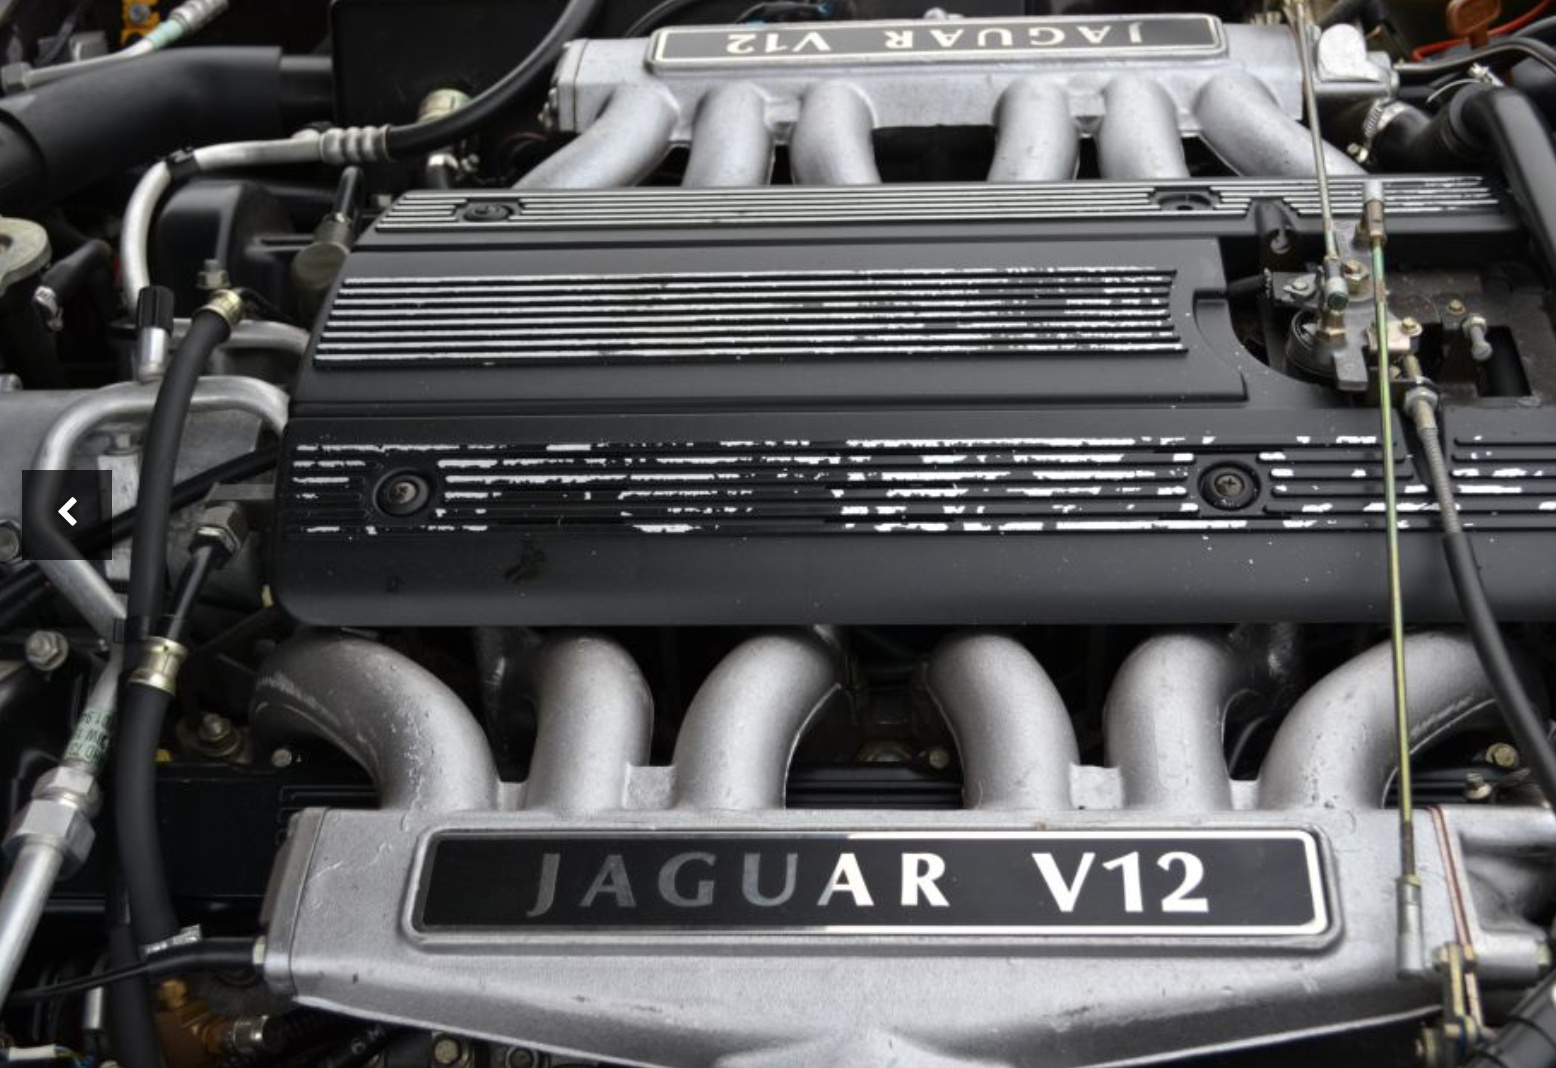
the said engine cover is supposed to have some silver / chrome stripes, but all this is gone, leaving a black plastic cover.
I know the part isn’t available for long, so the only options are either to leave it as is, or try and freshen it up by painting the said stripes. question 2 : is there a better way than painting the whole cover silver, then mask the top of the stripes, while painting everything black
Problem is that any time you remove it to reach spark plugs, rear coil or anything in the area, you have a good chance of moving it slightly, and need to readjust the length of the connecting rods, so both butterflies open at the same time
the total movement is small, but I couldn’t move it back to the same position as before, and had to readjust the rods
is there a better way to take it off and back without disturbing the adjustment ?
thanks
Kirbert
(Author of the Book, former owner of an '83 XJ-S H.E.)
2
Many years ago, I purchased a roll of stainless steel tape from JC Whitney. You might cut strips of the stuff and stick it on.
how some good ideas coming : glad I asked
thanks to both of you.
I’ll have a search for metallic tape, I may use some aluminium tape I’ve already have, as it’s supposed to be high temp adhesive
I’ll have a try and see if I can cut it cleanly to shape, and if it stands the heat of the V
the marker seems also a good option , I found some with wider tip, which should cover the top of a line in a single pass
Kirbert
(Author of the Book, former owner of an '83 XJ-S H.E.)
5
Aluminum tape will last forever, but it’s not particularly pretty. By the time you get it in place and stuck down, its surface will not look all that nice. That’s why I suggested the stainless steel tape instead; it’s a lot harder to work with, but when done it looks good.
I do have one other idea, but I’m not sure at all how it would work. In craft stores you can buy something called embossing powder. It comes in all sorts of colors, but obviously you’d want the silver color here. The way embossing powder is normally used is that you’d apply ink – usually a clear ink, yes those exist for this reason – usually with a rubber stamp, and while the ink is still damp you’d sprinkle the embossing powder on it. Then you’d heat the embossing powder with a heat gun; it’s gotta get pretty hot for sure, but I dunno what the spec temp is. When heated, the embossing powder melts and flows together to form a raised blob on the surface, still in the pattern the rubber stamp applied the ink. The reason I mention this is that the finished product is gorgeous, even better than plating, it looks like a bead of mercury on the surface. How could this idea be applied here? I have no idea, perhaps using a clear lacquer paint instead of the ink. Could it hold up to underhood temps? No idea there, either.
the aluminium tape is easy to cut, if the finish is poor I’ll take it out (iirc the glue hardens with heat, so I’d rather decide before it’s too late)
I 'll have a look at the stainless tape too , but this last idea sounds interesting, I had no idea such material exists
I’ll search the temps limits as you don’t want to melt the cover to apply it, nor the the power to melt again under the hood
edit :
the requested temp to activate the powder and melt seems to be about 80°C (180°F), even if the heat guns are stated to provide hot air about to 200 or 280°C (400 to 450+ F)
so the cover should be safe, but not so sure the embossing powder will stand the heat under the hood
instead of ink, you can use a kind of “glue pen” to spread some transparent “glue” on which you pour the powder, instead of ink
it could be worth a try on a scrap bit of material, as you’d just need to follow the top part of the sripes
Interested because I have same issues. I have learned that you can press down and twist the driver side rear of that plastic cover … and that helps it get enough freedom to be wriggled out from under the cable. Maybe sbobev has a technique… he has the 6.0 also.
I like the idea of the silver marker pen.
A few years ago someone was making and selling those valley covers out of metal … had a Leaper logo cut into it. Water cutting I believe. A friend of mine bought one and sent me pictures…looked good.
In reply to a message from Paul Zengilowski sent Mon 13 Oct 2003:
I designed the cover myself on CAD and had a shop here in
Minneapolis laser cut it out of 1/8’’ stainless and ‘‘straight line’’
it to give it the finish you see. It bolted right up in place of
the plastic one!
Thanks Jim
I’ve found the posts about laser cut stainless cover, I couldn’t see much as the full size pictures seem to be gone, but it seemed it’s too much “bling” in the engine bay
looking at the original cover, it seems to be more silver than chrome, so silver marker pen seems be easy(ish) to apply and stand the time and heat
last easy alternative being adhesive metal foil, which is probably time consuming to get right on all the ribs
I experimented some pushing on the said rear side, but stopped as it didn’t seem to free the cover enough, and freeing the cable from the abutment plate is quick and easy, without much risk of loosing the cable adjustment, as you can keep the external nut in place,
the abutment plate is a biggest problem, as any small movement is enough to change the pulley position to the butterflies, loosing the benefit of the link rods adjustments
if there’s a technique , I’ll try it, if not, I’ve learned to think twice before moving it
I don’t know of a trick. The cleanest way to remove the engine cover is to undo the cable. Take the back nut all the way, pul the cable through the slot and put it aside. 1 minute job, which does NOT affect the throttle linkage rods and no readjustment is needed.
Jim is also right that there is enough wiggle room to slide it under - I have done it once and still regret it - there are marks on the plastic from the this experience.
Thanks STeve
I’m with you on the removal of the cover, it’s easy to take the nut off and pull the cable to slide the cover, without any risk to disturb the rods
my concern is more about the abutment plate, as it moves when you loosen the nuts
Yes Kirby
the rods pop off, so no problem to remove the cover, just need to loosen the nut on the pulley side
same if you just want to get the rods out of the way, but if you need to remove the plate holding the pulley, it’s impossible (to me at least) to fit it back in the exact same position, as it can move about 2mm each way, which is more than enough to throw the rods adjustment away
hence the need to re-adjust the rods after re-seating the plate , less some one gives me the clue
Why do you want to take that off? I would consider doing it if I were replacing the spark plugs or doing something deeper in the back of the “vee”
Mine fits snugly and I haven’t noticed a need to re-adjust the throttle linkage after R&R
Cannot be black. All 6.0L covers had the stripes as in my picture. Well, I should not say “cannot” - if the PO was a big fan of power washing the engine bay, the stripes would begin to peel like in this picture:
indeed : I had done some cleaning in the vee, and refit the plate before receiving the coil I wanted to change.
I took it out 1 week later when I received the coil, and noticed that the plate can move sideways by about 2mm, and didn’t manage to put it back in the exact same spot
may be I could spread the holding bits so the plate is blocked, as yours
my question about the black / silver was not about the cover (I know mine should have those silver stripes) , but the said abutment plate, where the cable is fixed, which appears to be :
silver on the picture of your engine
grey / yellowish on the last picture
tarnished black on mine
I thought at first it should have been yellow zinc as the speed regulator bellow plate or the fuel rail, but I doubt the colour could have changed this much
Kirbert
(Author of the Book, former owner of an '83 XJ-S H.E.)
16
Never been a big fan of those “fake” engine covers – at least not until I discovered that Mazda uses them to make the engine quieter. Whatever, looking at these pictures, I’d consider painting the whole thing with a black wrinkle paint, and forget about the silver ribs.
I am sorry, I misunderstood. I don’t know the answer - have not owned the car since new. The pictures I used are off the internet - dirt, grime, paint… who knows why they appear as such.
on my car, the engine cover has lost all silver paint, either because it had flaked out, or been removed by a PO
a French XJS owner showed the restauration process he used to but the spripes back on his (paint was half gone), and it seemed a lot of troubles, while I wasn’t sure to prefer the silver stripes or not
@Steve :
as I’m not into concours, the exact original colour doesn’t bother me much, but I realized that almost the last bit you see when the cover is back on, and mine looks quite bad,
I tried and clean it, but not with great results
I may bite the bullet and take it off to get it powder coated, as I’ve done for the cam covers fuel rail and air rails : satin black would look better than the current brown/black
Brown on any metal part in the engine bay indicates, at least to me, that years of oxidation and layers of dirt are being deposited on the surface. Will be hard to clean and restore without repaint/replate.
The part may have been originally plated, and agree with you that something dull-black as opposed to gloss-silver will look better there
[quote=“sbobev, post:19, topic:393833”]
Brown on any metal part in the engine bay indicates, at least to me, that years of oxidation and layers of dirt are being deposited on the surface. [/quote]
I reckon you’re right on this : the colour is close to the fuel rail and the additional air rails, before I had them powder coated
I chickened out with this one as it made of several bits held together by screws, but now it looks crap with ou without the engine cover