Can someone please explain how the rear deck lid emblems attach? Do the emblems get installed through the deck lid holes and then the clip washers installed on the underside of the deck lid?
Or, do the clip washers get installed from the topside of the deck lid and then the emblems get pressed into the clips from the topside?
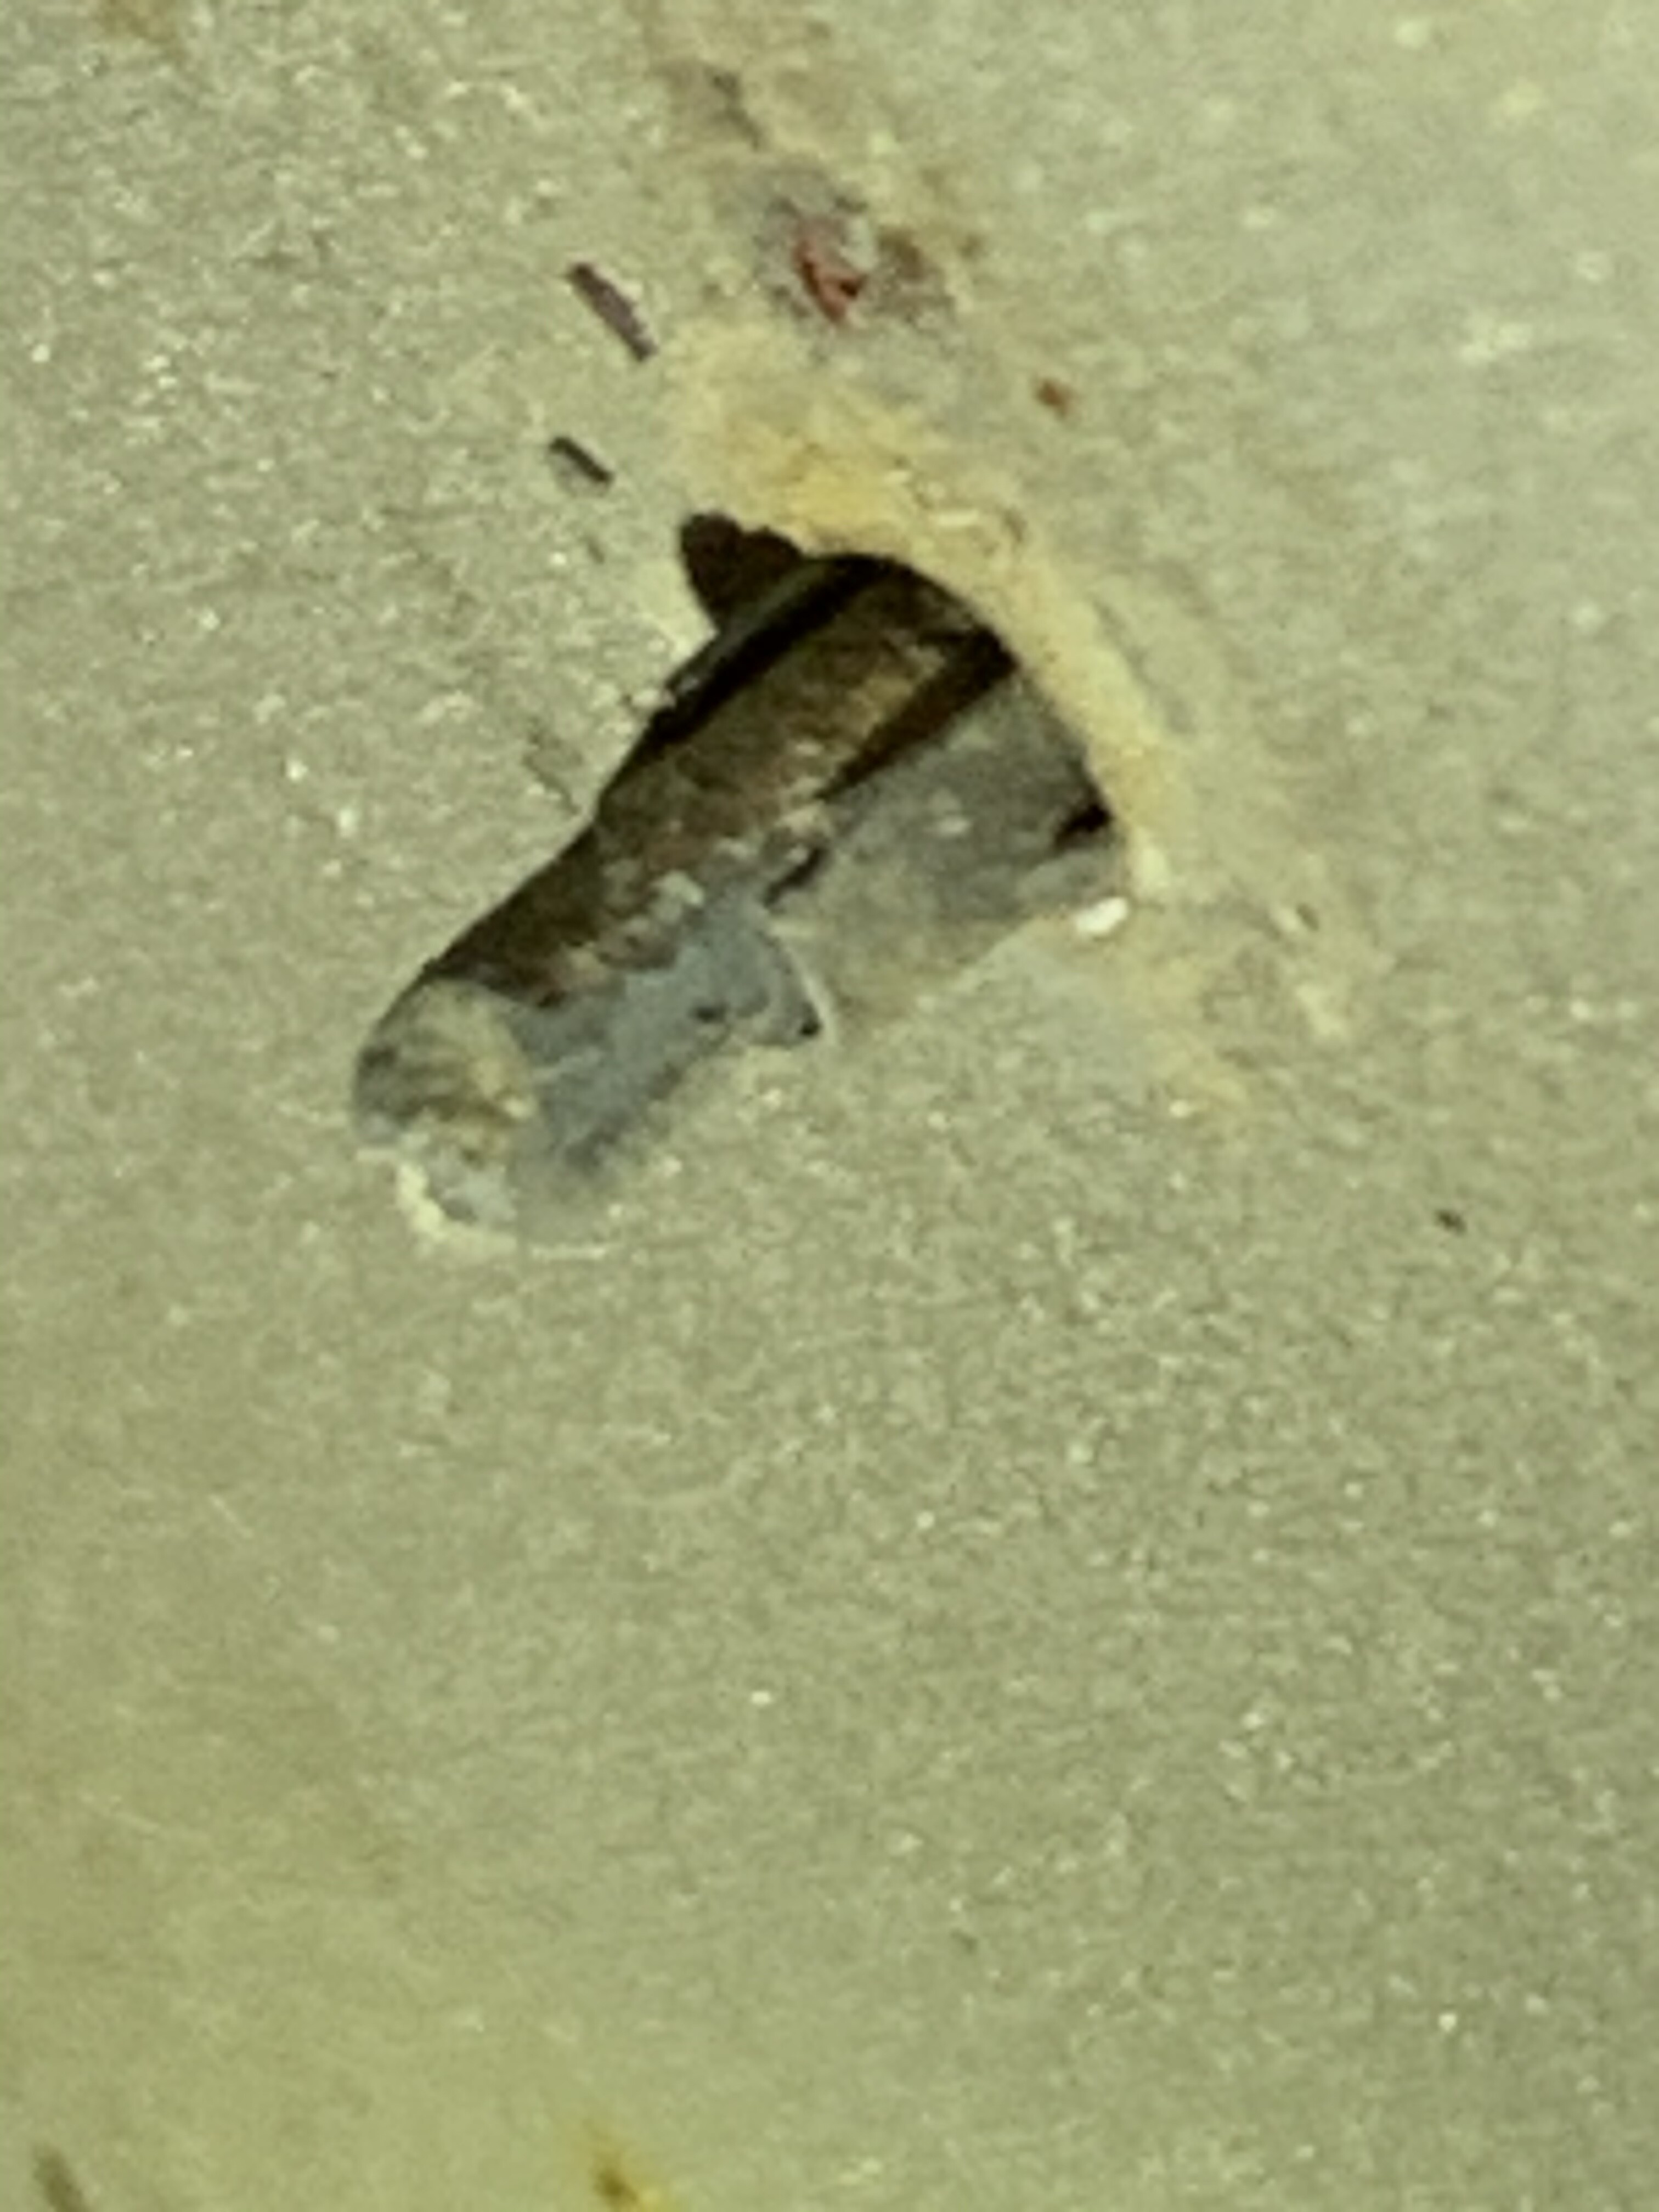
The clips were installed from the outside in. The emblem then fastens in to the clip. If painting, overbore the holes to accomodate for the paint buildup - otherwise the clips no longer fit nicely and get to narrow for the emblem. Here from my unpainted 1970:
It looks like Martin’s clips, being original, look different than the new ones that I have. The OE ones look to be slotted and thus expand once the emblem pin is installed.
The new ones are not slotted, more like a press-fit.
With being press-fit, than it may be best to install from the underside of the lid?
So, I purchased new rear hatch emblems (E-TYPE, 4.2, and JAGUAR) plus the black plastic push on emblem attachment retainers from one of the usuals. The emblem pins line up perfectly with the original holes. The plastic attachment retainers, similar to Ahwanee’s above but without the wider top, in no way will fit over the emblem pins. I tried a heat gun and even boiling one to soften it up but no go. They are way too small. I’m thinking of just using metal retainer nuts (push on star type) available at ACE. Thoughts? Oh, also on the bottom 4.2 emblem, it would be near impossible to get to the two pins because the interior of the hatch is covered by steel and not accessible there!
The “friction bush” that fits into the holes on the deck is P/N BD.25659. Push them in first and then install the emblems. Moss Motors has them listed. The things you see in George Hahn’s pic were put on after the emblems. They are not documented and do not have a P/N but every S2 I have seen is fitted with them. They go over the bushes. I suppose they were added to protect from accidents - banging your head, etc.
If push comes to shove (pun very much intended) I used vacuum line with an ID of 2mm.
GOOD NEWS - works perfectly. I even replaced 2-3 of the small plastic bits that actually fit with vacuum line. If you are careful and make your cuts at 90°, it even looks factory
,
,
V12’s need 9 of the small plastic bits (the three studs on the “V12” are slightly thicker than the others). Series I and II need fewer cuz of lesser badging. Each one was 5/16" long. Anyhow - I have enough vacuum line to do 35-39 V12 E-Types. And I don’t think there is any application for 2mm vacuum line on the V12.
I’ll gladly mail the length you need (if I had done all 9 studs on my badging, I would have used 0.3125 x 9 = 2.8" +/-).
Just found an after photo of my deck lid. I coulda done a better job of making 90° cuts.
Since I seem to have plenty of tubing, I’ll redo them.
Replying to all on this thread way too late. I somehow missed all of these updates in September and the issue is resolved . All shines new emblems installed!