Today I tried to tackle installing the lower windshield trim on my friends XKE S2.
This is a new trim piece from SNG. Very nice!
I started in the middle and was able to get the left hand side installed after about 4 hours… Working the trim and windshield rubber trim and lots of soapy water…
Then I started on the right hand side. Thought all was going good until I noticed that the lower section popped out of the rubber seal.
It is obvious that this trim piece is not formed correctly.
Any suggestions on how to form appropriately? I am hesitant to try and hand bend this trim! I dont want to have the very thin trim bend, kink,
Please provide any suggestions, comments, thoughts.
Unfortunately I had the same results with what I believe is the factory part. It’s one of those awful parts that doesn’t seem like it’s going to fit until it does. I wouldn’t be exaggerating to say it’s my least favorite part on the car.
One thing you might try is using some glue not a ton, on one side and letting it fully cure and then using the clamps as you go to get the other side in. The drawback is that you won’t be able to adjust it side to side after the fact so you have to measure carefully first.
Then again, this part beat me, so I might not have the best advice.
I measured for the center of both the windscreen and trim piece and marked them so it would be lined up correctly (odd shapes so I used a string, then folded it in half to find the center). I then worked one side in and taped it down, I like the green painters tape with the extra adhesive. Mine was the original, can’t speak to a replacement, but once it was in place it stayed put when I took the tape off.
After many trials w/o 3M adhesive, I gave up!
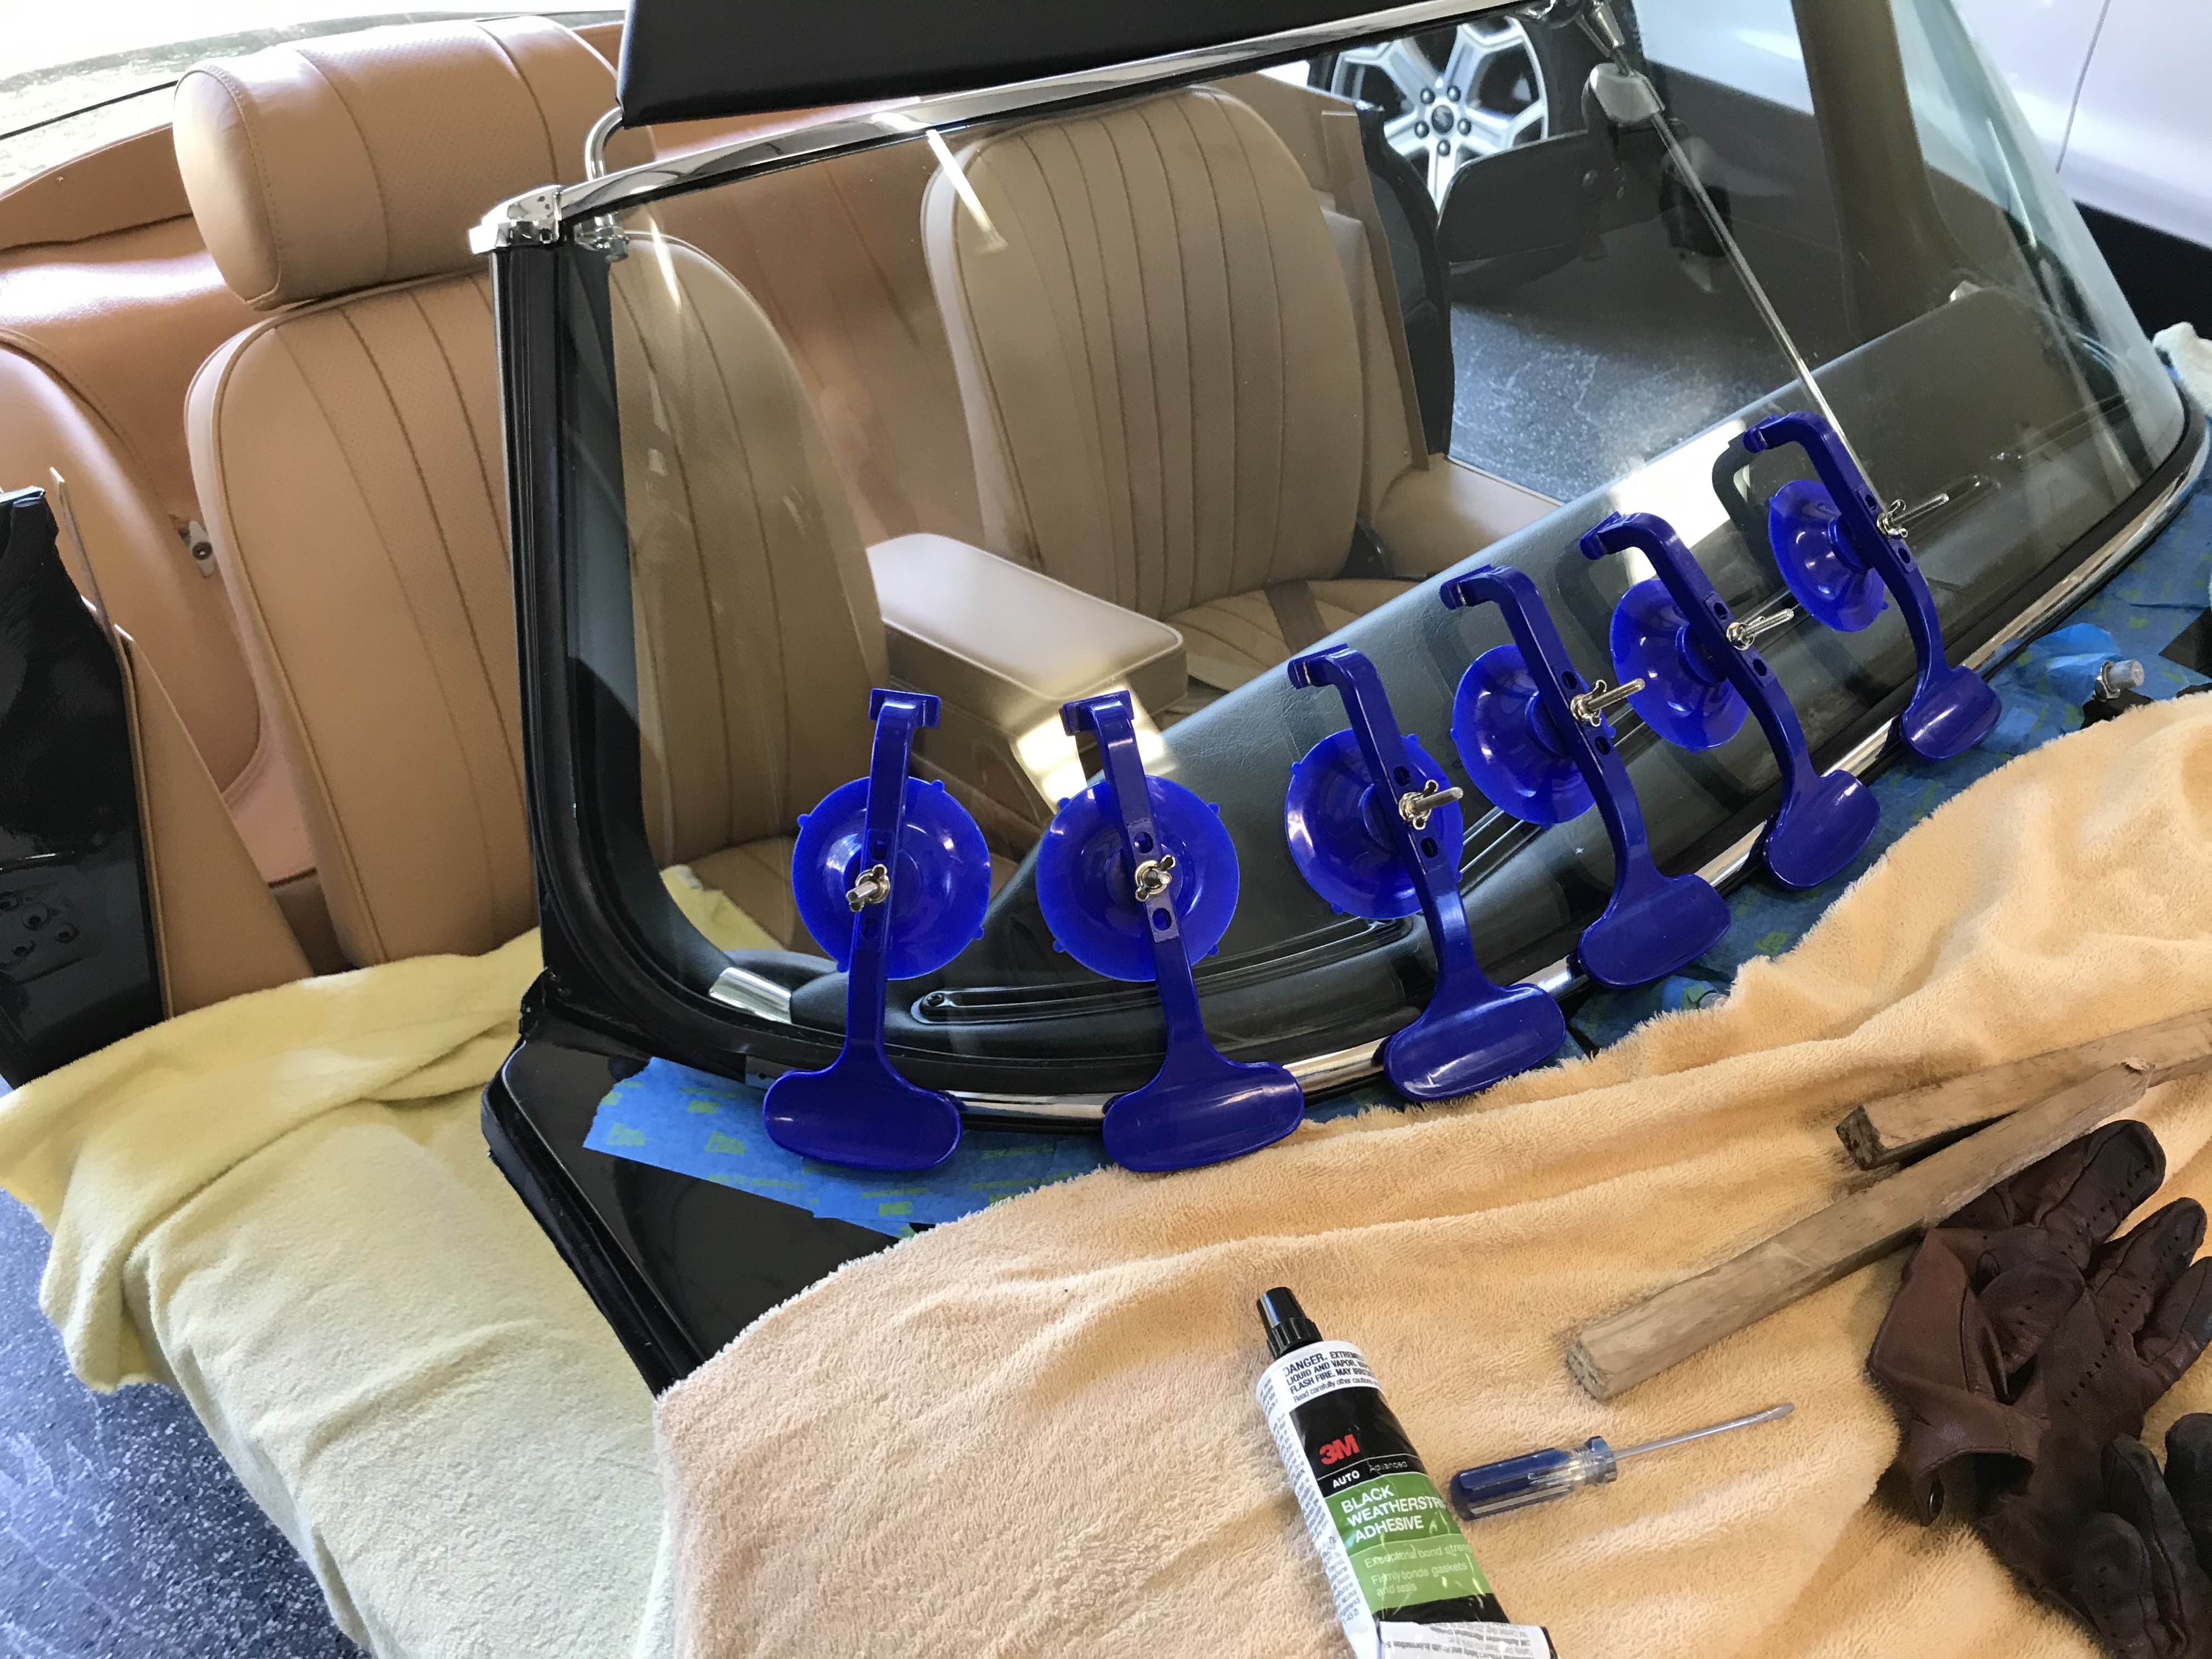
Started on the left side with 3M Adhesive and worked on left side (middle to left) using 3M and the clamps.
A day later, after the 3M adhesive dried, worked the right side in similar fashion. It was very, very difficult to get the trim into the rubber channel.
The recommendation for those that need to do this same procedure is to … take your time and work the trim, rubber and adhesive. As you progress to the other side, carefully maneuver and utilize the clamps, holding the trim in place ( it wants to pop out!).
If I had to do it over again, I would have purchased x2 sets of these clamps!
Summary… very difficult job, but doable if you take your time and keep cool!
Bob