There aren’t any seals on the assembly, so there’s nothing to wear out. The only downside that I see and I don’t know how practical or detrimental it is, the recommended grease interval is 4,800 km / 3,000 miles. What are you supposed to do when you are lapping up the and putting on 7,000 - 10,000 miles in a clip? I dunno
I’m sorry, but I just don’t know what this check plug is that you are referring to?
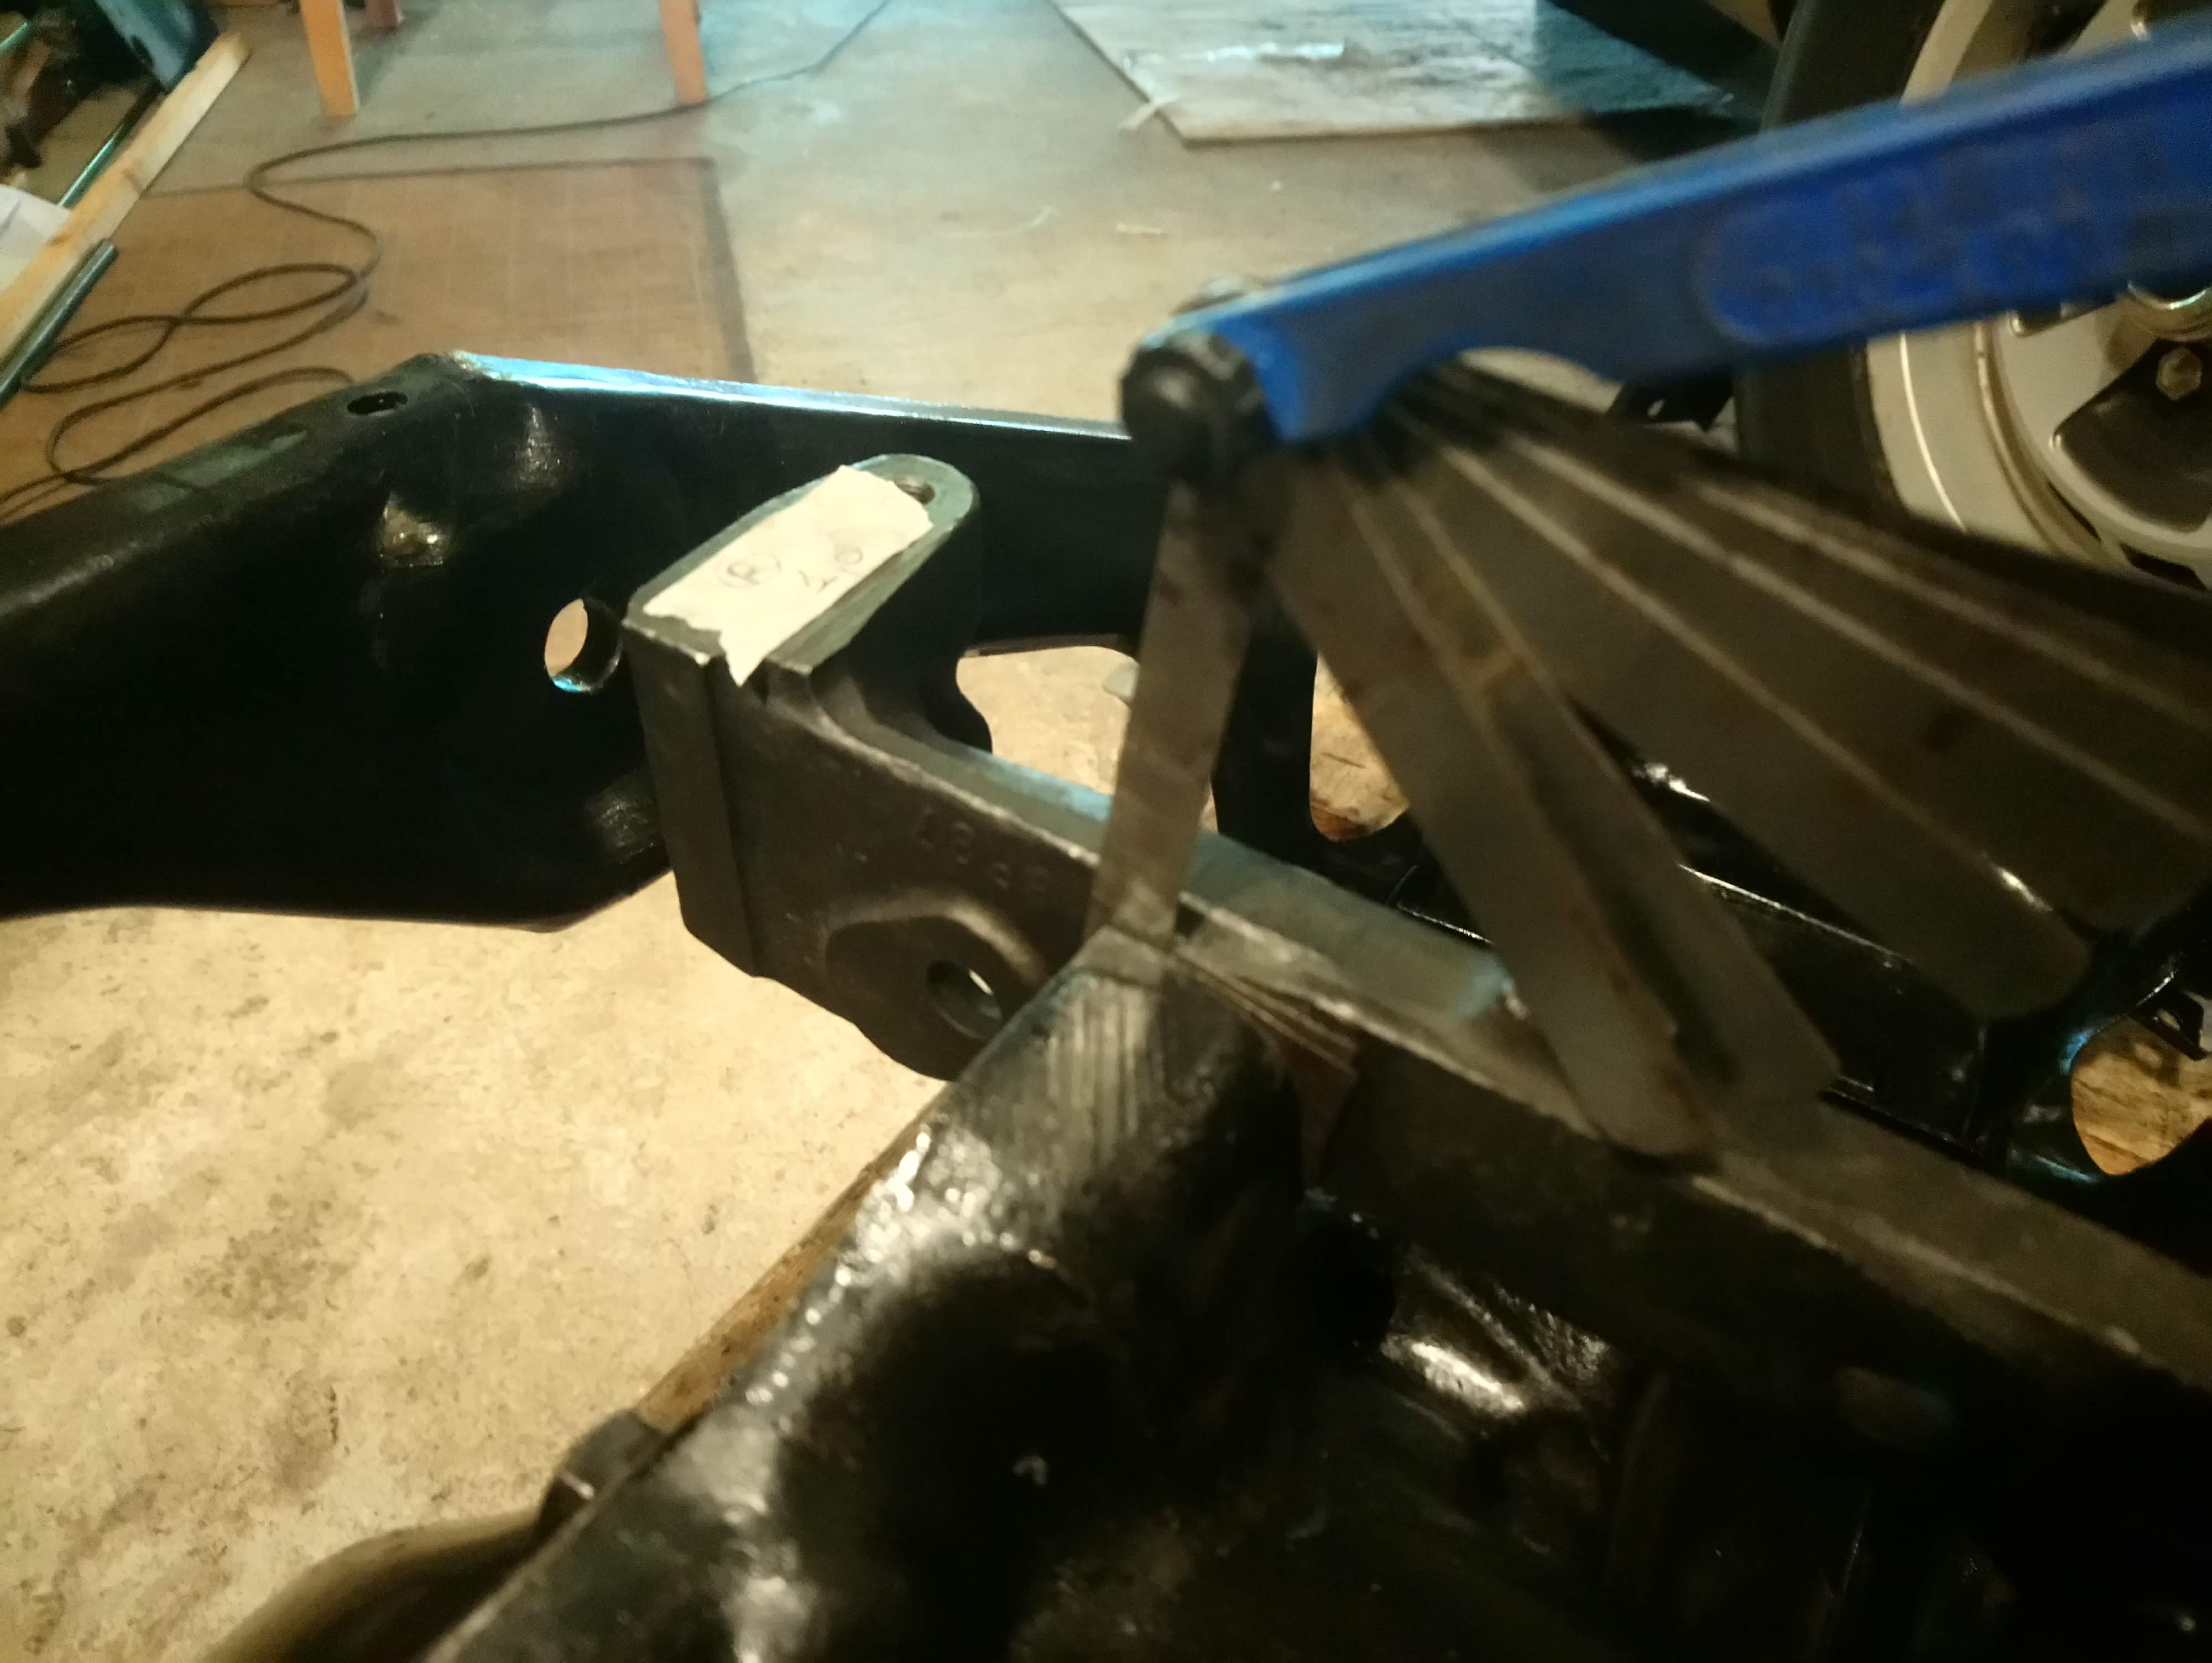
The ROM say that the torque values for the outer fulcrum shaft nuts should be torqued from 131-145nm.

The question is when should these be torqued? I could torque then now with the cage upside down, I could torque them after I flip the cage over to it’s natural position where there is more weight pushing down, or lastly, do they need to be torqued after the cage is installed with the full weight of the car? I Dunno
There’s no rubber involved, so it shouldn’t matter. You usually torque rubber bushing when the car is on the ground so they don’t rest in a twisted position when the car is static.
Btw I know nothing so consider ignoring that 
1 Like
I agree with John6, it’s immaterial when you torque those nuts up with the setup you have, even with the original bearings it’s would be the same situation as John6 states there’s no rubber bushes to twist.
The (hard to access) plug - female square socket - to check the level of the lube in the rear differential. 
I absolutely did not ignore that. Didn’t have enough words to satisfy the minimum requirement so I issued a ![]() instead
instead ![]()
Yes, the point was well taken.
Thanks guys
Yes, I did use a ½” square to remove the diffs fill plug.
Nothing to do with the bushings setup, I was talking about the shims between the shaft carriers and the differential case, so the shaft aligns with the holes on the cage.
The photo is zoomed in to much for me get proper perspective, but nevertheless there are no shims, and I positively did not remove any shims. Are we talking about the same model years? Whatever can be seen in my photos is exactly as it was found, except for the new bushings and of course the half shafts aren’t mounted.
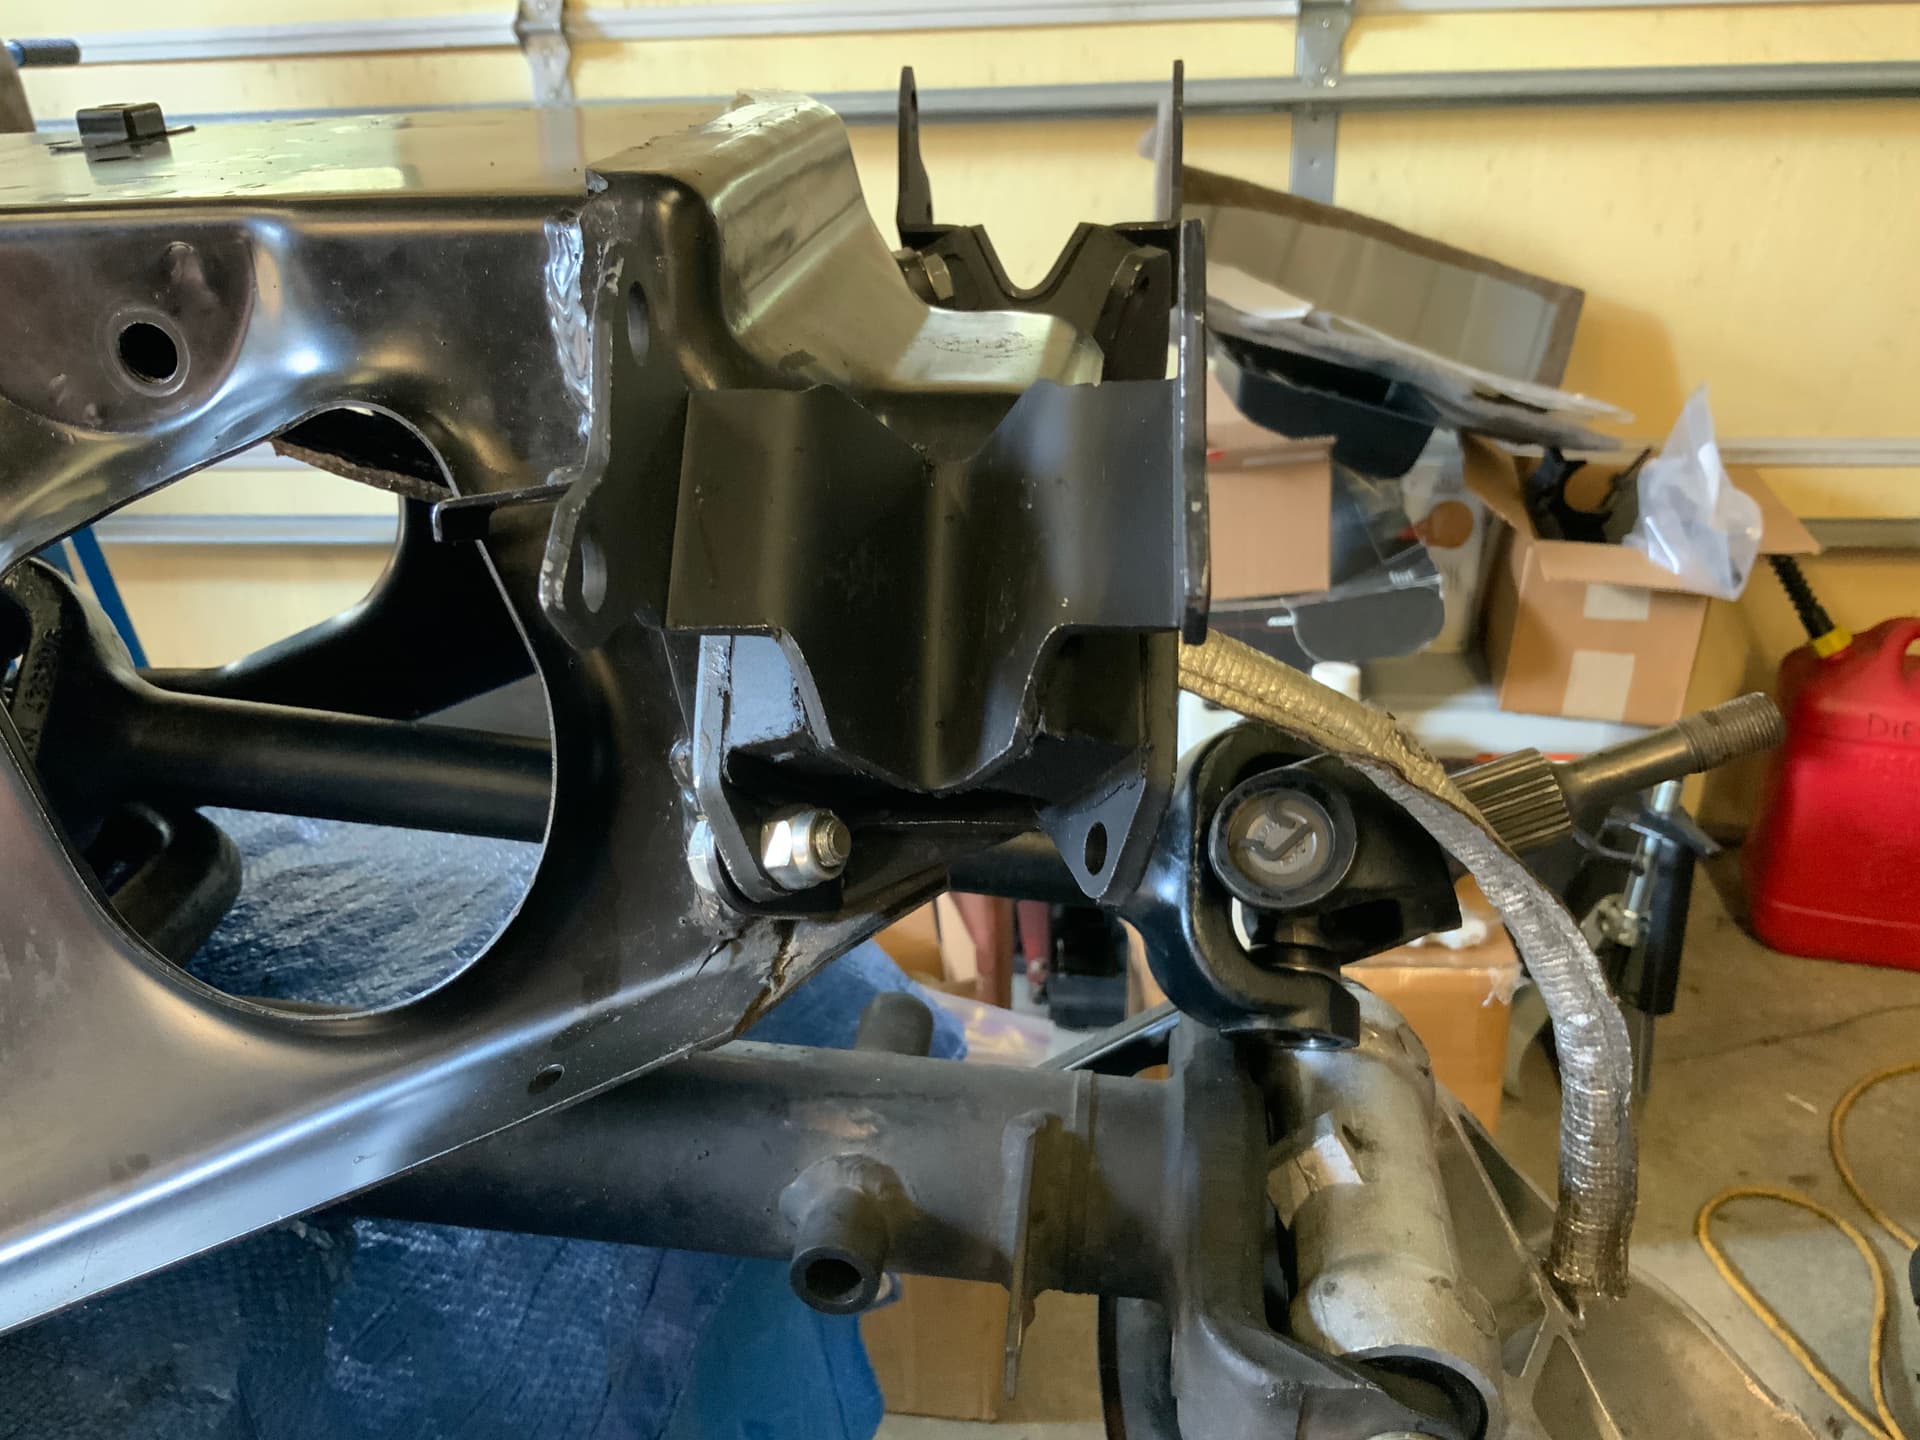
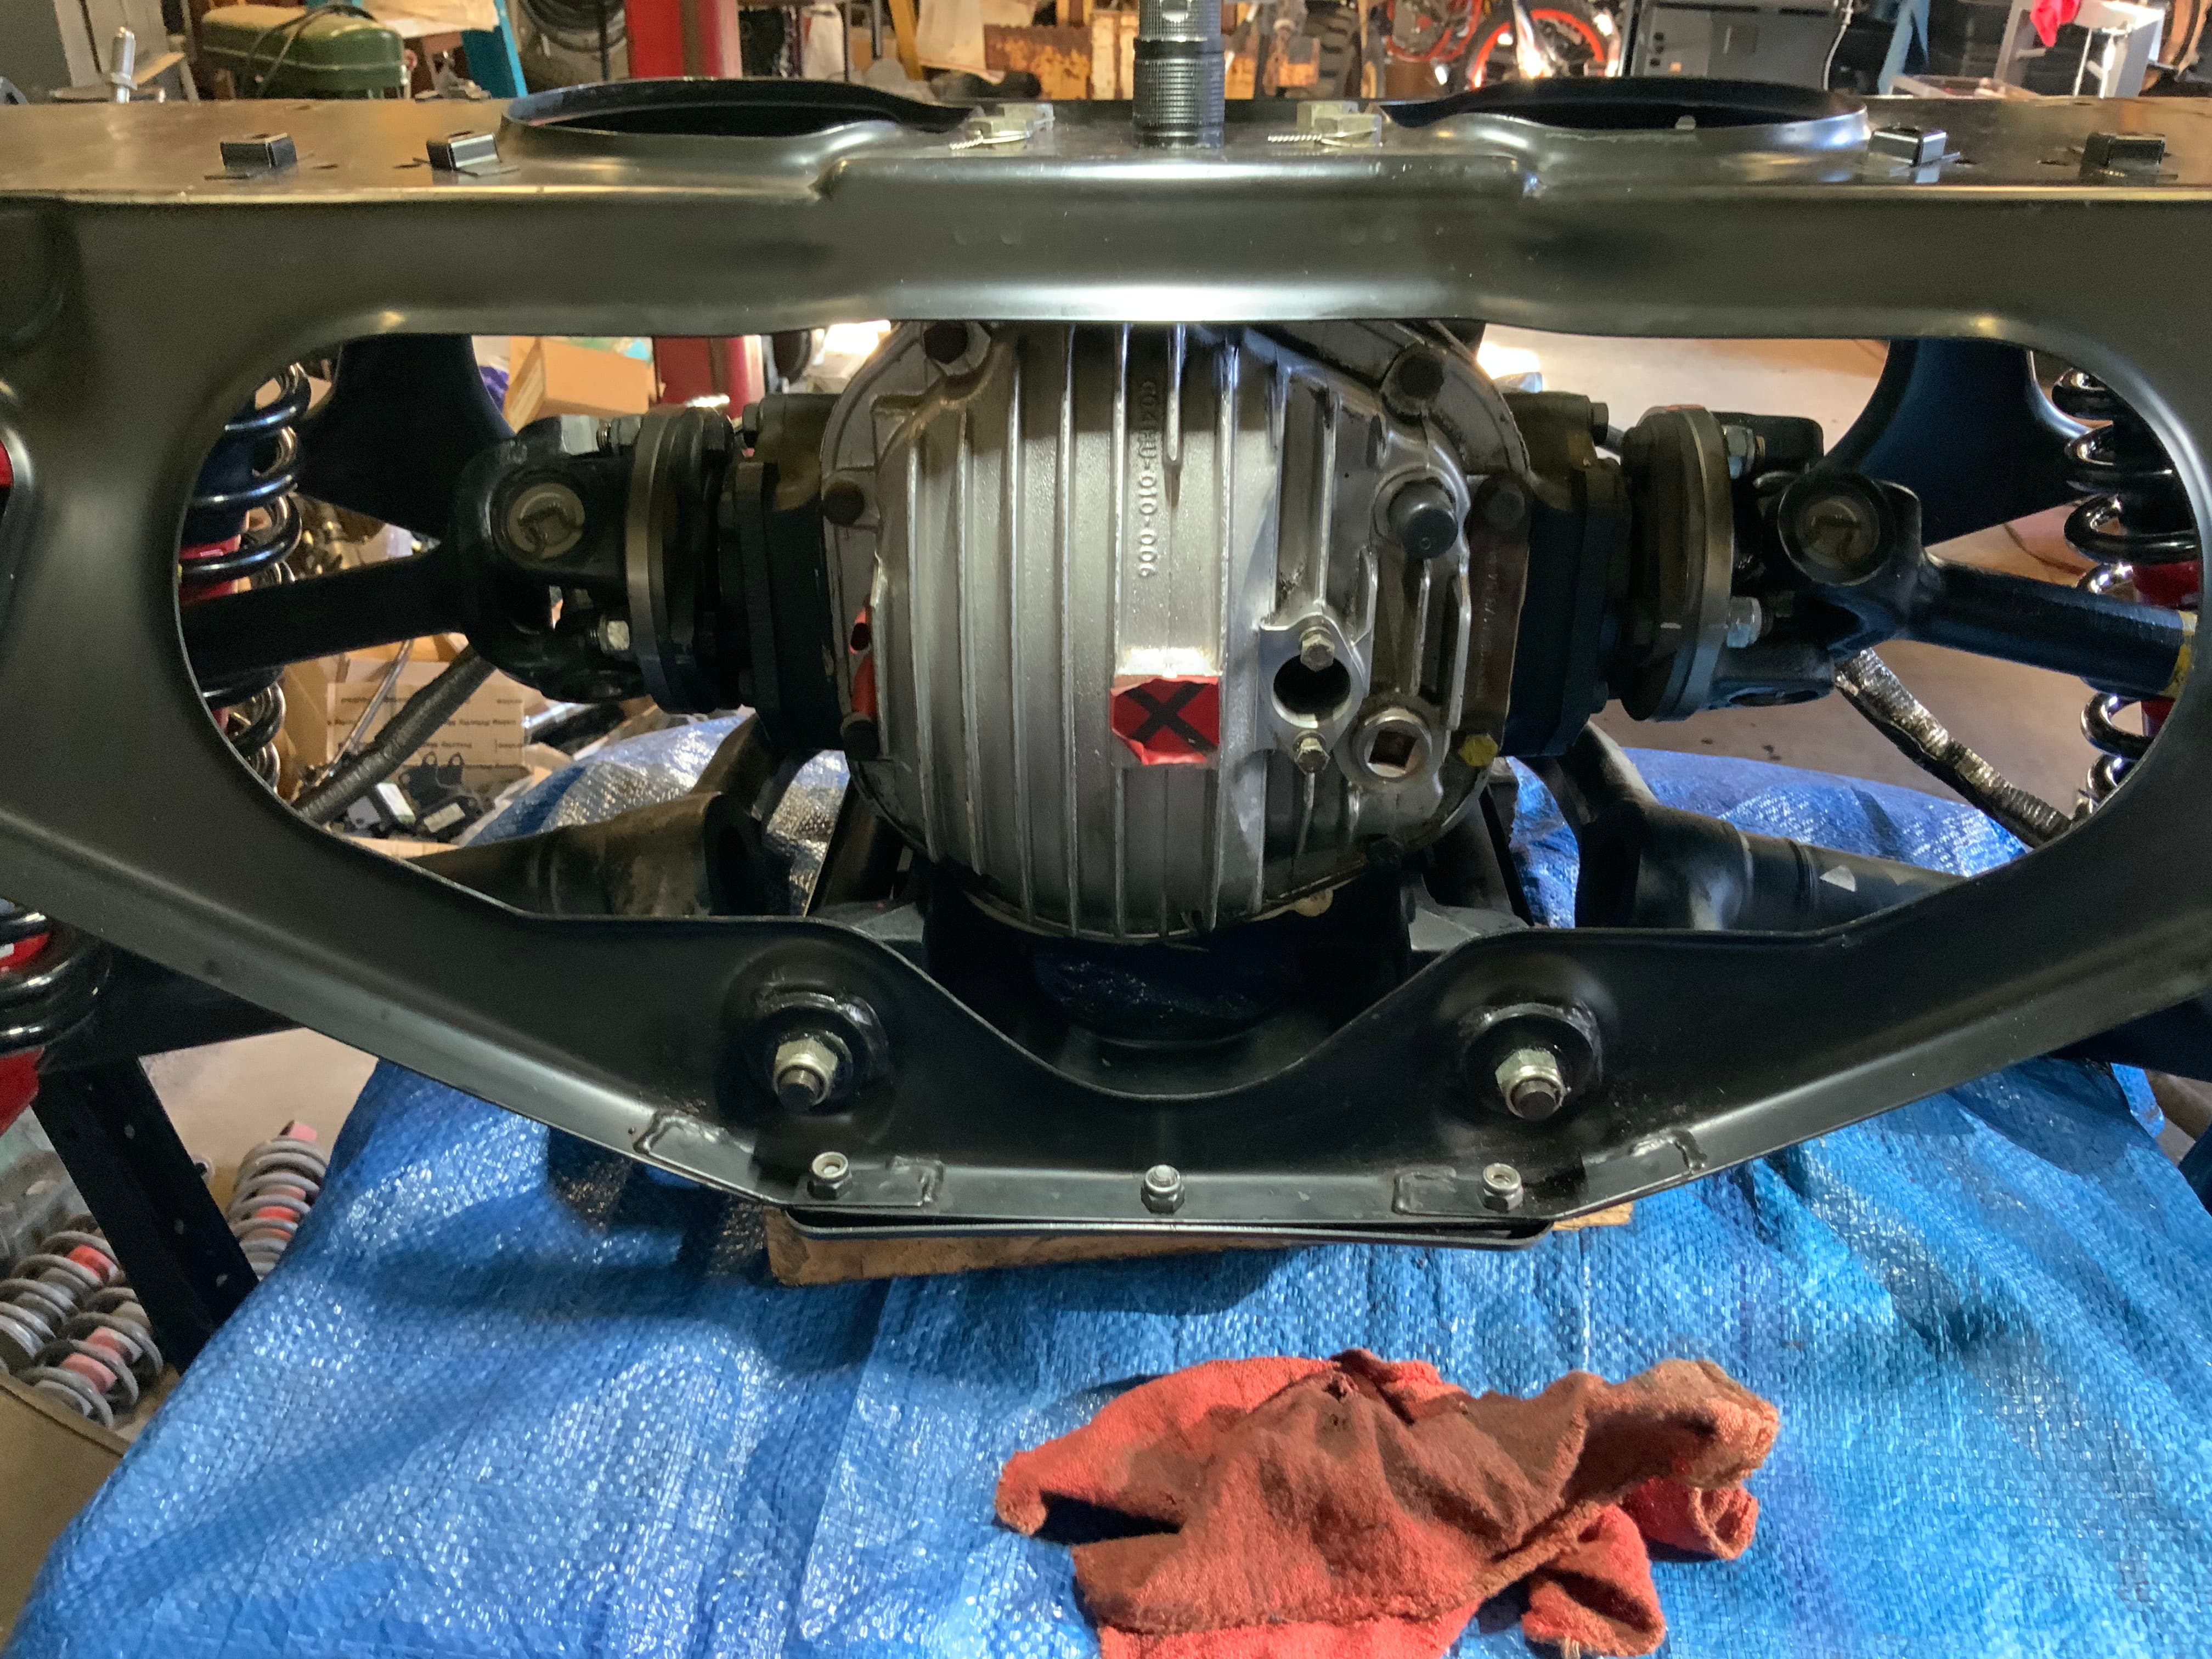
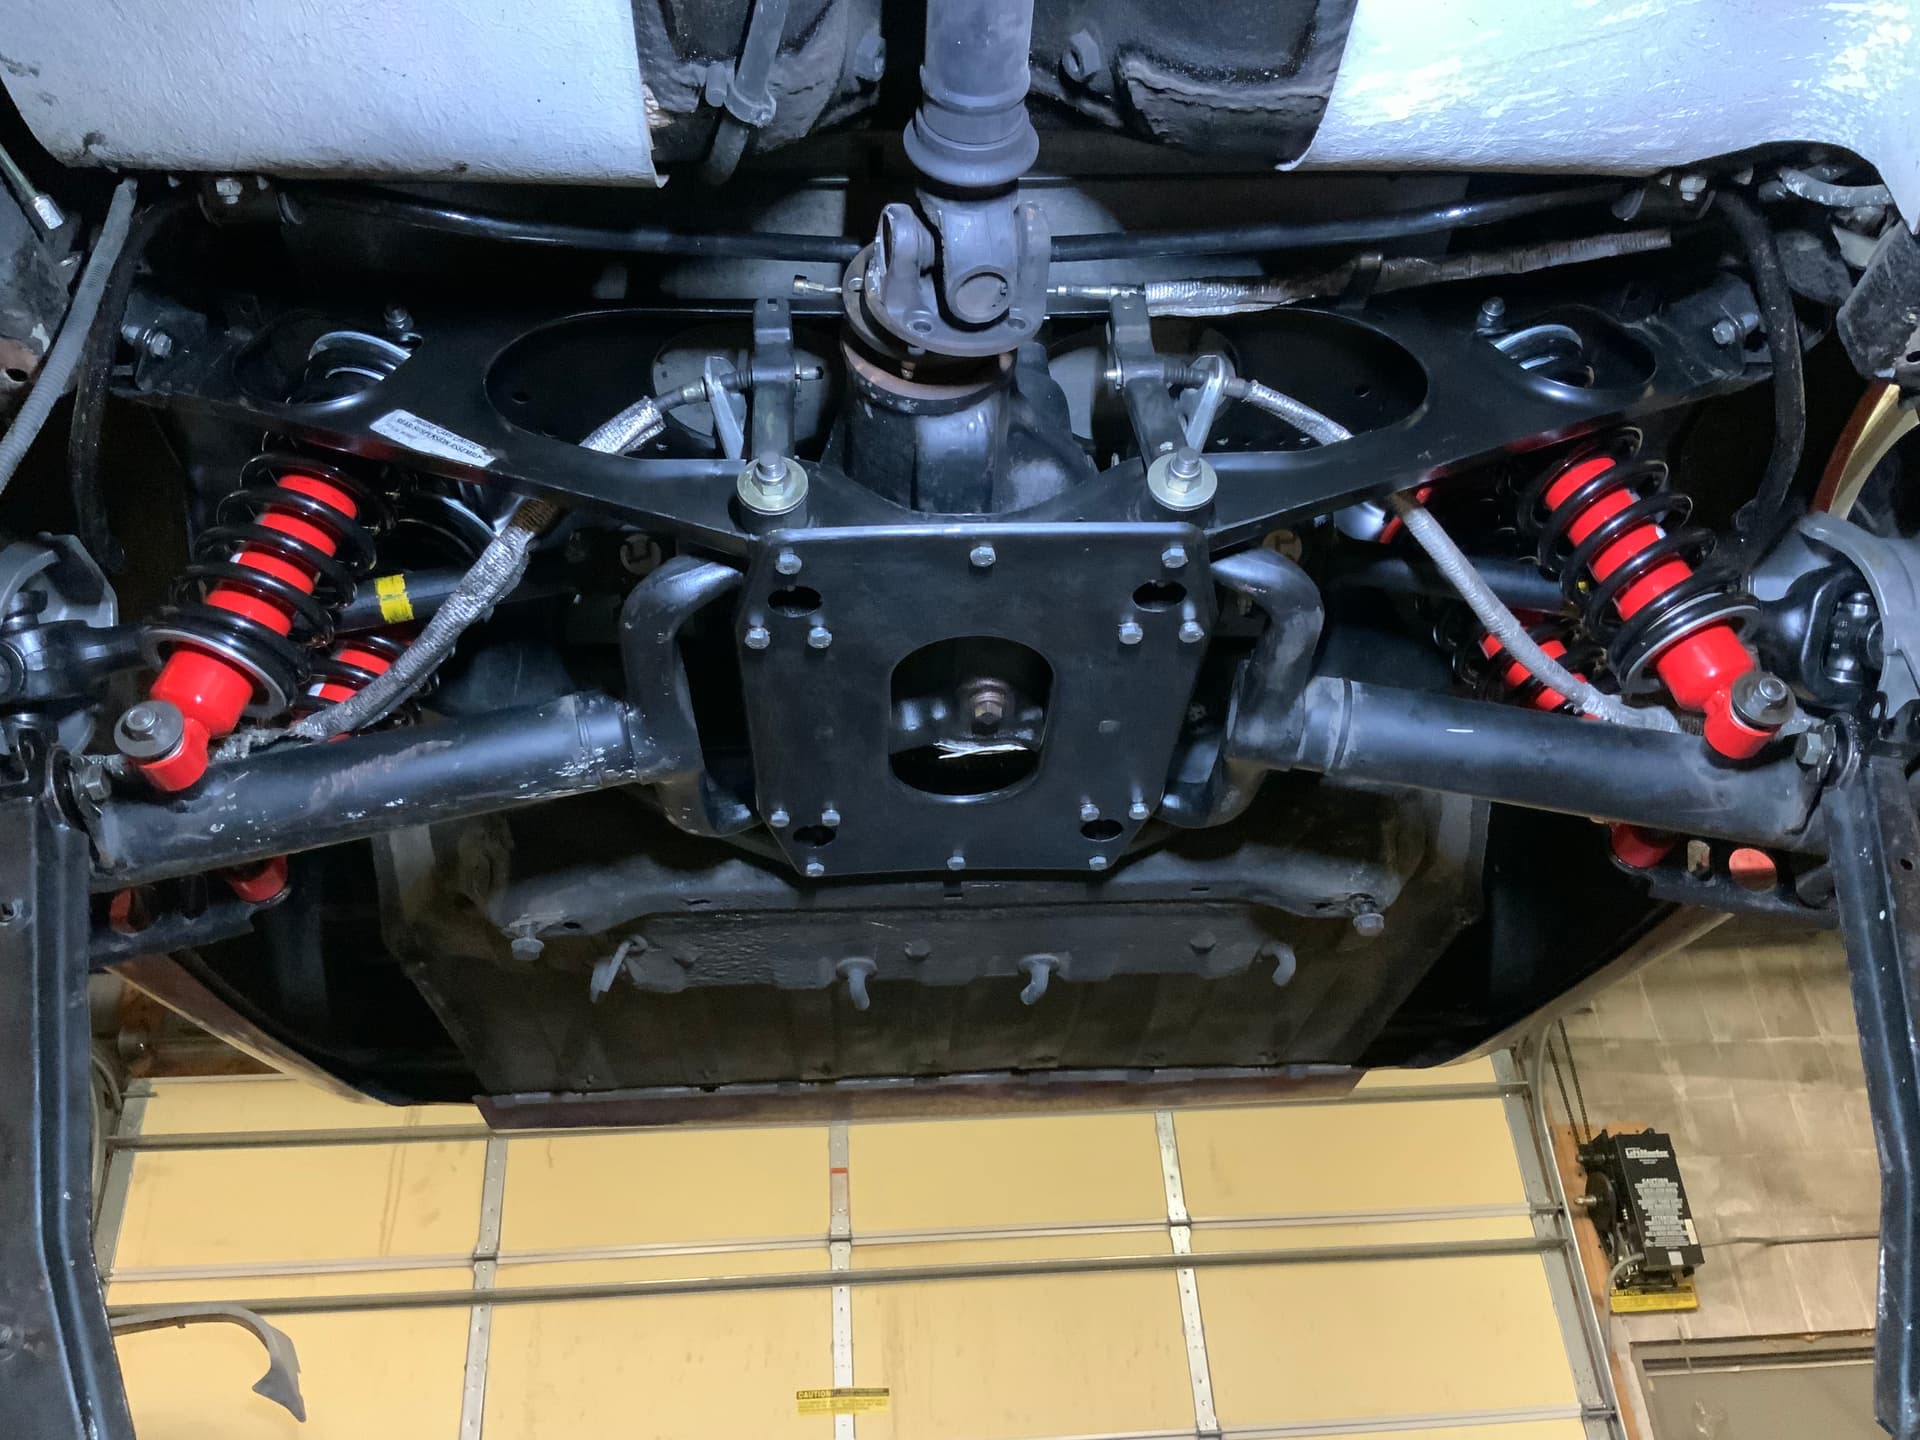
It’s the fulcrum shaft carrier (the wishbone is missing),the part on the bottom is the diff and the part behind is the cage.
The point of this exercise is to align the shaft carriers to the holes on the cage so the shaft can go in easily and not bend.
The fact that it had no shims says nothing, they could have fallen out, or not put in by someone else that worked in the car. I had a couple missing in my car and had to use a big fat hammer to take the shafts out.
If inserting the shafts after you tightened the carriers at the diff required minimum force, i.e. by hand, then you are ok.
BTW it’s also a possible way to correct rear toe issues.
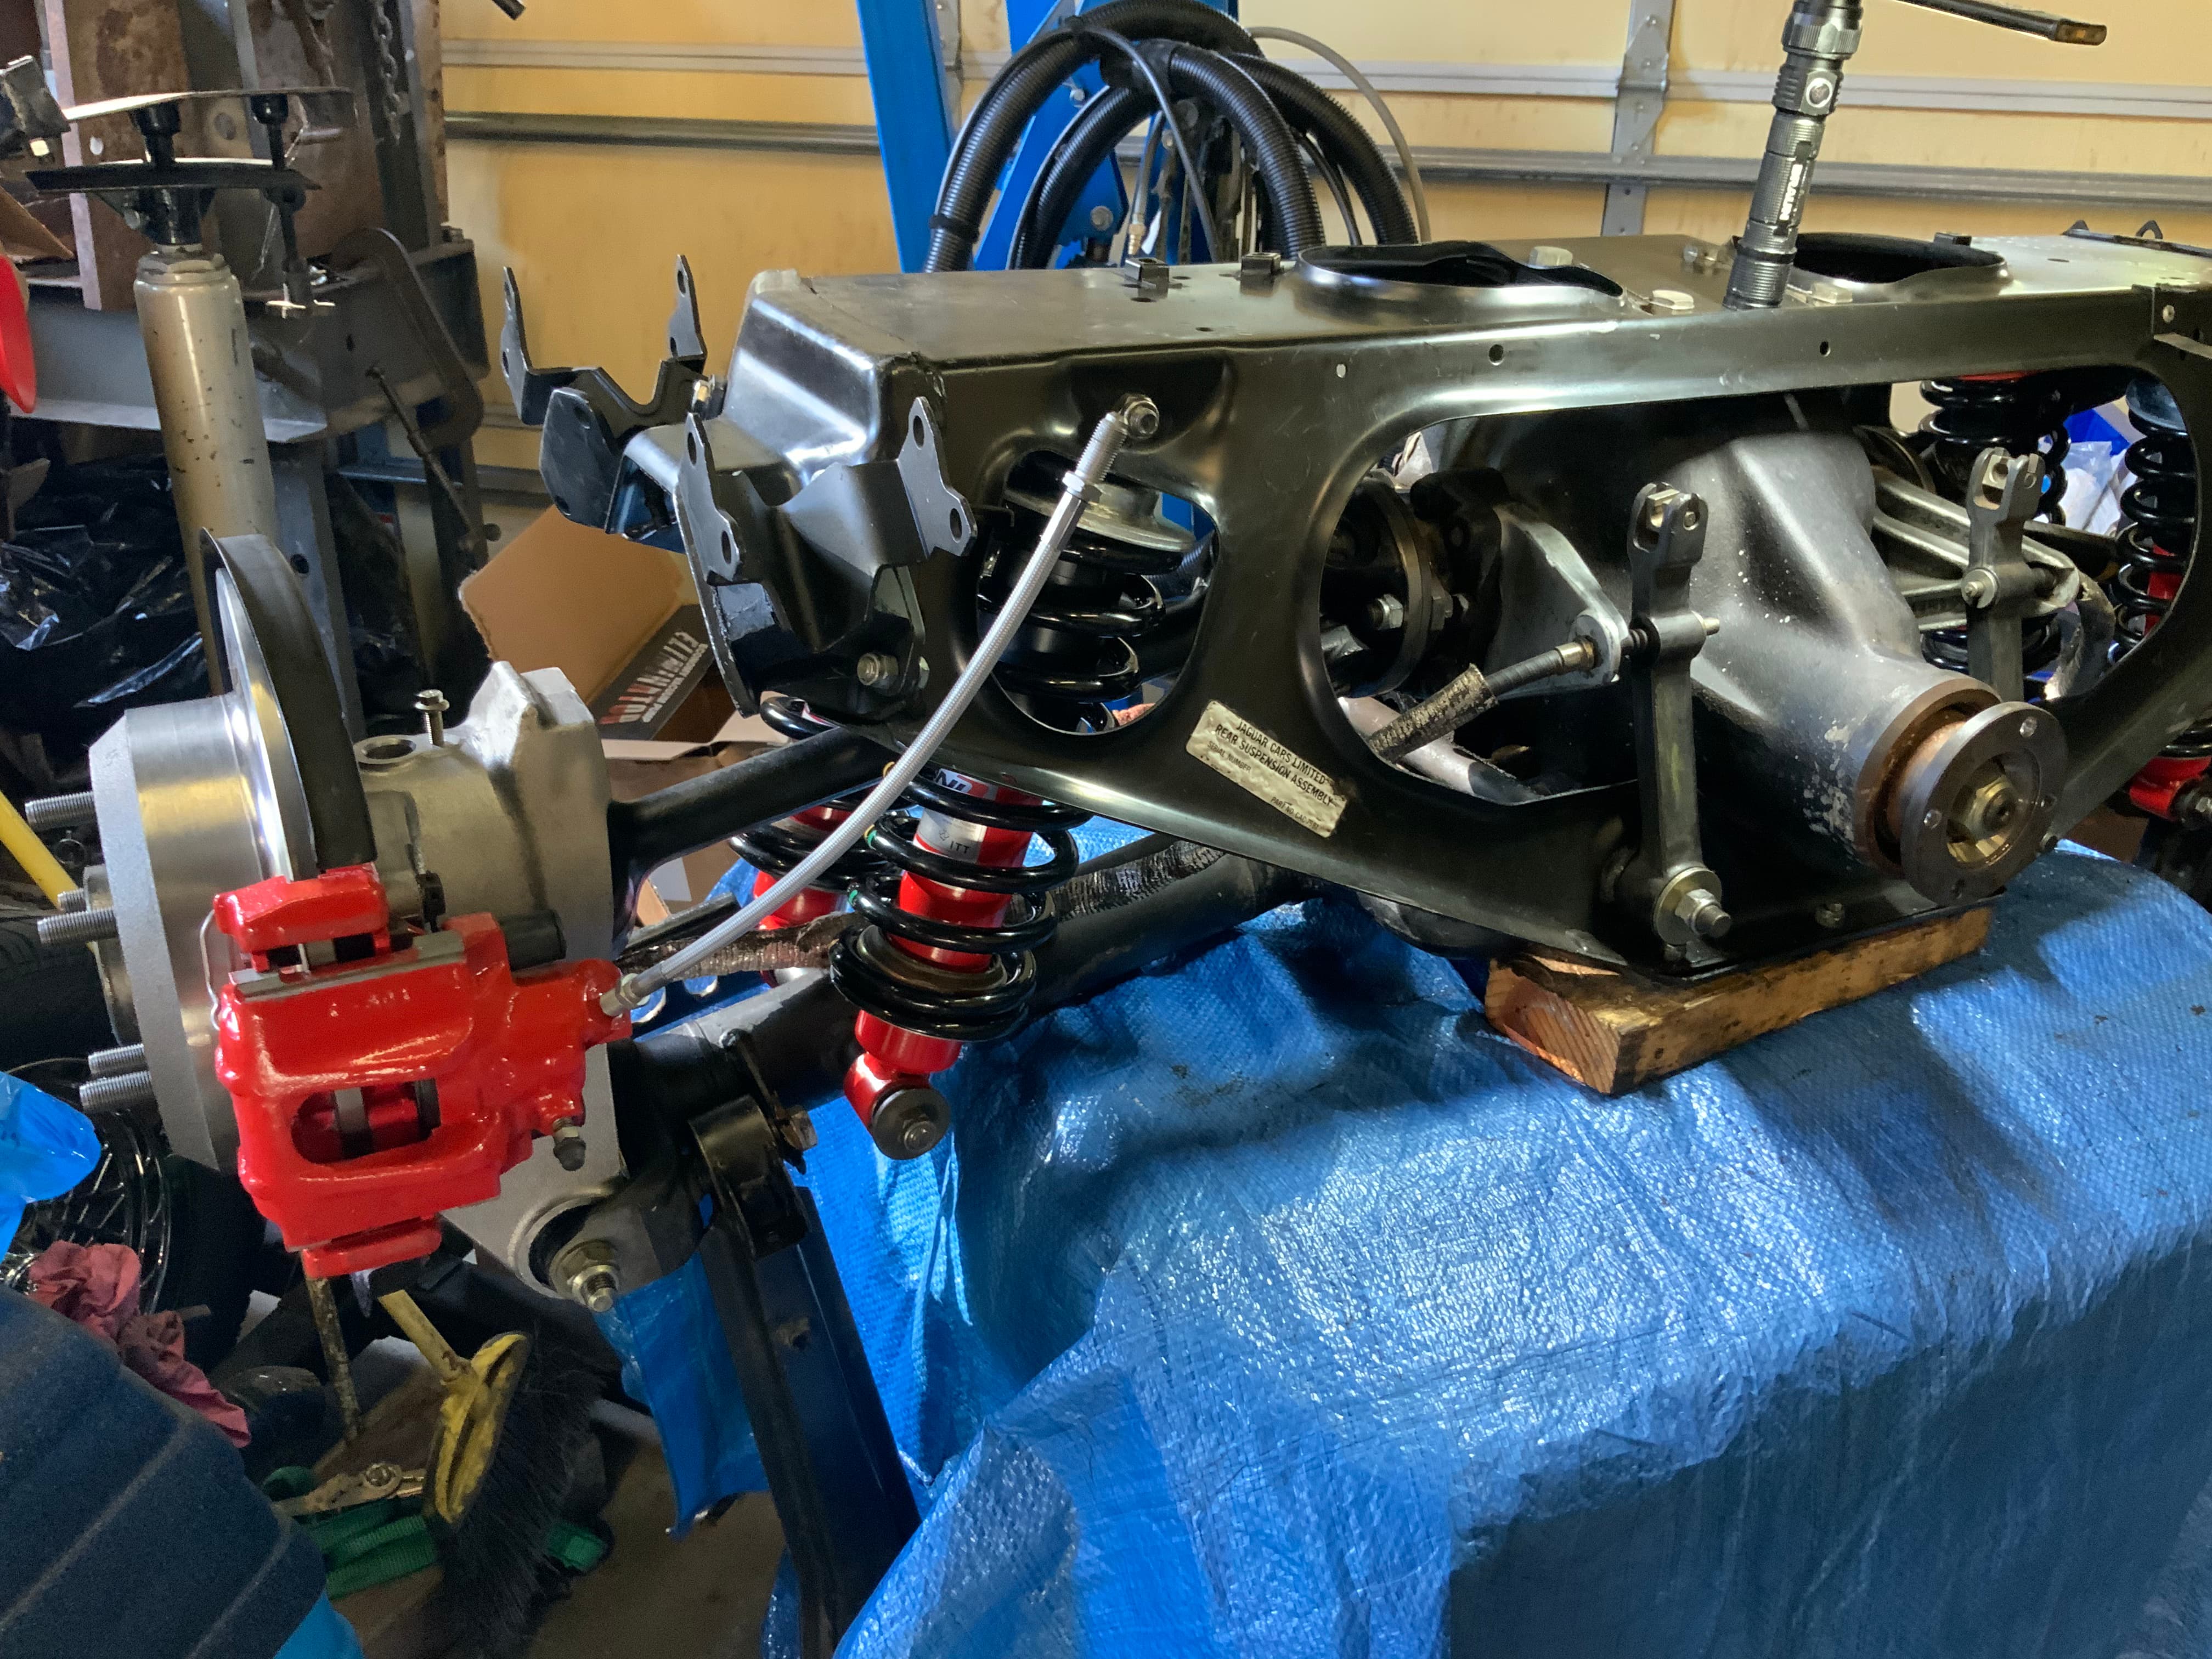
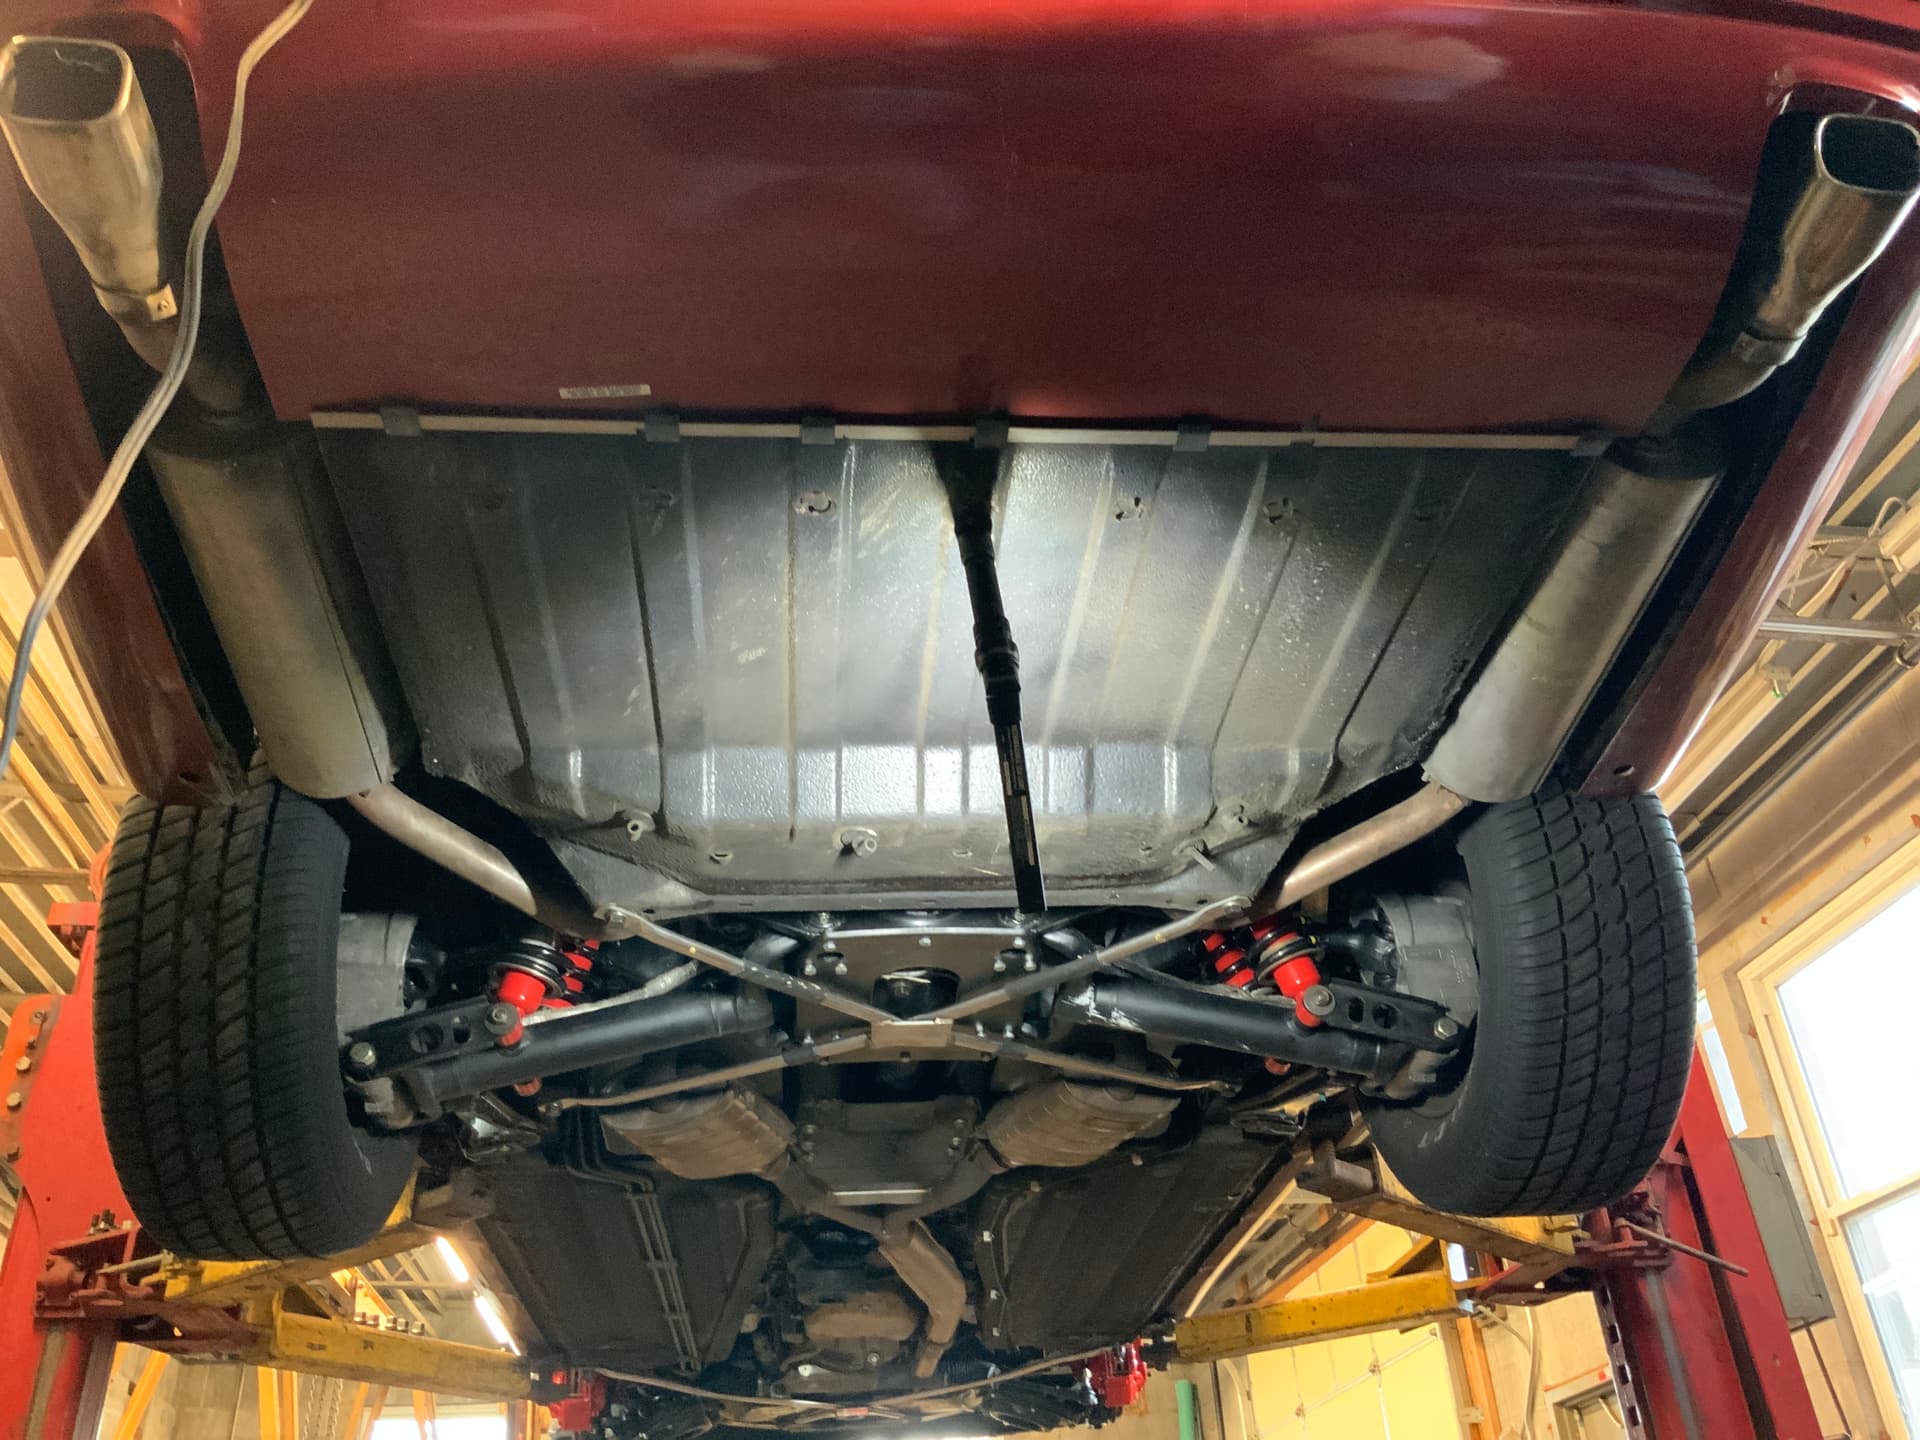
Trying to renew the rear cage has been long time coming. I’ve found that a lot of parts mixups are due to the propensity of parts suppliers to default to pre-facelift options which has resulted in big time delays. It also took quite a bit of time to decipher through the differences between the various part numbers of the rear subframe mounts. The mounts for the coupe, and the convertible are exactly in every way except for the durometer of the rubber, with the convertible being the softer of the two.

After taking into account my choice to use big & small Poly bushes on the radius arms


it seemed to make sense that all of the rubber associated with the rear cage operates within a system, so I opted for rear Poly subframe mounts as well.


I will also be adding an anti roll bar to the rear, but still undecided about using Poly on the end links.


It didn’t make much sense to bypass dismounting the rear brake hard lines and cleaning them up. I’m glad that I did because I was able to find and clean rust out of the fittings.


Its finally time to mount the cage


1 Like
Another milestone achieved that took one hell of a lot of massaging to get remounted, but the cage is finally remarried to the car.

1 Like
GEEZ, AJ … I’m still just stunned that your '94 (4.0) actually needed all that work with only 50K miles on her (less than ANY Jag I ever owned, btw)???  Do you live in an area where rust is problematic (or the POs)?
Nice job A.J. !!
Me thinks that with the addition of the rear anti roll bar the car will have a greater tendency to oversteer, and using rubber end links bushings will attenuate this while using poly bushings will amplify it.
Is mileage the only criteria used in which we determine a vehicles service requirements?
Is 27 yrs not enough?
If one were to plunk down 20-25K on a Pre-Owned XJS, should it be held to the same standard?
Functioning properly or not, (functioning properly does not mean that service is not required) I have not happened upon any one single area of this car that didn’t call for some type of attention, not one. And, hopefully as the many photo’s show, there isn’t one ounce of rust to be found on this car, if that answers the question.
Aristides you are 100% correct about expecting the rear bar to induce oversteer. However, I simply swapped out the front & rear sway bars from the ones found in my 1987 Lister coupe. The front bar is (I forget) 1 or 2mm wider than the one from the convertible, and the rear bar is (as far as I can tell) the standard issue Jaguar bar.
Optimally you’d want to shoot for balance, but given the choice I’m gonna lean towards oversteer as opposed to understeer. It is understood that oversteer does require more driving skill.
Oh, I hear you loud and clear on the end link bushings, I’ll use the rubber and keep the poly for my V12 XJS.
1 Like
Very strange then … When I got Superblue she had 75K miles on her and I couldn’t tell that she needed anything done to her. But then, she was a high $$$ MA area car (Hyannis Port or some such), so maybe her PO kept her garaged when not out on the road.  And also had anything fixed on her when it came time … ? Of course, over the next 25K or so miles she has had several things go out, but fortunately just minor things …
After getting associated with the rear cage torqued to spec, the only thing left to do back there is bleed the brakes and tighten up the rear anti roll bar and linkage once the car has some weight on it. After nearly two months of back & forth delays with SNG because the big end poly bushes inner diameter was to small to fit into the underside nipple of the car, I finally gave up and installed the OEM Metallastic ones, but with the indents facing east & west as opposed to facing north & south. It was gratifying to say the least when I was finally able to remount the exhaust and put the wheels back on.


The next challenge is to reattach the steering linkage

I say “challenge” because there is no reference of positioning the steering wheel to its center position because it to is not mounted to the car.
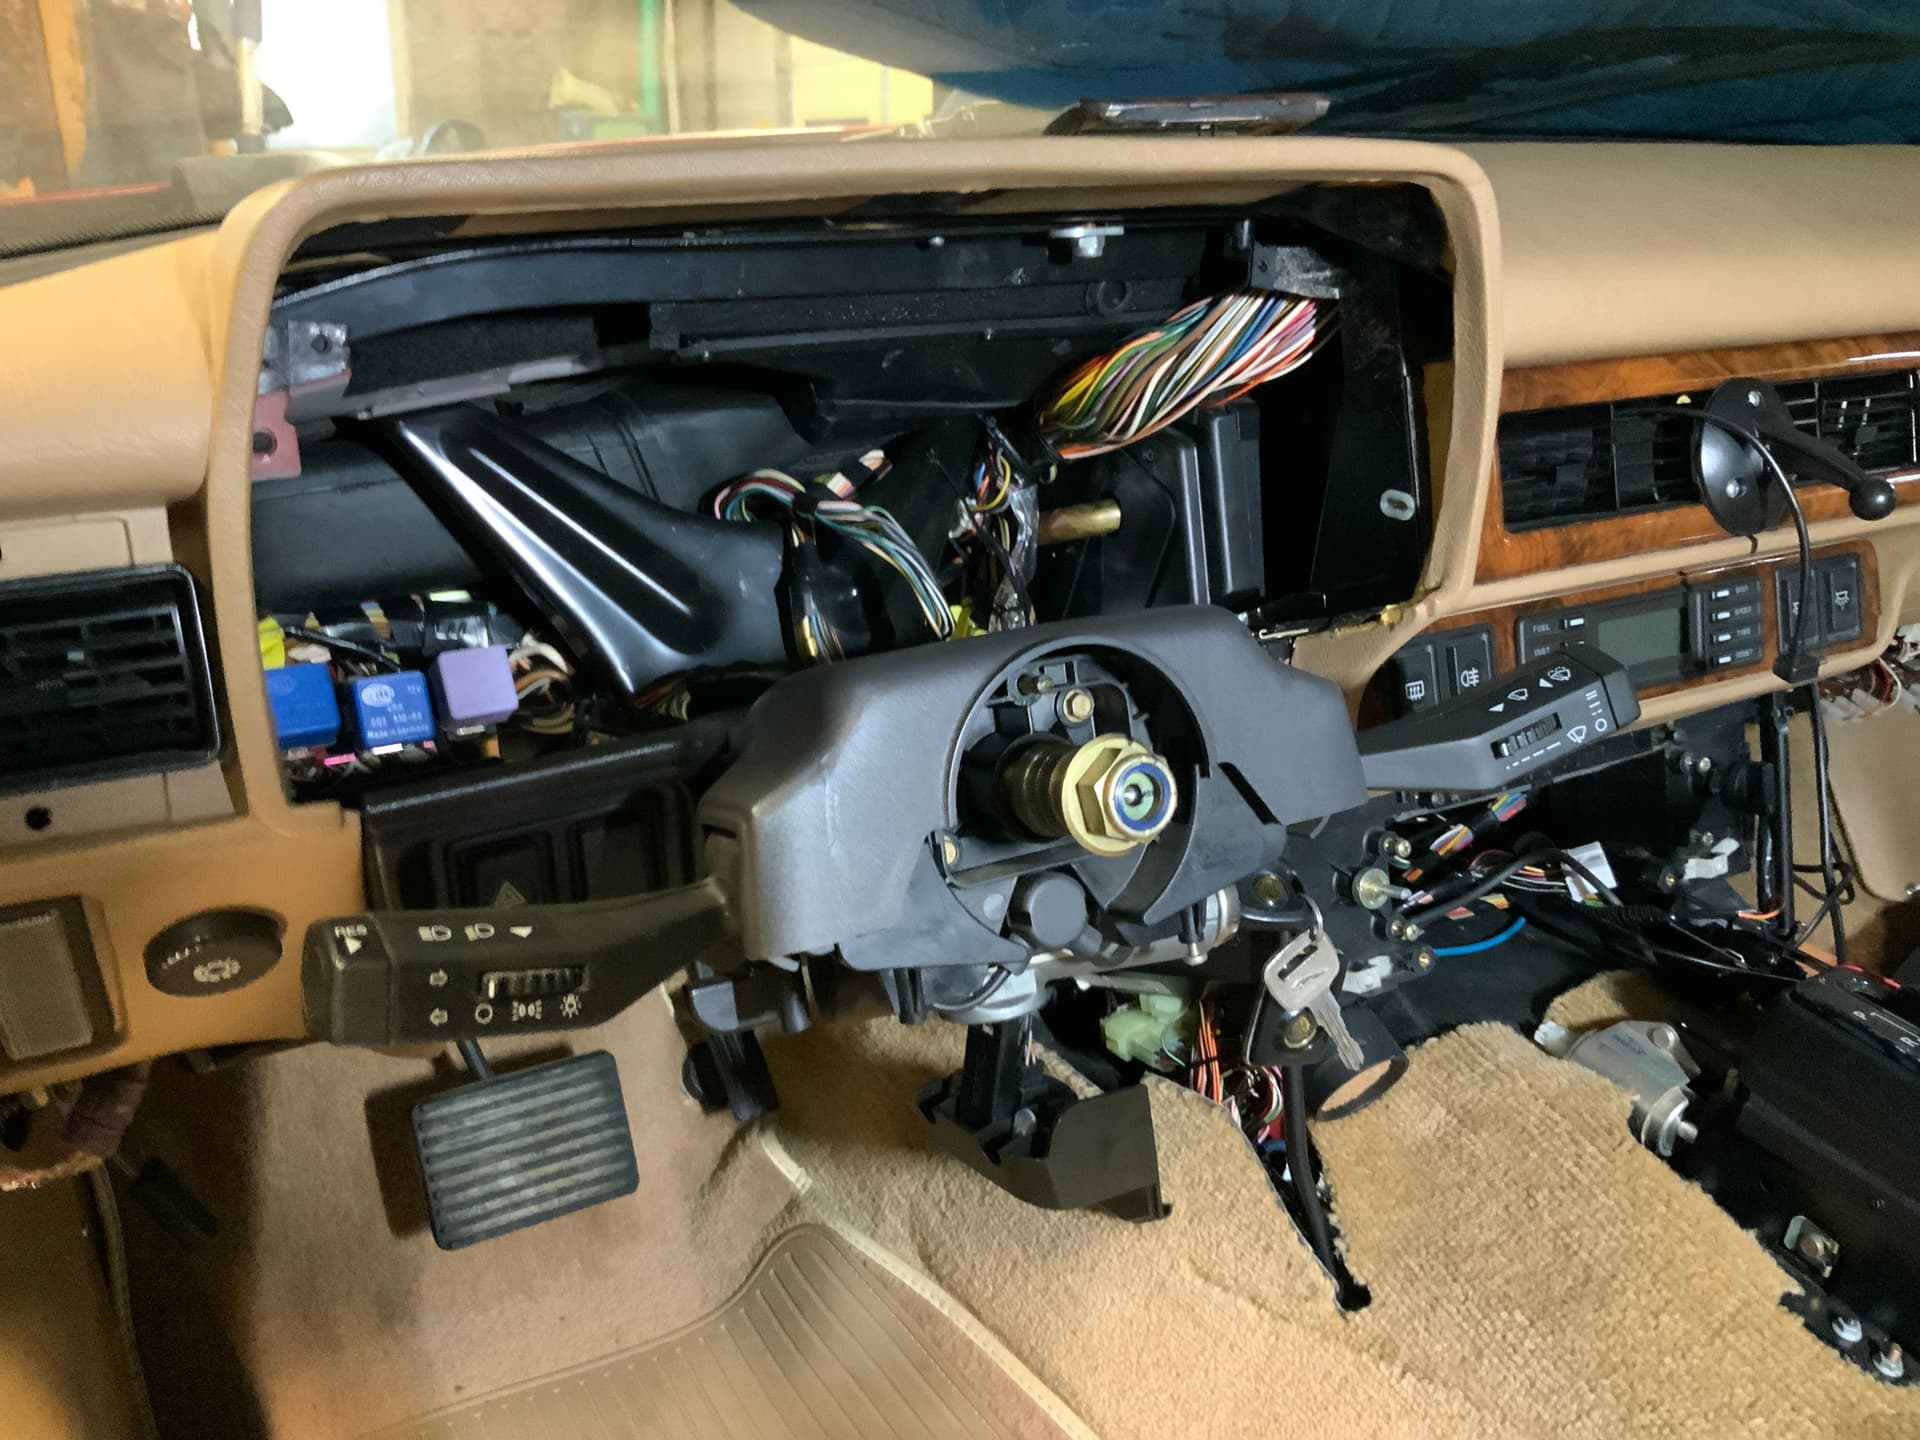

Needles to say, neither of the tie rods have been fitted.

This being a totally scratch install, my question is where does one start? I would think that positioning the rack to its center position would be the first step, but how does one go about finding the center?
Centering the rack is the easy part. There’s either a grease fitting or a plug bolt at bottom center. Remove and slide a cut-off bolt through the hole. Move the rack left and right, and when your pin falls into a notch in the rack and stops it moving, it is centered.
You’re going to want to center the steering column, too, so that the turn signals cancel at the right steering angle.