Beautiful. Thank you so much for taking the time to share.
O.K., going way back to your original post, I still don’t understand what generated all this (supposedly) necessary work on the front suspension. Did it turn out the front end alignment was THAT badly off-kilter?  I wouldn’t think a '94 would be that far off (and pray my '94’s isn’t
  ), absent a collision, that it would need the whole suspension pulled and worked on. ?
  As clean as everything looks in your pics, I would assume also your '94 is pretty low-mileage, like Superblue is (e.g. less than 90K miles). Surely Jag at least got that matter nailed down by the time it came out with our face-lifts. ?
Control arms can be torqued up without weight of car since you stated all bushings are now poly.
In my mind documenting this whole procedure kills a flock of birds with one stone.
-
Unfortunately, I have never known anyone that purchased a brand new XJS, or any other Jag for that matter. I cannot even remember if I ever had the opportunity to have even sat in a new Jag, and I certainly never ever had the experience of driving a brand new XJS either. However, I am fully aware of what a worn in, and what a worn out suspension feels like. Unfortunately my one and only shot of experiencing that brand new XJS ride experience with OEM shocks and bushings is being forfeited of my own volition in pursuit of a more sport oriented, canyon carving performer with the addition of polyurethane bushes, and Koni shocks.
-
I have not seen an XJS suspension completely gone through from start to finish, and in full detail before in any one place.
-
This thread will serve as a document of proof that irrespective of time the entire suspension front & rear is being renewed all at the same time before the car ever hits the ground. In this way the whole suspension will settle in and hopefully wear evenly for at least the next 27 years, or 50,000 miles, which ever comes first.
-
The overall aim of this endeavor continues to be a striving towards achieving the factory spec ride height along with an uncompromising factory style 4 wheel alignment.
This is interesting news. How does the choice of bushing material eliminate the factory spec torquing procedure?
Regardless of the choice of bushings I have noticed (on the bench) that when those control arms are torqued down it really stiffens up the movement something fierce. My logic is probably wrong, but it seems to me like the upper & lower control arms should be able to move up and down somewhat freely?
As a general rule, OEM rubber suspension bushings are bonded to metal at the OD and ID, so when the suspension moves the rubber flexes. The attachments have to be left untorqued until the weight of the car is on the mounts so they get tightened up in an untwisted condition, and movement of the suspension toward either extreme flexes the rubber away from center.
But poly bushings don’t flex like that. So instead poly bushings are generally designed to slip at either the ID or OD or both. If not properly lubed, they’ll squeak. But you can torque them down in any position, loaded or not, because they just slip when the suspension moves anyway.
And yes, they should move fairly freely. I don’t know anything about the poly bushings you’re using, but perhaps they aren’t designed quite right.
Well, the topside of the car ain’t too shabby, but that’s not the point. Regardless of how the car may feel, or how well it is able to be aligned, the blaringly obvious letdown was the removal of visually decent looking bushes and ball joints. They are not new, they don’t look new, and they definitely don’t perform like new. After 15, 20, 25, or in this case 27 years, do they not deserve to be renewed for the sake of GP alone?
You lost me here.
Are you referring to the movement of the control arms and their bushing as I was?
The explanation for torquing down the control arms while on the bench does make life a whole lot easier than having to do with the weight of the car.
The few times that I did tighten down those control arms before losing them up again was done without the use of torque specs, so its likely they were over torqued at the time.
With regards to the use of torque specs in relation to castle nuts & cotter pins, I have noticed a surprisingly close correlation to the spec and the insertion of the pin.
Yes. If you’ve got poly bushings in there, they should move fairly freely when tightened up.
You may need to double check the washers you are using if the arms are binding when tightened.
Properly lubed poly bushings should move freely through their arc of movement but without lateral play.
Any washers should simply snug up to the end of the centre crush tube. Only the washers supplied with the bushes should be used.
Washers were not supplied with the bushes however, the existing washers were polished up shiny and generously lubed. The fulcrum shaft was also polished, generously lubed and slid freely through all of the components. The bushes themselves also enjoyed a generous lubed bath, as did every other poly bush associated with this subframe.
I will look up the fulcrum shaft torque spec and button this up while the subframe is still on the bench.
Speaking of torque specs and instruction, I have several iterations and media of ROM manuals and find them all to be sorely lacking and inaccurate. My takeaway has been a generally vague guideline at best in most cases. As evidence to some of the inaccuracies that I speak of there is an ever growing small pile of parts that have been accumulating because the parts lists are not the actual parts that are on the car. There are a number of instances where torque adherence is eluded to, but no values exist.
The use of power tools for assembly or disassembly were strictly forbidden.
Anti seize compound was used on any thread that did not employ the us of a Nyloc nut.
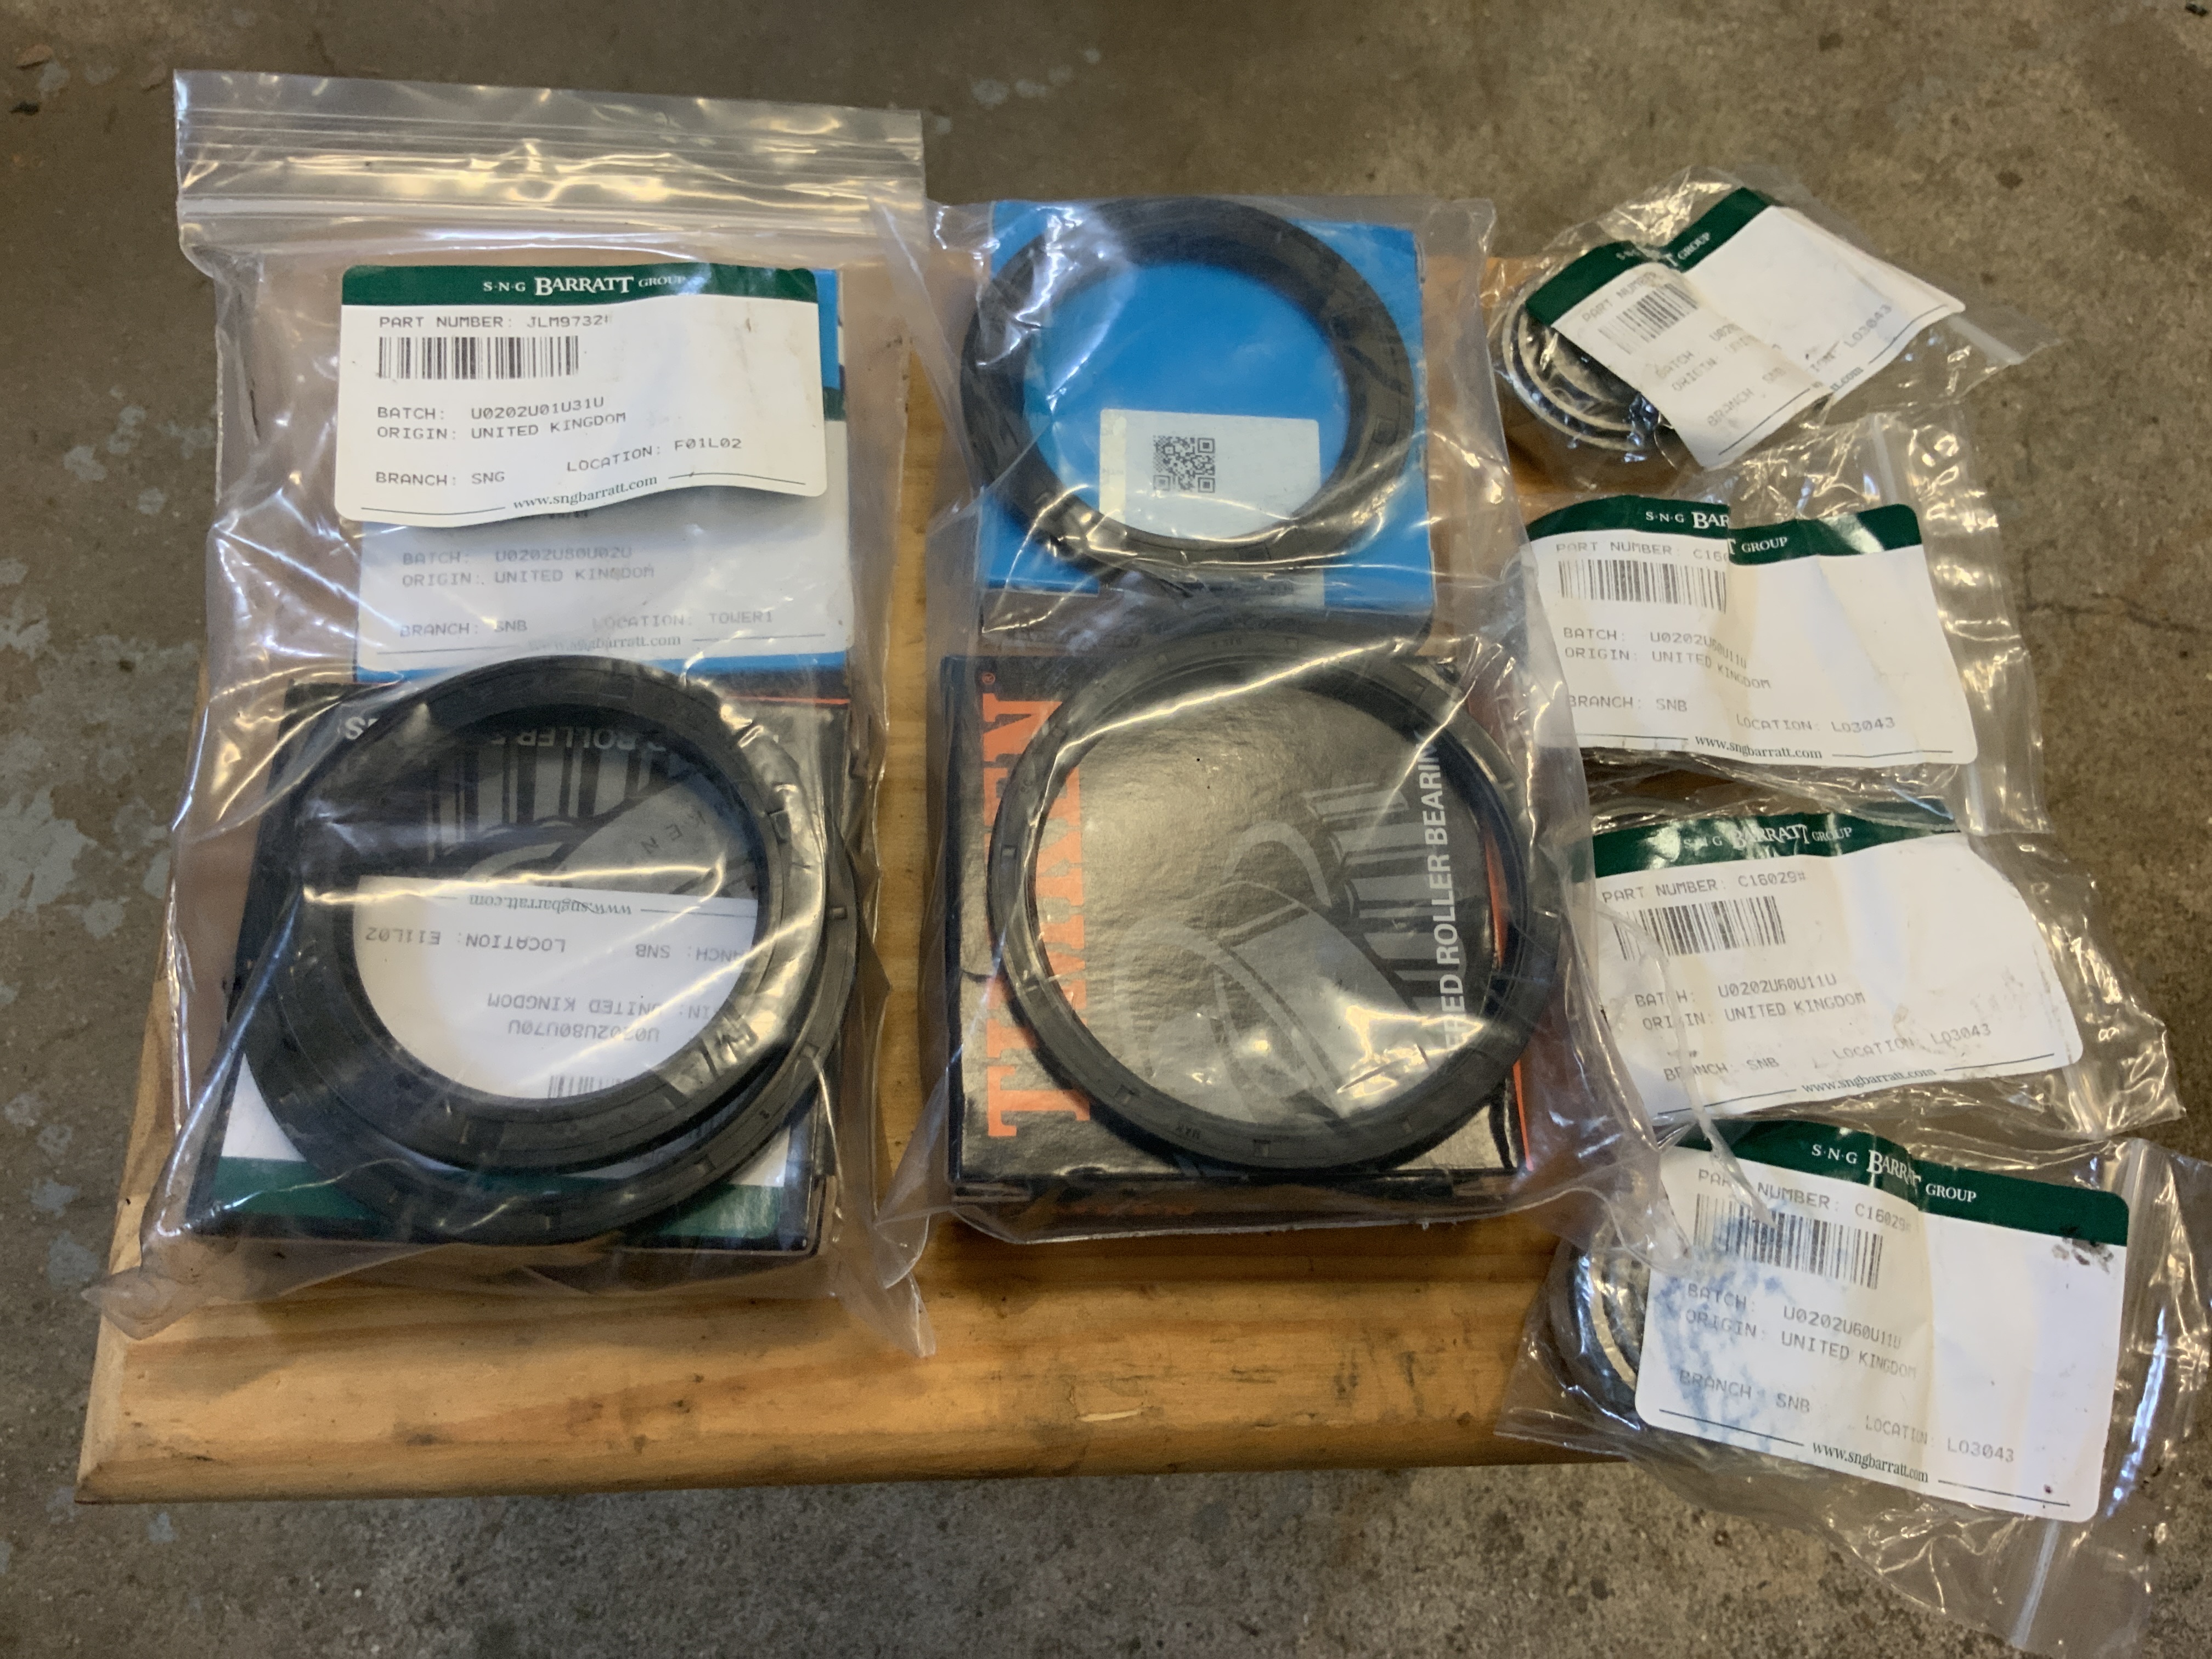
As a side note: Every nut and bolt associated with the front subframe underwent ultrasonic cleaning, polishing, and a thread chasing, those that didn’t make the cut were renewed.
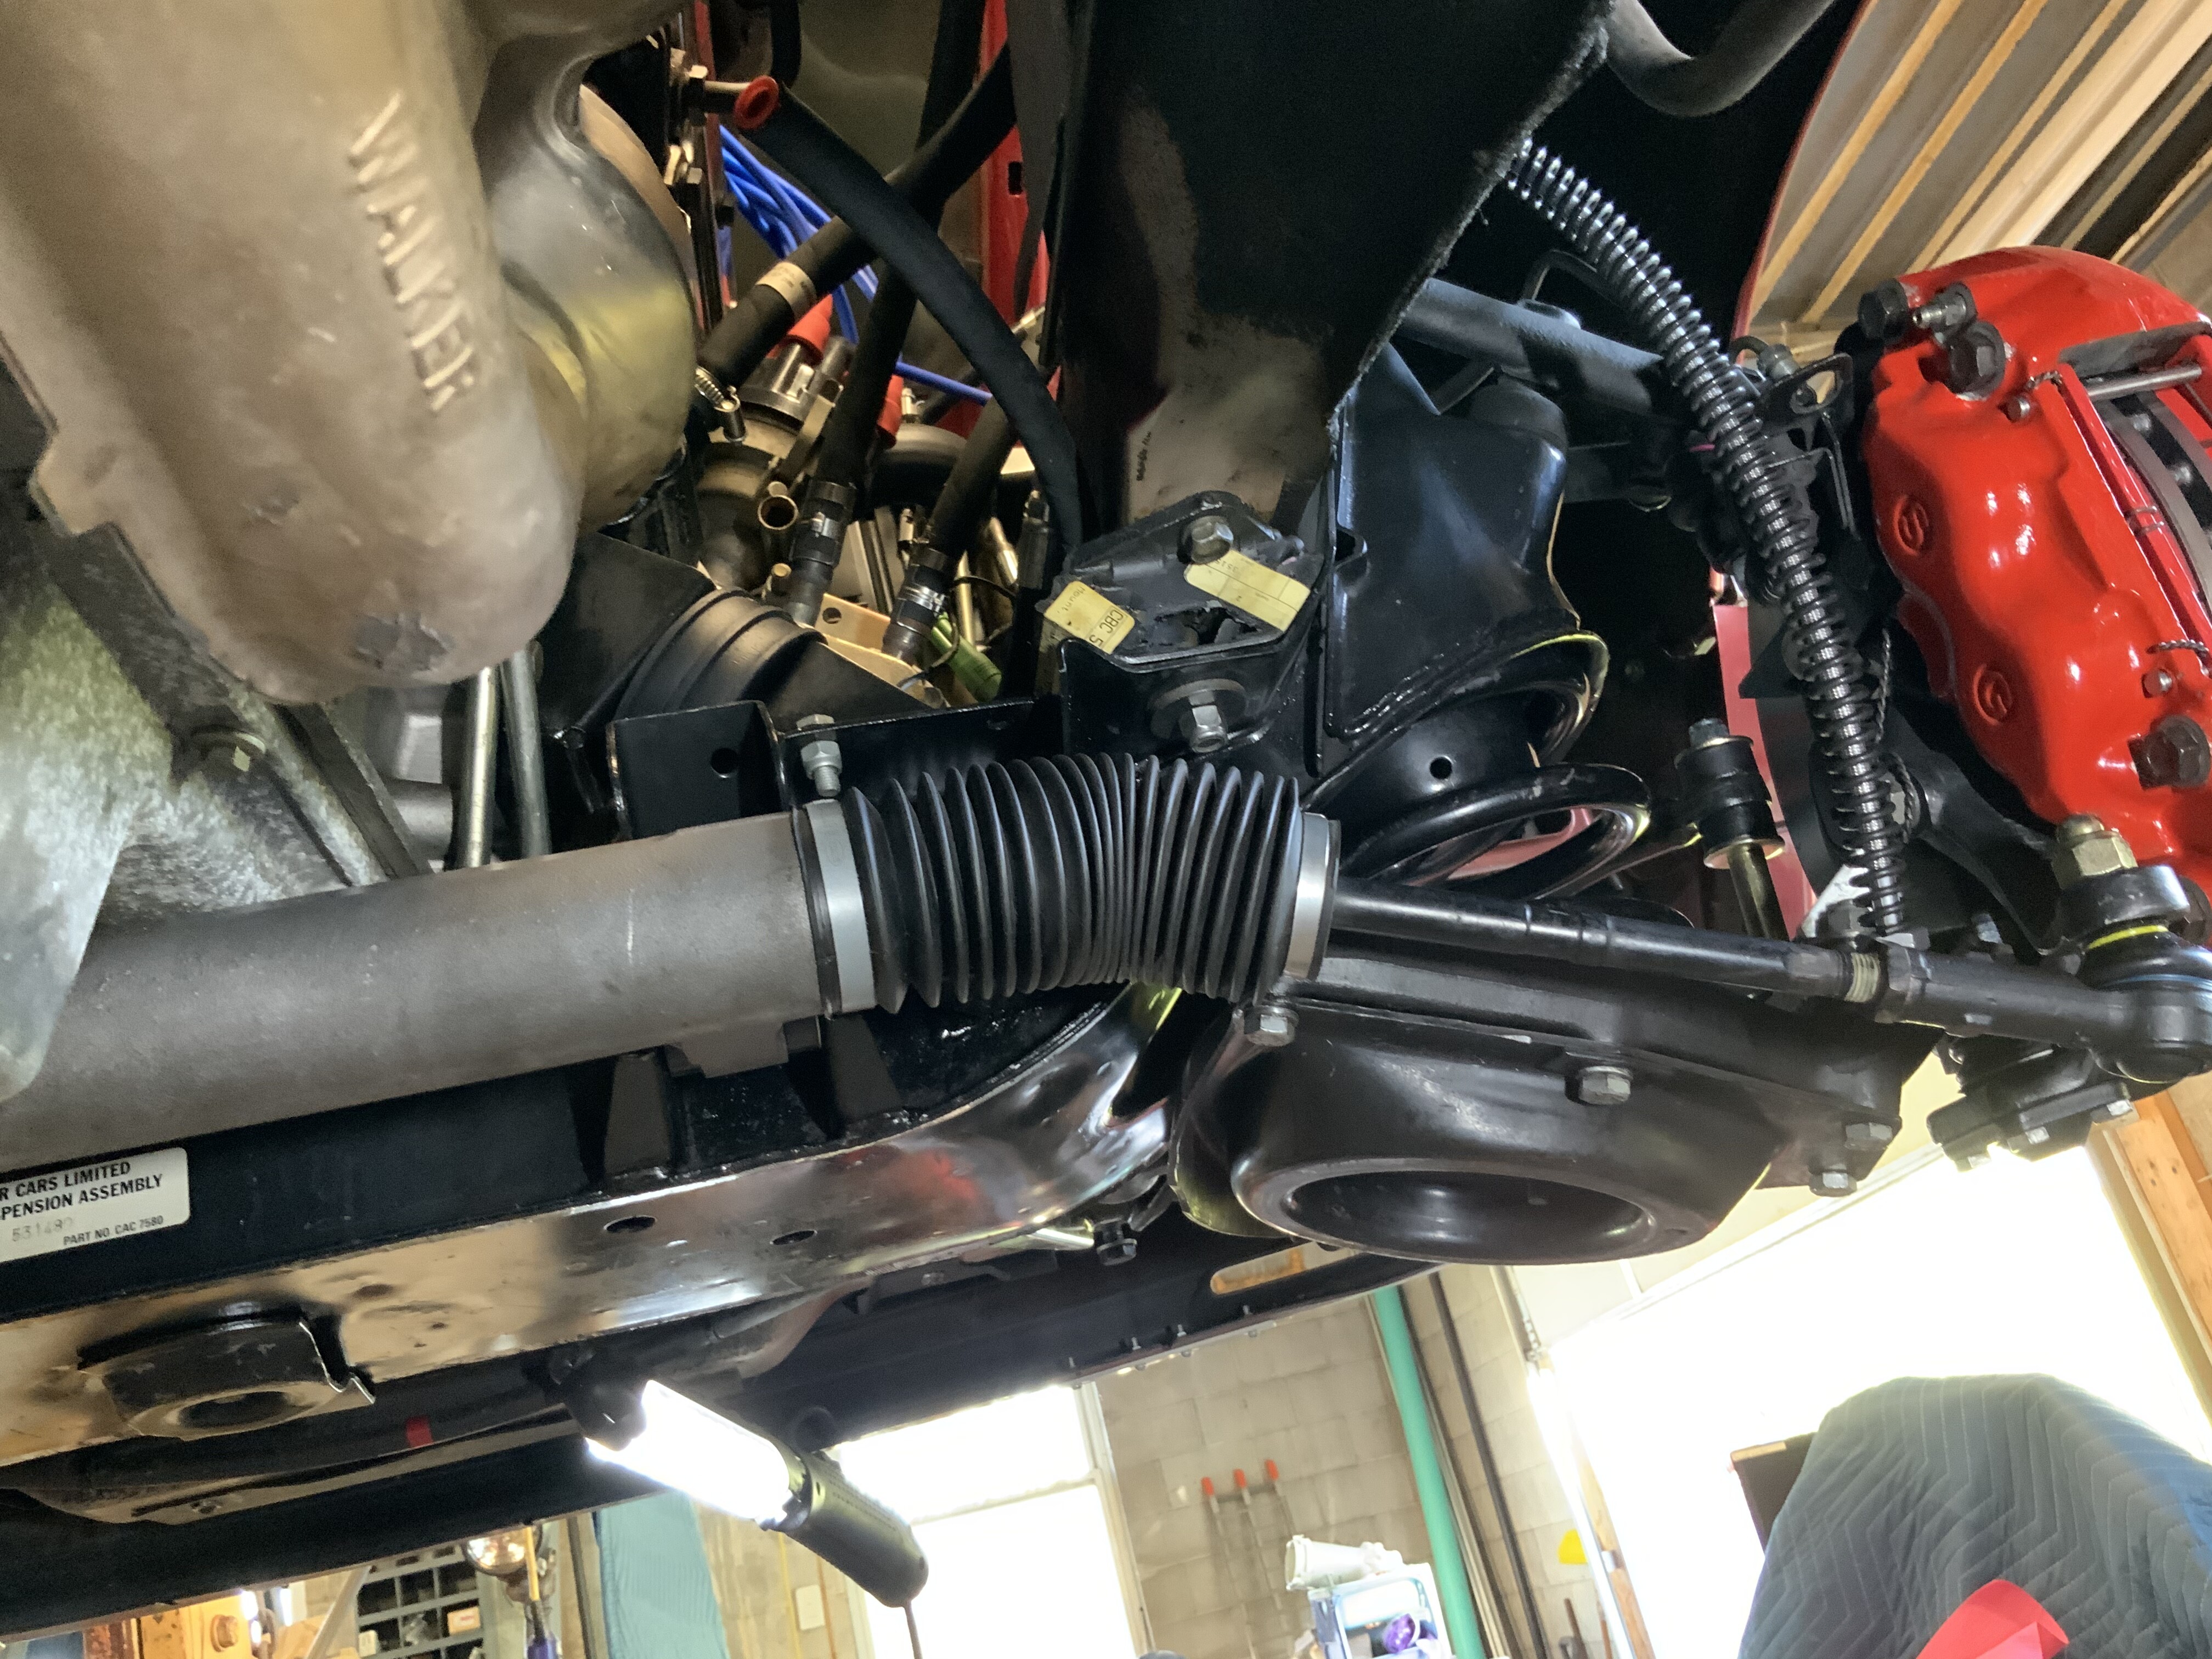
I guess getting the subframe remounted would have been a lot easier with the help of one or two other people, but I finally got’er done. With the power steering rack on the bench I was very careful to measure, count the threads, and even used tape to change the tie rod ends, but I just noticed the left wheel is pretty straight, but the right wheel is pointing to the right (I wonder what happened there?) Just need to finish torquing down the subframe and motor mounts, then mount the front shocks.


1 Like
Great job A.J.
You changed the rack mounting bushings didn’t you? Apparently now the rack is sitting more to the right than before.
Very hard to be accurate enough.
Make sure you center the rack, get some string and reset the toe once the car is on it’s wheels.
You should check your Camber angles as well, after all this work I bet they changed as well.
Yep, I did change the rack bushings. I am not sure how the bushings caused the rack to shift, but I guess I will sort that out in the alignment phase. Although all of the upper control arm shims were put back in place as they were found, the new poly bushes and general dismantling may have caused the camber to fall out of spec, so you are right to suggest checking the camber angles.
Looking at the rear cage while it was still in the car, I thought long and hard about why I should drop the rear cage. After all, all I really had in mind was to change the rear subframe mounts, and that could actually be done without all the trouble of cage removal, right? I then thought about the unknown can of worms I might be opening, and how far down this rabbit hole was I willing to go. I eventually reasoned that if it wasn’t done now then when (probably never.) ultimately, though it came down to the age of the car, it’s 27 years old for crying  out loud.


Once on the table it was obvious that it could no longer control myself, so off came the hubs and new bearings were ordered.


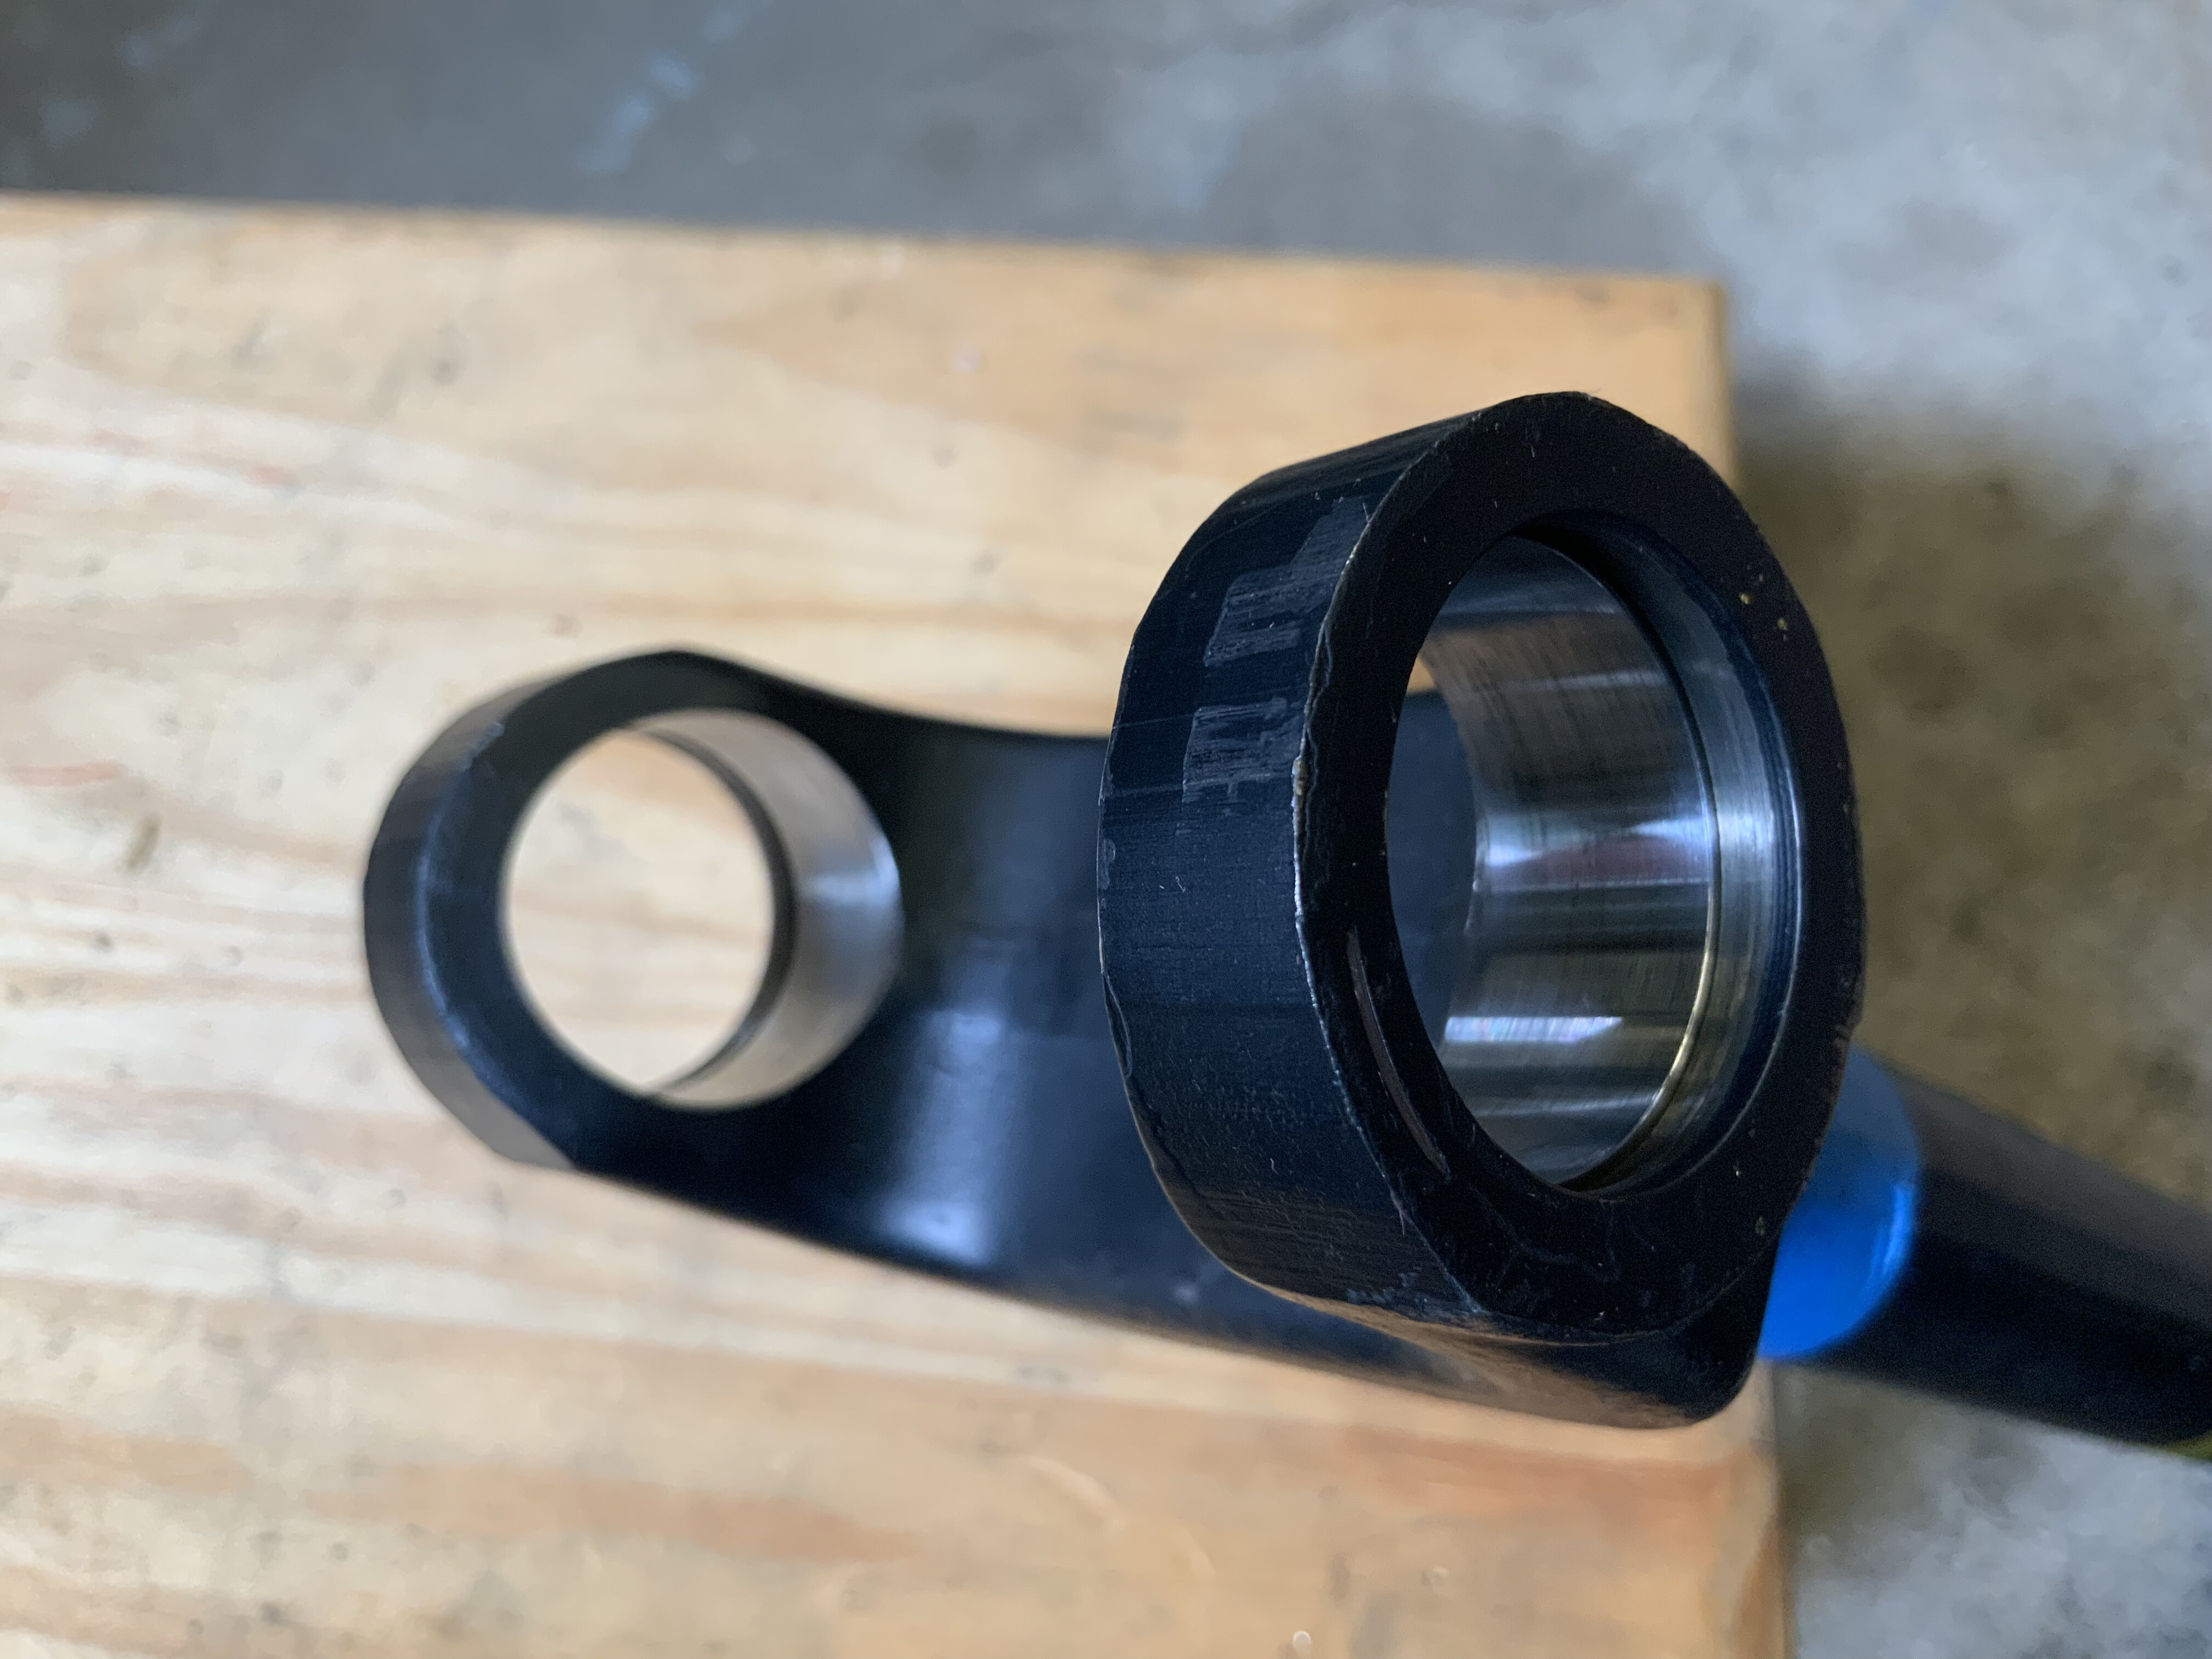
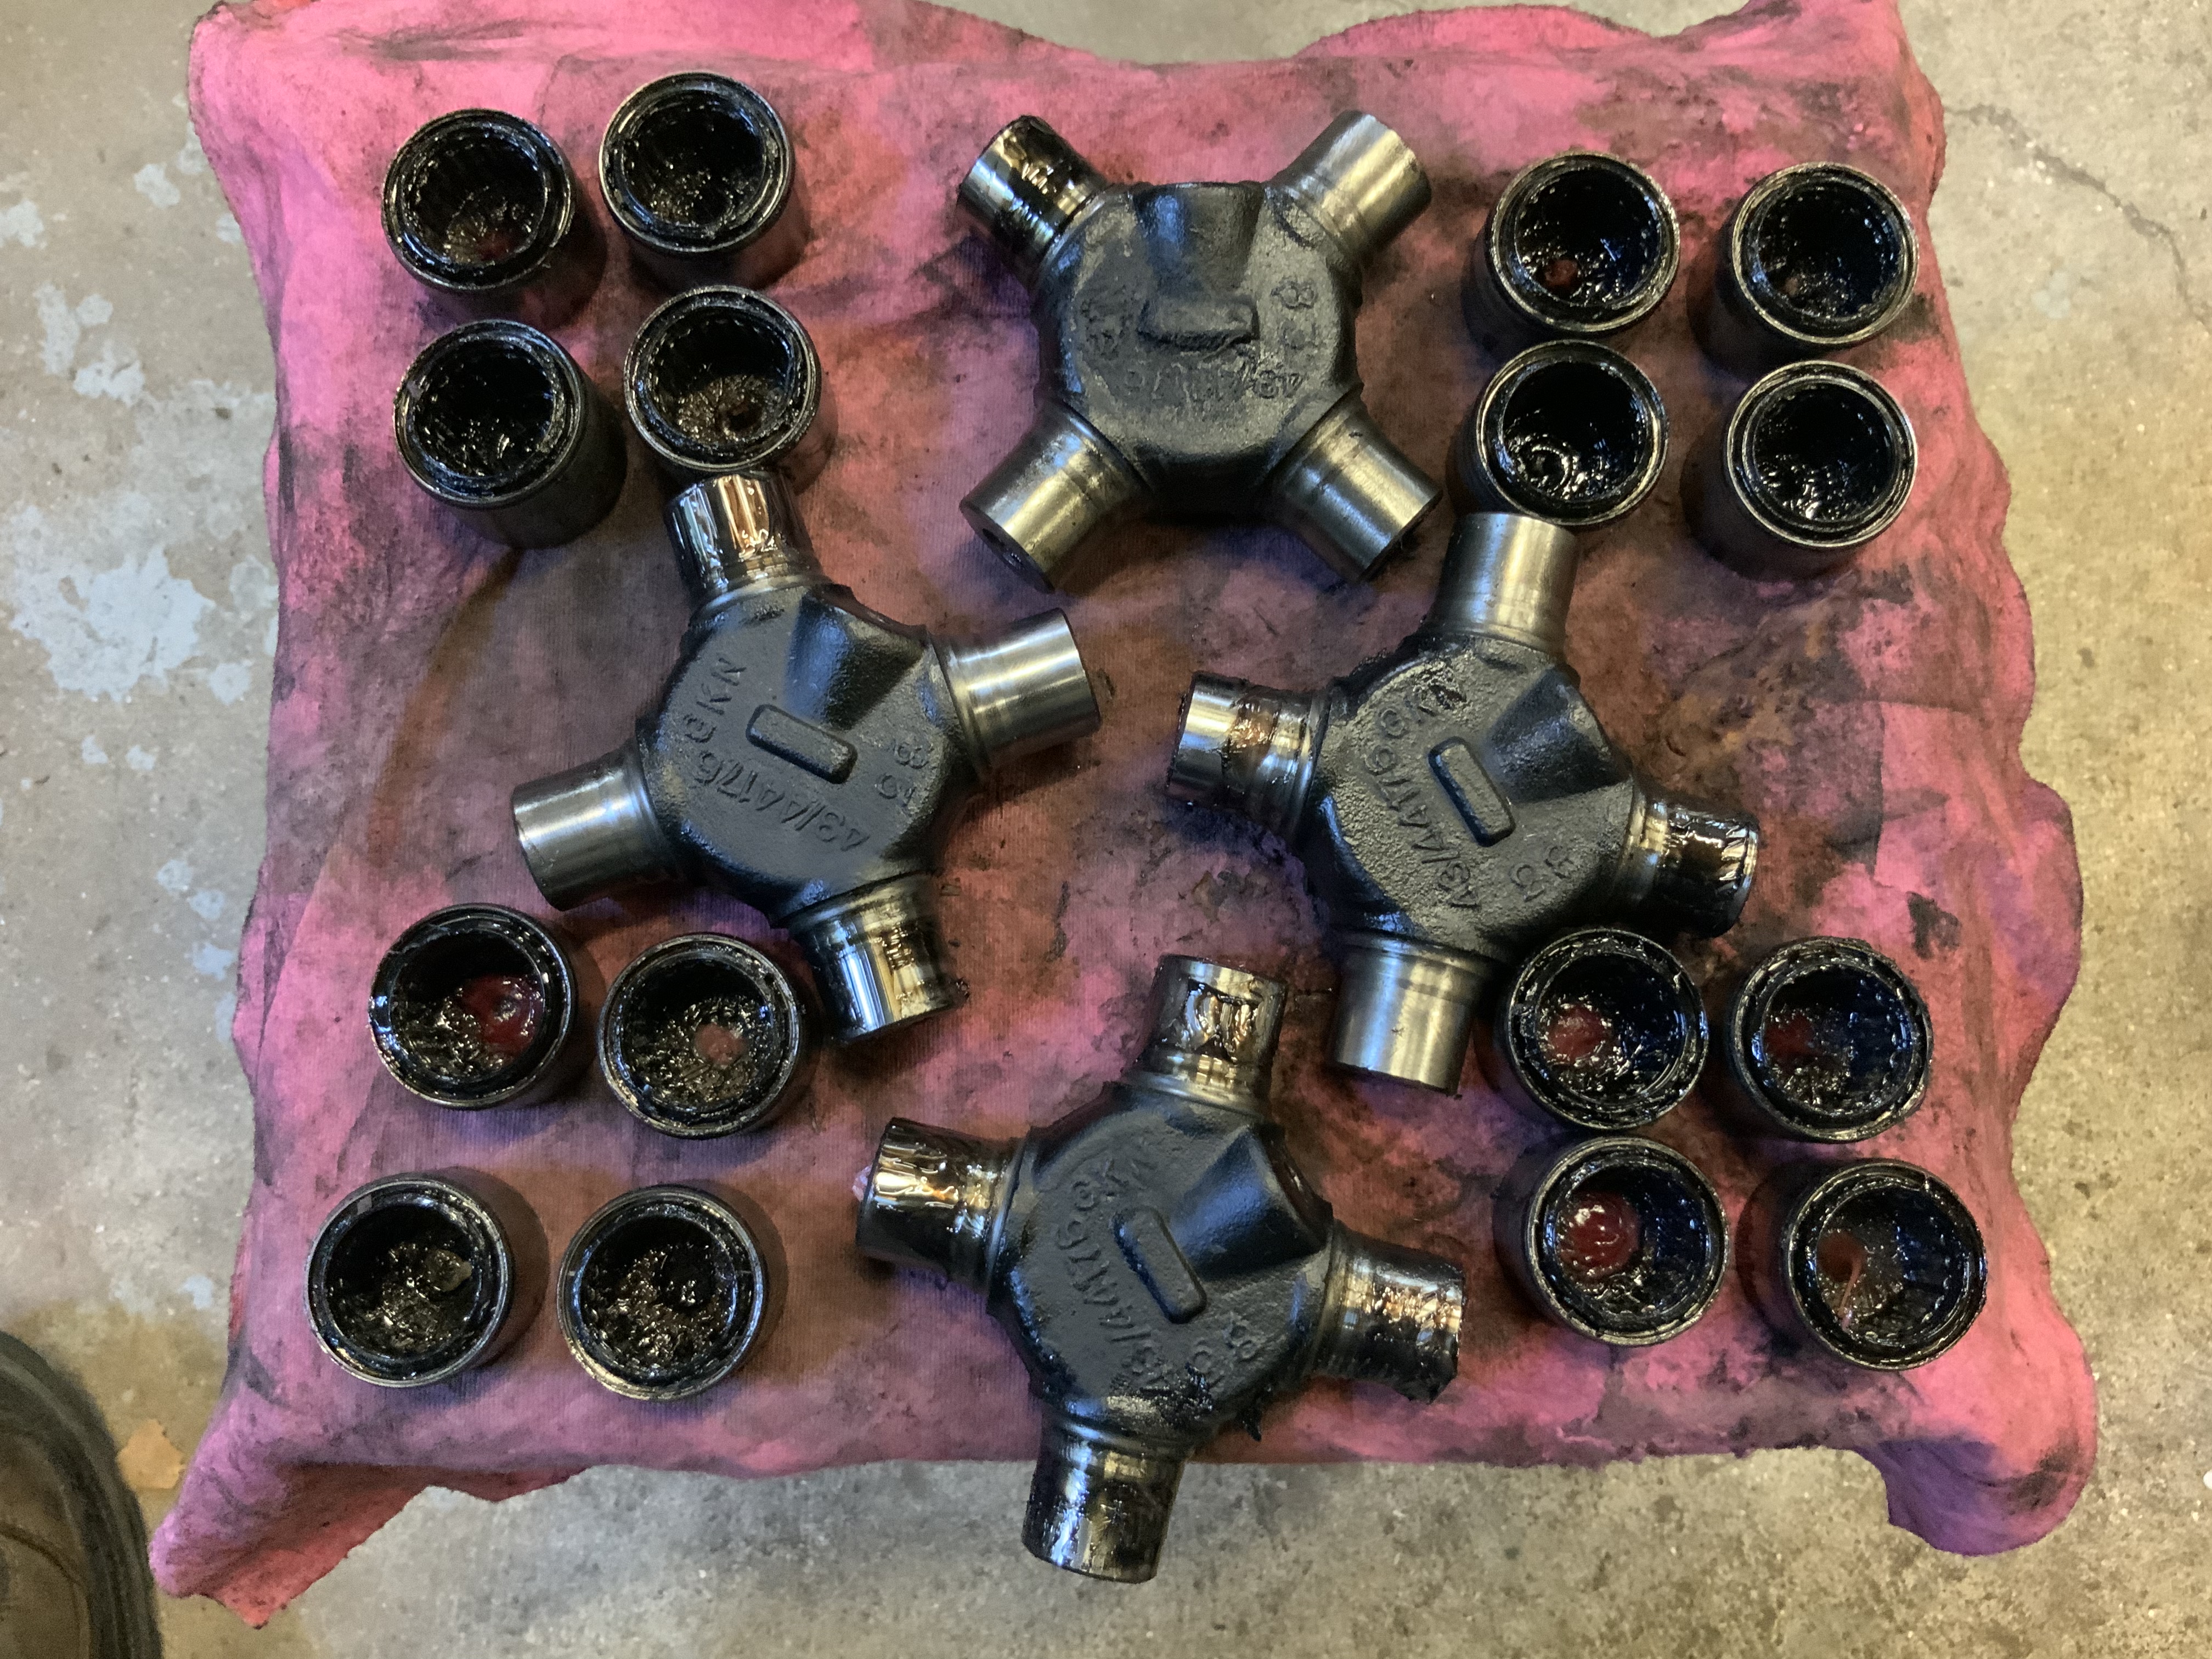
The Universal Joints on the half shafts were bothering me, so I tackled them first. There wasn’t any indication that anything was wrong with them, but as I started the disassembly process it became obvious that renewal was in order. That was one bitch of a job. The right side was especially tough to get off. The pictures show them well greased, but I shot all of the grease fitting when I first got the car and so, who knows what they looked like before I got to them? I will say that changing those joints were by far the hardest job so far.
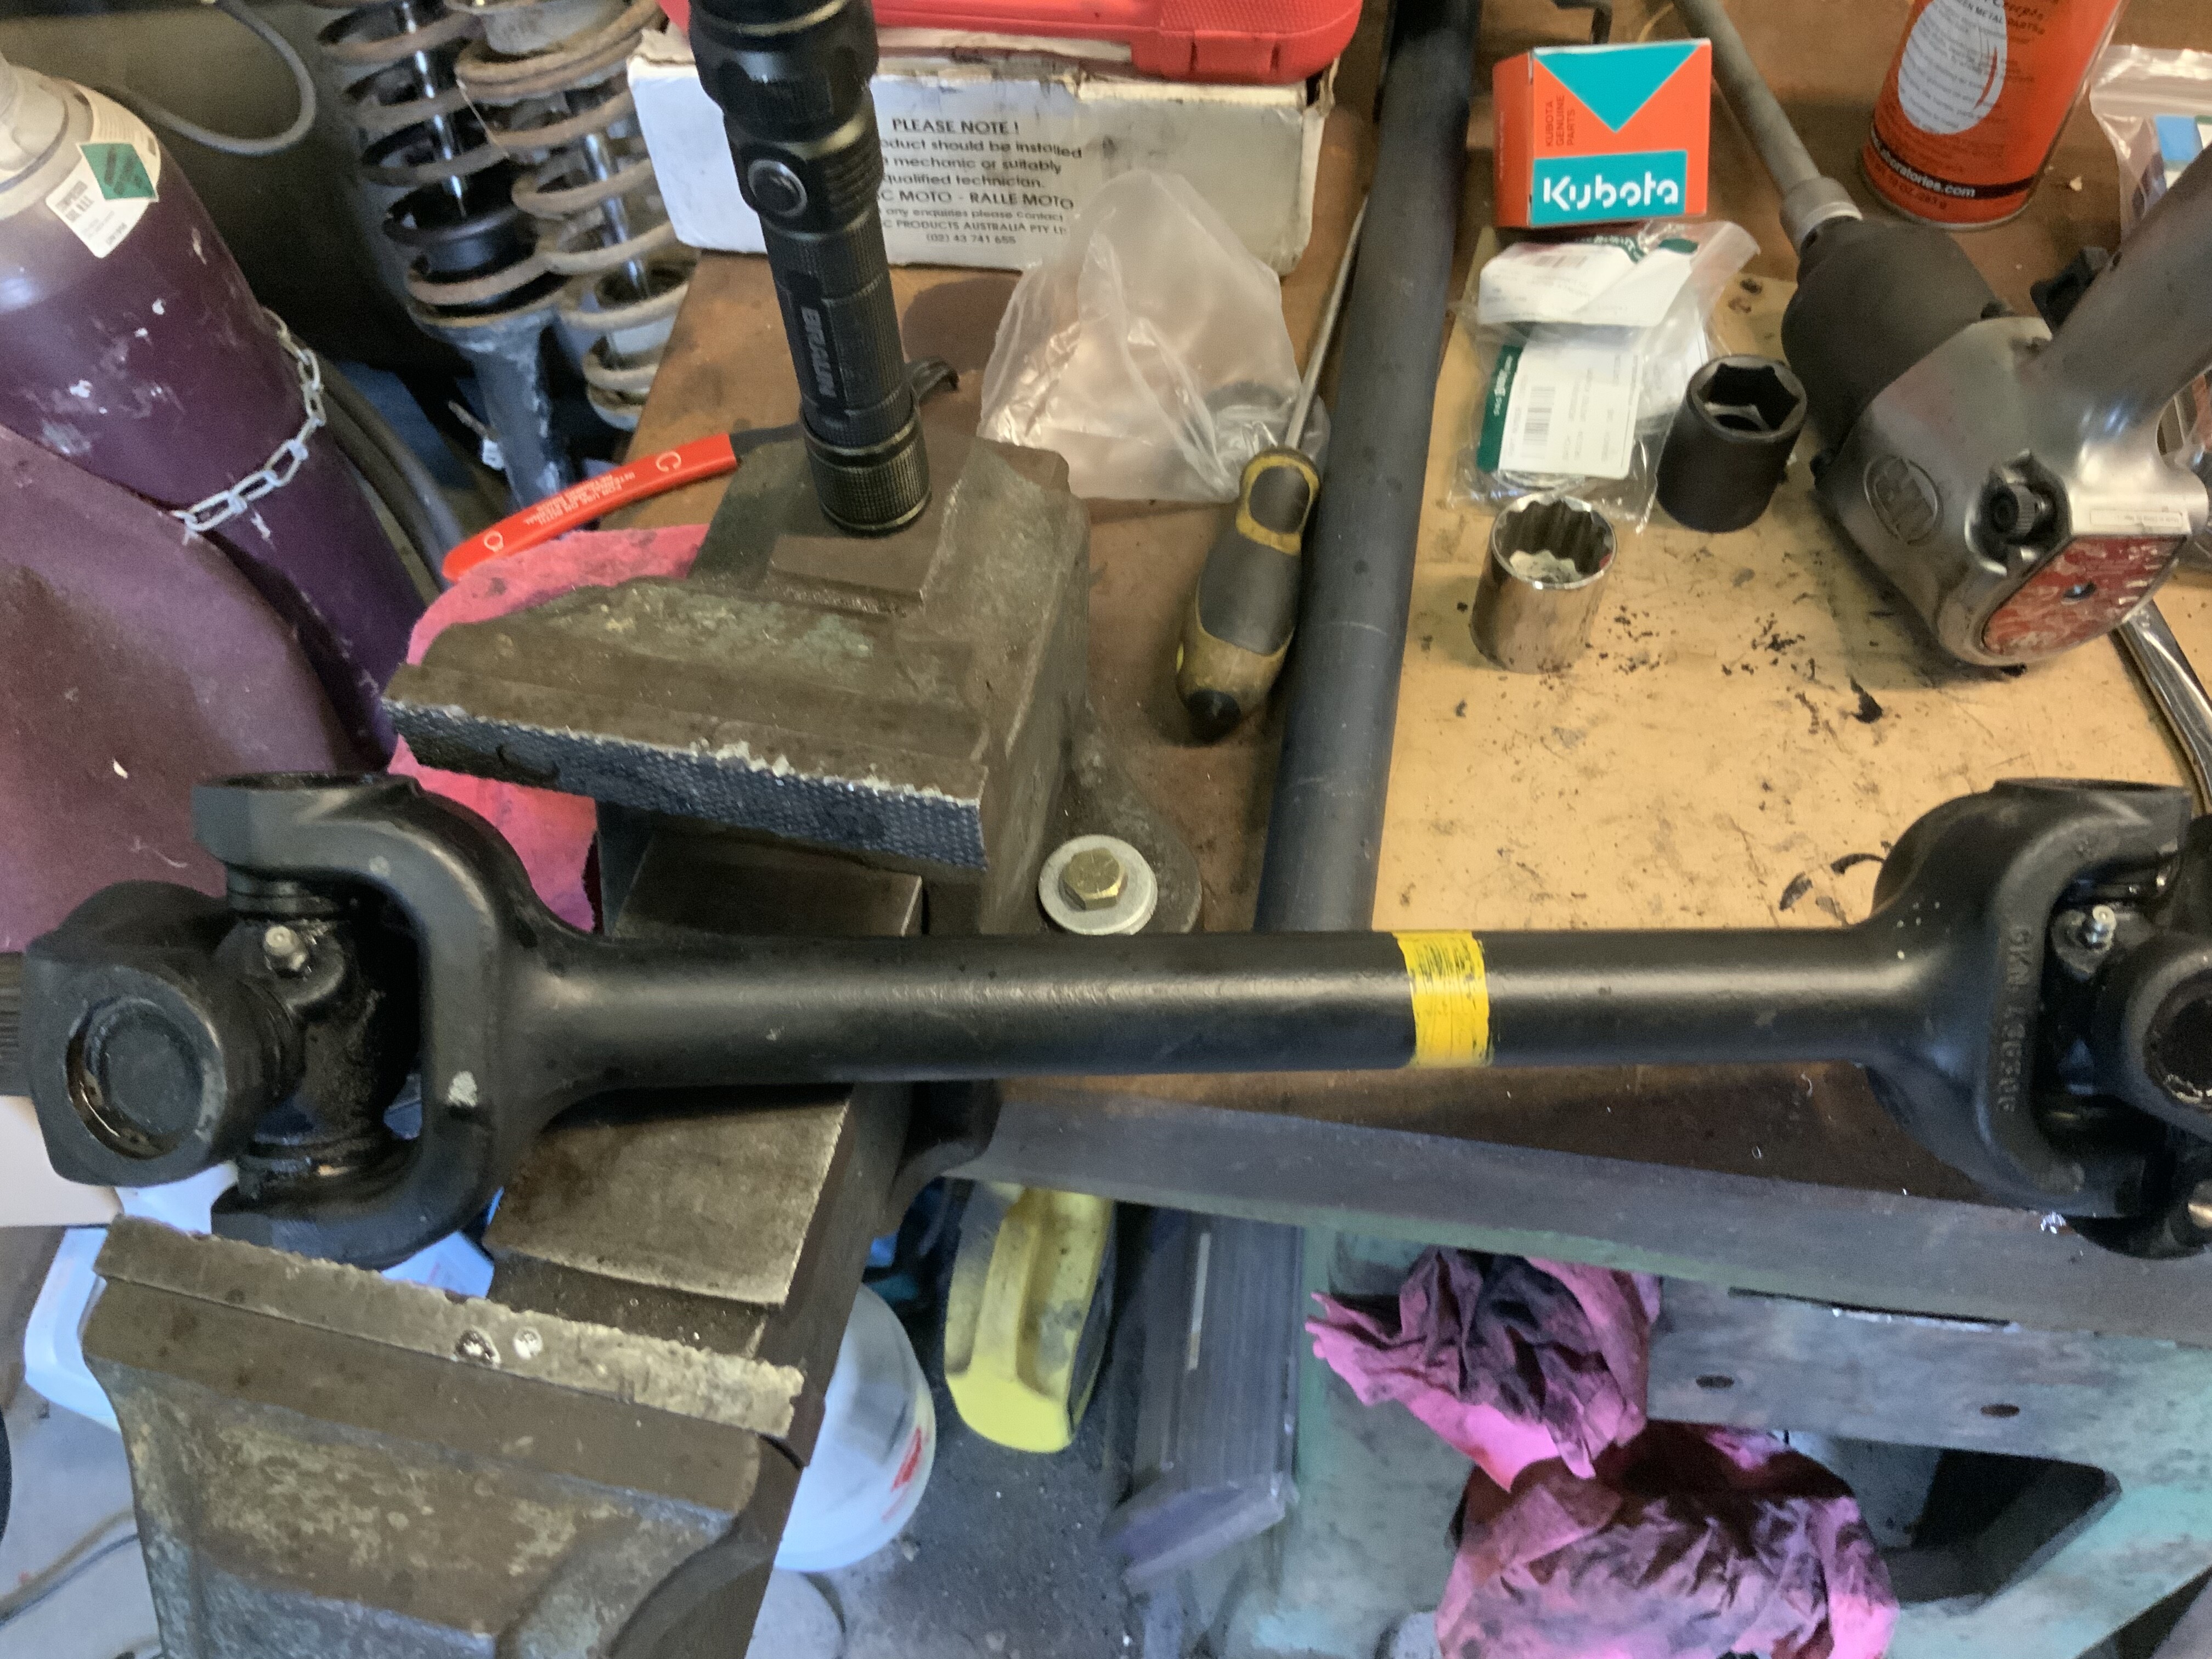

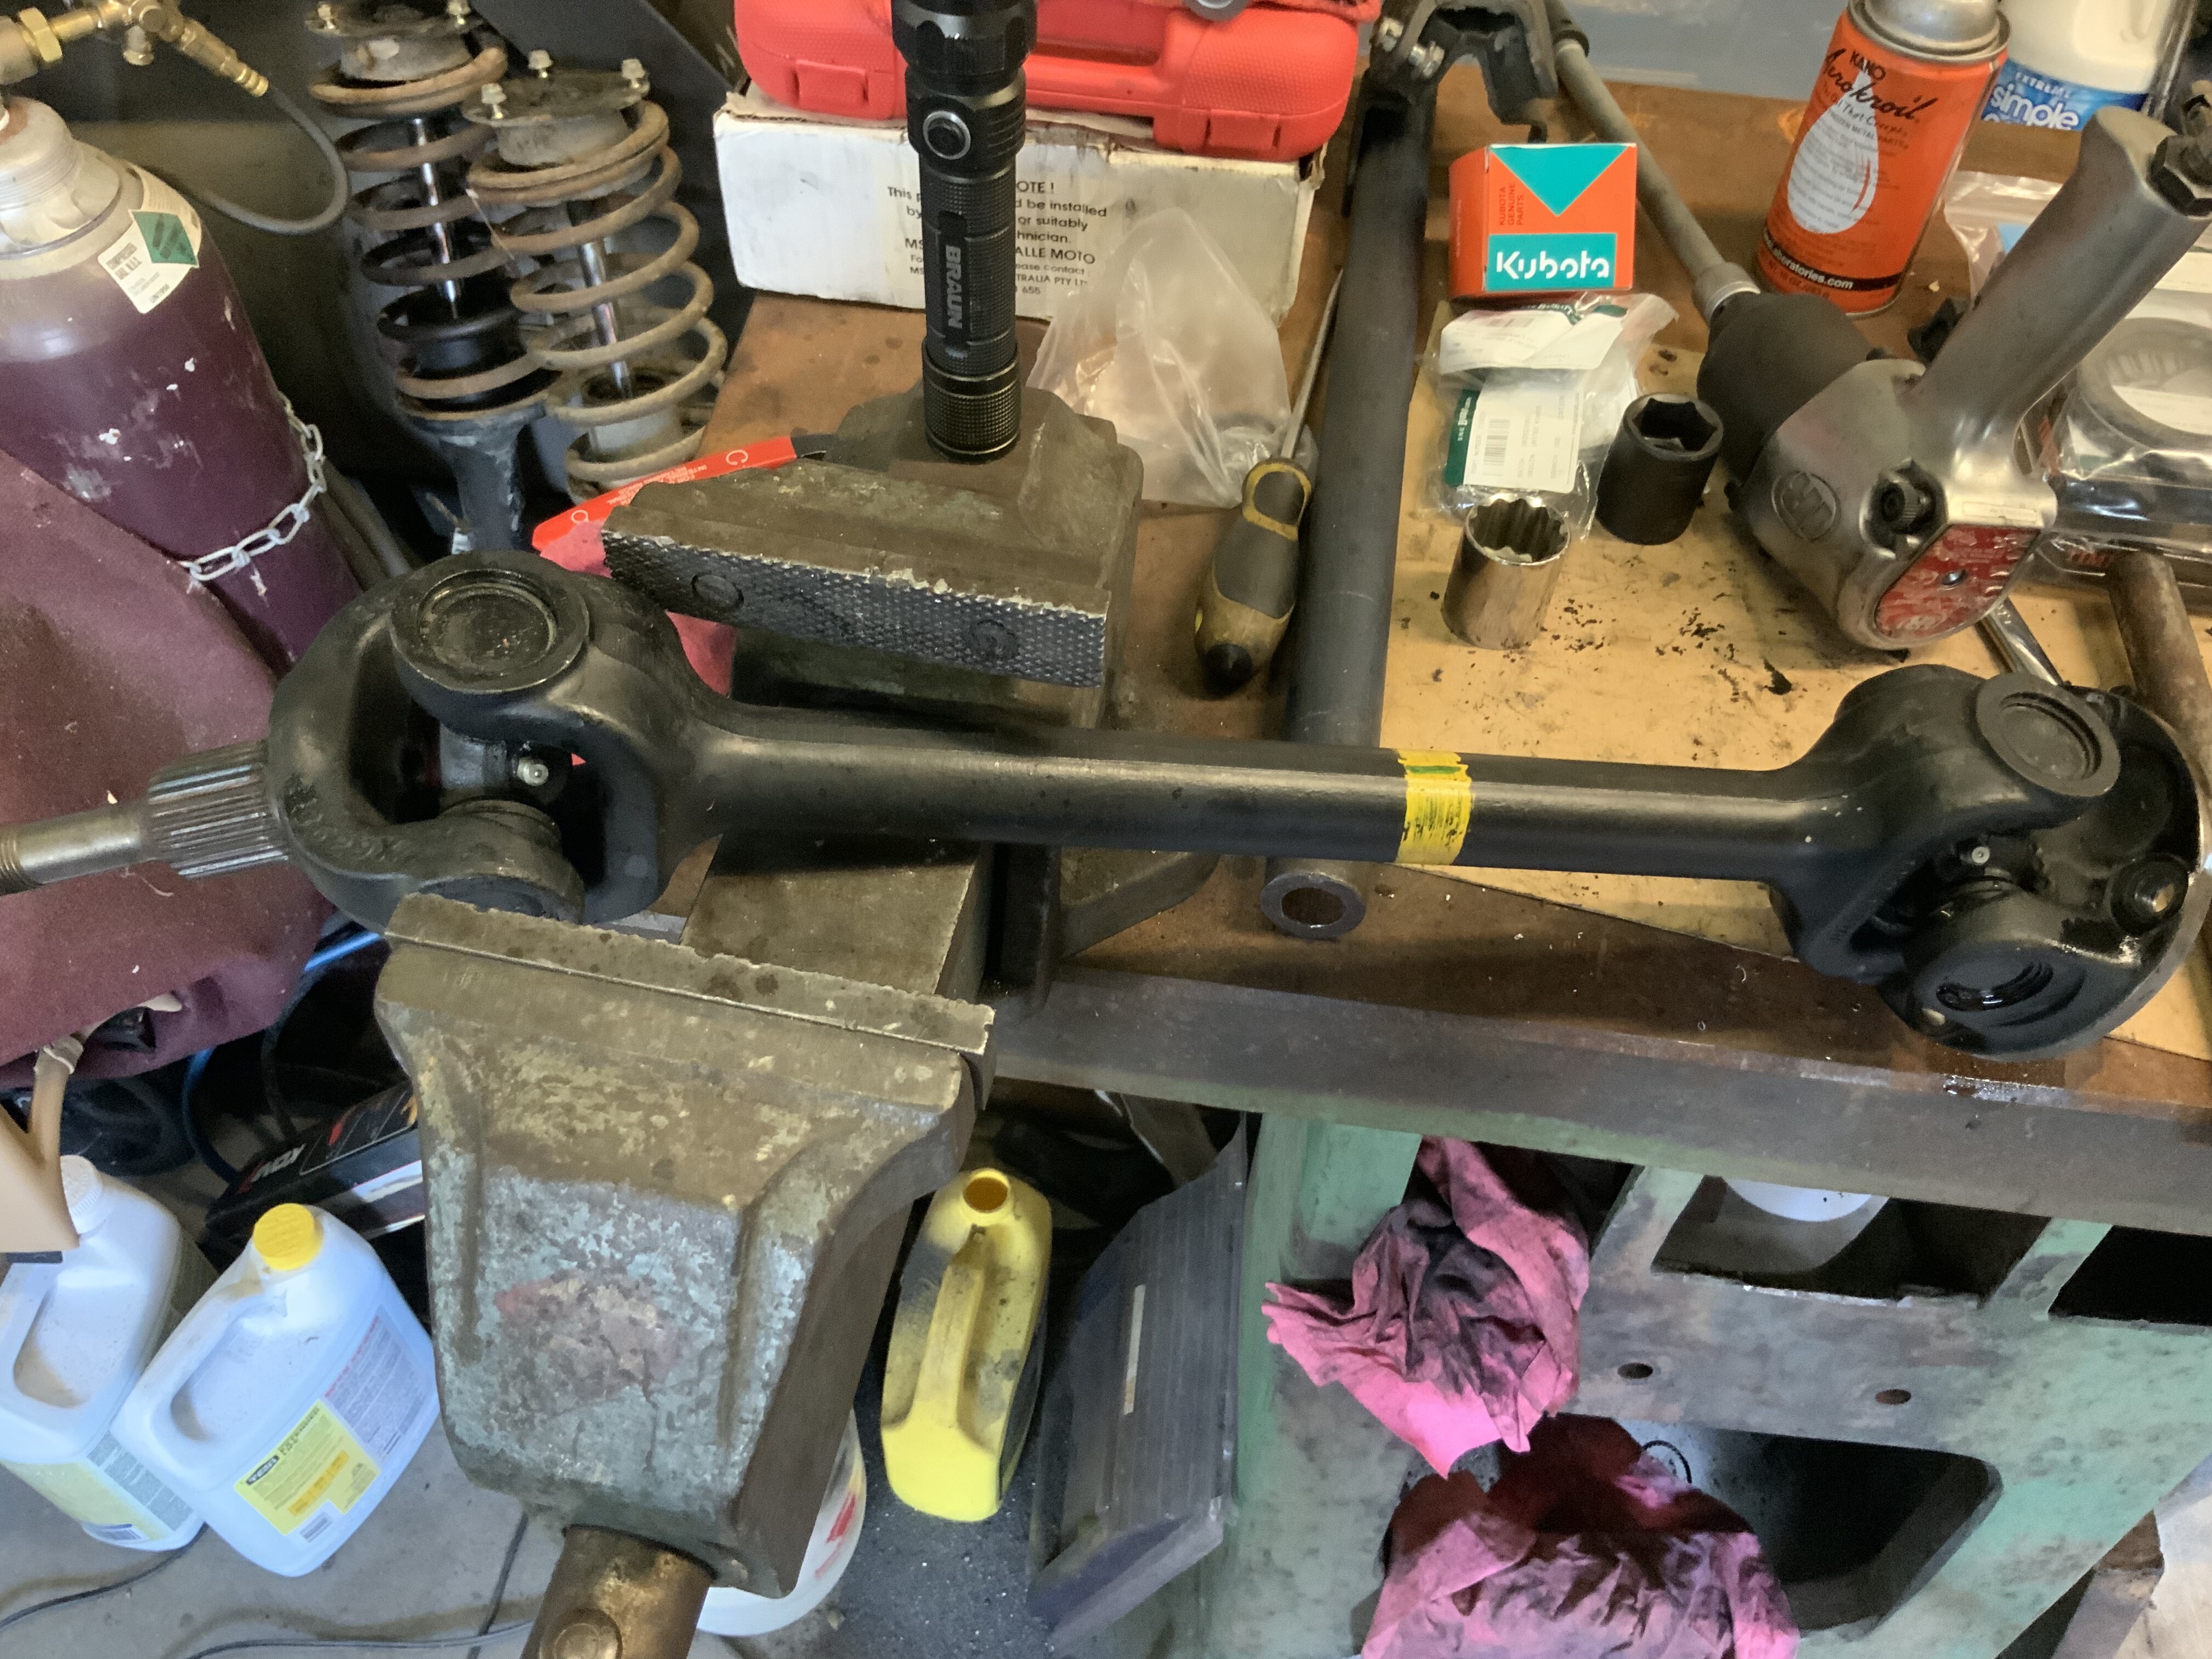

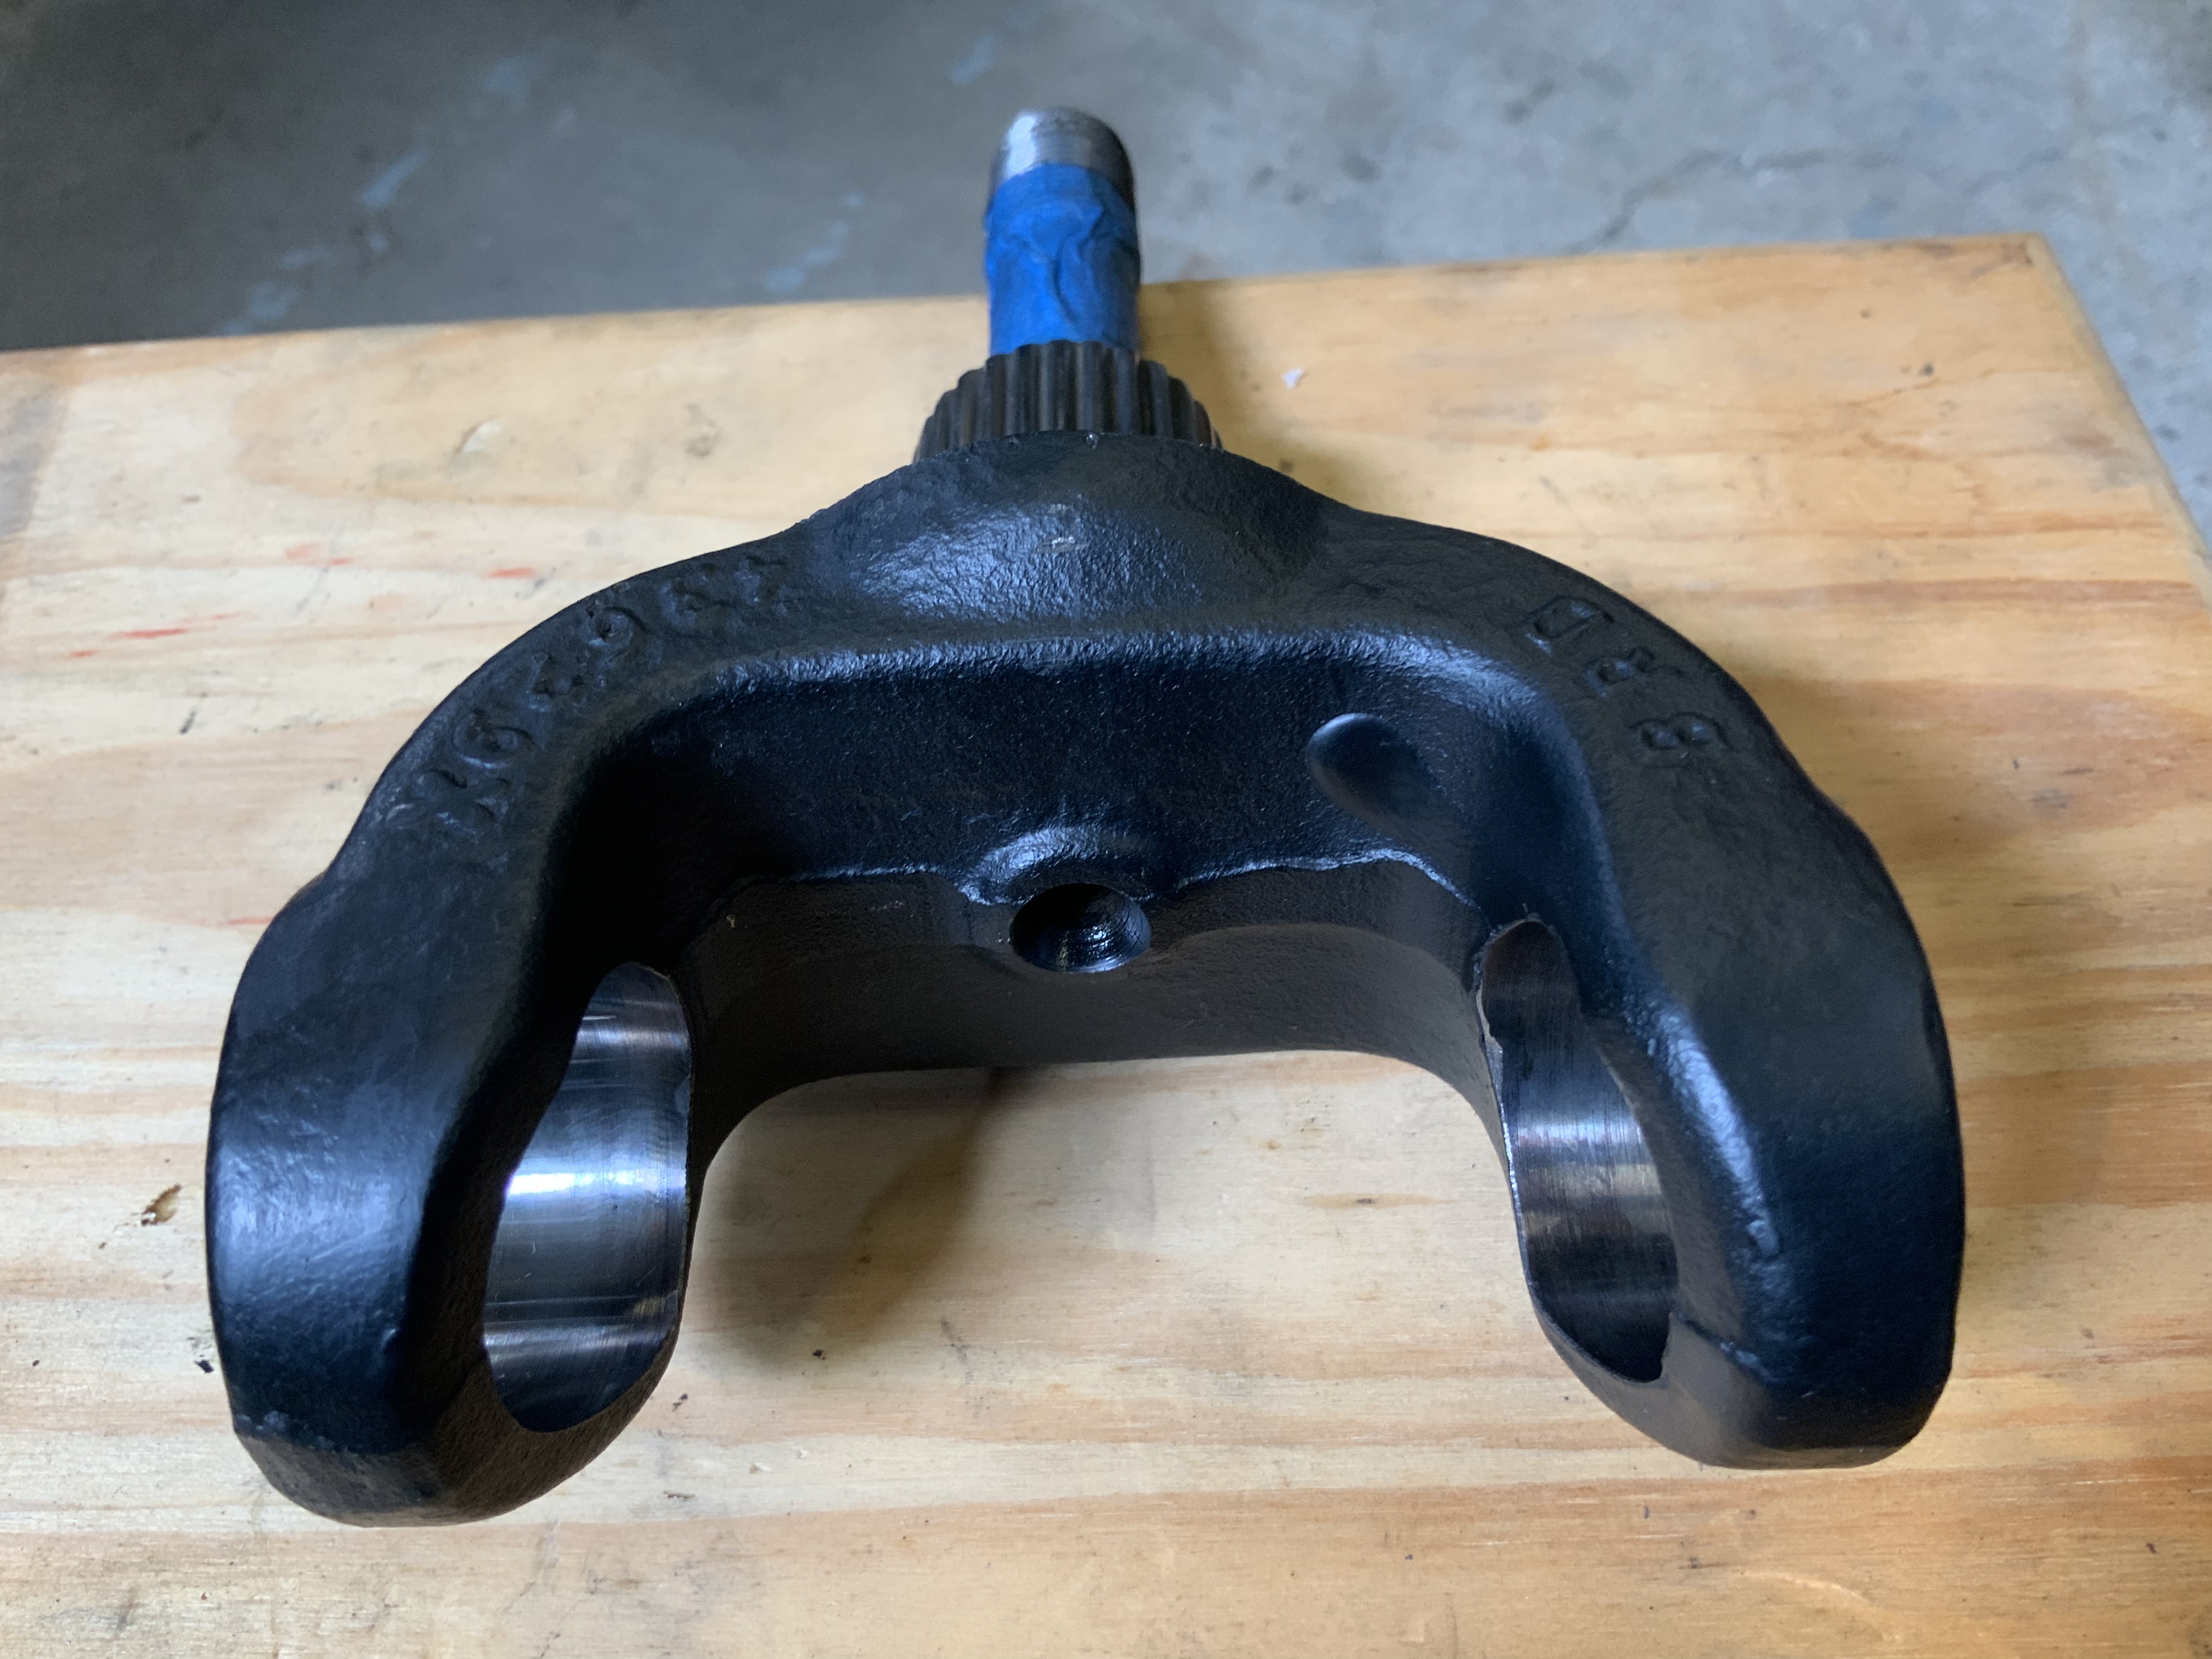


Of all the suspension work done so far, the right side from front to back has been the weak sister.
I think the next order of business is to deal with the IRS Fulcrum Bushings. I anticipate finding a whole lot of joy 🥲 there.
2 Likes
Man, you must have a lot of spare time … Superblue is a '94 4.0, too, and I would (like to) think she doesn’t need any such extreme measures done  , but then she just now turned over 100K miles and I don’t know how many miles your cat has on her.
I just noticed something about your u-joints … They appear to have their own Zerk fittings on each for lube purposes. ? If so, then why are the Jag factory directions for lubing the rear suspension indicate injecting the grease into the 4 Zerk fittings that are on each of the corners of the bottom of the “cage”, supposedly for purposes of lubing those u-joints? How is the grease supposed to get from those fittings into the u-joints?
The time that the previous two owners never took is the time that I have t pay for.
My car is just over 50,000 miles if that tells you anything
Wow, then I would think it certainly shouldn’t need any such major work, A.J.  How exactly did the POs abuse the car (for want of a better word) and what adverse results(s) did it have on her?
Not sure where your getting that information, but grease is only injected through Zerk fittings. Not the hole