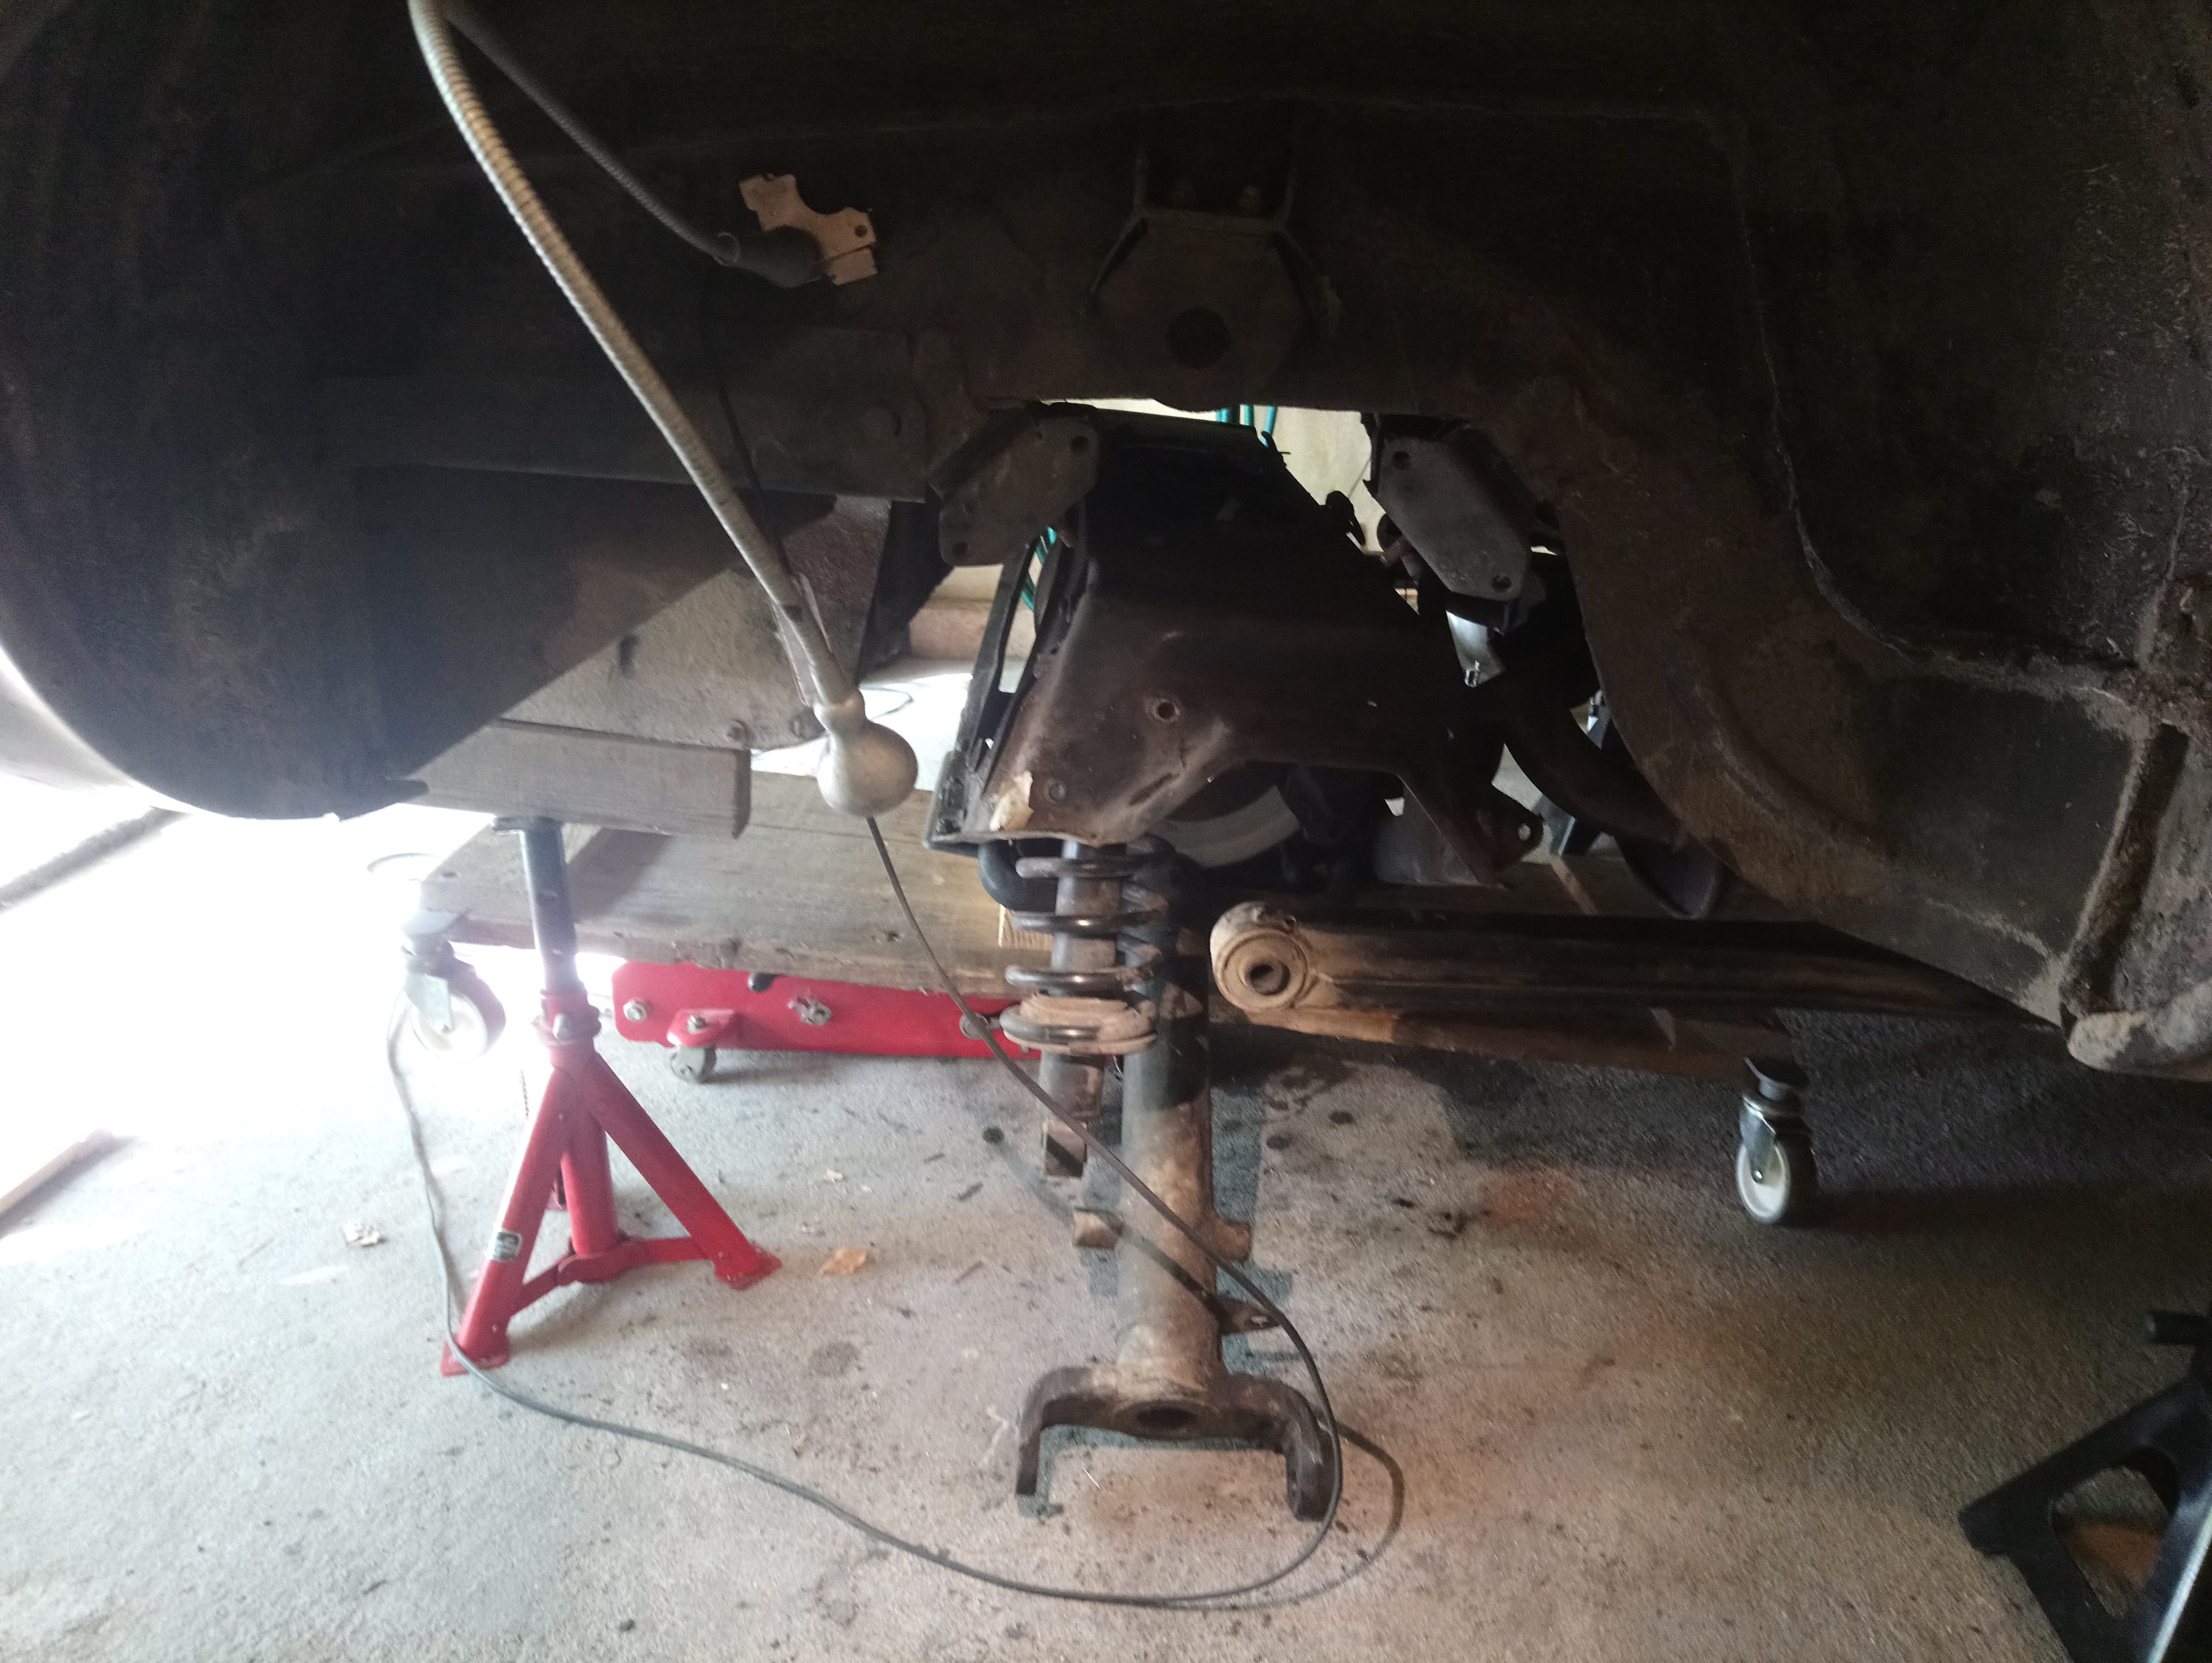
I have a badly leaking output shaft seal and output bearing play, and since I’m there, change rotors, pads and all u-joints.
Also, even though it’s not leaking I’m contemplating changing and the pinion seal but worried about preload… any advise welcome.
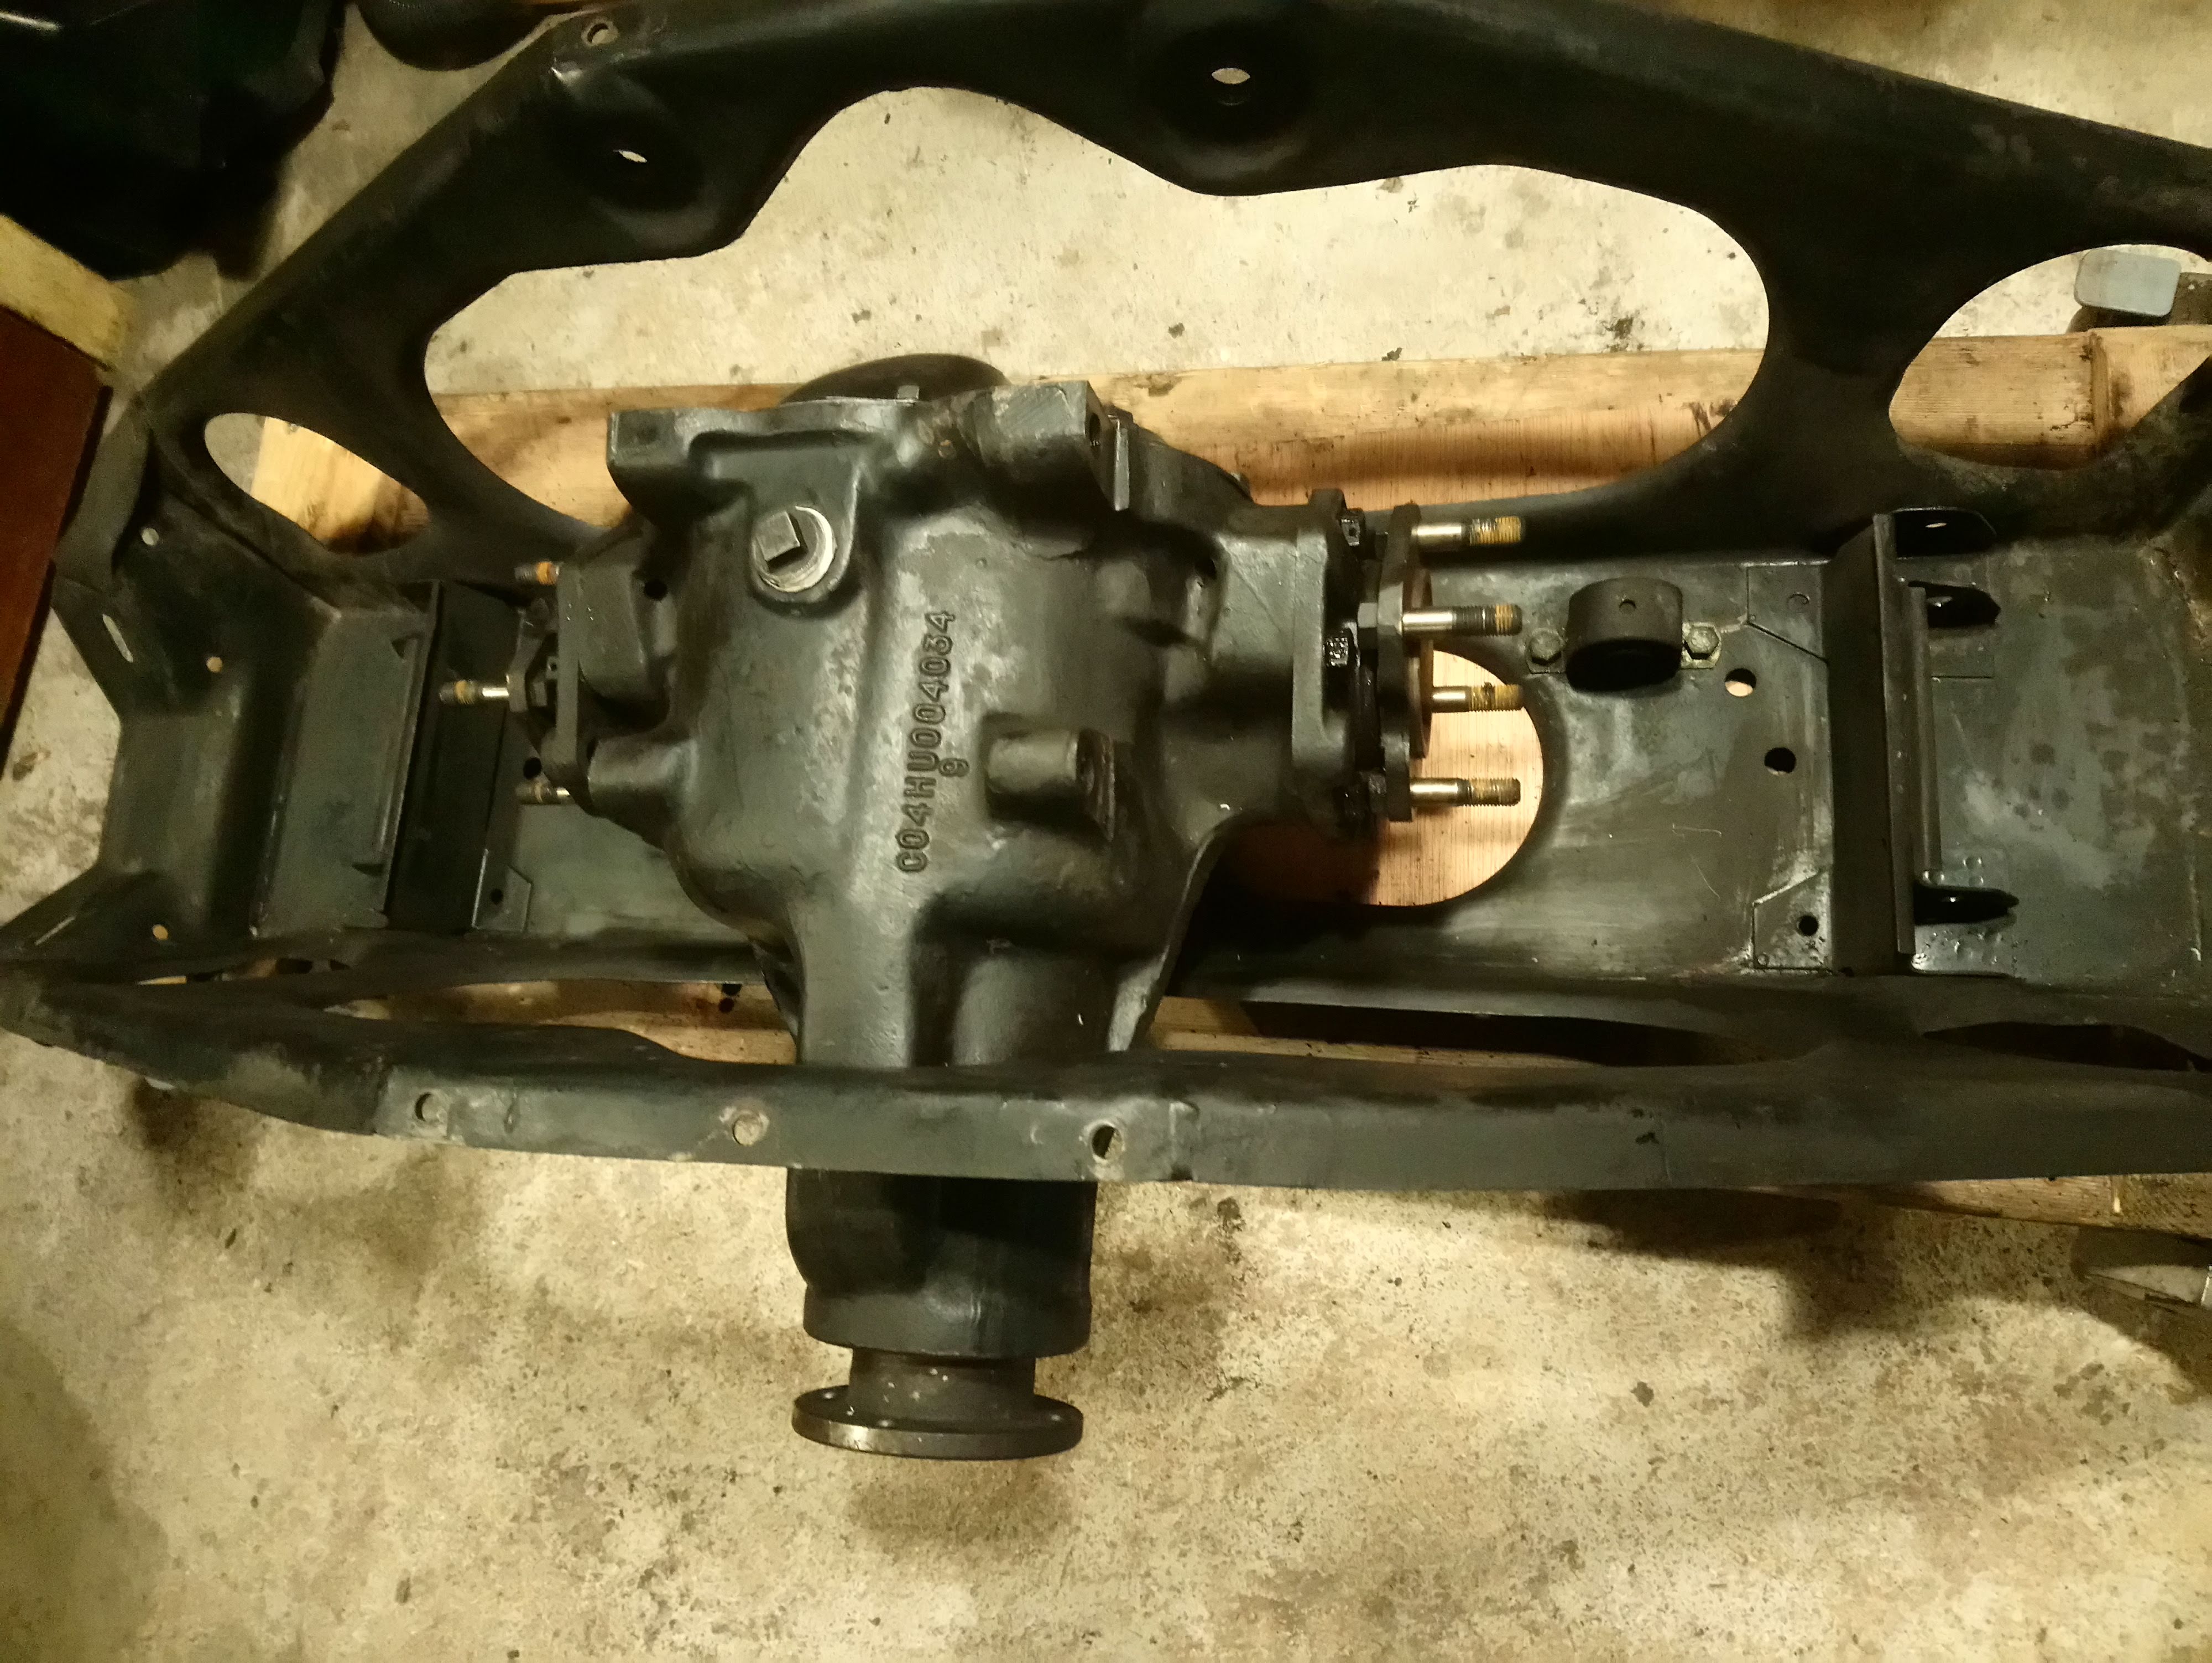
Will keep posting photos as I progress.
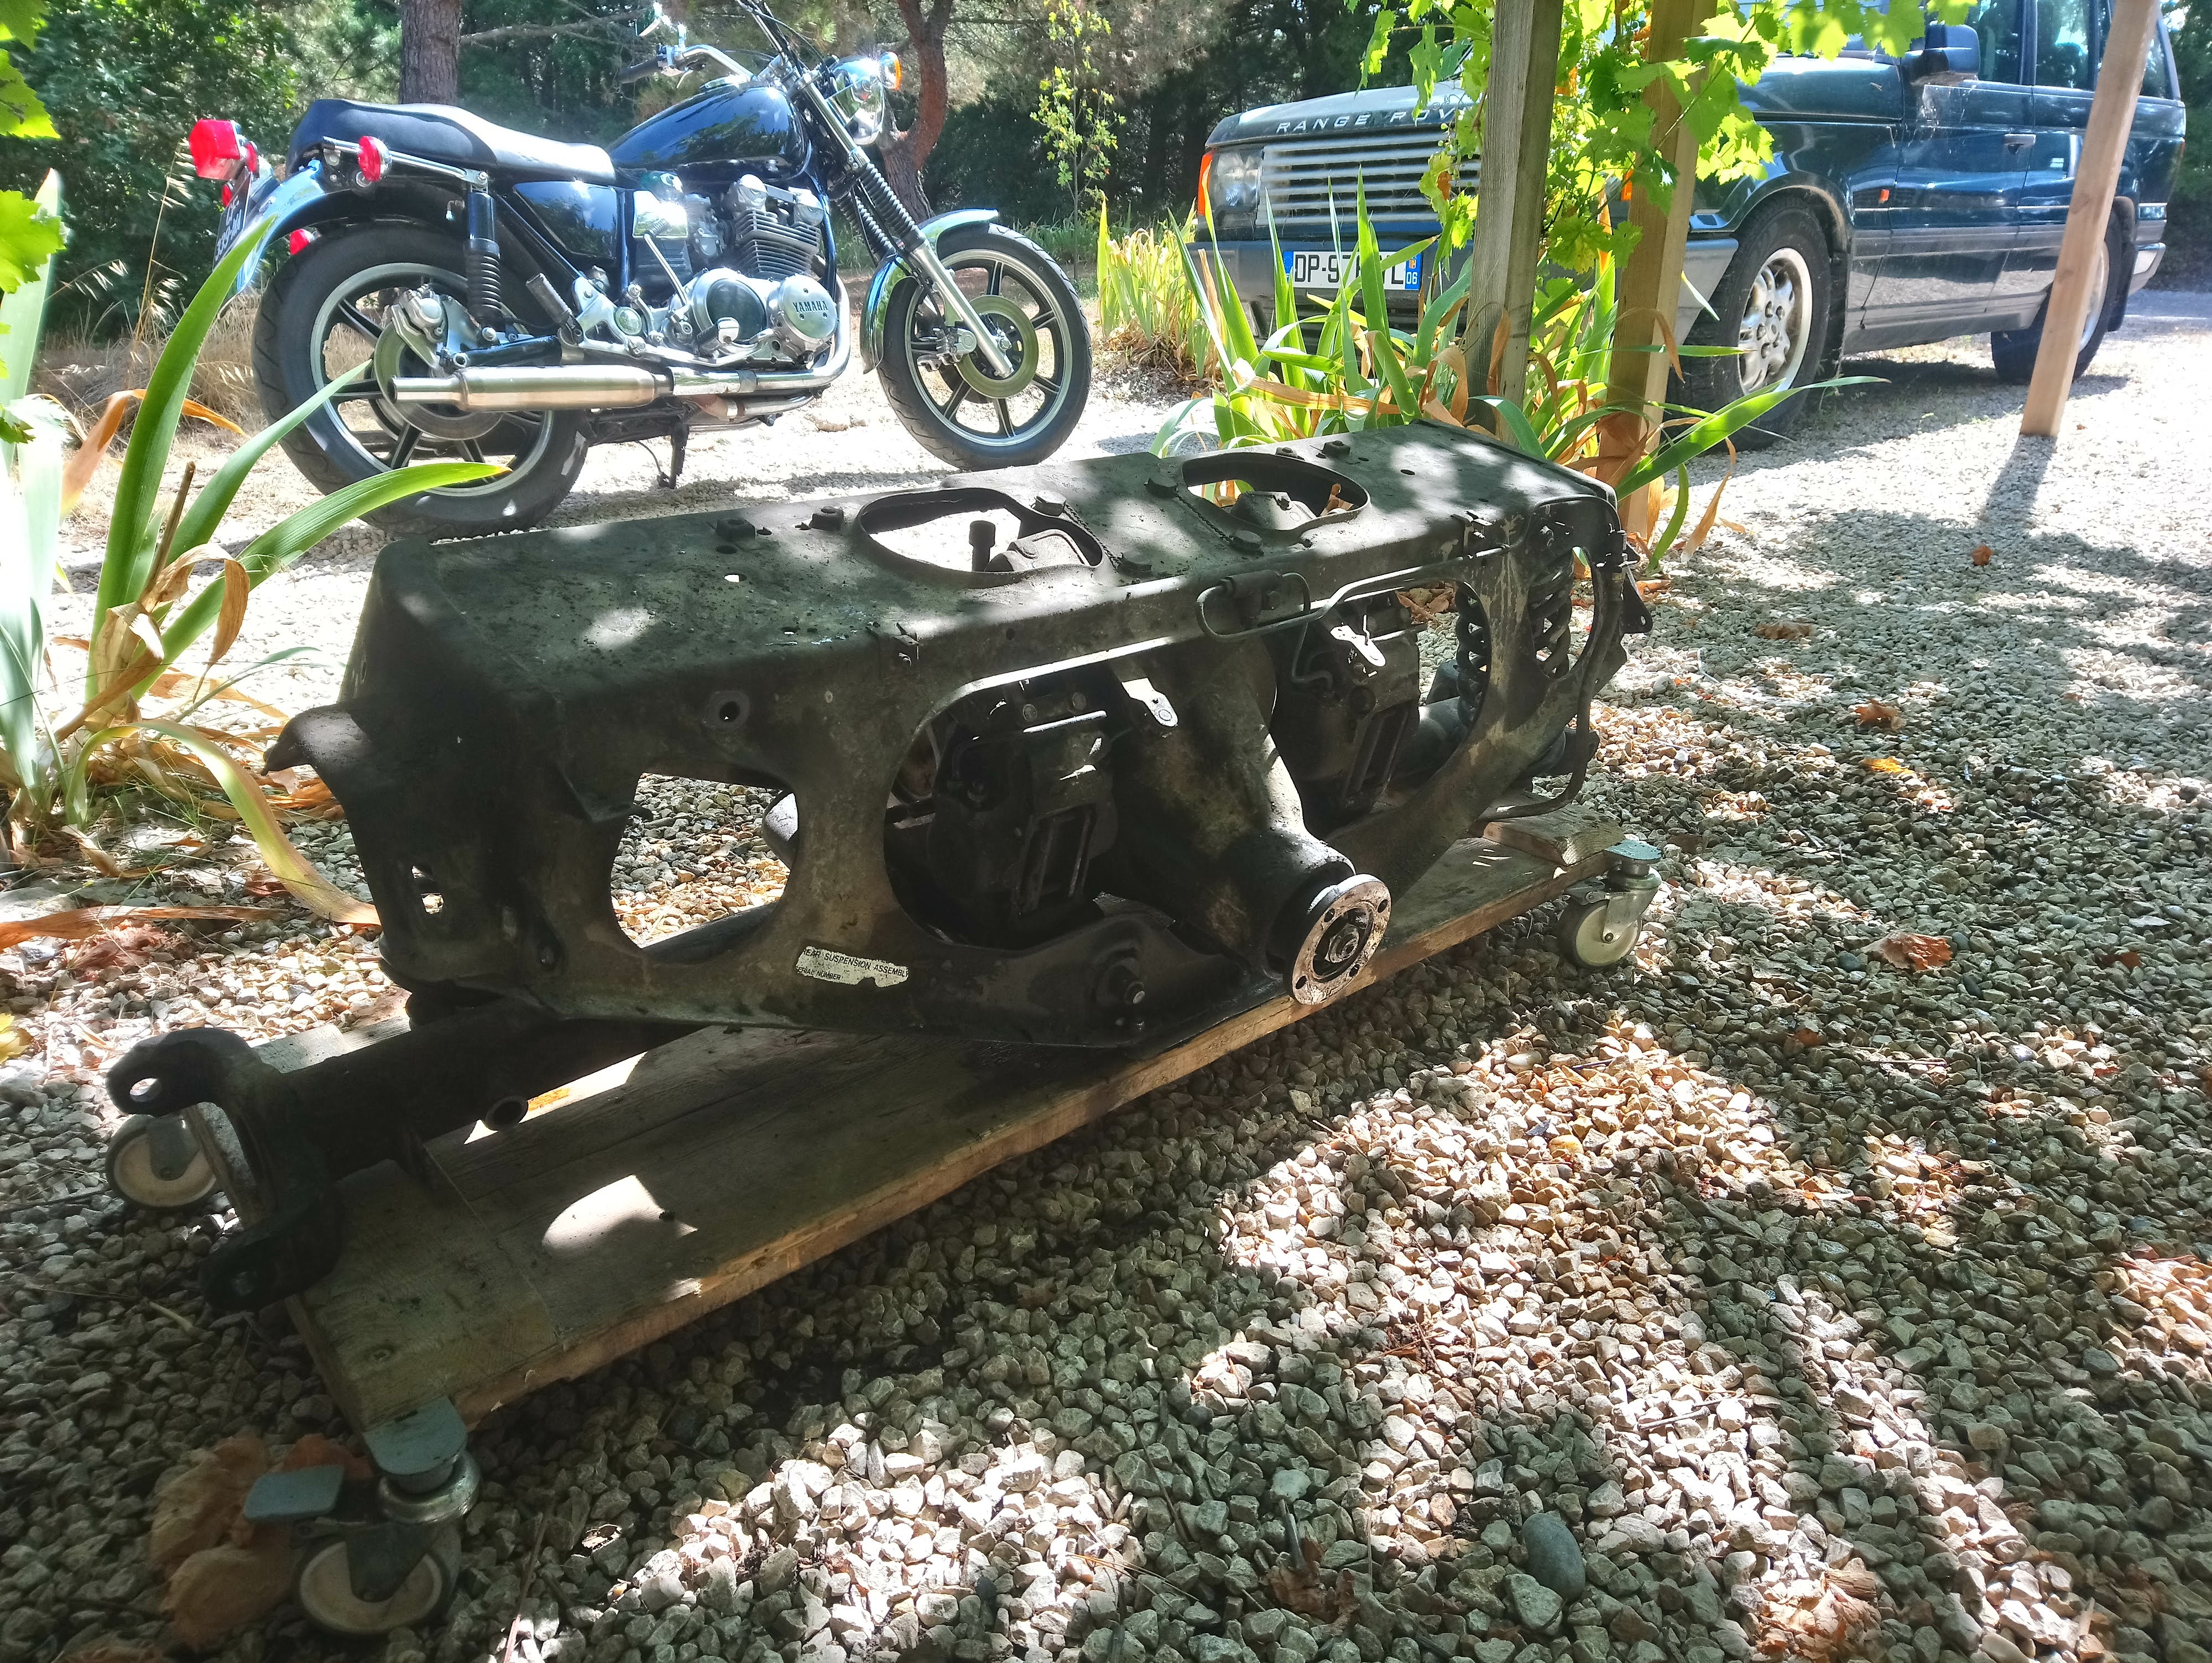
I see you used an improved version of my “Corvair” R&R plank method. I used chunks of pipe as rollers. Yours more elegant, casters!!
Fred;
Iron oxide primer is good product. Looking great… Yeah, why not have a peek at the gears and even “rock” the large one to sense the “lash”. Hopefully, no chunks of steel at the bottom…
This little contraption of mine was first conceived as a creeper, so I could get under the cars, instead of lying on the floor…
Since then it has moved furniture, flower pots, you name it… And now a Jaguar IRS !
I’ve replaced a pinion seal.
I did it with the diff. in situ though which allowed for using the handbrake and foot brake to ‘lock’ the diff. while working. Then marked the pinion nut relative to the diff itself. A long breaker bar was all I needed to slacken the nut. Count the turns off as you remove it, because you want to be able to put it back in exactly the same position later.
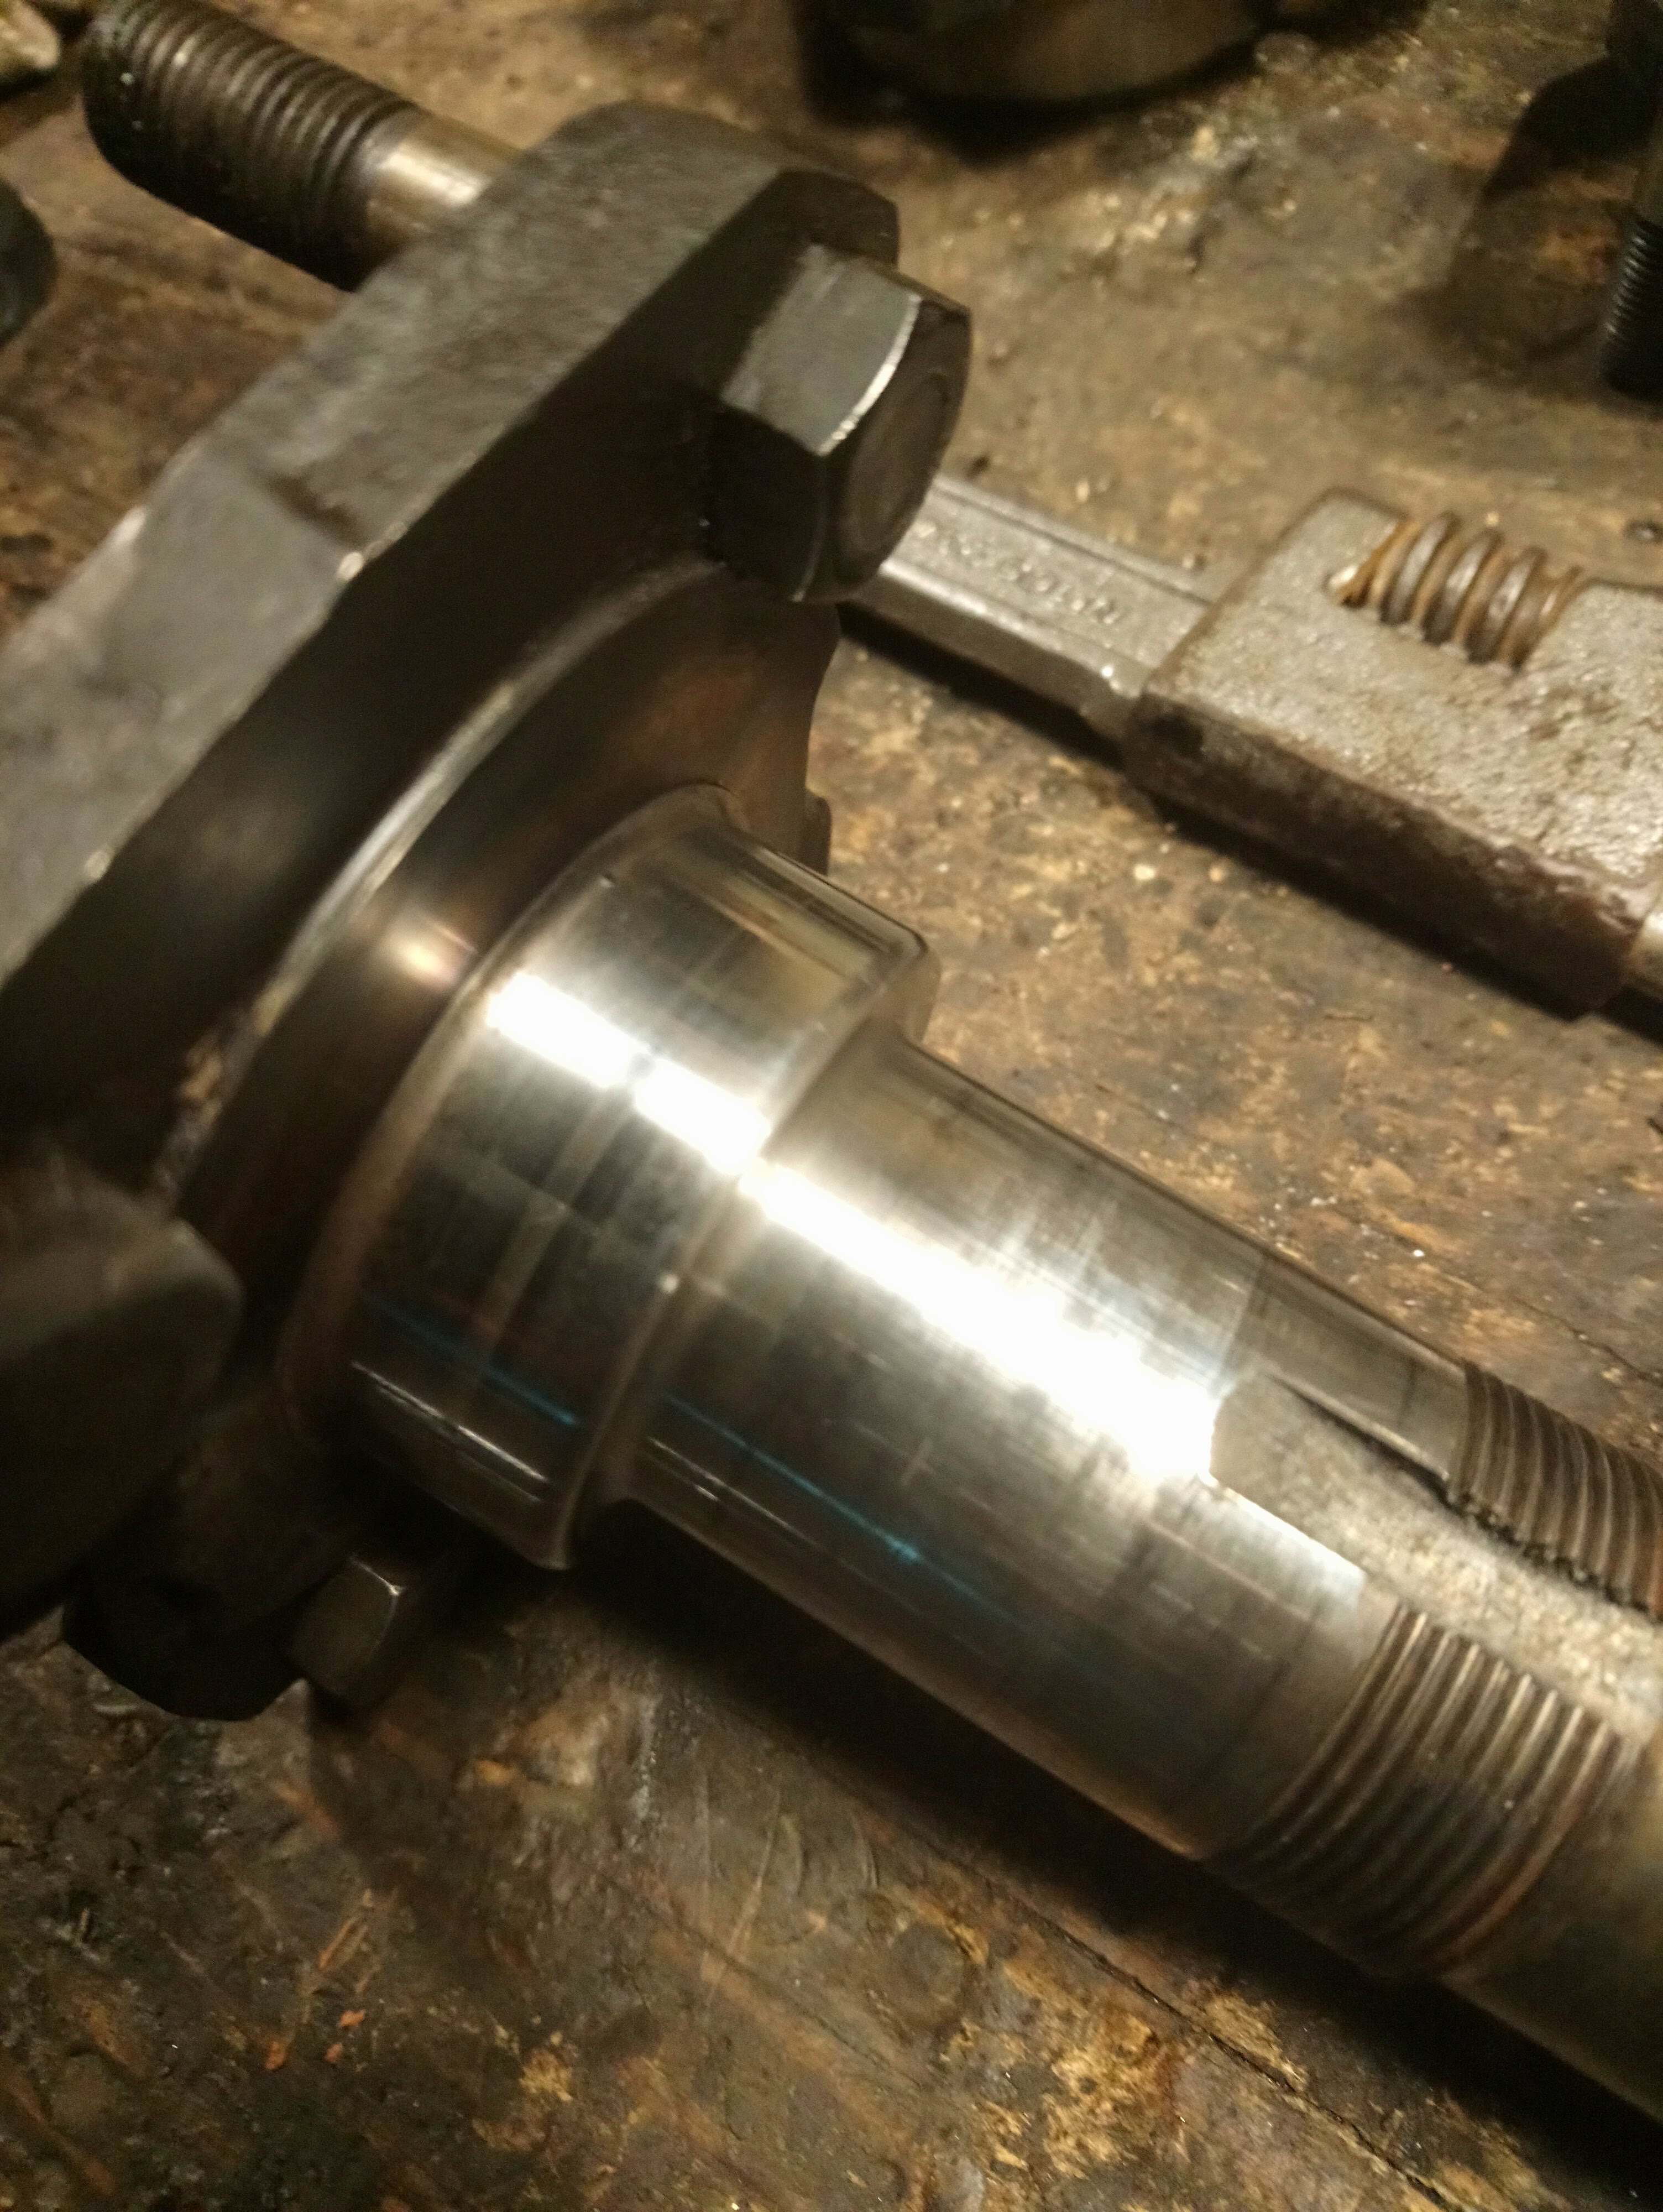
Once the nut and washer are removed I found the drive flange simply slide off by hand. This may depend on age and or previous maintenance though. The splines are supposed to be sealed. You may find that it is stuck with sealer. If so you’ll need a puller to shift the flange.
With care you can remove the old pinion seal. I’d advise protecting the pinion shaft splines before starting on the seal. The slightest ding in the splines and the drive flange won’t go back on. A split piece of PVC drain pipe or similar will do.
The old pinion seal took some brute force. It defied all attempts to prise it out. I resorted to a slide hammer and even then it took some hard blows to shift it. The outer edge of the pinion seal was coated with some sort of sealant before being fitted at the factory and you can expect it to be well gummed in.
The pinion seal has a fine metal spring around the inside of the rubber lip. Take a look at a new seal before you begin. Make sure you remove the old one. On reassembly smear some bearing grease into the trough where that spring sits to help keep it in place.
Then smear the outer edge of the new seal with some anaerobic sealant such as Loctite 574. Before tapping it in place.
(After slide hammering out the old seal, adding more setting sealant on the new seal doesn’t feel right, but it has to be done.)
Likewise, clean the splines and add some anaerobic sealant to them too, otherwise oil will track down the length of the splines and leak into the cavity where the nut resides before being flung out of the gap between the input flange and the propshaft mount.
Lube the new seal and the outer of the input flange with some gear oil before you push it in.
When it comes to replacing the nut. Recount the turns back on, then tighten until the marks you made earlier realign. That way the preload should be the same as it was before.
Put some thread lock on the nut before tightening too.
The only difficulty I can see with doing this off the car is that it may take some ingenuity to prevent the diff from turning - as you can’t use the brakes to help here. You might get away with this technique if you have a power impact driver.
This guy is well worth watching too. It will give you a good idea of the parts and how they all go together.
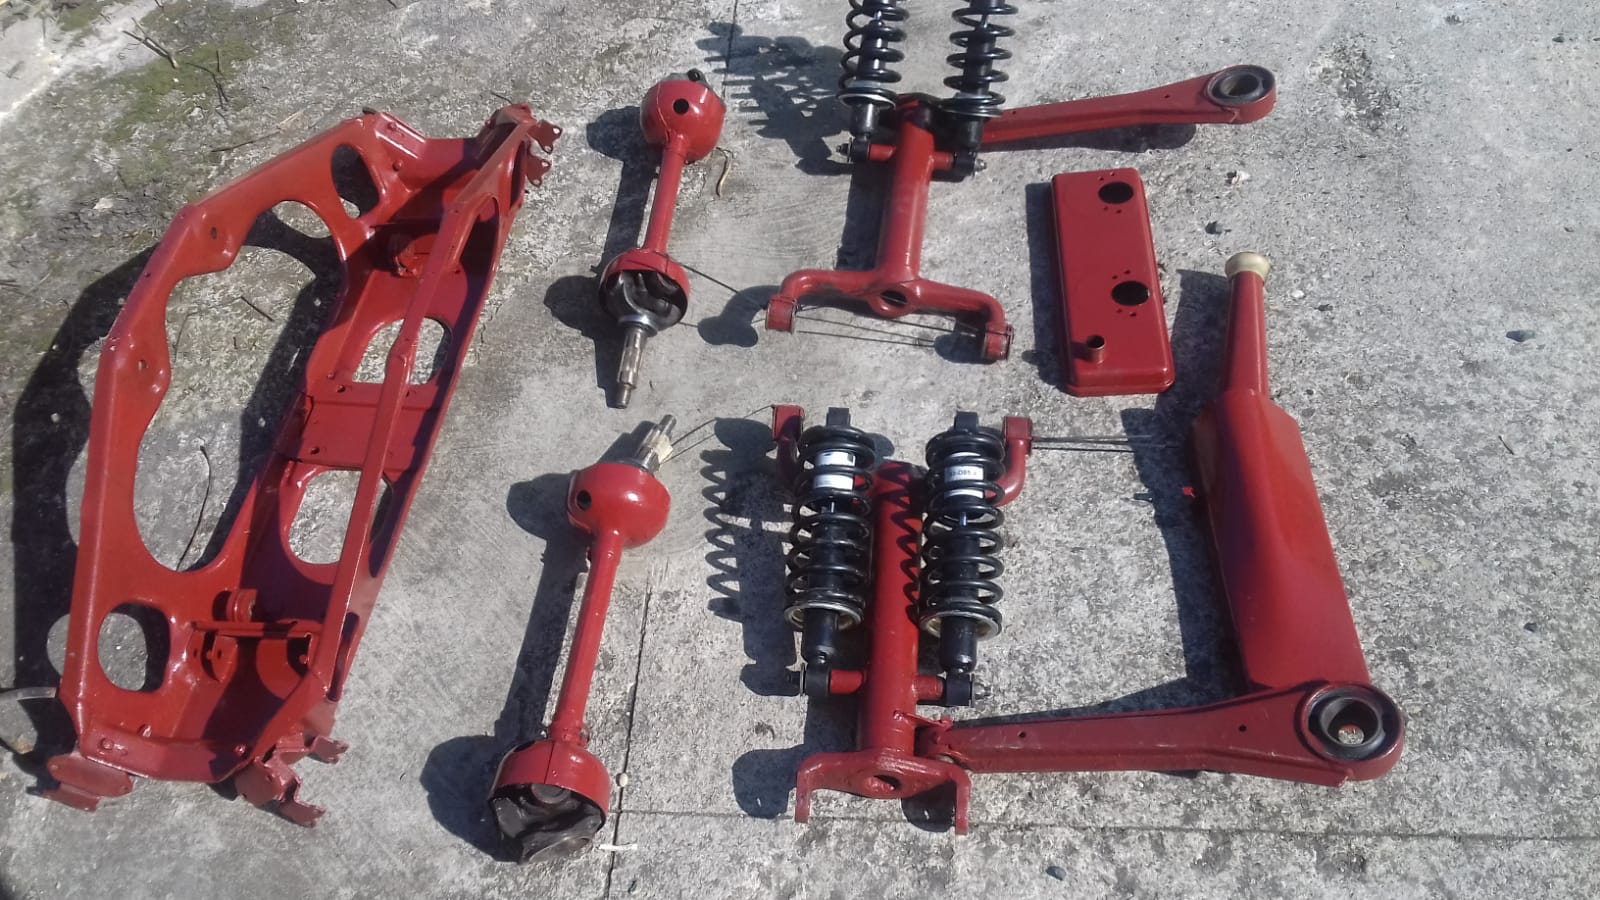
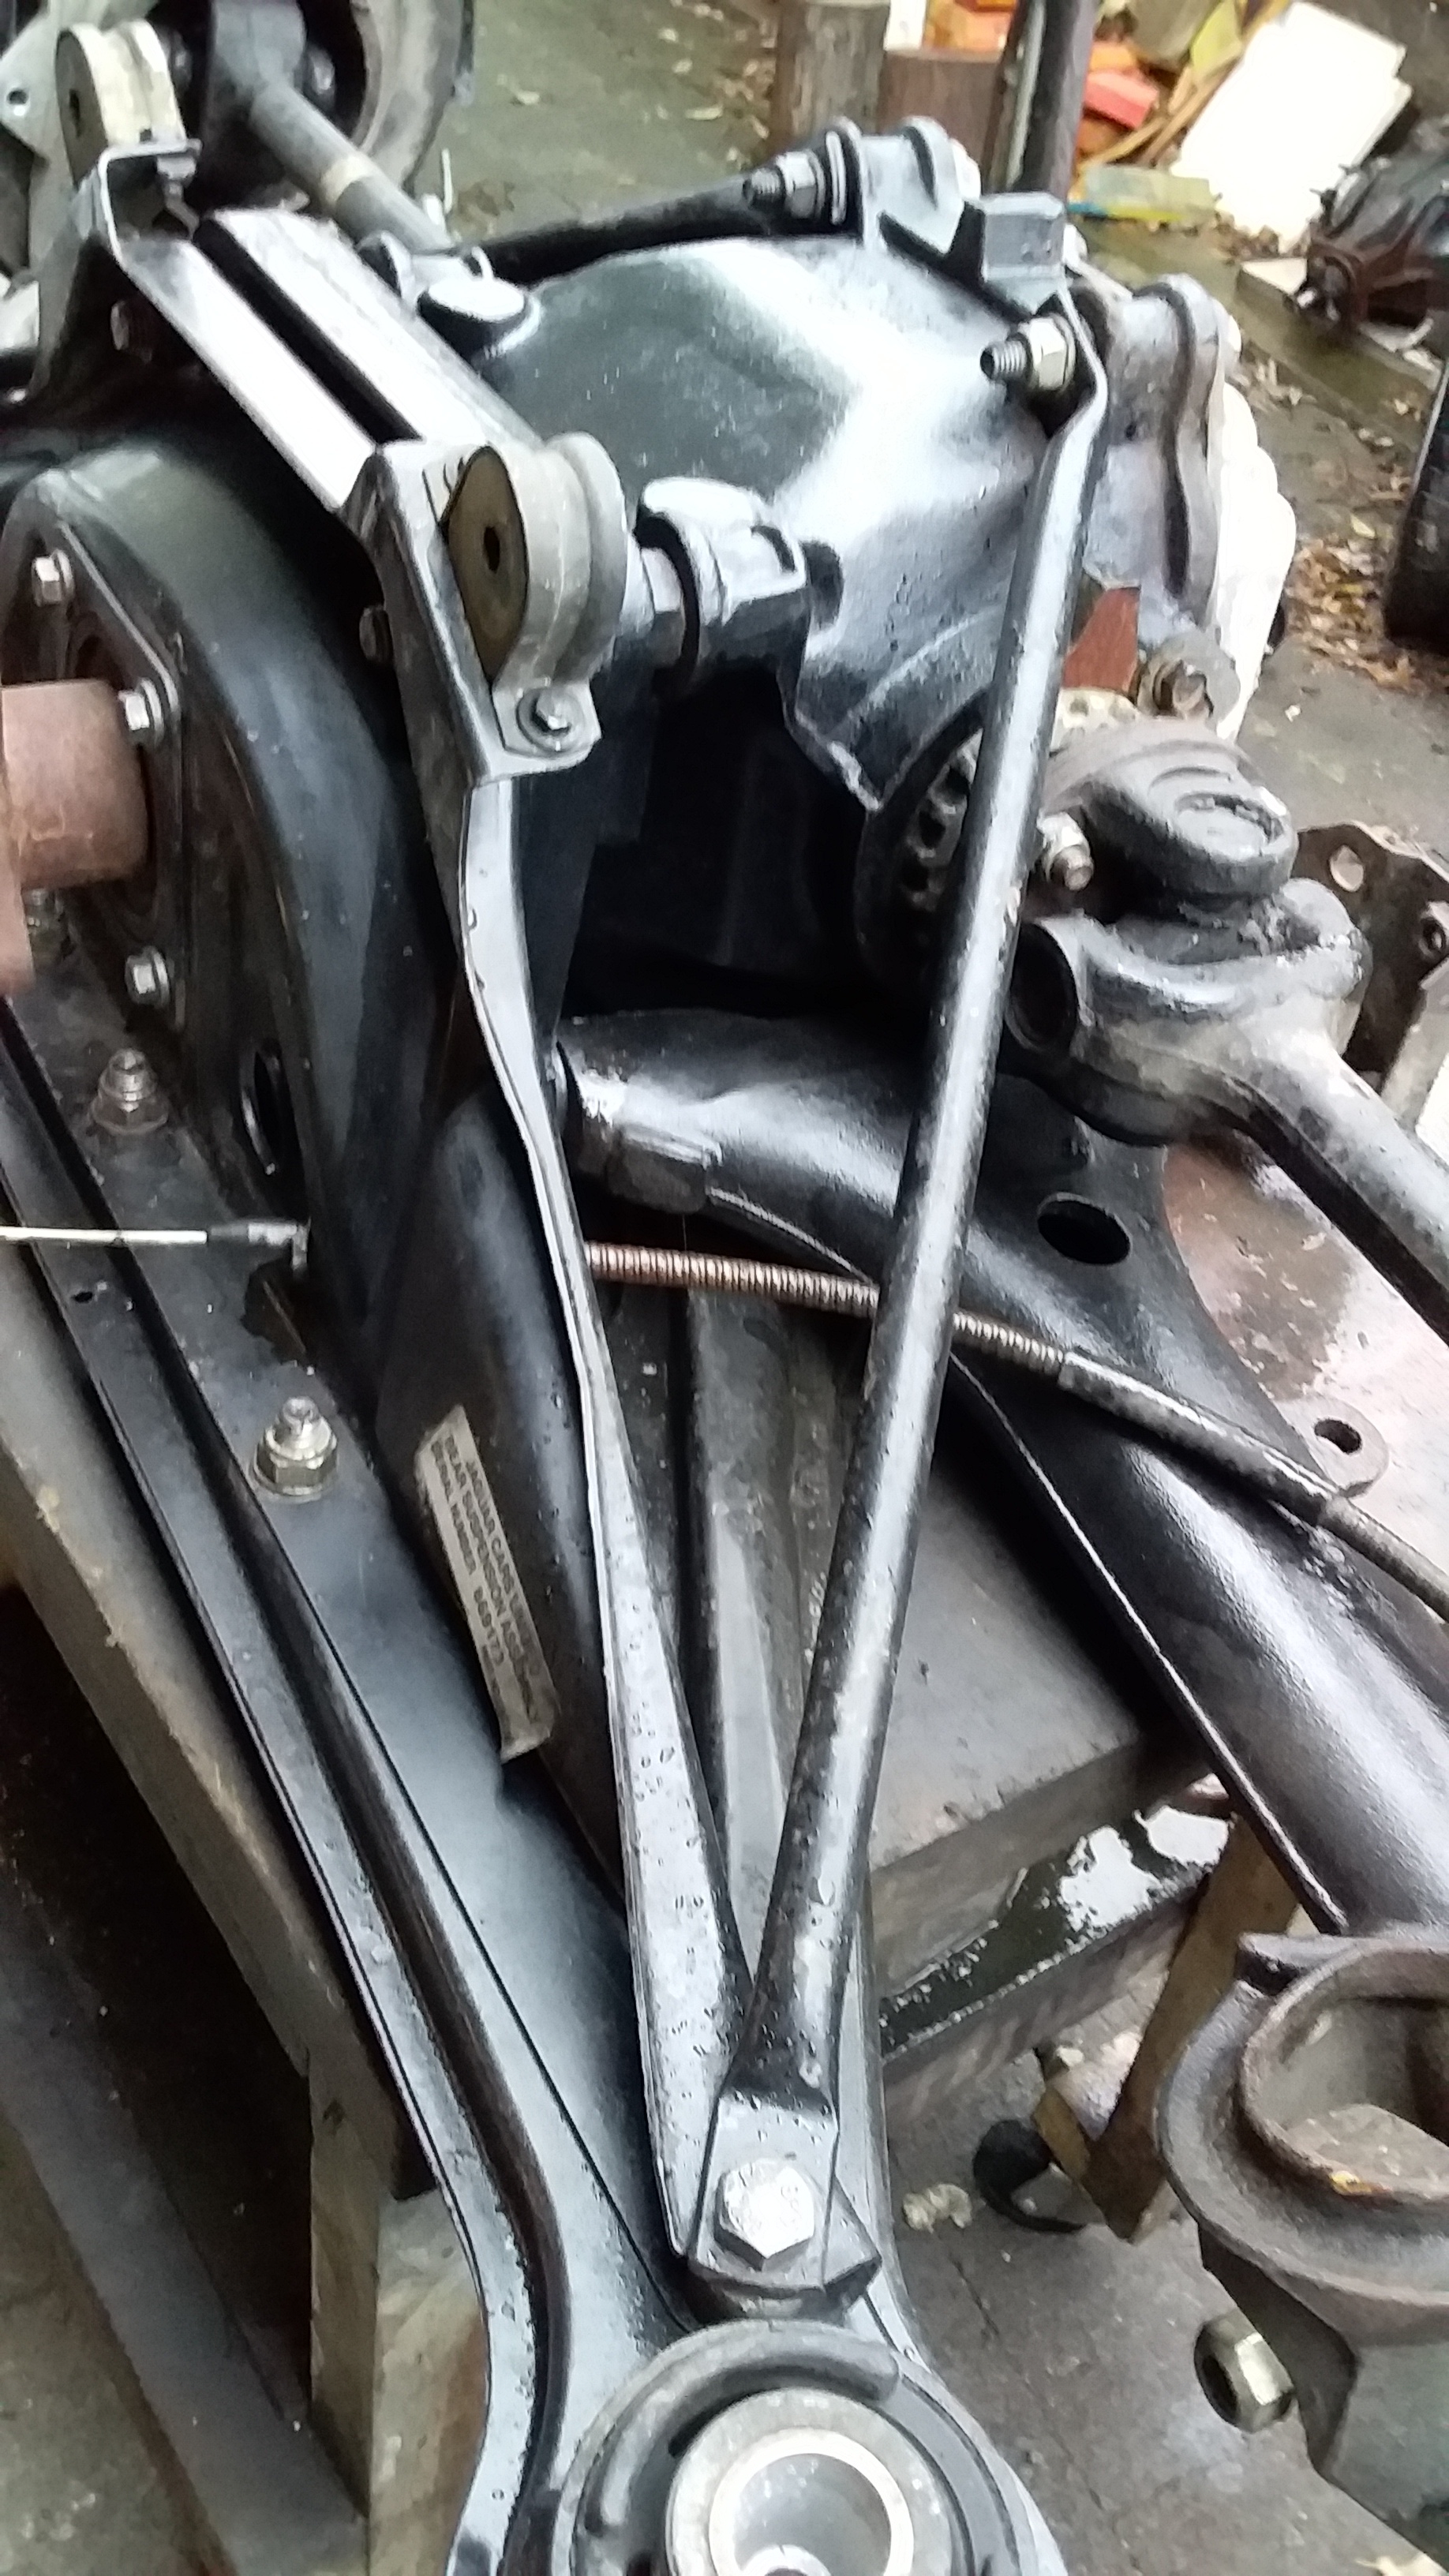
Petrol, pressure washer, wire brush, rugs, again and again… as the shaft output seal was leaking for quite a long time they were a mess…
I am still contemplating if I should paint them or not… I did paint the front calipers with black Hammerite, apparently it holds well in time, they look great .
What’s the consensus ? Should I or not ?
My OCD brain says I should, a mater of uniformity… and then, should I also paint the handbrake calipers ?
seeing they are so clean, painting can be done especially if you overhaul the calipers with new seals
one benefit is when you get under there in 20yrs and you are old & forgetful, it will remind you that yes in fact the calipers where OH
detailed under carriage also impresses the heck out of MOT inspectors, sometimes enough for them to let some pesky oil leak slip by, on old cars, it aint easy!
I’d paint them now that they are so clean. If only because all that bare metal is going to rust - although this may depend on the climate where you live. Here in the UK it certainly will rust.
I’ve never been impressed with Hammerite paints on exposed car components. I don’t find it lasts very long. These days I find the POR-15 products survive better. However those front calipers certainly look tidy and if you are finding that the finish is holding up well then fair enough.
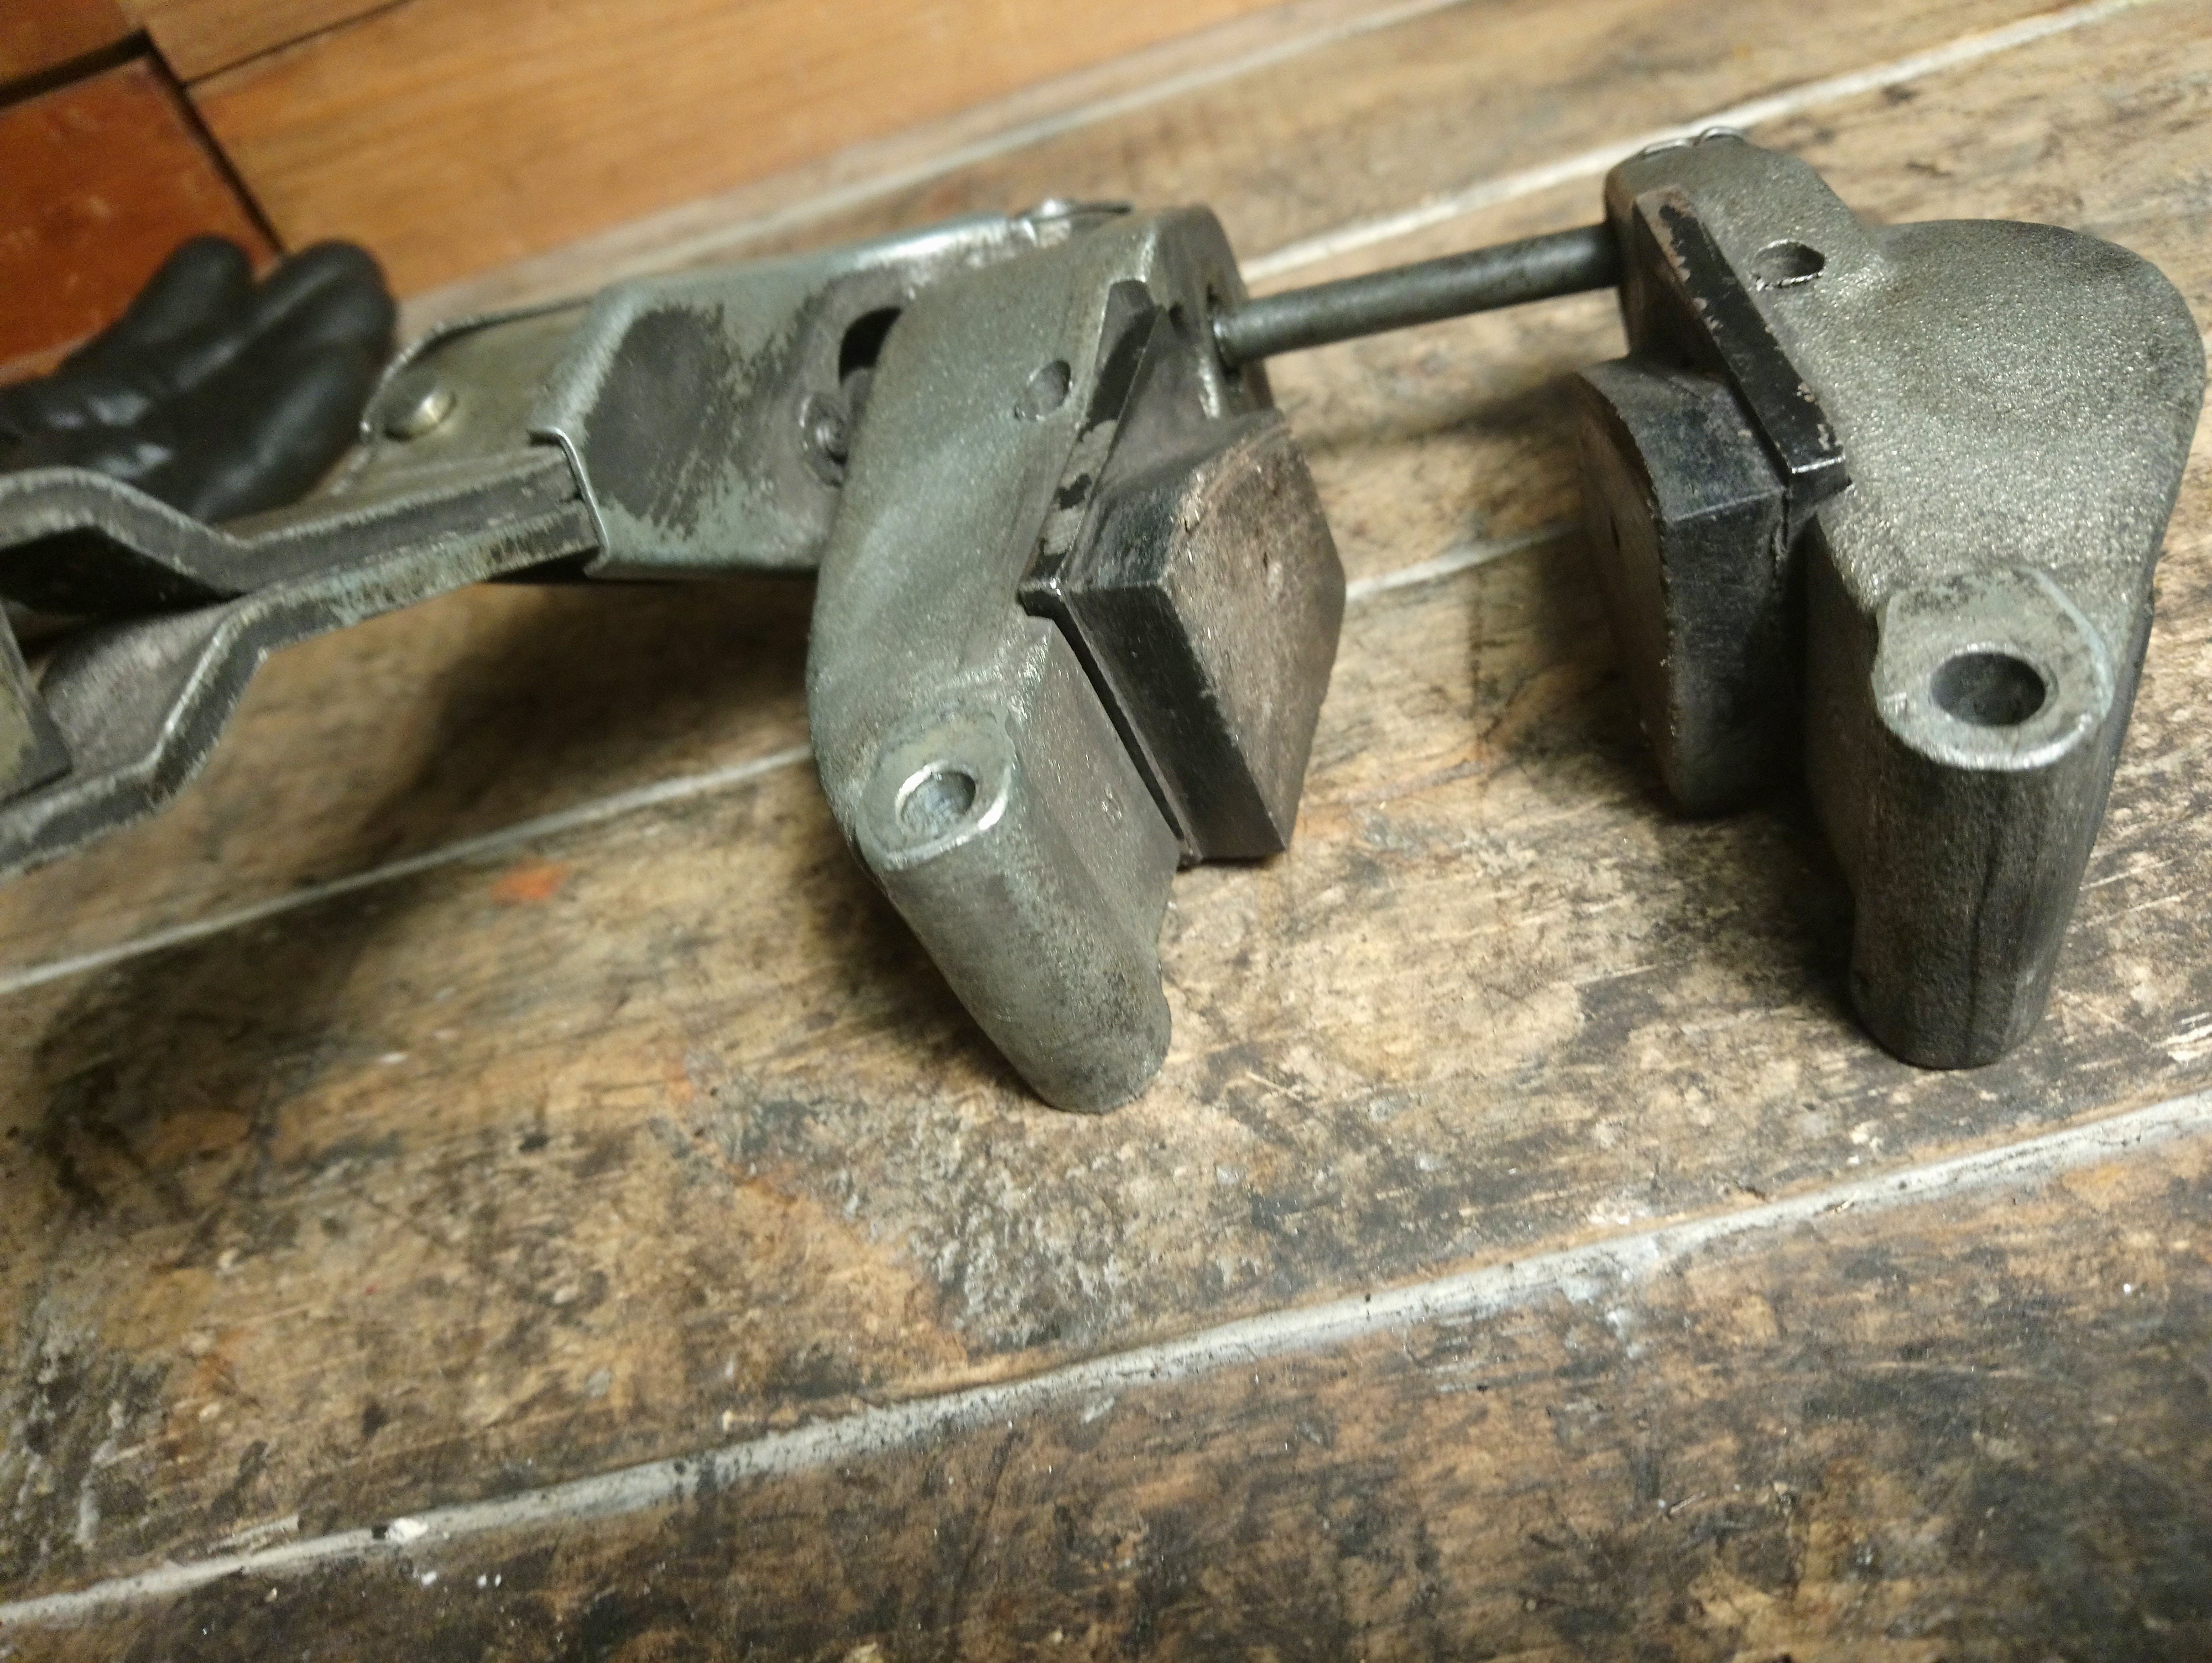
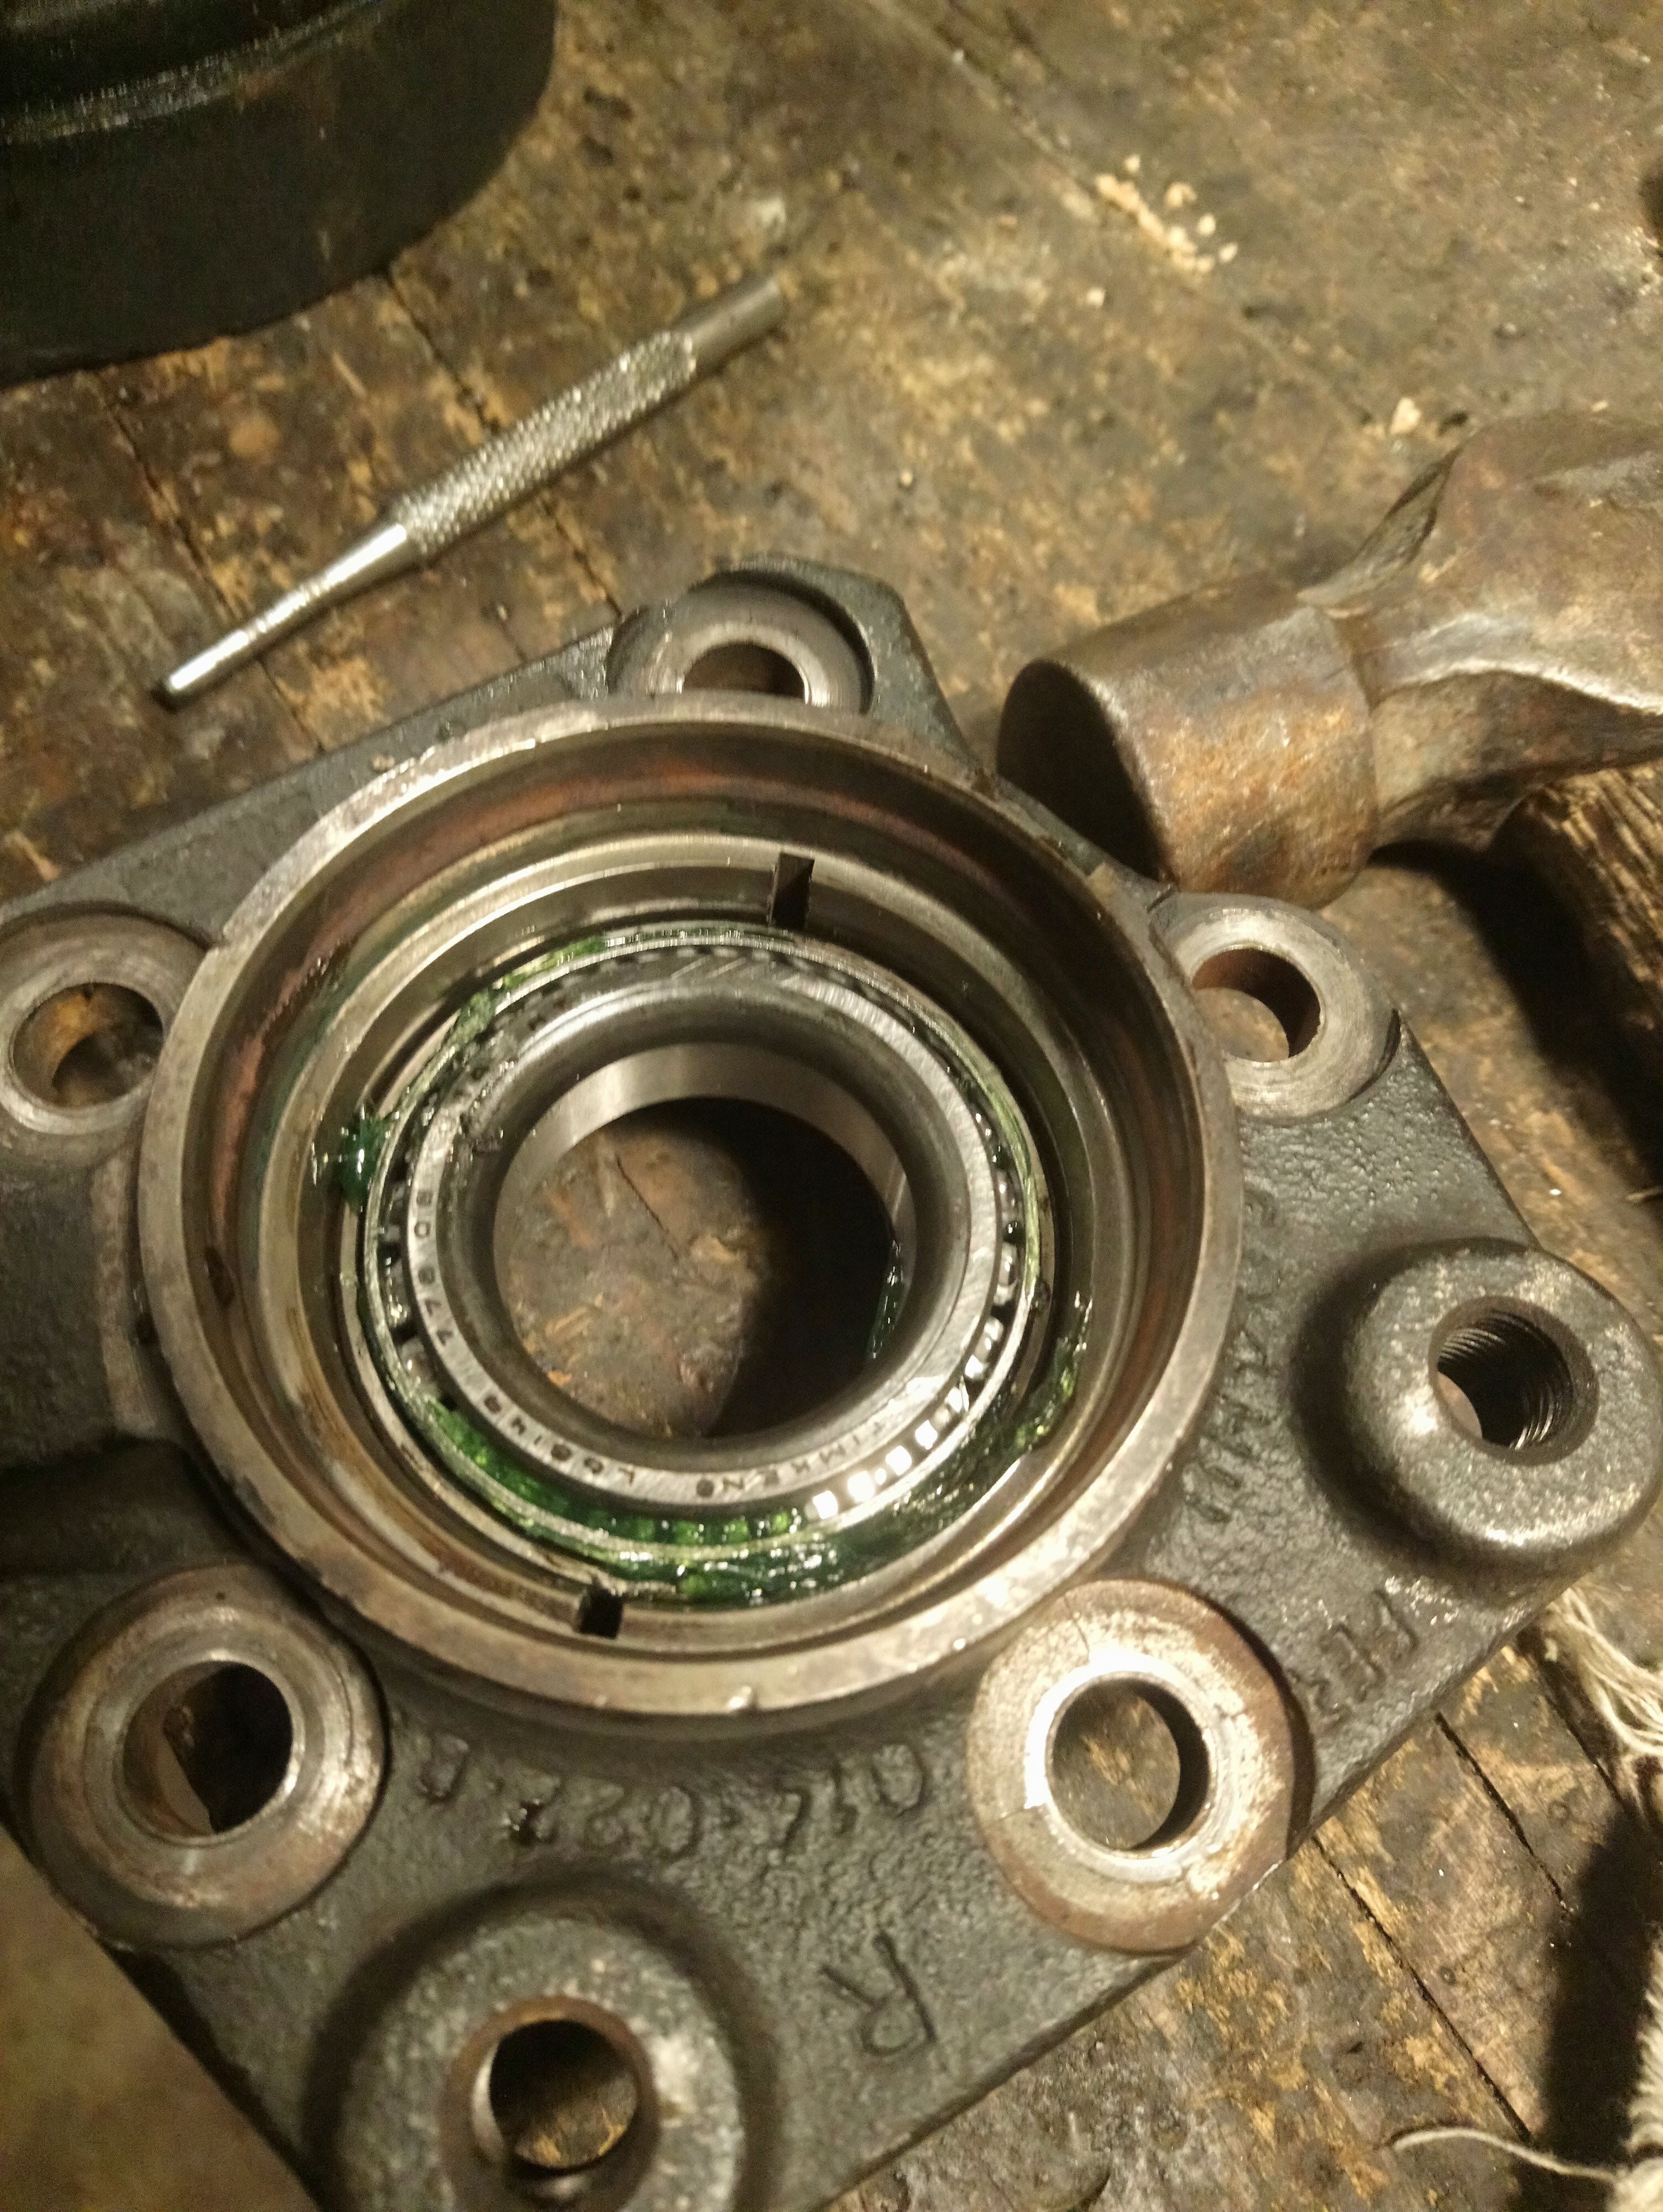
So far so good, bearings went in fine but having trouble with the seal (JLM1264)…
First try, the seal deformed and it’s ruined.
Any special tricks that I don’t know ?
The difference of the seal OD (68.8mm) and the case diameter (67.85mm) is about 1mm, and if it doesn’t go straight in from the beginning the seal is destroyed in the process (I don’t have a press).
So I have to get new ones and I was wondering if instead I could get Viton, but can’t find the right dimensions.
Anyone has done it ?
Does it have to be the metal only case or would a normal seal work as well ? (I don’t see why not…)
What I have found so far:
CR 18626 Nitrile - single lip (1.875x2.686x0.313 inch) is a perfect match.
CR 18652 Viton - single lip (1.875x2.75x0.313 inch) OD is 69.85mm - 2.75" , so it will either have to sit at the upper part of the case as it’s bigger, or it has to be modified.