Hi all
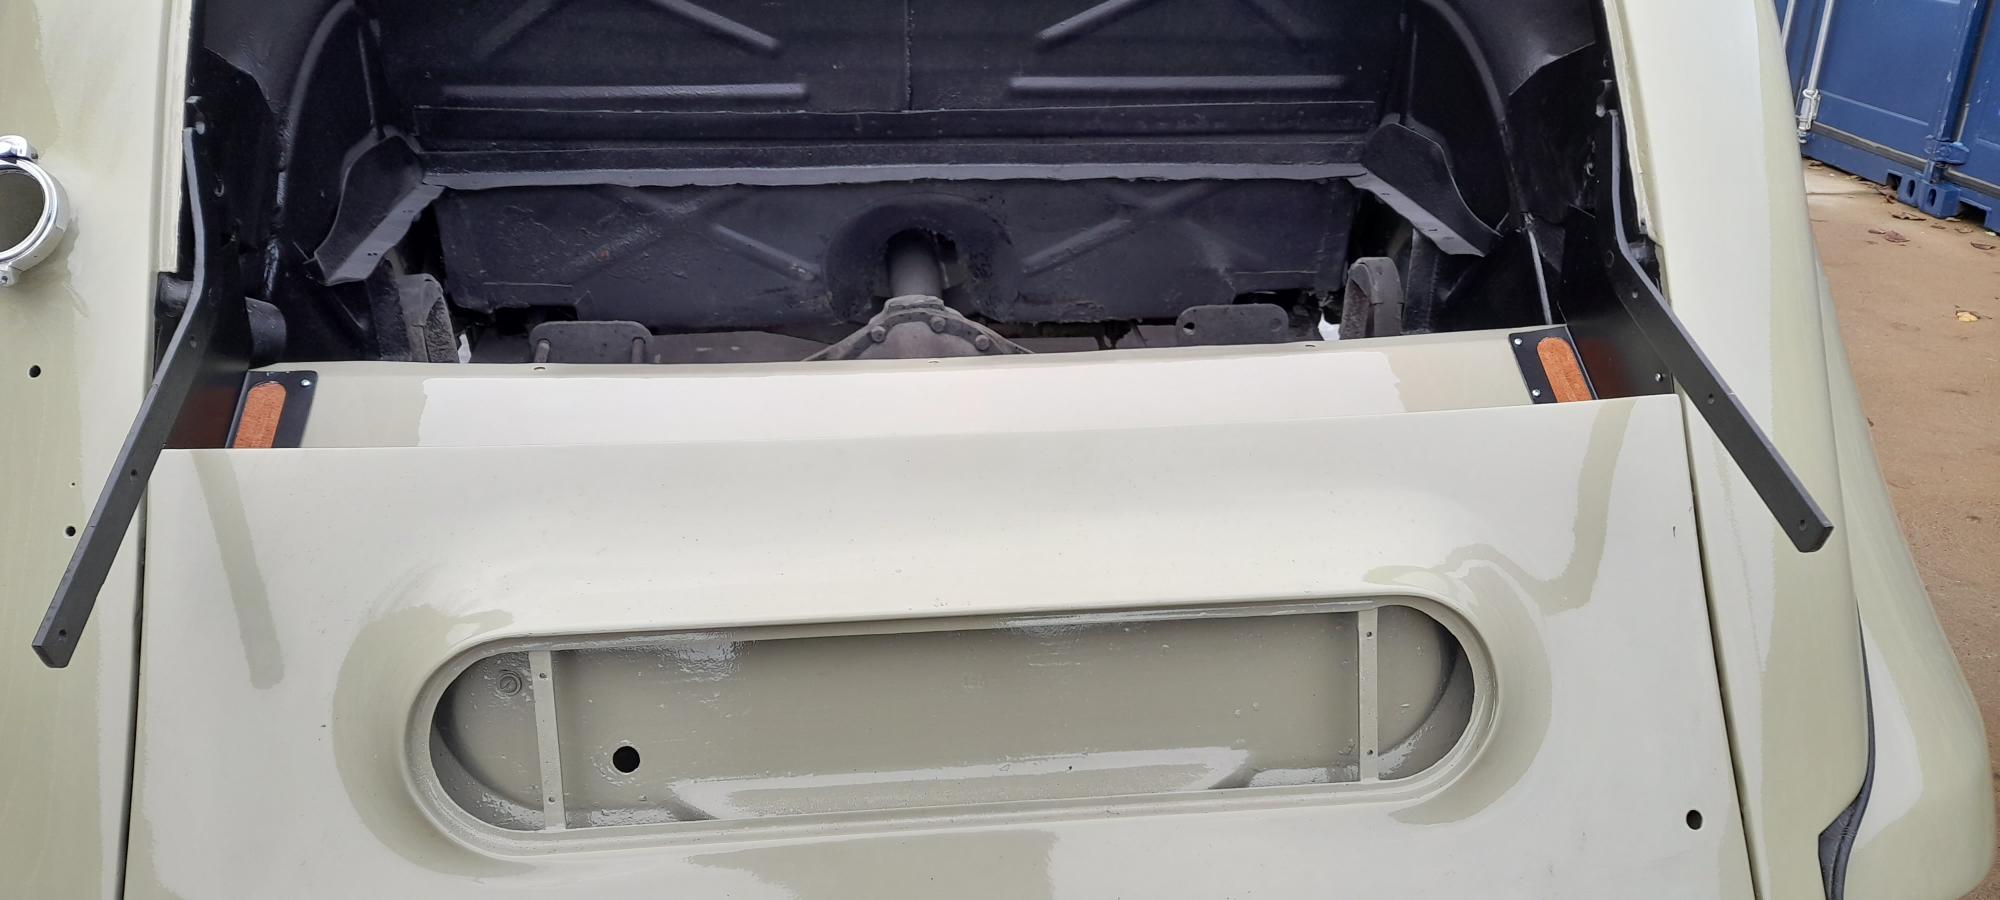
After having the rear inner bottom rear arches repaired, my repair and paint guy put things back as per original and discovered that the two recesses’ on the outer ends of the inner boot panel had old leather attached to them, which presumably were used as as scrape protection when the boot hinges arc over these recesses as (I know the inner panel should be black but my painter got carried away)
These form part of the dust sealing for the boot. The fabric should be fitted with a bit of slack so that it dips below the surface to avoid the tail end of the hinge bar scraping it, as it swings lower than the boot floor.
The other parts of the boot sealing are the pressed angle running the width of the boot at the rear end of the floor (this is more to do with preventing small items in the boot sliding back and out to the road), and the fabric strip that bridges the gap between the top of the spare wheel door and the transom panel behind the boot floor. This particular fabric is retained with strips of flat steel fixed with small self tapping screws. If you don’t have these pieces, I can take a few pictures.
The other job this does is to catch the water runoff from the boot lid and drain it to the sides, helping to keep the back of the spare wheel door and tray dry.
Thanks Pete, quite a lot of detail for a boot compartment, yes if you can send me a picture of the fabric strip behind the boot floor that would be great, once that is fitted the boot panel work will be finished and I can move on to the next job of many !
Cheers
Mike
I’ll see what pictures I can get tomorrow of the fitted skirt. It is not easy to photograph this assembly in situ because it is largely obscured by the boot lid. In the meantime I’ve attached the following two pictures of the metal parts needed to close the gap. I hope you have these.
The angle piece slips under the three screws that hold the floor panel down and is short at each end to clear the arc of the hinge locking bar. The two flat strips are attached to the sloping transom panel under the bottom of the lid, and the top edge of the spare wheel door, and they grip the fabric skirt. Interestingly, I cannot find them listed in the parts manual. They are easy to make, and the other two strips are my first attempt.
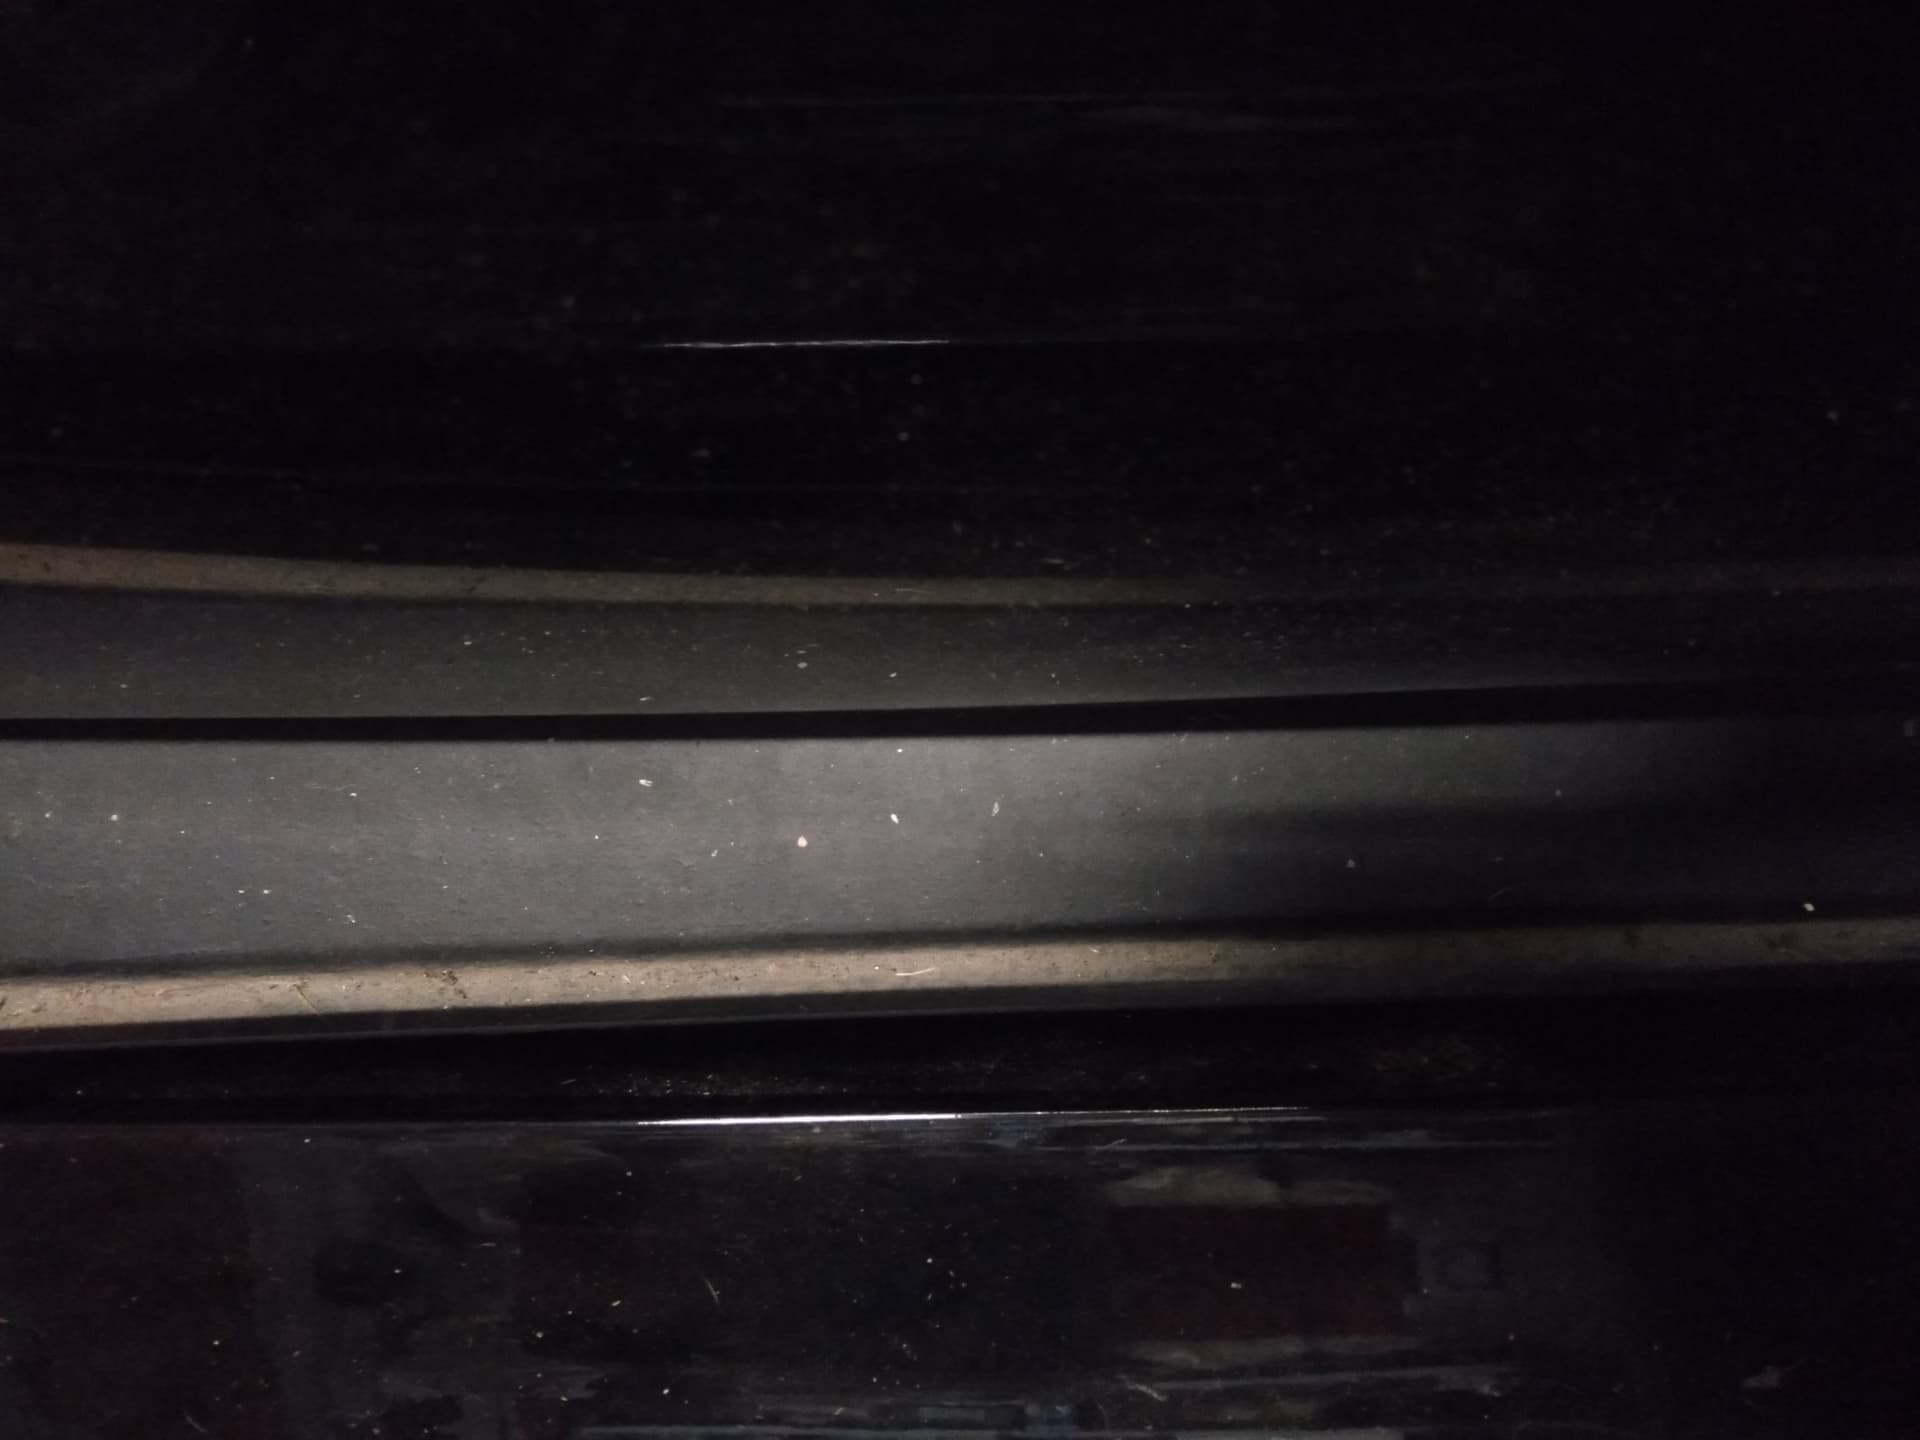
Here are some photographs of the area in question. They are very poor quality as it is a difficult place to photograph. If you need better ones, let me know and I’ll try in better light.
The first ones are of the area unfinished/unsealed. I expect many cars will be like this as it is out of sight. Note that when this is completed, you cannot remove the spare wheel door as the skirt connects it to the body. The skirt should be not stretched, but have a slight sag to form a gutter to carry the water runoff from the boot lid.
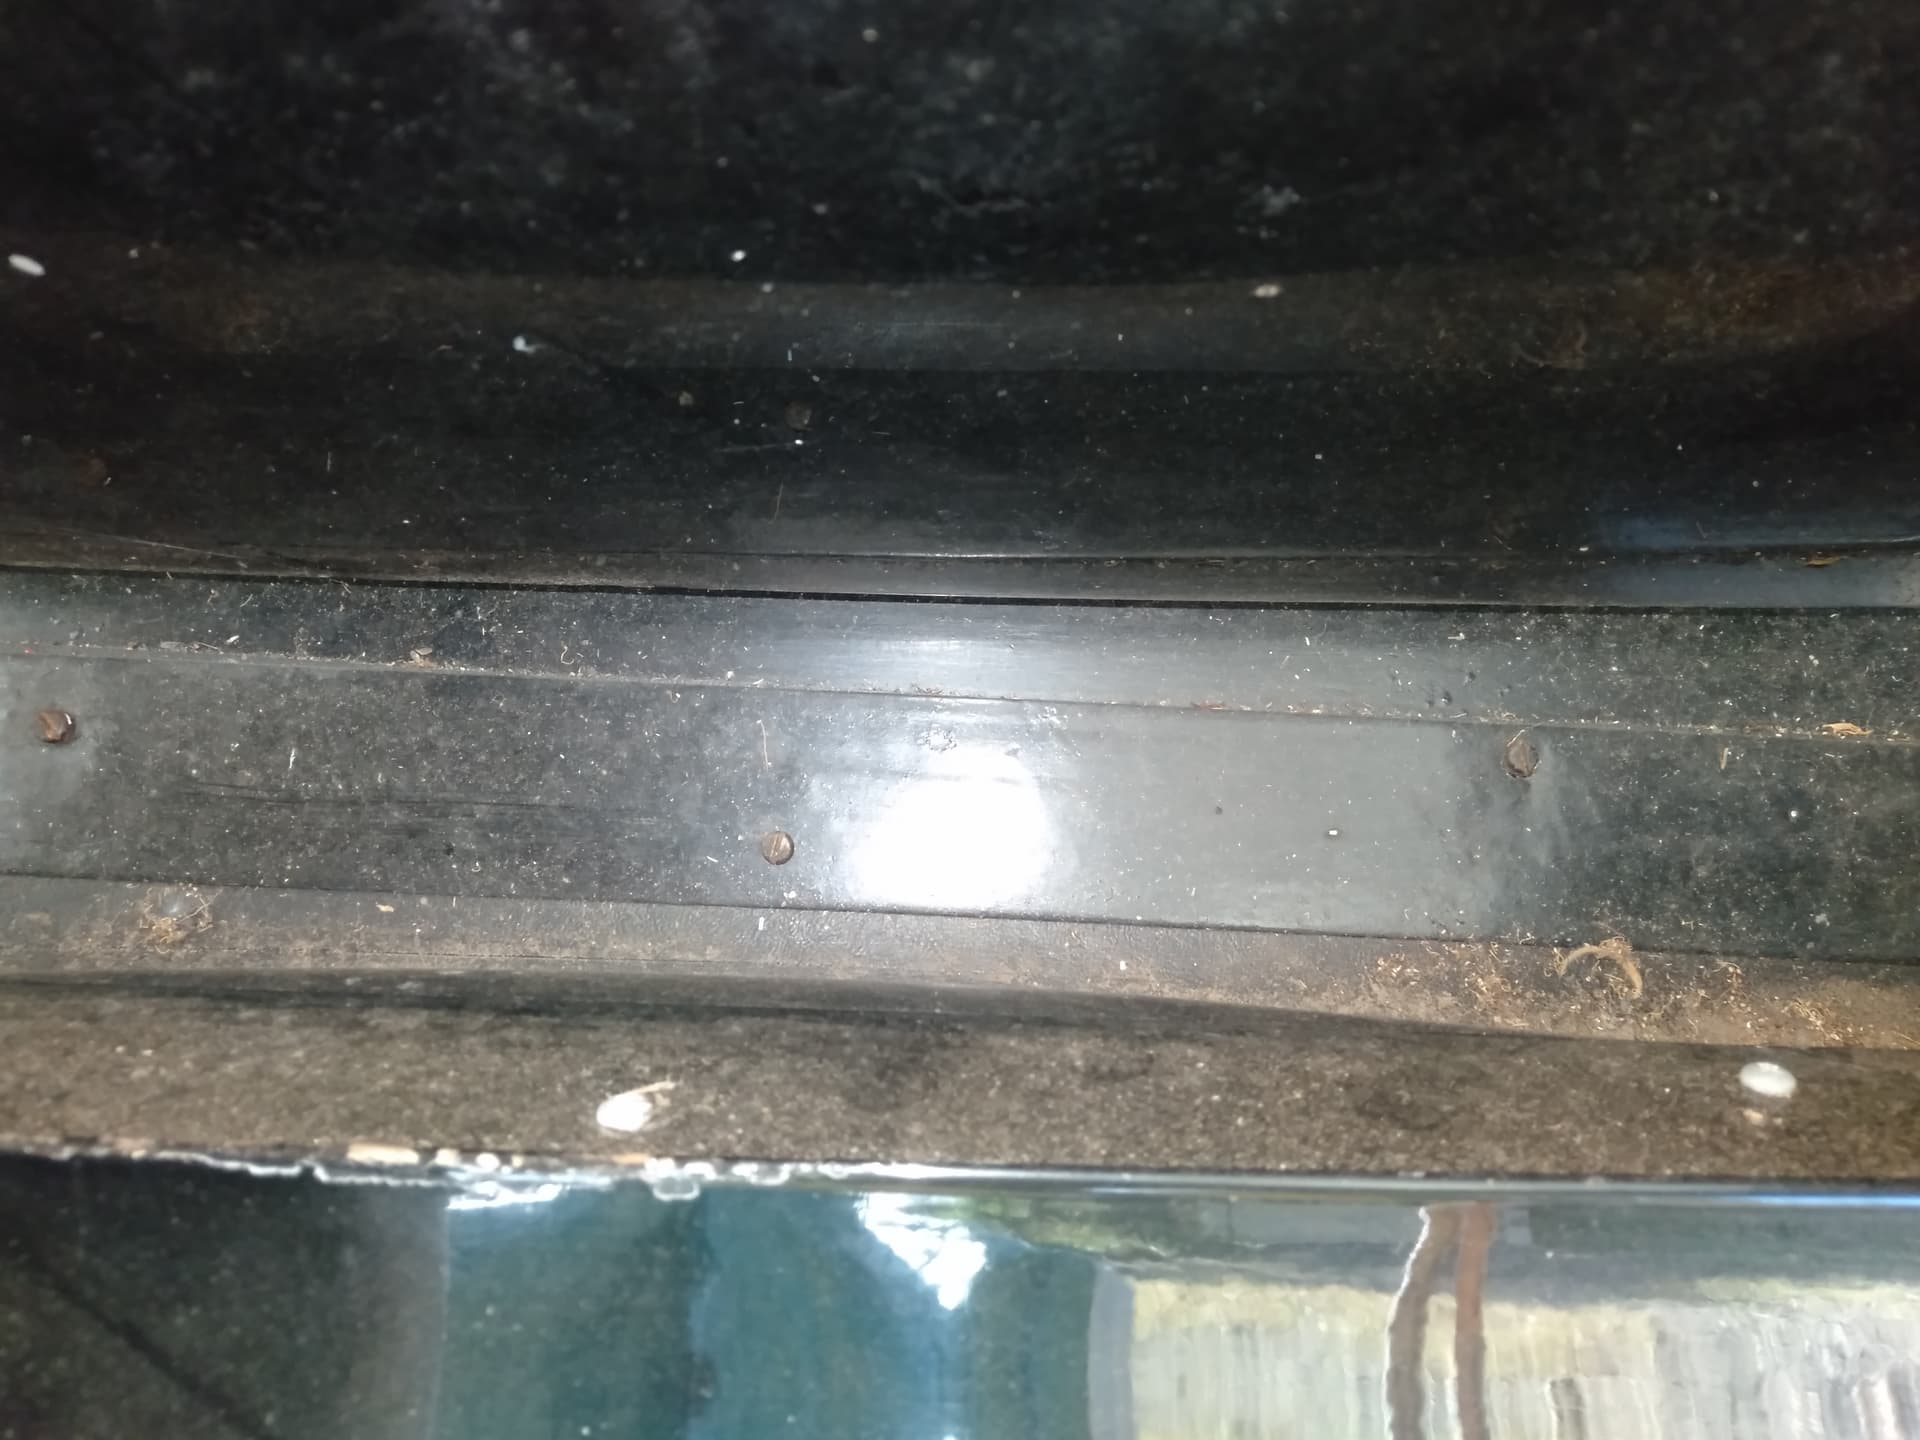
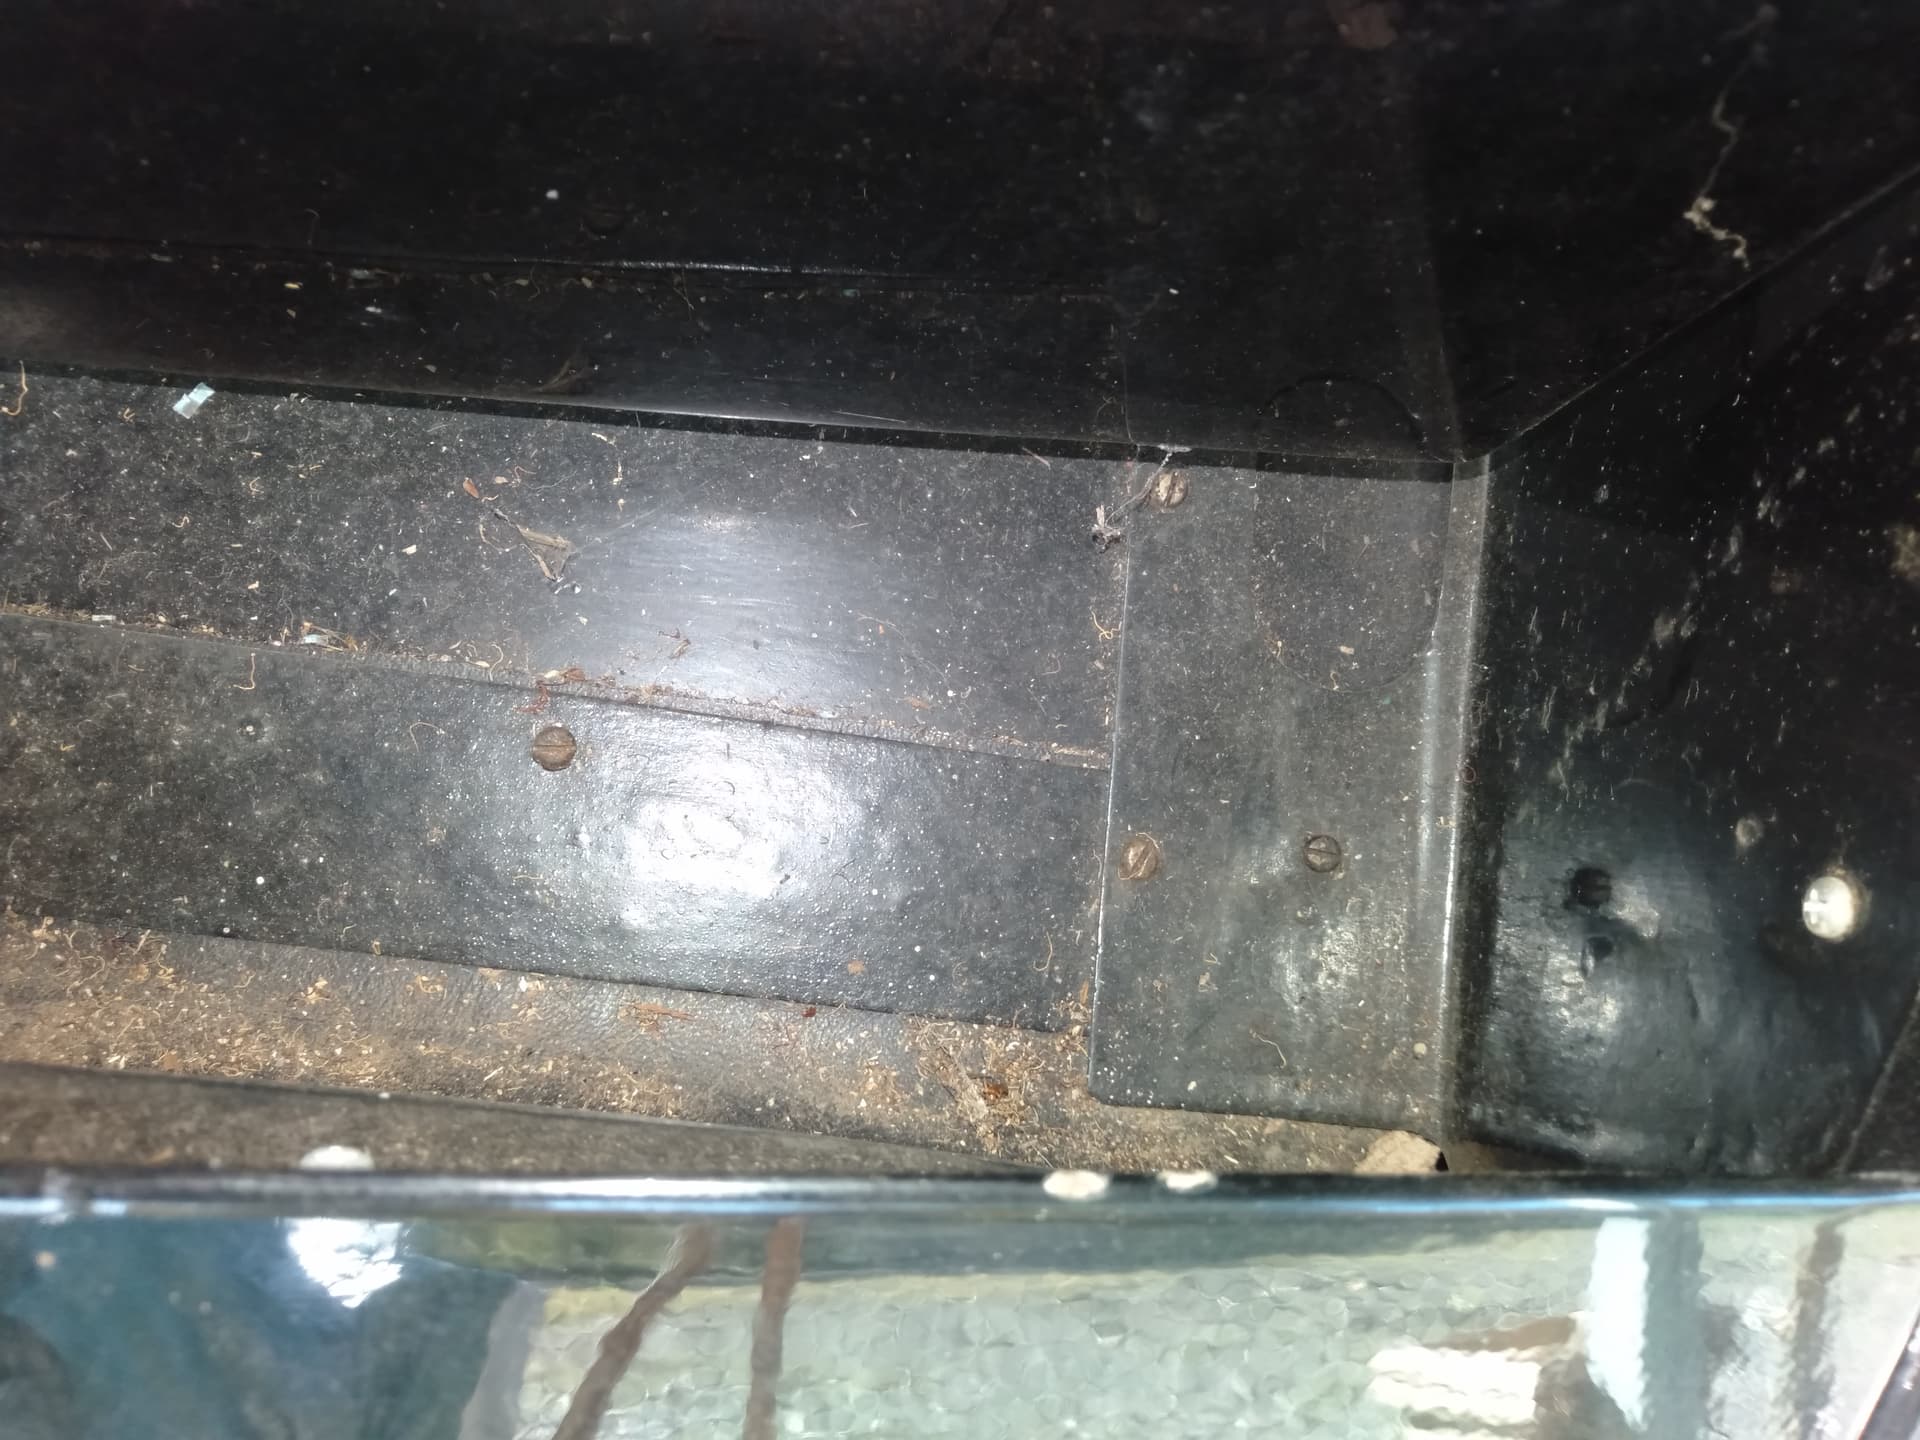
The other pictures show the assembled pieces. Note that the small cover pieces at the sides with the oval cutouts are put on last, overlapping the longitudinal strip. I used black vinyl for the fabric, the remnants of mine were the original equivalent material - Rexine, leatherette, etc. When I made my retaining strips, I match drilled them so I could use the same holes.
Pleased I could help, Mike. The dirt in the last two pictures is dirt lying on the fabric skirt. This is a the down side - you have to clean it now and again. Dusting, washing, polishing - the housework is never done.
In case anyone is needing to make a set, the measurements for the three original and slightly rusty pieces in the earlier photo are:
The Angle: 1-5/16" (btm), 2" (riser), 1/2" fold over to stiffen the riser. It is 40-3/8" long and is quite heavy duty at 1.2mm thick. It is bent past 90° (about 70°) to miss the swing of the bottom of the boot lid. The slotted holes are generously sized at 1/2" wide to allow for an easy fit and centring adjustment against the floor panel screws.
The Transom Strip: 44-3/4" x 1-1/2" x 1mm.
The Spare Wheel Door: 44-3/4" x 1-5/8" to 15/16" (at each end) x 1mm, cut to match the curve of the door.
I used ye olde Anglo measurements instead of ye newe Roman, because that is how they would have been made.
Will be a while before I get to the boot area again, having the inertia retrimmed in a couple of weeks so busy getting wiring , trim, heater, sunroof and windows ready first !
thanks for the measurements
Mike