New water rail hat seals, gaskets, stainless steel tubes, Jonas ss blocking plates
clean up and heat tape wrap fuel rail
Tap cam cover for new PCV vent system, and maybe powder coat them blue
Day 1: Intake manifolds and fuel rail are off. Easy, but tedious! My back can only take an hour or two bending over in the Vee removing twelve of everything.
Inspection: there is a wee bit of oil in 3A/4A and 3B/4B manifold channels. These are right where pcv system connects to intake manifold vacuum, in between 3/4. I’m hoping my new pcv system as well as oil catch can will minimize this. The intake valves on those cylinders looked a bit oily/dirty compared to others that were clean as a whistle, but nothing bad.
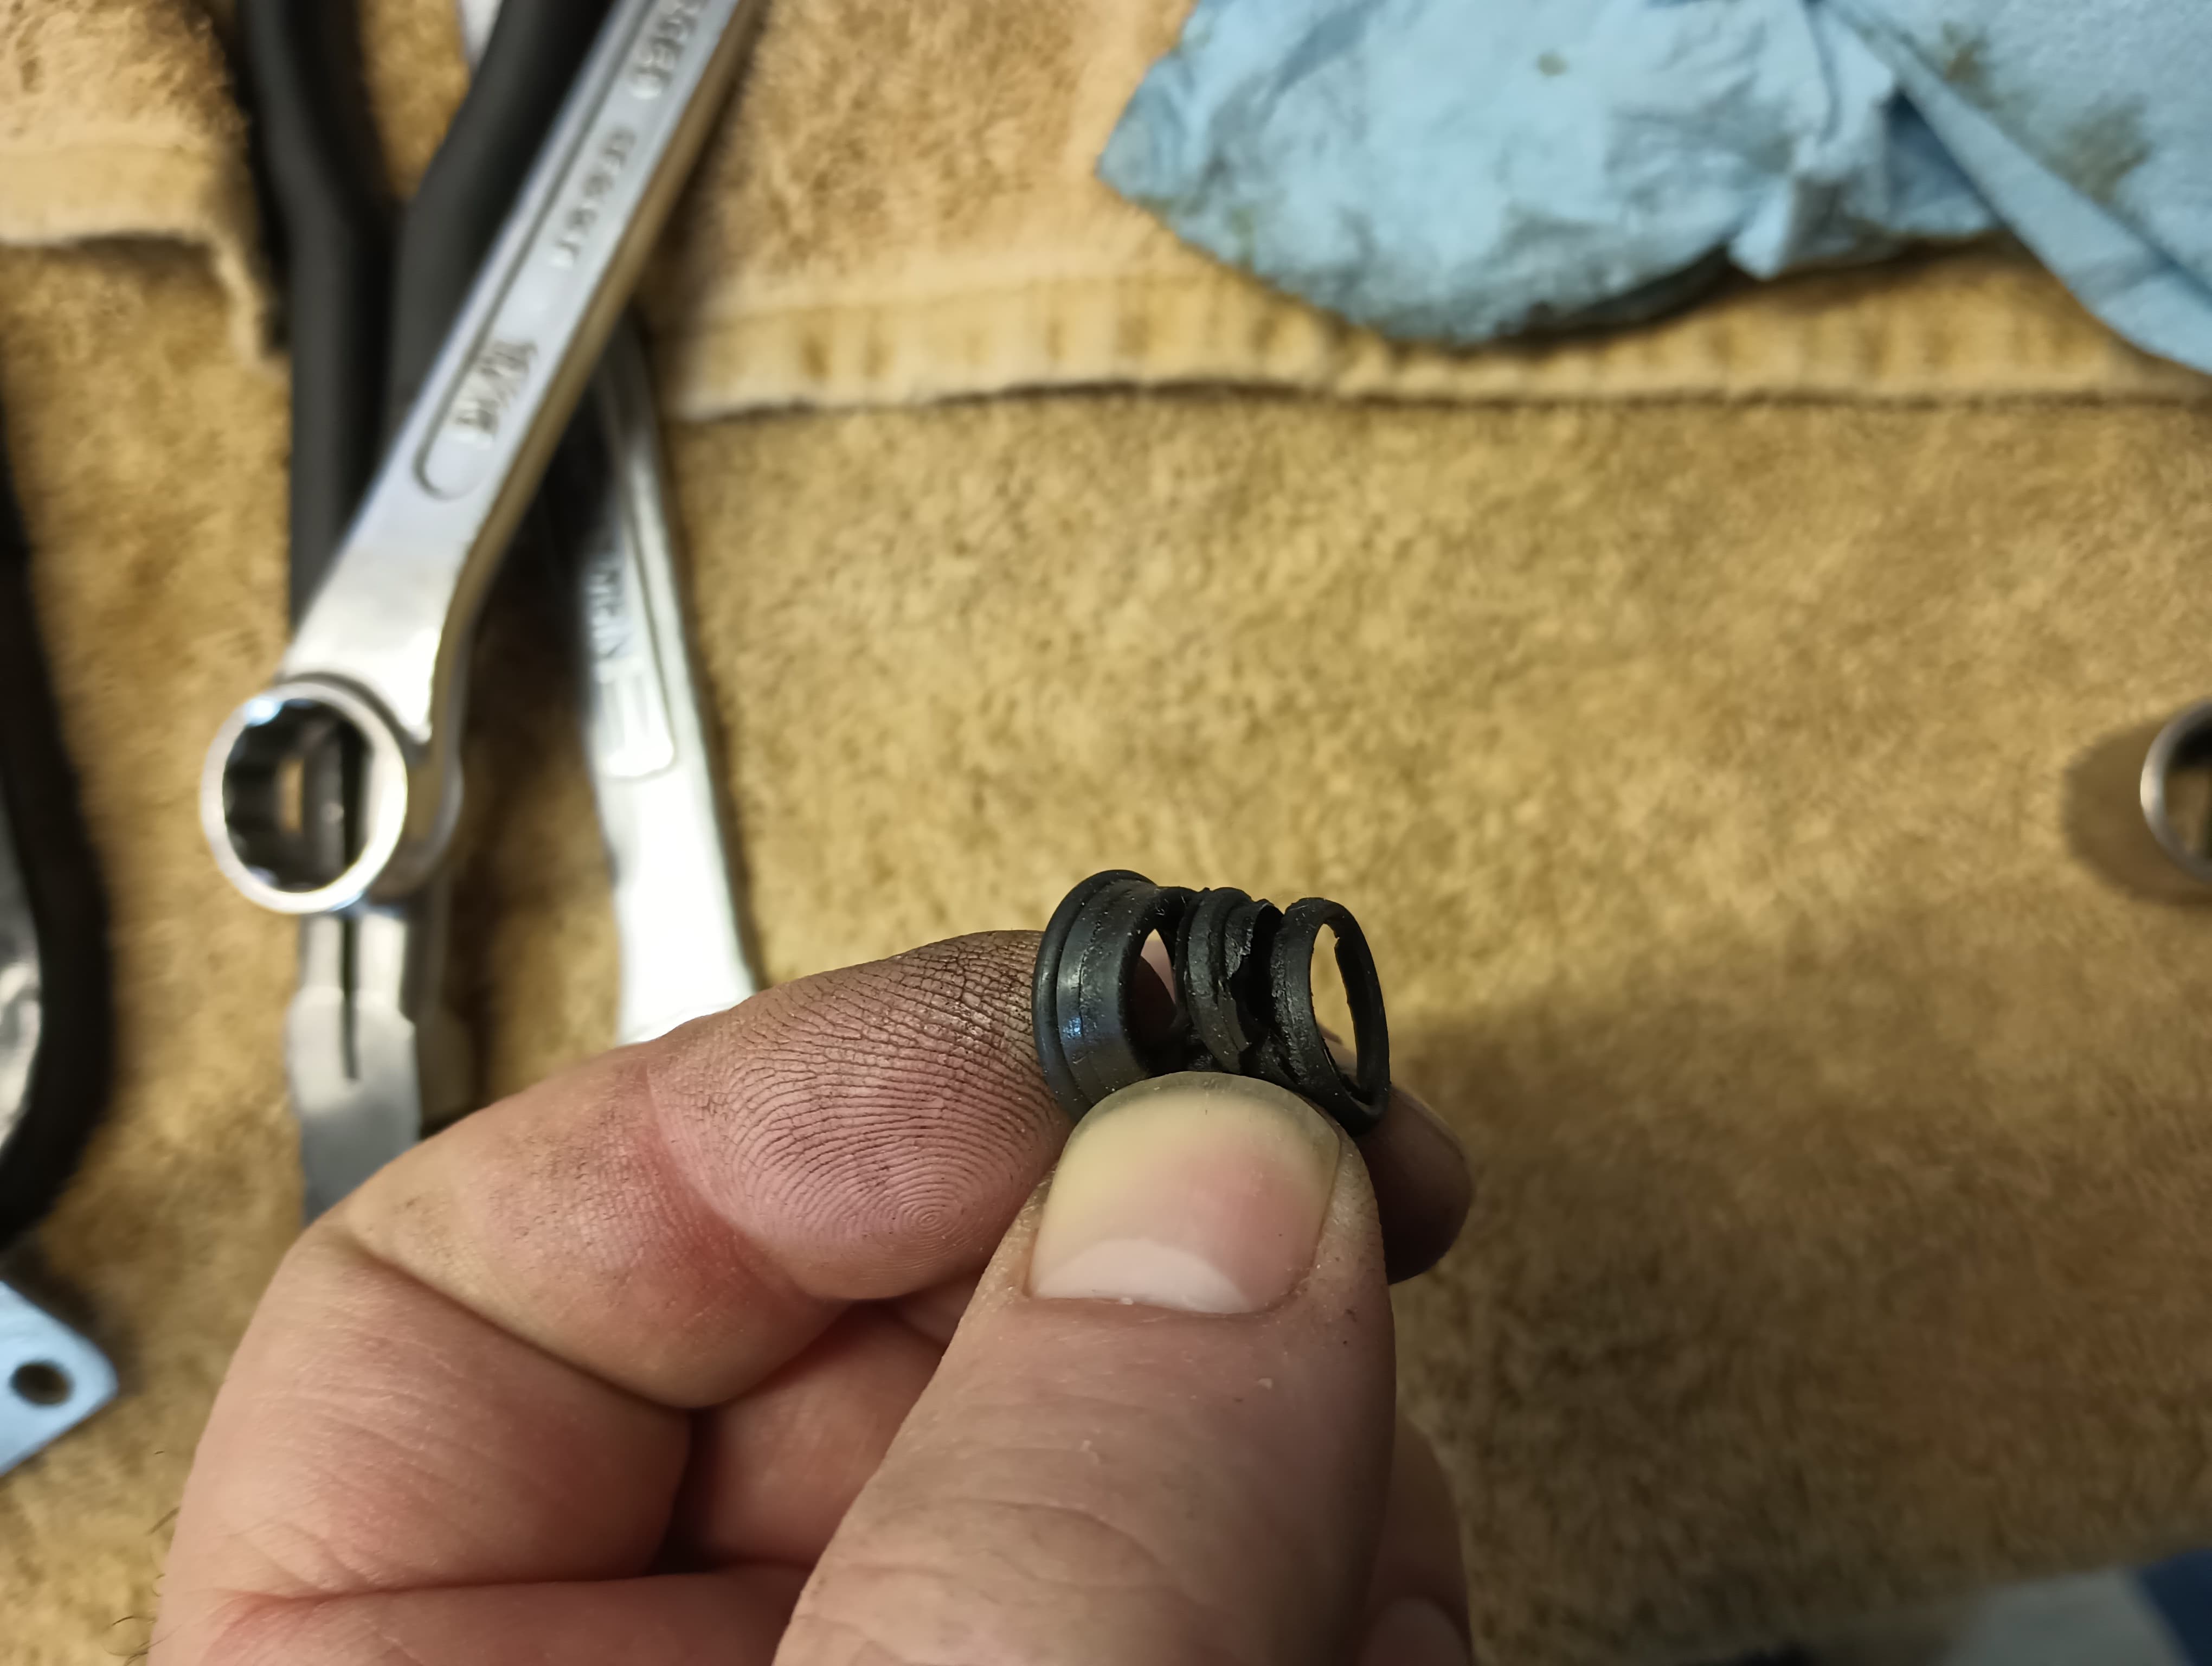
Also, one of the fuel injector rubber seals looked ripped, could this have been causing a vacuum leak? I put these in two years ago, obviously I tore on installation?
Luckily I bought new ones, this time I’ll put some (silicone?) grease on them so they fit better without risking a tear?
doing the lot at once is a good idea, rather than coming back to fix them later
I went the same way, , it’s a good time to replace the thermostats and various coolant hoses if not already done
(small detail : half moon are aluminum, not stainless)
The small seals for injectors to intake manifold, i notice the new ones are simple cylinder, but the old ones are molded with lips that fit injector and intake manifold port perfectly. Is this just molded from tightening up? Or are there two choices of seals?
The trick I used to work in the middle of the V12 was to lay an old sofa cushion over the guard and lay on that with feet on the ground. Took the weight off my back.
I have been wholesale buying and supplying those seals for 19 years. Never seen a new seal (before installation) with a lip, like the one you show in the photo. Have removed many hundreds that have been deformed by tightening the injector down into the manifold recess. Yes, they form a lip. Never seen one ripped like yours, and certainly odd within a two year span. Use Vaseline for the install. Never anything silicon based. Heard that silicon…even though ever so unlikely…will damage O2 sensors…if it makes it that far. SD Faircloth
Looking through my records, I think I know what happened. I installed fuel rail with new seals three years ago. Two years ago, I removed fuel rail to replace an injector, and reused the seals. They would have been deformed into the shape with lips at that point. I must have got one in crooked and tightened up.
Since those seals are so cheap, do you recommend replacing them whenever rail is removed?
Also, I’m surprised they deform like this into a permanent shape.
Lastly, i thought vaseline was bad for rubber? Didn’t know about silicone and O2 sensors. In the archives, I’ve read WD-40 can be used.
[quote=“gregma, post:6, topic:428489”]
Since those seals are so cheap, do you recommend replacing them whenever rail is removed?
YES !
Also, I’m surprised they deform like this into a permanent shape.
Next time you have an injector out, look at the tip end…the end that pushes thru that seal. It’s not flat, it’s an uneven surface, and it’s that surface on the injector end…in addition to engine heat, that deforms the seal.
Lastly, i thought vaseline was bad for rubber? Didn’t know about silicone and O2 sensors. In the archives, I’ve read WD-40 can be used.
I like Vaseline. It’s very slippery, doesn’t run, stays where you apply it. You could also use WD40, any motor oil, any used motor oil…any weight, probably any grease you have in your garage. Applied to the inner wall of the seal and the outer wall of the injector pintle cap.
FYI…for proper fitment and proper expansion of the seal…this seal should be installed in the intake manifold and then the injector pushed thru the seal. As the injector pintle is shoved thru the seal, the outer wall of the seal expands to form a tight fit against the wall of the intake manifold recess. If the seal is fitted to the injector pintle first, the outer wall of the seal expands beyond the ID of the intake recess, and the seal will usually not fit into the intake manifold.
DEI (Design Engineering Inc) Reflect-A-GOLD is a metalized polyamide polymer laminated glass cloth.
Claims to reflect temps up to 800F. Adhesive rated up to 350F.
I won’t know until next summer if it actually helps, nor if the adhesive can take the heat of the Vee. We shall see, hopefully I’m not peeling it off in 6 months
Day 2 and part of Day 3 was spent finishing fuel rail, and cleaning up intake manifolds.
Day 3, today, I removed left water rail. I gave all the bolts a good spray/soak of PB Blaster. I was able to get them all out by hand EXCEPT the front bolt, which only came out about 1/4" before it would not turn anymore. Thanks for the warning, I was extra careful getting it out. It was the ol’ : 1. Spray with PB Blaster 2. Tighten bolt in a turn. 3. Loosen bolt out a turn plus hopefully an extra half turn. 4. Repeat. I also had to use my air ratchet at one point, as I could not turn by hand and I did NOT want to use a lot of leverage. I made sure to only use my little 3/8" ratchet for any leverage by hand. After about 30 minutes of this and about 20 sprays of PB Blaster, the bolt finally came out.
So a few questions for Day 4, tomorrow. I’ve got both sections of the water rail nice and clean, and got the old gaskets scraped off and mating surface polished.
I can install the new pipe and hat seals on the bench, correct?
Once I clean up head/block, plates, and bolts, what can I use on the new paper gaskets? I assume gasket dressing like gasgacinch is OK?
Should I chase the threads in the head/block? (right now I sprayed pb blaster down the holes to soak overnight) And of course use anti-seize when reinstalling bolts.