Now if only I had that mezzanine . . .
1 Like
Lumber’s coming down…
I’ve eyeballing two of these joined in the middle. Pretty reasonably priced – includes thesteel frame work and wooden planks for the floor.
1 Like
“Mezzanines Online.”
Shoulda known!
Let me know if ya need a hand.
You don’t need to remove the heater cable to pull the dash panel. If you’ve disconnected the cable at the flap, the panel should pull free.
To unscrew the cable you need a really thin wrench to get to the nut under the knob.
**edit. I now see the s3 attached differently at the bulkhead. Unscrew it is!
Costco has neat collapisable tables that I use to extend my bench top storage/sorting. When done I collapse them and they store easy until next time.
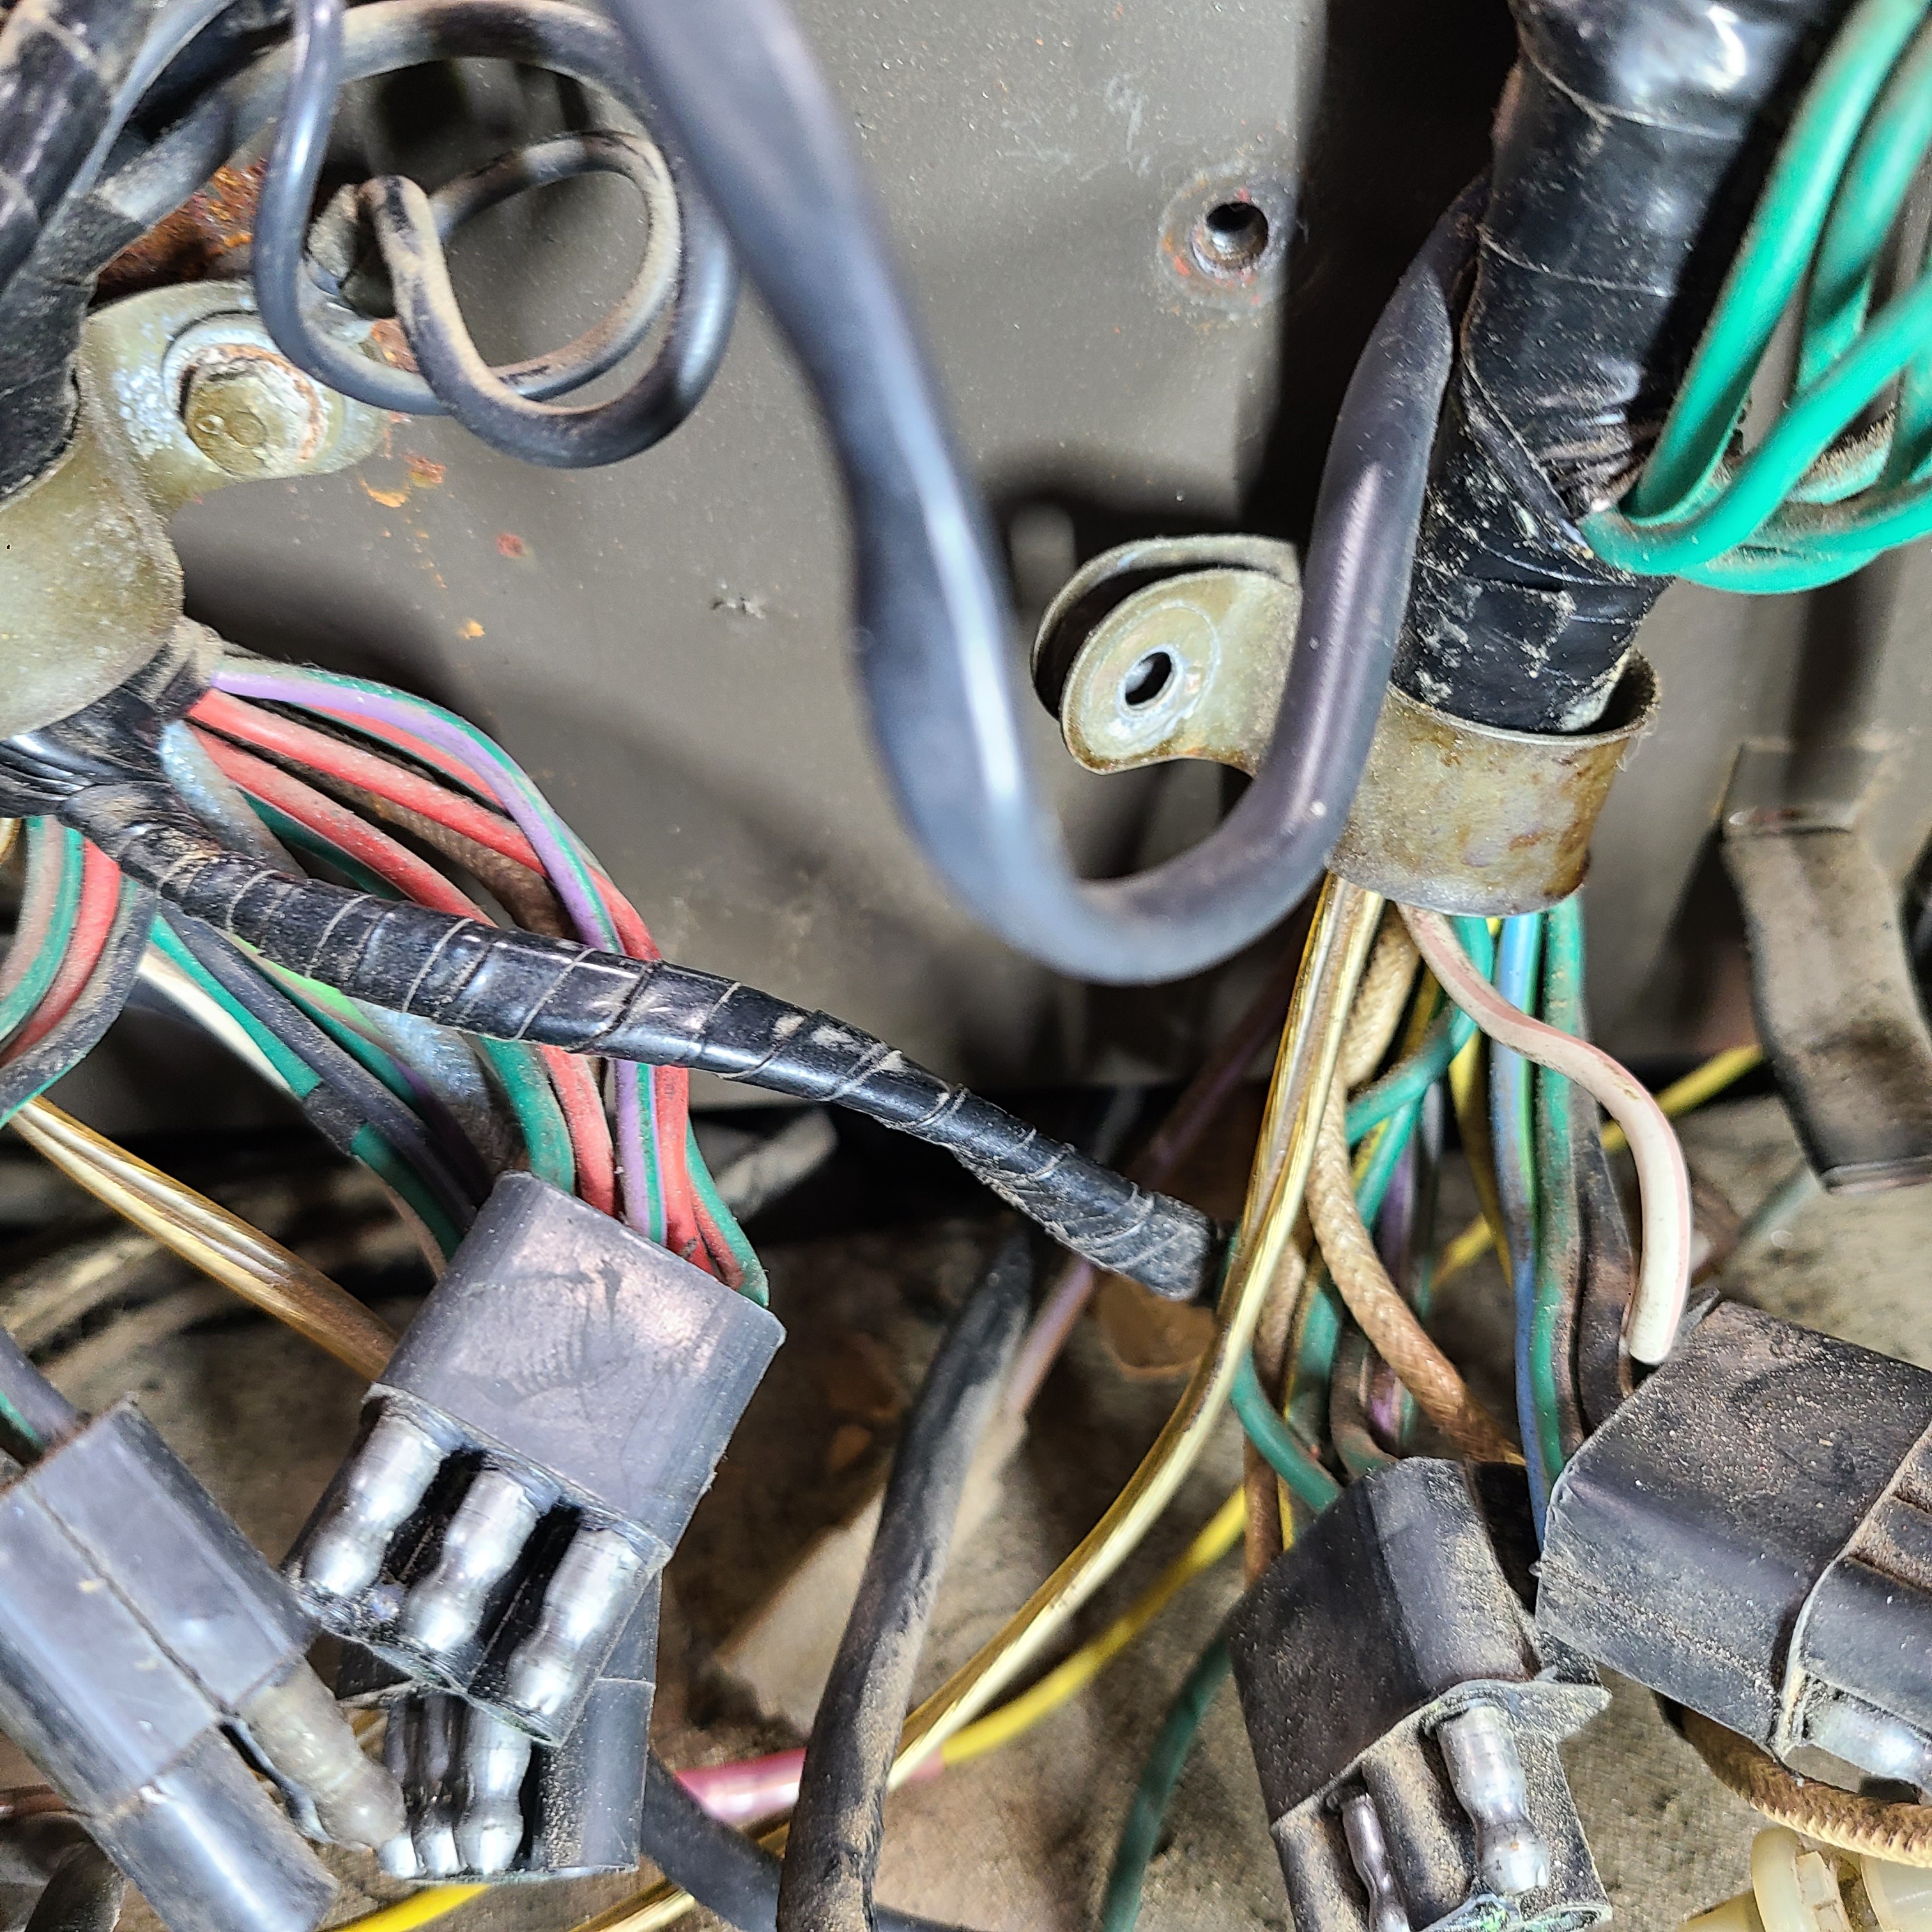
Well – the last major wiring harness is now out of the car (there are still two harnesses in the engine bay; both follow to horseshoe frame and are covered in grease – a job for another day). I was correct that once I unscrewed the four fuses boxes and ALL the grounds and harness clips, the bulkhead harness unthreaded from the dash board in one long piece – just like the guage harness.
Some of the harness clips were in real treat to undo.
As usual – a coupla of happy snaps to commemorate the event:
This harness clip was fun; I had to thread a 5/16" wrench onto the hidden bolt head and loosen the
nut:
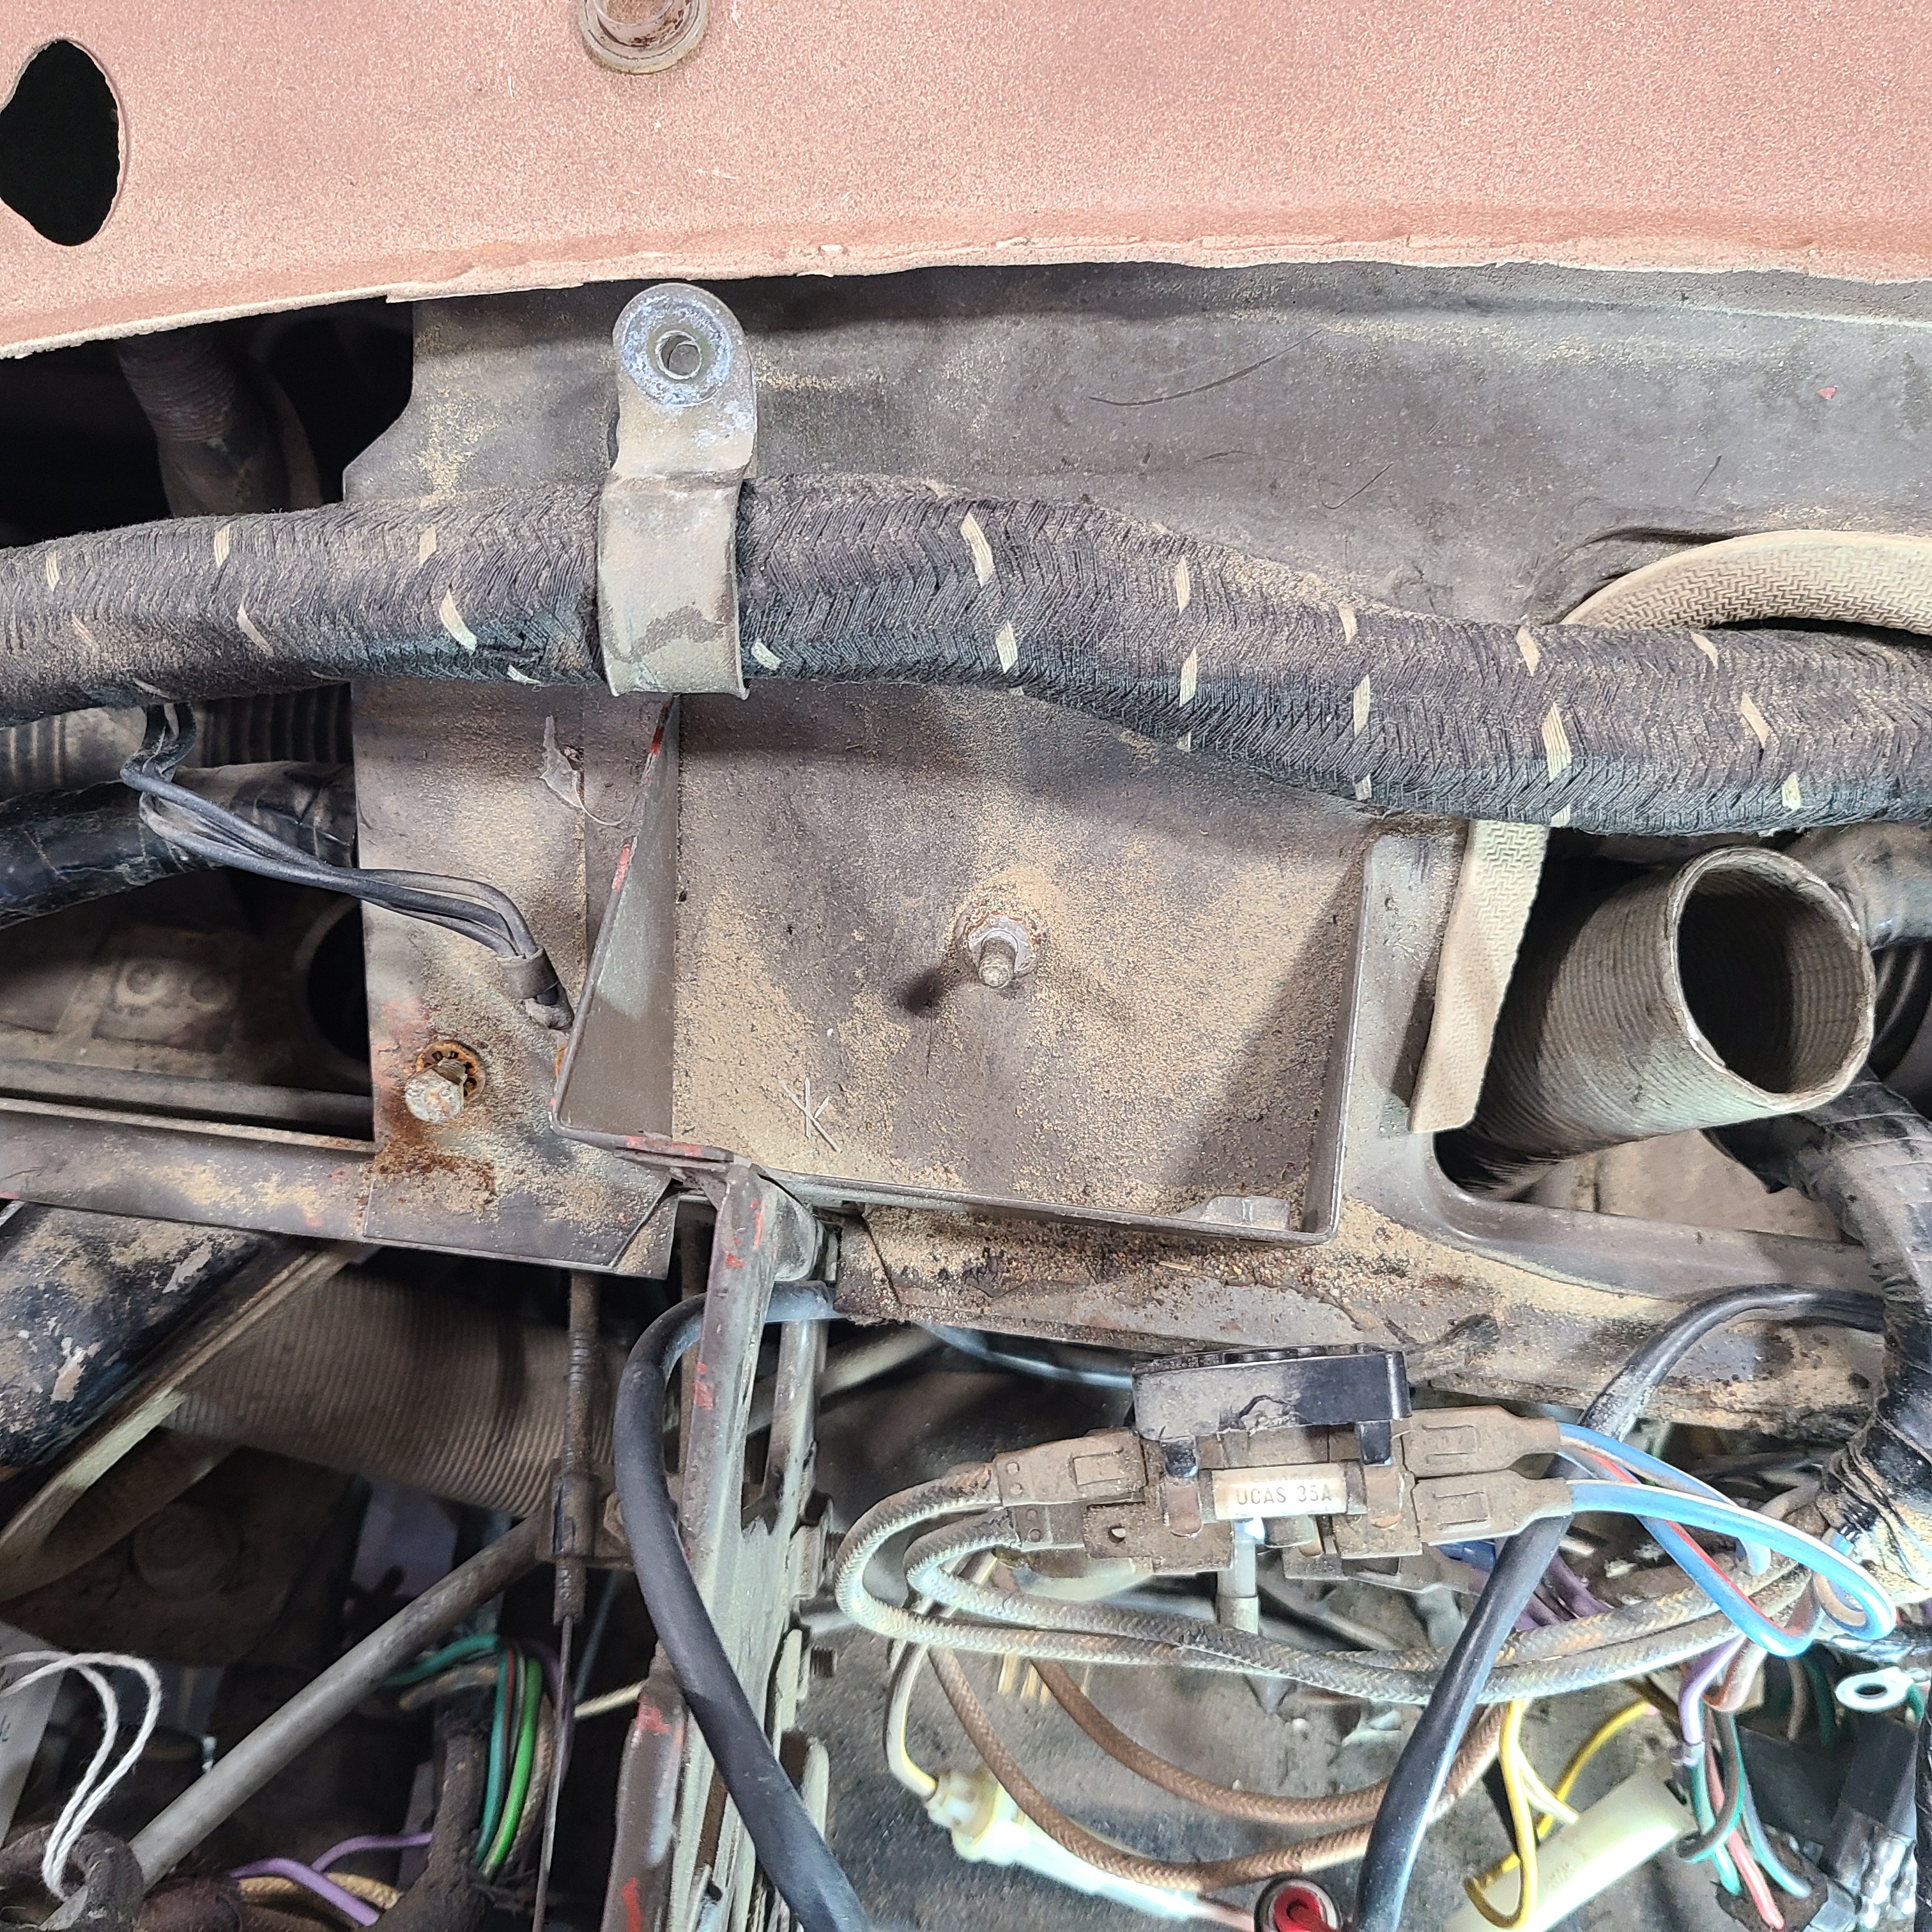
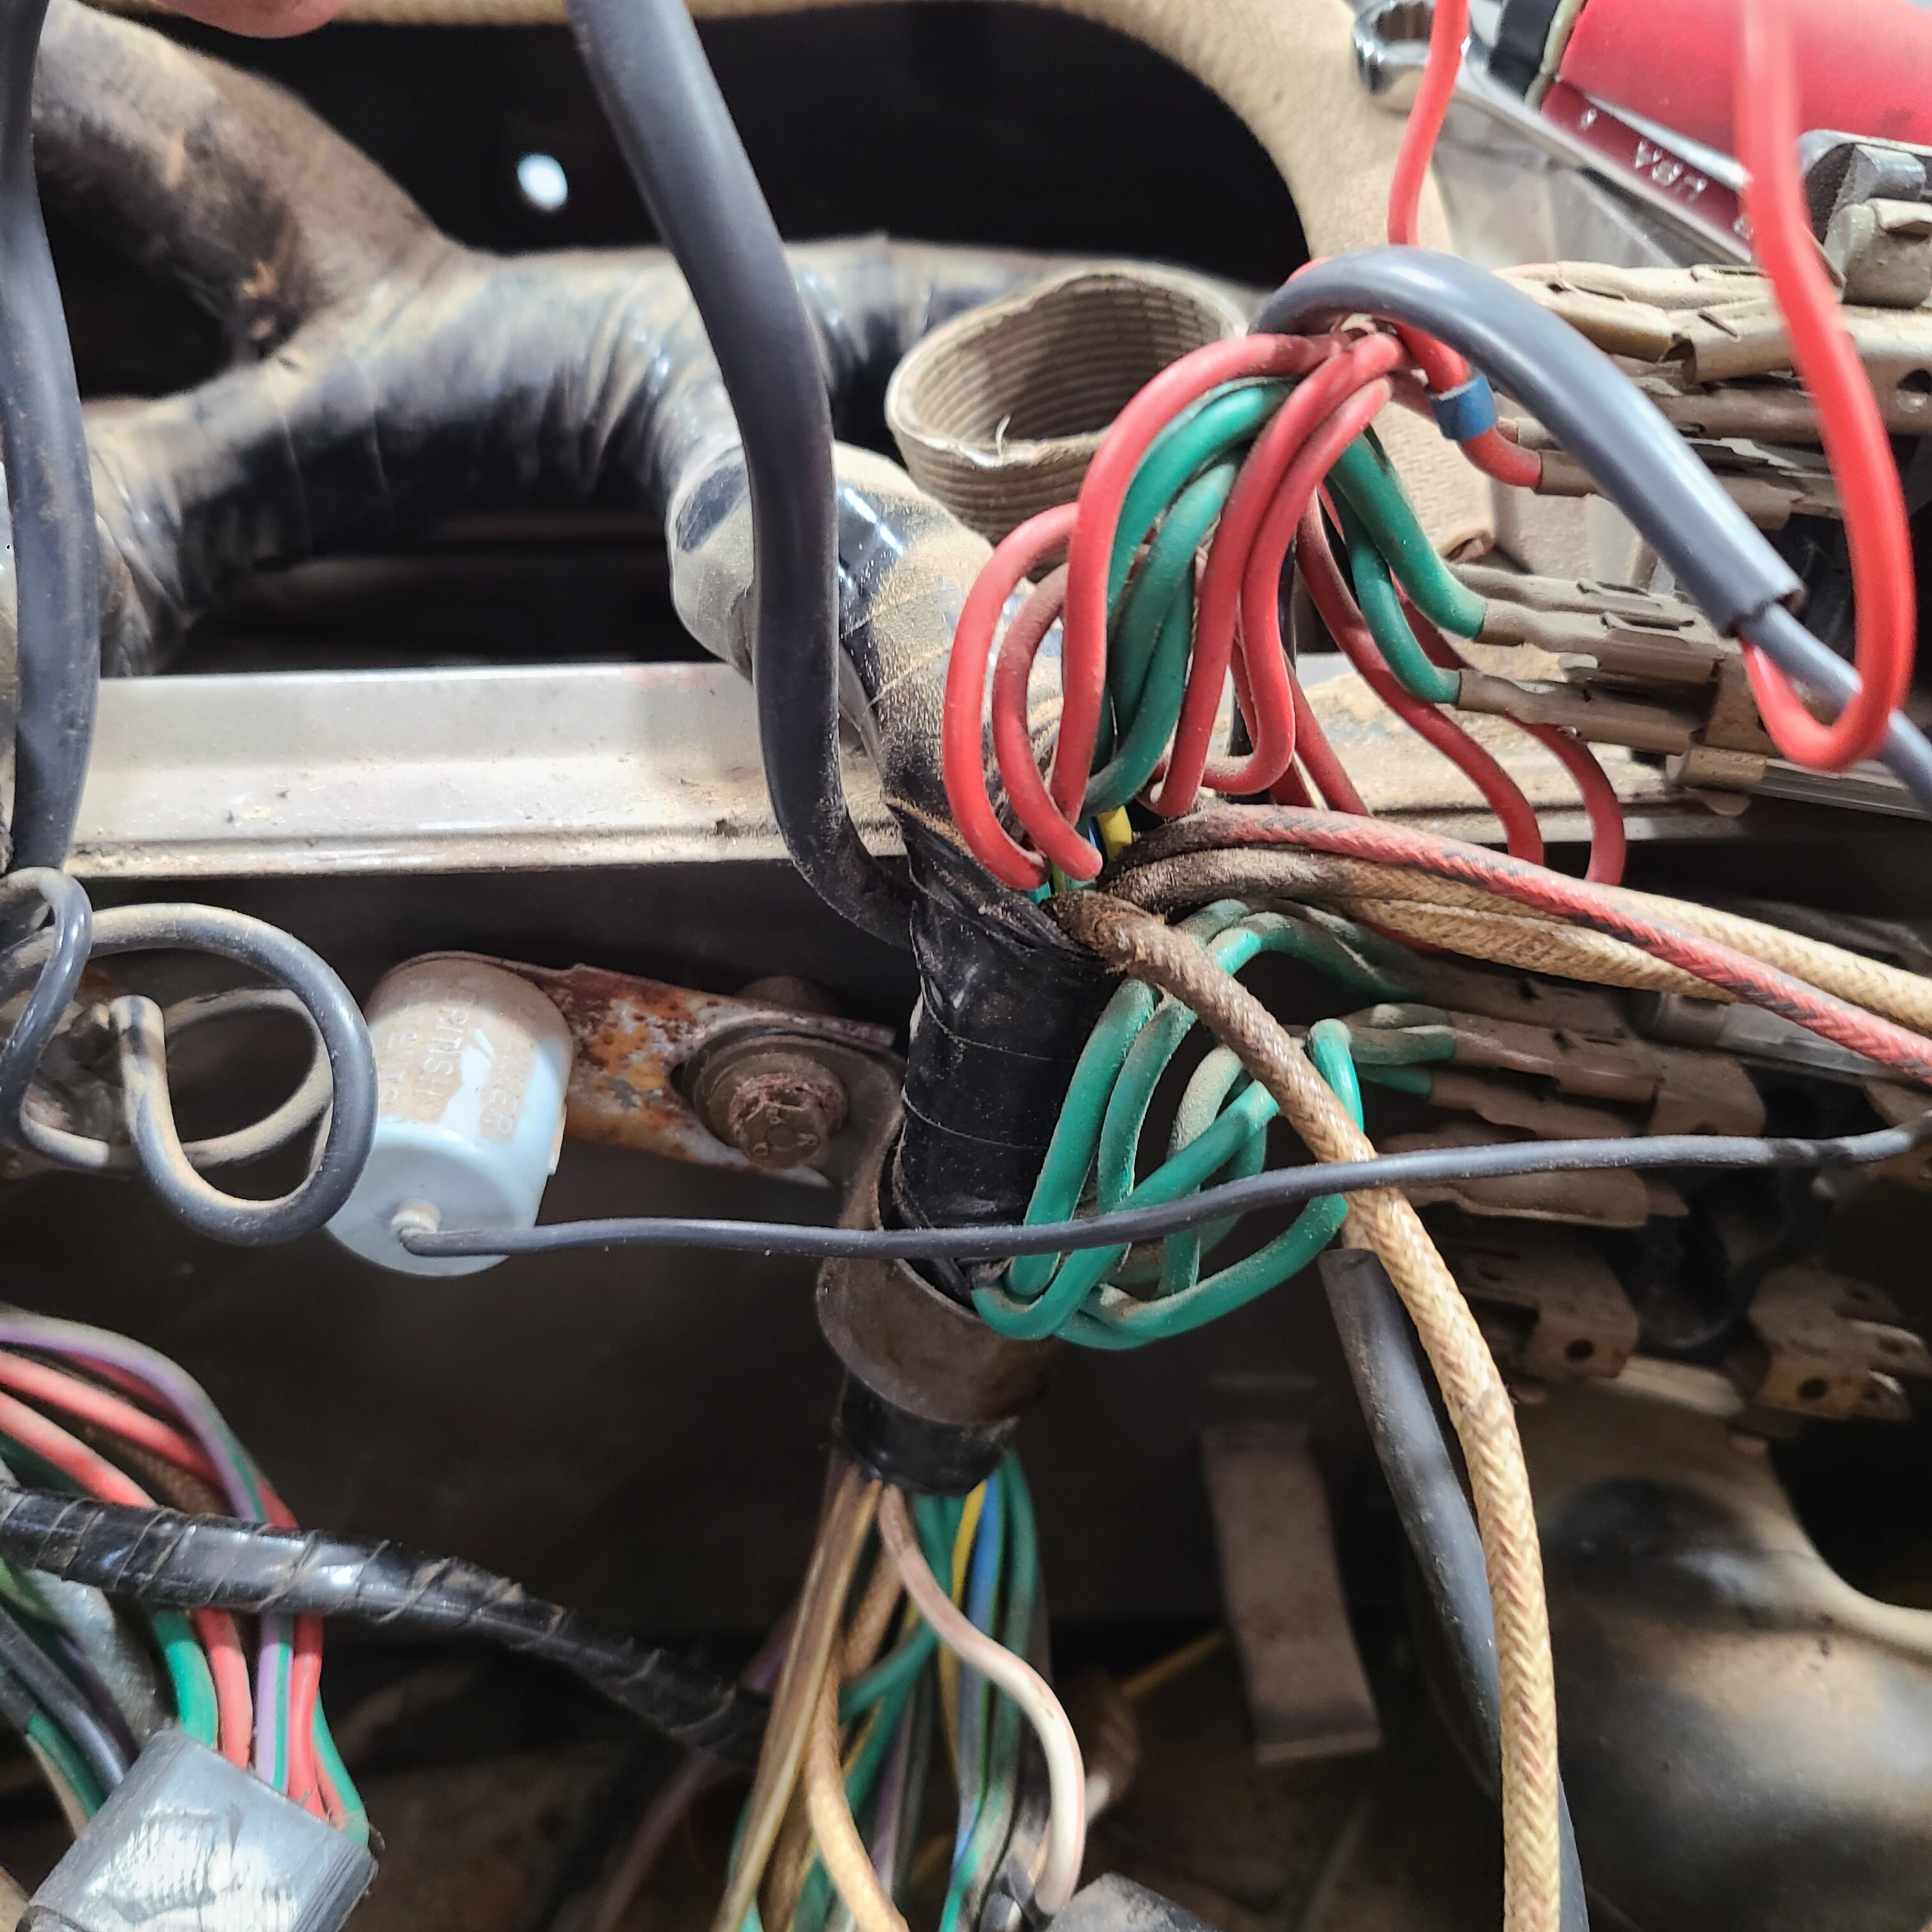
The money shot(s)
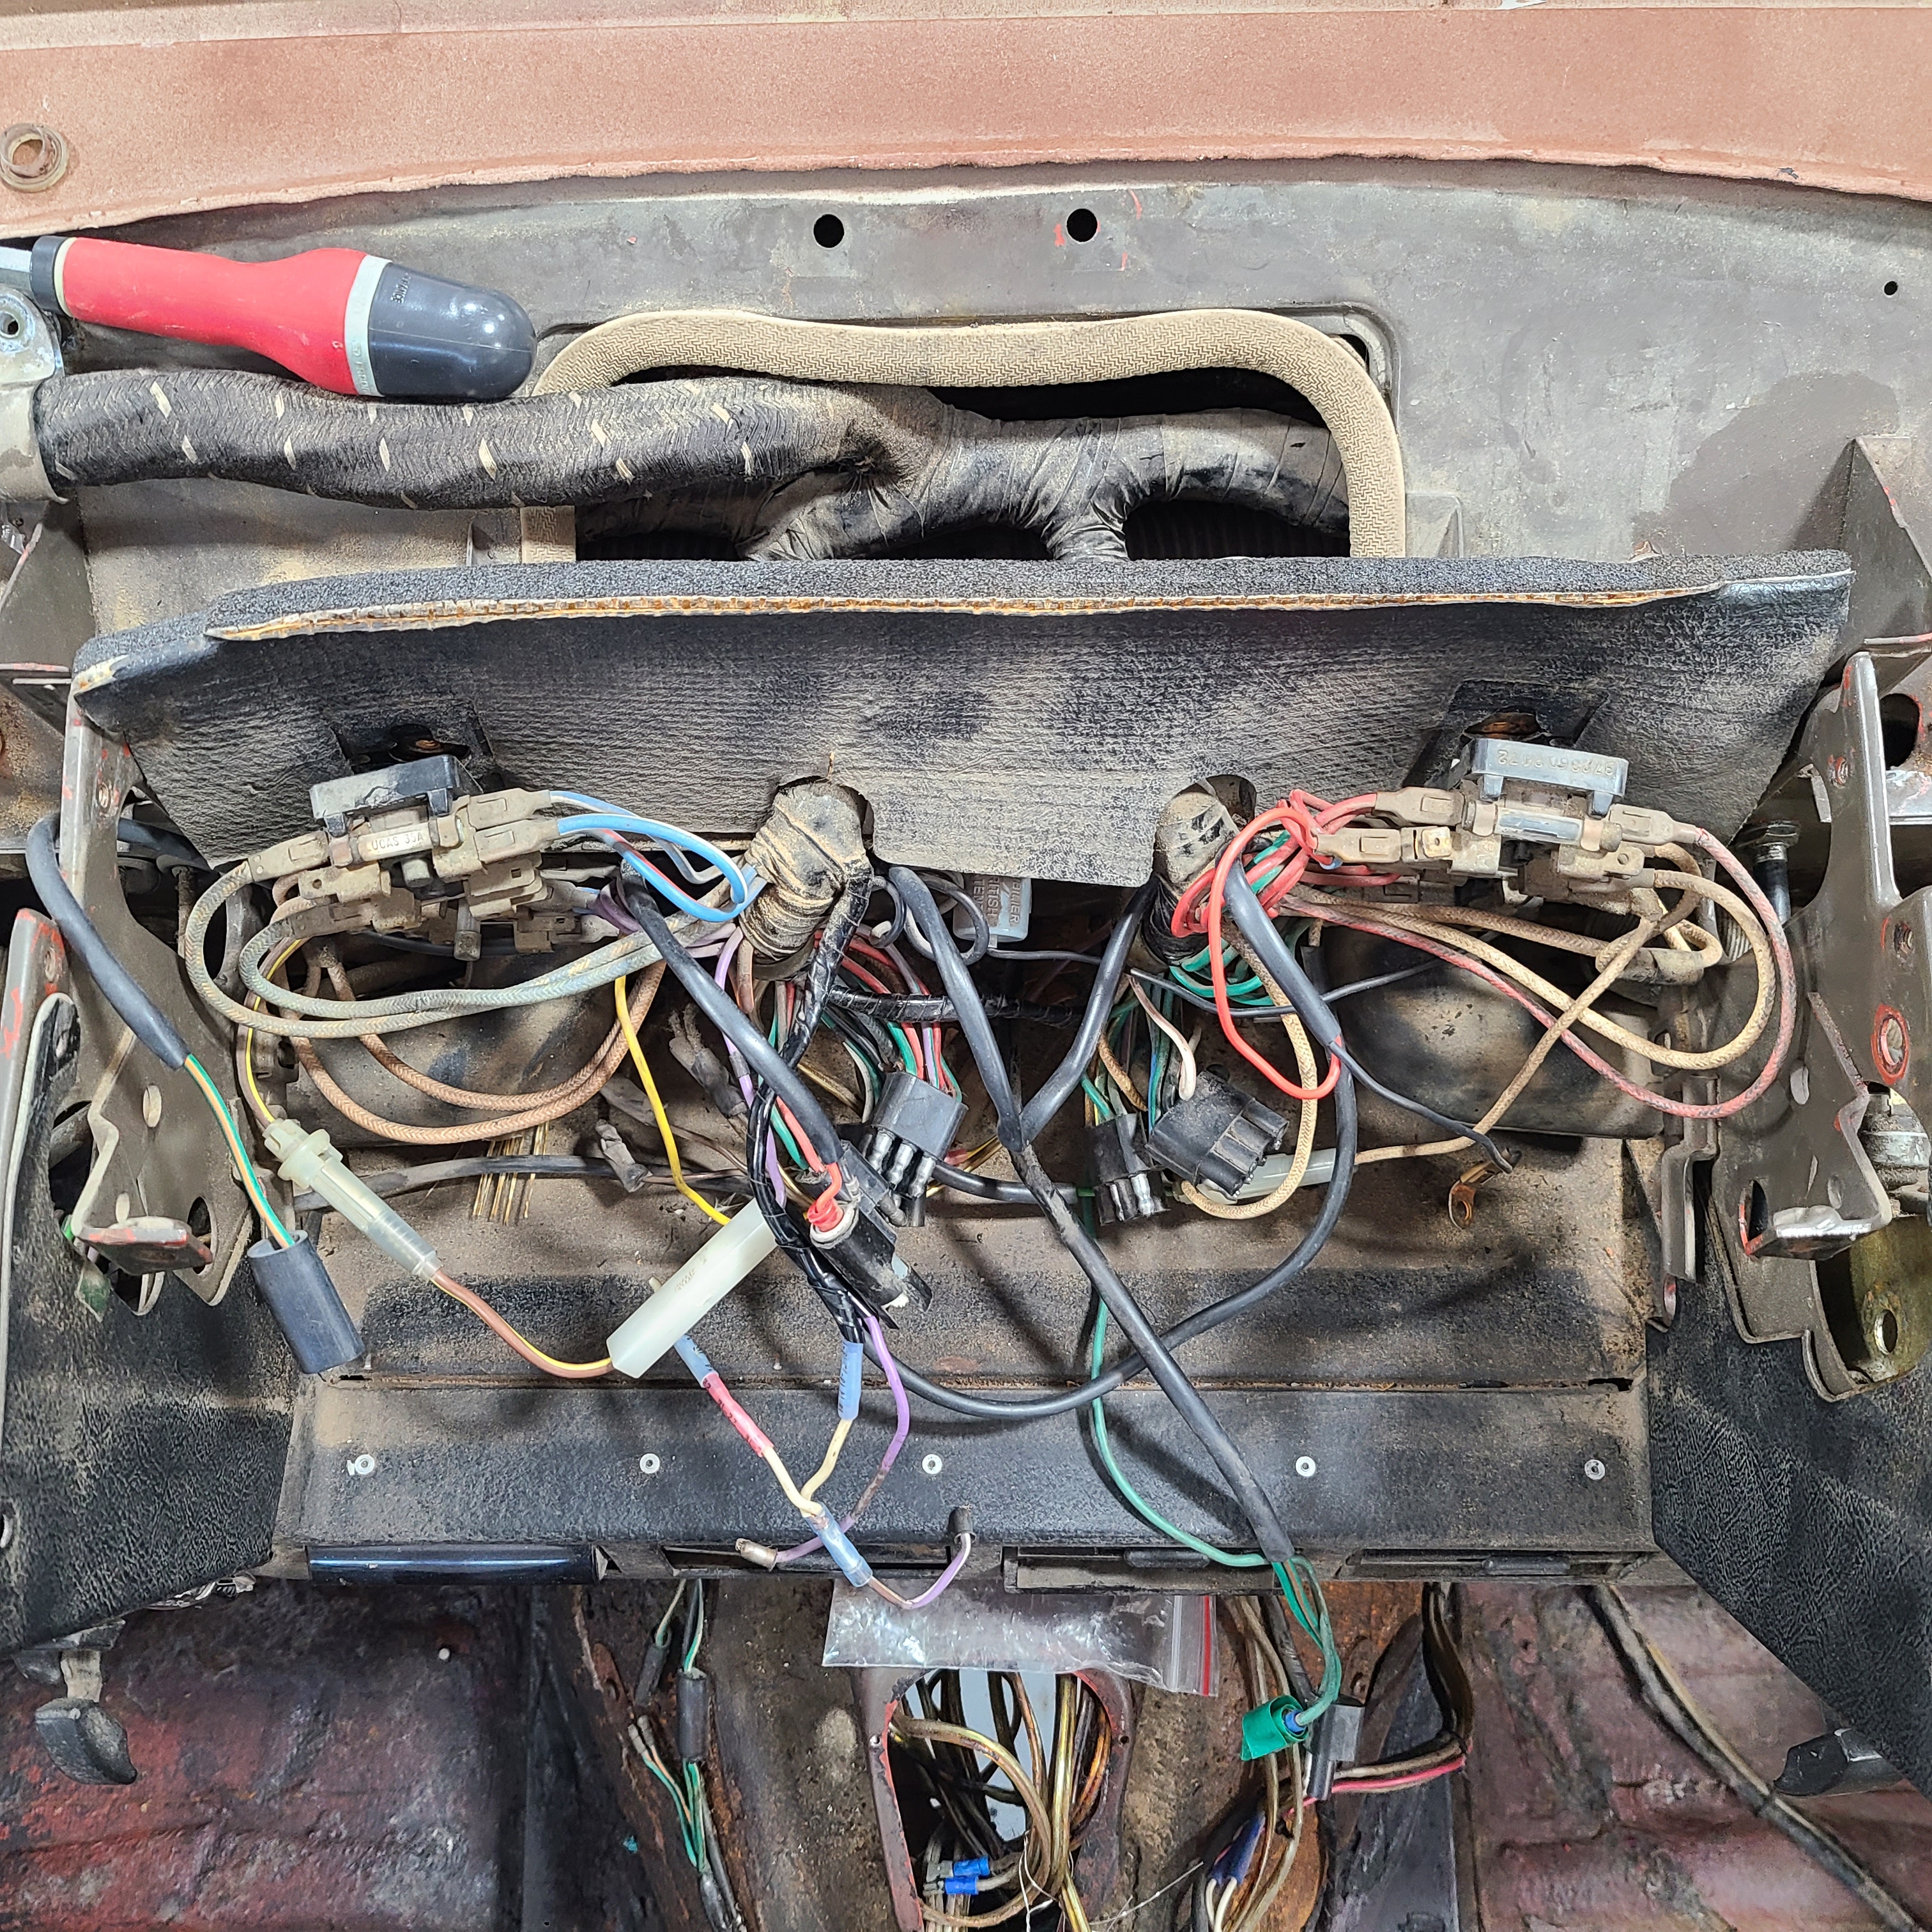
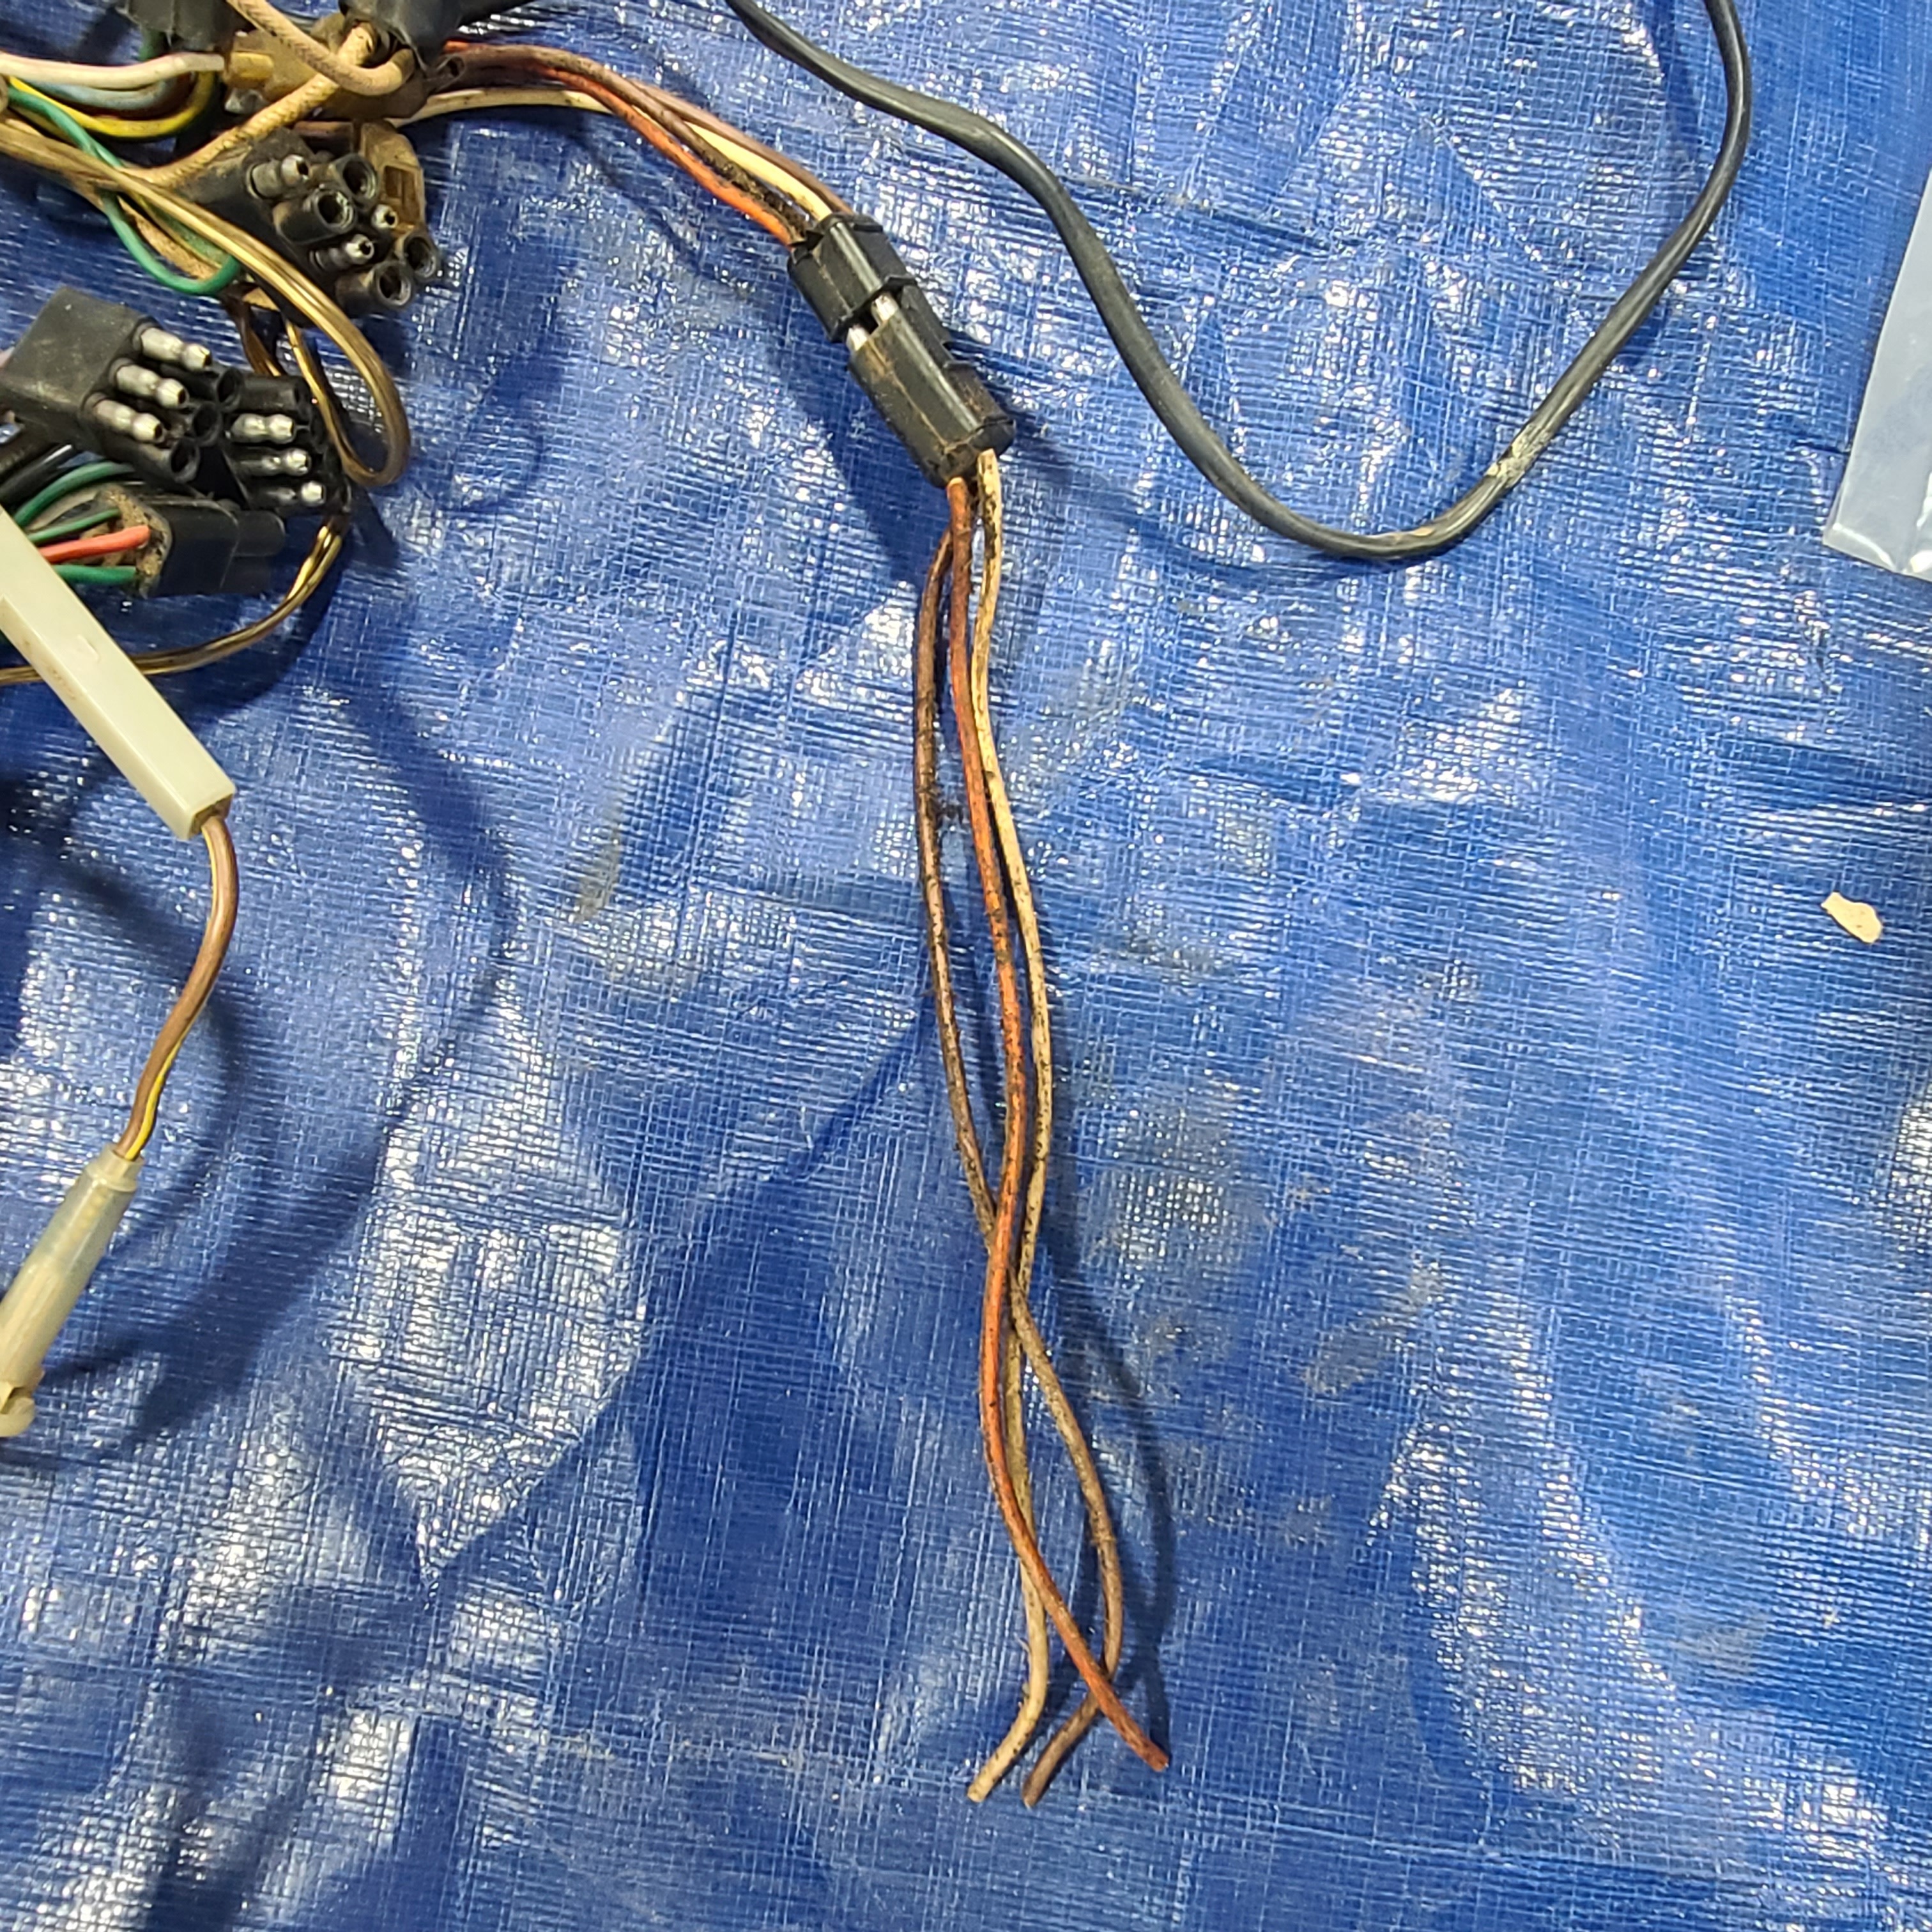
I still need to figure what these last four are for??
The real treat was wrestling with block connector for five minutes and a channel lock pliers only to find a PO found an easier solution. No idea where these wires go nor what they power . . .
The greasiest part of the Jag with 2 wiring harnesses running around the horseshoe frame

LoL! You’re not even in the running for the bottom 10% greasiest engine bay! That’s immaculate compared to what mine looked like…

Doug – did you name your the Jag the “Exxon Valdez”?
…piker. You can still see body color…
You guys don’t stand a chance, I went through 18 quarts of oil from Douglas, AZ to Deming, NM to Tucson, AZ. When the engine was torn down it was discovered there were NO rings left on the # 2 cylinder. I tried to bill the states for maintaining their highway but they would not pay. I was pouring oil in 6 quarts at a time.
1 Like
I had decided NOT to remove the evaporator until . …
- I realized I purchased all four replacement A/C hoses
- I needed to clean up the firewall on both sides
- I had come this far and if the A/C didn’t work, I’d be pissed at myself
It turns out the decision was made for me. When I finally figured out how to remove the left and right sides of the dashboard, the only thing holding the evaporator in place was the two A/C hoses and the three drain lines. All I had to do was unscrew the grounding strap and the evaporator was out.

I have since removed the A/C drier and both A/C hoses
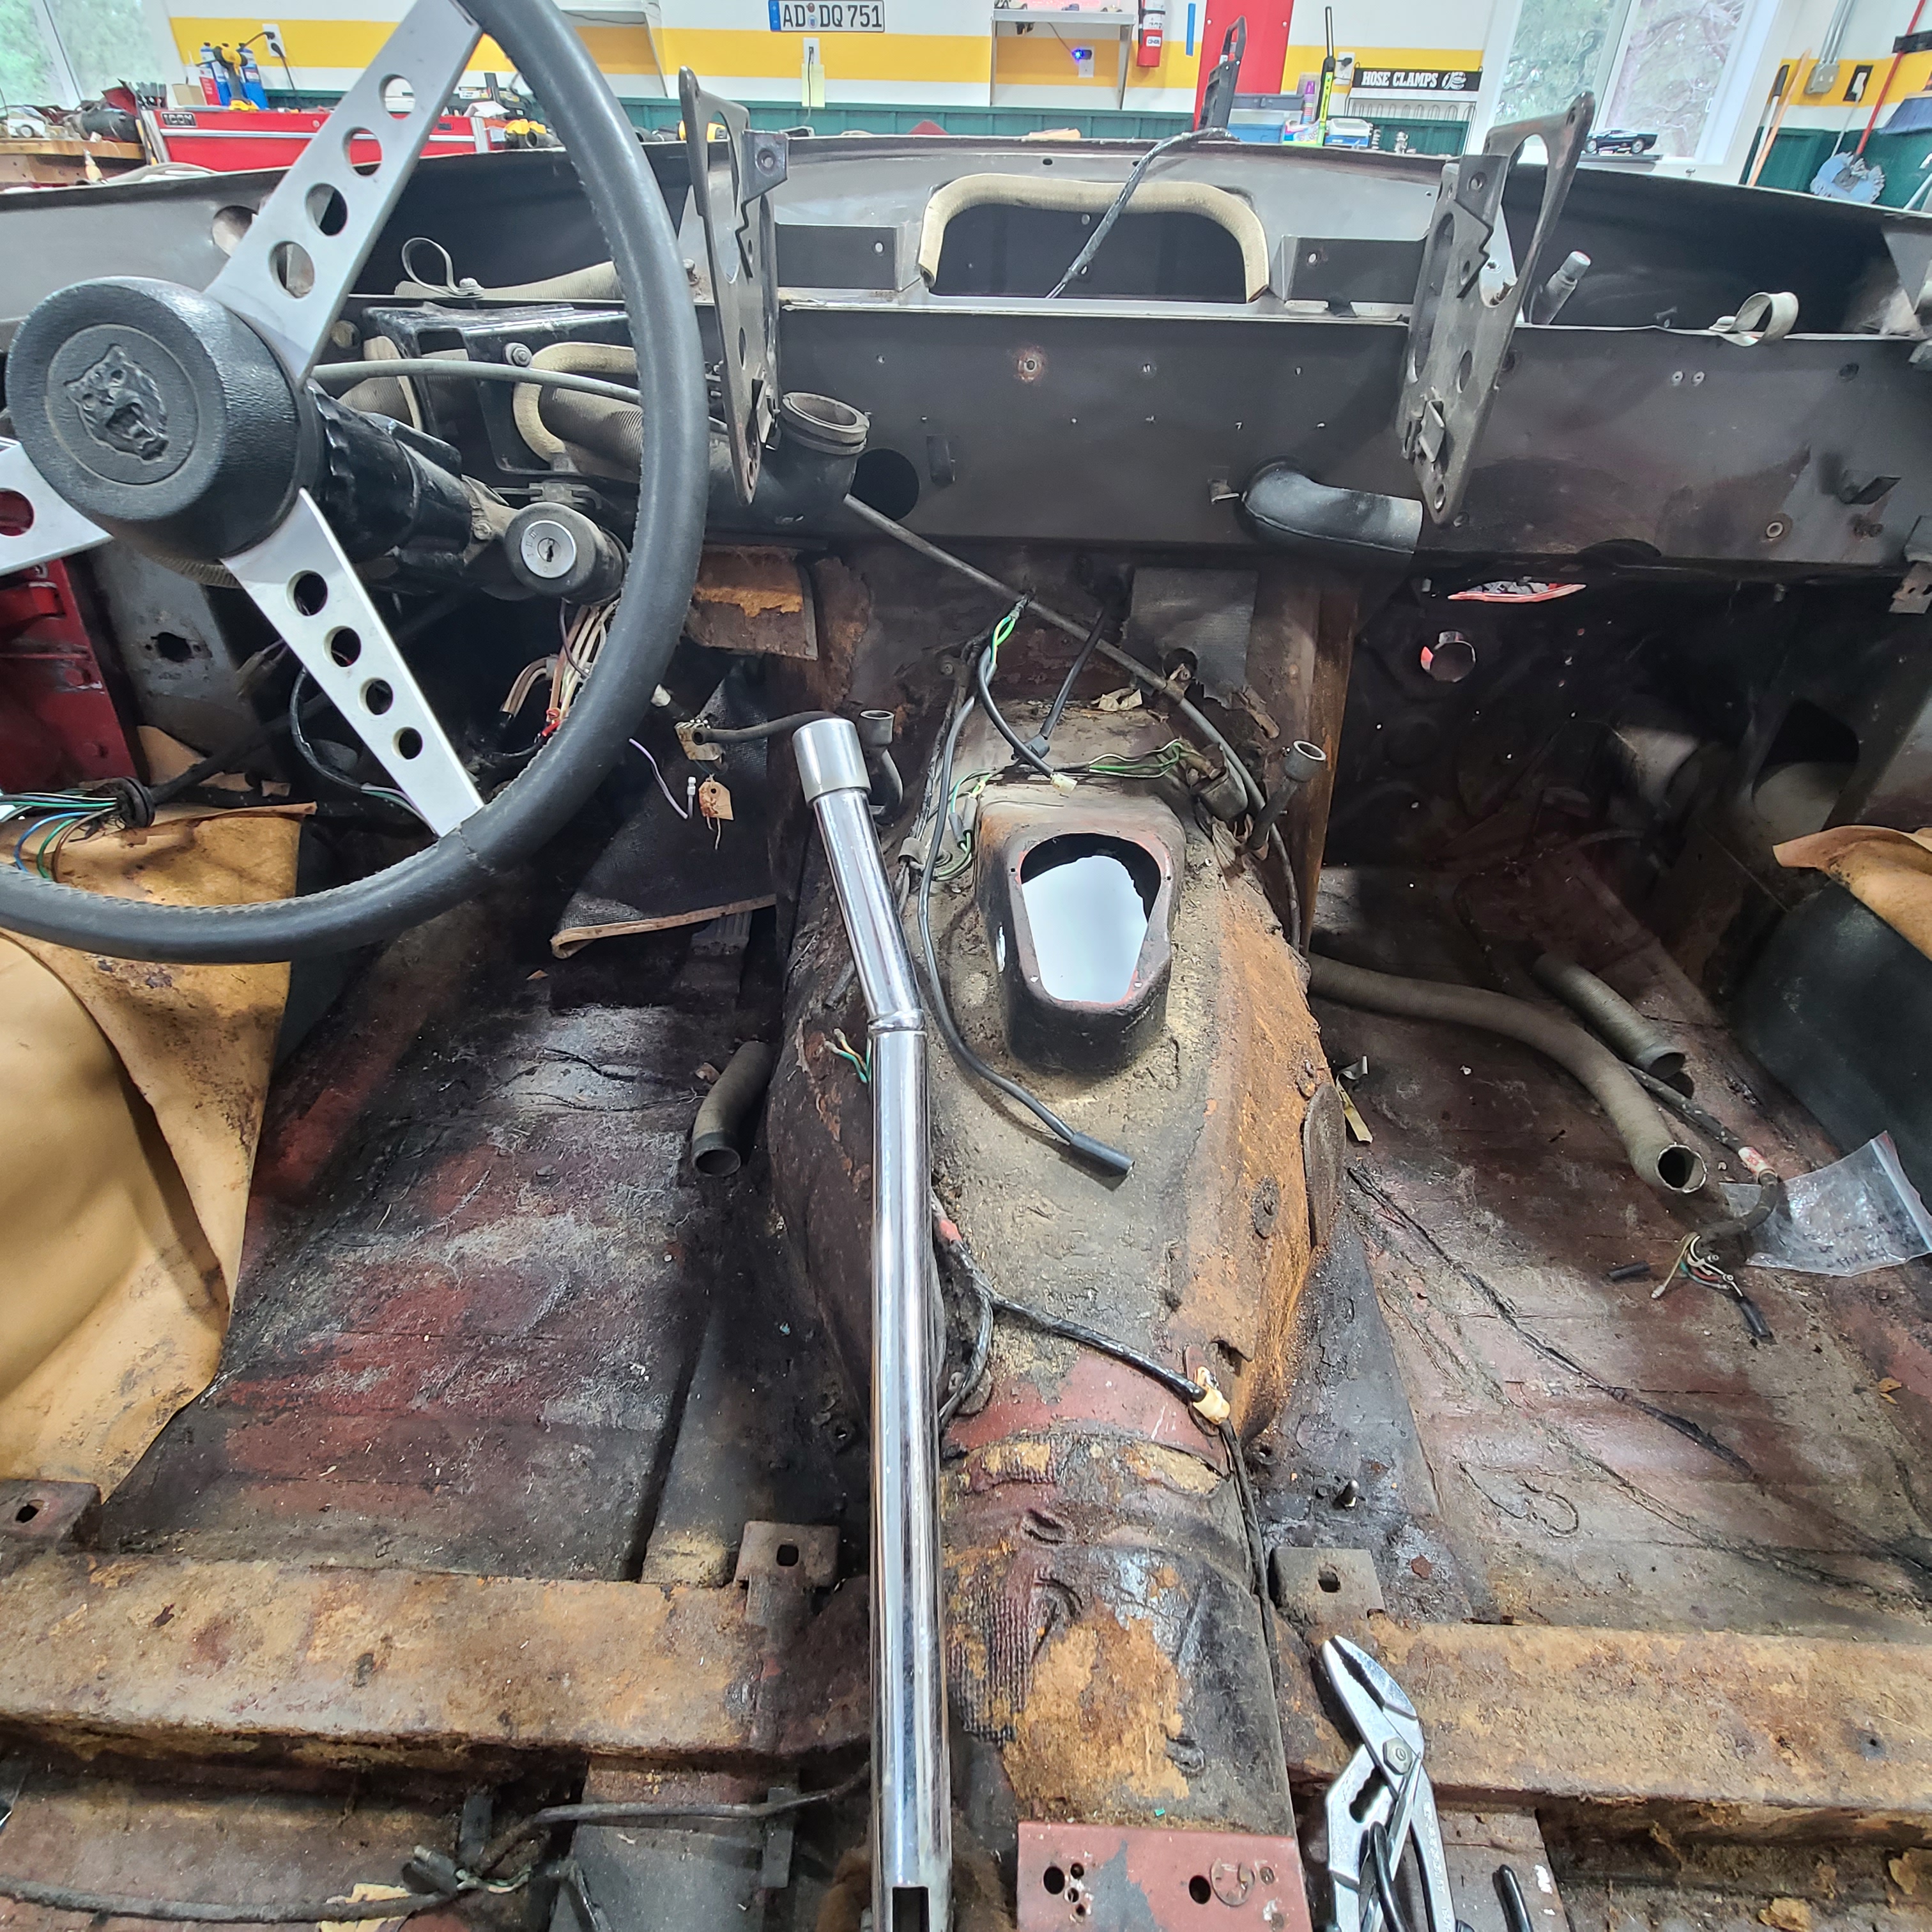
I also spent an hour ~trying~ to pull the fuel tank. I detached the wires for the fuel gauge, disconnected the two fuel lines atop the tank, and removed the three bolts holding the tank in the boot. BUT I was singularly unsuccessful in detaching the filler hose. I was able to move the hose up/down about 1/2", but not near enough to get it clear. ANY TIPS?
Major items I still need to strip off are the aforementioned fuel tank, upper steering column/wheel, and steering rack. I realistically expect to transport my Jag to the painter late this month.
Craig;
Cut the hose, you will put a new one on anyway.
Regards, Joel…
Well – – DUH
(Although I was gonna use the process of removal to give me a clue about installing the new one.)
The weekend of 17/18JUL21 – it was the best of times; it was the worst of times.
BEST OF TIMES: i extracted the fuel tank and upper steering column with steering wheel.
I ended up cutting the rubber filler tube. The first three rounds of 5-7 minutes each went to the fuel tank. Could not find he magic angle / combination of curse words. THEN – I removed the drain bolt from the bottom of the sump. It didn’t amount to more than a 5/16" of thickness – and rounds 4 and 5 still went to the tank. Then the magic incantation worked and the tank literally fell out (well – after losing the first 5 rounds, round 6 occurred without fuss or fanfare).
The steering column was pretty straight forward – only the u-joint pinch bolt proved a challenge – up-side-down in the footwell again was not fun.

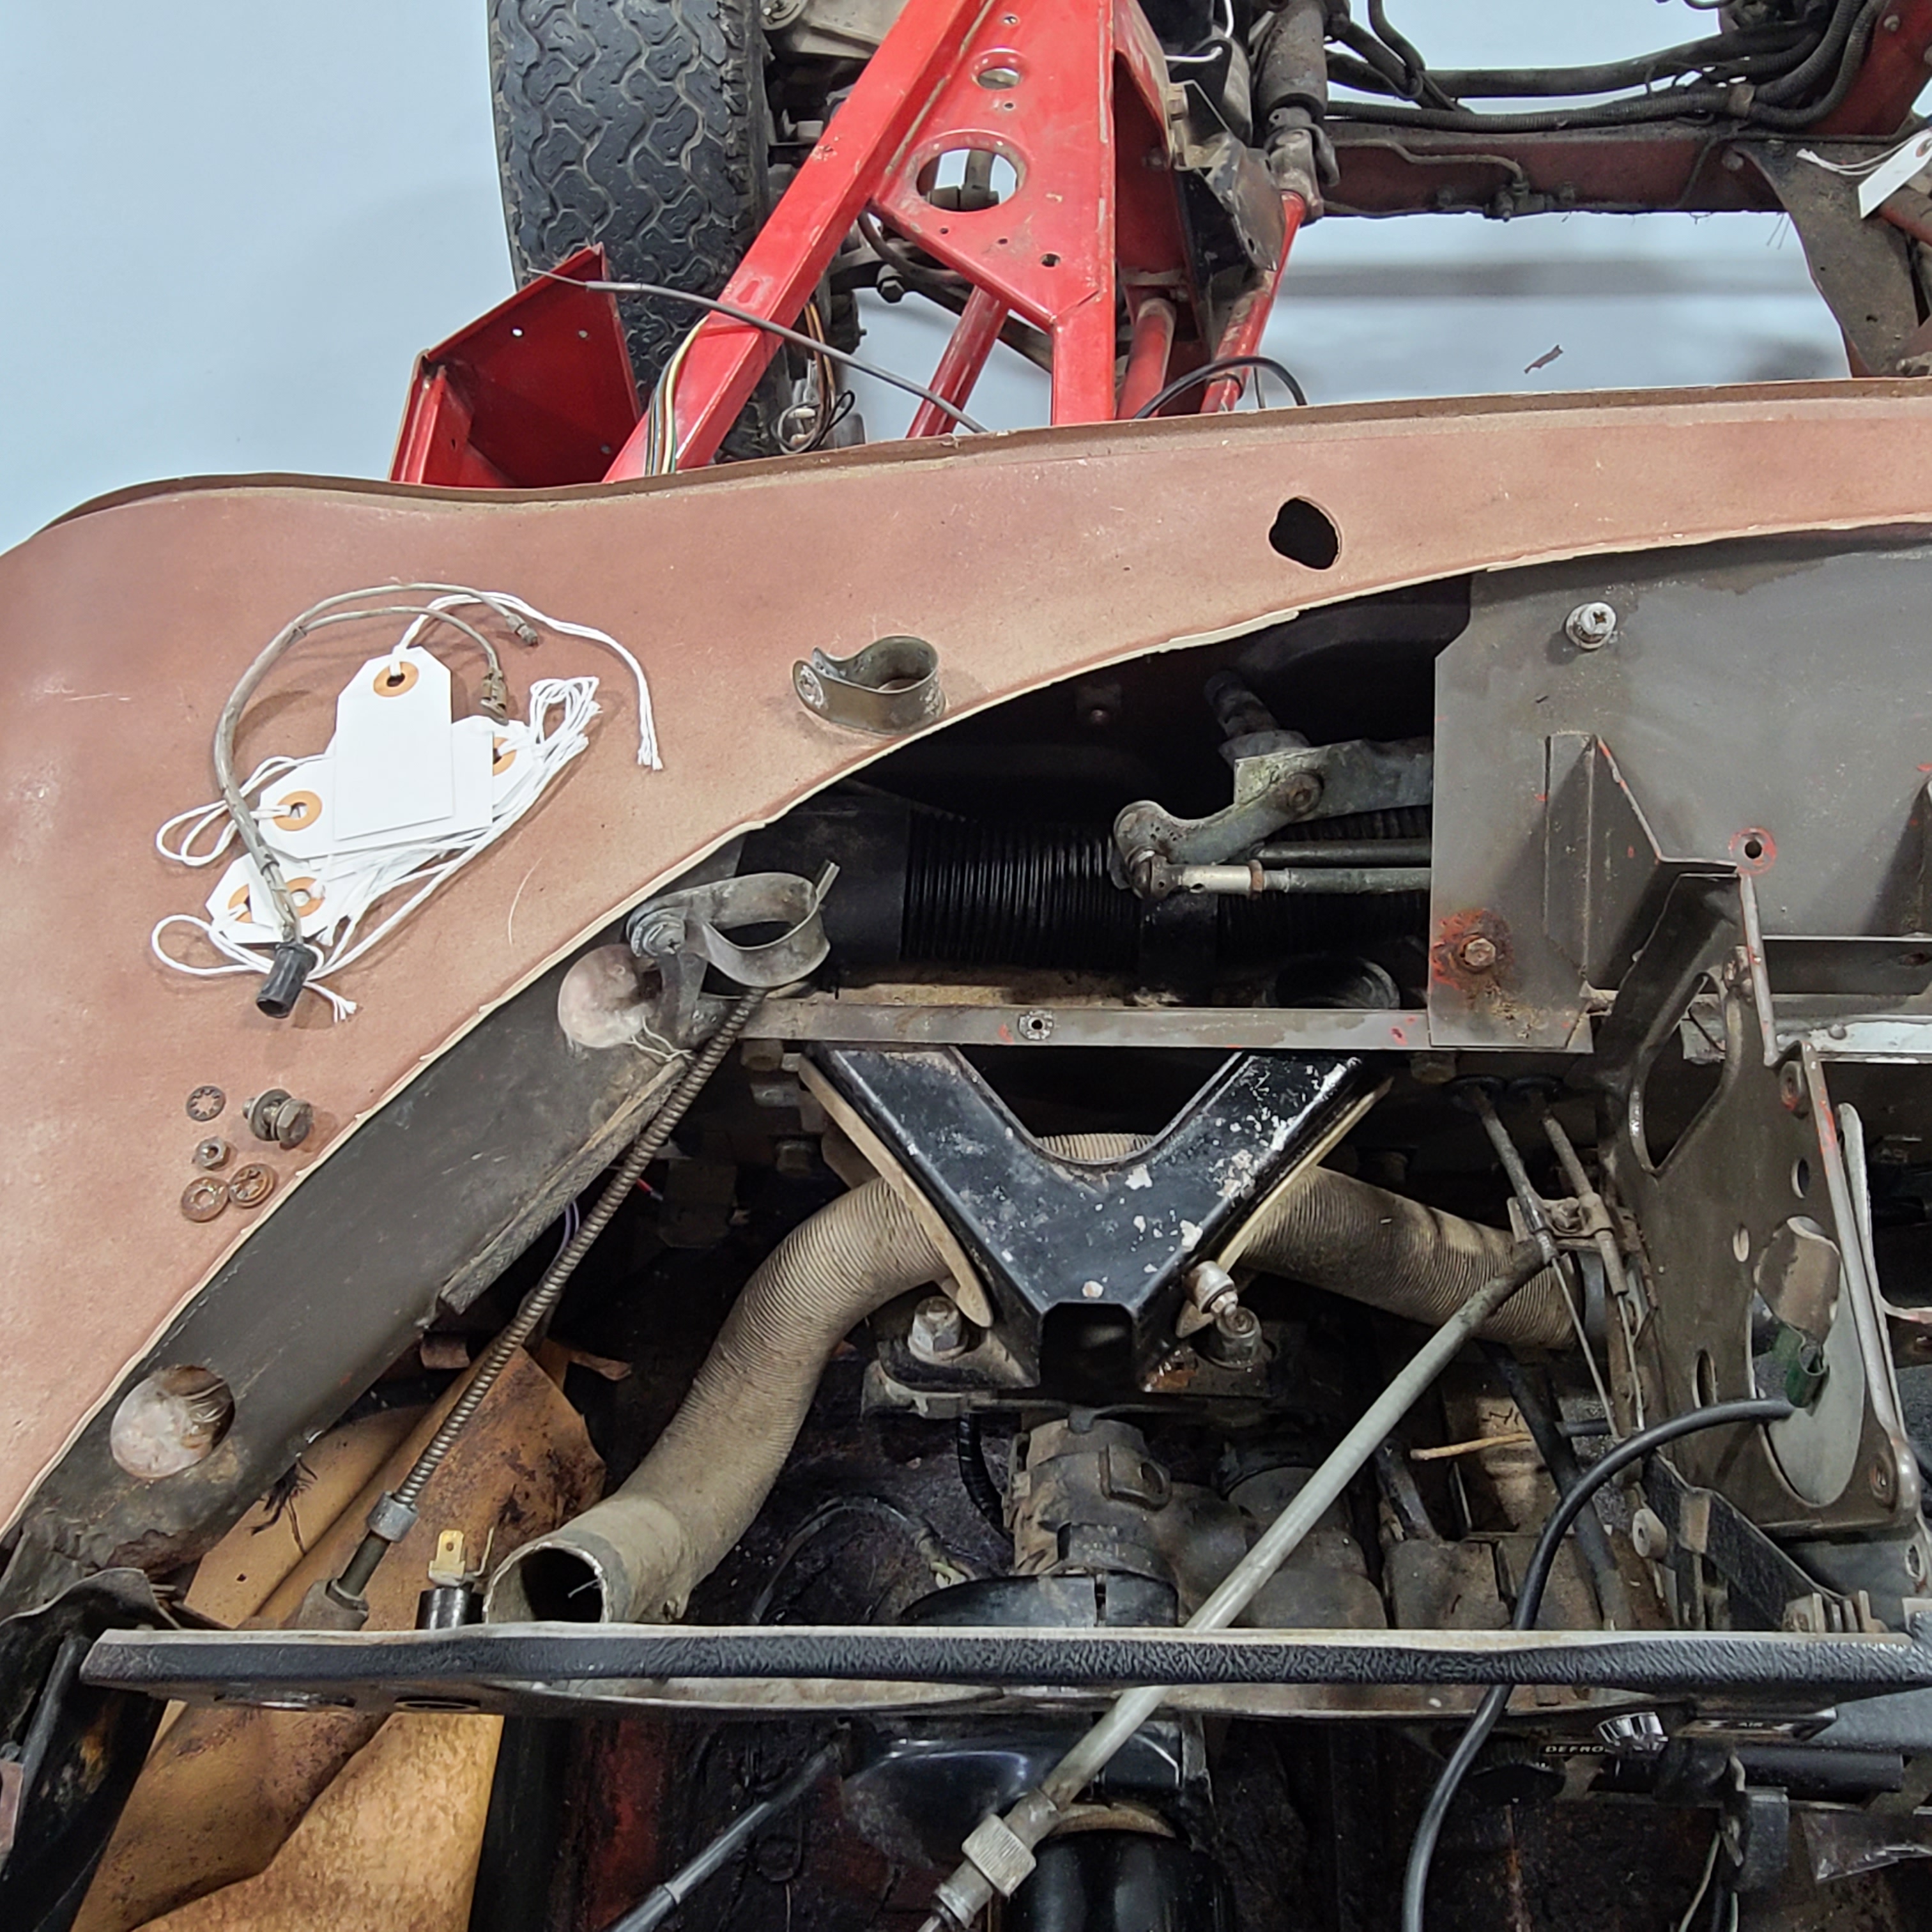
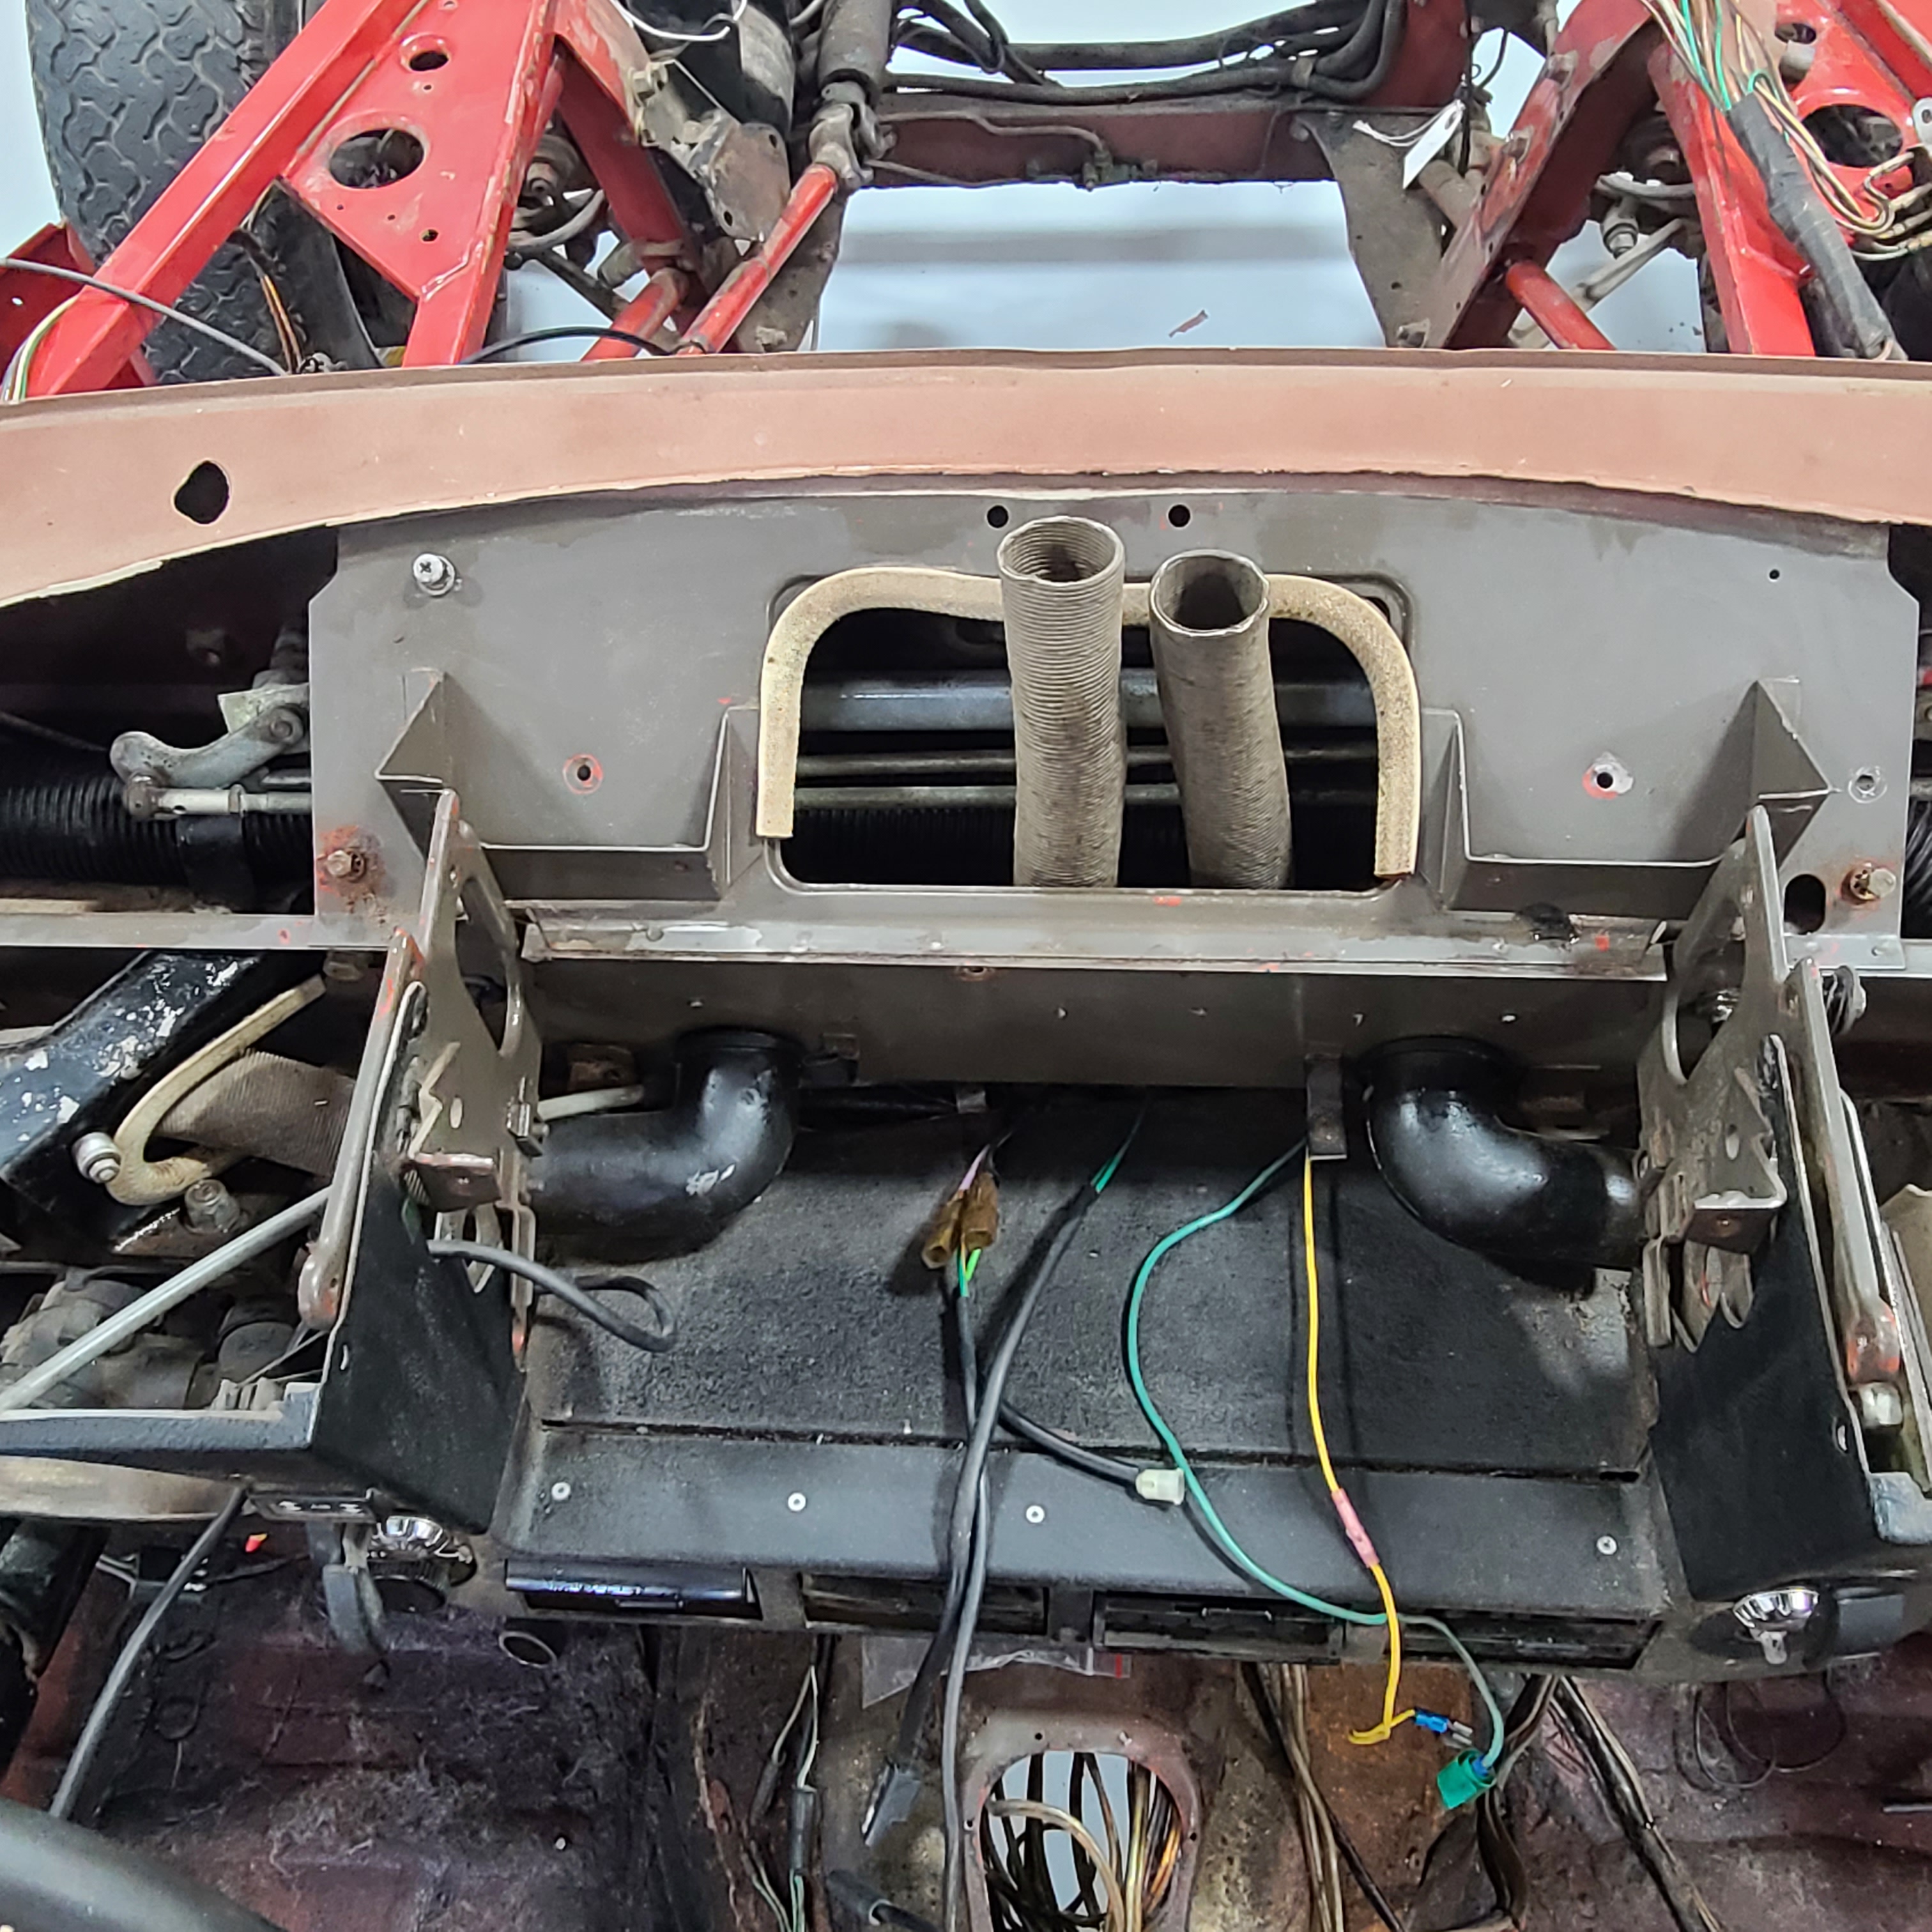
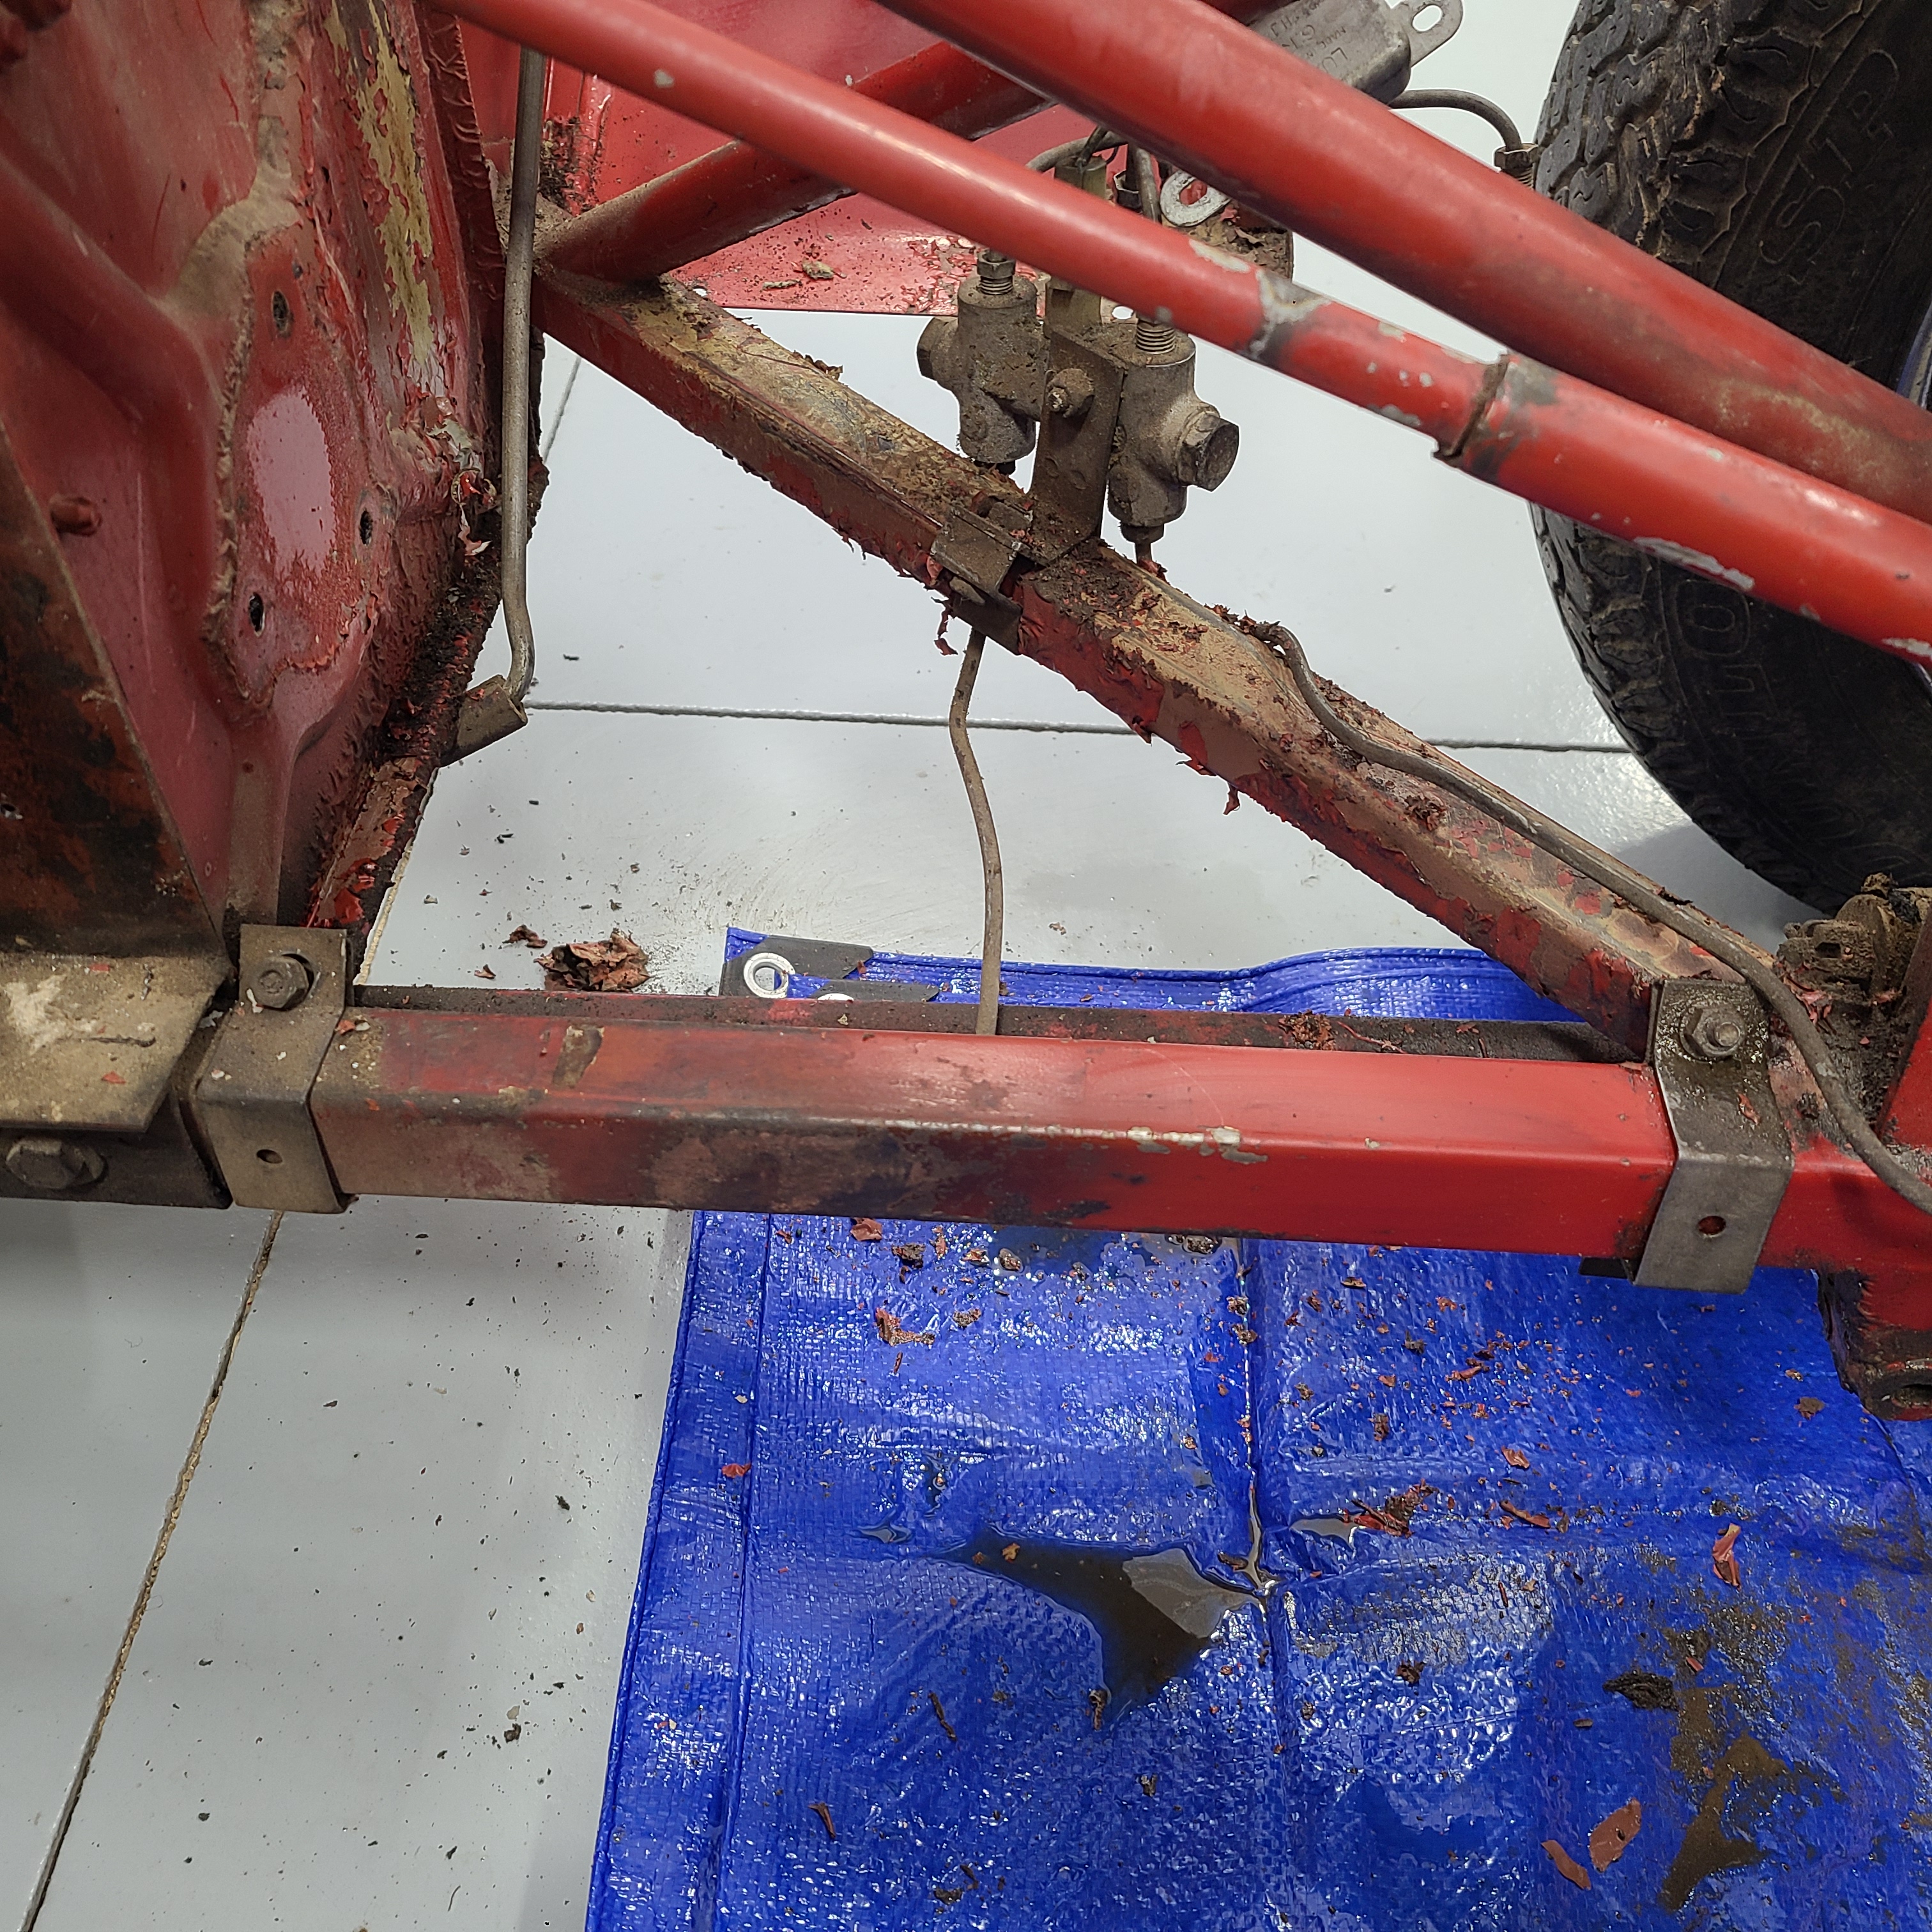
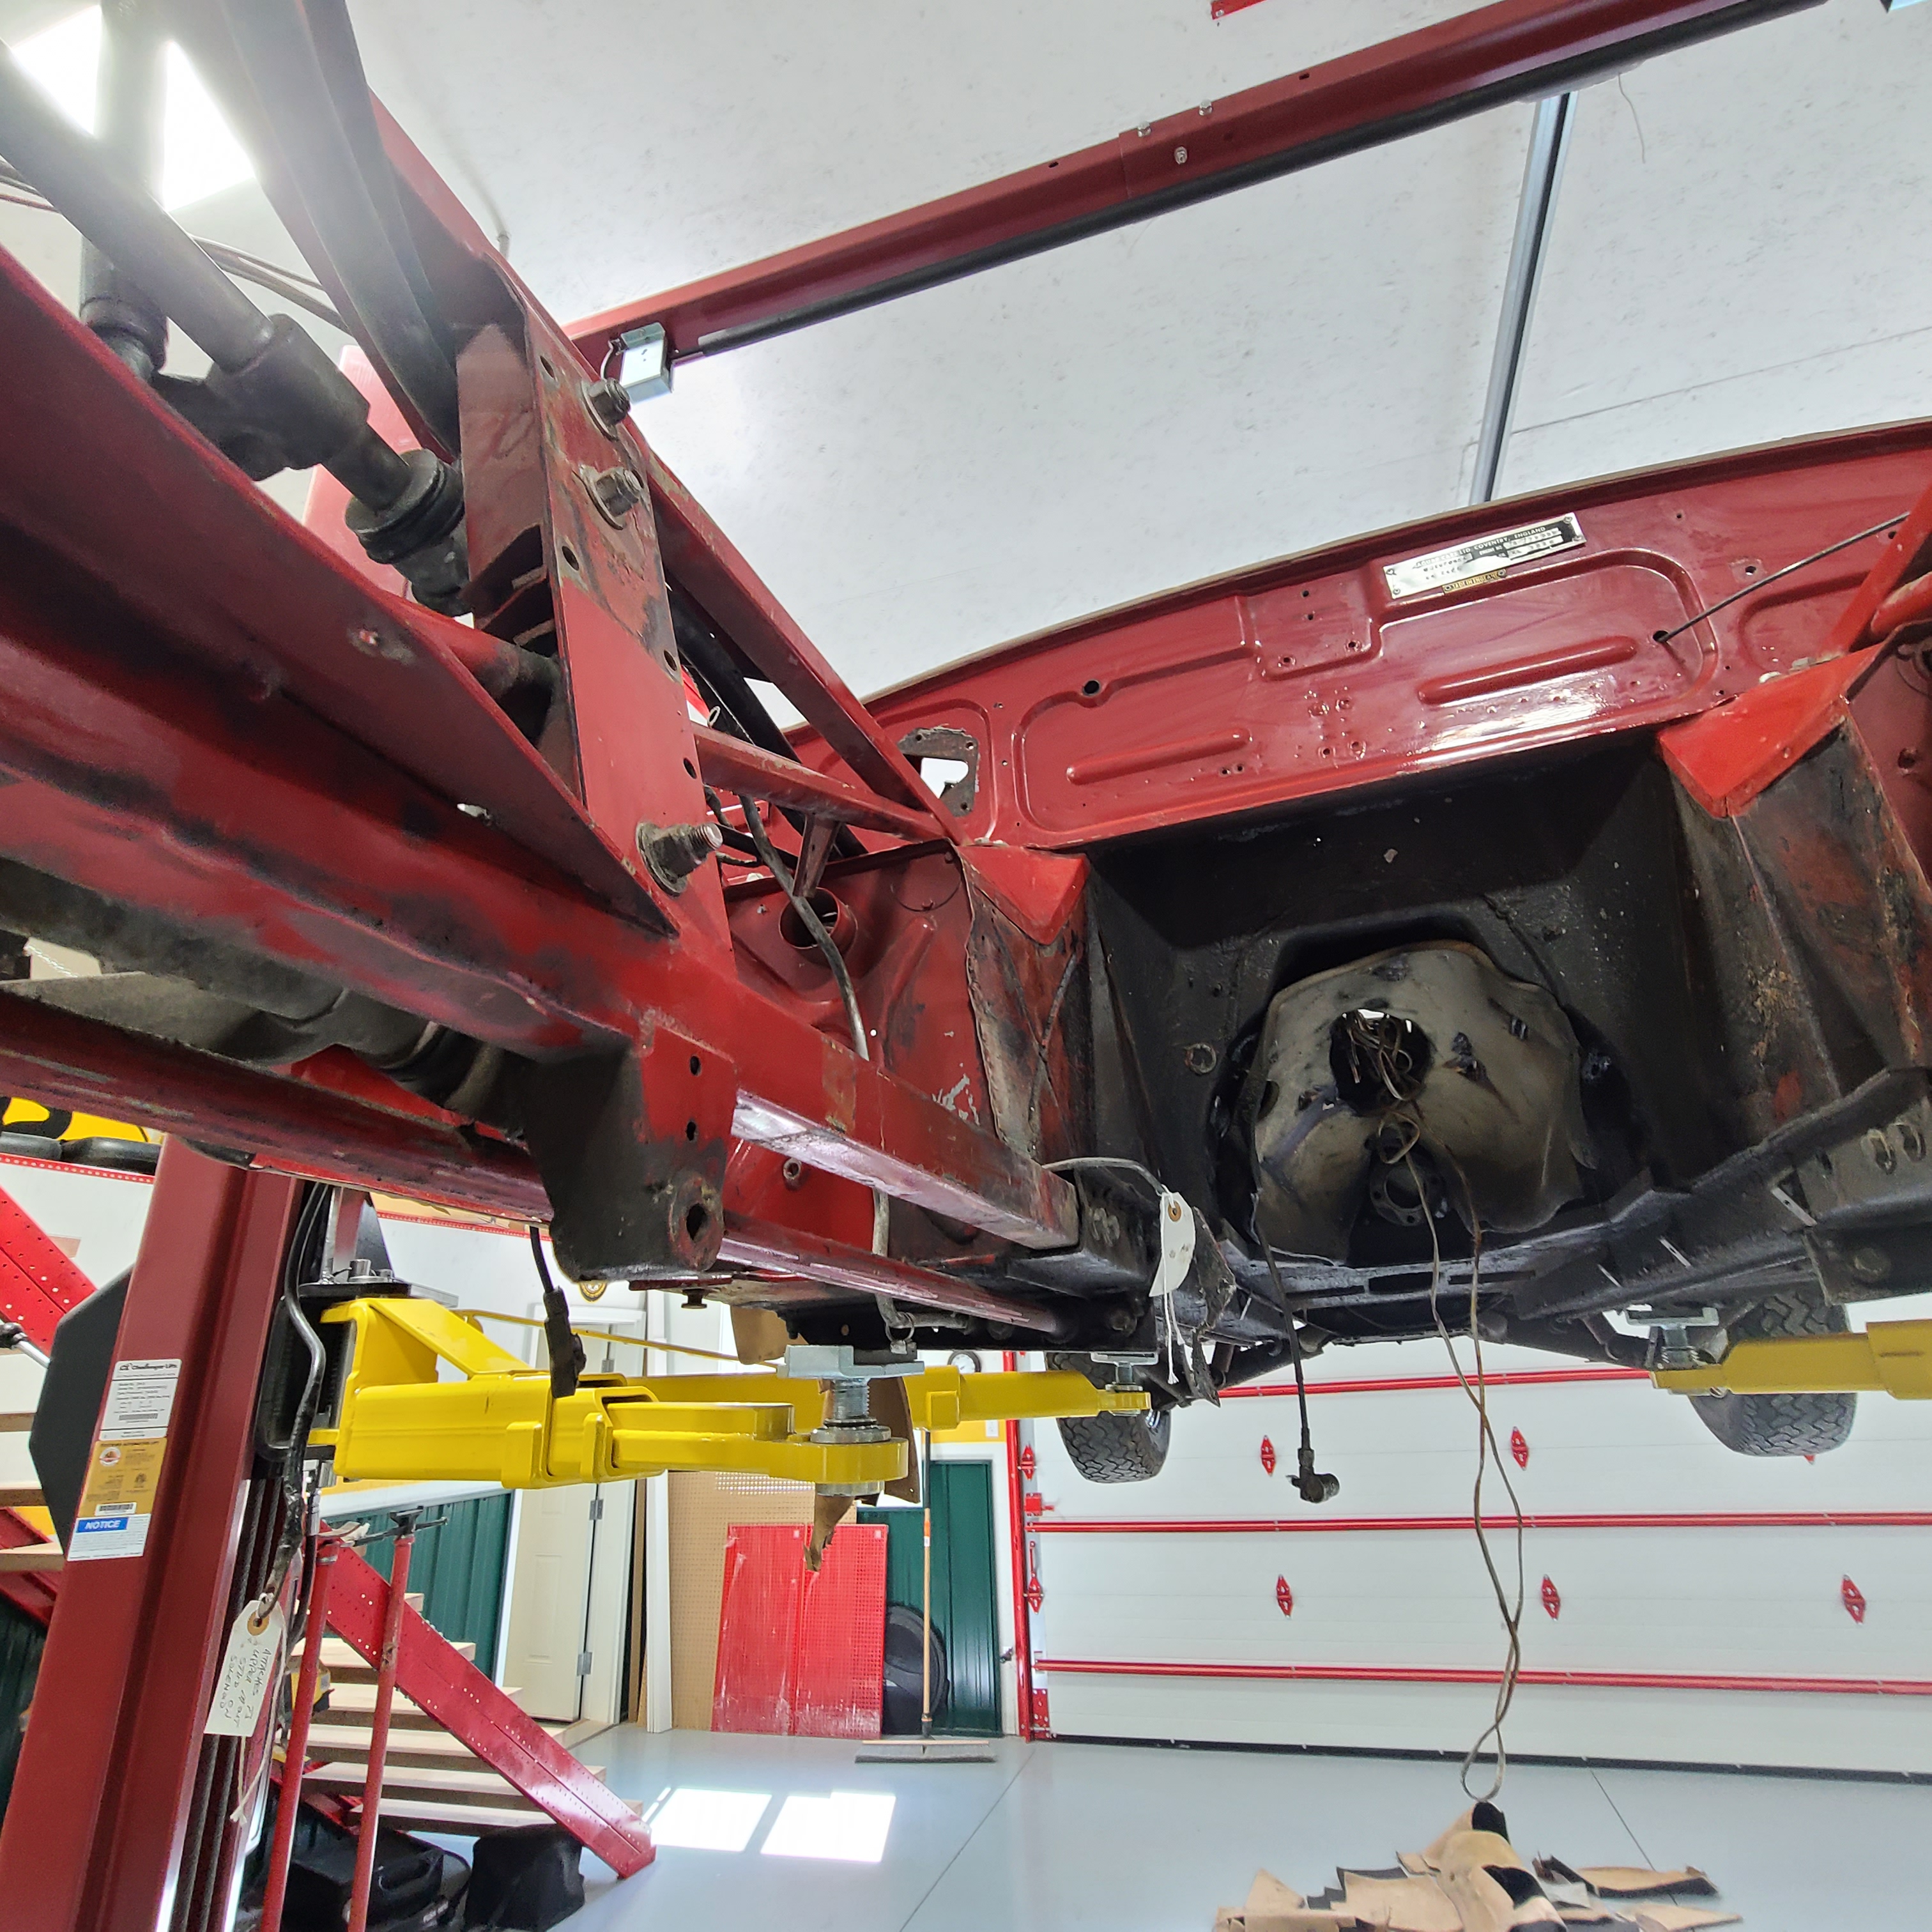
I also spent some time clearing the firewall / engine compartment:

THE WORST OF TIMES – my first effort on Sunday was to remove the steering rack. The first nut/bolt were the ones securing the tie rod ends. I was singularly unsuccessful in popping them out of their taper (I don’t have a pickle fork so wracked the joint with a hammer and a hammer/brass drift for easier leverage). If I had, the other nuts/bolts (while coated in grease, grime and dirt) would have been ease to get to. So – viewing some Youtube videos on releasing taper joints will occupy my nights . . .
I also updated the weights of various components:
Weights of Components.pdf (158.1 KB)
Craig
1 Like
Great progress, Craig!!
A ball joint separator made the taper fit connections much easier for me. Totally worth the $20!!
Thanx Rob – I guess a trip to Harbor Freight in the morning will be quicker and easier than jury-rigging something with tools that are on hand.
Craig
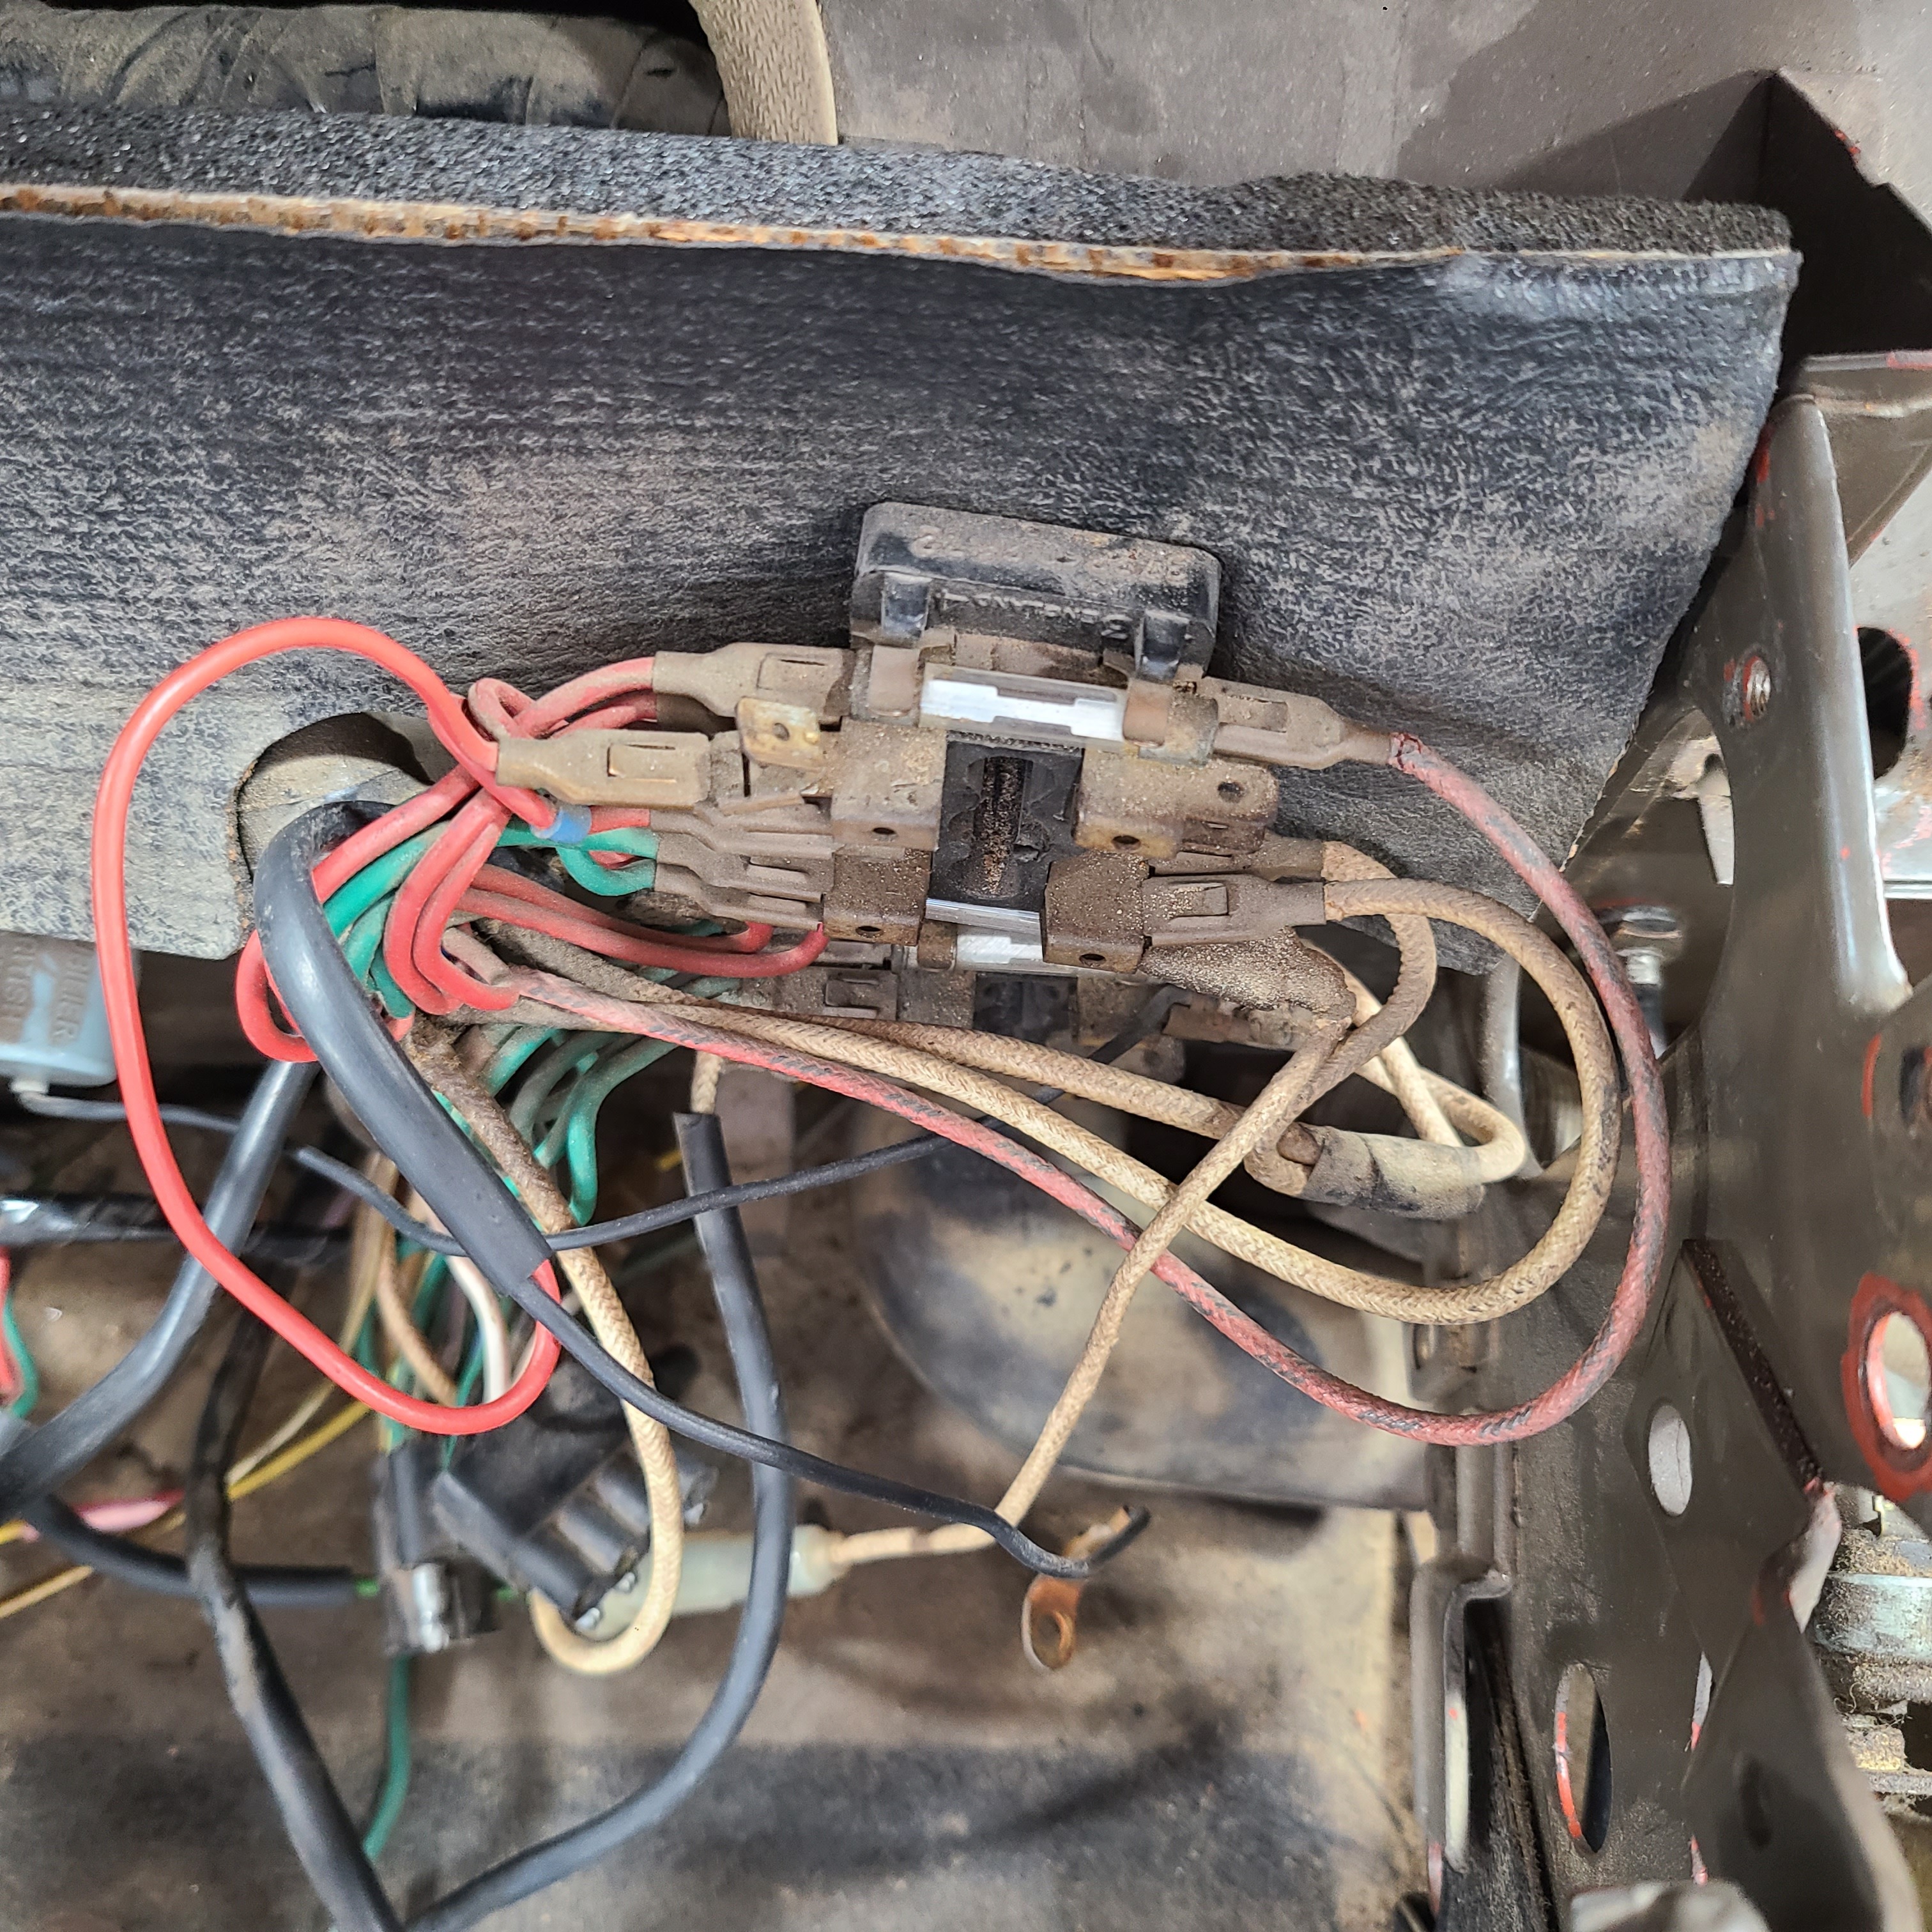
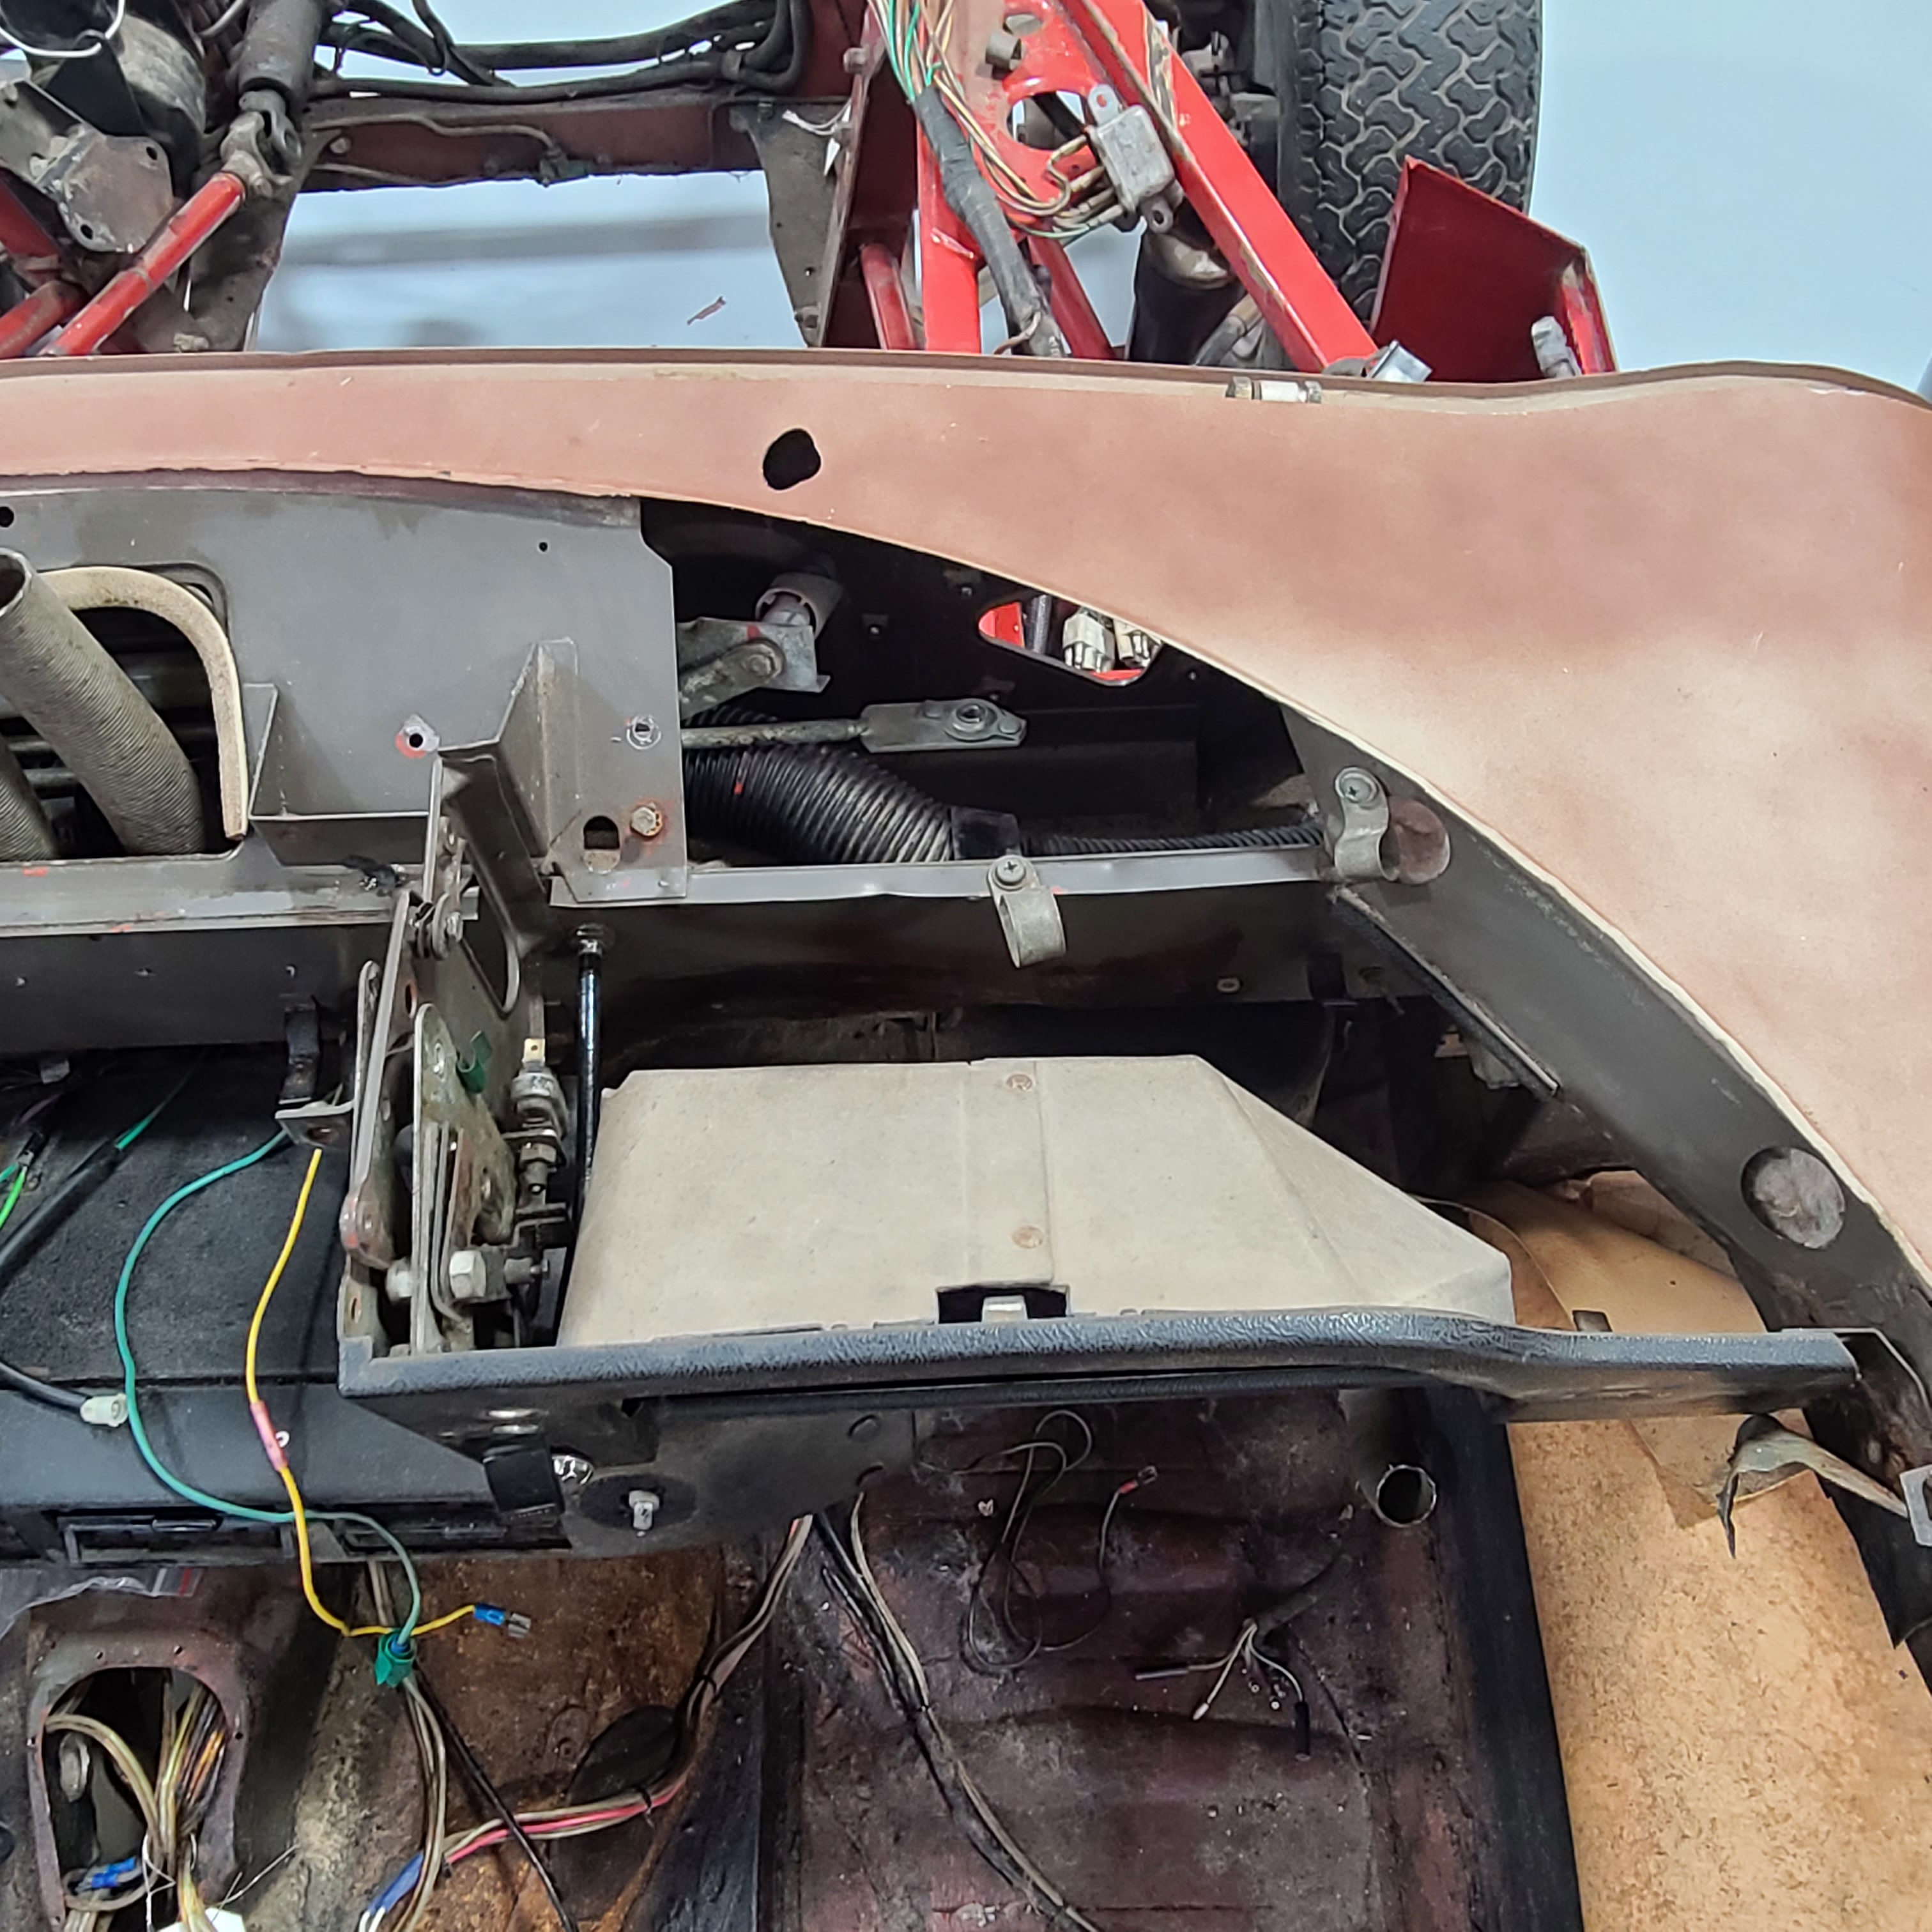
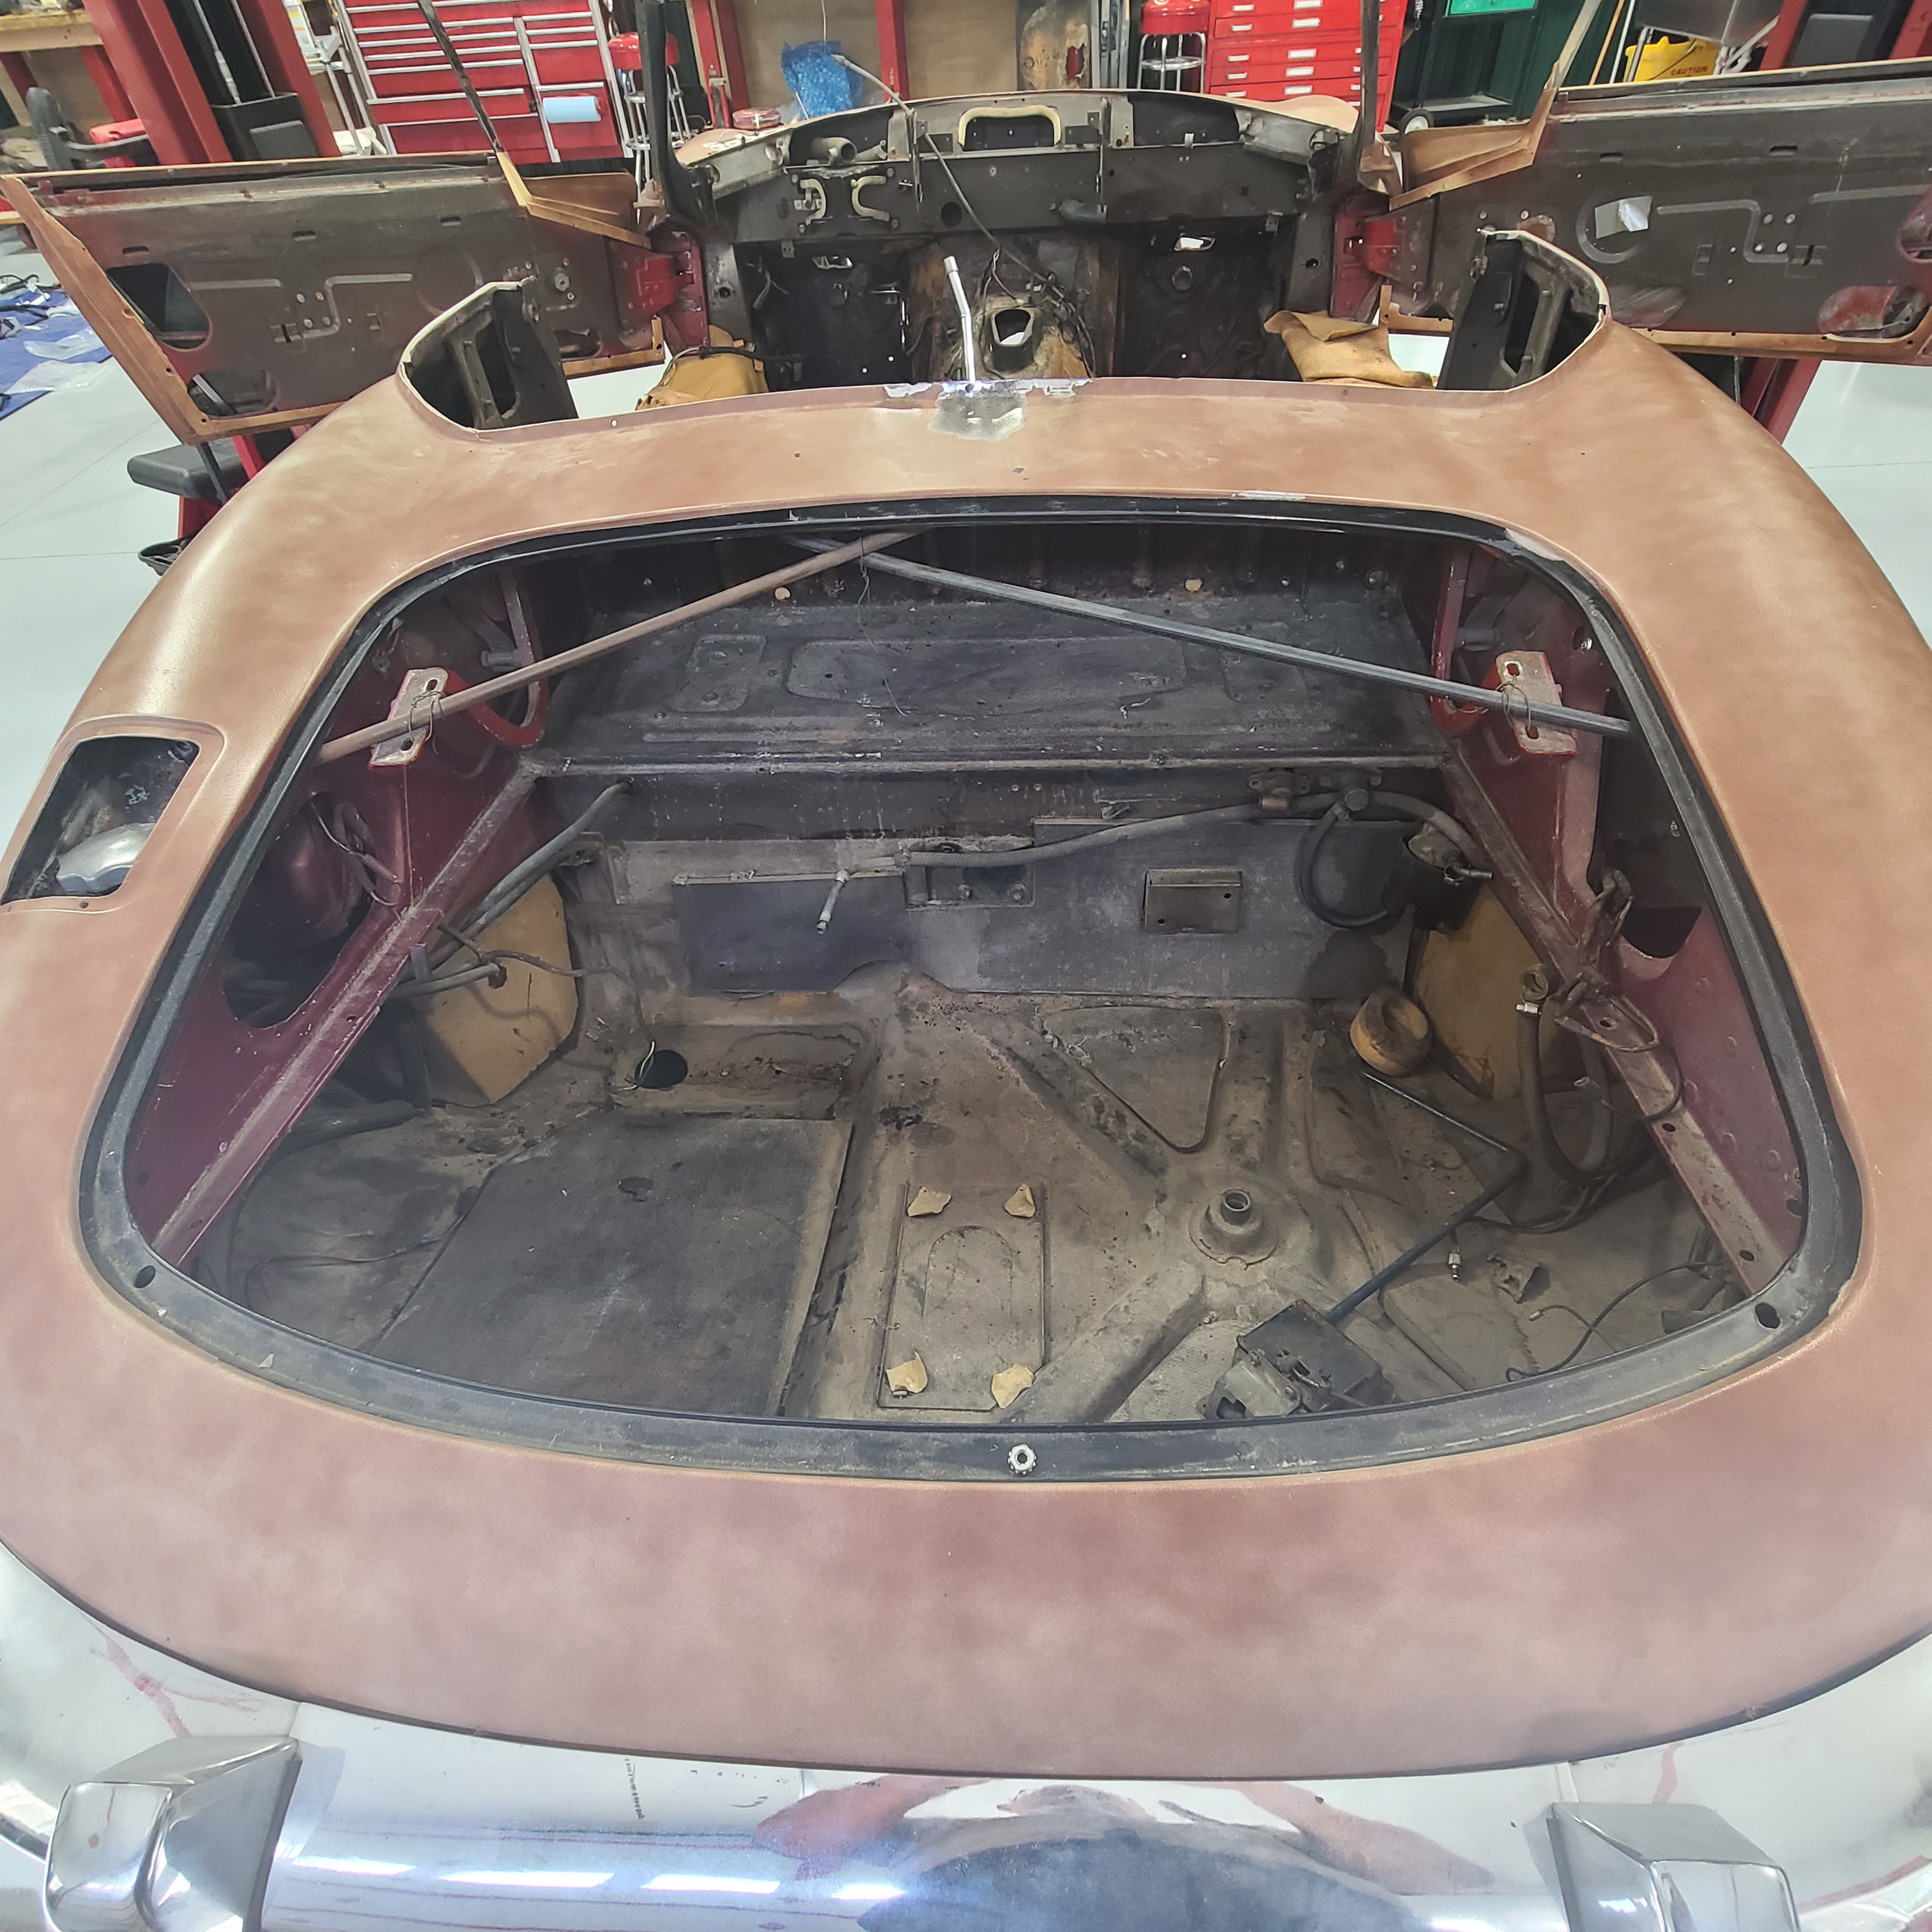
Let me circle back to a stumbling block I was able solve.
The issue was removing the passenger third of the dash - the glove box panel. That pesky black cable that controlled air flow between the base of the windshield or your feet. It bisects this photo lower left to upper right:

You may recall me saying the repair manual said to twist the cable clockwise to loosen it. I finally got a descent light and angle in the crevasse at the top right of the photo. Where the cable enters the panel, there is what looks to be a nut securing the cable. Nope - that sucker is welded to the wall and no wrench (SAE or metric) fits it. And that shoulda been my clue. On the other side of that panel (sorta beneath the slot) is the other end of the cable – secured with a half-height nut; it was covered in dust and the angle to see it was so steep I didn’t immediately recognize it for what it was. Once loosened, the glove box panel fell into my hands.
A minor victory but no less satisfying than extracting the fuel tank.
2 Likes
As mentioned, my latest stumbling block was removing the steering rack. I took most of the advice from Rob Yaskovic and bought a ball joint separator – but went to a closer venue (Advanced Auto Parts). It was nearer than Harbor Freight and I don’t trust HF for parts/tools that apply/withstand pressure.
I know any mechanics on the list will pass this Pop Quiz – but don’t spoil it for the amateurs on the List

I struggled one full day trying to dislodge the tie rod ball joints but succeeded today. Why did I have such a hard time separating the ball joint?
In the intervening days I also removed the rear bumper for eventual re-chroming, removed the fuel pump and some of the fuel lines in the boot, and general small things.
My OCD kicked in and I removed the paint or powder coating or whatever that black stuff is on the tail end of body from the body number tag. The number matches the one on the Chassis Plate (4S 2425).


The adventure continues tomorrow . . .
The tool was backwards/upside down…
2 Likes