SUMMARY OF PREVIOUS THREADS I thru IV Part I - Introduction of Hobby Shop and removal of engine/transmission Part II - Removal of all wiring harnesses, dropping fuel tank, stripping the car of all ancillaries and cleaning asphalt coating from under-body/bonnet Part III - Engine Tear Down, Removal of Heads, Chrome to Chrome shop, Prep for and actual Painting of the Jaguar Part IV - this thread covered quite a myriad of topics:
A comprehensive matrix of nickel and cadmium platers
Procedure for removing crankshaft
Remove timing chain, guides and tensioner
Repair Timing Chain Cover (aluminum welding)
V12 Exhaust system options
Removal and ultimately Replacing Oil Pump ($$)
Check Cam Sprockets for reuse
Challenges of removing 6 stuck pistons/sleeves (significant portion of this thread) – including a trip to a machinist; spread over a wide range of posts
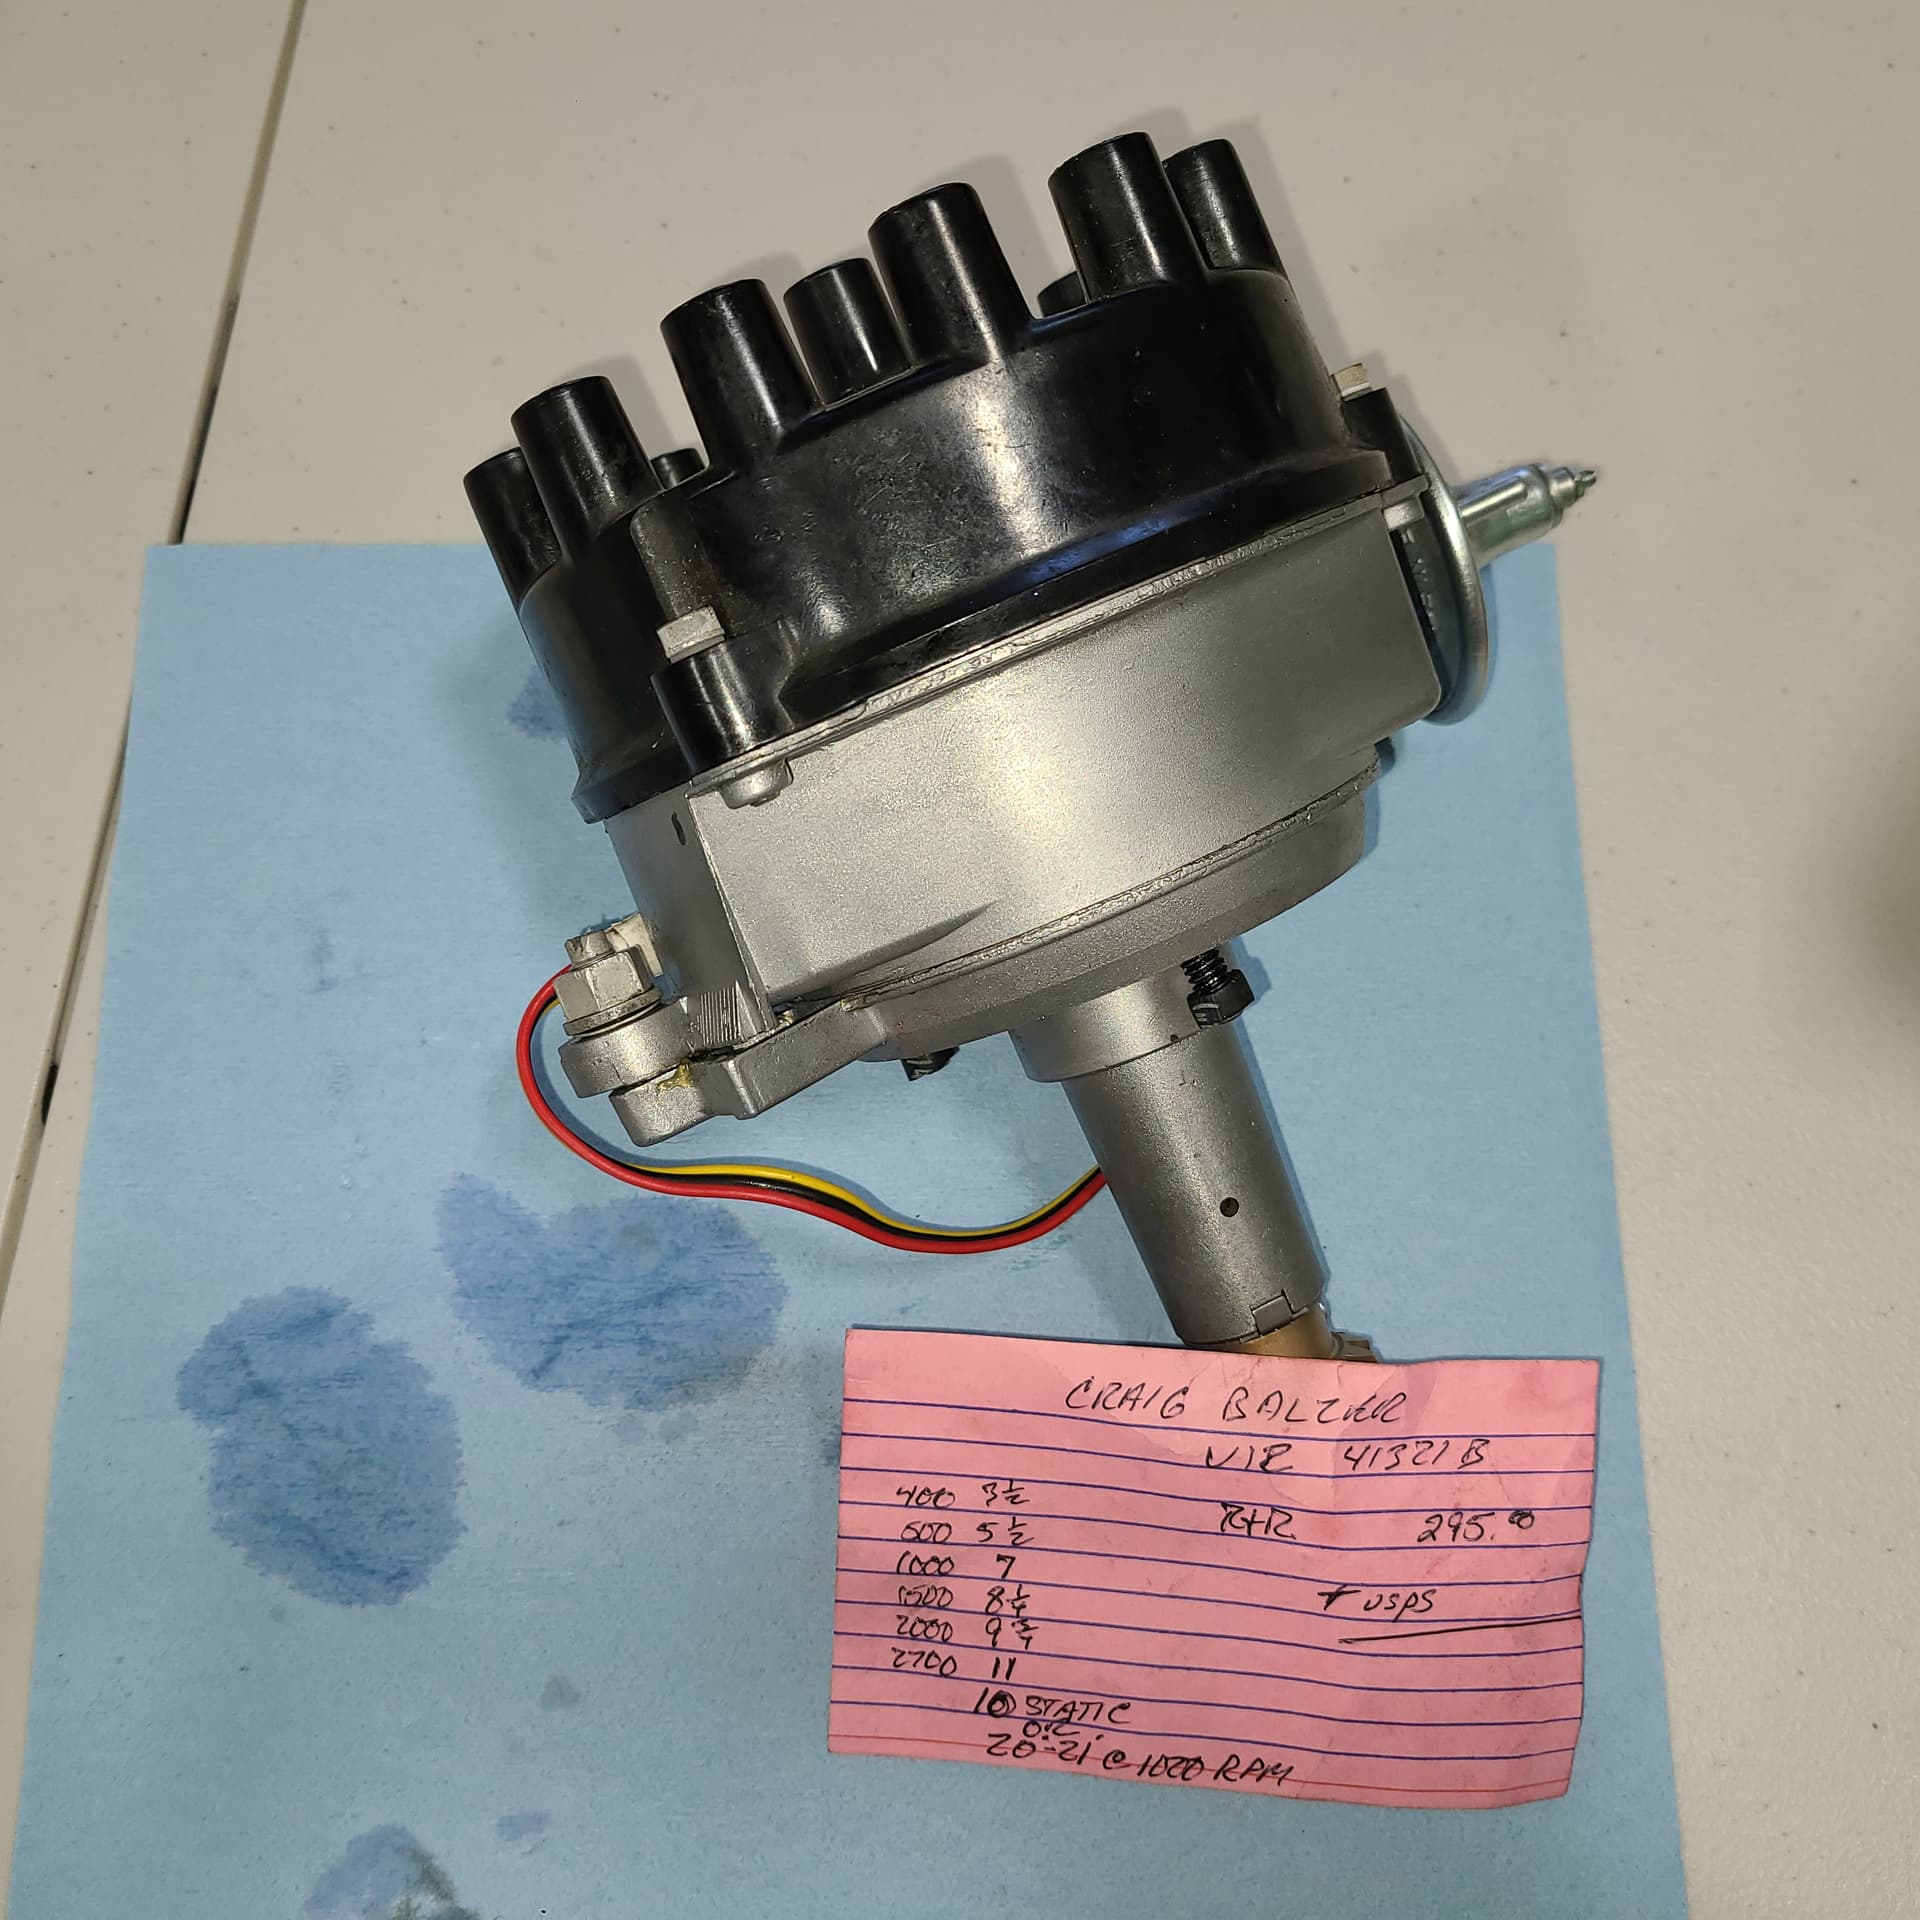
At the close of Part IV, I mentioned that two phone calls derailed my plans for wrenching in my Hobby Shop. I was excited about both cuz they were local and I received immediate gratification.
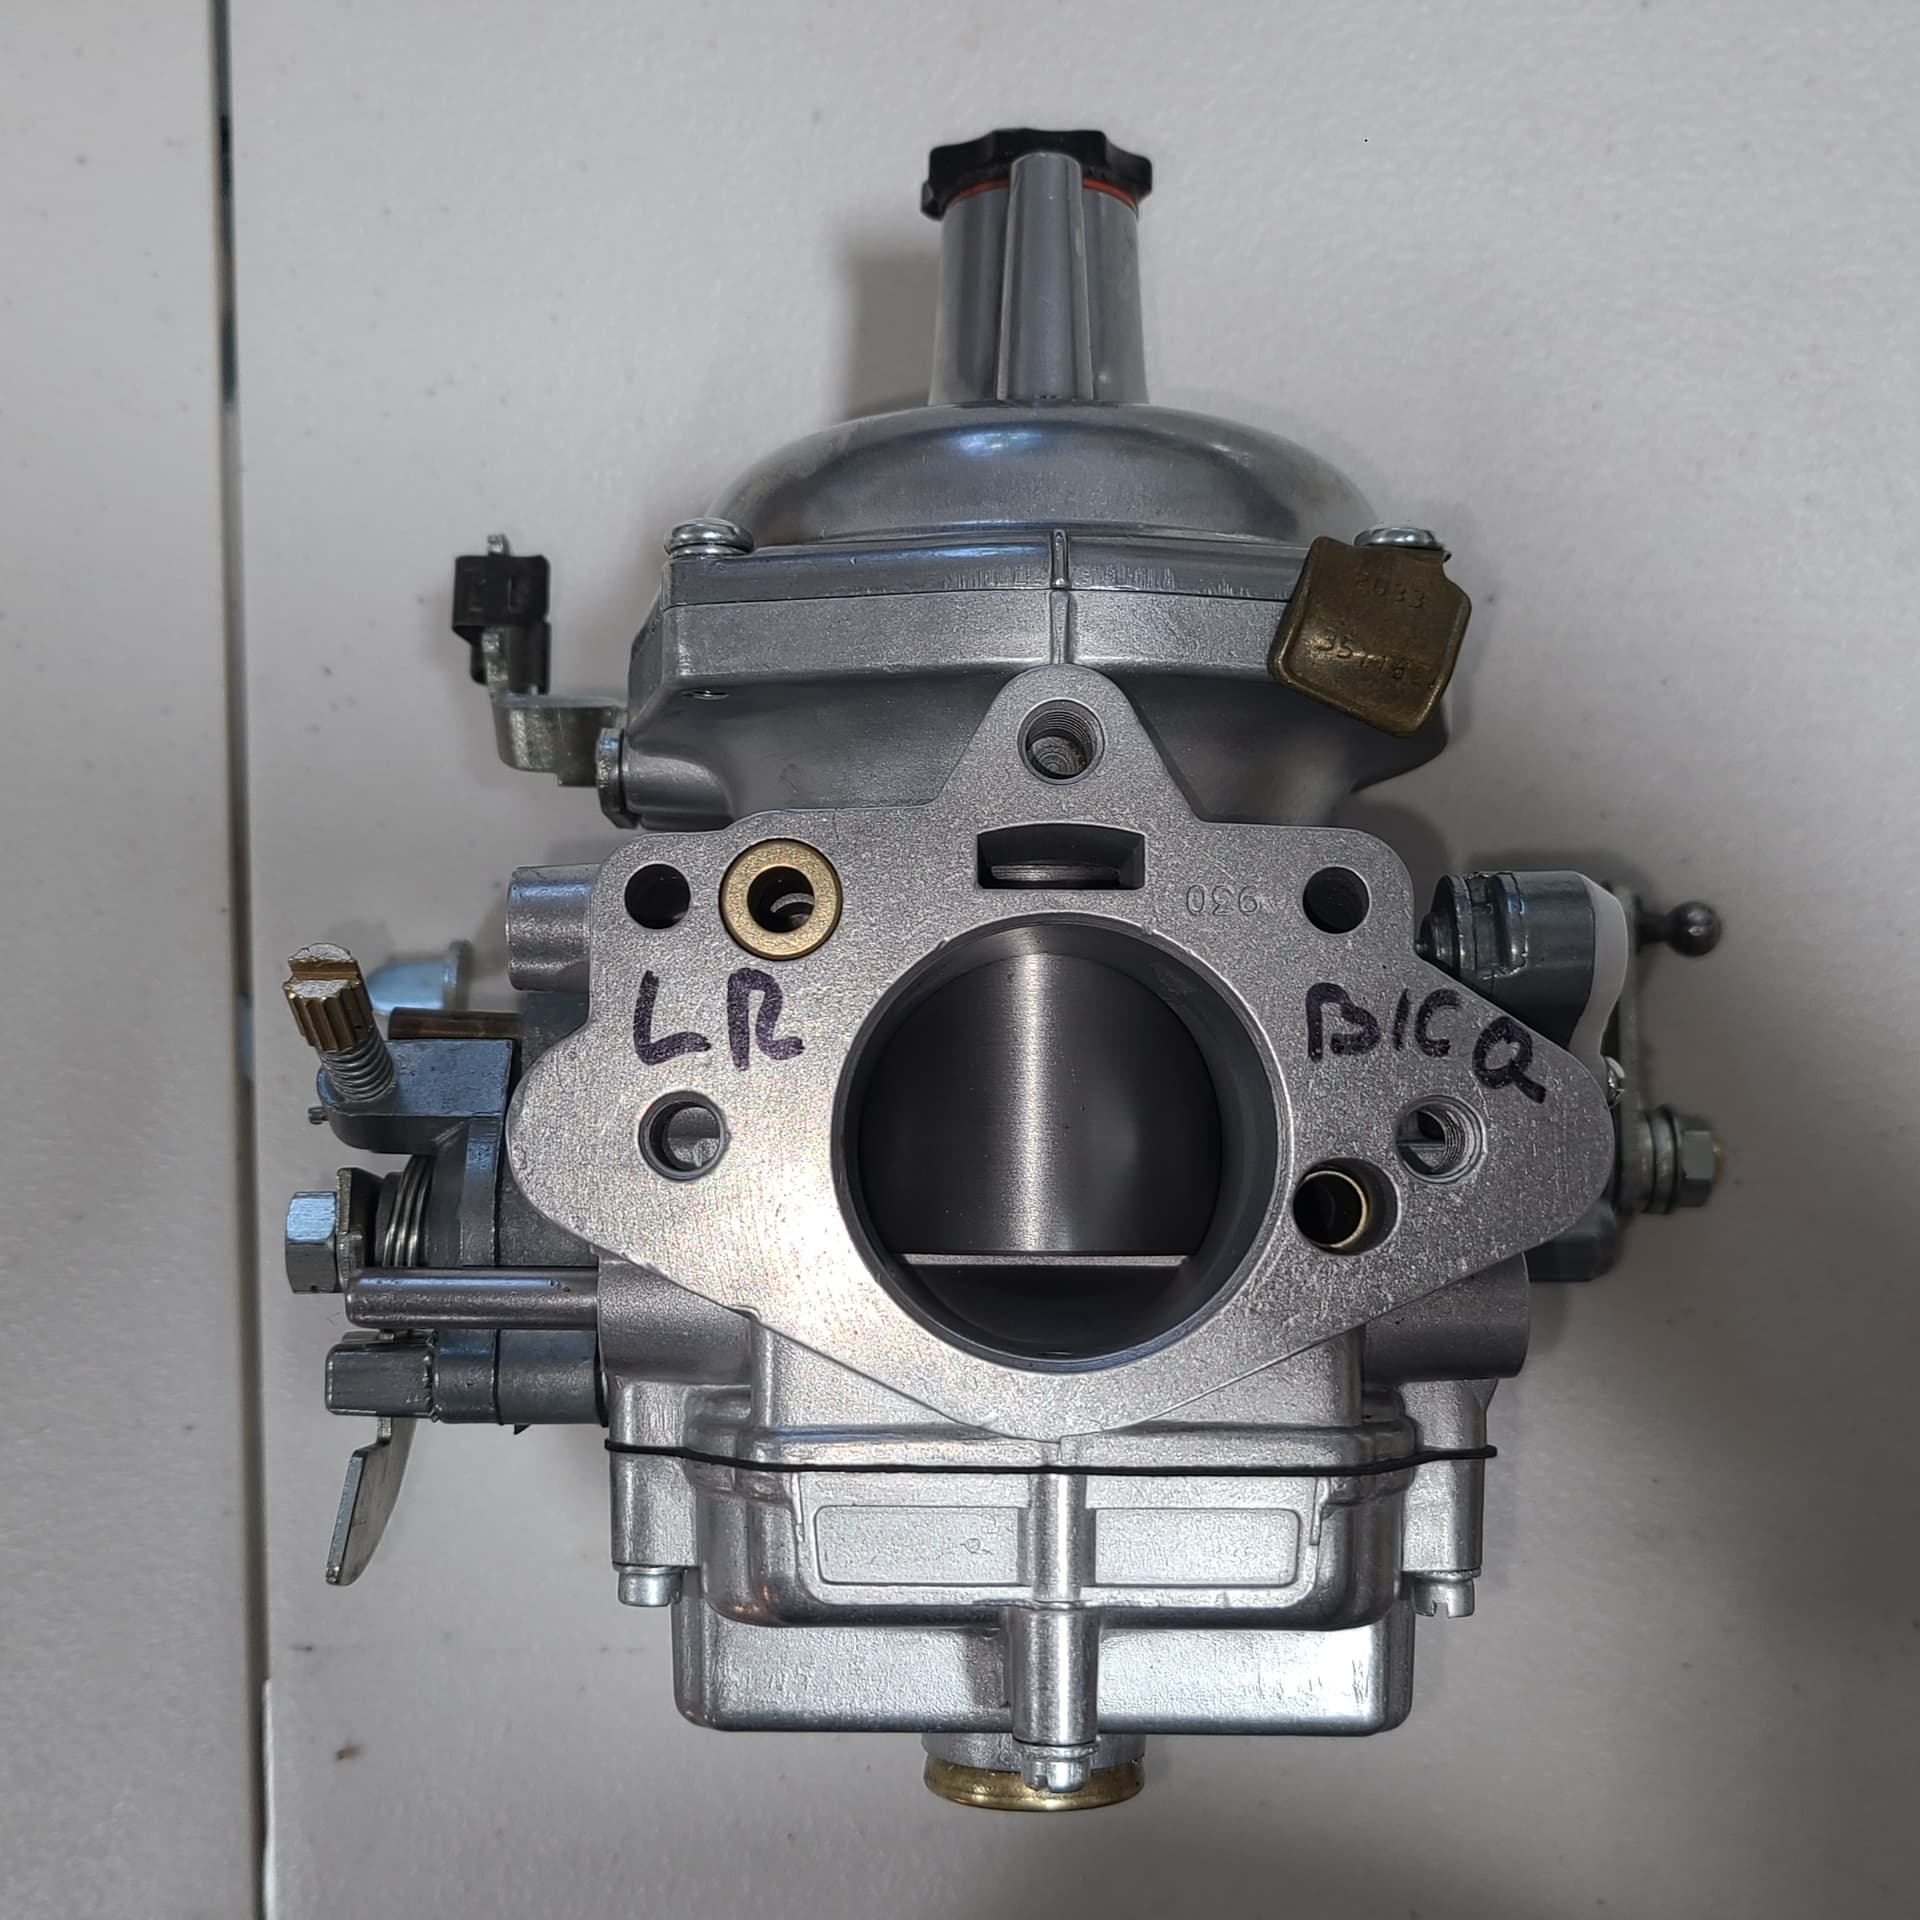
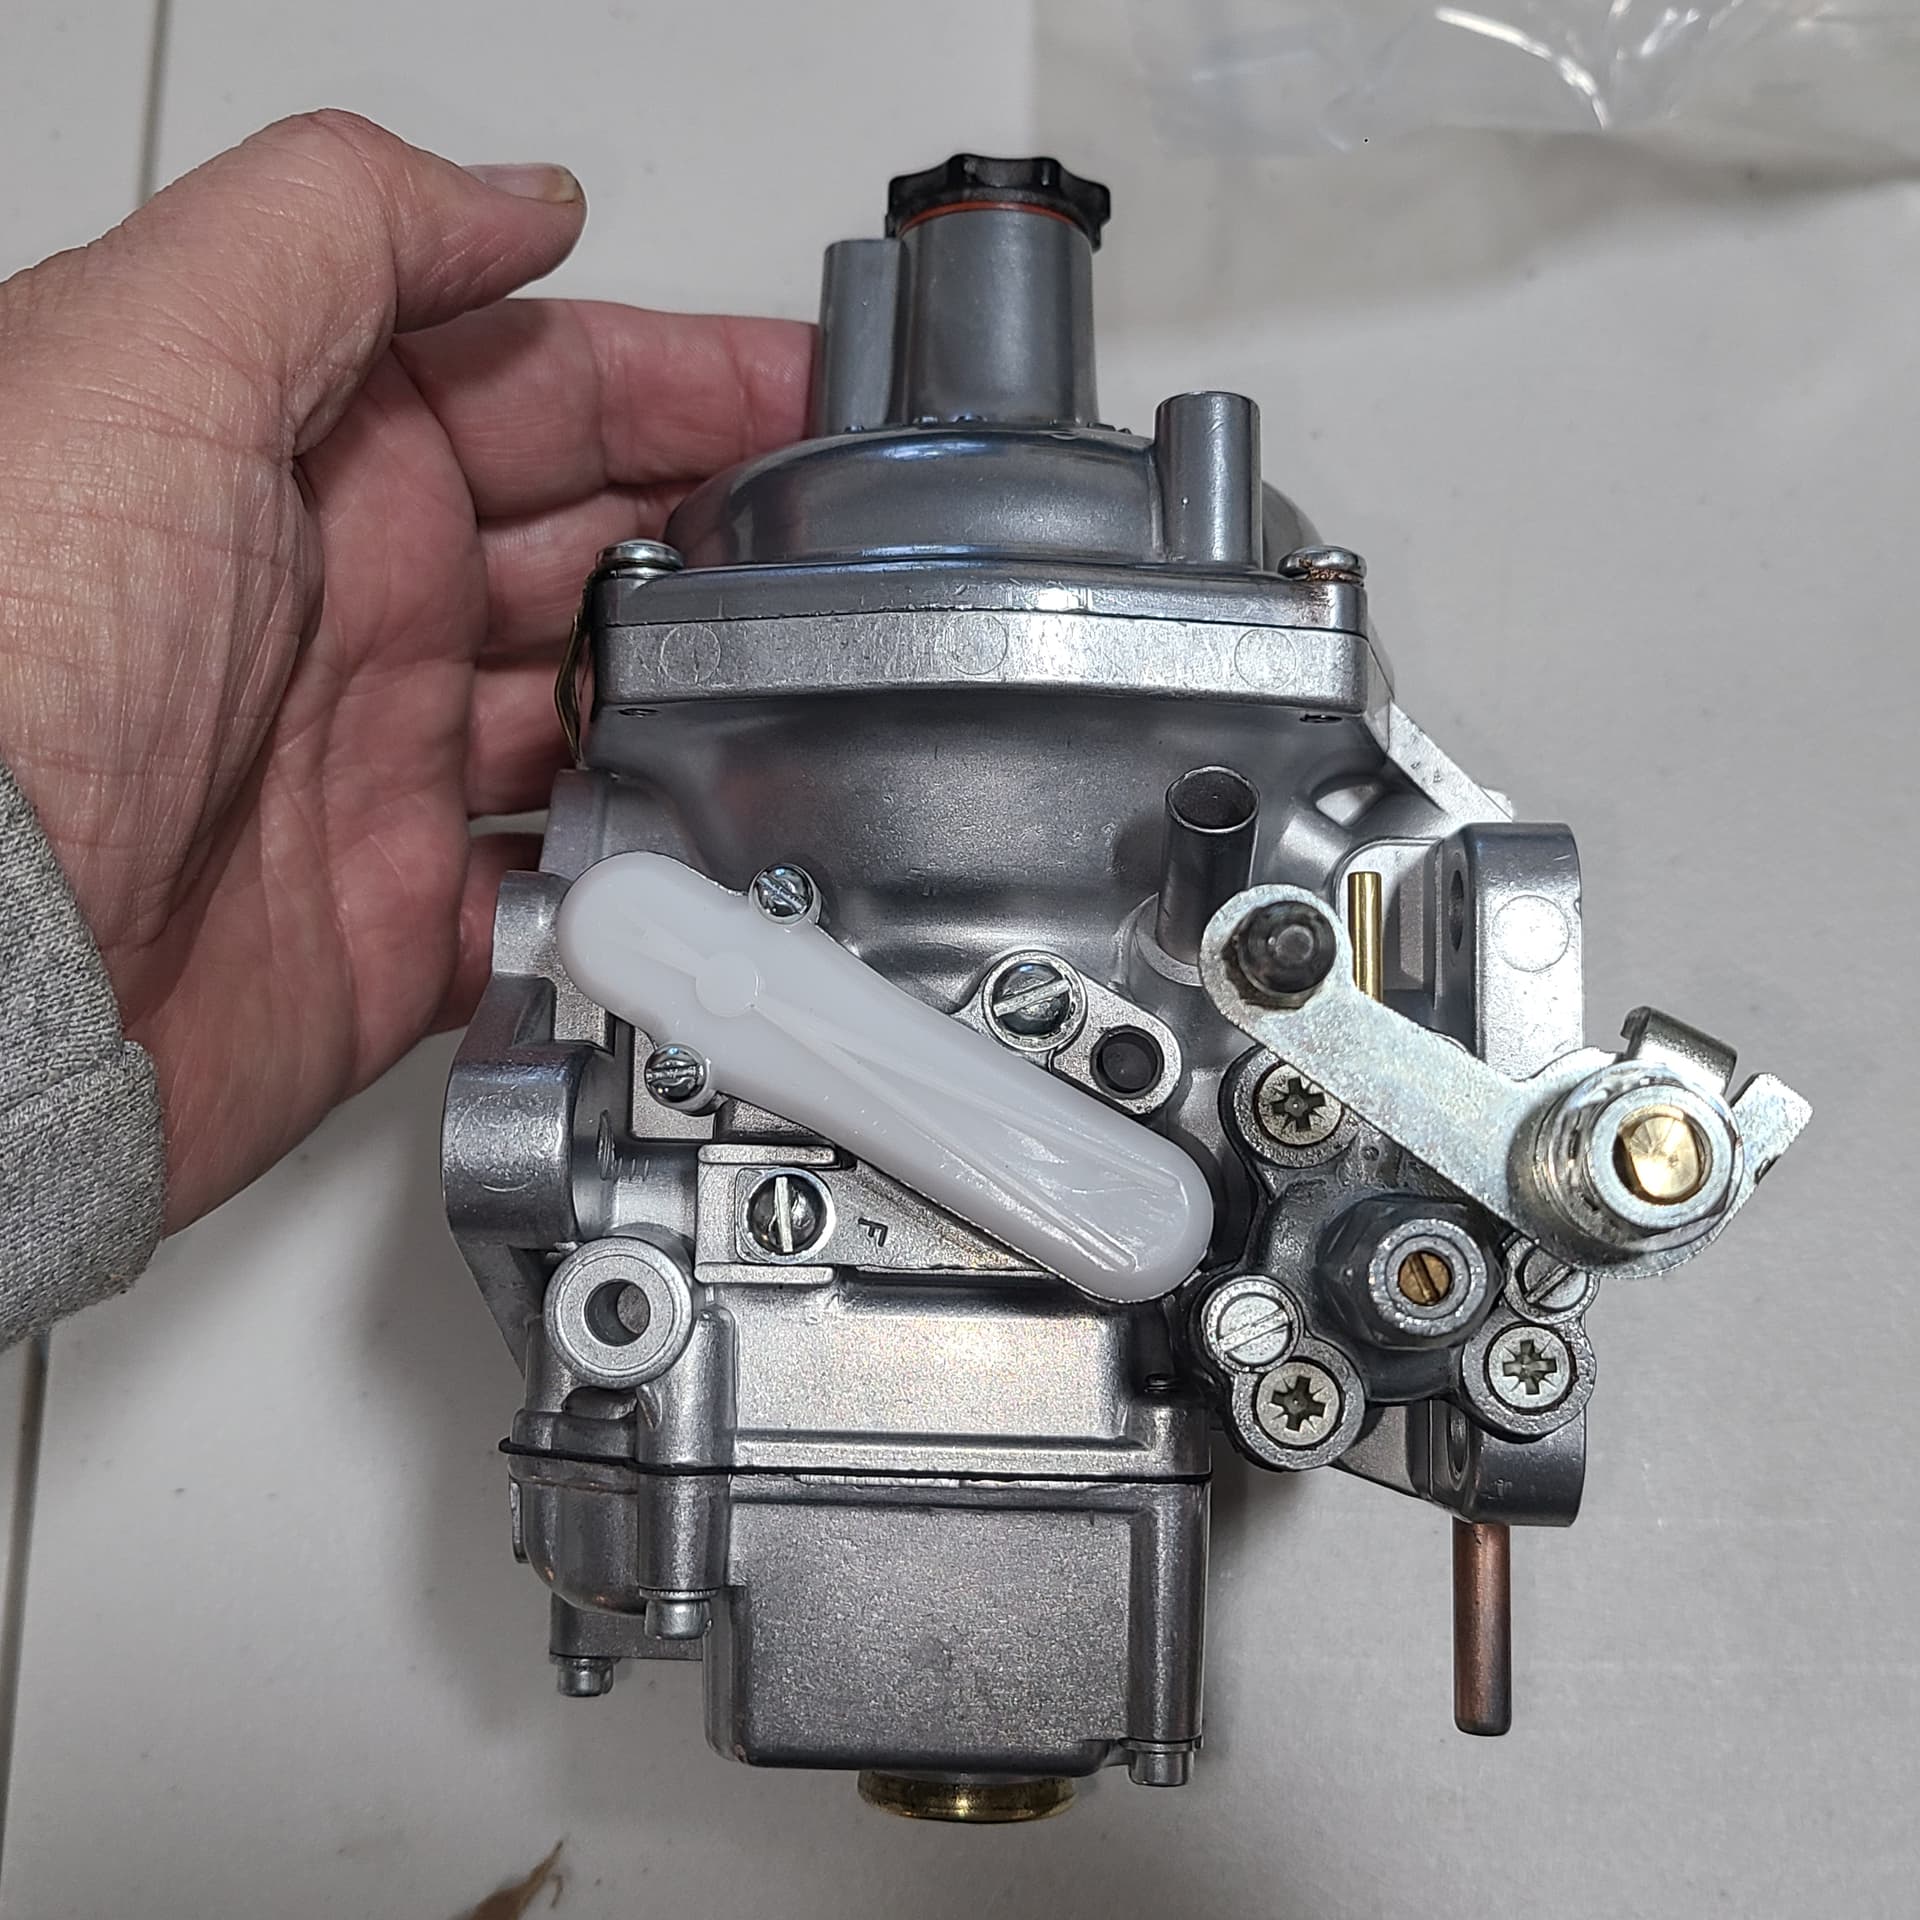
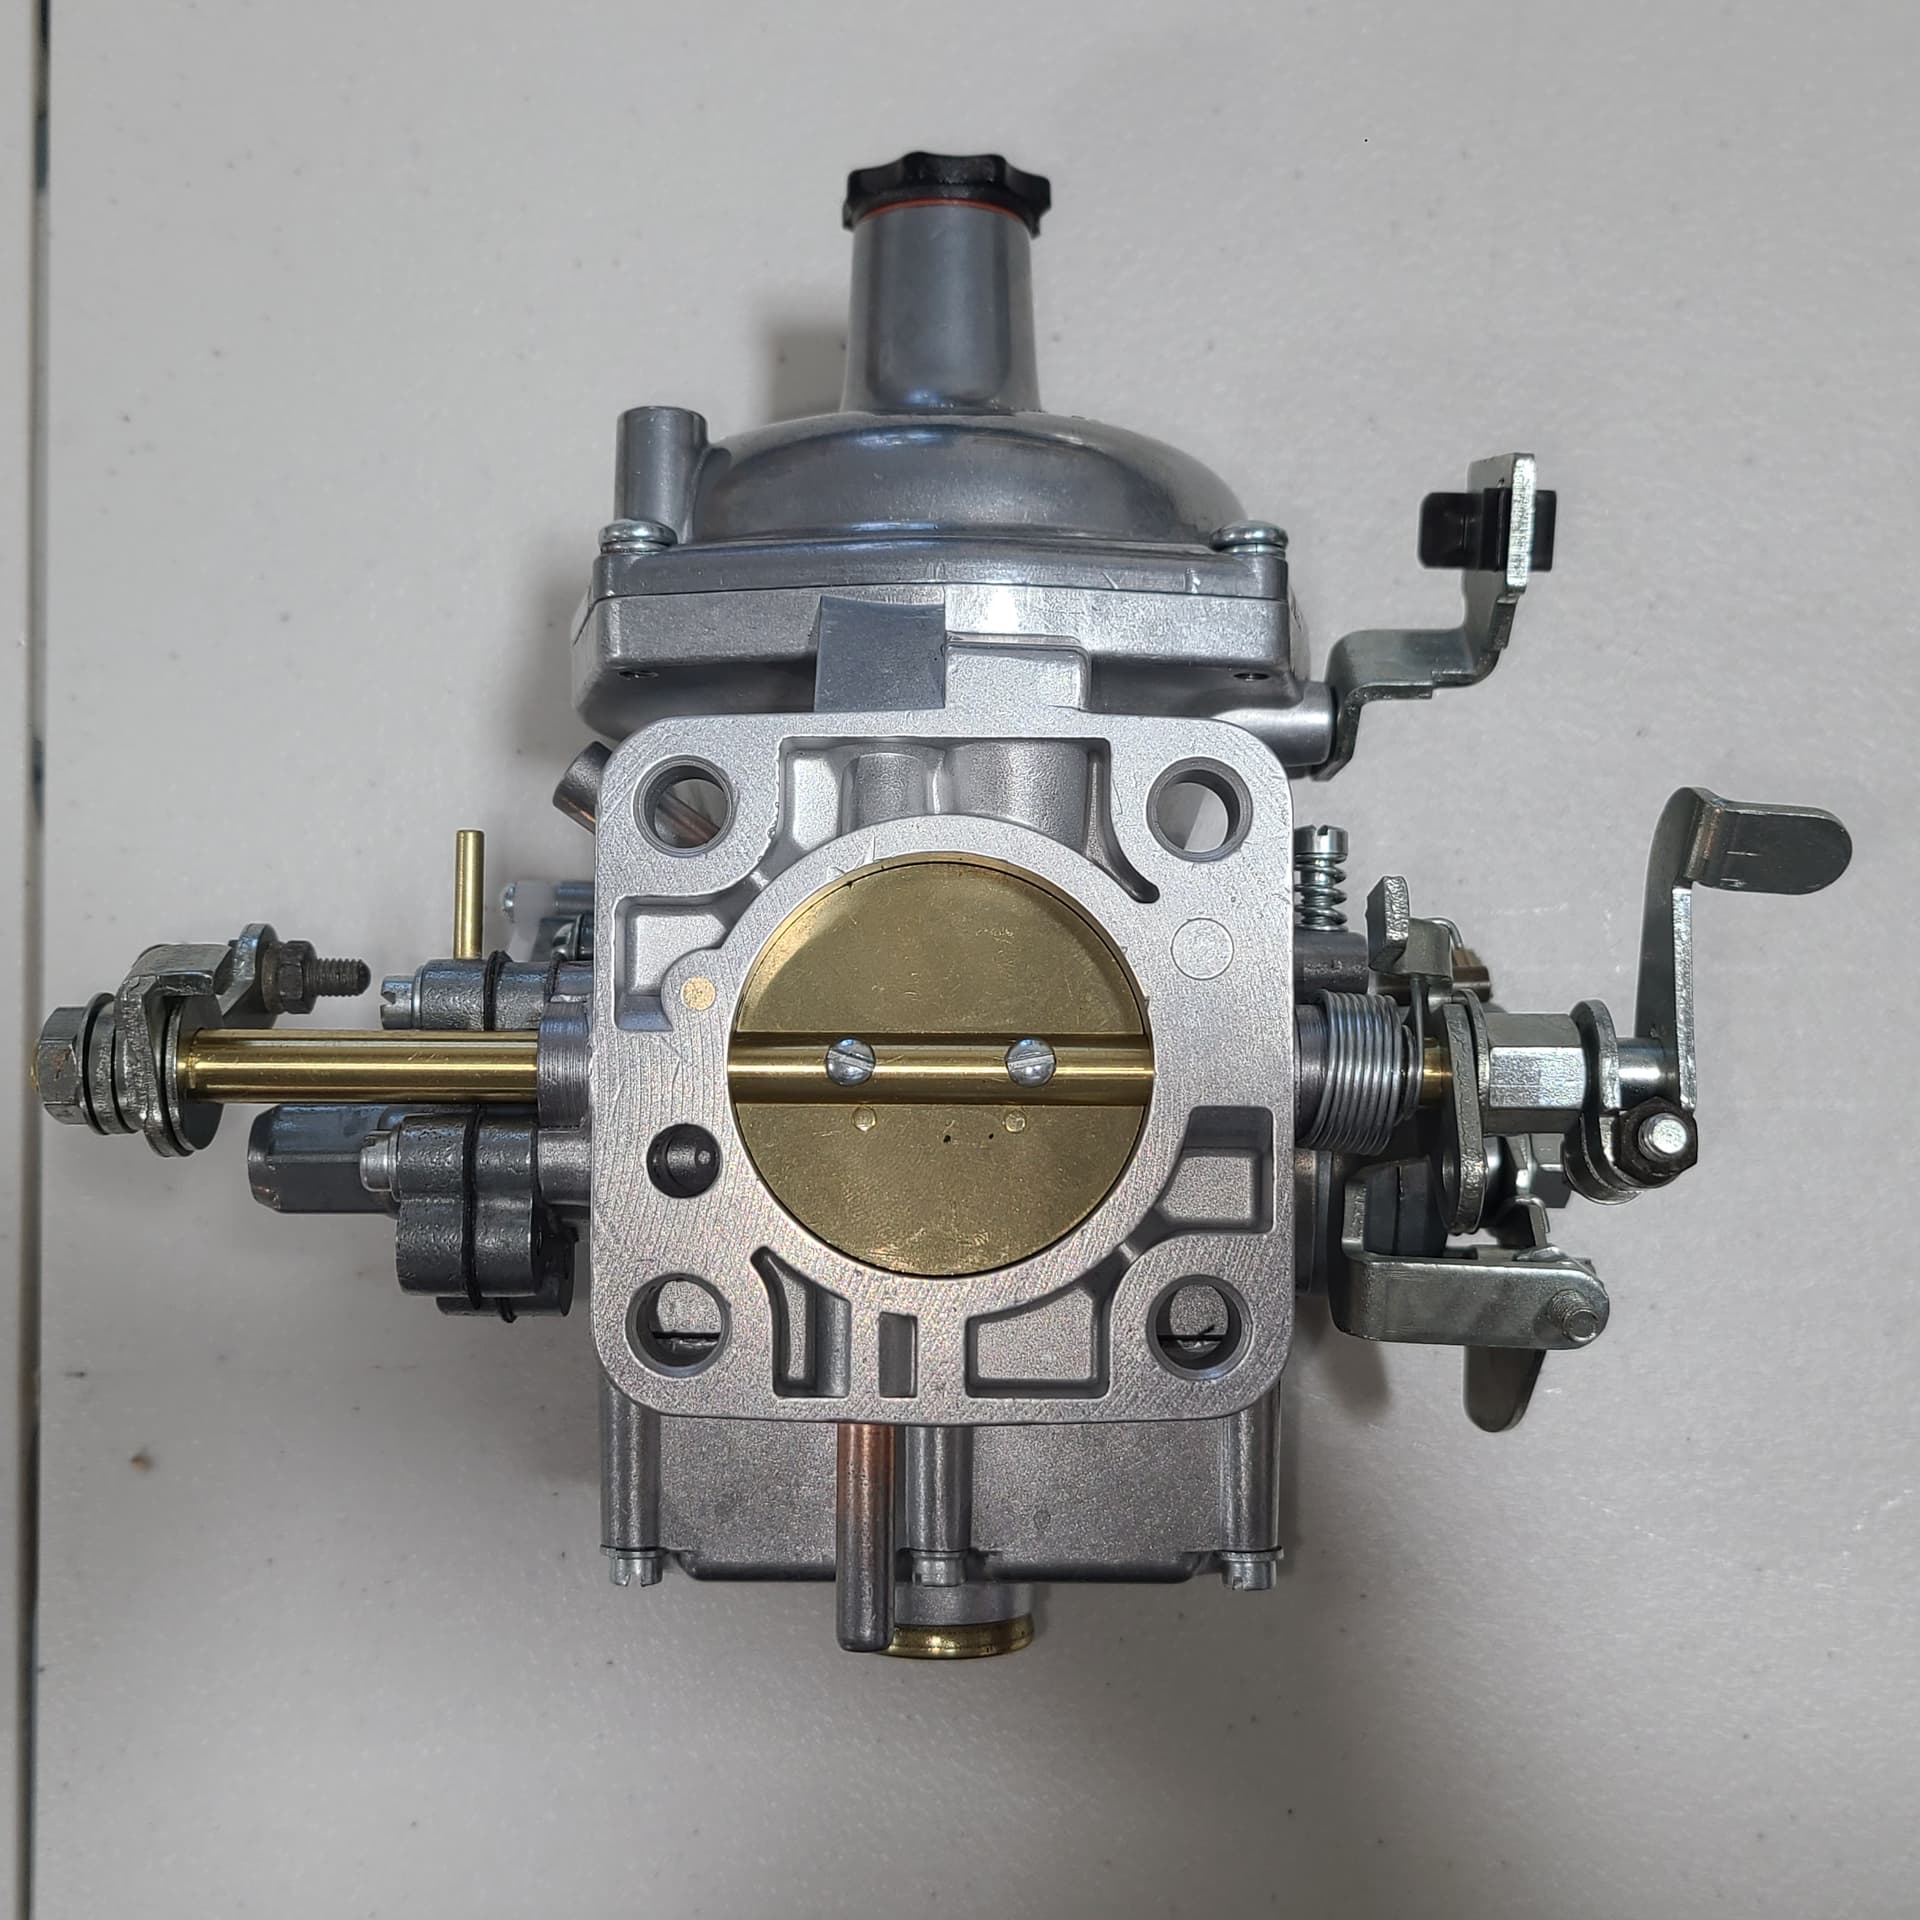
I totally forgot about a third call - this from Joe Curto. He finished the rebuild/restoration of my four carburetors. He needed to replace at least 1 float, at least 1 vacuum adjuster screw, several lock screws. I am sure there were more issues but these were the highlights. The carbs sat for 32 years unused in the AZ desert and the CO high desert plain.
He had called during the previous week and referred me to Rob Medynski (sp?) (*) whose expertise is rebuilding dizzies and converting them to vacuum advance.
ASIDE: I have called and emailed 123Ingnition in Germany several times and got no response. Their system uses modern electronics, two coils, 2 sets of 6-cylinder spark plug leads (one for each bank) cuz the distributor cap has the internal terminals on two levels. It can use various (16 presets) advance timings using either a USB cable or blue tooth connection (different models). All the bits came to about $2,100.
Rob charges a very reasonable price for a total rebuild of the dizzy and the advance unit mod: $250. He works with Joe a lot. In fact, once I decided to use Rob, Joe sent the my right front carb directly to him to be machined for the proper port for the vacuum hook up.
So, three of my carbs have already been shipped to me from Joe while Rob has my dizzy and the fourth carb. Rob said he usually completes his mods in 3 to 10 days of receipt; so, soon.
BOTTOMLINE: I am going with the stock dizzy (modified for vacuum advance) over a more modern option. If it doesn’t deliver the improvement of performance I am expecting, I can always circle around and “upgrade” later.
I don’t think you’ll be disappointed with the performance of the stock, rebuilt distributor: for a street engine, it works perfectly well. Updated with modern internals and all that, you’ll be fine!
I also added vacuum advance by British Vacuum … and kept the original distributor but I went the way of a MSD 6A (62013) box triggered with FAST 715-0020 optical trigger. Works great !
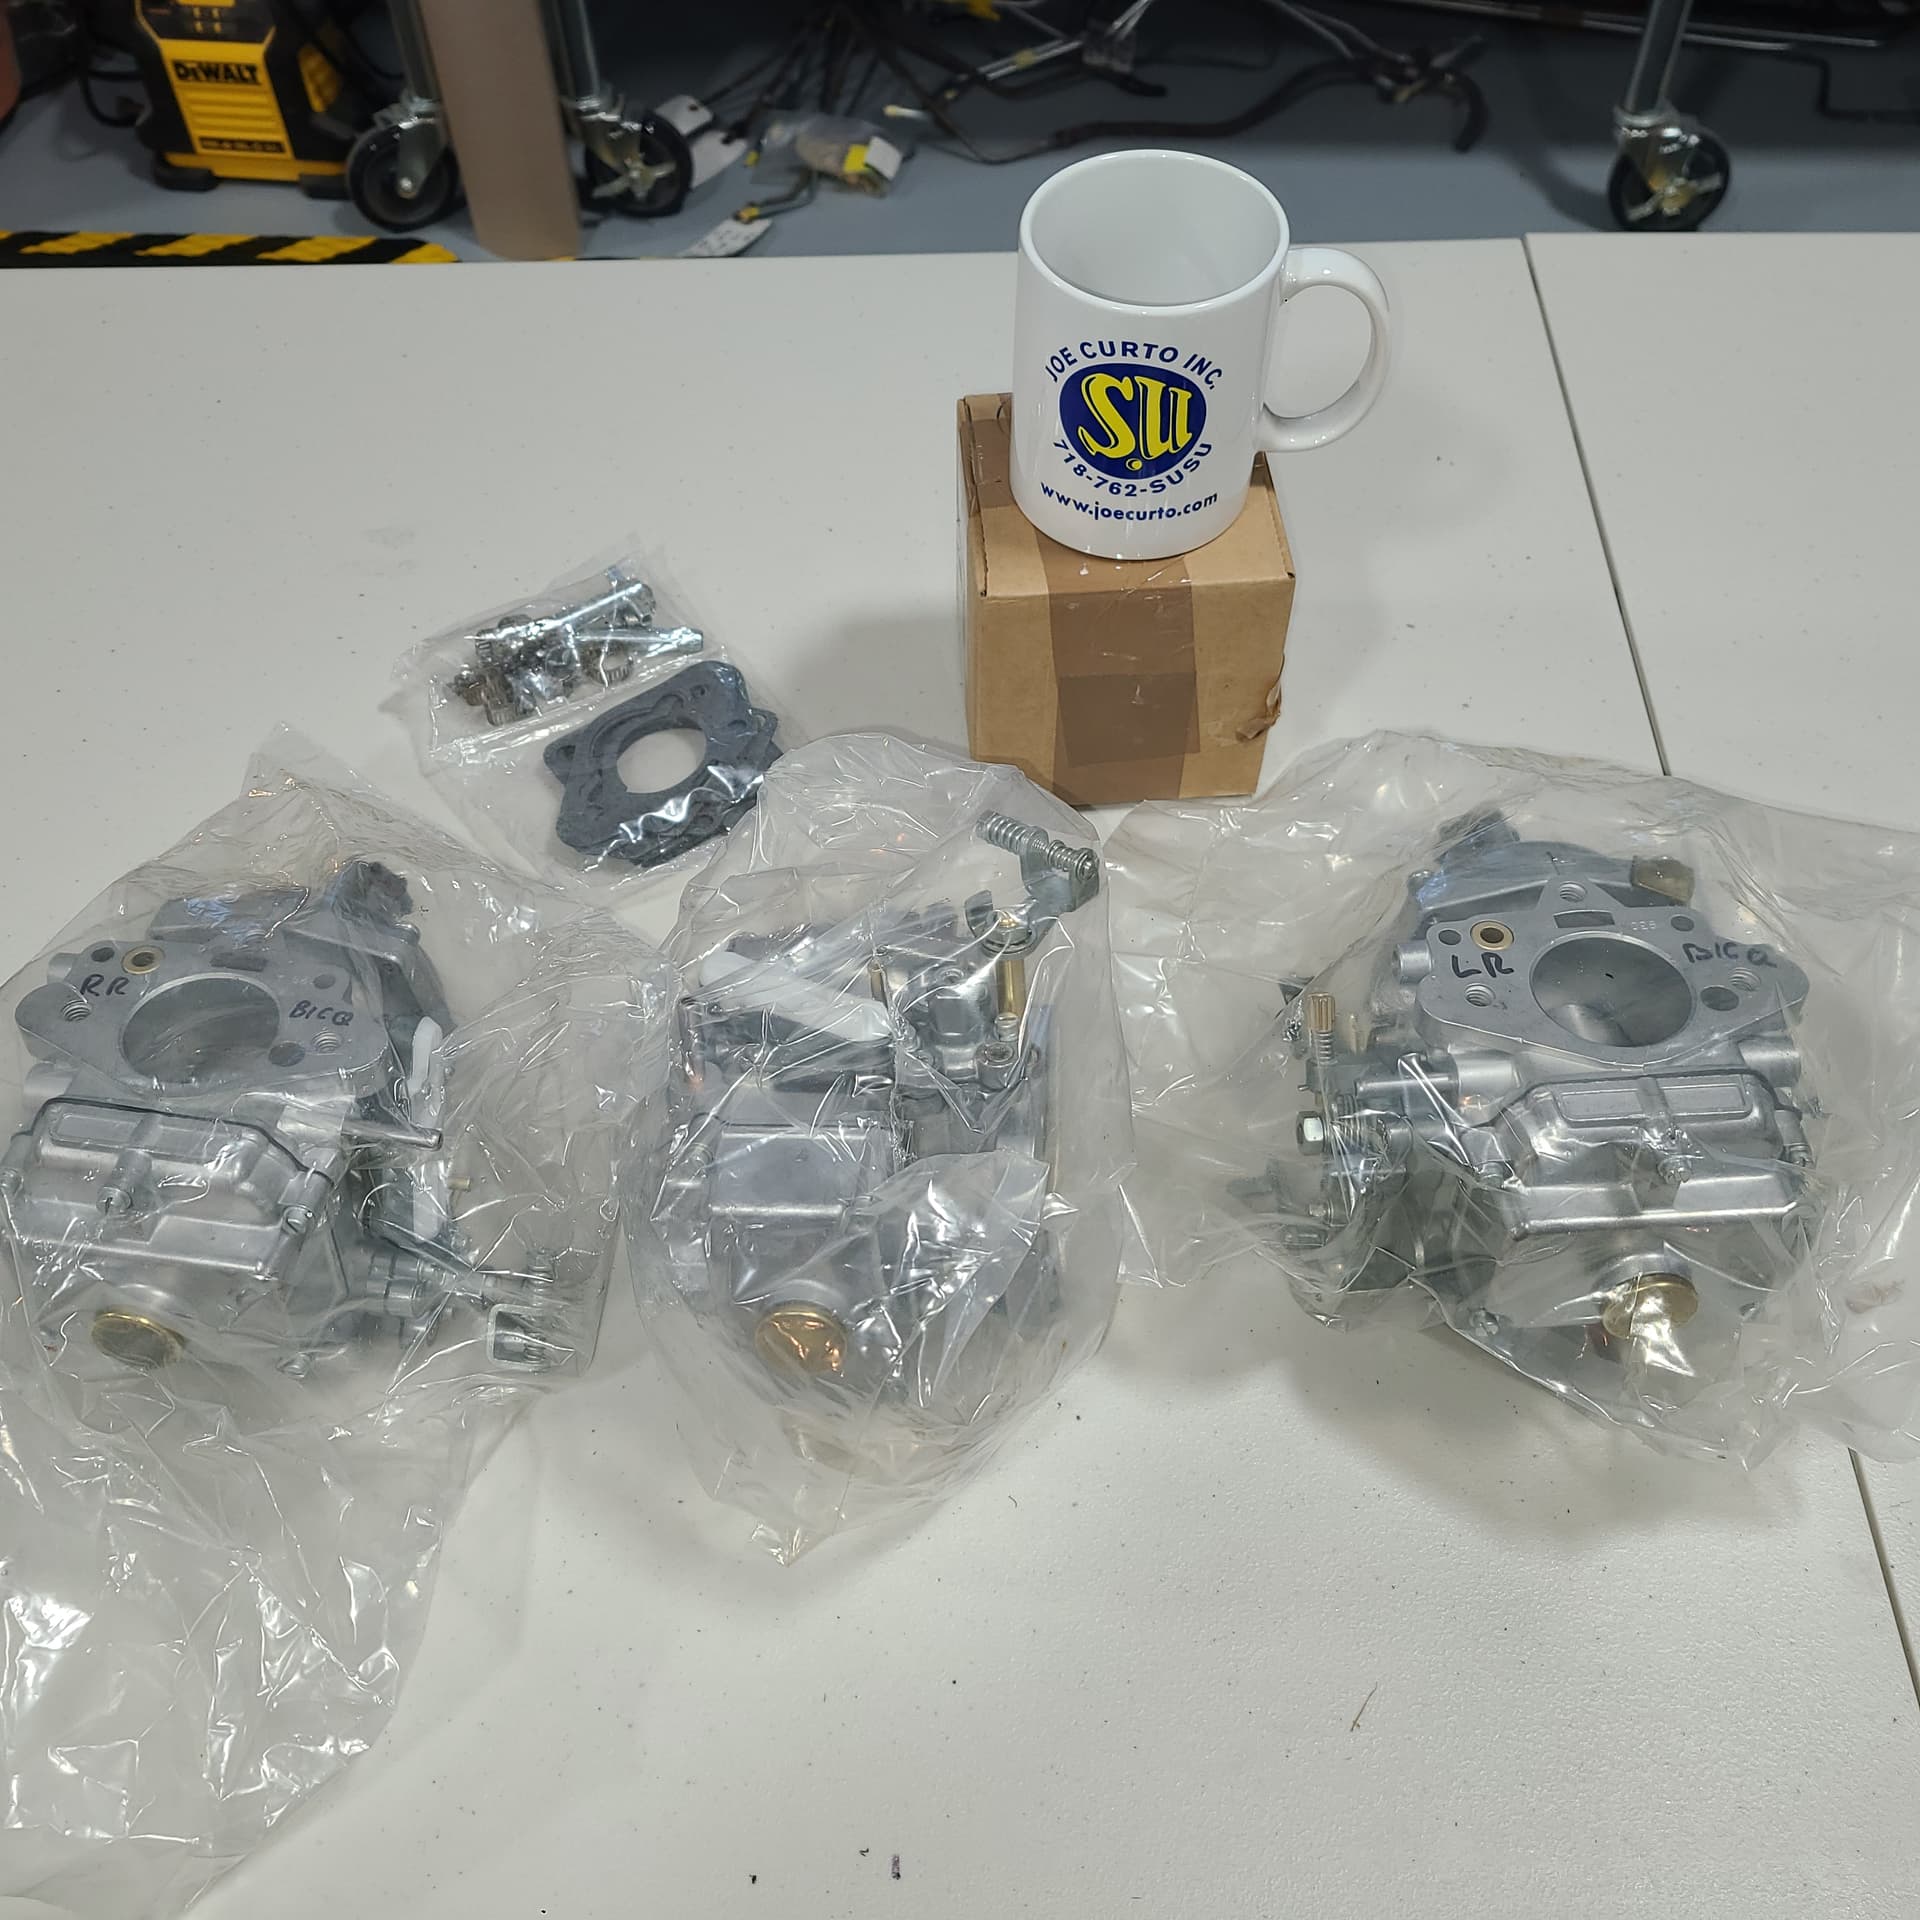
All y’all have talked up, commented on, and sang the praises of Joe Curto - THE Carburetor King.
Today I got to witness first hand the efforts of his work.
Firstly - each carb was packaged in its own box, enclosed in a vacuum-sealed bag, and nestled in scrunched up newspaper. Very secure.
I unboxed each of the three carbs (Joe sent my Right Front carb to the guy doing the rebuild/upgrade of my dizzy to machine a port of the vacuum advance). Oddly - there was a fourth box smaller than the others. Hmmm – left over parts? (not likely) Return of replaced components (unnecessary).
A Joe Curto Coffee Mug. Nice touch
If they work half as well as they look, I’ll be a happy camper.
Coincidentally, I paid the invoice for the dizzy rebuild/upgrade today. Ought to see those later this week.
And the Damper Doctor sent my harmonic balancer back late last week.
New parts are stacking up - - - - I need a bigger hobby shop.
I did turn a “corner” in that I put the first thing back on my Jag today.
Yesterday, I turned another corner yesterday in that I did NOT include the wiper mechanism in the box for cadmium plating, nor did I try to powder coat it. AlI I did was wire wheel the mechanism to clean off the decades of crud.
One tip for (Series III owners only?? ) those removing/re-installing the wiper mechanism is NOT to try to wrestle them out either the left or right opening in the dash (the curve of the dash at the ends gets in the way). Purely by accident, I found out today that I could quite easily slip the ~3’ long mechanism into/under the dash through the center opening without risking the paint or bending the mechanism.
PS – Those small white dots are NOT areas with no/missing paint; those are remnants of the polish or final buffing compound the painter used, they are in tiny depressions in the lip of the body
I’ve spent the last coupla days going over small items and components - cleaning, prepping for paint/powder coating, ID-ing replacement hardware, etc.
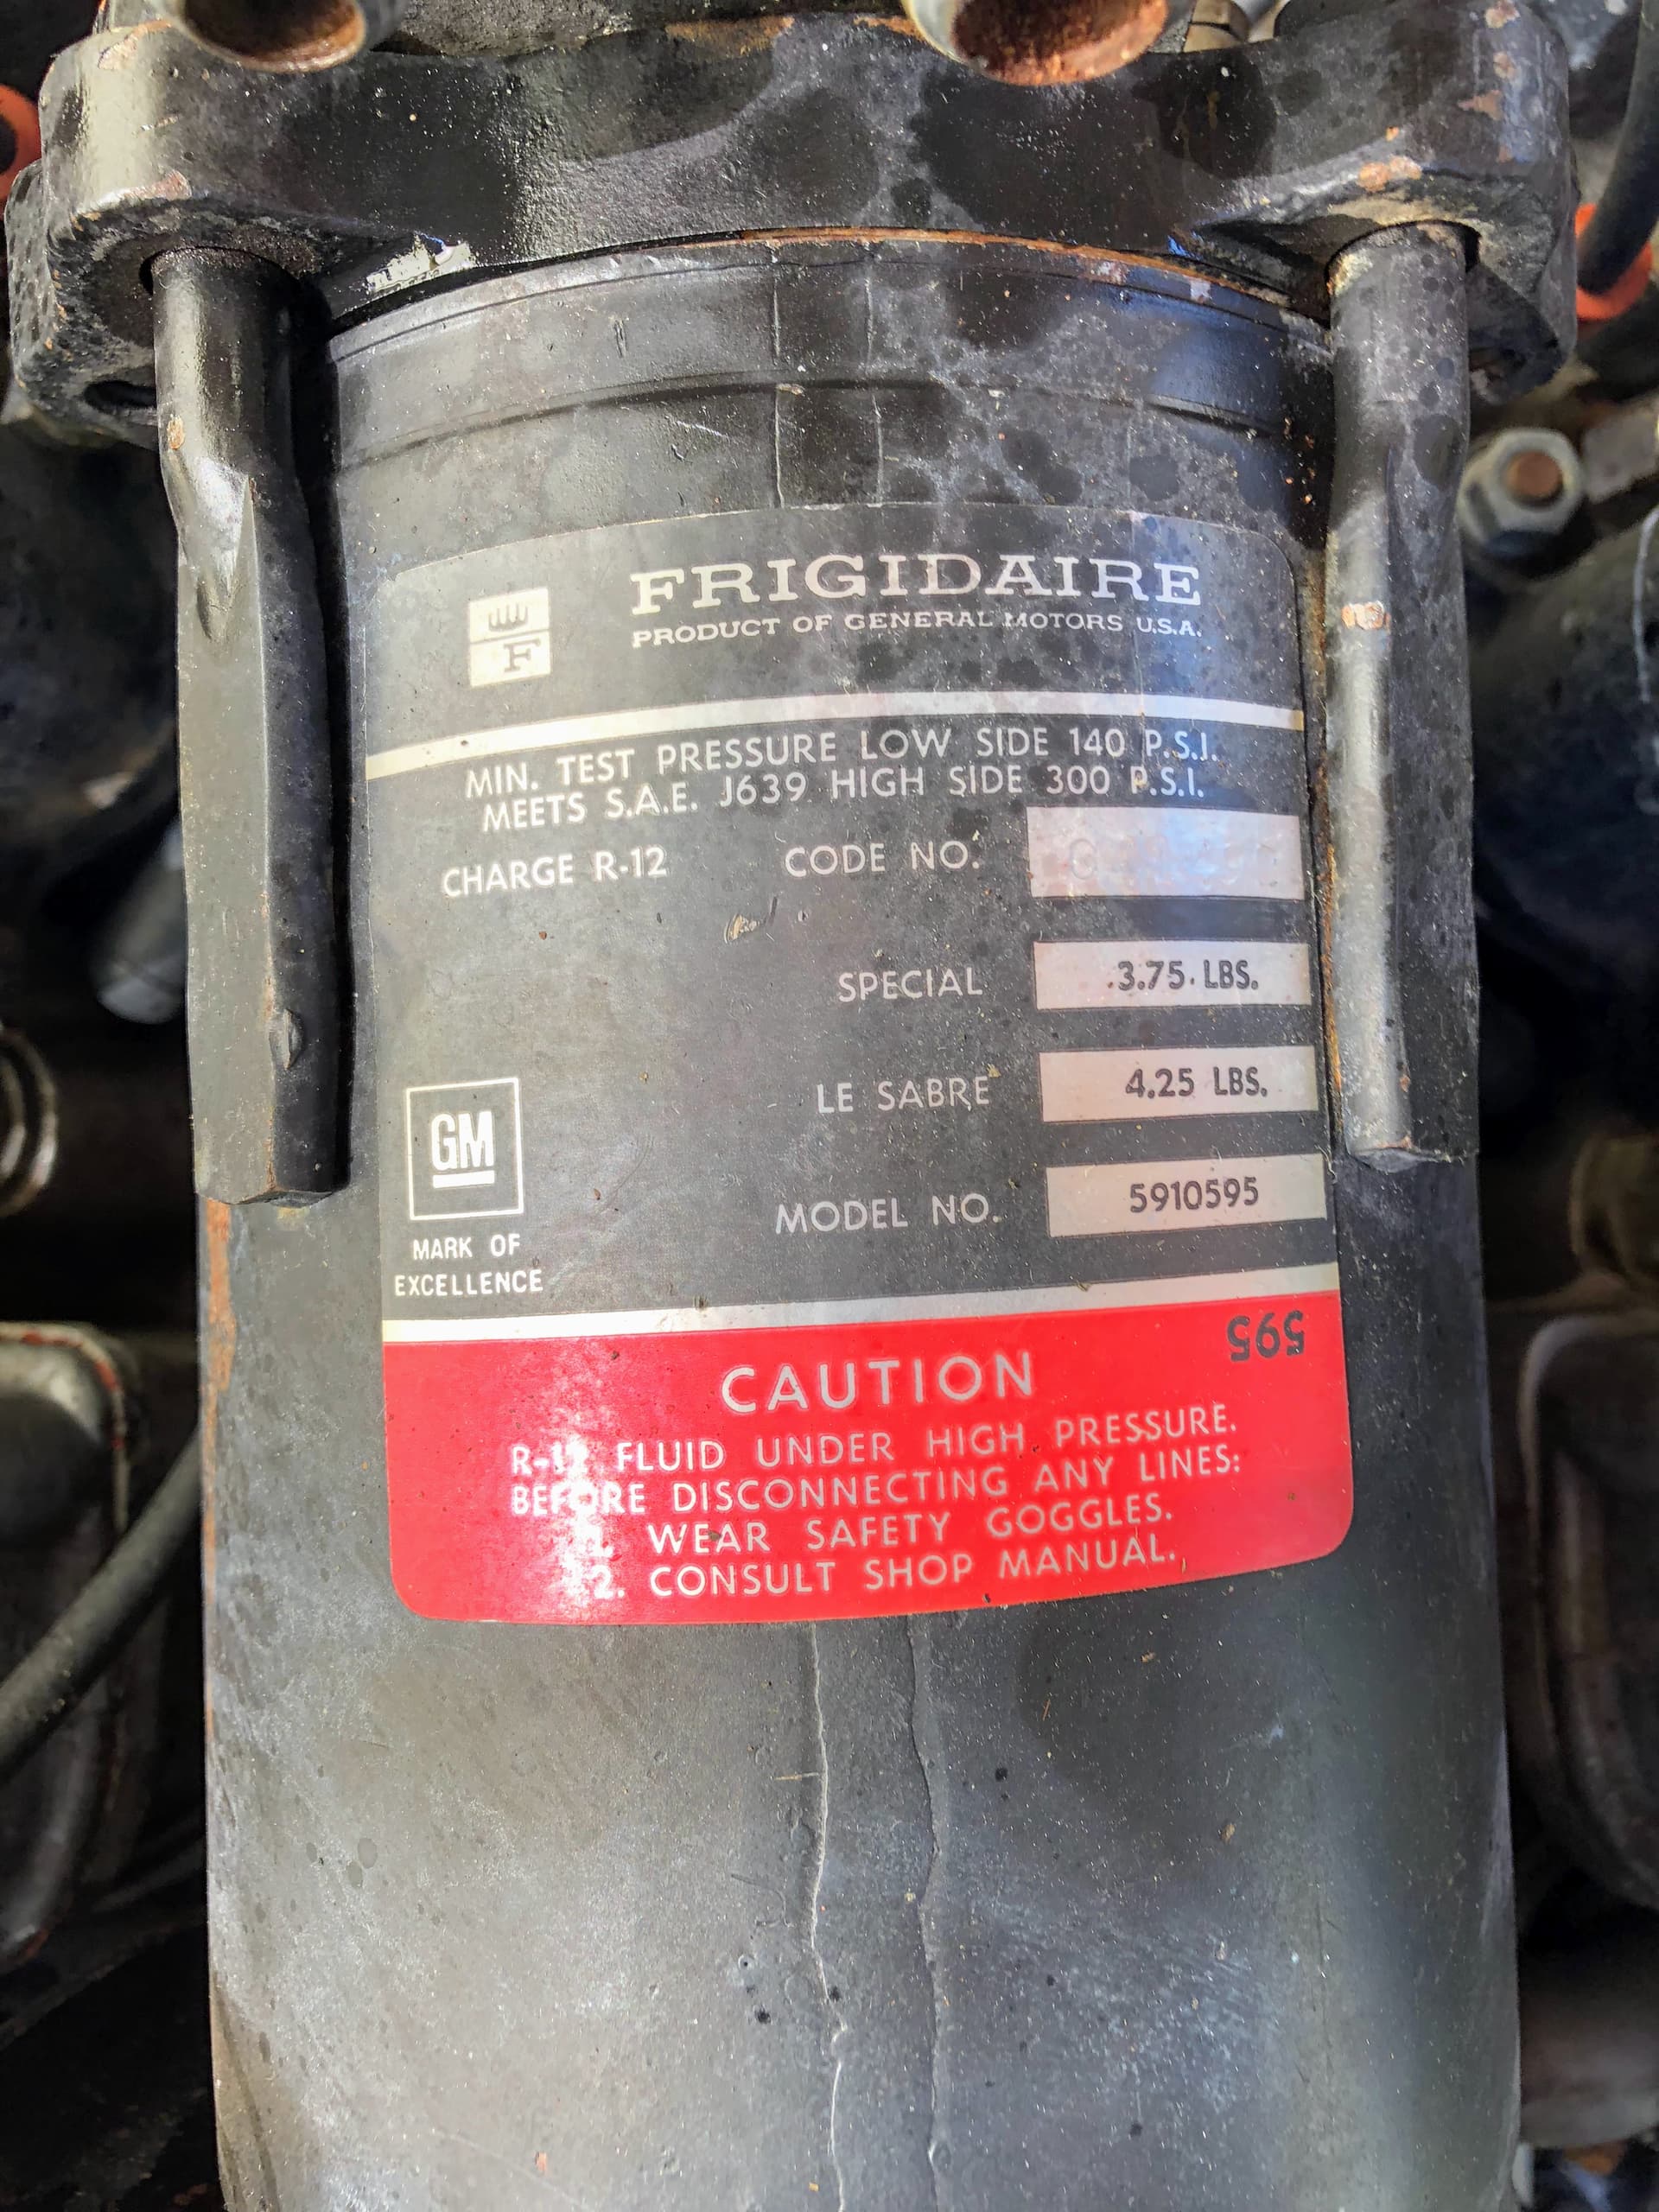
Which brings up my question: I have been going over the A/C condenser checking wiring, switches and locating replacement evaporator valves, etc. So – is there a way to bench test the A/C or do I gotta install the whole kit in the car and then hope it works/can be made to work without tearing everything out again?
Hello Craig,
I’m interested in the compressor you are installing. Can you provide some details please. I’ve attached some photos of mine. It was in the car when I imported it in 2018. Not sure if it’s original…It sure is heavy.
I am certainly no expert on A/C components, but that Frigidaire (I believe Model A6) sure looks like mine. A minor variance is that my label (long gone but available for a few bucks from the usual’s) was green across the bottom. I don’t know the difference denoted by the two colors.
That Frigidaire compressor was included in 1000’s of GM vehicles in the 60s, 70s, etc. I would guess that GM of Australia also used them – if you need to replace it.
I understand that some folks have replaced it with a modern aluminum compressor that works better and weighs much less. I will reuse my Frigidaire cuz (A) it is original and (B) I have already purchased a set of new replacement A/C hoses and with a smaller compressor they would likely end up being too short
There are several threads covering the compressor if you need more details.
Take a look at the Sanden rotary compressor. A friend installed one on a friends Series II E Type and it has worked great for him in Arizona for the last 10 years. He didn’t remember the weight but held it with one hand while installing.