I spent the last few days plumbing a temporary 3/4" line connecting my air compressor to my media blasting cabinet. I intended to complete the distributed air system that is partially installed, but the logistics of that effort was daunting – seems a Jaguar was in the way.
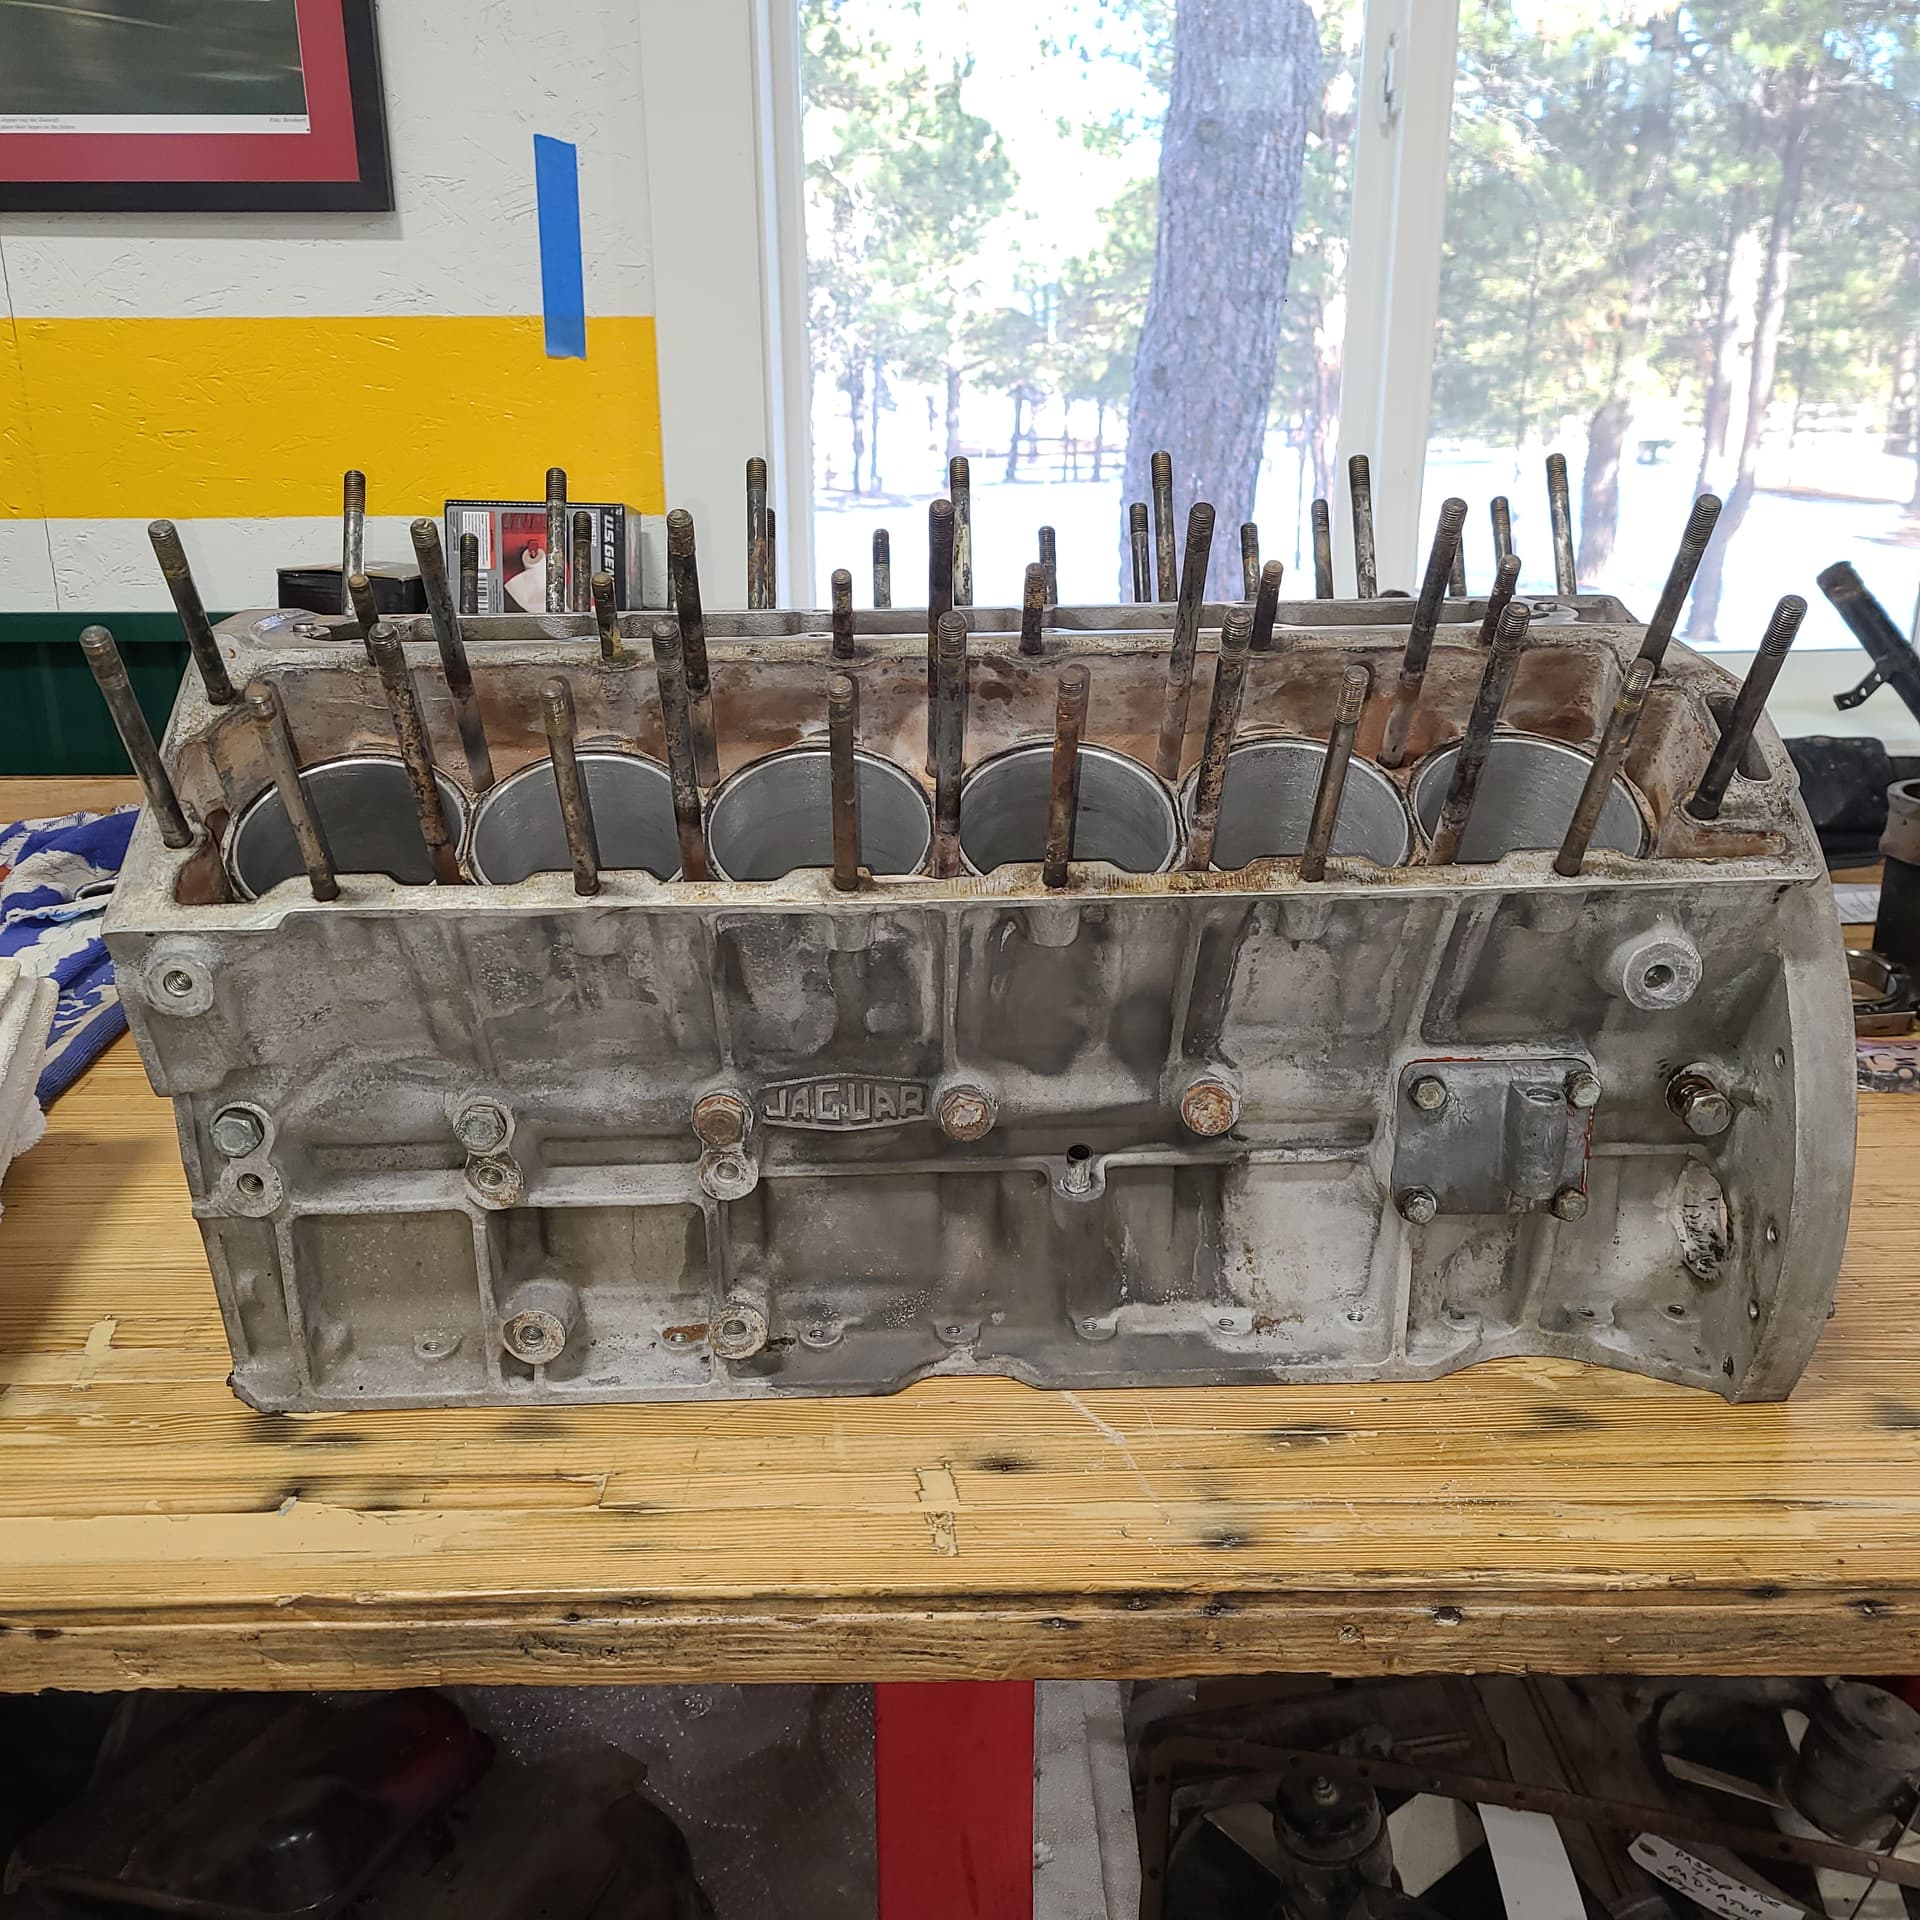
This is what went in the cabinet (after hot tanking).
Just back from a day-trip to the nickel plater in Yuma, CO – took my lower wishbones and uprights for nickel plating.
The visit was a short one (2.5 hours to get there - 7 minutes on station). The following responses told me all I needed to know:
“what is hydrogen embrittlement?”
“I don’t even have an oven”
I went with them cuz of their proximity to my house – no shipping costs (offset by the gas to get there) but more importantly - no gorilla-handed Fedex/UPS/etc drivers/ handlers. But – –
It wasn’t a total loss of a trip – I diverted my route home and had a nice visit with @Wiggles on the outskirts of Denver.
So - - can anybody recommend a plater that does nickel? Hopefully with a small back-log.
I prefer a US-based guy for ease of shipping but will consider all options.
Maybe the semi-retired @Dick_Maury can spin his semi-retired RoloDex . . .
When Dan Mooney of Classic Jaguars in Austin, TX did my SIII rolling chassis he suggested electroless nickel plating for my front suspension . This avoids the hydrogen problem altogether. He may be able to tell you who he sends out to for this. Just a thought.
Hello Steve,
It seems that Dan is as ill-informed as the fellow Craig consulted to have his parts plated.
Although Electroless Nickel Plating less so, both Electroless and Electrolytic Nickel plating is affected… The real culprit is the acid etch prior to the plate. It generates a considerable amount of Hydrogen and then plating over it traps most of it that is in the surface of the metal.
Not all parts are affected by HE. The steel used in the part manufacture needs to be high tensile and stressed in its application, even if only moderately. E Type Front Suspension parts meet the criteria well.
Baking is an extremely cheap trade off against the cost of replacing a part that is difficult or costly to replace.
I find it gobsmakingly incredible, that the operator of a plating business, such as Craig’s fellow, is unaware of Hydrogen Embrittlement in this day and age. Good luck with his case of negligence should a death or severe injury result in a failed part caused by Hydrogen Embitterment, processed by his business.
First off, the front suspension was originally plated with white Cadmium. There are shops that do this for the airline industry. I just had a large batch of hose clamps done. That said, why would you want nickel plating? It does not protect the metal as well as Cadmium unless you first plate it with copper. It is much brighter than stock and just looks kind of like Customizing. Just my opinion. If you are worried about Hydrogen embritlement, then powder coat or Cadmium as original. Warner Propeller in Tuscon, AZ is who I used. Quick turn around and charge by the pound.
Cadmium plating is also subject to hydrogen embrittlement and is highly dependent of the additives in the mix. With regards to the brightness of Nickel plaiting, Electroless Nickel in particular, its dependent on the finish of the substrate. Polished steel will be very bright and shinny, whilst a sand blasted surface will result in quite a matt finish.
Hello Paul,
Zinc and blue passivated. The really good thing about those upper wishbones though, is the modification by machining to accept the Nylon Inserts.
QUOTE
Baking is an extremely cheap trade off against the cost of replacing a part that is difficult or costly to replace. . . . Good luck with his case of negligence should a death or severe injury result in a failed part caused by Hydrogen Embitterment, processed by his business.
UNQUOTE
Bill
Time will tell on that issue - in my abbreviated discussion with the fellow, he shared with me that he had just nickel plated the suspension of a race car.
In my less-than-perfect understanding of plating, it was my (mis)understanding that nickel was a tougher/stronger coating than cadmium. While I am not targeting Concours-level of detail/accuracy, I wanted a coating on the suspension and a bit of “wow” factor when the bonnet is opened.
Warner’s seems to punch all the tickets: close by and with a short/non-existent back-order list.
Appreciate the lead. Thanx
The guy has already admitted that he knows f-all all about what is a really fundamental aspect of plating. As I and others have stated, whether Hydrogen Embrittlement is an issue is dependent on the material and and its hardness.
Craig Wrote:
To the credit of the gentleman from Yuma, his immediate response upon seeing your upper wishbones was “This looks like zinc”…
Is that supposed to give him credentials? My first year apprentice can look at a Zinc Plated part and recognize it as Zinc, but I wouldn’t have him plate parts for me and he is one up on your guy, in that he is aware of Hydrogen Embrittlement and how to counter it.
Hello Craig,
For your purpose, there is nothing wrong with having the parts Nickel Plated. Although Cadmium or Zinc will give better rust protection in a harsh environment than Nickel, Nickel will outlast both the aforementioned in the typically, protected environments that most E Types operate in. Both Cadmium and Zinc protect the substrate steel by a process of sacrifice, hence old Cad or Zinc Plated parts looking a bit shabby even though they have never been exposed to the elements.
To be fair though, I don’t think Dan had brought up the point of hydrogen embrittlement, just that electroless was an alternative to conventional plating. It was my uneducated guess that electroless might avoid the problem. In the end, the electroless Nickel has held up well and still looks like new.
Hello Steve,
Yes, its not sacrificial to the same extent as Cad and Zinc is.
In my opinion, EN is a great process; having worked for a manufacturing company that had their own plant, I have first hand experience with its application.
The coverage thickness is very predictable and even. Unlike Cad and Zinc plating, where the film thickness varies considerably, ie, outside surfaces will get a good application while the bore of the same part can get practically none, EN will be uniform within a part of a μm on all surfaces not masked.
Another good feature, is that, if the part is heat treated post plating (at quite a low heat heat), surface hardness in excess of 60RHC is achievable. Hence, an aluminium part can be plated and heat treated to have a very hard surface.
As mentioned in my earlier Posts, the resulting surface after EN plating is dependent on the surface finish of the substrate. We were manufacturing Hydraulic Cylinders and Rams by finish machining to size with an allowance for EN plating, plating the parts, then heat treating to achieve the required hard surface. Prior to this, we had to machine to allow an adequate deposit of Hard Chrome, then Cylindrically Grind the Hard Chrome to size and finish after plating.
EN Plated parts can be made take on a vast range of surface appearance, simply by changing the surface finish of the substrate. In the above example of Hydraulic component parts, we would finish grind the parts and the appearance of the part after EN plating was a bright, shinny, smooth surface. If a matt finish was required, the surfaces to be plated were sand blasted, with the resulting appearance being similar to Zinc Plating and Blue Passivated.
This series of photos dealing with the Horn Relay Mounting Bracket is primarily for @Dick_Wells who is working hard to identify the bracket and its part number and history of usage.
First - some general comments
I was 110% certain my horn relay was bolted directly to the US passenger side mud shield. I was wrong.
The diagram in the repair manual shows the mounting holes to be horizontal – my shield has no such arrangement (so, a diagram is just a diagram).
The repair manual makes no mention of the bracket.
I had three sets of bolt holes that “could” have fit the bracket
The studs on the bracket are obviously the same width as the mounting holes on the relay itself so one could forego the bracket and use 10-32 bolts/nuts to secure the relay directly to the mud shield.
If my car were assembled, it would have been be a cast-iron bi!ch to attach the bracket/relay. The battery, the A/C drier, the framework of the side frame, and the engine itself all would have provided challenges. I would guess the battery and drier would need to be removed if one need to replace the horn relay in an assembled car.
The bracket is mounted in the photo, but it was possible to use the holes either side of the “A” - but then the drier would have been dangling (and the crease in the panel prevented a flush mounting). The vertically oriented holes at 5 o’clock were another possibility, but the wiring harness did not reach that far. When all was said and done, there was only one location for the relay.
.
.
It looks to be an easy job but imagine trying to do this with the battery and A/C drier in place. Even the frame rail got in the way when starting the small 10-32 nuts.
.
.
This looks awkward, but the legs of the bracket are not symmetrical. The short leg is against the mud shield. Note that I ran the wiring harness through the large hole in the gusset on the frame rail. If I had mounted the bracket with the long leg against the mud shield, the relay may not have fit.
.
.
This shows the wheel side of the mud shield with the mounting hardware in place for the drier and relay. I have no idea what would/could/may be mounted to the two vertically aligned holes in the middle of the shield. Two of the three triangular pattern of bolt holes at lower right are likely for the undershield; I think only the bigger of the three holes at the bottom, left of the crease, are used to secure the undershield. The other two holes = ?.
The shield is not yet fully bolted in place so the misalignment of the black panel and the red body panel will be addressed shortly.
Craig, Thanks for the great photo’s. This journey down the Relay Rabbit Hole has been a rocky journey indeed. Still on the hunt for the bracket part number and will post if it becomes available. Have anything on it George Camp???
Lots of misinformation regarding S3 E-type relays from various sources and publications make sorting fact from fiction a real challenge. It doesn’t help that Jaguar left such a confusing set of information in the RTC Parts Book.
One thing Forum enthusiast can help put to bed is something found in various sources but I feel it’s totally bogus. That items is a Rear Window Defogger relay for S3 2+2 cars. From all the schematics (original Jaguar) I’m privy to, S3 V12 cars didn’t employ such a relay. S2 cars and earlier, Yes but Not Found on V12 E-types! If I’m wrong please contact with details of your car, location of the relay and if you have the “issued from Jaguar” wiring schematic. Another from my list of anomalies!!!
Car is looking good Craig. So nice when you’re not up to the elbow in oil and grease. Keep up the good work and post your progress.
This time it happened pretty quickly, but the post-count passed 100 a while back (my trip-wire count to open a new thread in this saga) but we were in the midst of some pretty good discussions.
So – closing down “Craig Restores a Series III - Part VII” and will open Part VIII.
This string of postings covered several technical and useful topics. Thanx to all for contributing.