Hi can someone help me with detail on how the door pocket is put together and the shape of ally B post panel . XK140 FHC
Thanks Jim
Hi Jim,
The Door Pockets are a separate piece of door trim (Vynide) which are positioned “on top” of the Door Casings. The Door Pockets have a piece of “millboard” inside to keep the Vynide straight; the board is covered in thin foam. There are slits made in the Door Casings through which the Vynide of the Door Pockets is attached to the Casing. Sounds complex. but it isn’t really.


You mean these B post panels? Someone had put speakers in mine but otherwise original.
Bob K.

Thanks Bob
A few more questions … Is the pocket covered both sides with vinyl ? The pocket looks a bit useless other than for storing something the size of a post card ?
Regarding the B post does the top edge tuck under the wallnut trim and is this something like the shape of the bend next to the door?
Sorry one more … does the B post panel fit on top of the wheel arch covering or the other way around
Remember maps Jim? Something the navigator used to use ![]()
Jim,
I sold the car some time ago, so I have to respond from memory (and the photos of course).
The Door Pocket is in fact a large piece of Vynide folded in the middle and with piping over the length, So Vynide in and out. Like Robin mentioned: only maps, drivers license, car papers etc will fit in there.
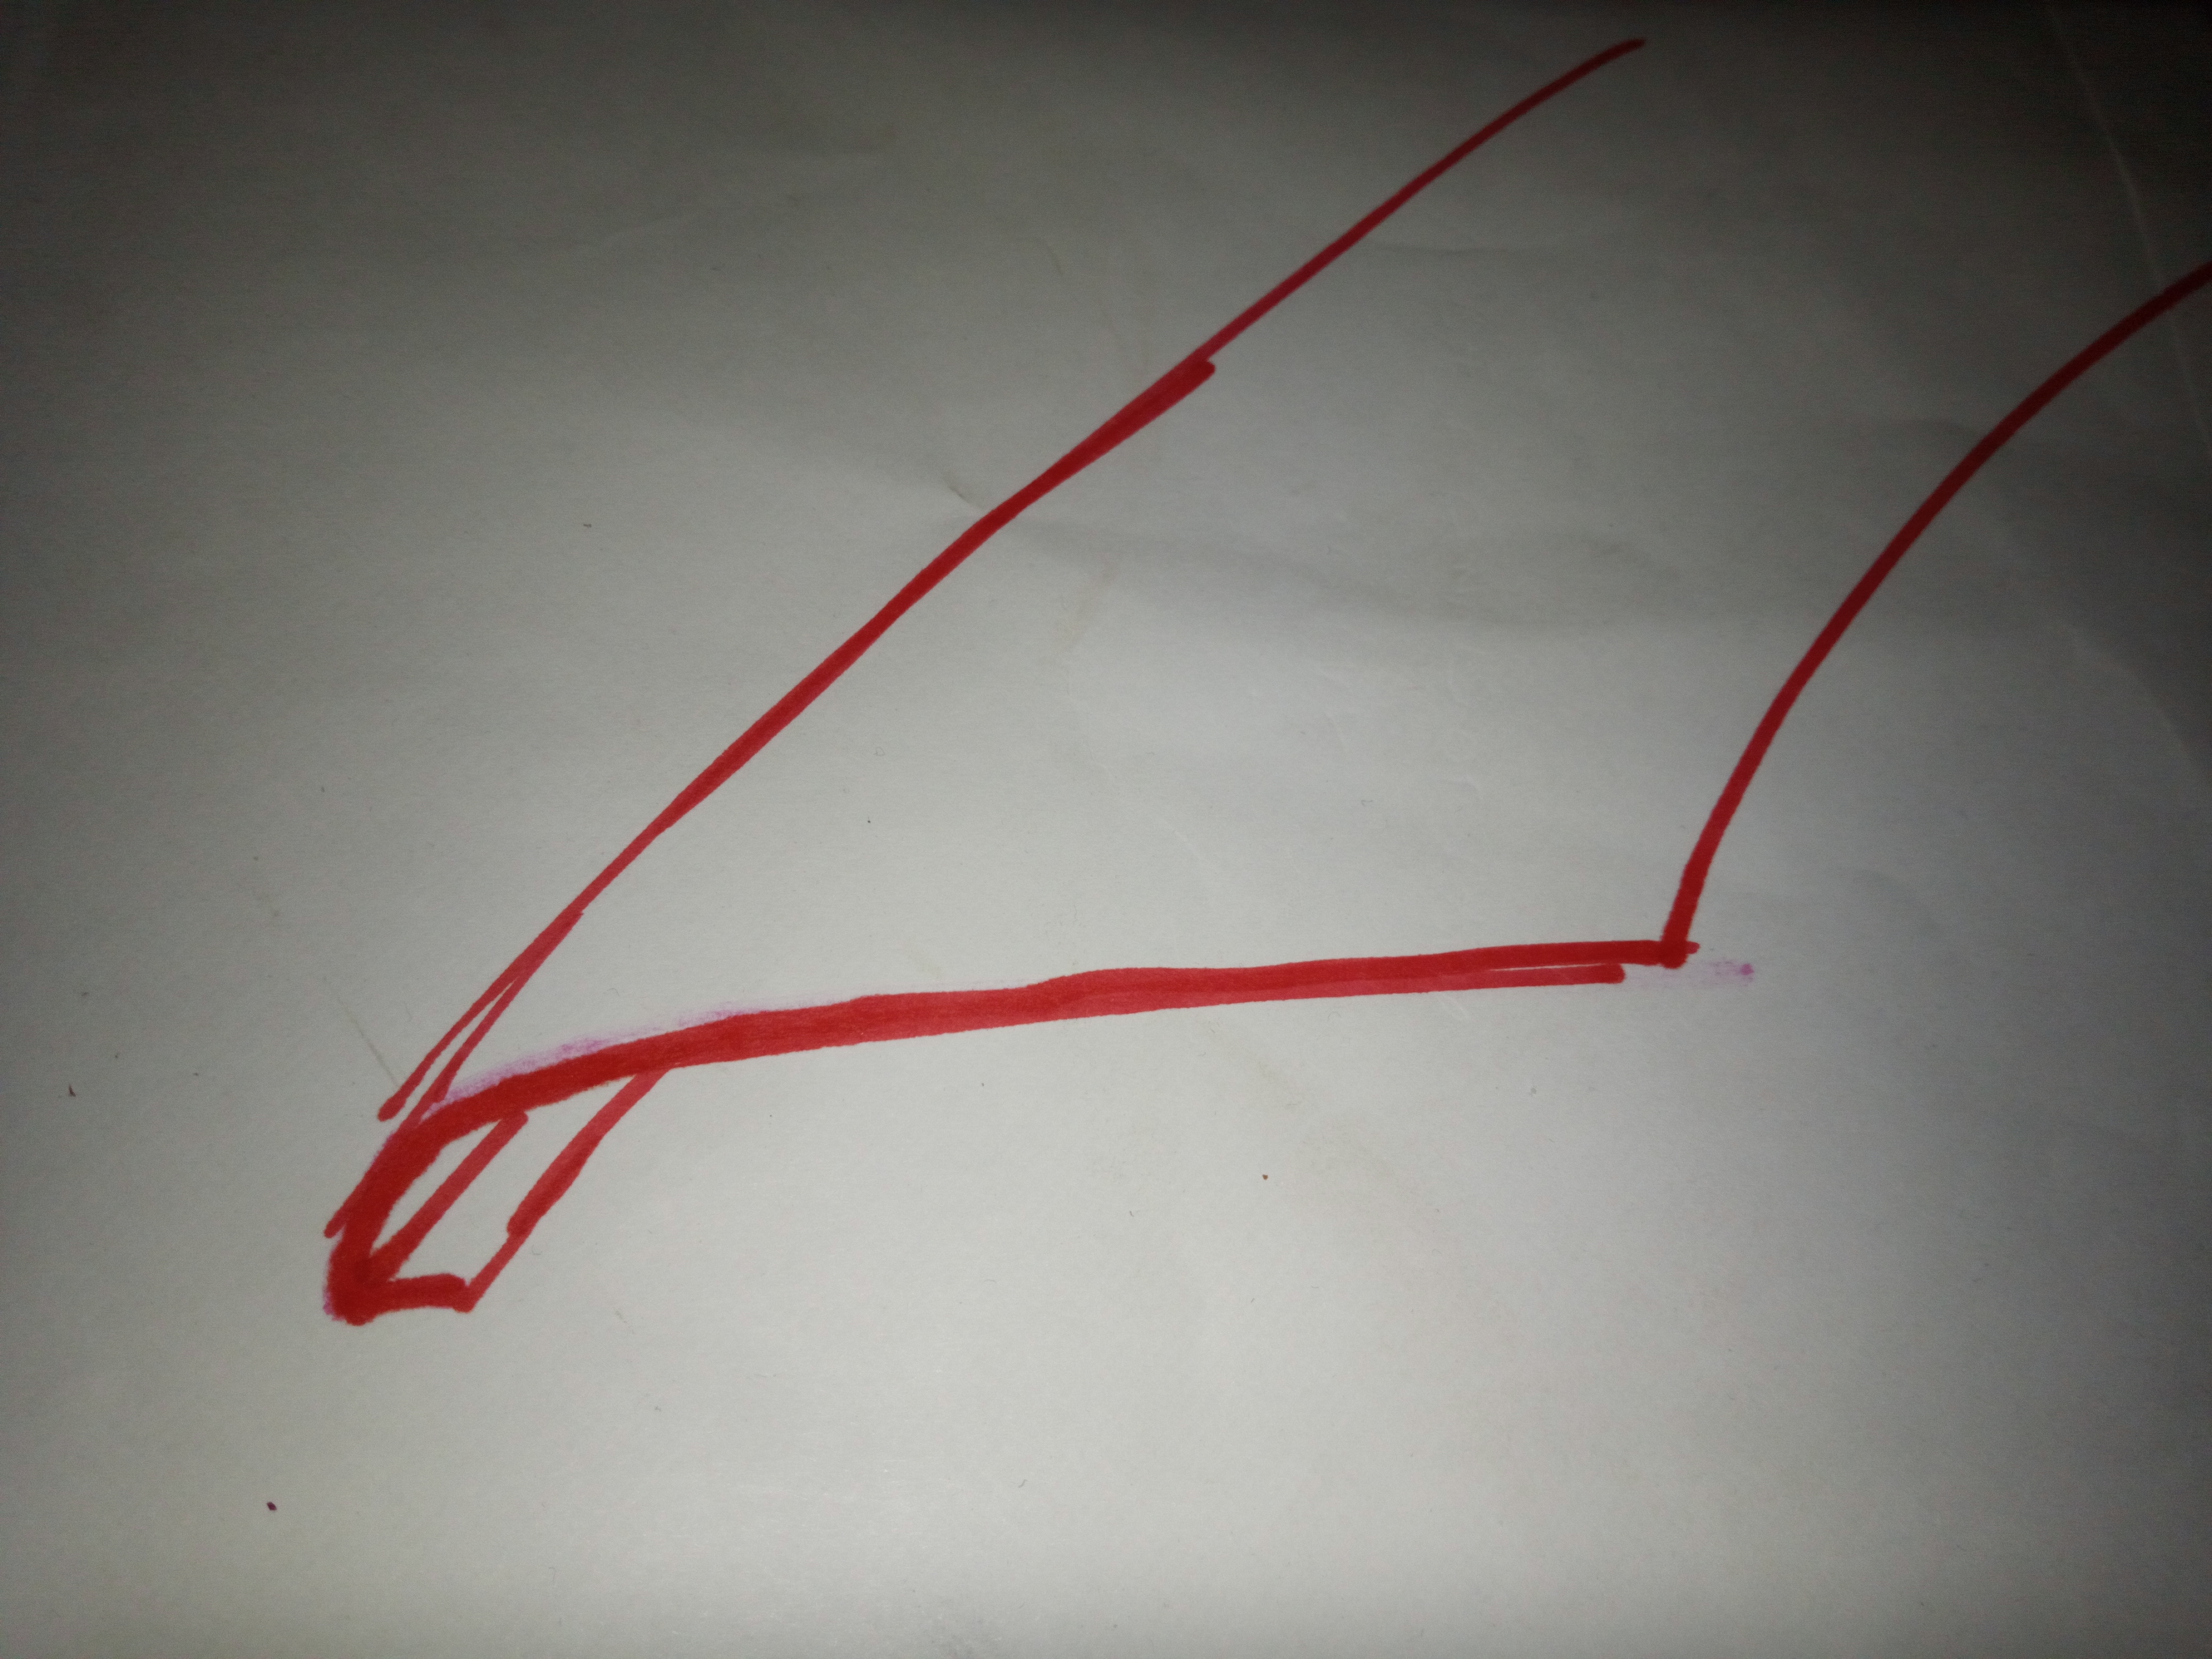
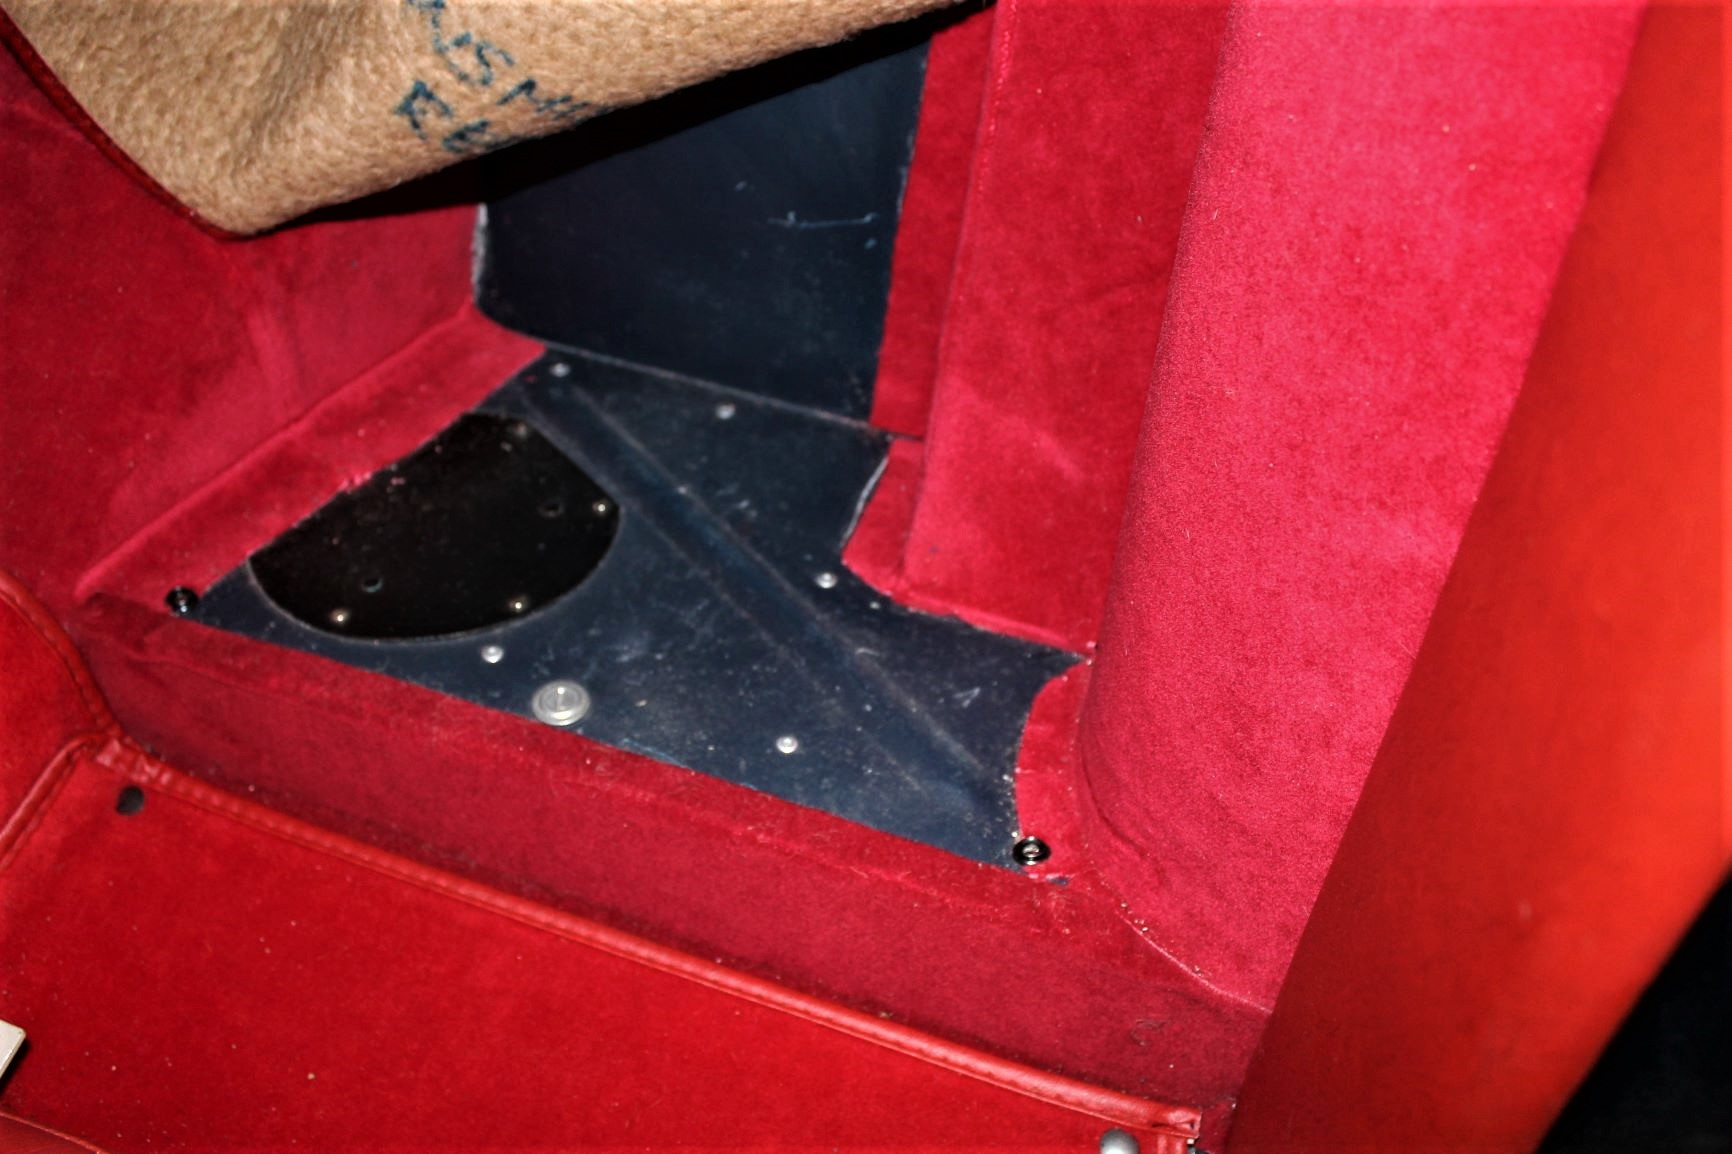
As far as I remember, the top of panel BD.9594/95 is straight and fits under the wall nut trim. There is an open section in the hardwood for the fixation of the opening mechanism of the Rear Quarter Light. See pic. with the B post panel partly visible.This panel has a curve towards the B post itself. I remember it was difficult to obtain a nice curve with the original part, but if you start from “scratch” you
may have more freedom.Your sketch is about correct.

So after you’ve trimmed the wheel arches, you will place the B post panels. Here’s another pic of the opposite side with the panel at the RH.
Bob K.
Thanks again Bob ,I know where I am going now .
Can I ask another question on the B Post panels? (same xk140 fhc) Mine were missing. Once Vinyl wrapped I am trying to figure out how to attach them to the car. There’s a flange on the B Shut panel. Does the trim piece fit over the flange and attach only at the back by the wheel arch? or does trim piece attache to the back of the flange on the door shut and also at the back by the wheel arch?. If so I don’t see any screw holes in my flange so I assume it’s the first solution, but the aluminum panels need moulding to make this work.
If I did this then there’s no place for any of the “fur-lined” trim that I thought went over the flange…
Scott,
As far as I remember (sorry, that’s the best I can do) the aluminium B-post panel “hooks” behind the shut pillar flange of the B post and makes a sharp curve to the rear. The panel is curved indeed. See photo of the original panels (unfortunately with large speaker holes in them.made by some PO). It’s made of 20g alu sheet (0.8 mm).

This panel is covered in thin felt + “Rexine” and I believe 2 Instrument Head Self tapping screws No 4 (Jaguar BD.539/10) are used to attach each panel. I don’t think that “furflex” is used at this location: there is a some kind of “Draft excluder/piping” used here. See photo.

Some documents refer to the use of “hardwood packing blocks” behind the aluminium panel to create the required distance from the inner wheel arch: remember there’s also a part of the wiring loom running there. You will have to positioning them at “relevant” positions. Like mentioned before, the hardwood capping of the rear quarter lights will cover the top of this aluminium panel. One of the screws can be positioned down low, so it will not be visible as the cushion covers it all.
Hope this is sufficient help to work it out in detail.
Bob K.

Thank you Bob for your guidance. I’ve copied in a picture from the Jag Restorer’s guide, which was the only other reference I could find. It’s hard to tell from this photo whether the panel “Hooks” around the flange or is attached via screws. If there is no “fur flex” on the flange then hooking seems the right answer to get a finished surface. Furflex would require a gap on either side of the flange…
I assume the blocks you mention are only on the bottom, as the top slots under the capping? And lastly, I was assuming that the B panel and the interior light panel would overlap each other. In the photo of your car it looks like they are butt ended?
panel hooks around flange and held in place with 2 or 3 4g raised/CS screws up vertical flange
I have not ever seen any wooden blocks but this doesn’t mean there were some.