Ok. Thanks. I suspect that I will have very little to work with. I will likely just be scribing a line on most of it and then using a file to get it straight.
Geoff.
Impressive. I can never get a hacksaw to run straight so it becomes a weapon of mass destruction in my hands.
Exactly how I did it. I actually used a small handle that held one end of a hacksaw blade, with about 4" of the other end exposed to cut with. Google “hacksaw blade holder” and you’ll see several gadgets of this type. This made it much easise to make a very accurate cut than using a normal hacksaw. Sawing off the excess was the quickest, and easiest part of the whole job.
Regards,
Ray L.
1 Like
I used a regular hacksaw frame with a fine toothed blade and held it at a very acute angle to the metal, ie, almost the opposite of perpendicular. That way, the cut can be accurately controlled.
1 Like
My e type had been wrecked twenty years earlier( mild front end damage) and they tossed the bonnet, but included a nos, factory bonnet with the car. It was about an inch long. After all buddy work was done I scribed a deep scratch and used an extended handle 3" cutoff from harbor freight. It was very easy to control, and gave me superb results. Took an extra couple hours with a flat file to dress. Cost 49$ well worth it. https://m.harborfreight.com/3-in-high-speed-extended-reach-air-cutoff-tool-67996.html?utm_referrer=direct%2Fnot%20provided
Looks like a very handy tool. I am putting it on my to buy list.
Hello Geoff,
When making the replacement lower wing section, if the strip required is narrow (vertical dimension) use a piece of material considerably wider than you need and longer by an inch or so. Wire the bottom edge before fitting it to the wing. The wider strip of material will be easier to handle when wiring the bottom edge.
The bonnet can be closed and supported in the correct alignment across the top, with the correct shut-line gap between the wired bottom edge of the replacement piece and the sill obtained by prudent positioning of the replacement before it, the original wing, or both are cut to size.
I prefer a butt joint for the join of the wing and the replacement piece, as it allows proper planishing of the weld area. The extra length allows a nice, correct looking, blend of the wheel arch and the curved forward section of the rocker panel. The wiring of the forward edge of your replacement panel is done after the wheel arch curve is marked out and cut. Accordingly, allow for the material used in rolling the wired edge when marking your cut line.
Regards,
Bill
1 Like
Thank you for that Bill. I have one other question if you don,t mind. A while back there was a discussion about the panel gap shifting when the engine and gearbox was replaced. Have you experienced that in your shop and if so has it resulted in the gap getting larger or smaller?
Hello Geoff,
Typically the dolly we mount the body on, supports under the engine frame mounting points at the front of the chassis. When the engine frames and bonnet are fitted, this point is the fulcrum with the bonnet and frames having a tendency to sag (larger gap at the top of the bonnet - narrower gap at the front of the shut line of lower wing to rocker panel).
In my experience, its a tendency and doesn’t make a great difference. However, I never rely on luck, or chance and support the front of the assembly just aft of the picture frame with ballast added to equate to the weight of the engine/gearbox, plus ancillary engine bay components, when doing the final fit of the bonnet. The ballast is in the form of a derelict engine with lead added to some cylinders.
I’ll take pictures tomorrow of a car that is up to that stage in the restoration.
Regards,
Bill
https://discourse-cdn.jag-lovers.com/original/3X/b/1/b13b5bdc4cf277a157d10c86478b630a1549c948.jpeg

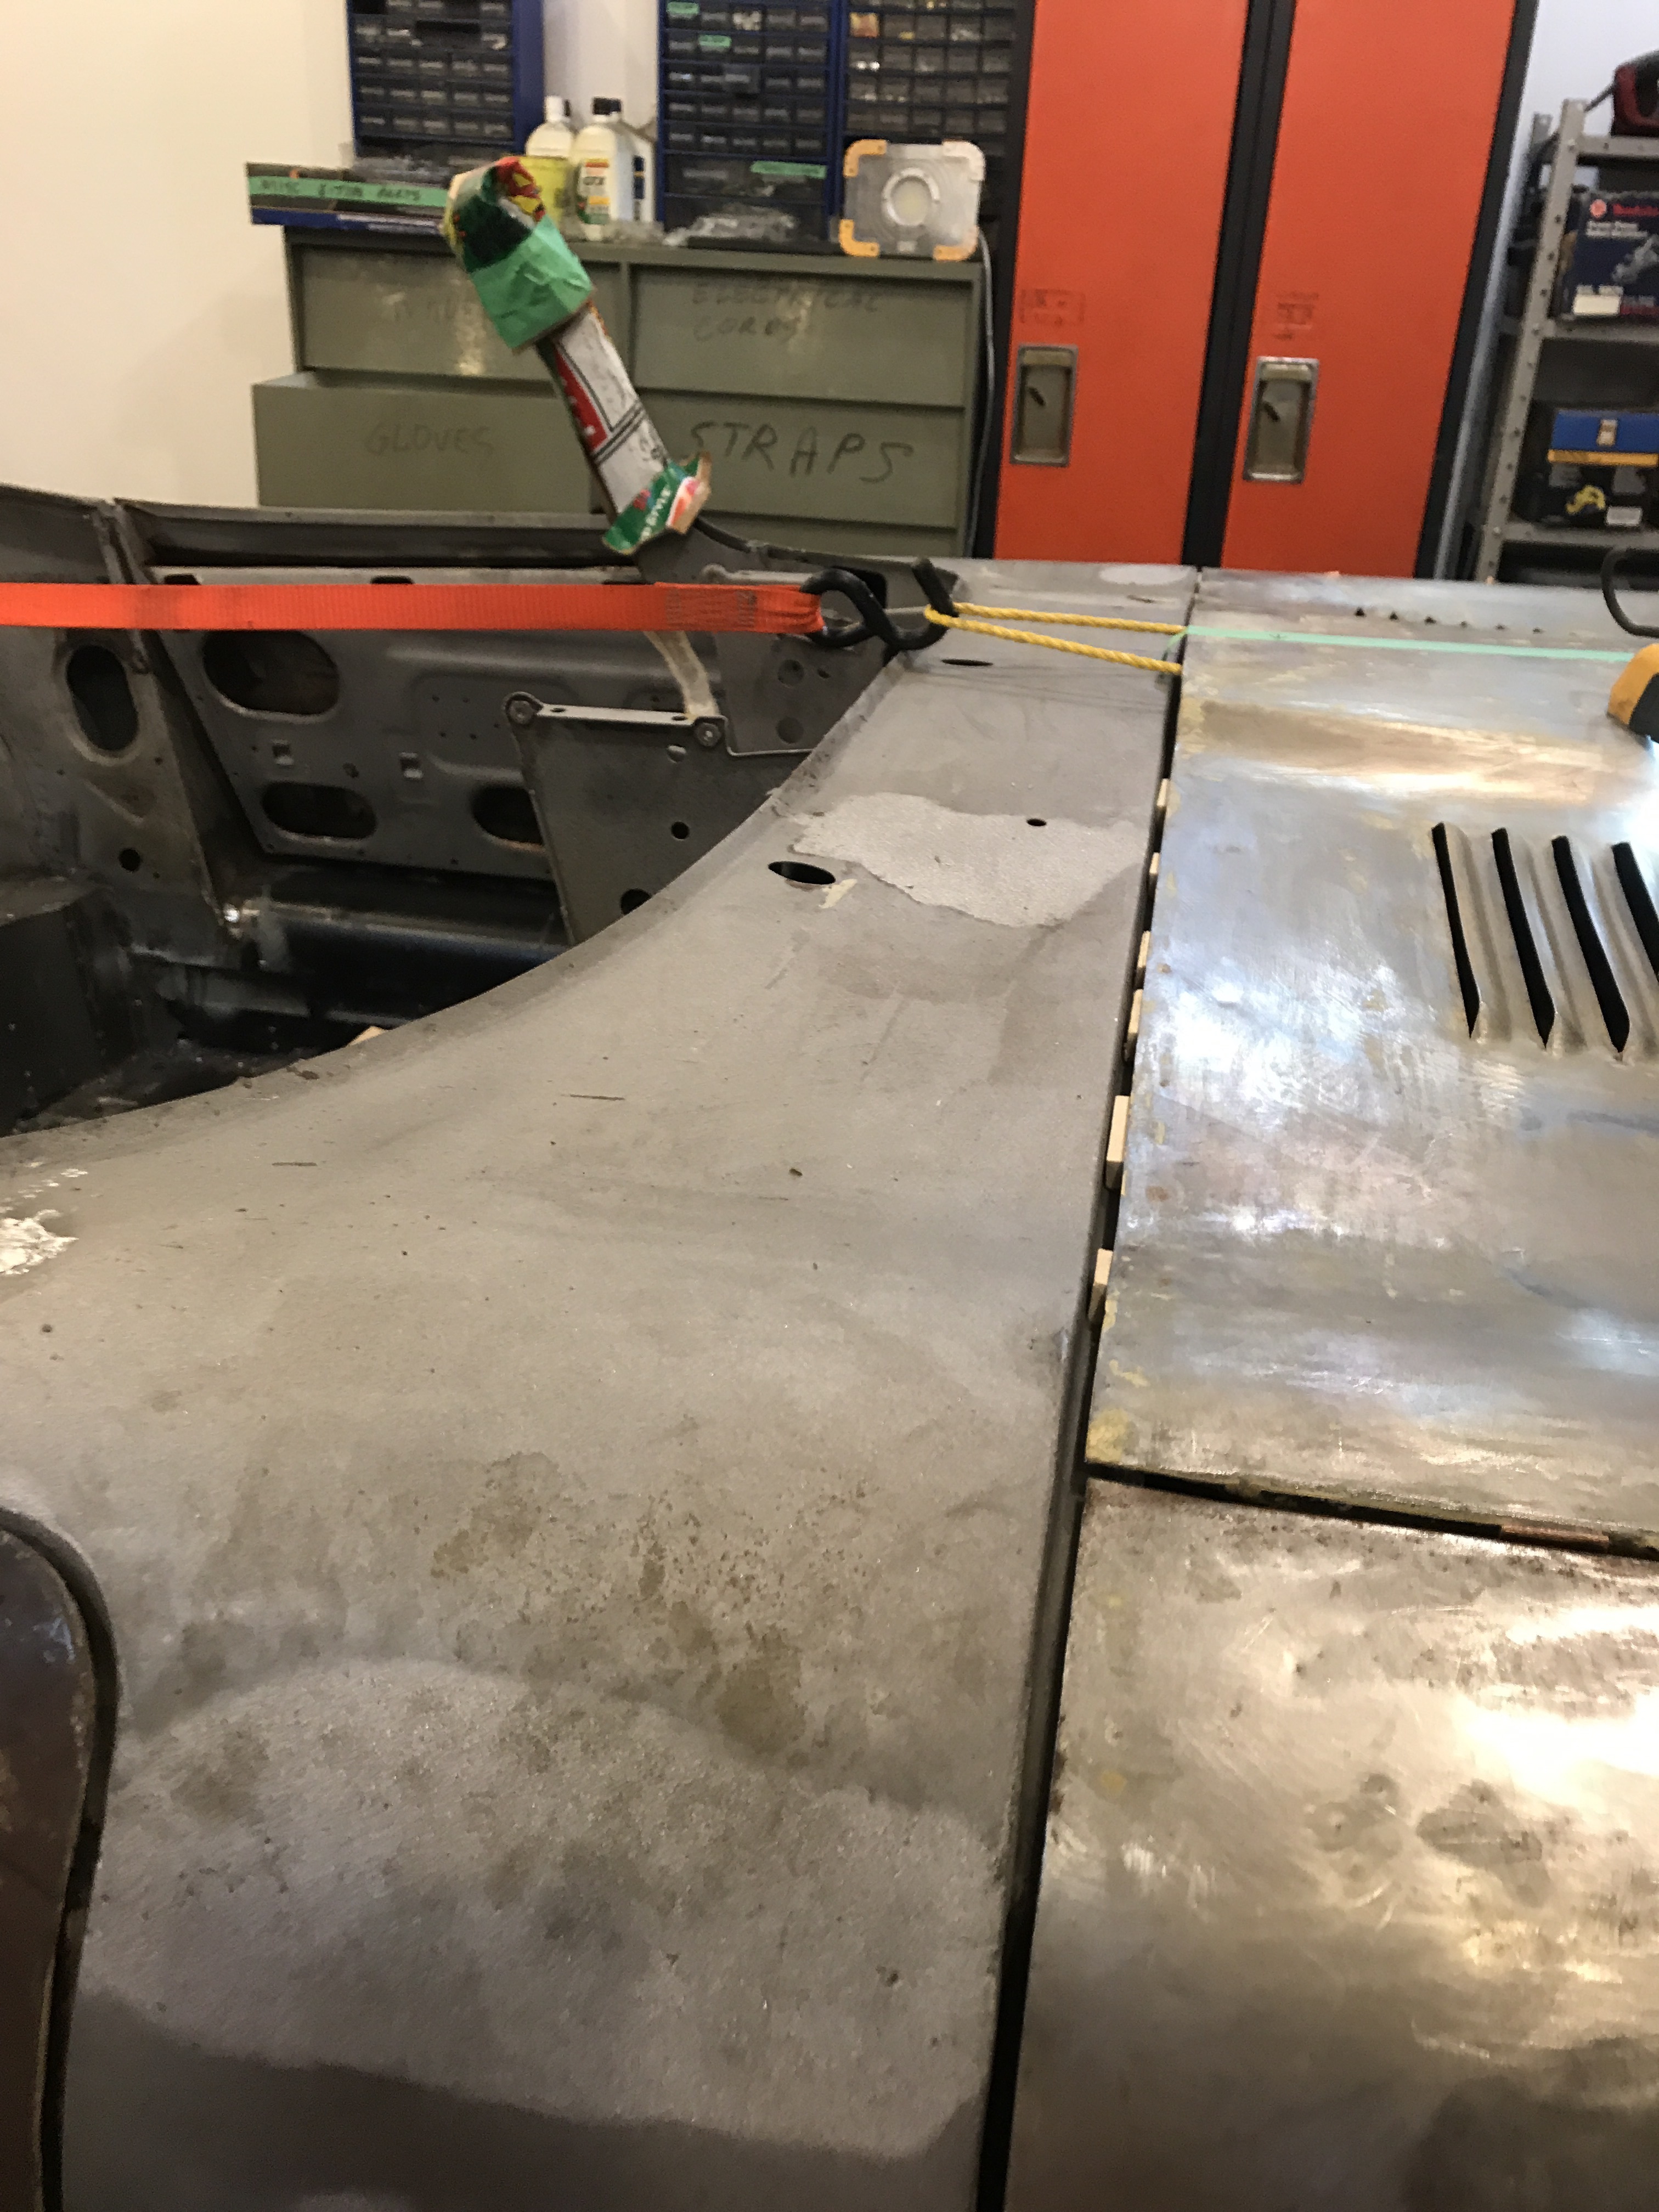
Resurrecting this thread to document the final result of assembling and bonding my bonnet after following the excellent advice provided to me by Bill. (Angelw). I loosely assembled all the bits after epoxy priming everything but the exterior. The bonnet was then mounted with an even number of shims on both sides to allow for future adjustment if necessary and centred to the car at the front. I then attached a ratchet strap from the trunk area to the centre of the bonnet rear support frame and pulled the whole assembly rearwards untill it was touching the front bulkhead. At this point the rear of the bonnet was not exactly centred so I attached another rachet strap crossways inthe engine compartment and pulled it crossways to align it. At this point my laser level was telling me good things so I bonded in all the flanges and tightened up all the bolts and screws and let it set for 4 days.
The back of the bonnet will eventually require a small amount of trimming once the chassis is weighted to simulate the weight of the engine and my right hand side wing will need a small amount of metal added as it had originally been trimmed too short in the previous restoration due to the bonnet being installed crooked.


I’ll call you when it’s time!
While a perfect butt weld is probably best for extending your fender, I thought I’d send this. It worked for me. The inner edge butts against the brace so you can’t see the edge of the extending piece. The outside edge isn’t parallel because my fender had a bow on the edge. Welding would have been tricky as the edge faded away to zero error and it’s hard to weld zero material to something (you’d weld on a wider piece and trim, of course). Attached with panel adhesive, but you could weld it. You get a double thickness edge doing it my way, but with a bit thinner stock it isn’t noticeable. Ma
ke a trial piece and see if you like it.
1 Like
Thanks for that Larry. If I had to do the whole rear edge I would certainly consider that method to try to reduce warpage. I only need to add on metal to the edge of the rear portion of one wing plus I have to replace the bottom 6 inches of the wing as well so out comes the welder.
1 Like
The one thing I haven’t seen mentioned here is this:
1 Like
Yes I remember reading that thread and wondered about it. I am not concerned however for a couple of reasons. First the front crossmember is shimmed to the middle point with the original length hinges. Pulling back on the bonnet does not pull the crossmember back. It just readjusts the shape of the bonnet to make it fit better. (See earlier explanation by Bill). Secondly the bonnet is now very closely lined up side to side so all pieces should be where they should be and thirdly before I started the restoration the bonnet was installed with the series 2 headlamp buckets and 195 75 15 tires and there was just a very slight paint rub on the back of the buckets. With the flat back buckets I expect I will be fine. Also CJ sells a set of trick bonnet hinges that position the bonnet farther back and I have not heard of people having clearance problems by doing so. I will keep my fingers crossed and if there is a problem there is always the option of adding more metal to the back of a freshly painted installed bonnet. Not saying it is a good option.
Fingers crossed for you. The latter would suck.
Thanks. I am not really worried about it. The picture he posted shows the rub spot on the crossmember. I wonder if that is actually a rub mark as it appears to be more like a chip in the paint. He also states he has the 185 series tires which are an 80-82 aspect tire and have a bit bigger radius than the 205 70 15’s I plan to use.
Just something to consider when moving the bonnet around. Needs to be mentioned for others dealing with their bonnet.
Larry,
Have you already tried this and fitted the bonnet with the long seal in place? My concern is that the double thickness rear flange will not sit flat or squarely with the scuttle. The seal is somewhat compressible but still pretty stiff, plus there is a folded up flange on the leading edge of the seal channel itself which would limit downward travel of the bonnet. If that contacts the underside of the bonnet it will not be good.
1 Like
Never done this, so I’m no expert, but should these finite adjustments be made with some major components : engine/ tranny TB’s , , ,already installed ? Is there a possibility of minor settling and shifting that could affect the gaps?
Marco
1 Like