Hi everyone, My name is Clive, I am in Rockhampton. Qld. and I have recently aquired 1 XJ6, 1987 import, and 2 1988 Australian version, one of them being a Sovereign, the other is another XJ6. sadly only one can be salvaged and will be put back on the road. The XJ6 import (Green) is the vehicle going to survive this ordeal, and will be undergoing a lot of changes along the way, (some maybe not for the purists.) The other XJ6 is red, and the body is totally rusted beyond what I am willing to do for it, and needed another engine. (3.6) The Sovereign (Gold.) I had hoped was going to be the survivor but when prepping it for paint, found more filler than I could possibly afford to replace. The interior of this vehicle was all there and in reasonable shape So I am going to transfer it all over to the 1987 XJ6 when the body is ready to be re assembled, it has a couple of rust holes, but they being removed slowly. I will post pictures of some of the trials and tribulations of this excersize. I think that will do for my introduction for now, thank you for accepting me.
Hi and welcome Clive, you‘ll find there is an extra category for XJ40. I‘ve moved your post to #xj40 . Good luck!
David
Welcome to our fantastic forum. It’s always great to hear of another XJ40 being rescued and used, good luck with your project, keep us all informed. ![]()
Hi everyone, I am rebuilding a 1987 Xj 40, it was already a british racing green to start with, it had a couple of rust holes here and there, slowly getting through them. Ther red one has a pretty stuffed body, a mountain of rust in the body, the green on has nowhere near as many. getting it ready to be painted, aas, we can’t alwats get to the problems.

Then after we have identified the problem we can remove all the rust

I have removed the first part of the rusted panels as I prepare to continue with the rust relocation, this seems to go a bit deeper so I have to keep going.

The next part has been relocated, and a new piece of metal has been welded into place, and there are 3 more parts to be made before this can be consided as done.

This is the next part I needed to make and install as it has other parts to be welded to it. I am pleasantly surprised how easy it was to make once I got started.

This was tacked into place before I fitted any of the other parts in here, I am hoping this will have put an end to this little problem.
You’re doing the right thing: you have to dig till you find no more rust, then rebuild back to standard shapes and openings. Looks like you got a good handle on this!

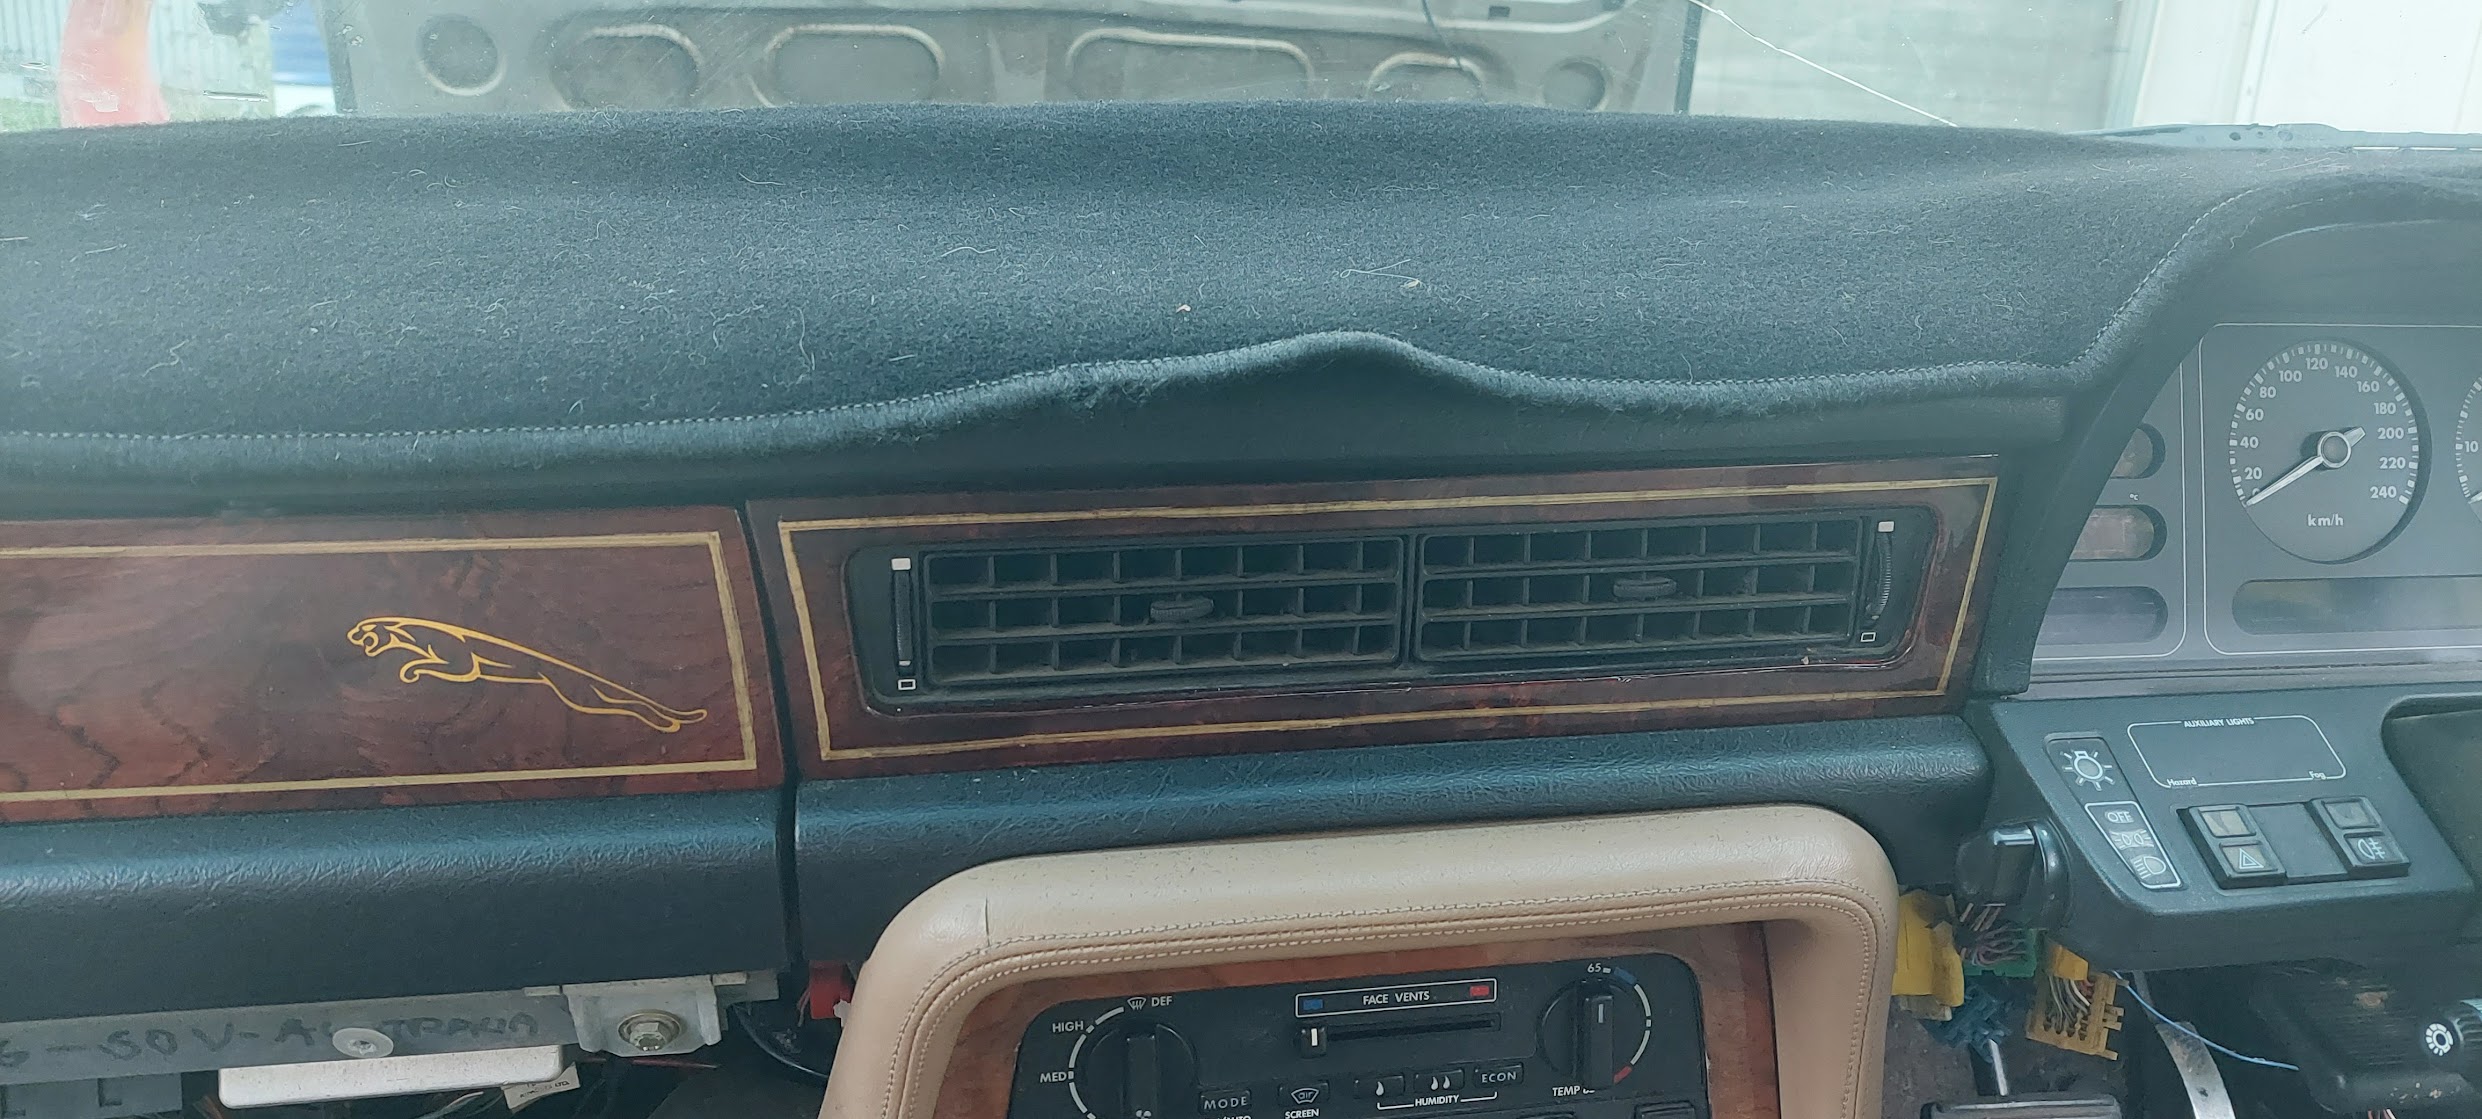
This little bloke looks inocent enough, but a lot more was waiting for me under that green paint, although interesting as it is to me this colour does not look a whole lot different to the new colour I am going to use.

This is also a lucky break for me, the red car has rust in just about every part you look at, yet this part is amost rust free.

This was all I thought I was going to replace, note to self; sand an area around the suspected rust hole, you may just save yourself a whole lot of hurt when you go to install the repair patch.

This repair job went South when I tried to weld it out, I couldn’t see the rust on the inside of the panel until I started welding.

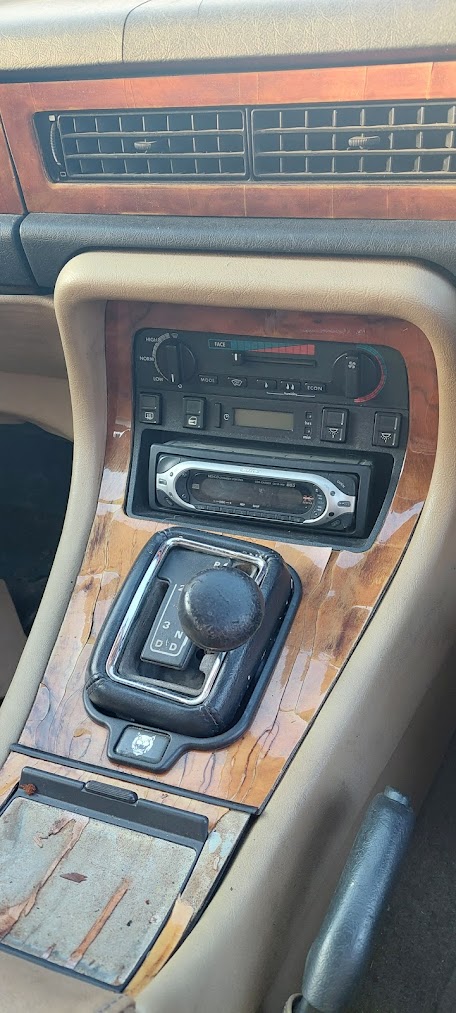
I have no shed to put the car into for now so I have to work around the weather, today looks like it is about to drop a storm right onto our heads. As you can see the timbers are not in the best of condition.
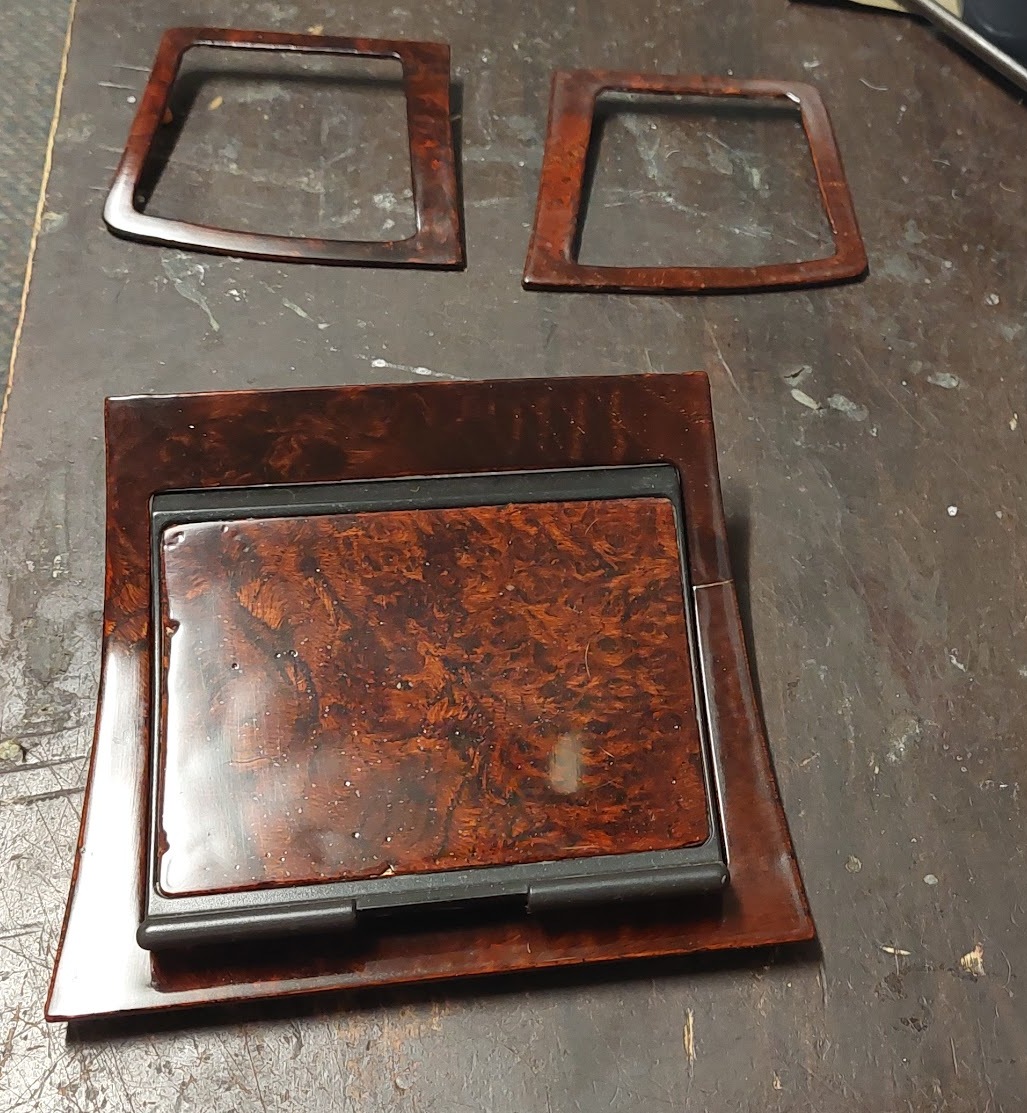
As one may notice, the colour of my woodwork is quite a bit different to the original colour, and I do like the timbers, so I thought give this veneering thing a go, what could go wrong. I went and got some oak burr veneer sheets and quite a bit of wood glue, and the stain is a Jarah colour, it has a very red colour to it and it looked better than I could have imagined, These are little jobs I do when I can’t get outside to repair panels or paint.
Not sure if it’s the same where you live but here in UK you can find full sets of wood veneer for xj40’s quite easy and reasonably priced. My old blue Sovereign rusted out in all the same places, most if not all xj40s were scrapped primarily due to rust like that. There’s only one way to fix it, and that is to do it properly like you are, if you don’t cut it all out back to good clean metal the whole job is a waste of time.
For me at the time it was easier to just find another car, they were plentiful back then and dirt cheap, not the case nowadays, xj40’s are probably the rarest Jaguar model now.

One of the things I found by accident was the curves in the timber were easier addressed by using a camping mat on the table, then a bit of baking paper, and clamped it all down, (After putting heaps of wood glue onto the vereer, The foam allowed the veneer sheet to follow the shape of the orginal timbers. My next job was the matchwood that Jaguar used was not something I felt I could handle, so I grabbed a gold paint marker and painted the pinstripe, another accident that worked out to be better than I thought was going to be.
Hi Casso, these are pretty cheap here as well, I only paid $1200.00 for all 3 of mine, and although the timbers are not too bad in the Gold car, I am not touching it until it is time to instal everything into the green one. But then again the green one is a personal import according to the plate under the bonnet.