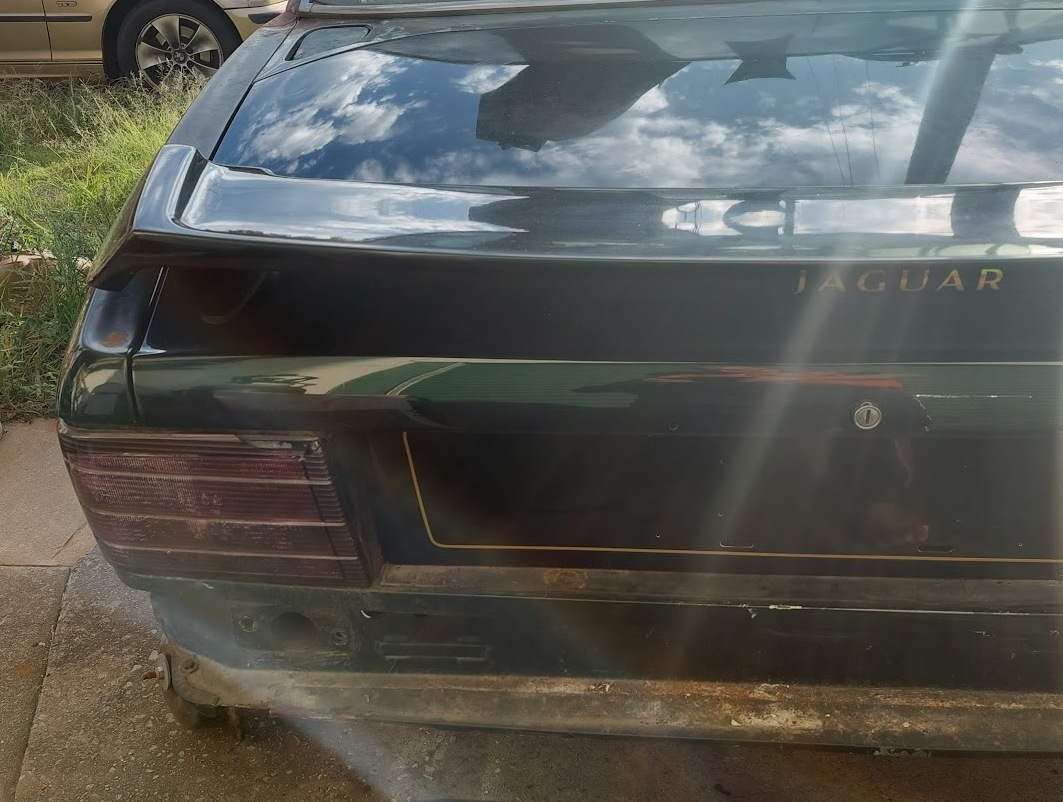
Today is a really hot day, and I hate the heat. I have to get out there non the less and get a bit more done on the car. In this segment I am going to be replacing the interior of the boot. I need to point out that I have already removed the floor of the boot before when I was rebuilding the gold car, so now I have to cut it out of the gold car and put it all back into the green car. I will be making a few changes as I go here because I have intentions of fitting a different tail pipe to the car.
I got into it a bit too quickly I never thought of taking a picture of how it looked before I started, but then again many of you know all to well what this looks like anyway. This the main area I need to modify the floor in the boot. I need to shift the walls on the boot inwards to acommodate the new exhaust. I want to install a twinn outlet on each side of the car, and going outwards I think will not look very good simply because this pipe is already right on the corner. So I need to make the cutouts before I re install it into the car.
Here is the cutout i am talking about, it is almost 300mm long so I have a bit of room to move, If you are not sure, the while sheetmetal is the cutout welded into place.
This side has not had the sheetmetal put in place just yet but it will be the next thing I will be doing. The other thing worth noting, when I put the floor into this car I had only got around to welding the inside so with the whole boot area out of the car I have welded the underside up while I had it all out. I drilled out as many spotwelds as I could see, and I used a 5 inch angl grinder with a 1mm cutting disk, these disks are great for sheetmetal, just dont force them to cut, they will simply break off at the flange very quickly, so care needs to be taken when using them.

Here you will see I have used a bitumastic type of paint to seal everything ut before I install it into the green carI have left all the areas needed to be welded free of sealing paint, simply because it will burn off and I will not have a seal in that area. This will all be sealed when the welding is done.
All ready to go into the car, however the car now needs to be prepped for the new modified boot to be installed.
All the walls you see here need to come out as I have drilled out the spotwelds that hold it all together, there will be a paintline that I can use as a guide to how high up I need to bring the new boot into position. The front part of the boot is not a simple drill out the spotwelds, this part of the boots’s interiot goes right up and forms part of the cross member for the rear supension I think, so I had to cut it with the disk cutter.
Here you can see the join on the sides, these have to come out also, but they are all spotwelded and take very little to get them out. The work on the green car will start sometime next week, as I have a few commitments to voluntary organisations such as Lions club and SES.