Due to poor photo documentation on my part, I’m uncertain as to the position and routing of the wires.
How does the cable to the wiper motor go? IIRC it has a strap holding it to the body of the wiper motor?
How do said wires then cross over toward the washer bottle? Which screw positions hold the 1) connector to the washer motor? 2) the grounding wire? and 3) the clamp securing the wiring?
Bill, that is perfect, thank you. Now I know for sure.
Do you plan to replace the plastic tubing for the water jets? I have not been able to get at mine. Really buried!
Just done that job today…not easy but possible with dash in place. access is through the fuse panel. TIP…remove the wiper motor to give more access as you can move the wiper connector arms out of the way.
remove the fuse panel? or?
the glare shield [top of instrument panel, etc] is lose now
i could remove it completely, but that does not seem to improve access
were you able to replace the tubes going to the squirters too? all the way?
impressive!
tell me more please
By the fuse panel I mean the centre dash (gauge panel). This gives access to the back of the wiper arm mechanism.
You can see the tubing and T splitter.
The tubing is hooked over a rear bulkhead tab in each direction. It keeps it away from the bulkhead heater pipes.
NOTE - I was installing new washer jets as none were fitted. The old hose was in there but no washer jets.
Critical to this process is the disconnection of the wiper motor to the mechanism. You can then push the mechanism to its extreme travel each way to get your hand in.
I cut the tubing and assembled it (hot water to fit the splitter) before installing. NOTE - a little extra length is no bad thing (1-2")
To feed the hose from the washer bottle, I tied string to the end before I pulled it into the cockpit.
I then tied the string to the new hose to pull it back (while sat in RH seat feeding it in with left hand and pulling through window with right hand)
I then fed string into each washer hole from the outside and pulled it into the cockpit.
I then slid the retaining nut and washer onto each feed hose before I tied the string to each hose.
As before, I then pulled it through the window whilst feeding it with my other hand (4)
Once its at the bulkhead, I got out of the car and grabbed the hose end with long nose pliers to pull through (this is where the extra inch or two is useful)
Instead of hot water, I used silicone grease to lube the hose to fit the jet body.
An assistant is now required.
hold the jet in place on the outside and fit the washer and nut from inside (they were on the hose already (6))
It you use a spanner, tie string to it in case you drop it.
If you can’t nip it up with a spanner, get the assistant to turn the jet body while you hold the nut still. It doesn’t have to be highly torqued.
Others will tell you of other methods (and better ones Im sure), but this worked for me without removing any dash pieces other than dropping the centre panel (2 screws).
That’s POETRY IN MOTION. Reminds me of surgical procedures where you threat a guidewire into the coronary then anchor a catheter then… you get the idea.
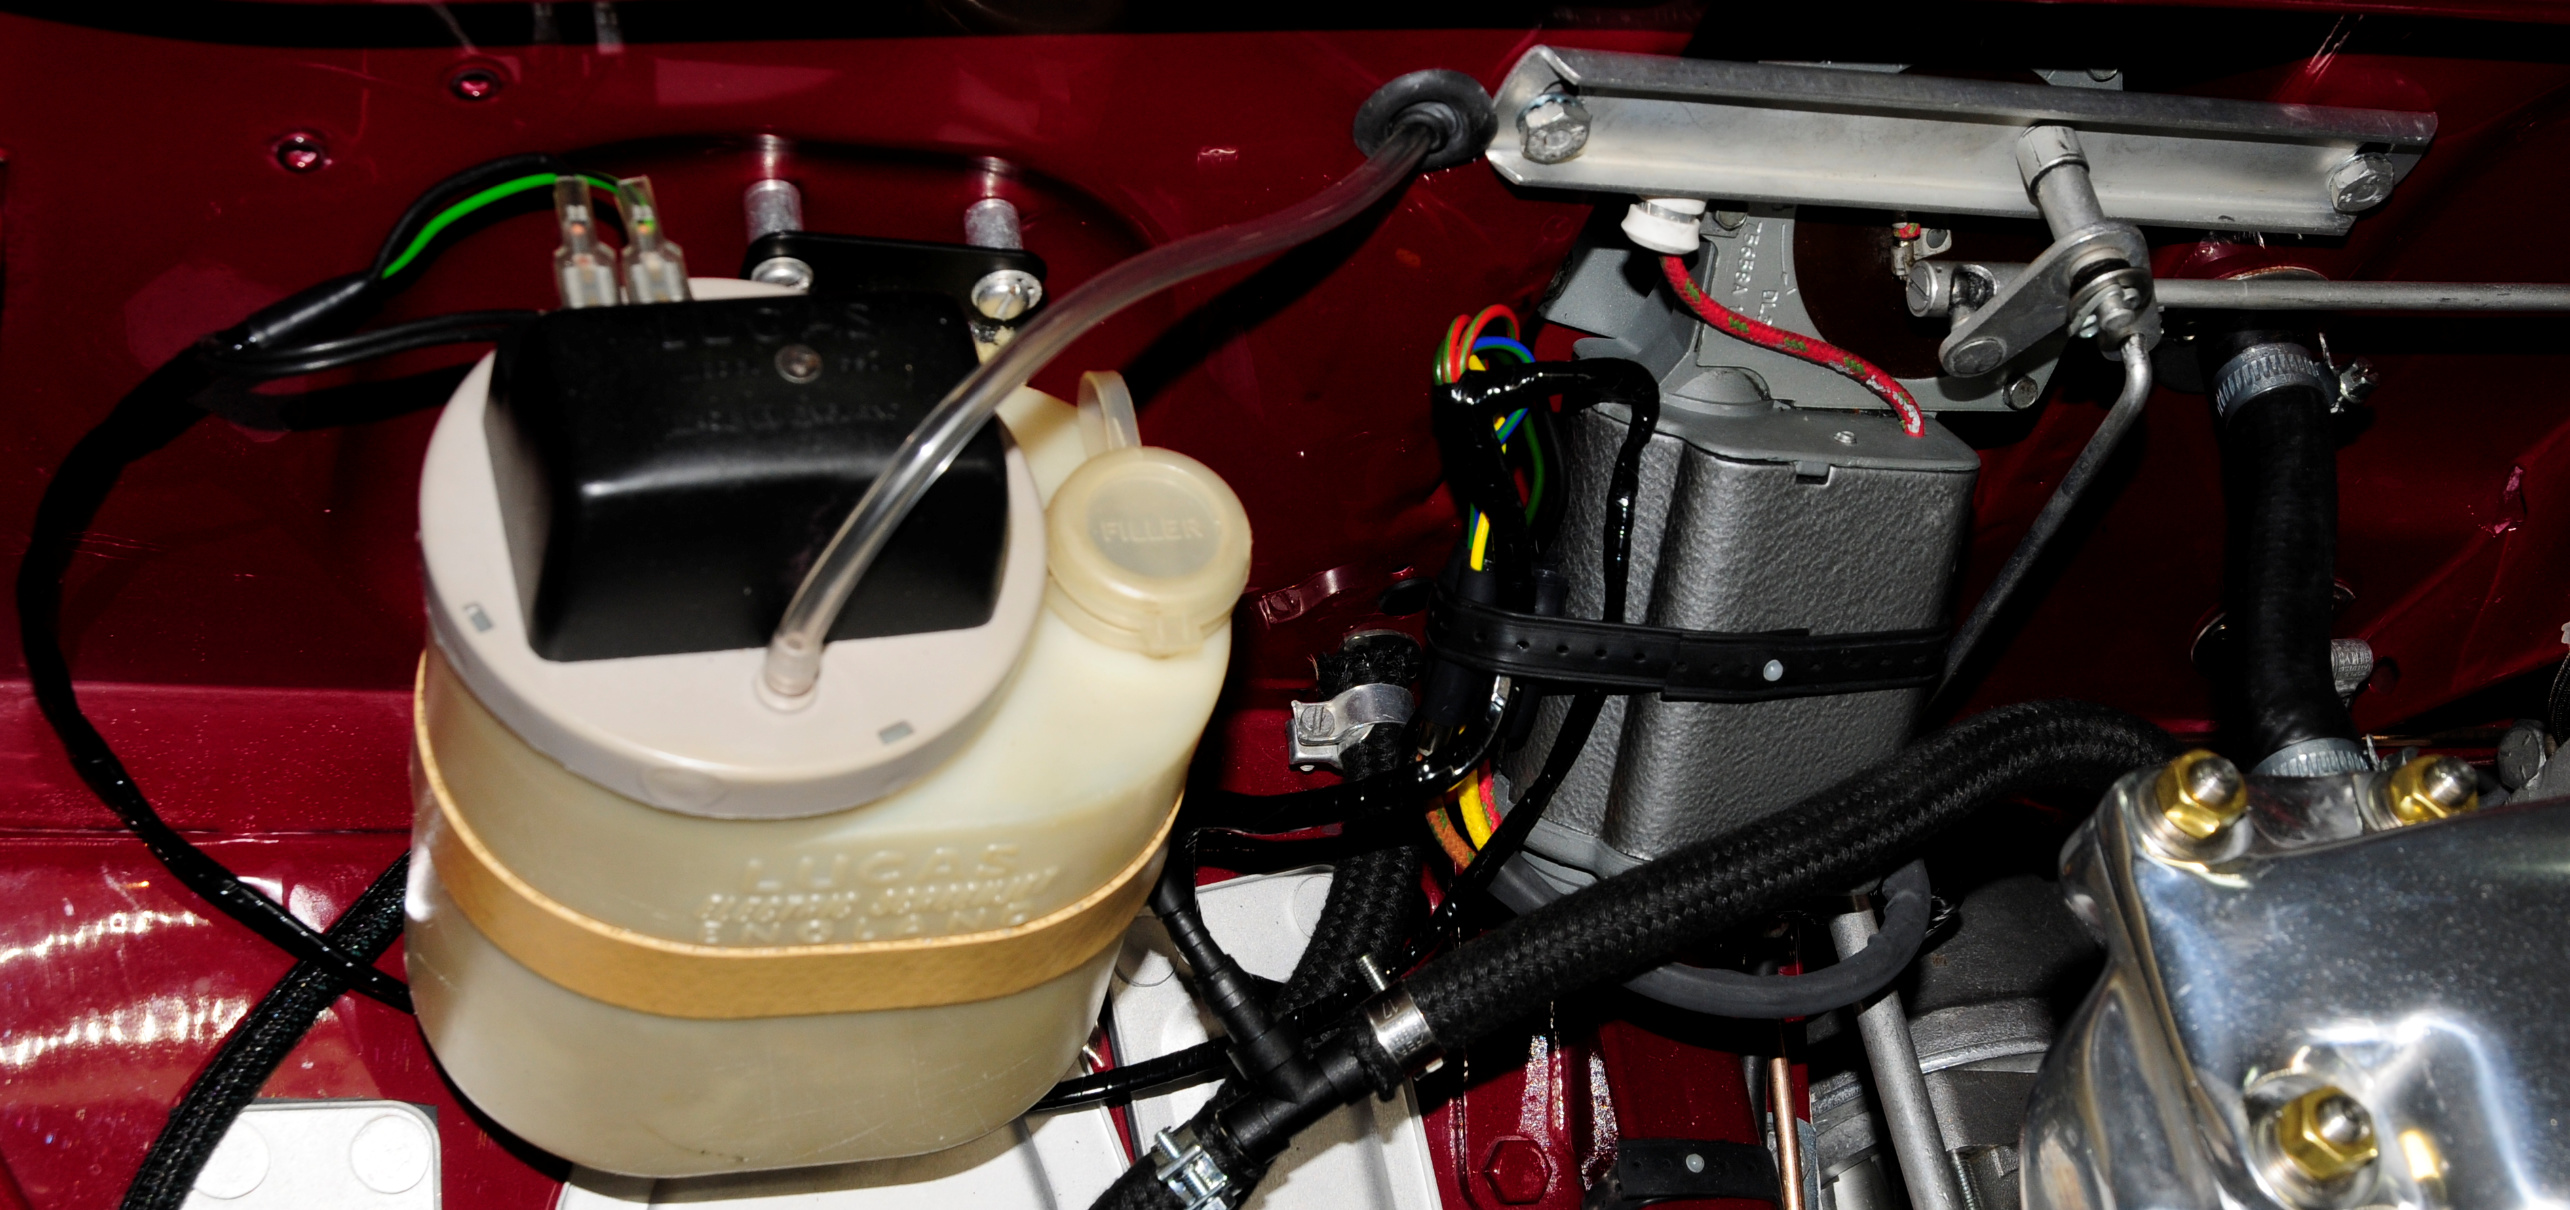
BTW - I think the filler cap on the reservoir is supposed to be inboard (that is how it is in the S2 owners handbook) - I turned mine around as it is easier to fill that way.