I know a few of you have done it. I don’t plan repainting the covers but thought, while they are off, I would try to clean the ribs. I cleaned and degreased the covers. The ribs have heavy, patchy dark stains on them. I tried steel wool, rubbing compound and sandpaper 150grit. There’s some improvement but not much. I didn’t want to use rougher sand paper as I thought it my scratch the aluminium / aluminum too severely.
So, what’s the best way to shine these ribs up a bit, please?
David,
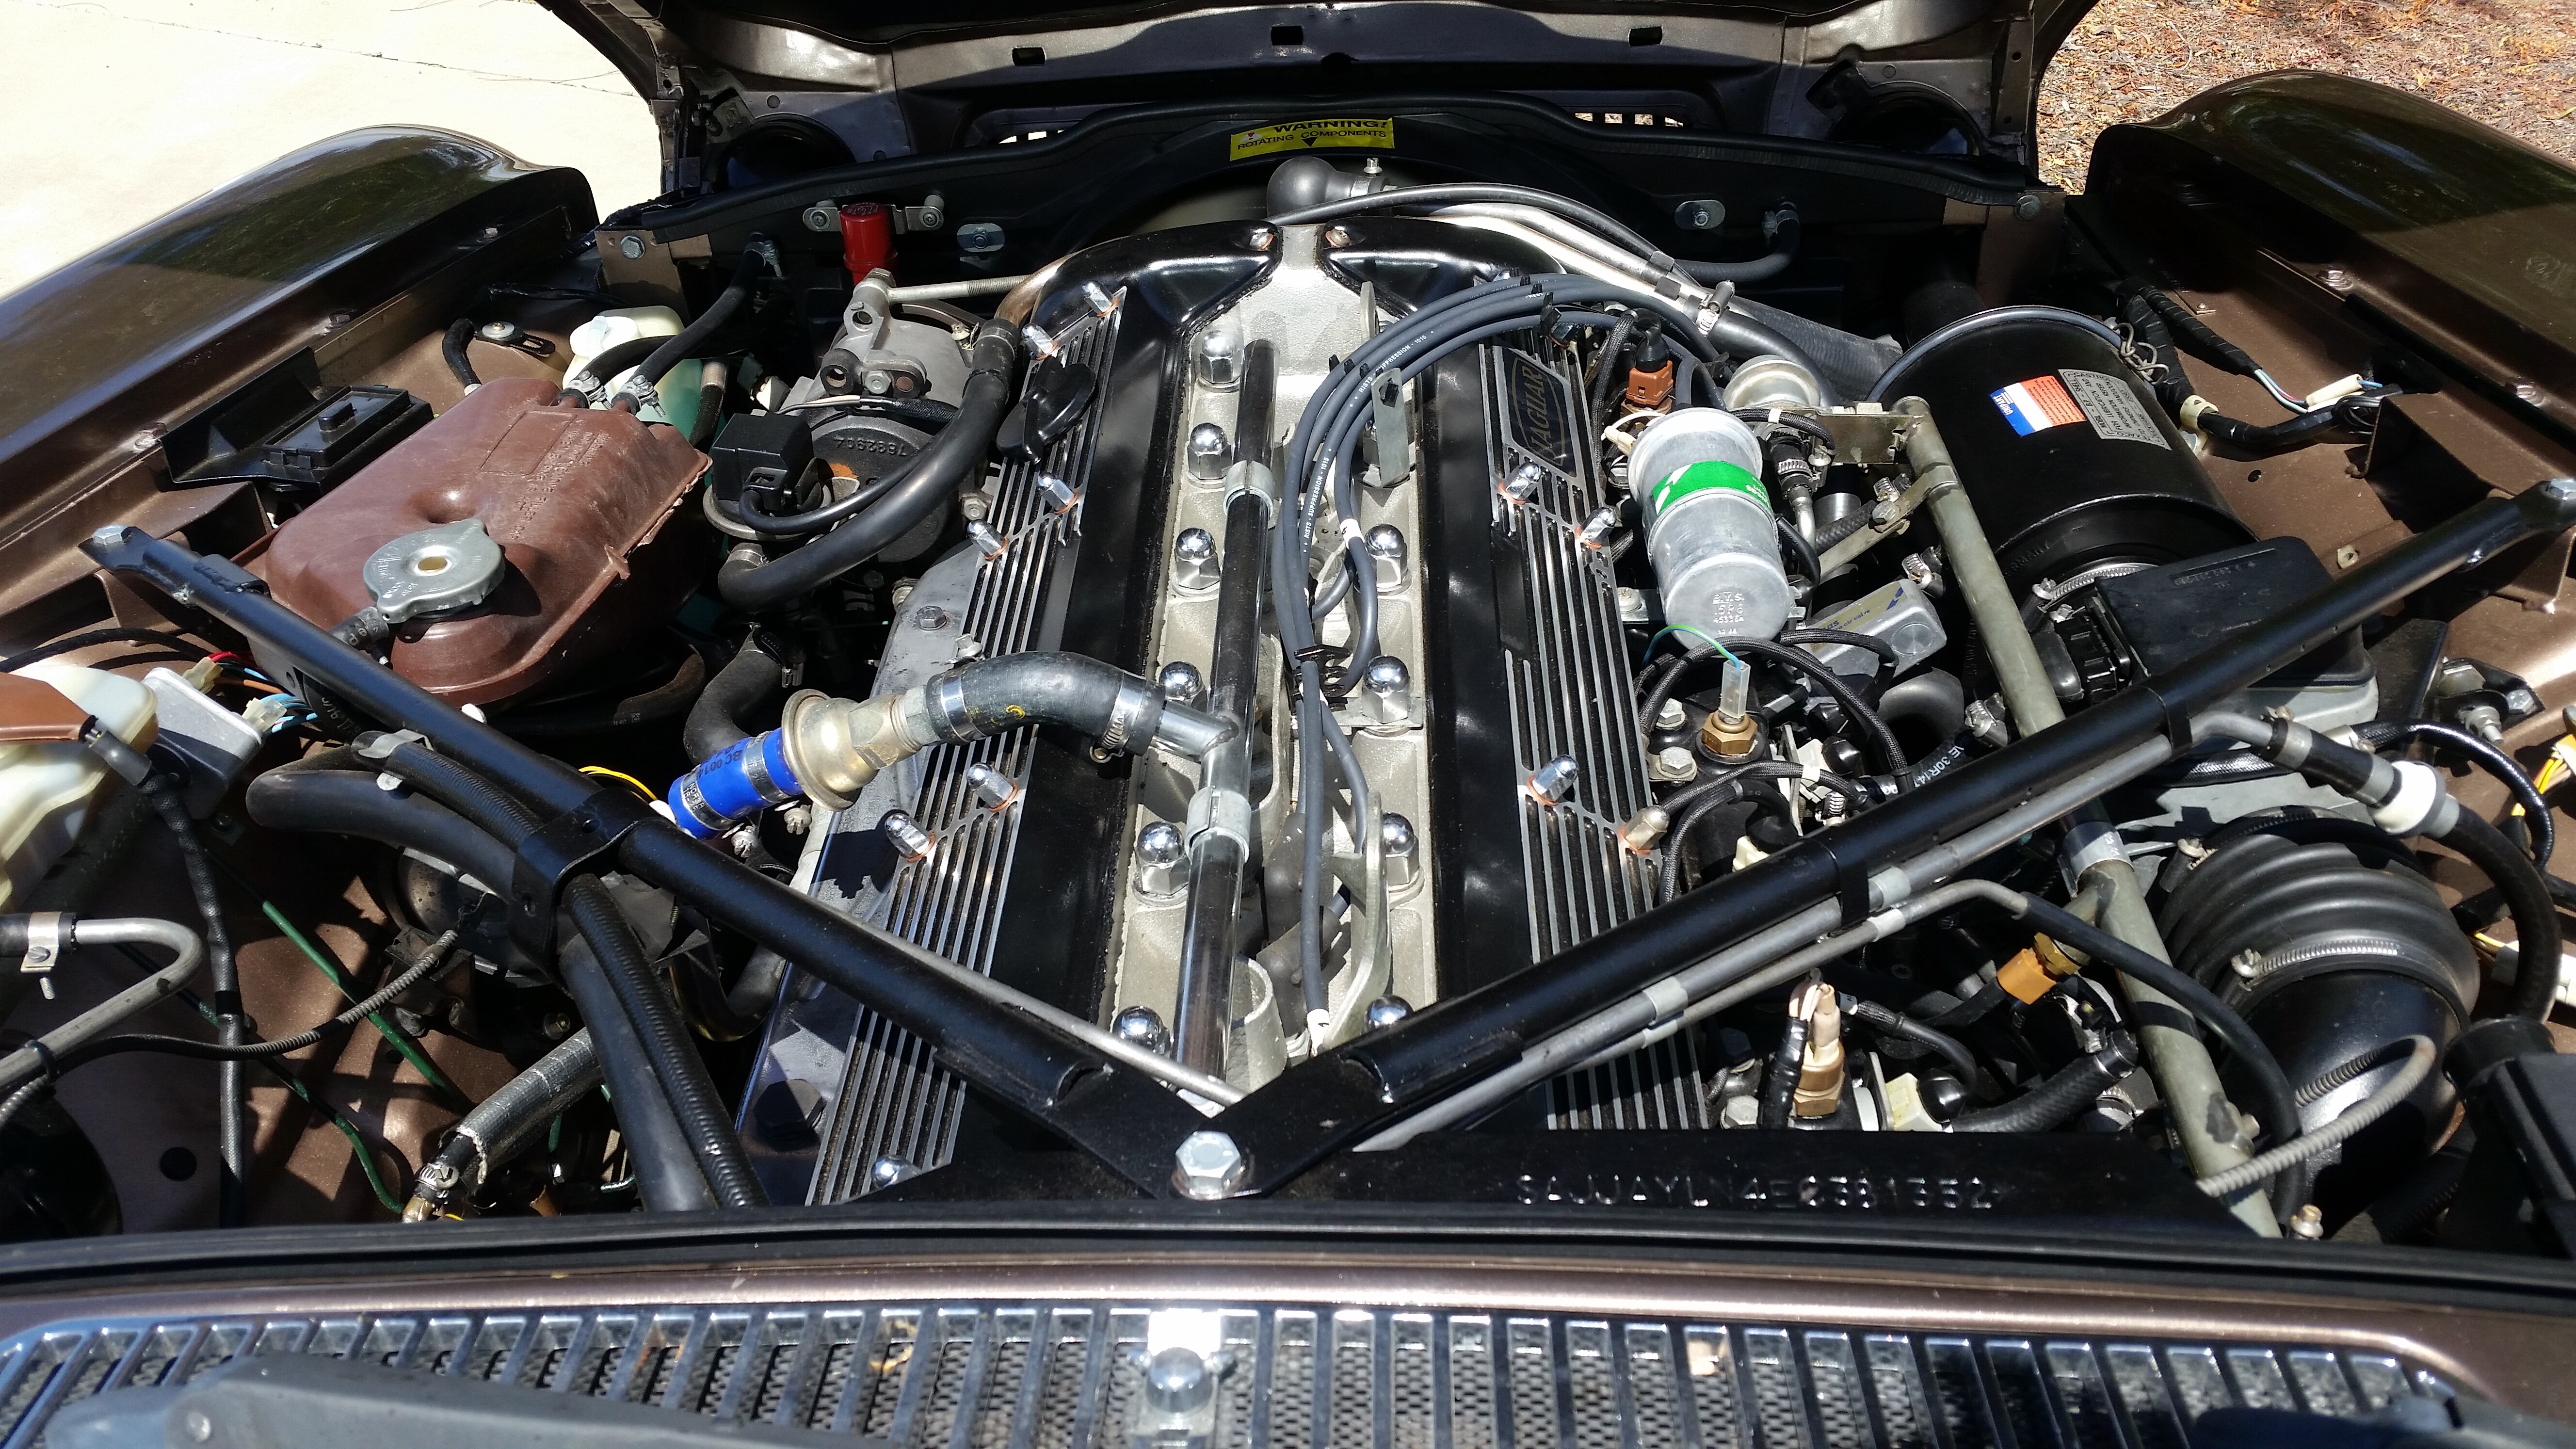
I cleaned, sanded, and repainted the camshaft covers on my two Series III XJ6s with amazing results as shown in the attached pictures of my former 1984 XJ6 Vanden Plas.
I first removed all the dirt, oil, and grime from the camshaft covers with Simple Green and a variety of brushes. Then I sanded the ribs with an orbital sander and various increasing grades of finer sandpaper until they gleamed. Then I painted the entire camshaft covers with high temperature engine bay spray paint that I purchased at a local auto parts store. The last step was to scrape off the paint from the ribs with a razor blade scraper held at an angle. The results were very satisfying and speak for themselves. I used a satin or semigloss paint, rather than a gloss paint so that the camshaft covers look more like they did originally.
David,
I don’t recall there being any “vigor” required in restoring the camshaft covers. The inexpensive orbital sander and sandpaper packages that I purchased at Harbor Freight did most of the work.
I had my stereo playing, and there was probably beer involved, but there was nothing vigorous about this camshaft cover restoration effort.
Terry,
Thank you for the kind words. So far I have completed full engine bay restorations on our two former Series III XJ6s, our 1990 XJ-S convertible, and our 1990 V12 Vanden Plas. Attached is a picture of the 1990 V12 Vanden Plas.
They were all challenging and time consuming to complete but very rewarding.
I compete some of our Jaguars in JCNA Champion Division Concours where everything in the engine bay is judged for authenticity, cleanliness, and condition.
Paul, that is really very impressive, I am going to give it a go on my S1. Which currently has an underbonnet area which is the scruffiest part of the car.
After painting my cam covers I tried the softly softly approach of using a RA polisher, but in the end I resorted to milling them, only had a 8mm tool so had to do each vane individually but I was happy with the results
I then applied liberal amounts of lacquer and they came up a treat.
Bertiebloke,
When I restored the engine bays of our two former Series III XJ6s it was after I removed their failed engines and replaced them with ones from the two parts cars that I purchased for their nicely running engines. So everything in the engine bay was easily accessed and everything that I put back in looked like new. I cleaned, polished, painted, and/or replaced most components. I didn’t post much about the first one, a 1987 XJ6 Vanden Plas. But when I did the second one I posted regularly about it and chronicled the challenges and triumphs over the several months that it took. My posts included a lot of pictures and advice as a way to help others embarking on an XJ6 engine bay restoration. If you search the Jag-Lovers archives for “Engine Bay Restoration 1984 XJ6 Vanden Plas” you will see the posts starting in late December 2018 and continue through about December 2019 when I sold that car. I hope you find something in that string that helps your effort.


 I forgot: I have an orbital sander!
