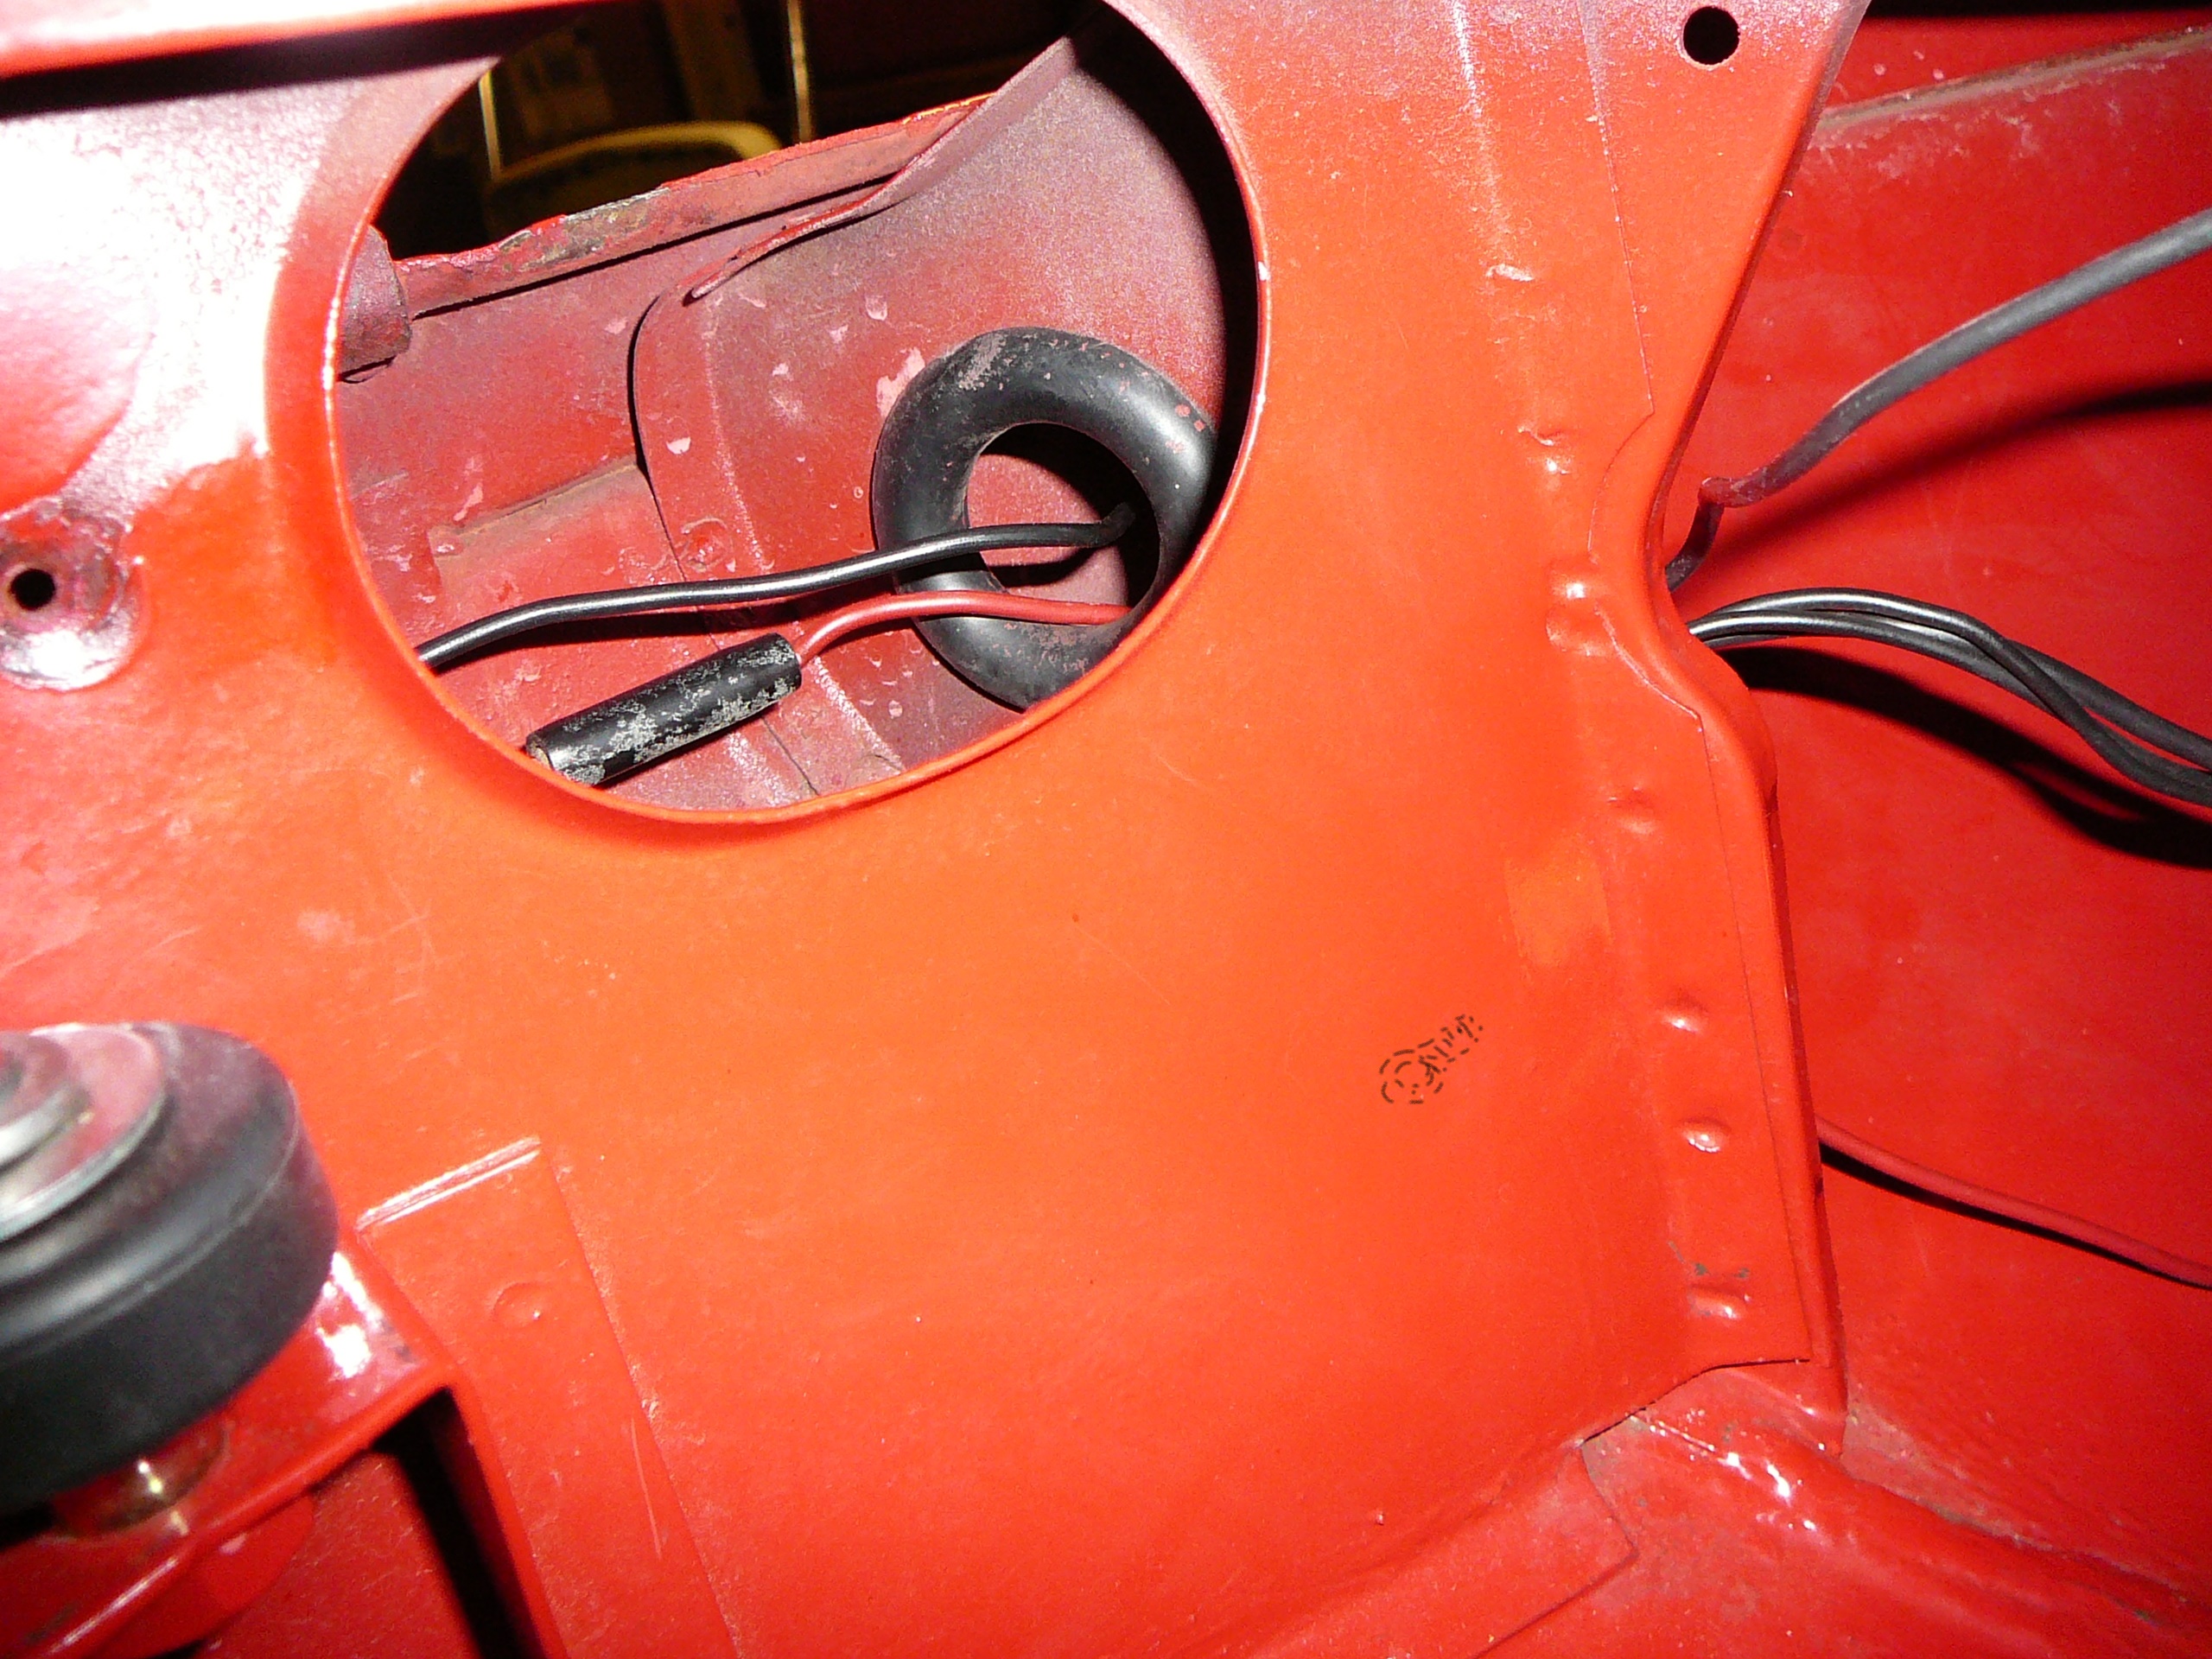
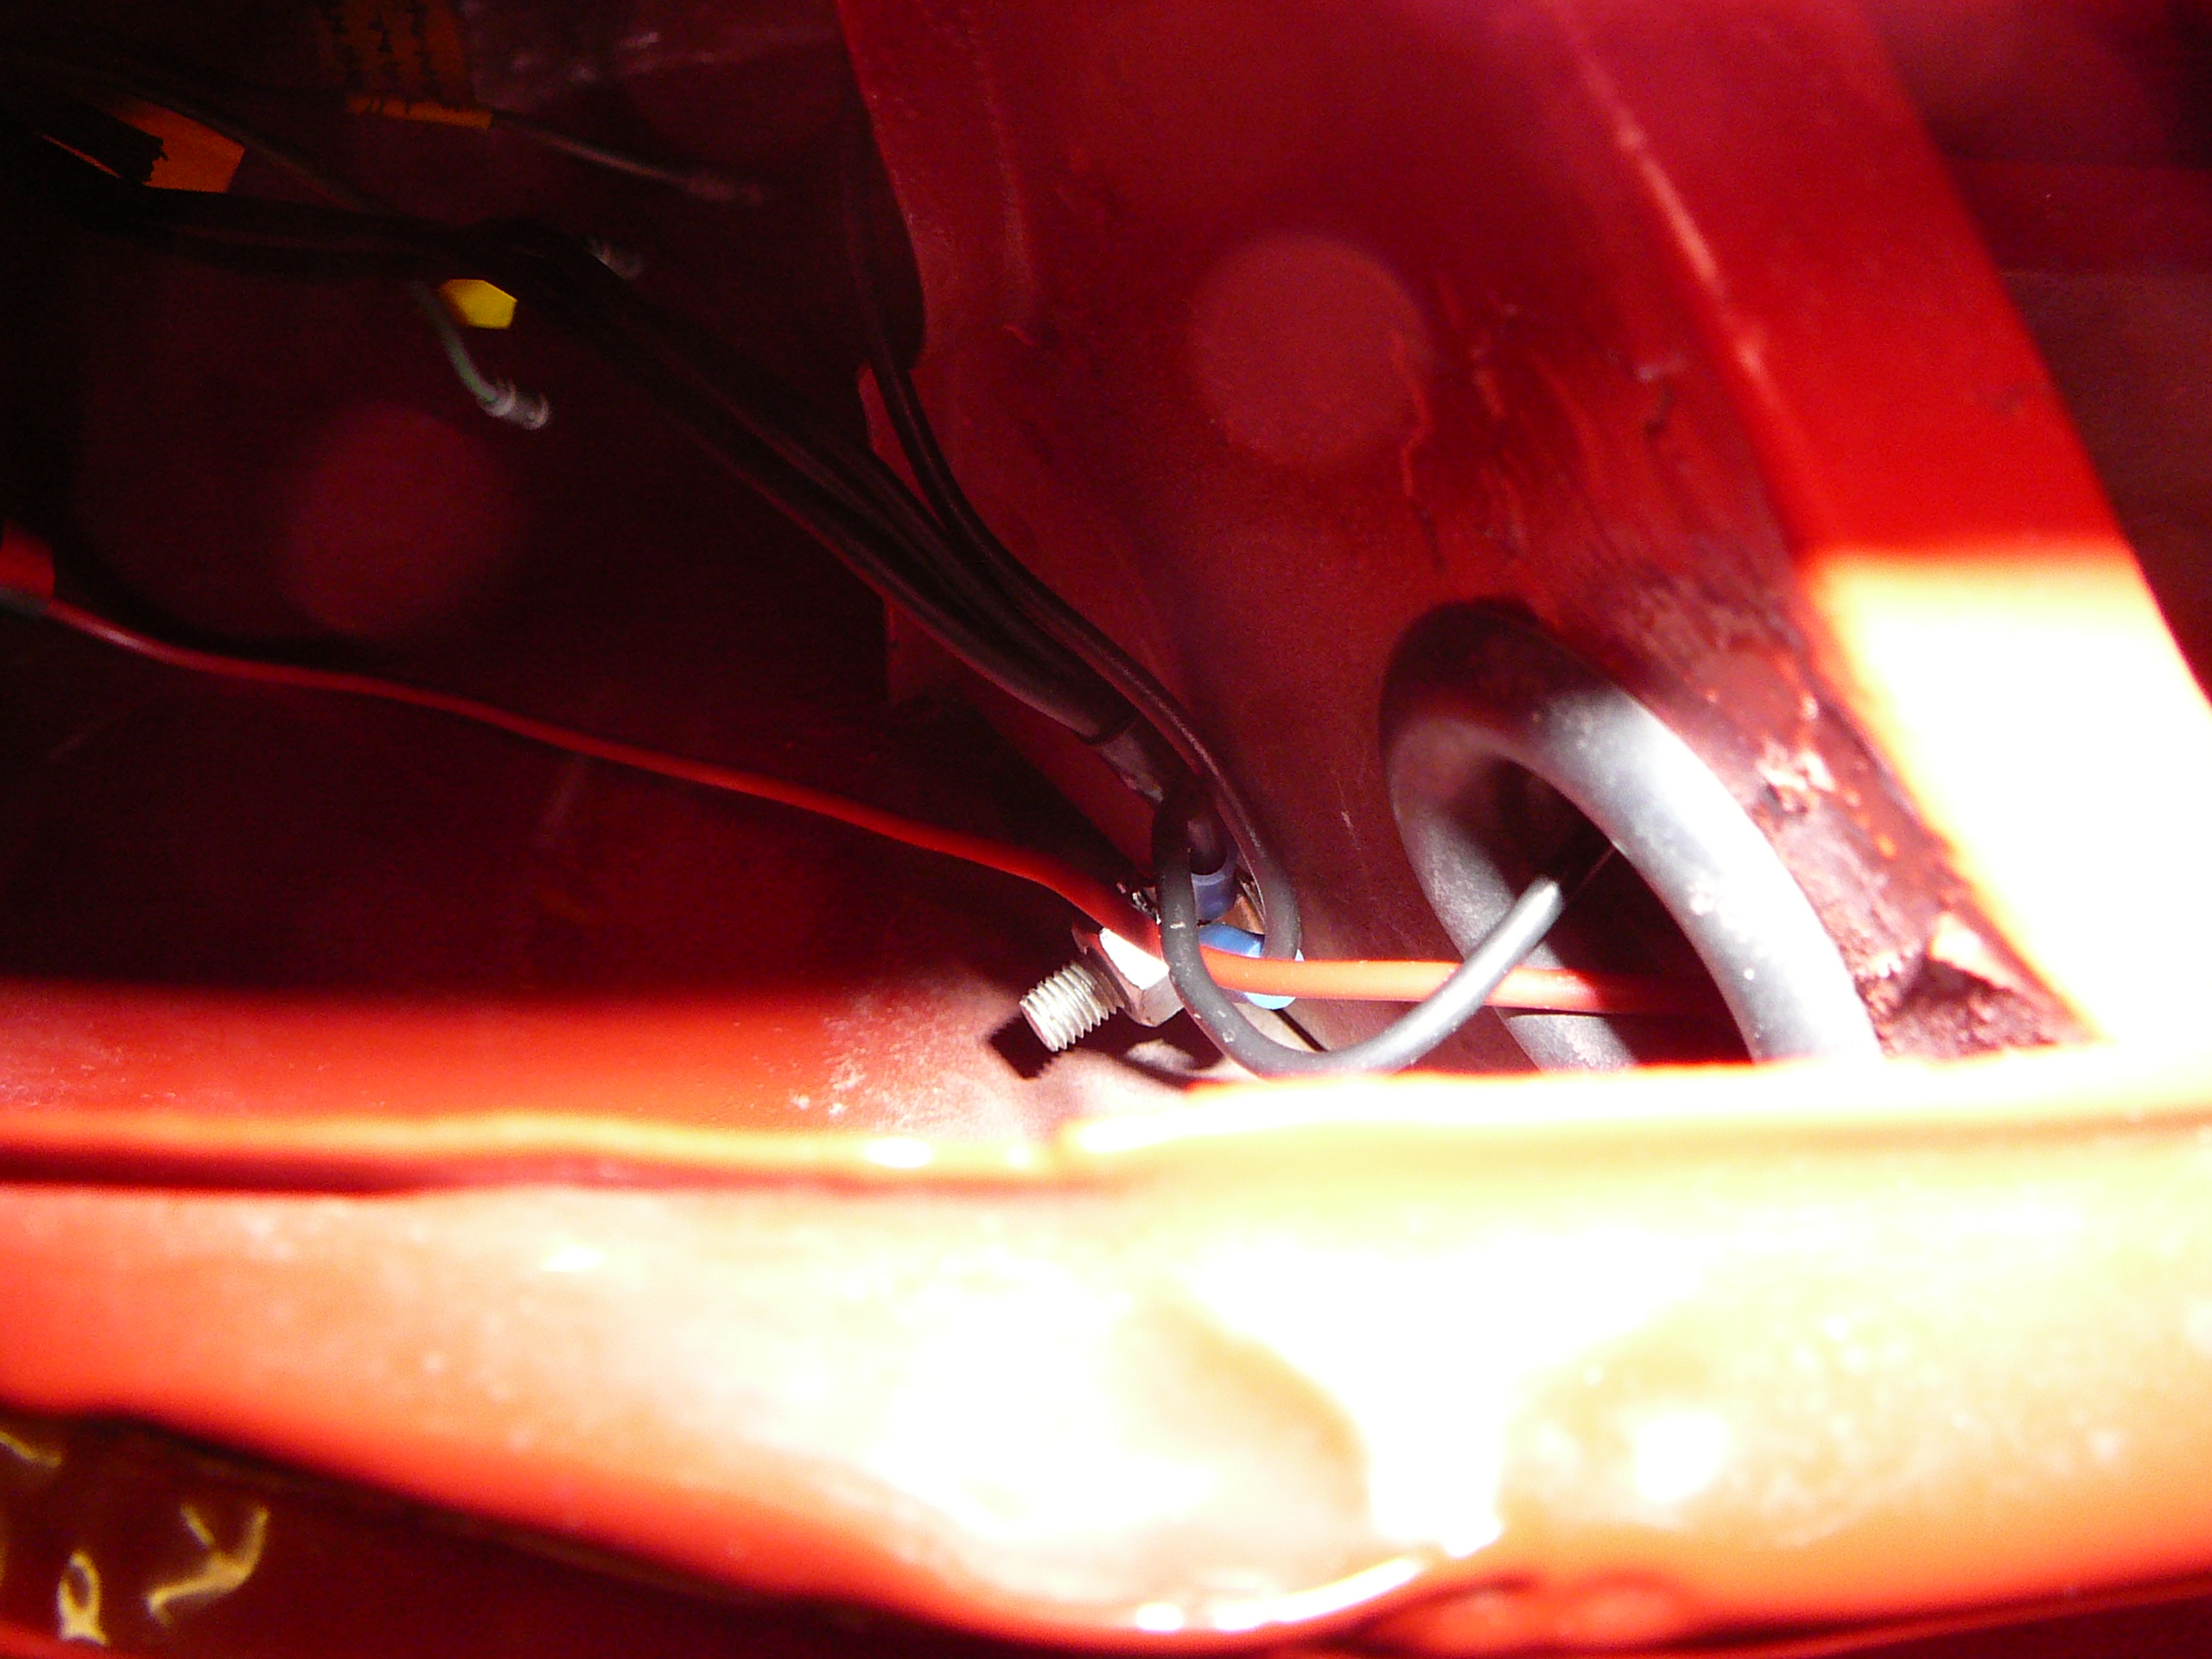
Progress to date: 9/6/2020. I’m going to use this thread to report the overall progress on the Jag. It has been an education thus far and I know the car far better now. The plan was and still is to get the engine running by starting at the rear of the car and working forward. Out came the gas tank thinking I could simply check it, update the fuel sensor and pump and re-install it. Well, no so simple from two aspects. 1) the wiring harness was set into the car but not hooked up anywhere and most of the grommets it passes through were missing. So I replaced the grommets and re-threaded the wiring harness. I made a ground post in the area behind the gas tank and close to the tail light. I just could not identify any previous location where the grounding lug was attached. After buying snap connectors and sleeve bullets from both Rhode Island Wiring and British Wiring and Grommets from SNGB and scratching my head as to how this all fits together, I think I’m making progress. Here’s a list of the grommets and their function for reference. I had a tough time sorting out the bag of unidentified grommet one gets in the “kit”.
Grommets.pdf (109.7 KB)
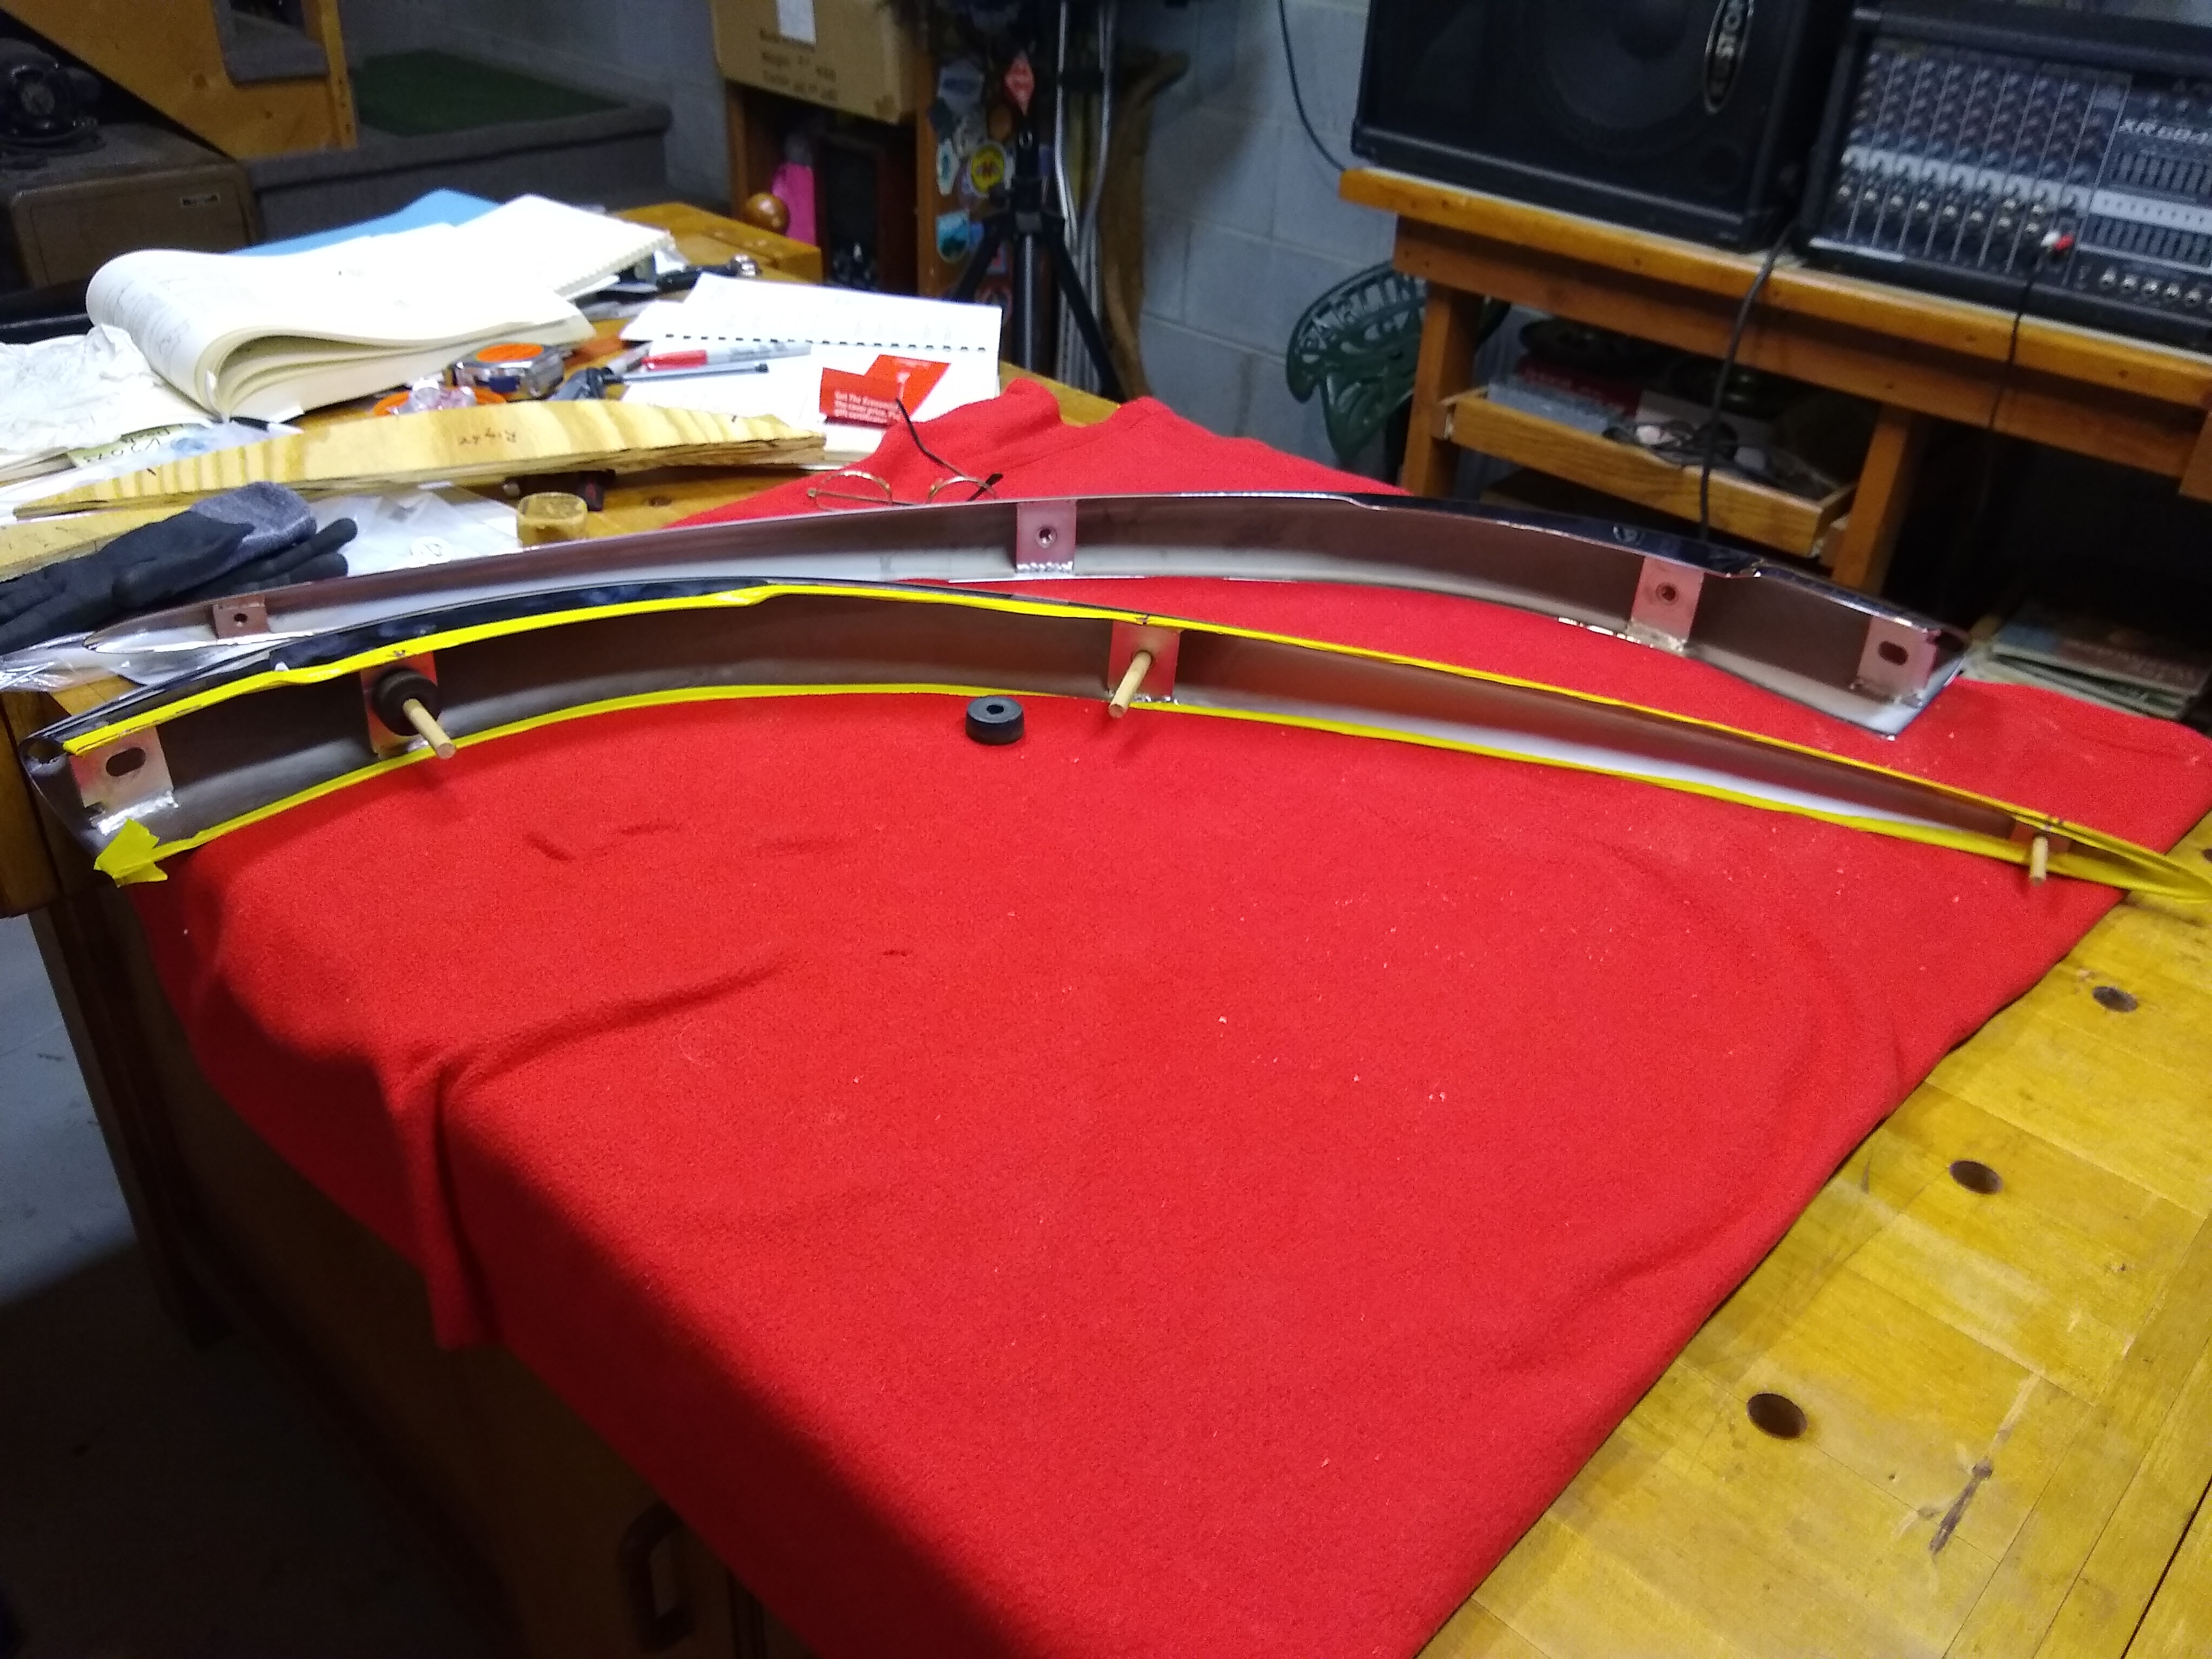
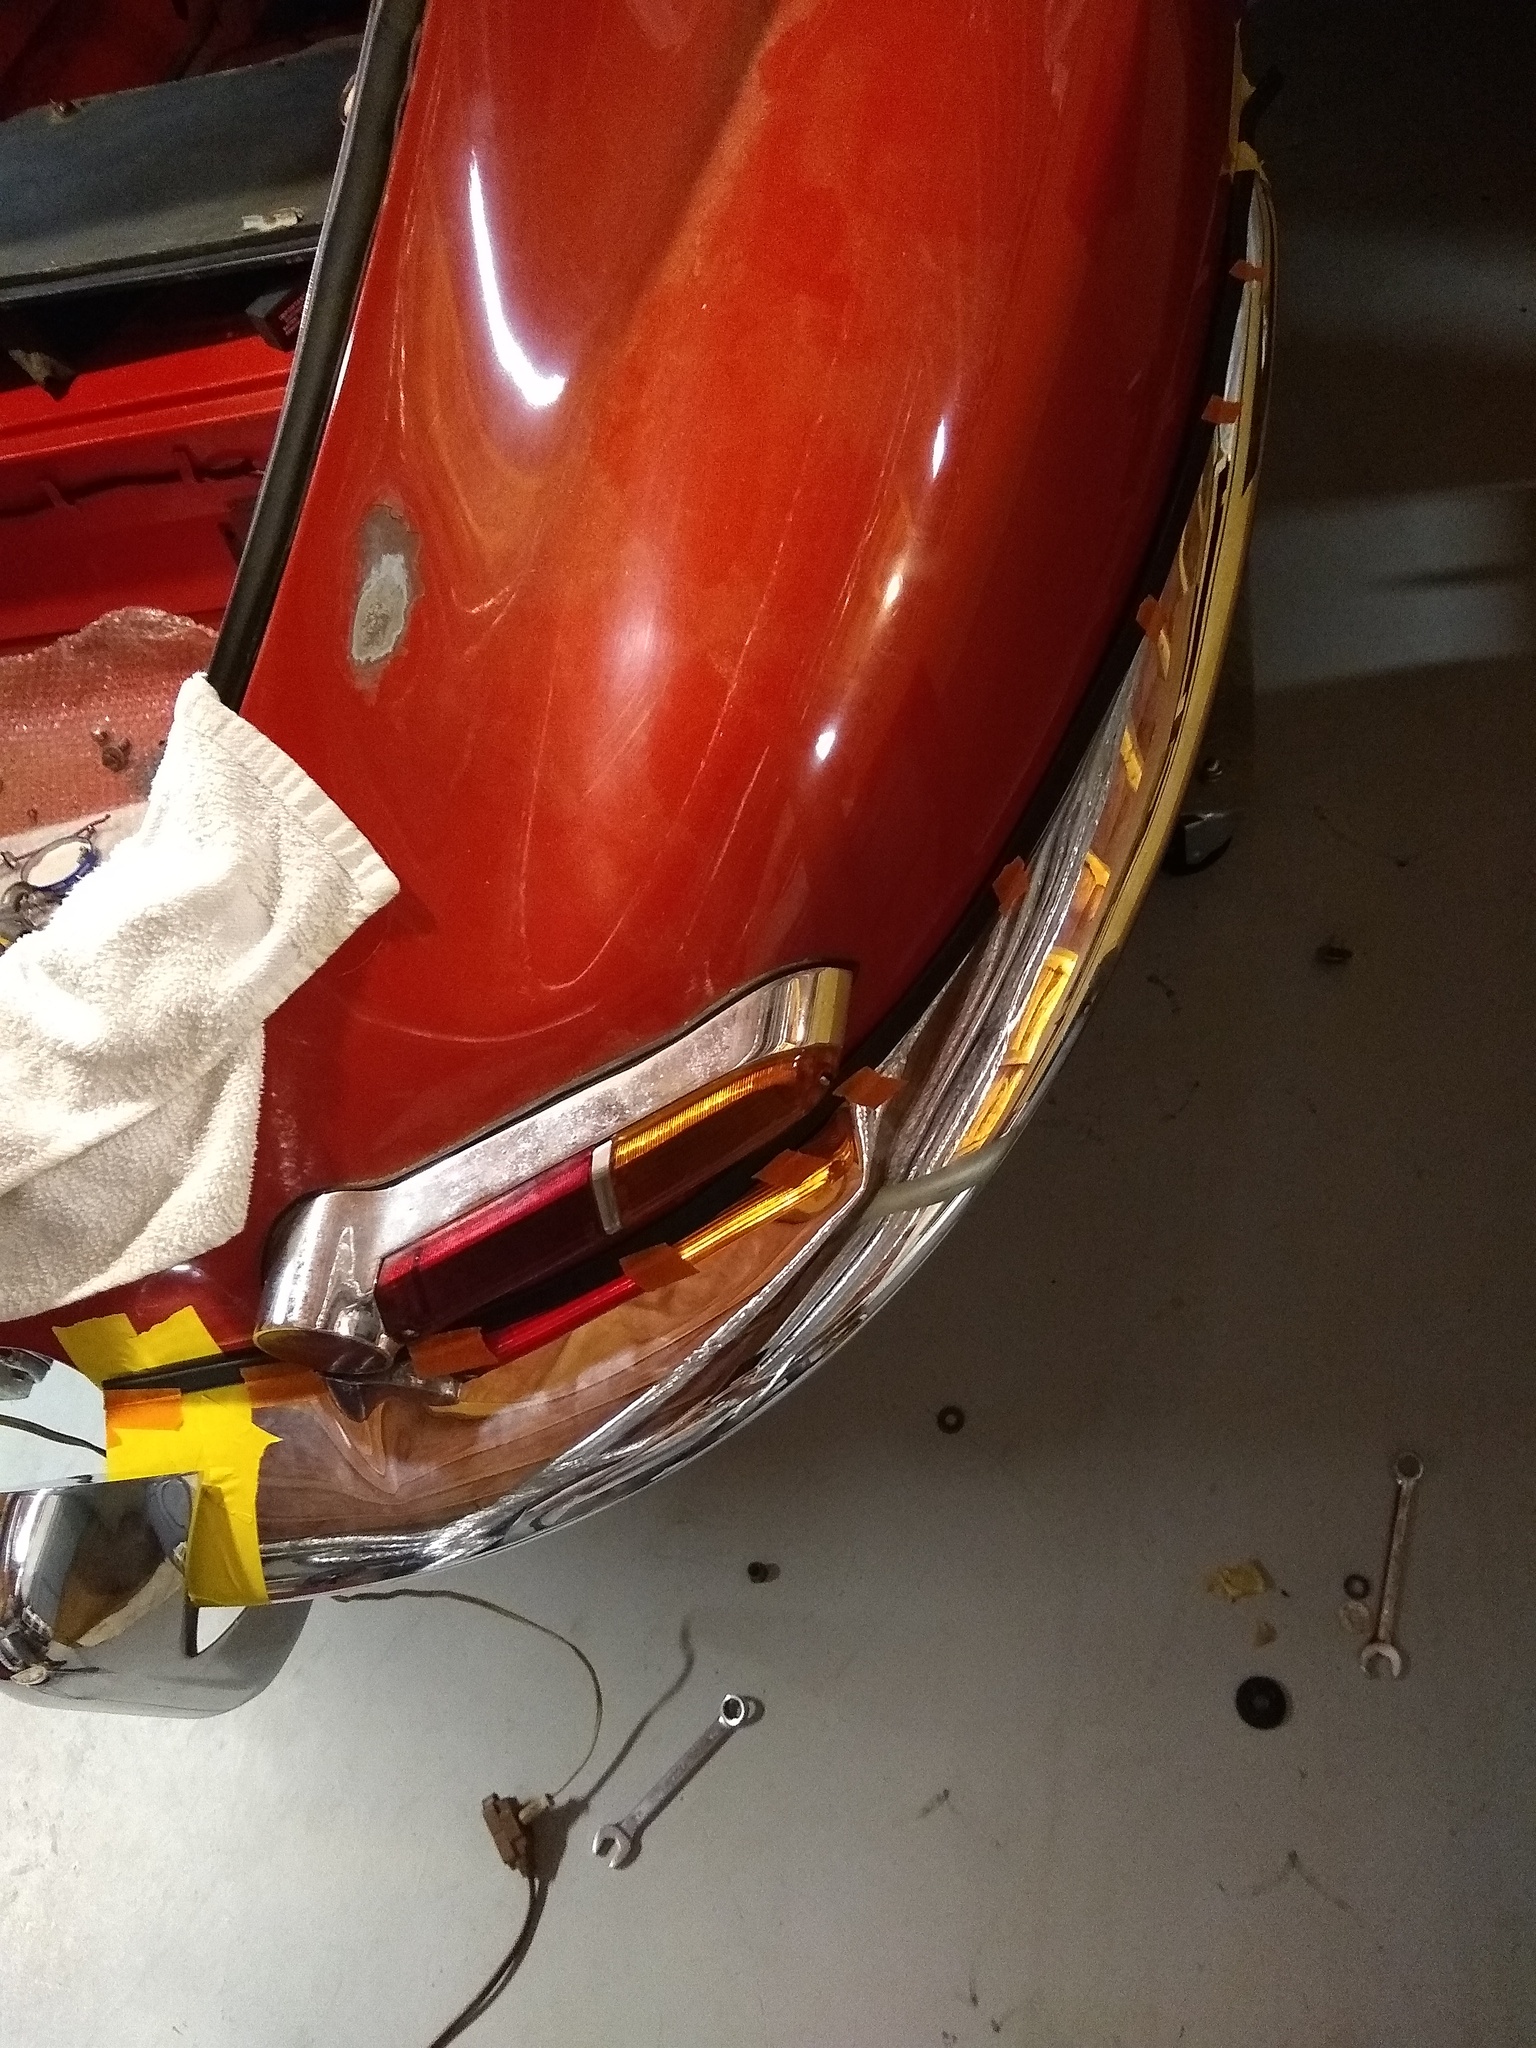
Then came the bumpers and I still have not conquered them. It is apparent the left rear bumper needs to be mounted on an early Series 1 car with the captured nuts in the bumper because it’d be difficult to insert the bolts through the body with the gas tank in place. Then I discovered bumpers and body don’t readily match up. Right?! I ordered new-made bumpers offered by Welsh. These are manufactured by Martin Robey, shipped to Ohio and chromed there. The chroming is superb, but they still don’t fit! The little tabs that align the bolts are welded in inconsistent locations from one bumper to the next and the arc of the bumper changes from one to the next. This presents a fun time to be had when trying to mount them. They’ll eventually need to be ground so as to match them to the car’s fender shape. I’m only working on the rear bumpers, saving the fronts for when I tackle the bonnet. Here’s a useful idea that helped me locate the bumpers without marring the car or the bumper. I took wooden dowels, threaded the ends with a tap and screw them into the bumper. That holds them securely in place on the car while giving adequate time to lament how these tiny bumpers could be so screwed up.
The left bumper was pretty but had misaligned bolt tabs and an over radiused arc. Welsh replaced it but I’ve no doubt it still need to by fitted.
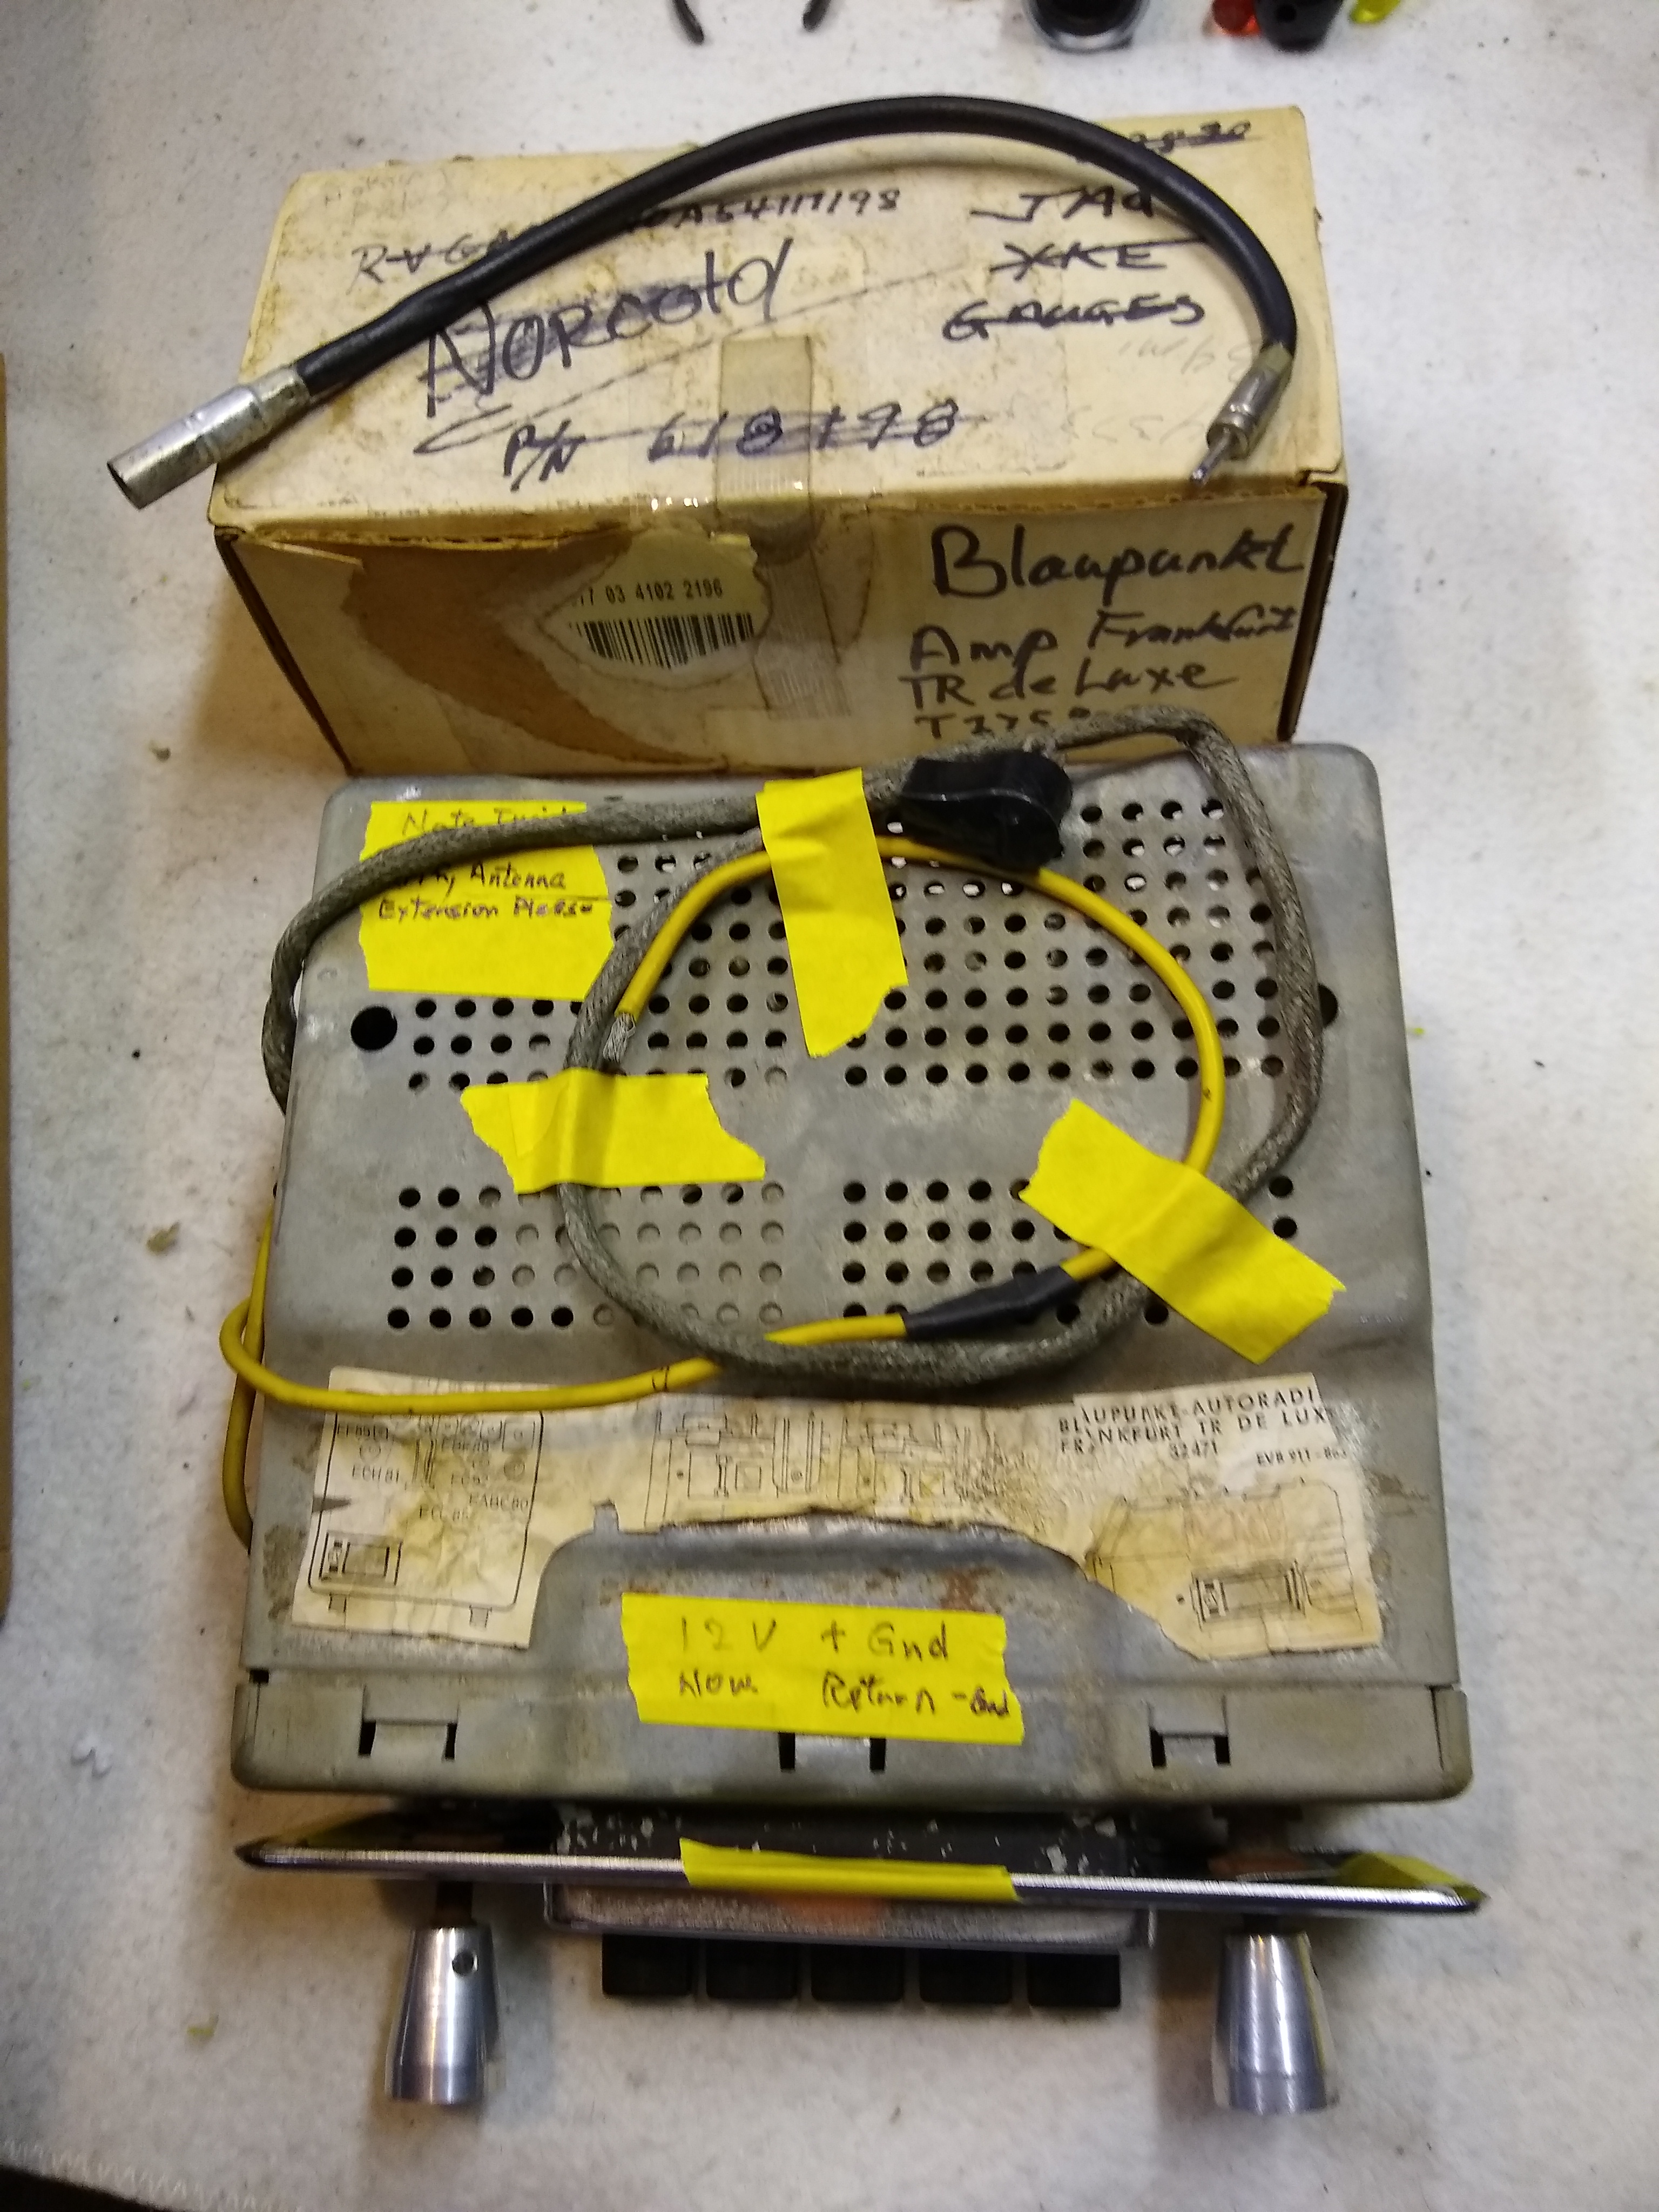
While waiting for the bumpers to come and go, I moved on to other areas. First the radio. I decided to restore the Blaupunkt Frankfurt TR DeLuxe US Model 32471. This is a two-part radio with a receive (tube based) and an amplified (transistor based). With a lot of help from the J-L forum, I got schematics and found a shop to rebuild it: VintageBlau on Long Island. Here’s a pic of it ready to ship to them. It’ll take about 6 weeks to be completed.
I don’t expect a great sound by modern standards and I’m searching for speakers. I can re-cone the ones I have, but it’s probably better to replace them. By the way, my car was positive ground and I am going to switch it to negative ground. This radio allows the polarity to be switch as well as the voltage (between 12 volts and 6 volts). That’s pretty cool. Now to figure what to do with the clock in terms of polarity.
With the radio sorted, and still waiting on the exhaust system to come from England, I moved on the the headers. This was just going to be a simple paint solution to the original headers; some day I’ll send them off to have them ceramic coated in black. For now I just took a die grinder and some 3M Buff and Blend Cross Bluffs to prepare the surface for simple flat black header paint. Then I dressed the mating surface by hand with a file. Came out good enough to get the engine going and to mount the new exhaust system.
As I got this car with much work done by a restoration shop 25 years ago, there’s a question as to what was done to the engine. Supposedly it was rebuilt along with the all-synchro trany and the rear-end. Here’s what the exhaust ports look like - that’s a good sign as they’re clean a fresh (they all look like this No. 1).
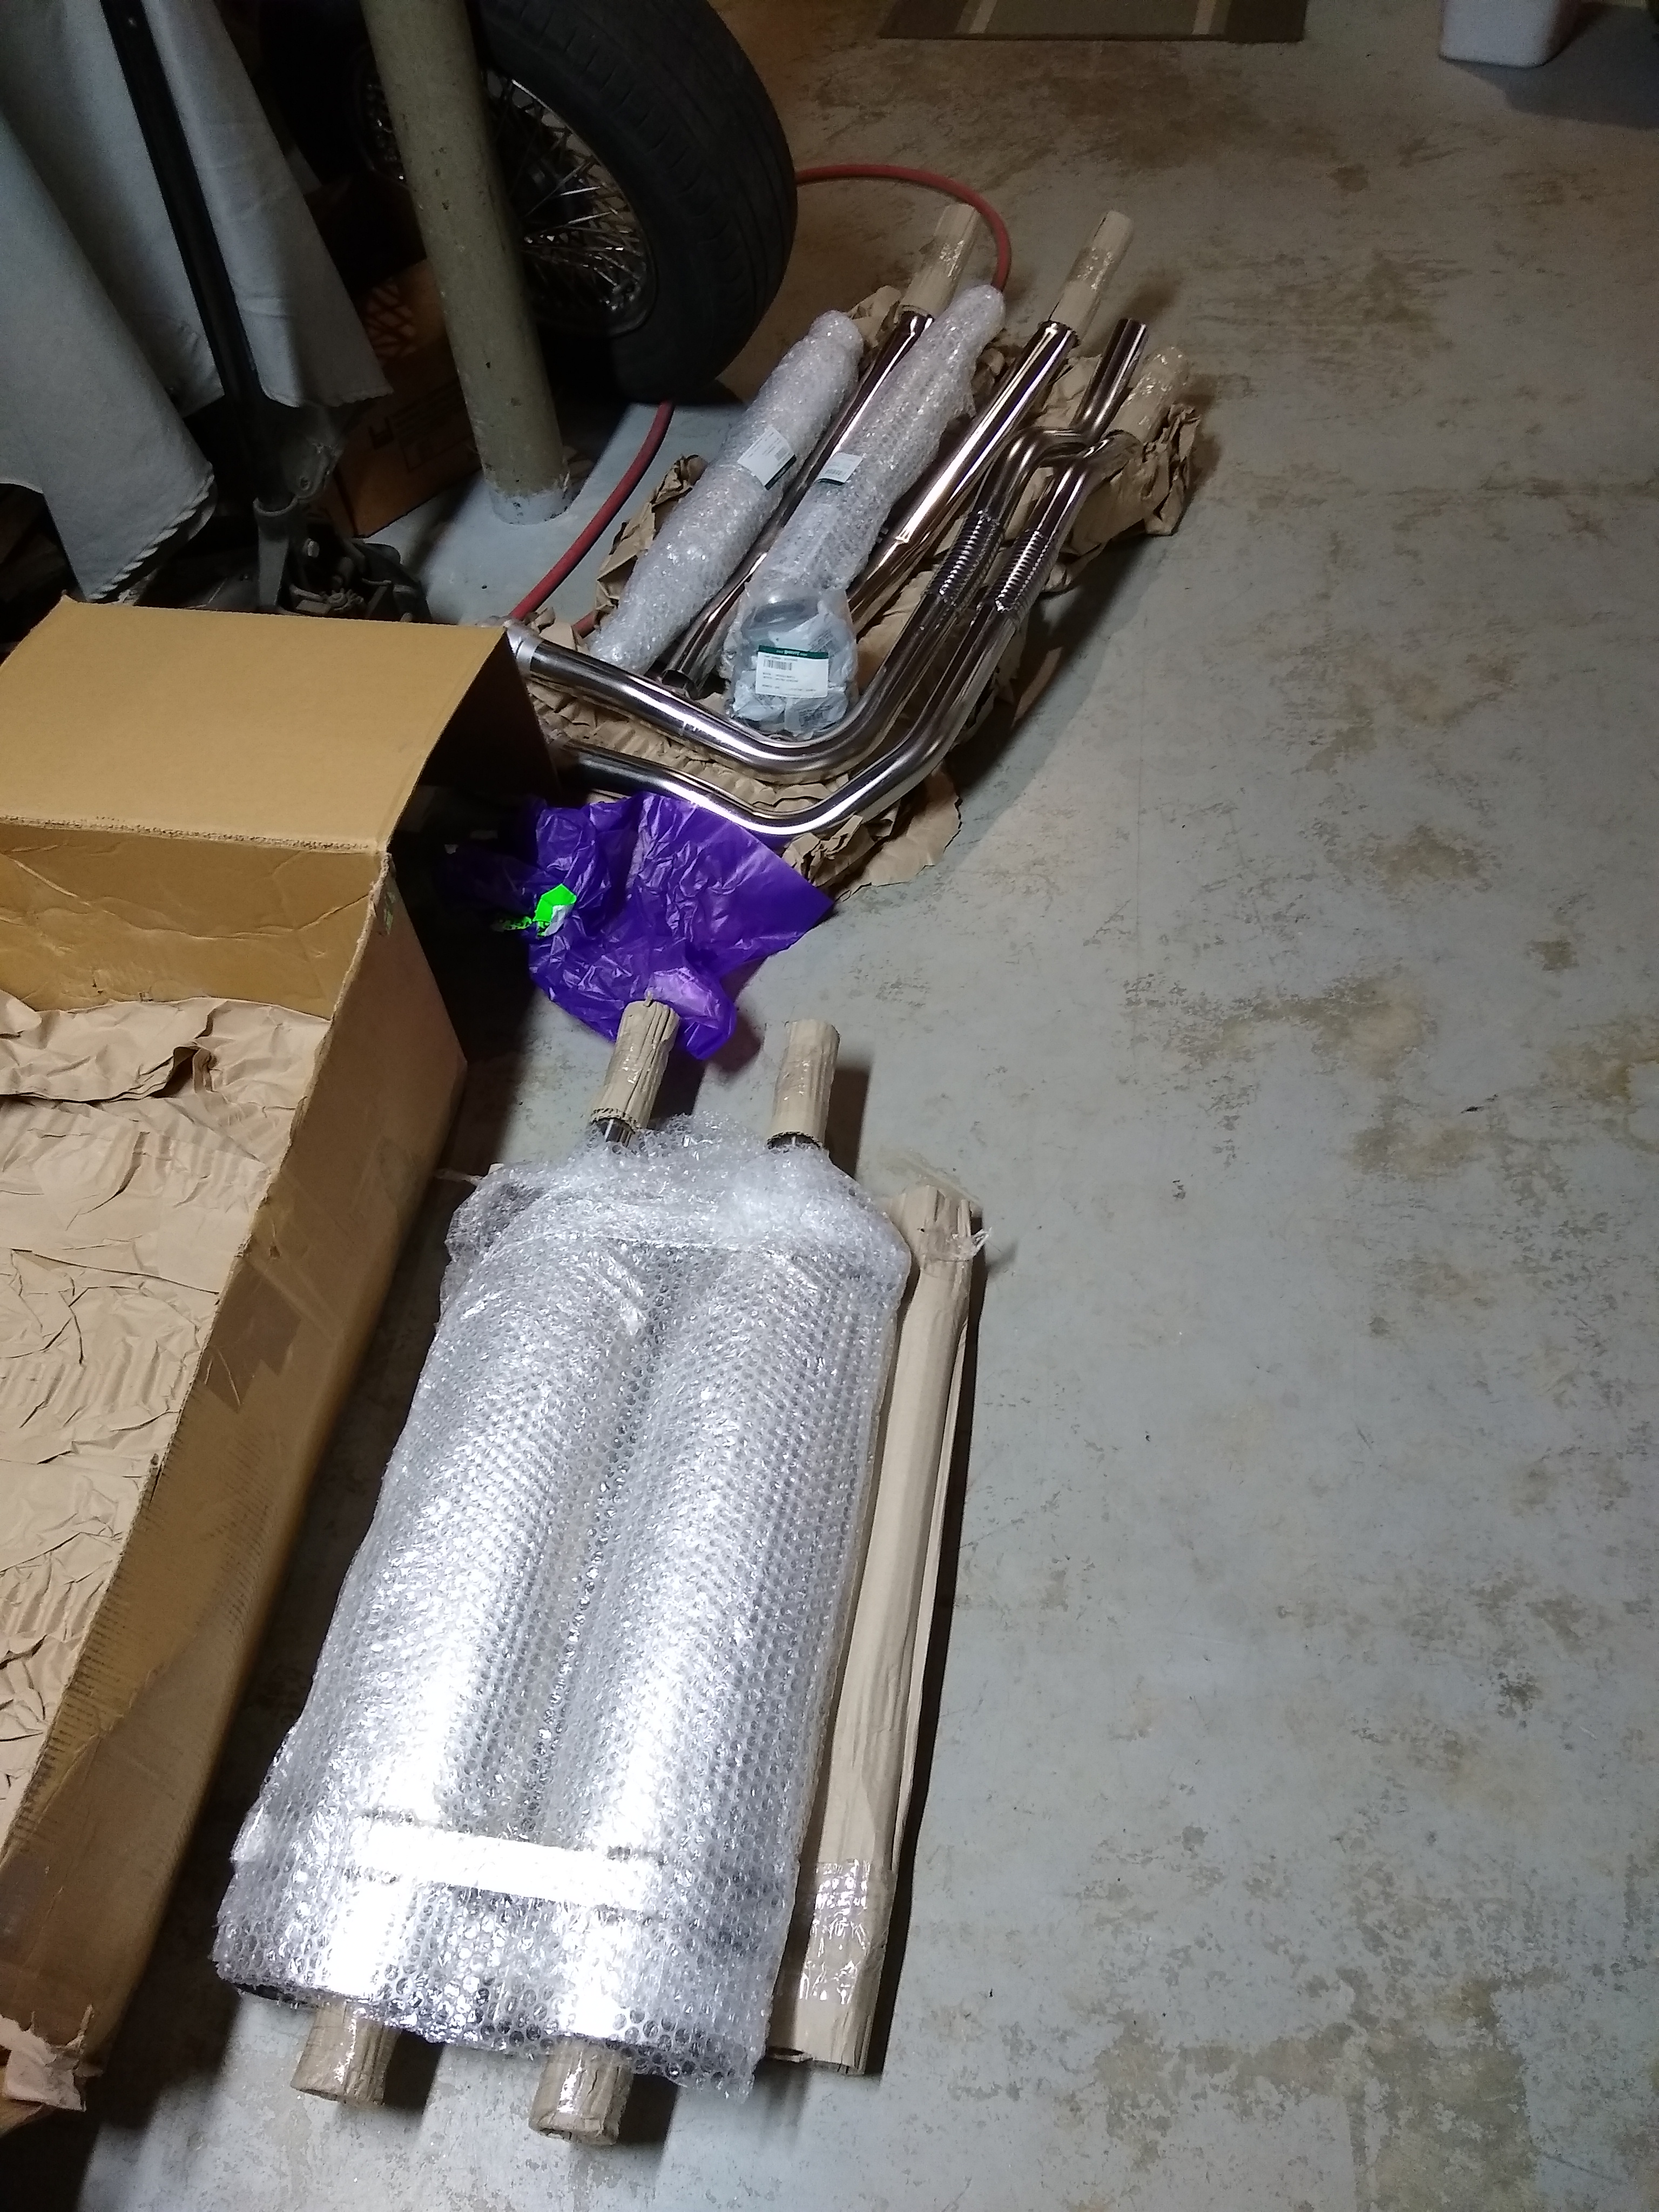
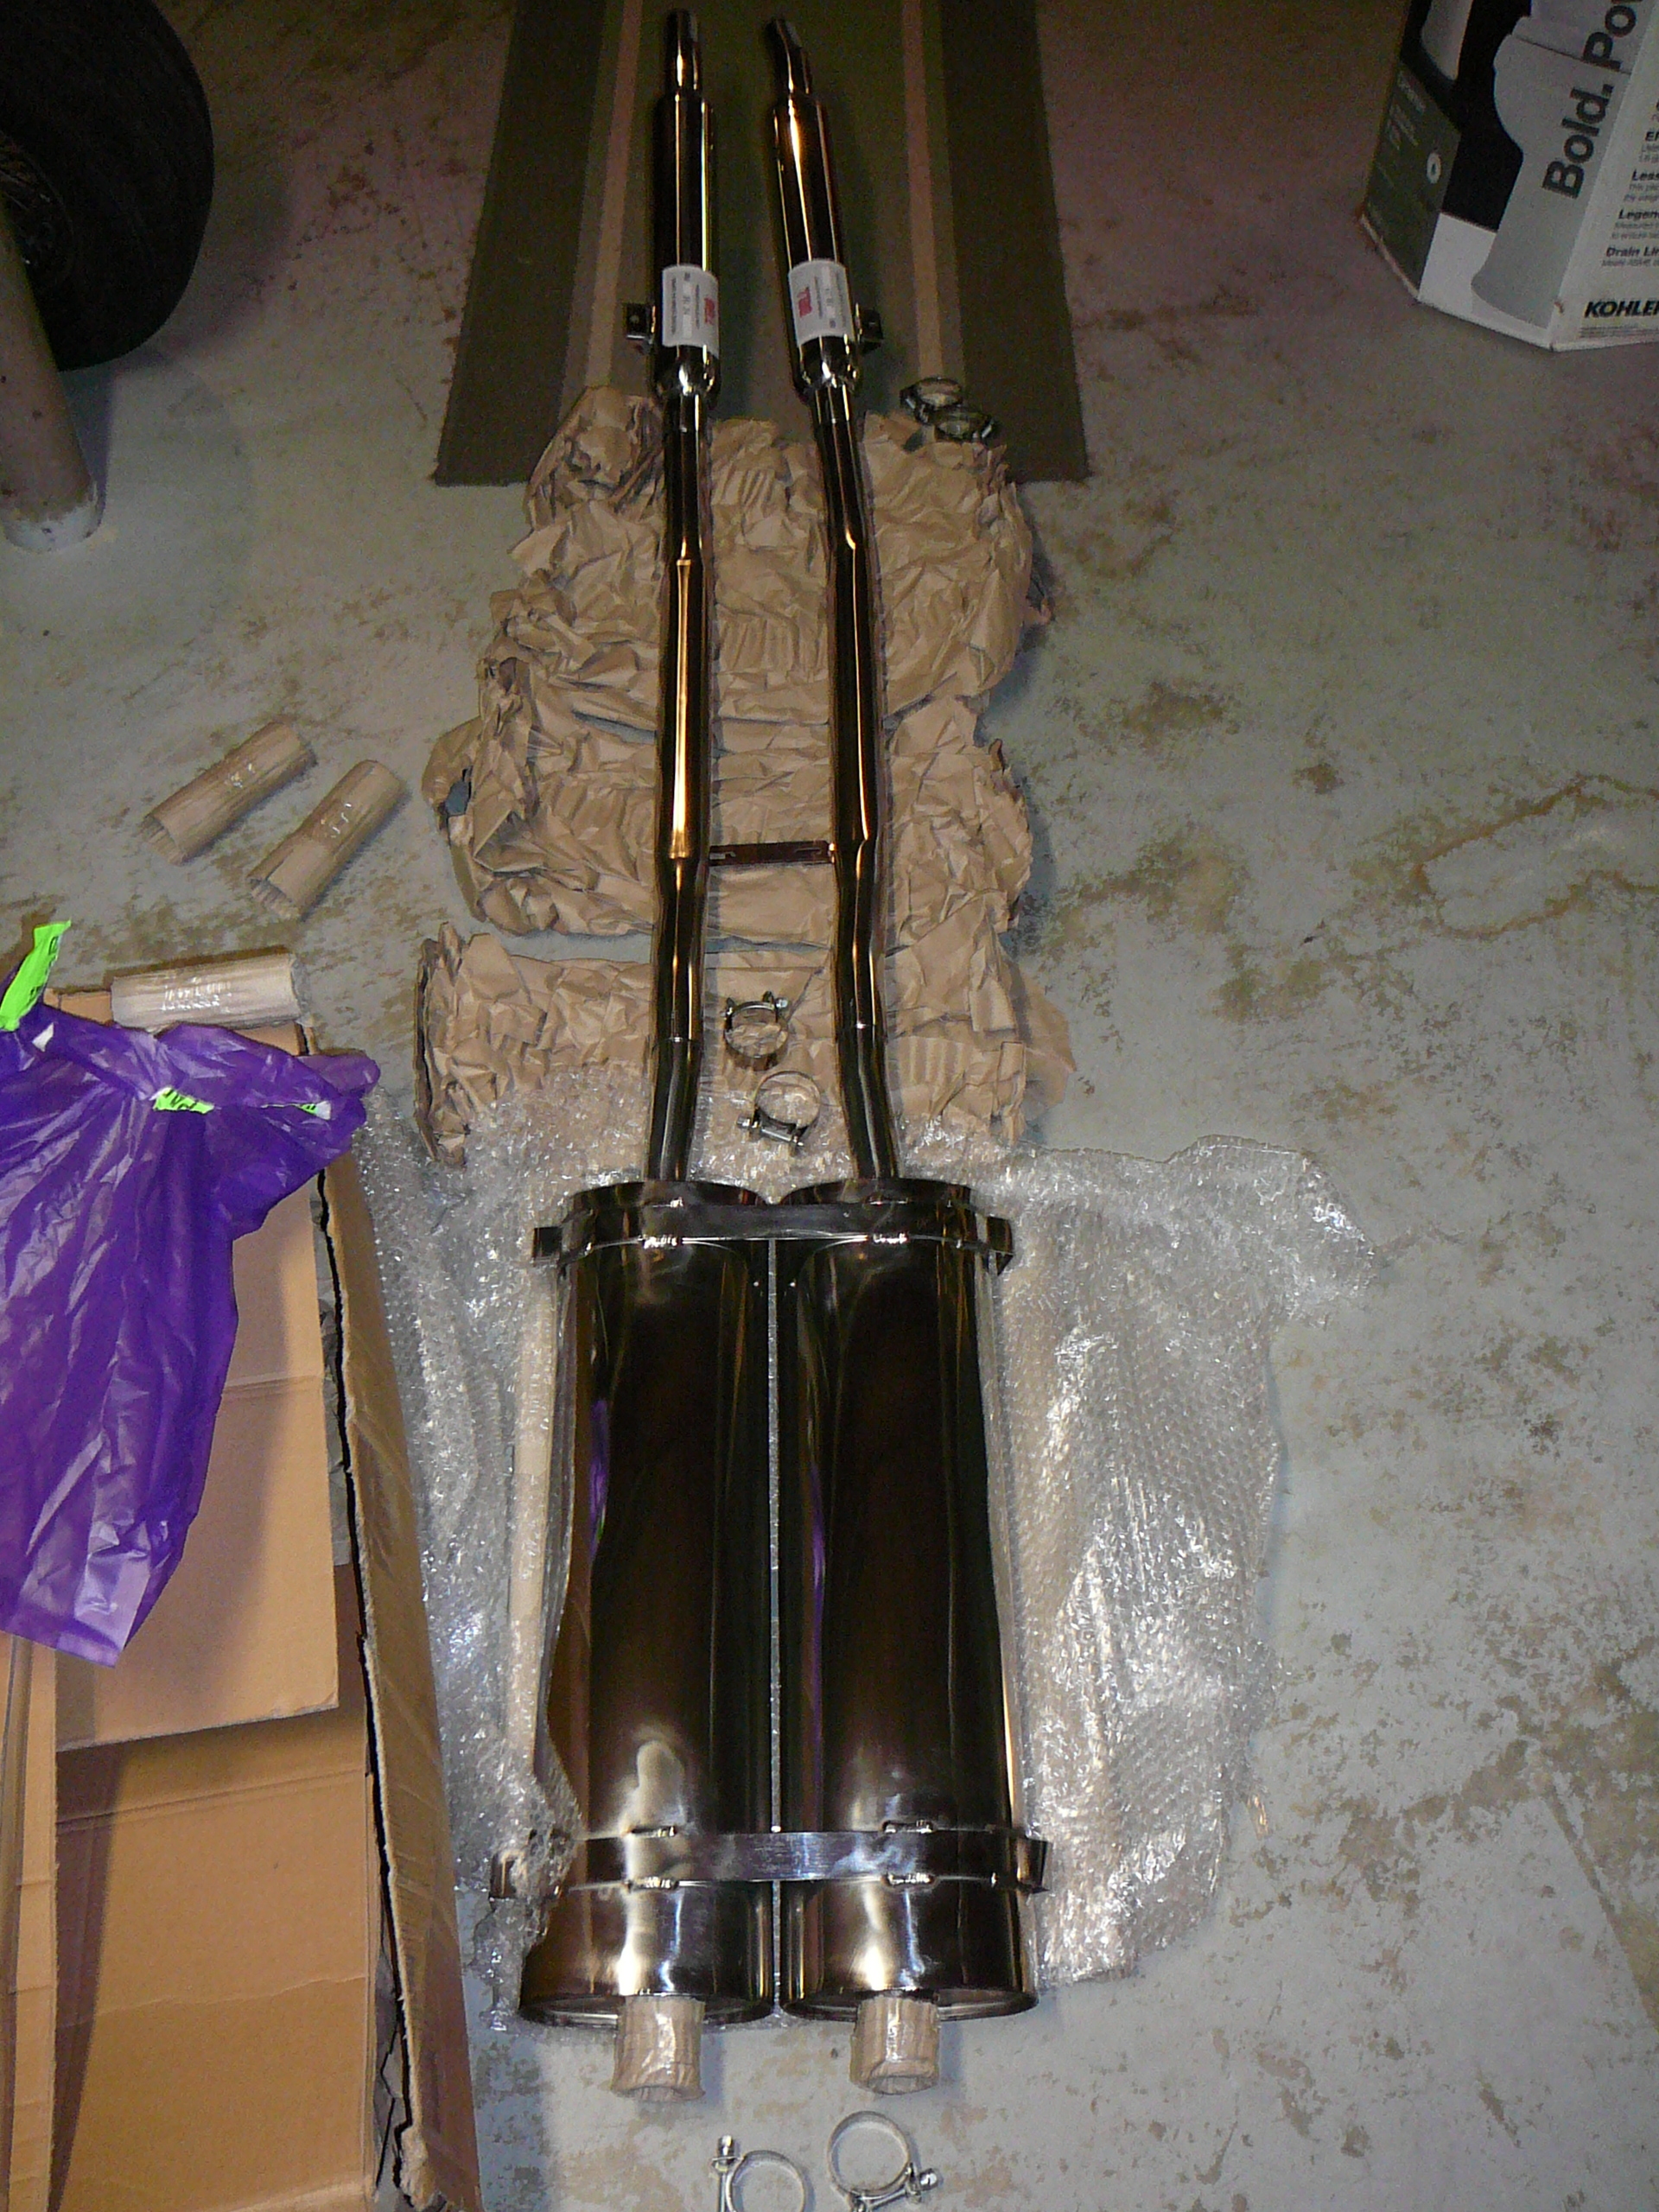
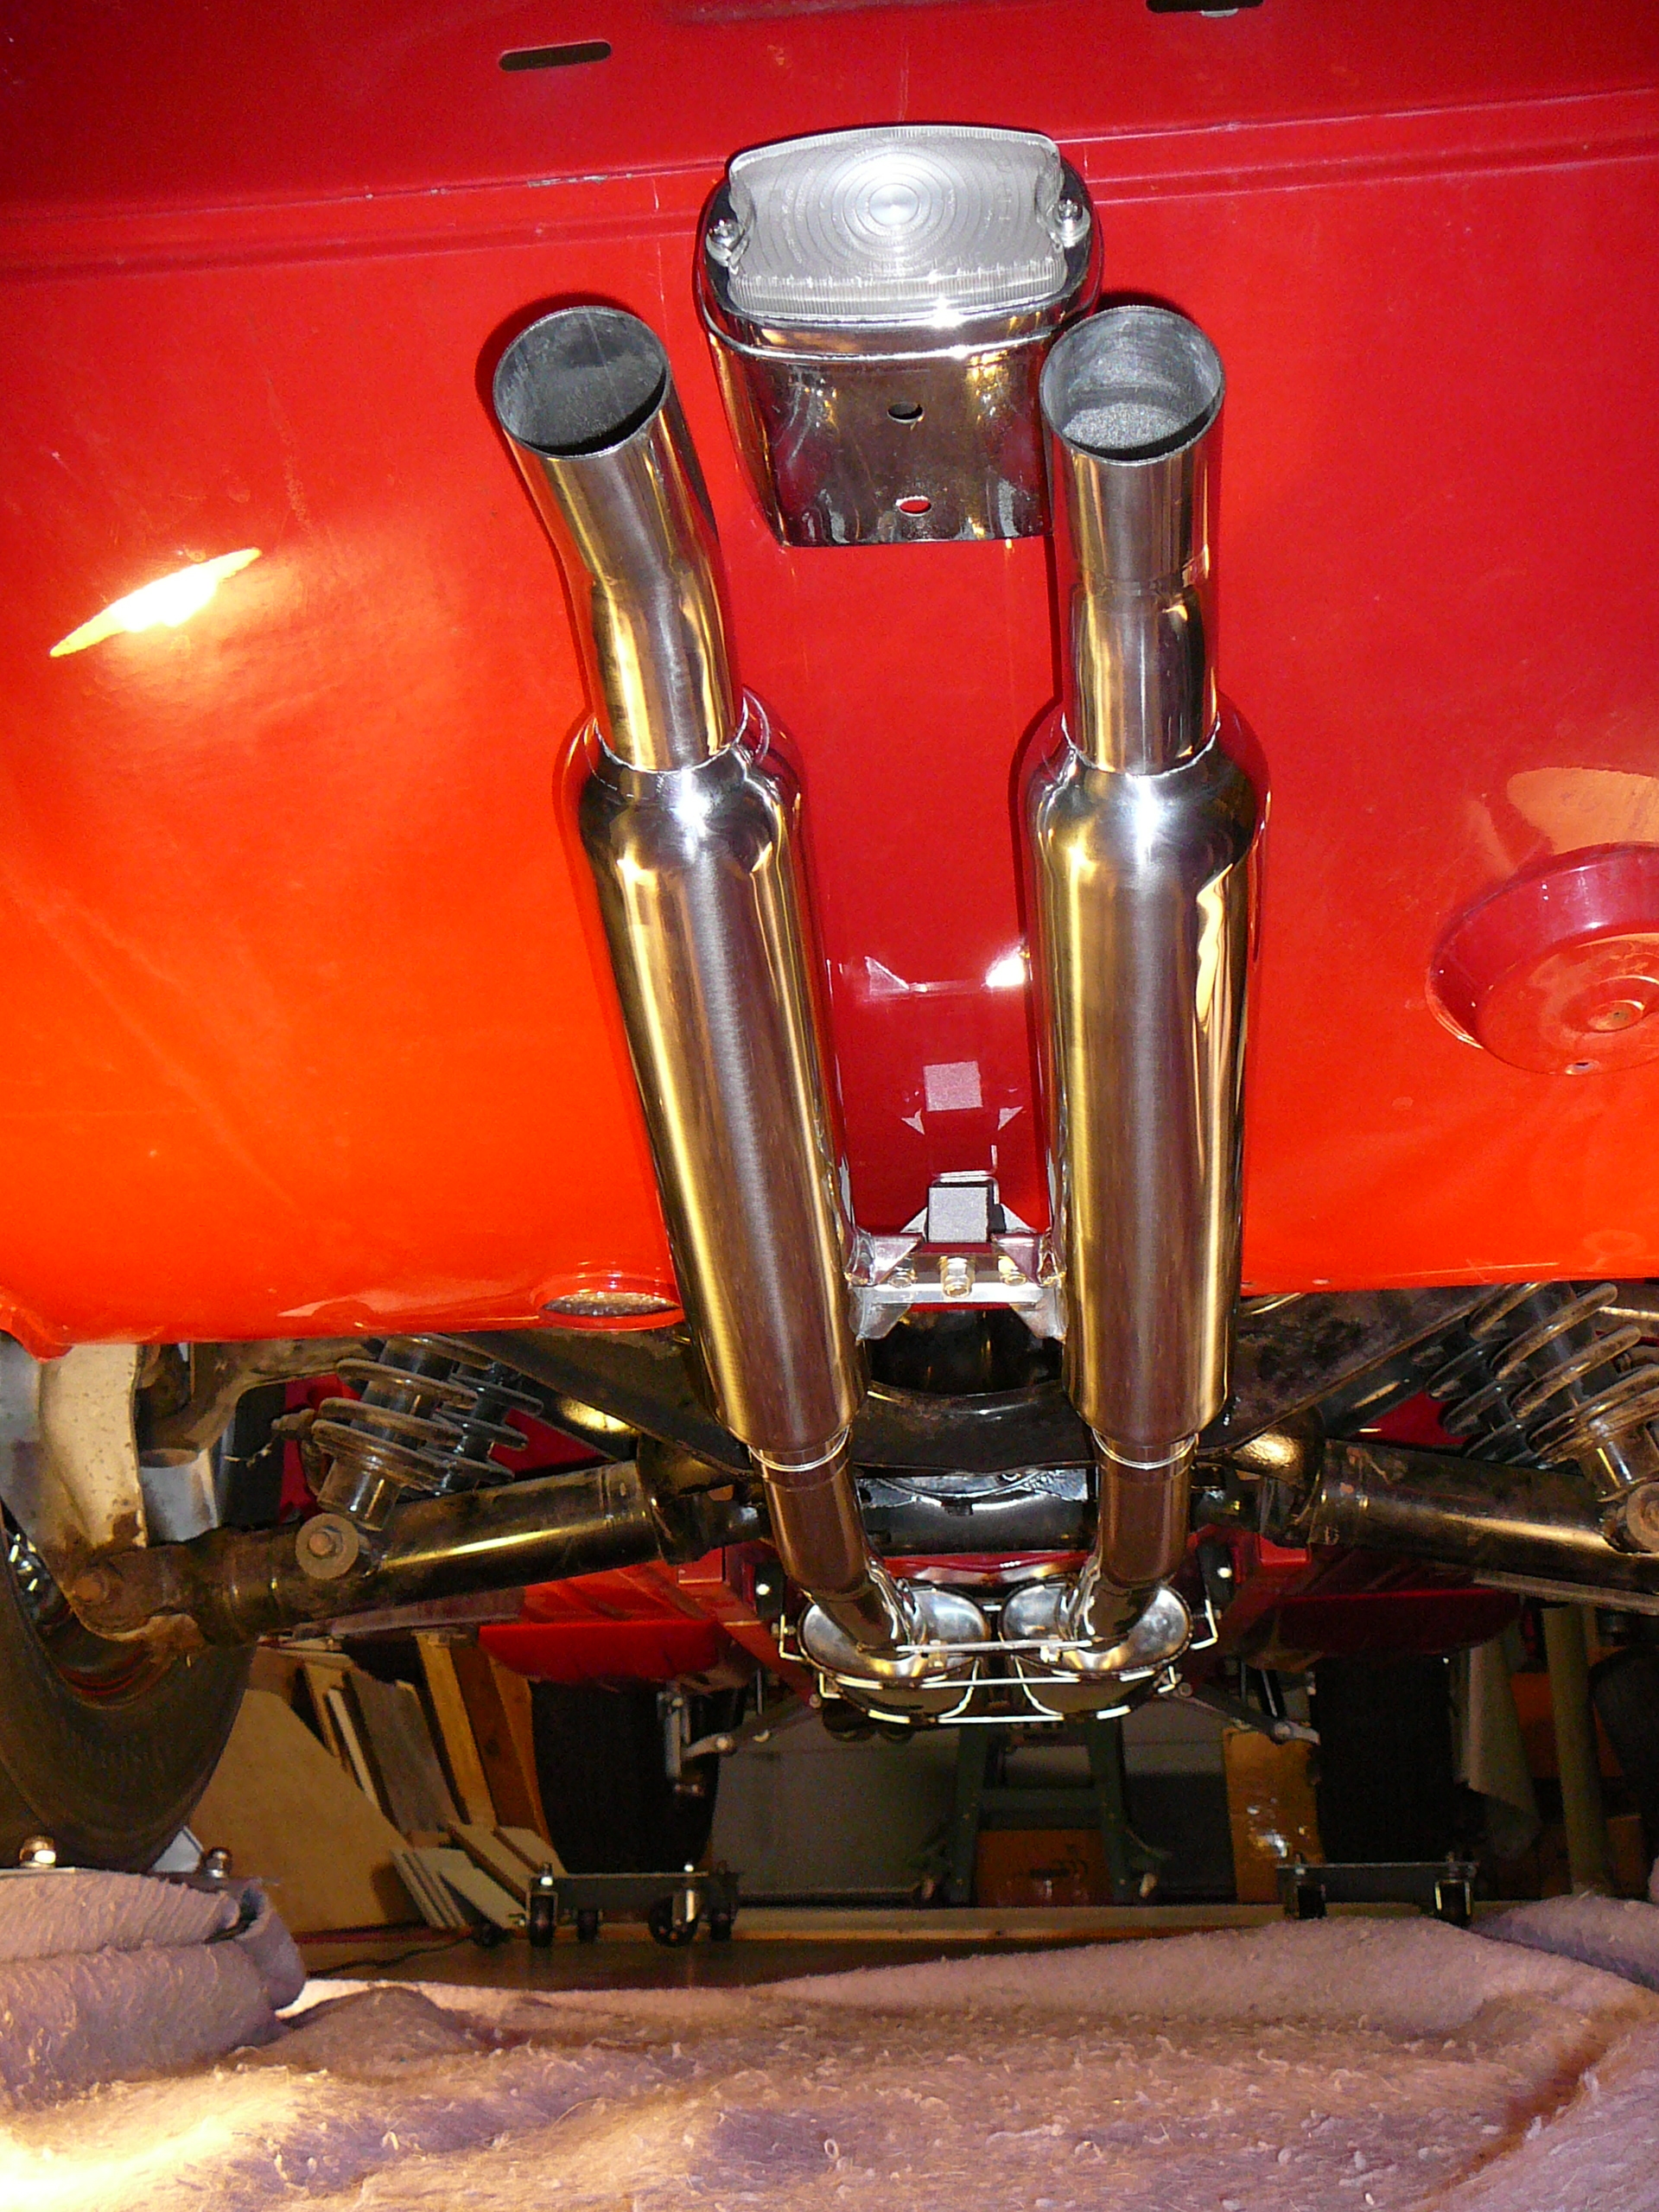
While fitting the exhaust manifolds yesterday, the exhaust system arrived. This is Barrett’s all-304 polished SS system. It does not use the 409 SS in the pipes, so it’s corrosion resistance is high and the pipes won’t turn brown. This is probably overkill for this car, but for about $100 more, you get the best. It was $800 including all the mounting hardware. In addition, I fitted new heat shields underneath the car. As the transmission is an all-synchro version, I had to use a 3.8 shield in the rear and a 4.2 shield in the front along with a bit of fiddling to make it work. The protective plastic on the shields will come off now that the exhaust is here. Here’s the exhaust still being unpacked. More pics to come.
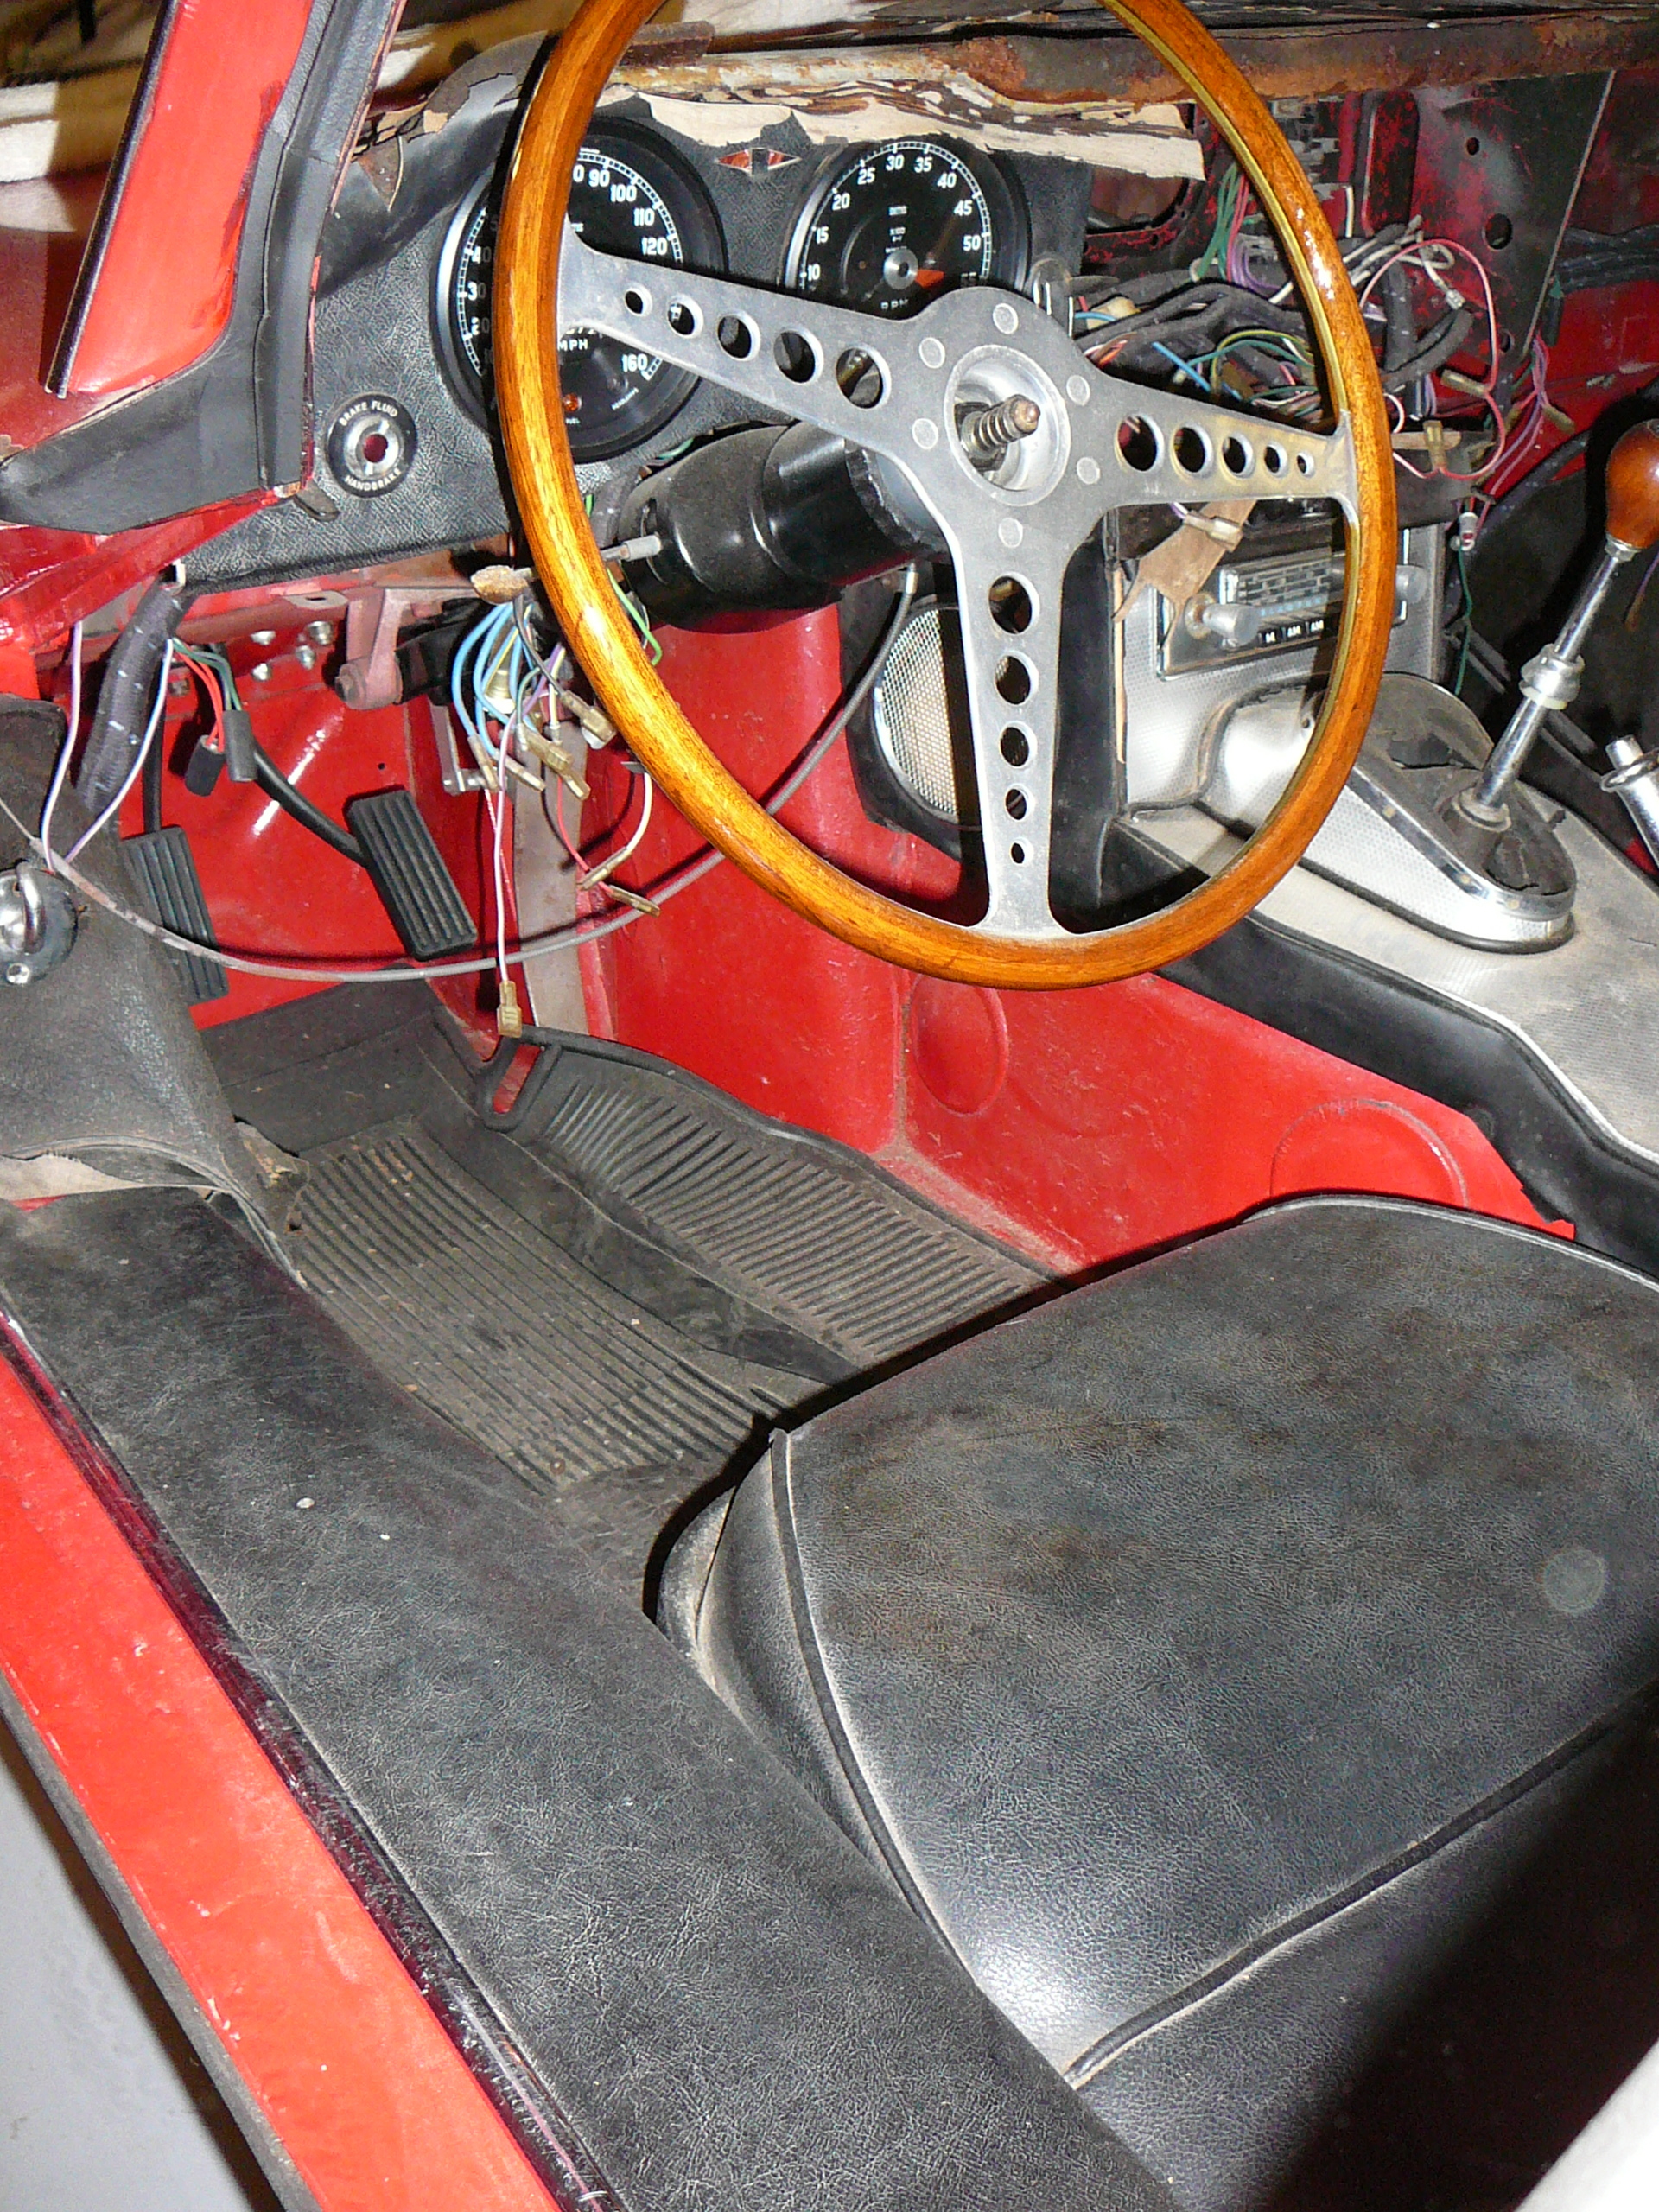
So I’ll fit the exhaust today and then get back on the wiring. I’ve moved forward to wiring up the dash and I’ve finally ordered a large size schematic; these old eyes just don’t see the fine print anymore. Anyway, wiring is a pain, but it’s just a case of buzzing the wires to assure which one you’re connecting and then getting it to the right circuit. Sounds easy. It isn’t!
I’ve got some needs: my ignition switch is missing the nut to fasten it to the panel and also the panel light switch is missing the same. Anyone know where to find these small parts? Also, on the lighting switch I wired it with the wires to the inner diameter vs. to the outer diameter. I don’t know if this is correct, but it seemed logical to me. Here’s a pic.
That’s all for now. I have more questions than answers, but I seem to be moving forward.