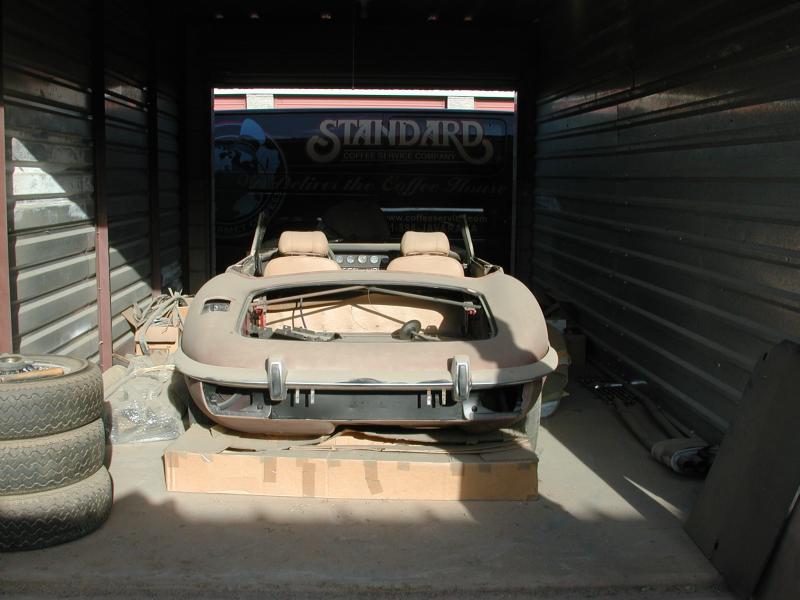
With apologies to OP for hijacking his LED thread: Doug - there is no admission fee to tour an empty garage; feel free to come down anytime. Wiggie knows the way by heart – maybe you guys can car pool. I’ll keep the lights on for ya.
I sat down last and choreographed the final count down:
Next Steps on Construction of Hobby Shop
PHASE 1 – HOBBY SHOP
Rough-In electrical
Final Inspection
Complete electrical installation
Water in from well-head
Install toilet/shower stall/sink
Install Slop Sink
Install 3x Hose Bibbs – 1. Left of Large Door, 2. Right of Small Door, 3. Centered on rear
Build Walls Around Bathroom
Concrete Floor – Bathroom
Install Manifold and Boiler for In-Floor Heating Tubes
Water out to leach field
Install Welding Table in Dirty Room
Build Walls Around Dirty Room and Populate it
a. Buffer
b. Grinder
c. Drill Press
d. Blast Cabinet
e. Oven (Powder Coating)
f. Parts Washer
Build Loft
Install Ceiling Lighting
Install in Loft Air Compressor
Install Compressed Air Lines (Type L Copper)
Apply Epoxy Flooring
Install Staircase to Loft
Color Coat on Stucco
Purchase/Install Benches made of reclaimed bowling lanes
a. 3x 8 foot Benches on Coasters
b. 1x 20 foot Bench with 3x 12-Outlet Power Strips
Install 2-Post Lift
Install Refrigerator
Install Microwave Oven
Hang Wall Art
a. 11x Cut-a-way Posters of Cars
b. 4x Large Posters (Bugatti Royale’s/Jag Race Car/Monaco Grand Stands/Last Red Hot)
c. 1x Wooden Jaguar Plaque
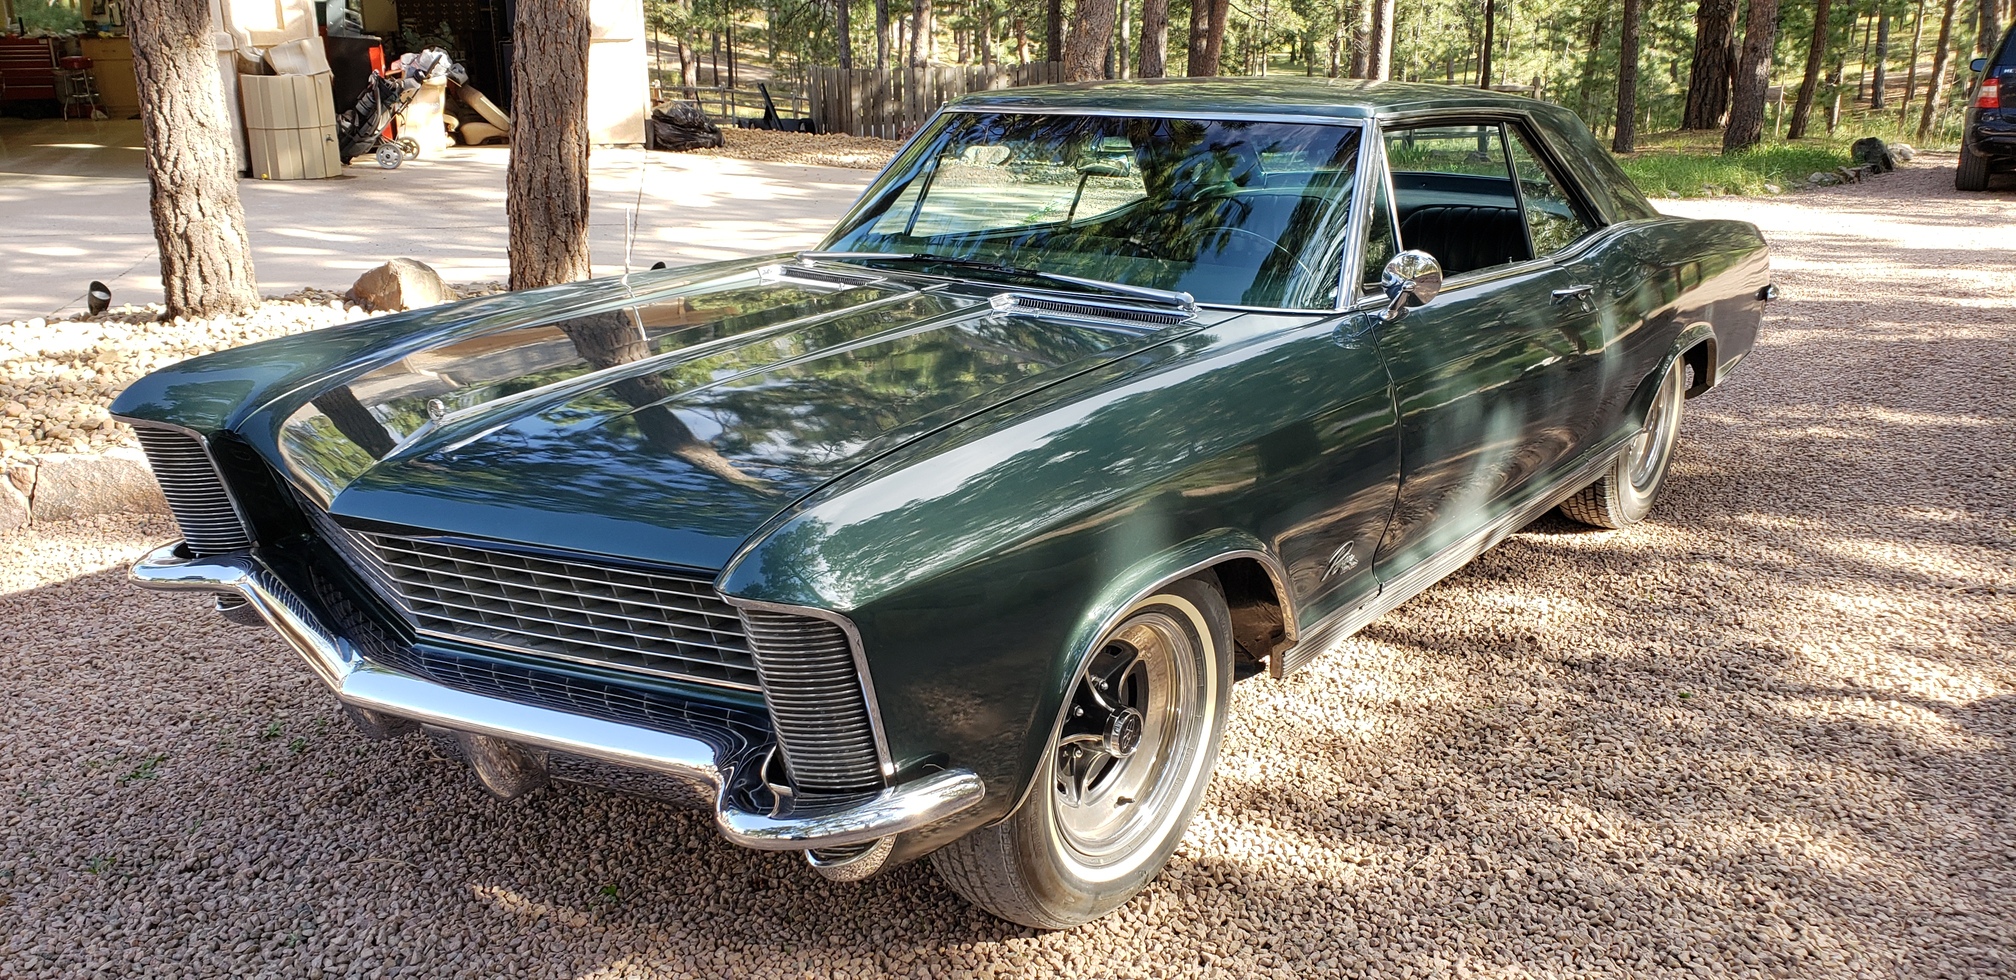
d. 1x Mock-Up of Riviera Window Sticker
e. I-Love-Me stuff
Arrange Storage Racks
a. 1x Accel Stand-Up Yellow Cabinet
b. 1x Motor Craft Service Writer’s Desk
c. 1x Aluminum Trash Can
d. 1x Aluminum 3-Tiered Bottle Rack
e. 1x Aluminum Wall Tray
f. 3x Valley Forge 2-Door Cabinets
g. 3x Craftsman Standing Cabinets
h. 6x Hardware Racks each with 4 drawers
i. 1x Rolling Rack of Electrical Connectors
j. 4x Red Griot’s Bottle Racks
k. Standing Kar Products Hardware Racks
l. 2x Library Index Card Files
m. NAPA 3-Piece Blue Wall Cabinet
n. 1x 2-Tiered Map Cabinet
o. 1x Sun Diagnostic Center
p. 2x Tear-Drop Rack/Shelving
i. 2x Tumblers
ii. 1x UltraSonic Cleaner
iii. 4x U2 Green Hardware Cabinets
q. 6x Stainless Steel Backer’s Racks
PHASE 2 – RETAINING WALL
PHASE 3 – CONCRETE PAD FOR PROPANE TANK / DRIVEWAY-PARKING PAD
PHASE 4– CURVING RAMP CONNECTING REAR DECK TO HOBBY SHOP
John – I happen to be the current custodian of a Series III OTS that last ran under its own in 1992? 93? It was stripped to bare metal, dents/rust repaired and primered. Likely needs a little attention to - - - about everything.
Assuming these blokes are booked when you have Ye Grande Openinge––I’m thinking @Erica_Moss could do the lead guitar parts, and we can all help install LED turn signals in the Riv…
So. If I am following this correctly, if I change out the rear stop, turn, running lights and the back up light and not have to change either flasher unit? is that correct?
When I went to LED bulbs I first replaced the rear turn/stop/taillight bulbs leaving the fronts as incandescent bulbs. Those incandescent front bulbs provided enough resistance to allow the stock flasher to function properly. So the answer to your question is, “Yes, it worked for me”.
When I replaced the front turn signal bulbs with LEDs the stock flasher couldn’t handle the low resistance. I tried various flashers that were suppose to work with LED bulbs, No joy, so I added the resistance thingies I found at Walmart to the front turn signal bulbs.
Yes, they cause a slightly higher amp draw but big deal. In the course of driving the turn signals aren’t on much, unless you’re the old man I follow down the interstate.
The backup lights play no part in whether the turn signals need load resistors or a new flasher, so no worries there.
Bill, you would have to change out the flasher and hazard flasher if there are no incandescent bulbs left. Or wire in the load resistor that John W. did. To me, using a correct flasher is less headache, but my opinion only
")