One for the masses
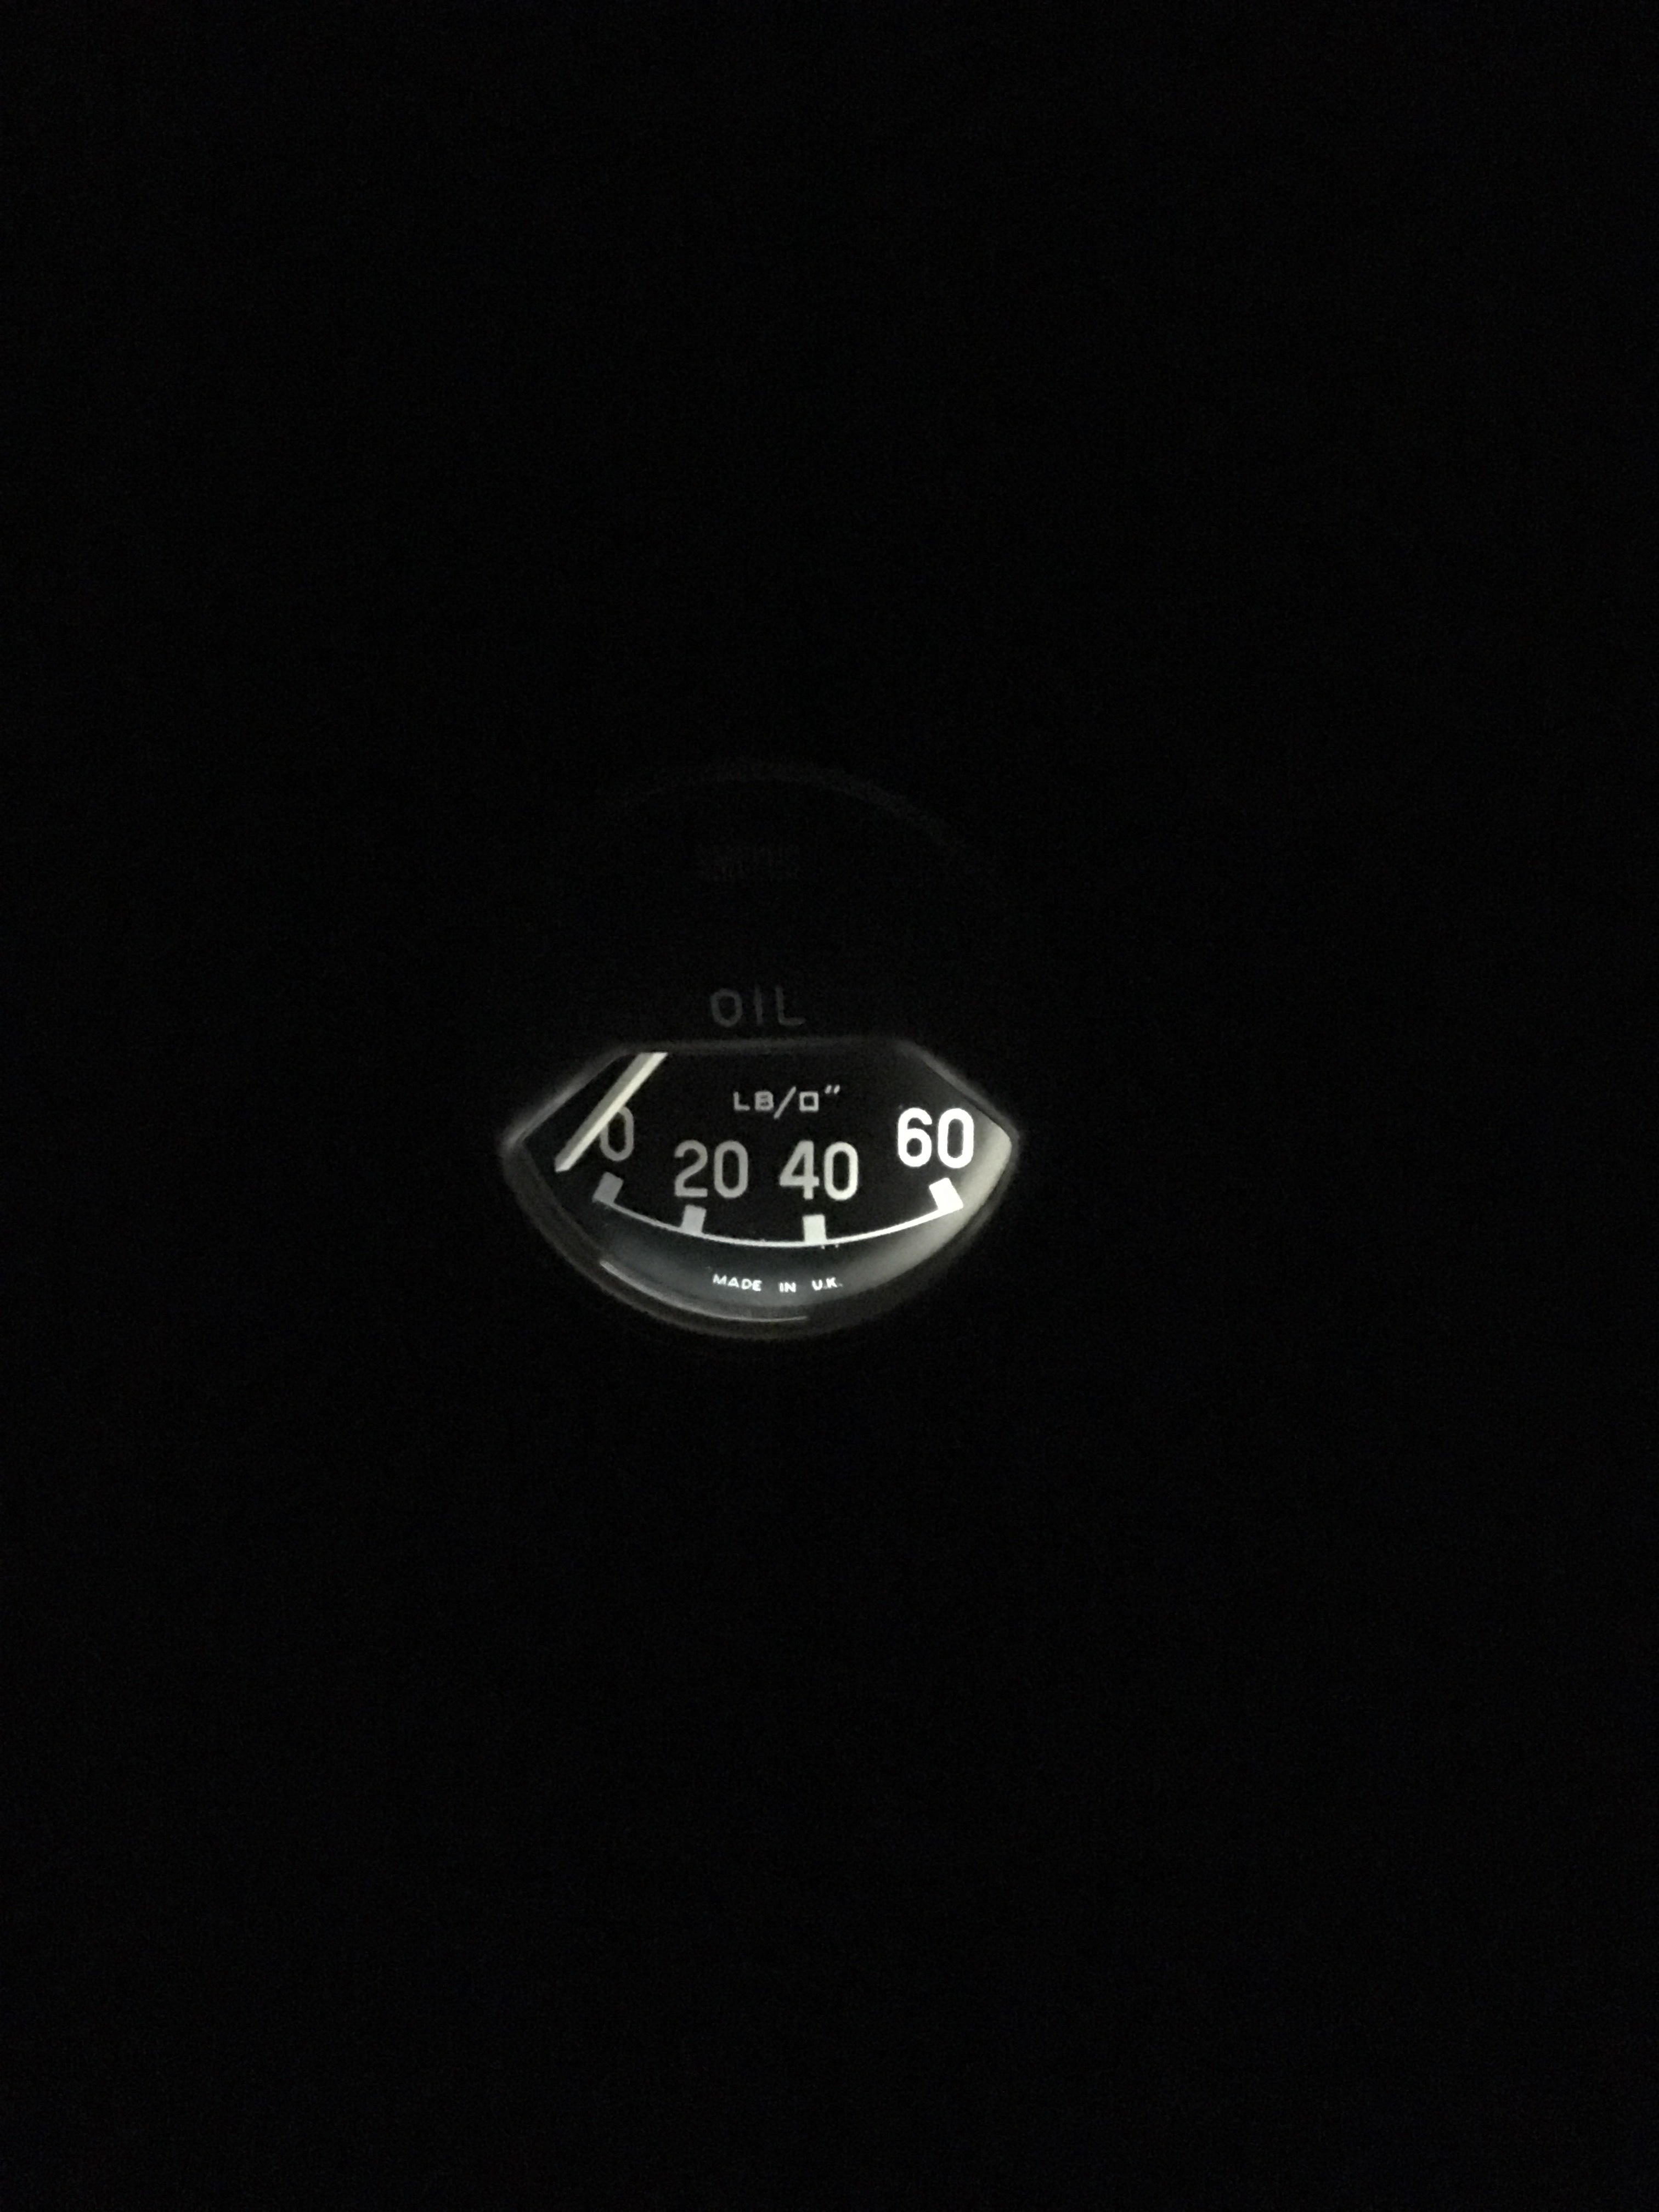
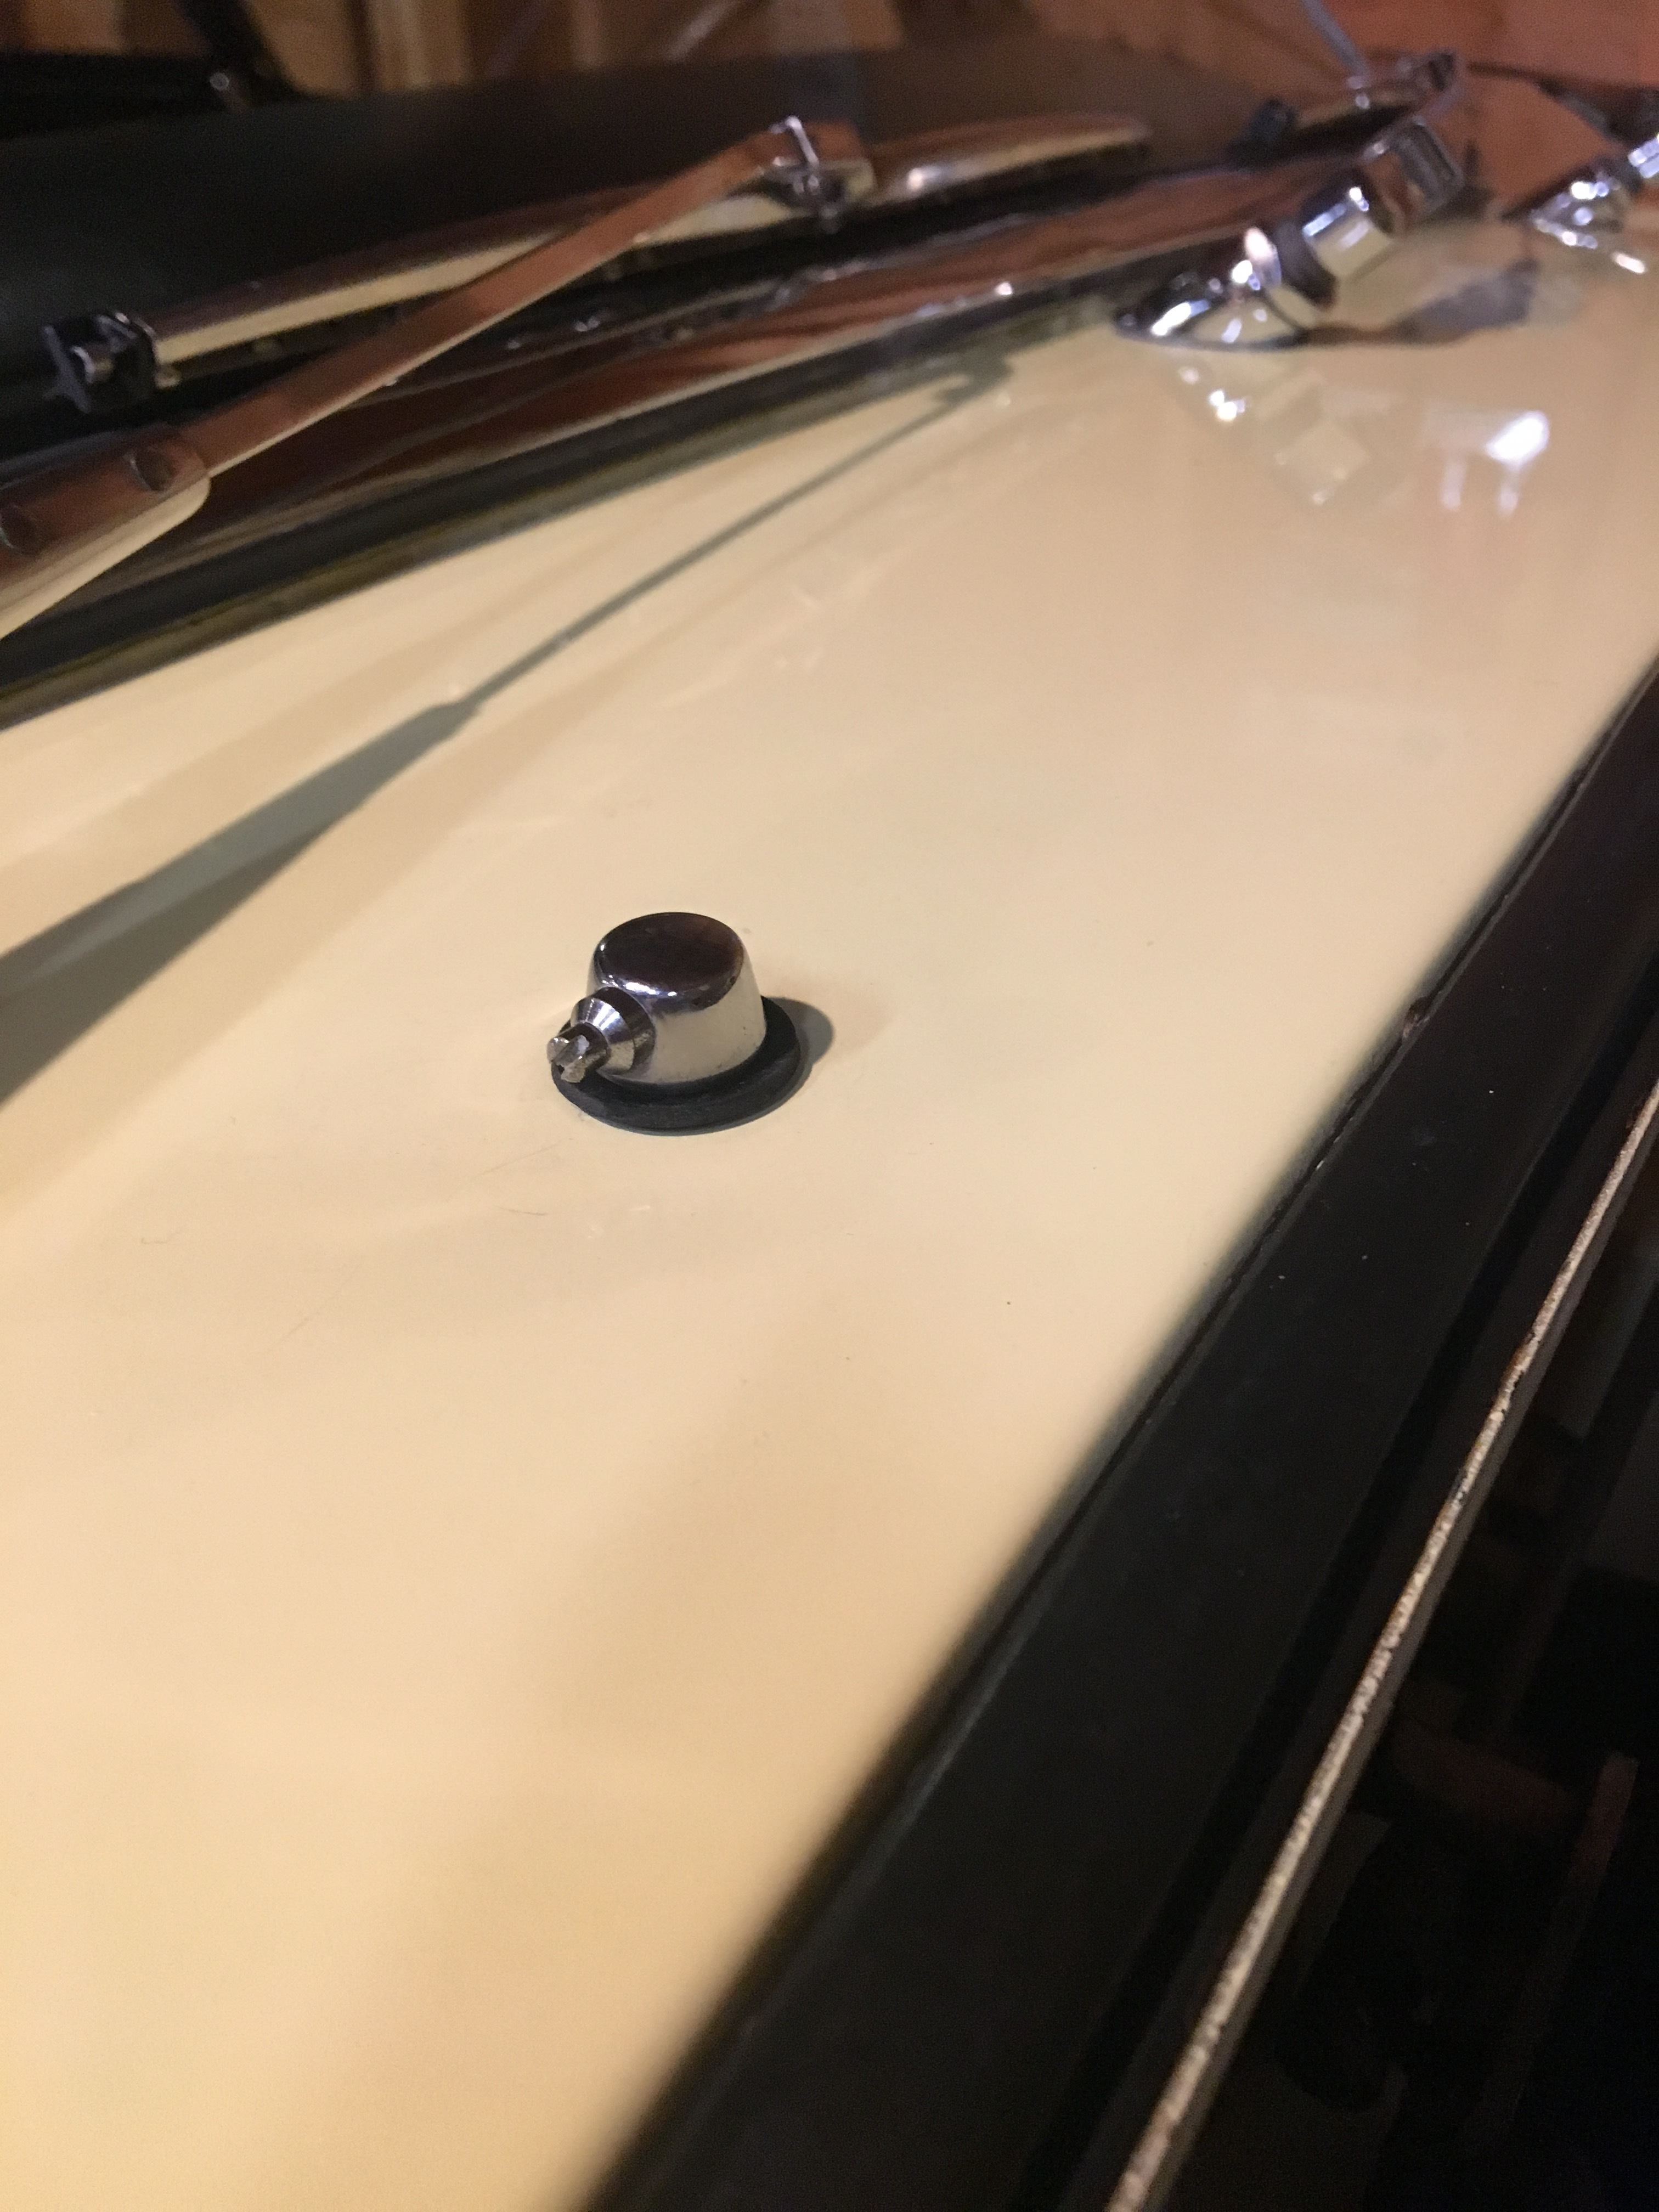
My oil gage socket is to the right not center
Soooo when the lights are on there was a glare on the one side
Below look at the gage with a led bulb then an old fashion bulb then a bulb with a sharpie in black covered on one side!
Viola! The glare is gone!
Loving this crap
I like door number 1 too but compared to the others it looks the next step brighter.
Its because the bulb is favored on one side of the gage not in the middle.
We shall see.
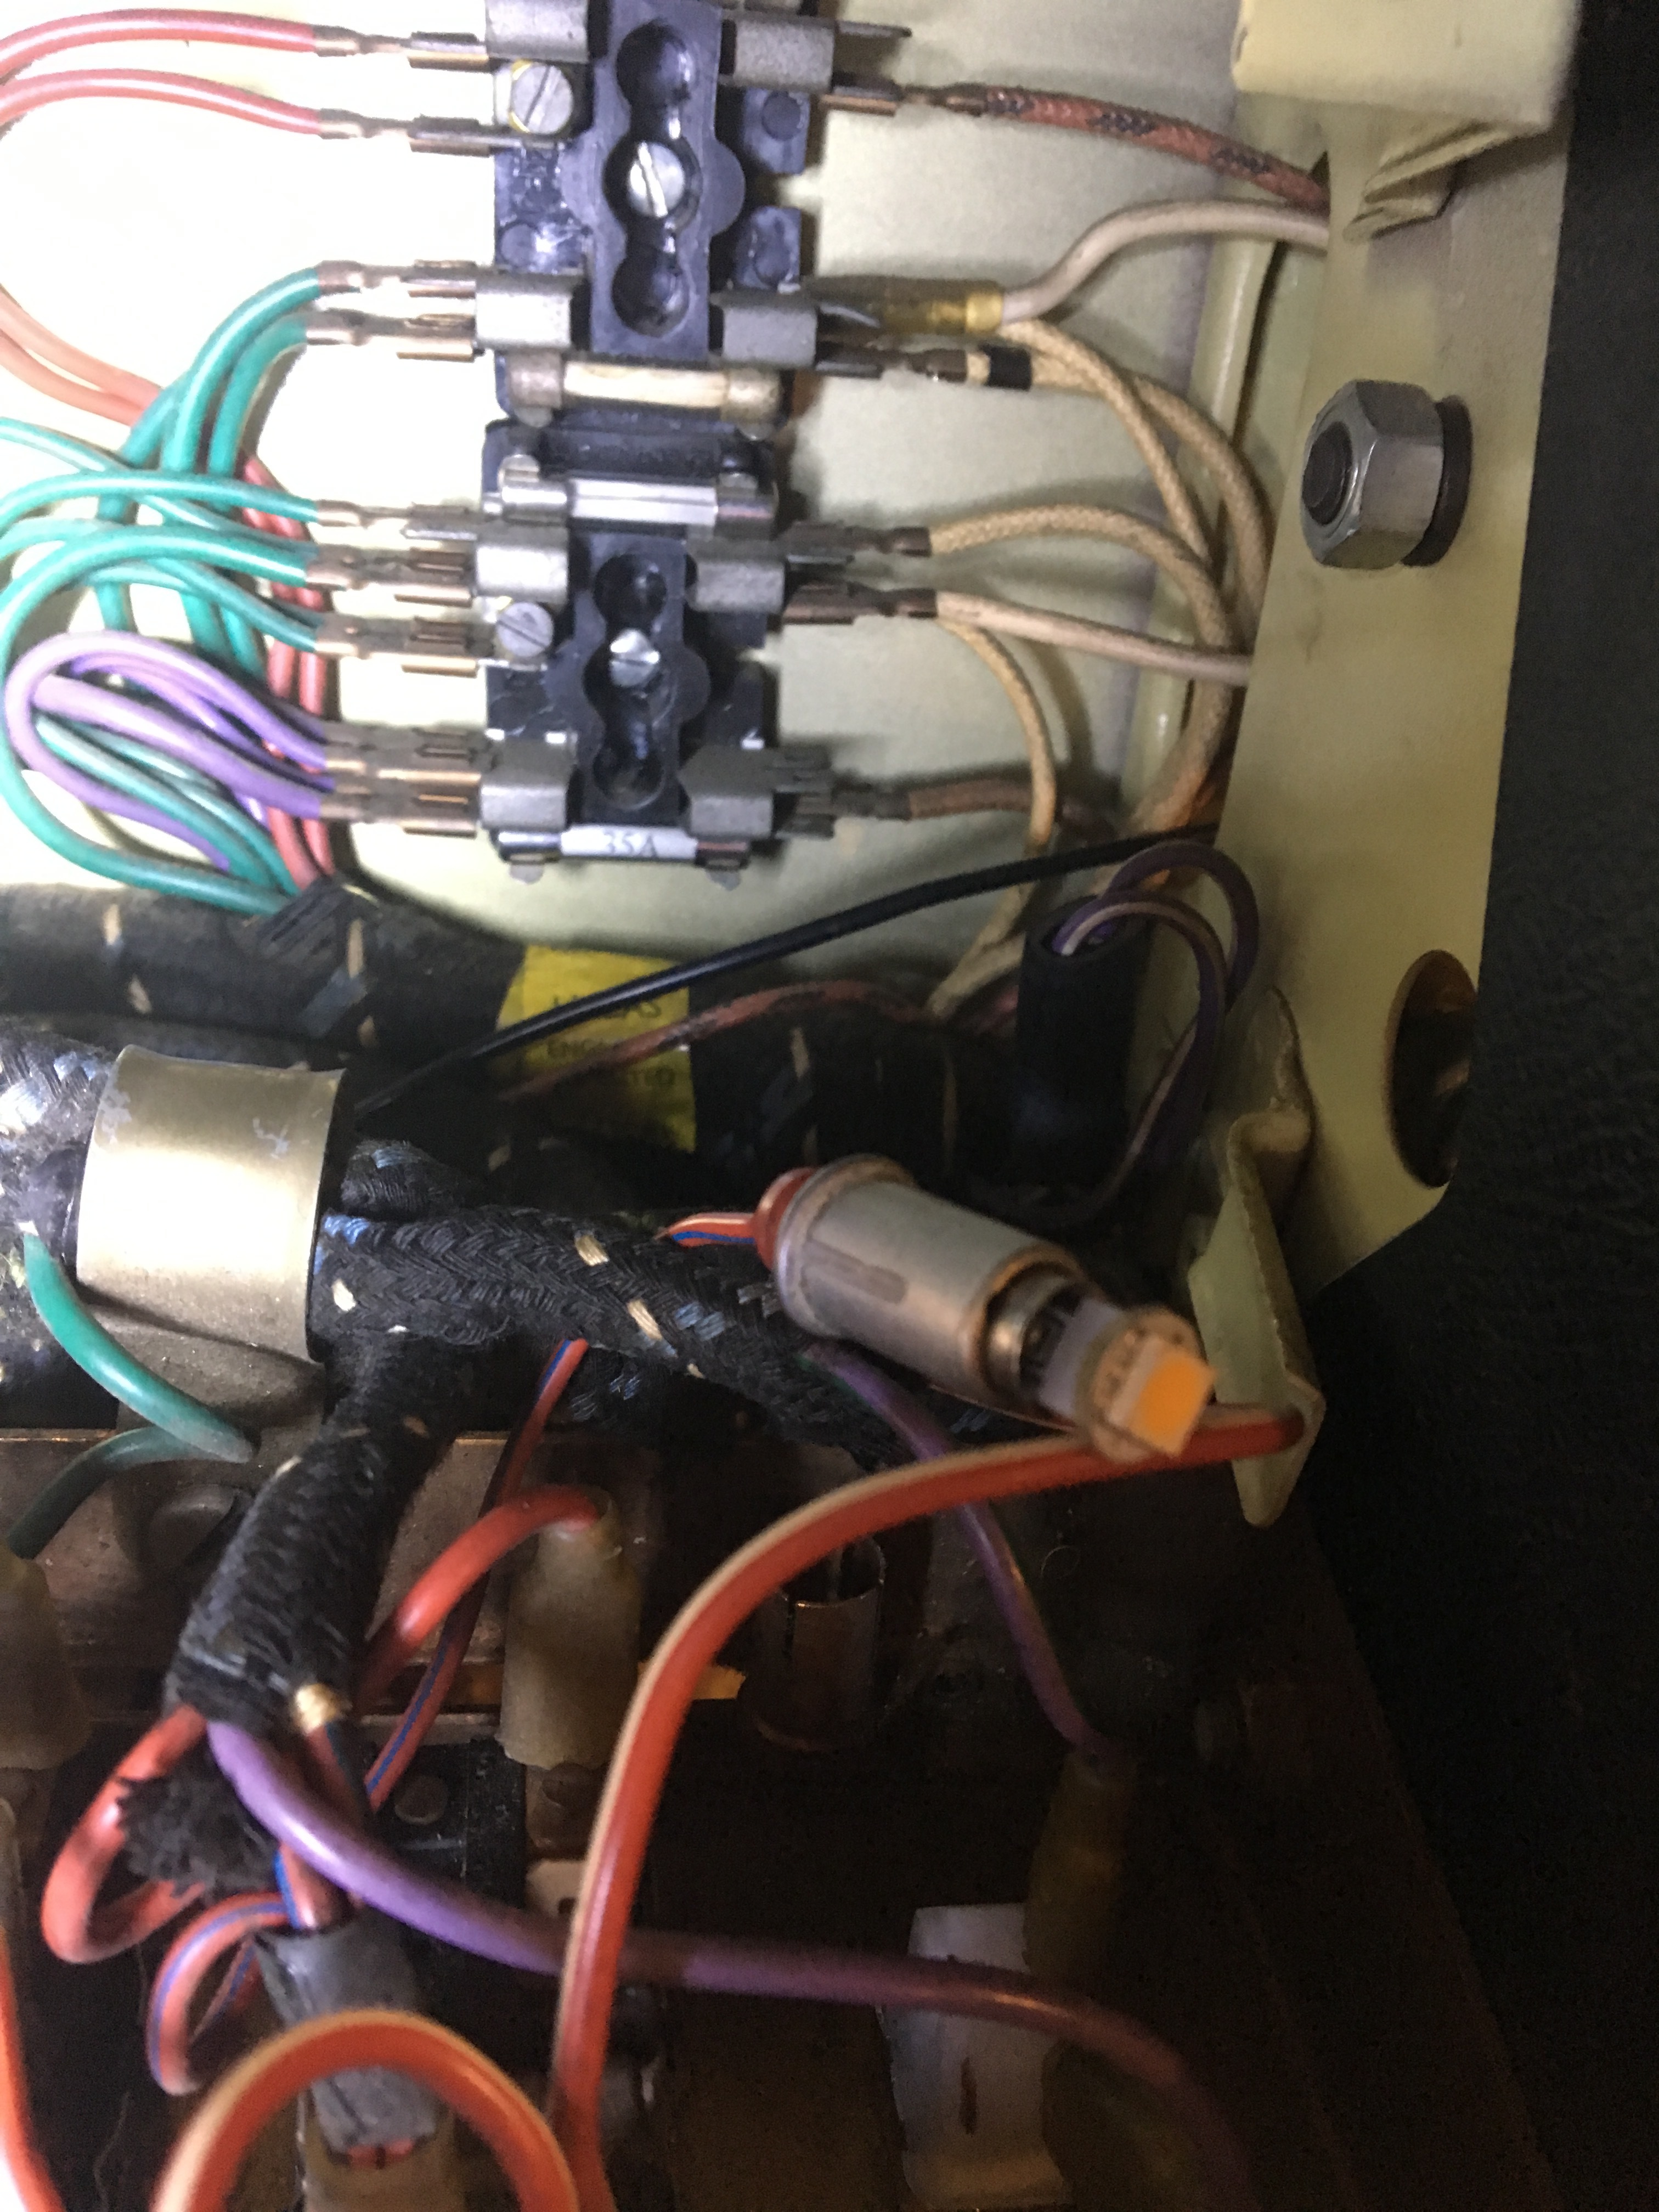
I fixed the map light……
I cant stand old crap hanging on by a thread.
I peeled back the purple and purple /white , soldered on new bullet bells , put the led bulb added more wire and crimped to existing wires then sleeved the whole thing in shrink tube.
It looks great and held the wires to the defrost tube with the NEW rubber strapping from SNG , that stuff is the real deal.!
Pictures later.
gtjoey1314
A horrible picture but look close before I touched up the bulb on the oil gage
Water is perfect
Oil is to loud
Temp is perfect
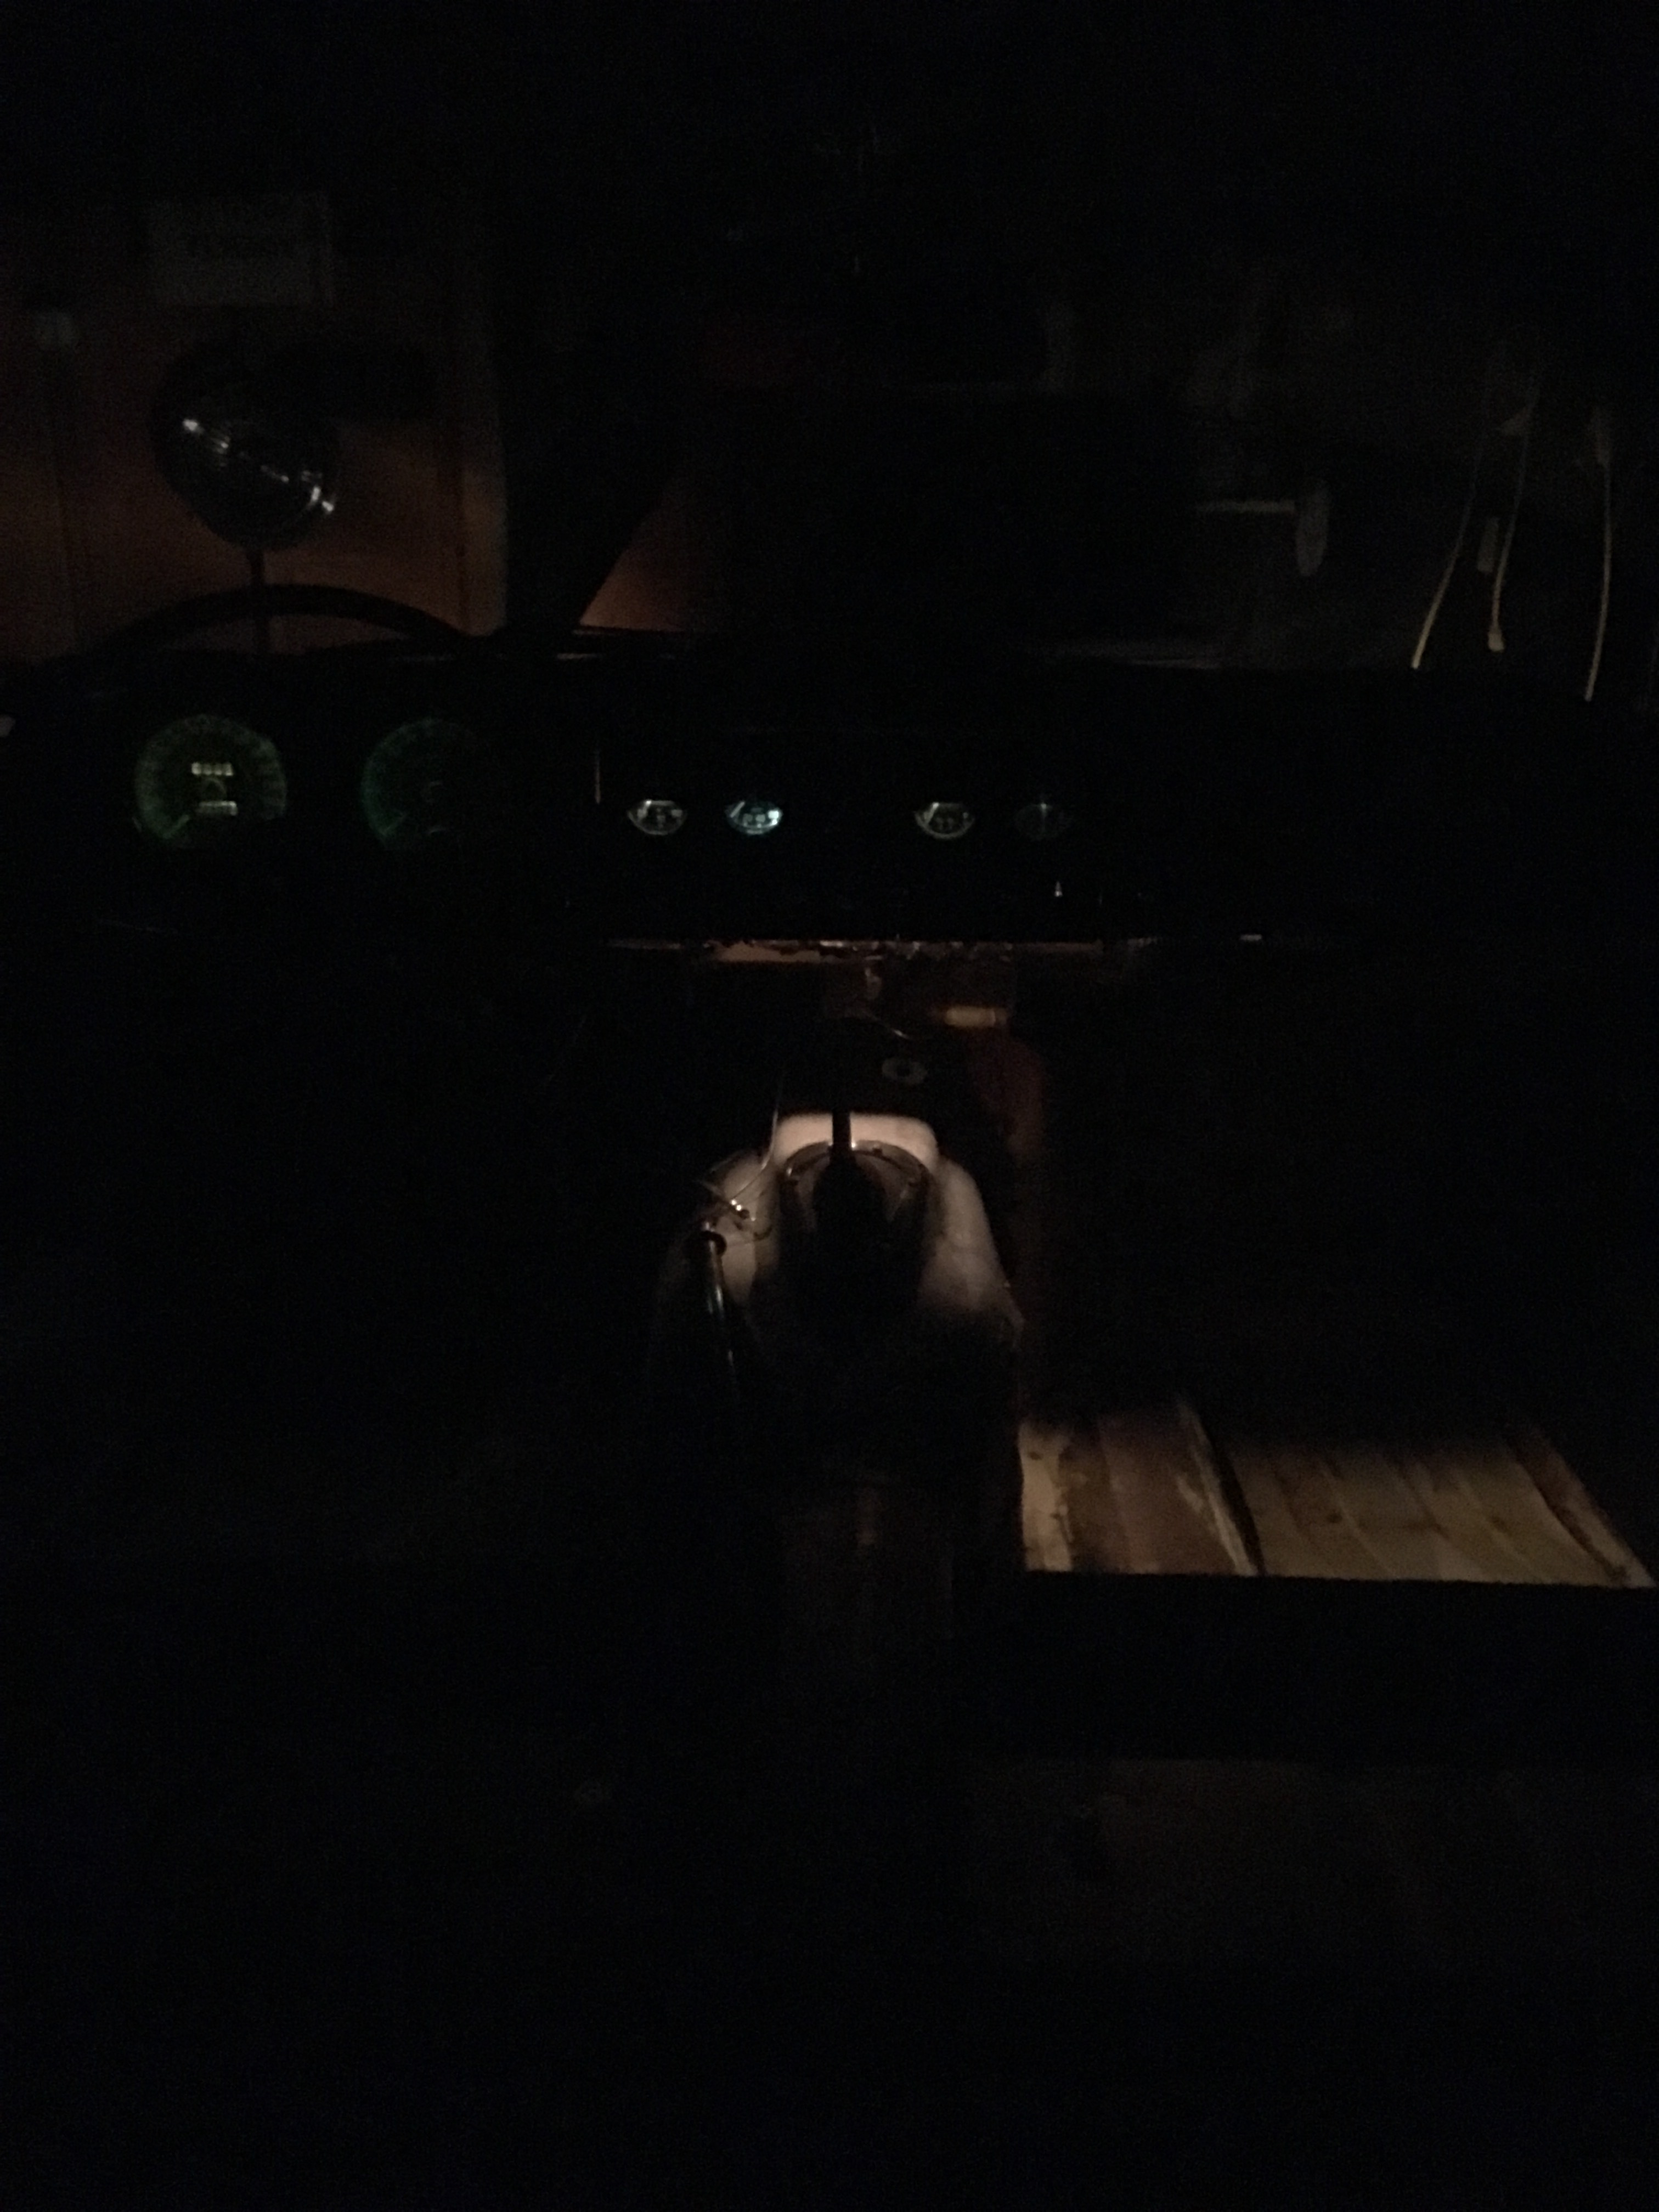
The ammeter which is original with green tint and bulb is non existent
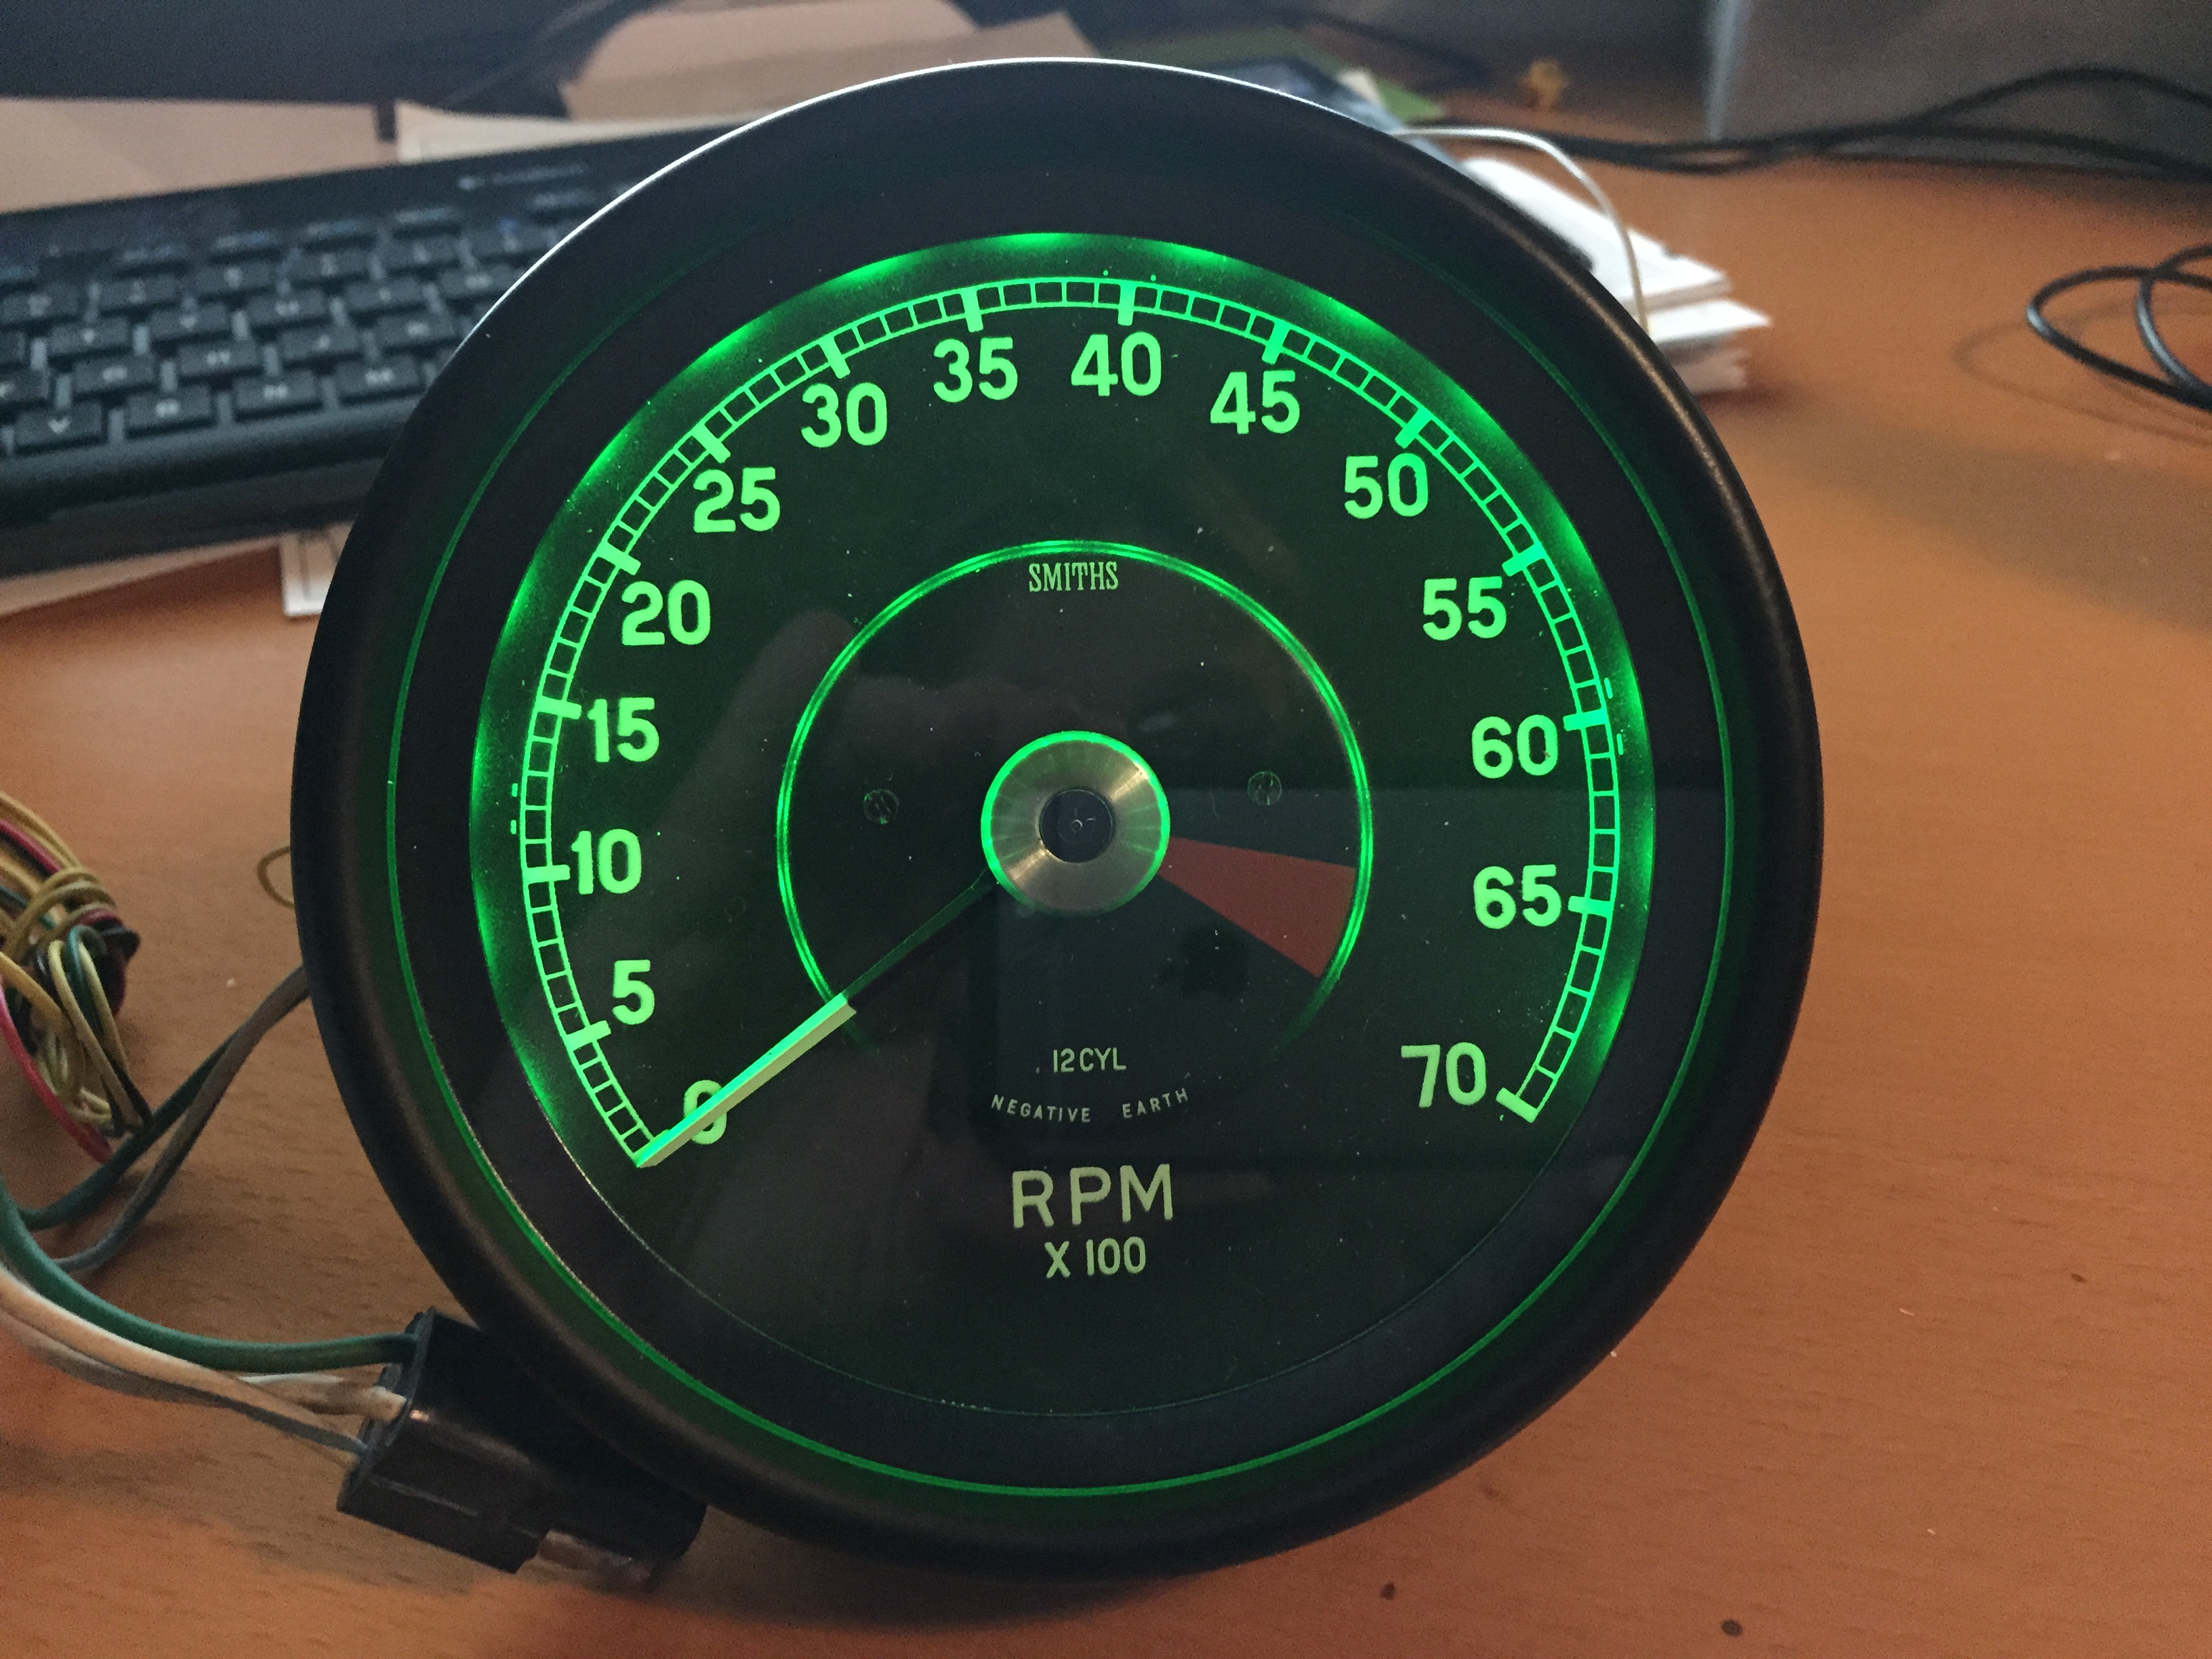
Look at tach and speedo
They are a joke!
So you see where it goes, the map and interior lights are perfect!
I tried individual bulbs in the Speedo and tach and they were too dim. Eventually I did the strip lighting glued to the circumference of the cases (described in detail by a number of “researchers” in the UK string I mentioned above). When I was finished, the two big dials were far too bright in relation to the center panel, and the small gauges looked very dim. After I installed a dimmer on the tach and speedo the center panel gages miraculously got brighter…the tach and speedo intensity was messing with my cones and rods. It’s all pretty well balanced after installing that dimmer.
By the way, because the location of the light sockets were in different locations in the small gages, I was forced to experiment with various LED lense/bulb shapes to get a balance between them. I can’t recall which ones are rounded and which are concave lenses…but they are different among the gages. The bulb supplier and the specific bulb numbers (for green bulbs) are somethere in that UK thread. Balance is still not perfect, but not bad.
Eric, You are spot on…
Look at my Tach and speedo, new ones coming from the UK when they have them in a couple of months, WITHOUT THE FILTERS .
Same with the ammeter.
I got the balance really good as you have said.
I also agree that a full strip around the gages was a bit much.
This is all till wiring gets done in the future.
I cant wait for the ammeter, then the center will be very even.
It is embarrassing looking at the original ammeter in the picture , that’s with a new bulb AND cleaned grounds.
GTJOEY1314
With the dimmer, I’d say the strip lighting inside the tach and speedo casing is perfect. Distribution over the gauges and intensity on those two indicators is just right.
Strip lighting in the small gauges was unnecessary once I got the balance between them straightened out (lense shapes).
Eric the bottom display strip bulbs led do not go all the way through the hole like the old bullets
It’s because of the flat spot on the led
Are there smaller bulbs or do I massage the led bulbs?
Hi Joey,
for your consideration, here are a few pictures of how I added LEDs in the instruments and other interior places.
I have not been able to find the pictures of the relay installation behind the LH head light but also eliminated the Bakelite contact block, since it only ad contact points which will cause voltage drops over time.
I think the pictures will explain what I did. BTW, superbrightleds.com is where I got all my LEDs from, except the strips (Amazon) but they have them too.
Wellboys and girls…I’ll make life easy for al that wants matching hew led dash lights
Now remember all three are done in the middle minus the ammeter as it did not come back and the original has the green lense.
The speedo and tach look painful but get to that soon
You need the sharpie brown and black to make them all match
The fuel and water have the bulb in the middle like the am but the damn oil was to one side giving way to much glare and wrong tone
A light coating of the brown on the bulb and a dash of black on the tip takes away the stark light and tomes down the glow
Take a look!
If you enlarges the picture notice the green ammeter is dead and the tach and speedo are just terrible
I made the led bulbs fit for the bottom ledger
Will post soon
Next was the rubber for the squirters
Larger than original but keeps out water and buries the faded chipped paint for now