I’ve been reading many older posts on here about the pros and cons of using loctite between the hub and axle shaft. Many are several years old but technology changes and rather than resurrect a zombie thread, I started a new one.
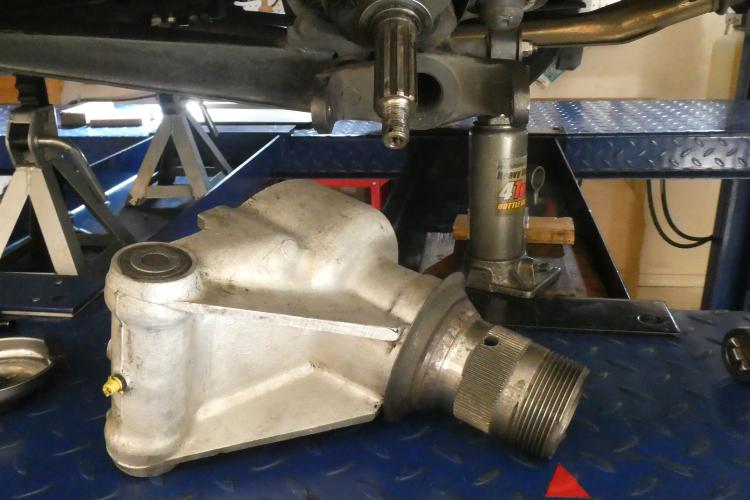
When I disassembled my IRS, I found a clearish plastic like substance on the inner part of the hub and the outer splines of the axle. A dental pick cleared it out of the grooves nicely. The passenger side is a firm fit; however, there is a very minute amount of slop in the driver side. AFAIK, the IRS was never torn down, so the assumption is that it came assembled from the factory like this. Mileage is unknown.
In one thread here on J-L, someone posted about a mechanic using Loctite red on all spline interfaces. In general searching, I found a thread on a Ferrari forum where it was recommended to use Loctite 242 which is a medium grade threadlocker. I just happen to have a large bottle of 243 sitting at home as we use it to fill voids when installing certain BBs into bicycle frames.
I can easily see red or one of the even harder compounds making life hell for anyone having to disassemble these hubs. I would think that those would be overkill but that a medium one would be acceptable. Any recommendations or comments?
As a side story. I have a 2019 Jeep Cherokee that developed a backlash sound in the left front part of the drivetrain. They replaced the transmission and then the left front axle assembly. The last time, they used a threadlocker material in the spline shaft reassembly process. I spoke with the mechanic at end on their efforts. The noise is still there, but it sounds like a common practice to use some form of material to take up slop when needed.
I always use thread locker when I work on the IRS of my XJR, you just need to clean things up before you try to refit the splines next time round as you have found.
My experience says use loctite. I had a Jag shop reassemble the hubs years ago after which I put the suspension together.
A few years later an annoying click came up that was hard to locate. I thought it was worn hubs for the wire wheels. I went to see a retired jaguar Factory mechanic and he immediately diagnosed the spline in the hub.
I took it apart and found no loctite and discernable play between spine and hub, then reassembled with red loctite. Lots of it!
Problem gone.
I am not concerned about disassembly because the official tool will pull it apart but if too tight, heat can be applied. The heat would destroy the oil seals but they would be replaced anyways
And yes, I did try torque the hub nuts tighter first, but it made no difference
Hello Dennis,
It was for your described noise the practice of using Loctite was introduced for the Rear Hub Splines by Jaguar for S3 E Types and other Jaguars circa that time. The practice was abolished by Jaguar some time later.
I used blue locktite on splines on my 67 and 68 about 2 years ago for the first time, and it eliminated clunks - but after about a year it has returned on the left rear of the '68. It’s still stuck and won’t come apart - haven’t yet resorted to heat, but if it’s moving I think I shouldn’t have to? No?
Hello Terry,
Because of its location, deep in an aluminum casting and with a lot of heat sinking metal in the area, you will be hard pressed to get the assembly hot enough unless the whole assembly (hub carrier, hub and at least the splined yoke part of the universal joint) is put in an oven and allowed to soak in the heat, or use an induction heating device to concentrate the heat in the splined shaft and hub.
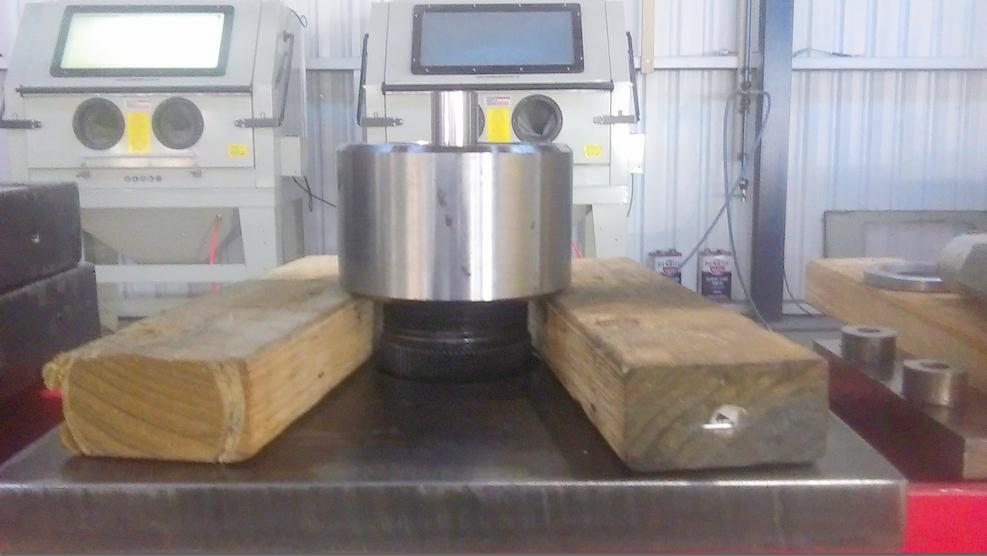
The following three pictures show my setup to move the most stubborn splined shaft/hub assemblies. The first picture show the nut device supported on timber only to show how the Hub is assembled with the nut through the steel plate. The whole Hub Carrier assembly is suspended below the plate.
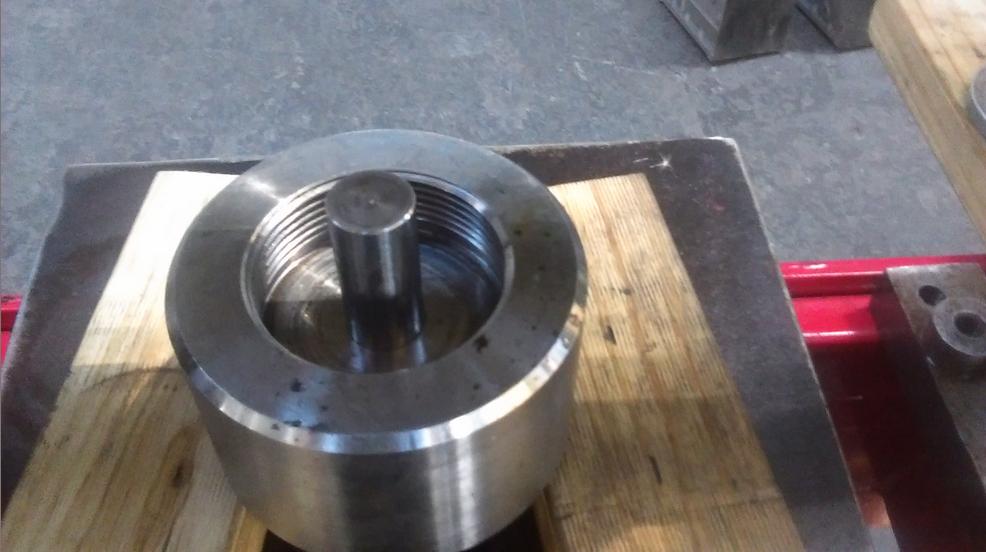
The next picture better shows the arrangement of the push mandrel, that is pointed and locates in the centre drilled hole in the end of the splined shaft.
Wow that is quite a set up Bill. I’m at a loss to figure out what is causing the new clunking noise. I would have thought that if the blue locktite had failed I should be able to get the hub apart without resorting to my press, so I tried a puller that always worked before I locktighted the splines. Perhaps not enough pressure?
I had the same dilemma when I was assembling my 1986 XJ12 IRS…
The seals were bad and the splines where full of grease so the axle shaft came out of the hubs by hand, a very pleasant surprise.
I could see though traces of Loctite.
As I had no clung noises I decided not to use Loctite and instead assemble them with grease for the ease of disassembly.
However, if clung noises develop it’s very easy to go back, clean the grease and ad Loctite.
And since you have the hubs out, have you thought to modify the grease vents and replace the fulcrum felt seals with modern lip seals ?
I had not given thought to modifying the grease vents.
I went ahead and reassembled with the felt seals though as I had already picked up a full seal kit for the rear end assemblies.
The lift is an inexpensive (but priceless) 4-poster from Eagle.
One jack tray came with it and the other was a gift from a friend who went with jacking trays.
Anyone getting a 4-post lift would be wise to get the second jack tray (usually no shipping charge when ordered with the lift). Two trays make many more things possible.