The tool tray lid in my car is missing the chrome/aluminum strip around the lid. Is there a replacement for this metal?
Regards,
Dennis

When you complete the lid ensure that there is sufficient padding under the felt as this holds the tools in place.
Tim
1 Like
Hello Rob,
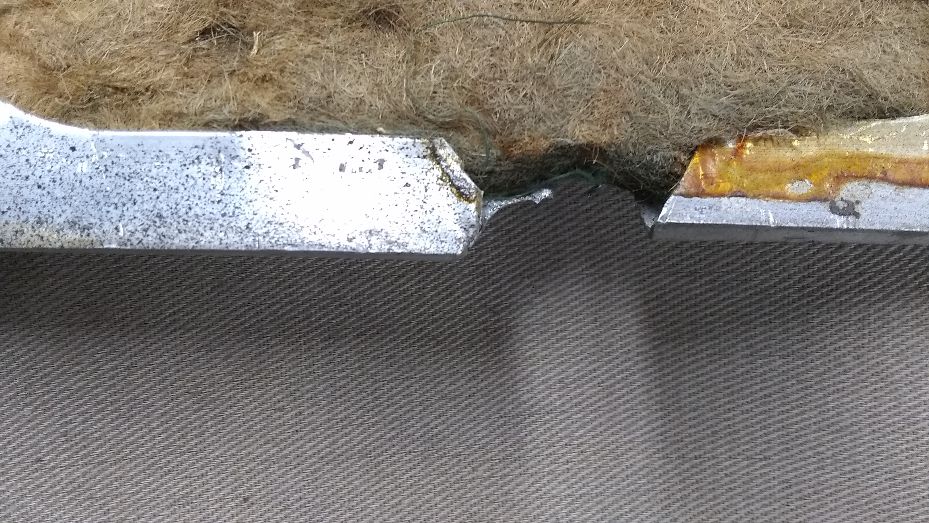
At the center back of this channel, where the wire comes through, Is the channel split all of the way through? Mine has been damaged and not all the metal is there. It would be more easy to create with a split, but I want to stay with the original details.
Regards,
Dennis
Well, mine is broke there, but it looks like it may have originally been one piece.
I’m thinking it ought to have a rubber grommet or something there to protect the wire.

Thanks for the quick replay. Mine looks almost exactly the same and my second car has no metal at all. I will have to find a similar channel and try to stretch it around the corners. It may be tough or impossible to go around all four corners using a single piece of aluminum. It may just have to split in the back.
Regards,
Dennis
Thinking about it, they may well have made it by wrapping around a 2 cornered former piece, then trimmed the ends. How else would you get it off the former? Between the hinges is a separate piece. So it was 3 pieces.
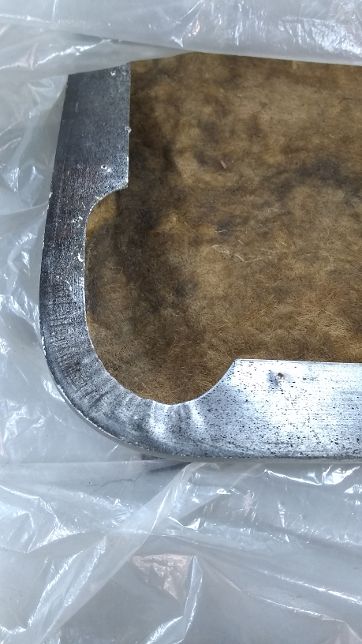
See these corners. It makes me think the piece started out as a flat strip. They made these cutouts first. Then clamped the front side to the former and went around with a tool, perhaps a body hammer, to bend it over on the back side.

They must have nailed it in to the lid before putting in the felt.
I’m also thinking they left the front side up a little bit, so they could tuck in the felt, then push it down to grip it.
I stripped mine down about a decade ago and didn’t think to take pictures. It is made from a very soft malleable grade of aluminium and starts out as a flat strip, then folded into a U or J shape through an extrusion process, with the leg under the in-fill panel being much wider than the visible return edge. It is a very soft grade and is easily dented and scratched. The hidden wide flange is cut back considerably at the corners to enable drawing a bend. It is in two parts - it separates at the two latch positions. The hole in the centre at the bottom should not be broken or cut - it should be continuous as shown in the earlier photo. Many are broken here through lack of care.
To answer your question Dennis, I have not seen anywhere that there is any attempt to replicate this. The section detail is that it has a fairly sharp 90° corner on the lower edge that rests on the lid panel, and a radiused corner on the outer edge. I am tempted to get some bent up and to have a go at curving it - when I have nothing else to do.
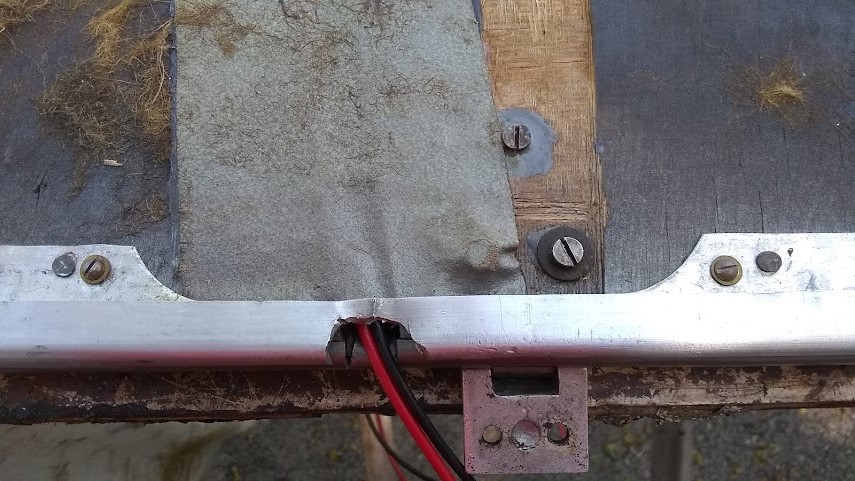
The lamp wire needs to be a bit robust here and I use a two-core (double insulated) multi-strand for flexibility. The way it works is that the wire is fixed inside the tray lid and as the lid is closed, the wire slides down through the hole in the tool tray and through the one behind in the boot lid. The cable movement is small - maybe a cm. A weak wire can fold over. It is important to not fit any grommets here to avoid drag on the cable.
Peter
Thanks for that insight, Peter. Passing the strip through roller dies makes more sense.
Looking at these corners, I have to say this is very nice forming work, getting the visible side so smooth.

Yes, that all makes sense. I will let you know if I am able to make one. The channel seems simple, but even that is not made in the same shape. If it was easy I would probably loose interest.
Regards
Peter,
Thank you for the information. I have seen video of people heating an aluminum strip to stretch it around a radius. This would keep the one side from puckering up. I will let you know if I come up with at least the raw channel.
Dennis
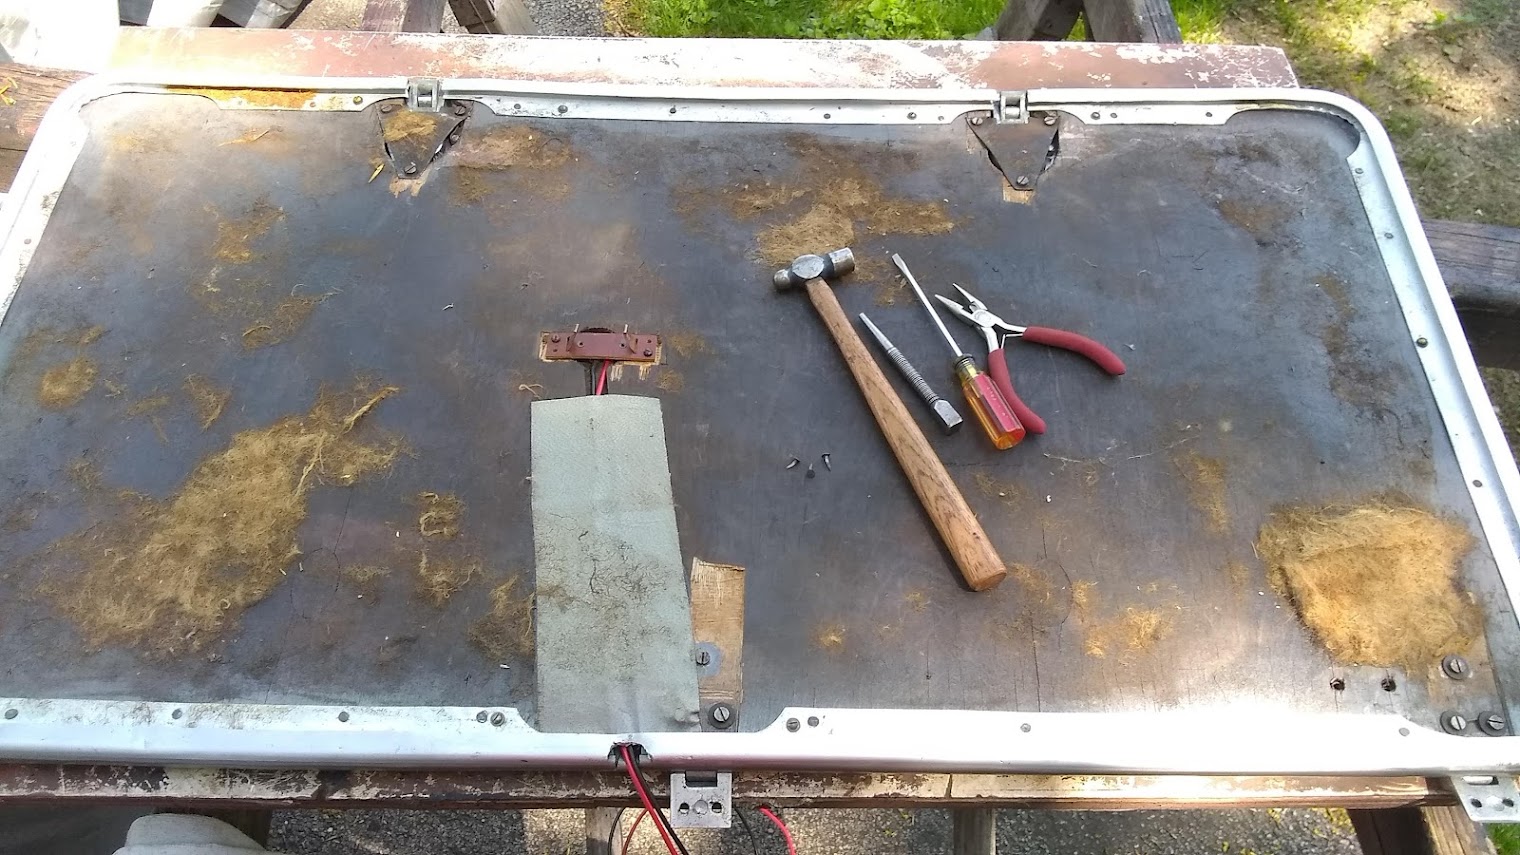
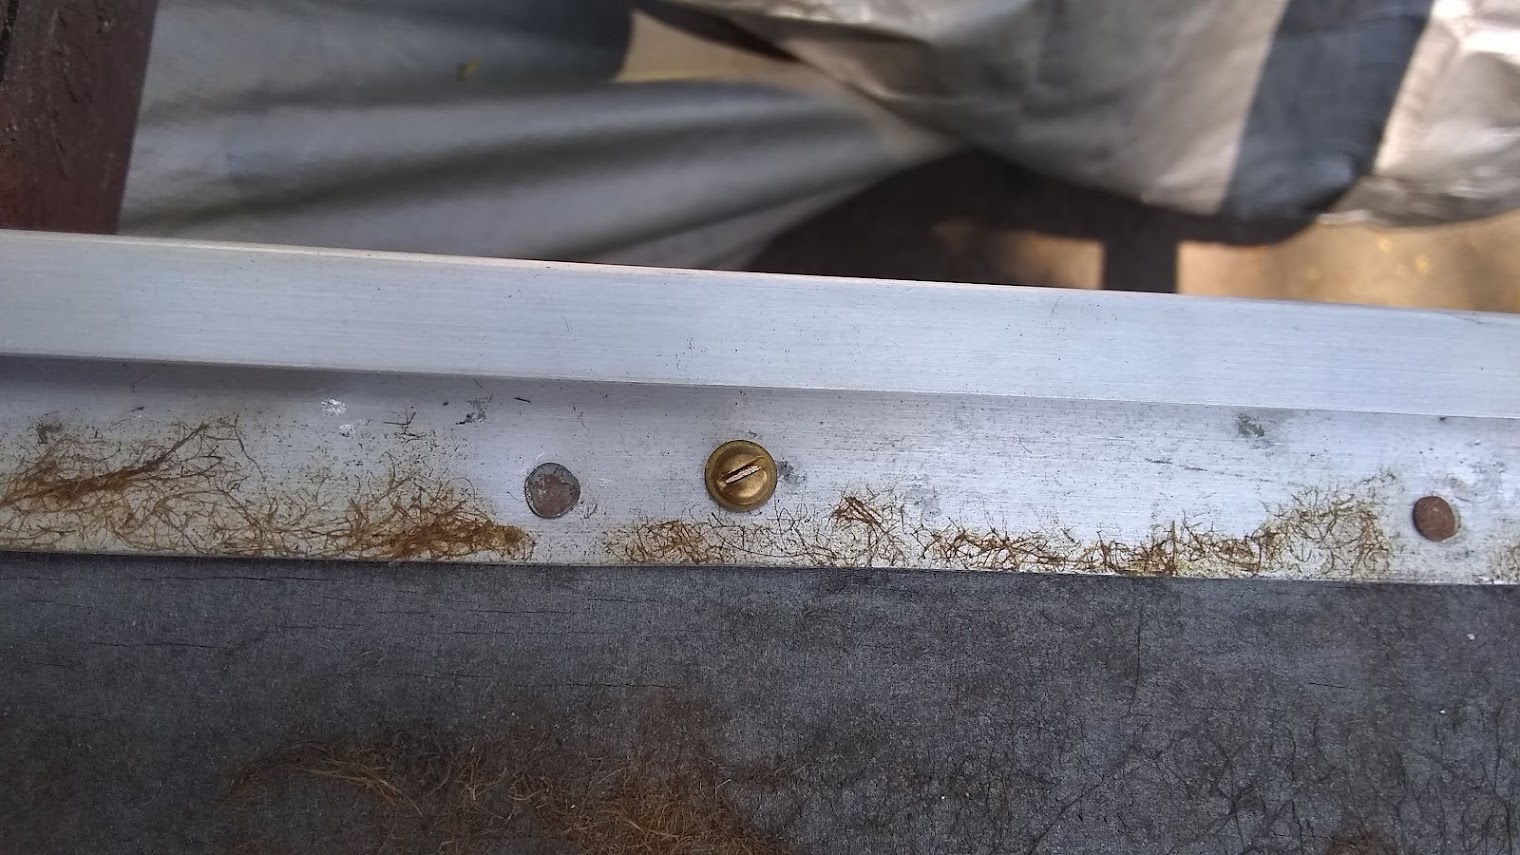
I finished my Mark V tool tray lid trim today. It is in 3 pieces. I had to do some straightening and polishing with steel wool, then sprayed clear coat enamel over them.
I saved all the old hardware. There were 5 round head sheet metal screws near the ends and 27 carpet tacks. I think there should have been 6 screws, one was missing by one of the latches, an assemblyman error. I suppose the screws were to hold the pieces down while the carpet tacks were added afterward. I did it the same, using a small hammer and flat nose punch. The tacks worked fine, but it seemed to want to pull up, didn’t sit down like it should, so I added 2 more screws along the sides and 4 at the corners.


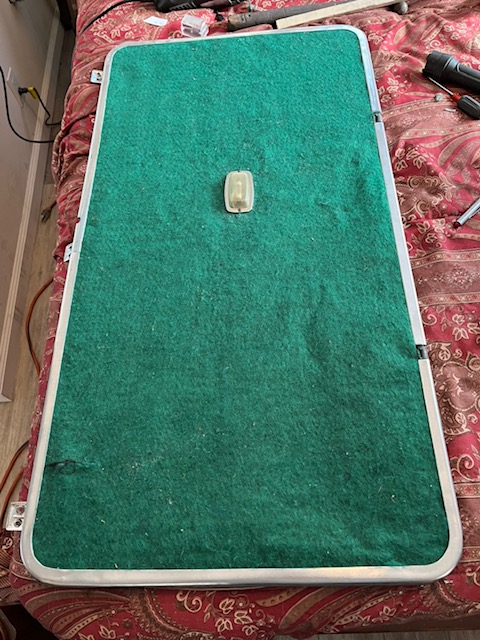
BTW here is a shot of the original green felt, faded and unfaded.

Rob,
That looks really nice. I have one I am reconditioning, and one that must be created altogether. Thank you for the hints about using screws and carpet tacks. I’ll let you know how the new trim comes out.
Dennis
Hi Rob,
What are you going to use for padding? I believe the original was horsehair. What holds the padding and green felt in place?
Tim
1 Like
I put the original padding and liner back in. It was glued in and crimped down around the rim so that’s what I did.

2 Likes
Hello Tim,
I am also working on the padding. I used 1/4 inch “jute” padding and then glued 1/16 inch felt to it. I found the glue on the internet, recommended by a felt company. It is called Roman pro-732 extra strength wallpaper adhesive. The adhesive is thick and has to be put on the jute with a putty knife. It seems to work and the result is about the same thickness. I have not put it all together because one of my cars has no aluminum strip and I am trying to make one.
Dennis
1 Like
Hello all,
I was able to create an adequate, not concourse level, metal strip. I did this by using a sheet of 1100 pure aluminum. It is soft and easy to work with. I then made a form of steel with a dowel of 1/4 inch welded to the edges. The result looks good but has a more rounded edge than the original. The pictures may be self explanitory.

3 Likes
That looks pretty fair substitute for the impossible to get original. Well done!
Peter
I agree. That’s a great result and a credit to your skills. You are right about the rounded effect not being quite correct but apart from we who are pedants, who would know?
The originals had a fine square edge on the bottom face that was in contact with the main steel panel. The fabricators would have had a special rolling process through formers to create that. I am convinced that they used the softest grade of aluminium, starting with a strip, passing through the first rollers to set the shape, another set to draw the corners after punches removed the excess, then the finishing details. This would have all been manually handled too, probably spitting out a car set every few minutes. Easy and cheap to make then, impossible to find replacements now.
Hello Dennis, that is impressive work on your part!