Reading my disassembly notebook from 2005, I see that I had noticed the door hinges had body color but not primer, and it appeared to me at that time that the doors had been hung and aligned prior to color painting. Which makes sense, to avoid damage. It’s also true of the boot lid.
Did I remember that 13 years later? Nope. I painted the doors separately because I was cramped for space and thought I could do a better job with them flat. Well, they turned out good, but hanging them is a handful of worms. I had put the center trim piece in first. Now trying to align the doors I caused a bit of damage. So I removed the center trim piece; apparently it should go on last. I was careful to note back in 2005 exactly where each shim piece went in the hinges, but the LF lower one now seems to require two shims where it had only one before. These shims are not in the SPC. They all seem to be about .050" thick. Quite a trick getting them in there. They should have provided an access slot in the door inner panel.
Now I can see how the factory boys did it. They must have had some sort of door alignment fixture that they could set the two doors on, add the shims and hinges, tighten the hinge screws, then take the two doors now hinged together and hang them on the body center pillar or B post. There is some more final alignment needed there with shims between the hinges and the B post, for which they used believe or not cut-in-half split-cotter pins, then they tightened the hinge center screws.
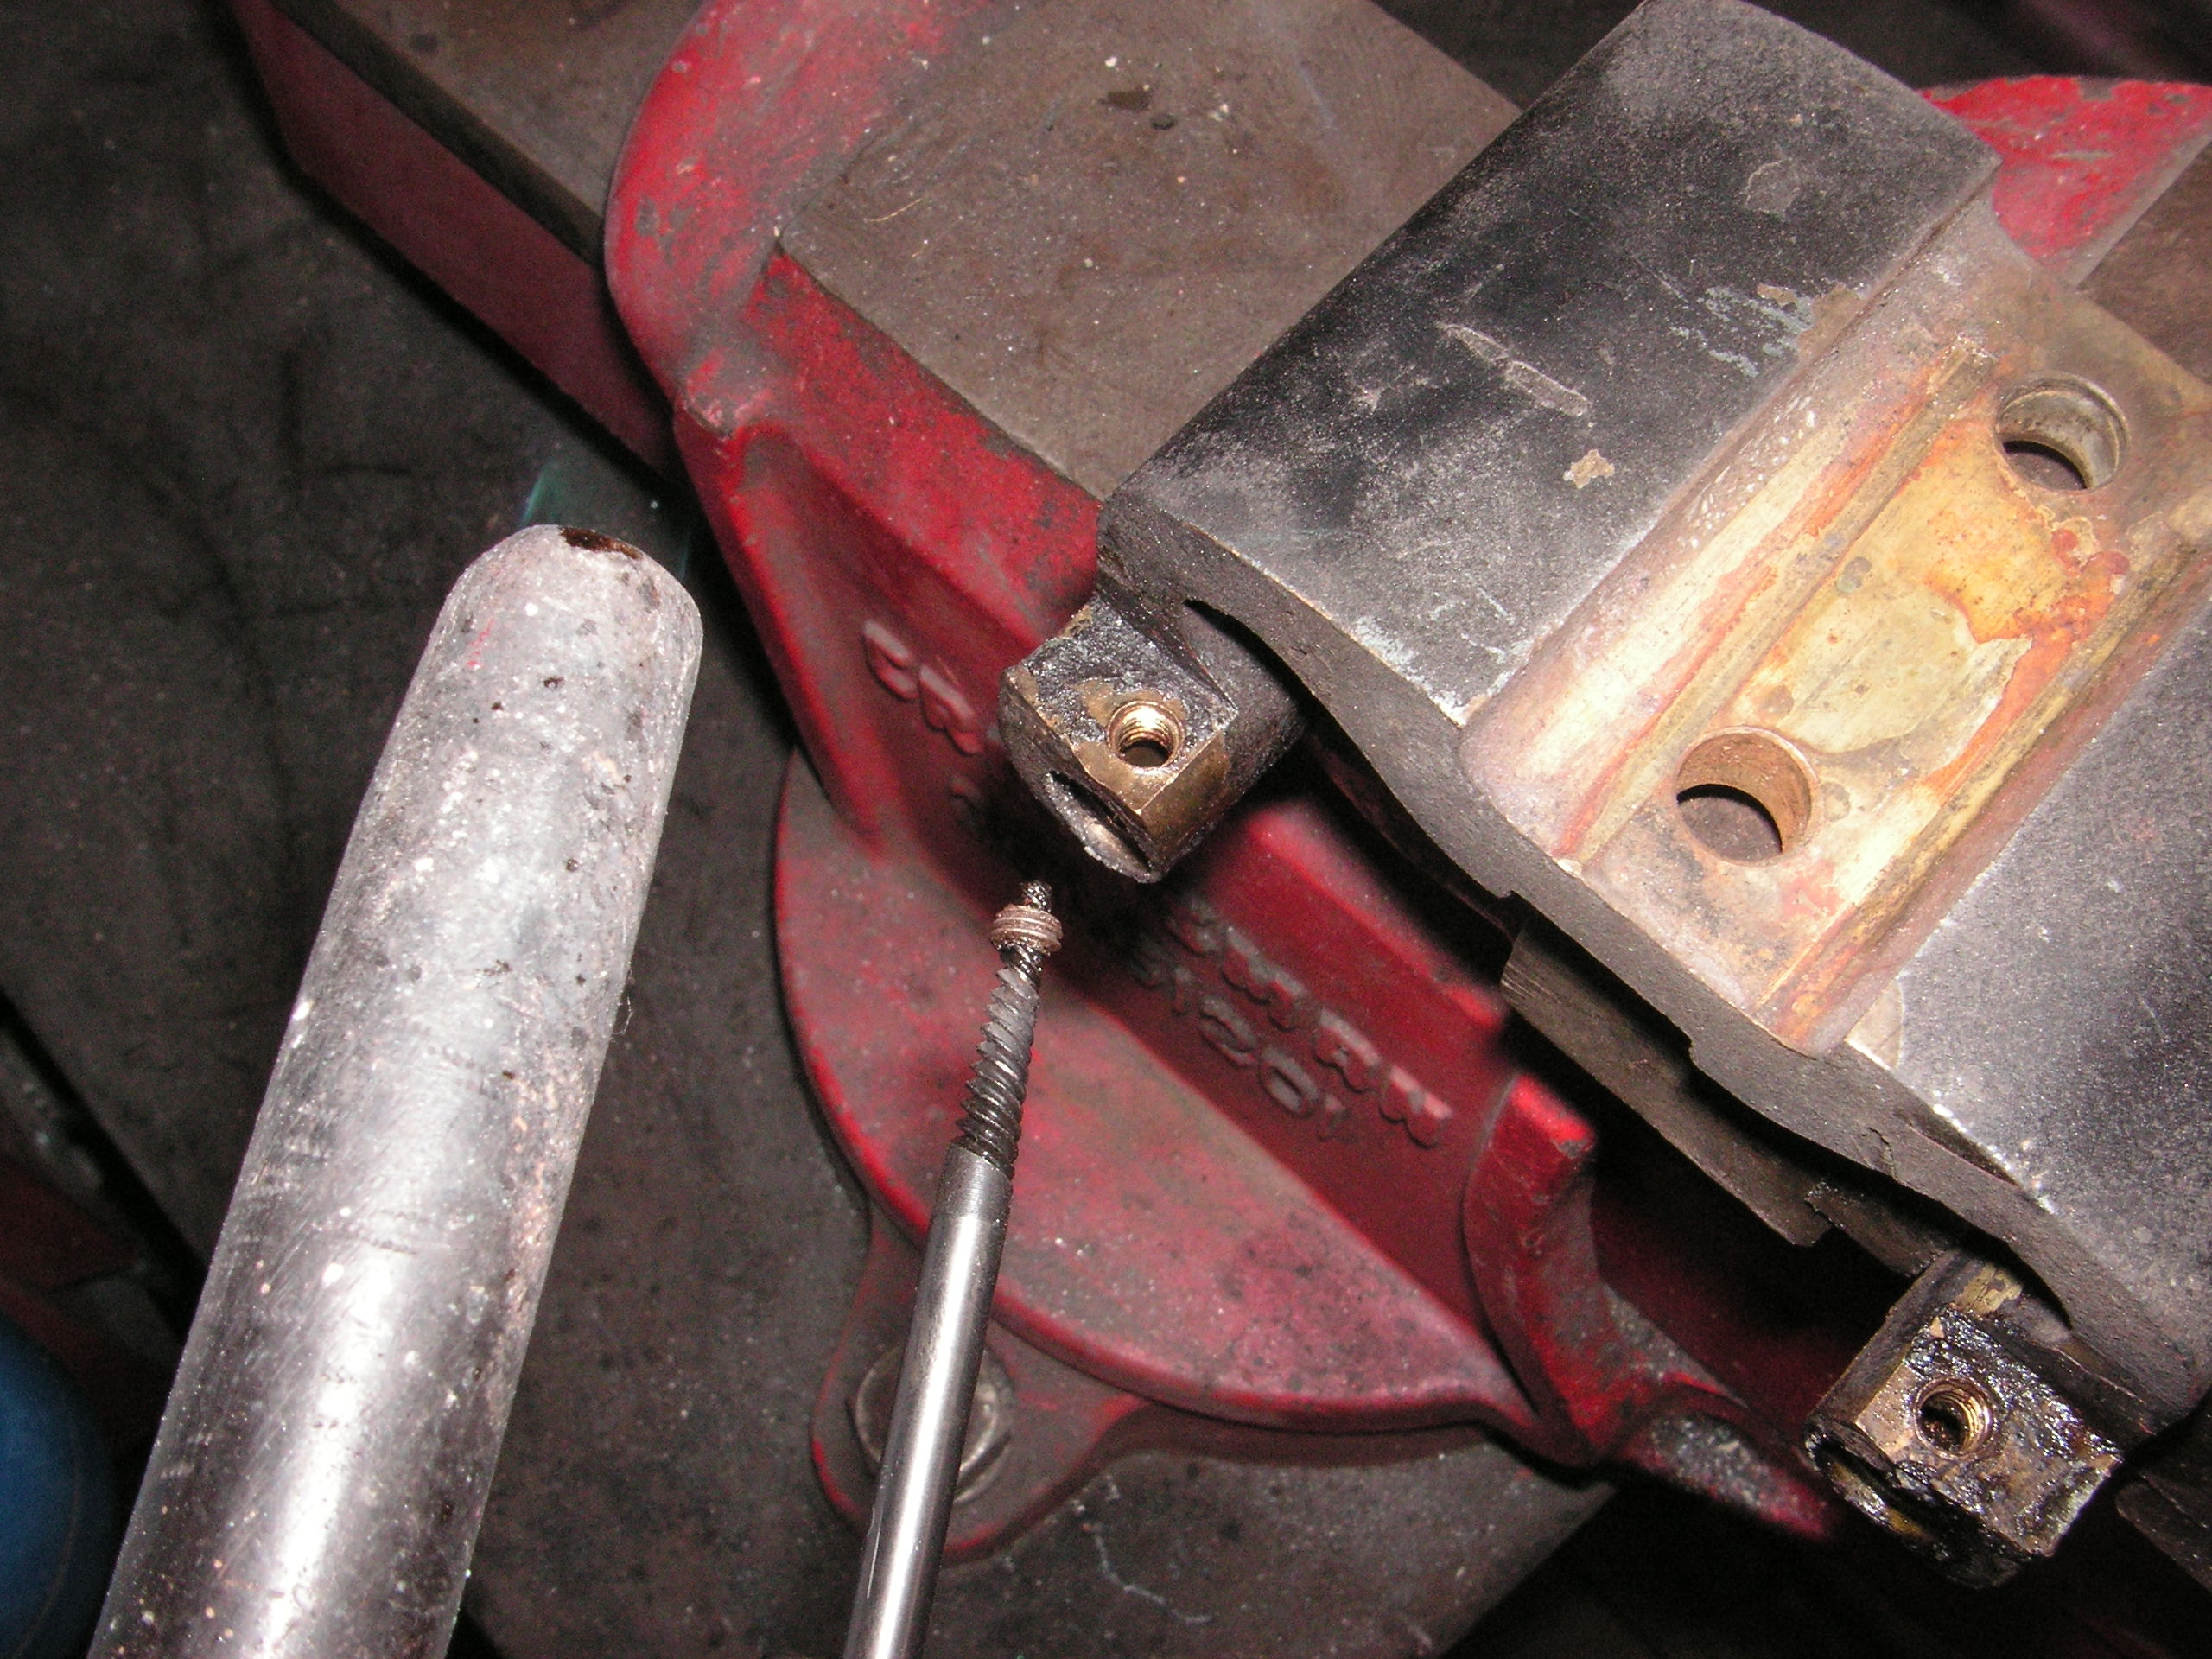
Most of my eight grease fittings on the hinge pins were broken off, so I extracted them and put in new ones. Easy to do with a propane torch and a screw extractor, they all came right out with no difficulty.
Hi Rob, my Mark V has no grease nipples installed on the door hinges. The hinges are threaded for the grease nipples, but look like they have never had a nipple threaded on them.
I have not found the grease nipples for the doors listed in the early Spare Parts Catalogue. The later one lists p.65A as BD.668 Grease Nipple for Door Hinges and calls for 4 per unit. Looking through the Spare Parts Catalogue shows a lot of different Grease Nipple part numbers but I did not find anywhere else listing BD.668. The Service Manual says on Page N.20 “Remove grease nipple at each hinge.”
Hi Rob,
I tried to fit an angled nipple on there, but it was still getting struck when the door opens. In the end I just packed the hinges full of grease and figured it would last me out. I think the only time the grease nipples are ever used is when the doors are being assembled in the factory for the initial greasing.
I did use a smear of grease to hold those shims into place whilst trying to juggle the doors into place…
I made the same mistake; my doors were painted prior to fitment. I also had all the frames and glass pre-fitted as I figured the weight would affect the shim requirement. What I should have done is worked out the weight of the glass etc, and just put a couple of bricks of equal weight in the bottom of the door.
I used a well padded trolley jack to take the weight of the door, whilst I tried to get those countersunk setscrews in… (I still chipped paint on the door edge during the fitment )
When I removed the doors on my ‘49 V, there were grease fittings. I took notes and placed each set of shims in a labeled zip lock to make things easy upon replacing. Now you guys are worrying me!
Yep, me too.
Thinking about those grease fittings, maybe they expected you to use the Plastigun with the small end rather than the usual Zerk end. Pages 29 & 35 of the handbook mention them, saying they are “accessible”, and to do them “Every 1000 miles”?!
Got the second shim in the bottom, had to invent a tool like a tiny crowbar to push it into place, I have 2 right angle screwdrivers but one was too long and one was too short.
Door closes but the molding line is still too low, doesn’t match the one on the A post, so I think I need to take out the shim on the top hinge.
What fun, and they didn’t give you enough clearance to get the screwdriver really engaged in the one screw head at the lower left in this picture. I’m sure the factory boys did these before it was on the B post.
It’s funny but 2 years ago I bought 3 Mark V doors from a guy in Iowa and 2 were still attached as a pair to the hinges, so this guy had found it easier to take them off the parts car that way.
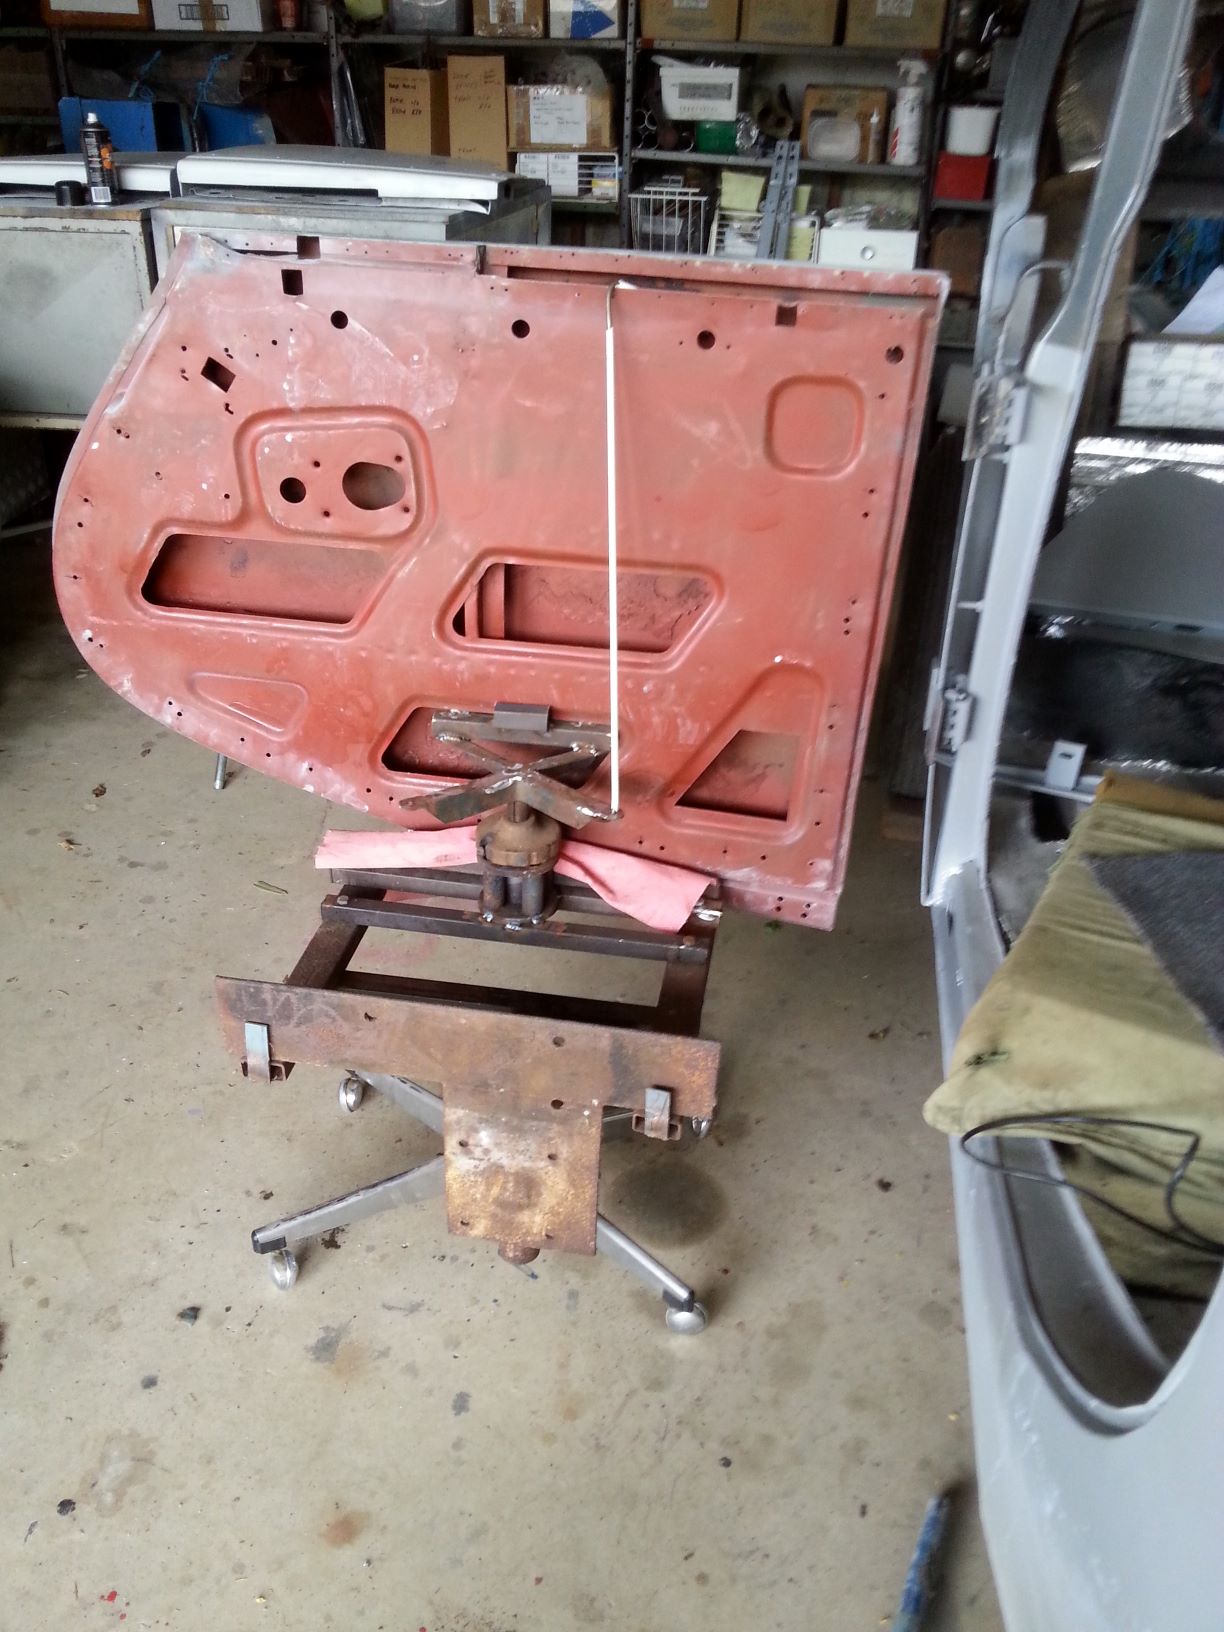
Hi all, like Jon, I just greased the hinges and assembled. In fitting the doors, after painting, I assembled a mobile frame with adjustments to roll the door into place and then add bolts, thus eliminated any major scratches and working by my self was not straining to hold the door and attach, may assist others in door fitting. I used the frame for all 4 doors, easy to place and remove door for any work, as you can see no glass or window surround or other hardware fitted upon hanging the doors.
Jeffrey,
That’s pretty awesome. Do you have any other photos of the unit without the door on it? I can make something up using your idea but “new wheel” and all that! If yours works well then might as well copy it.
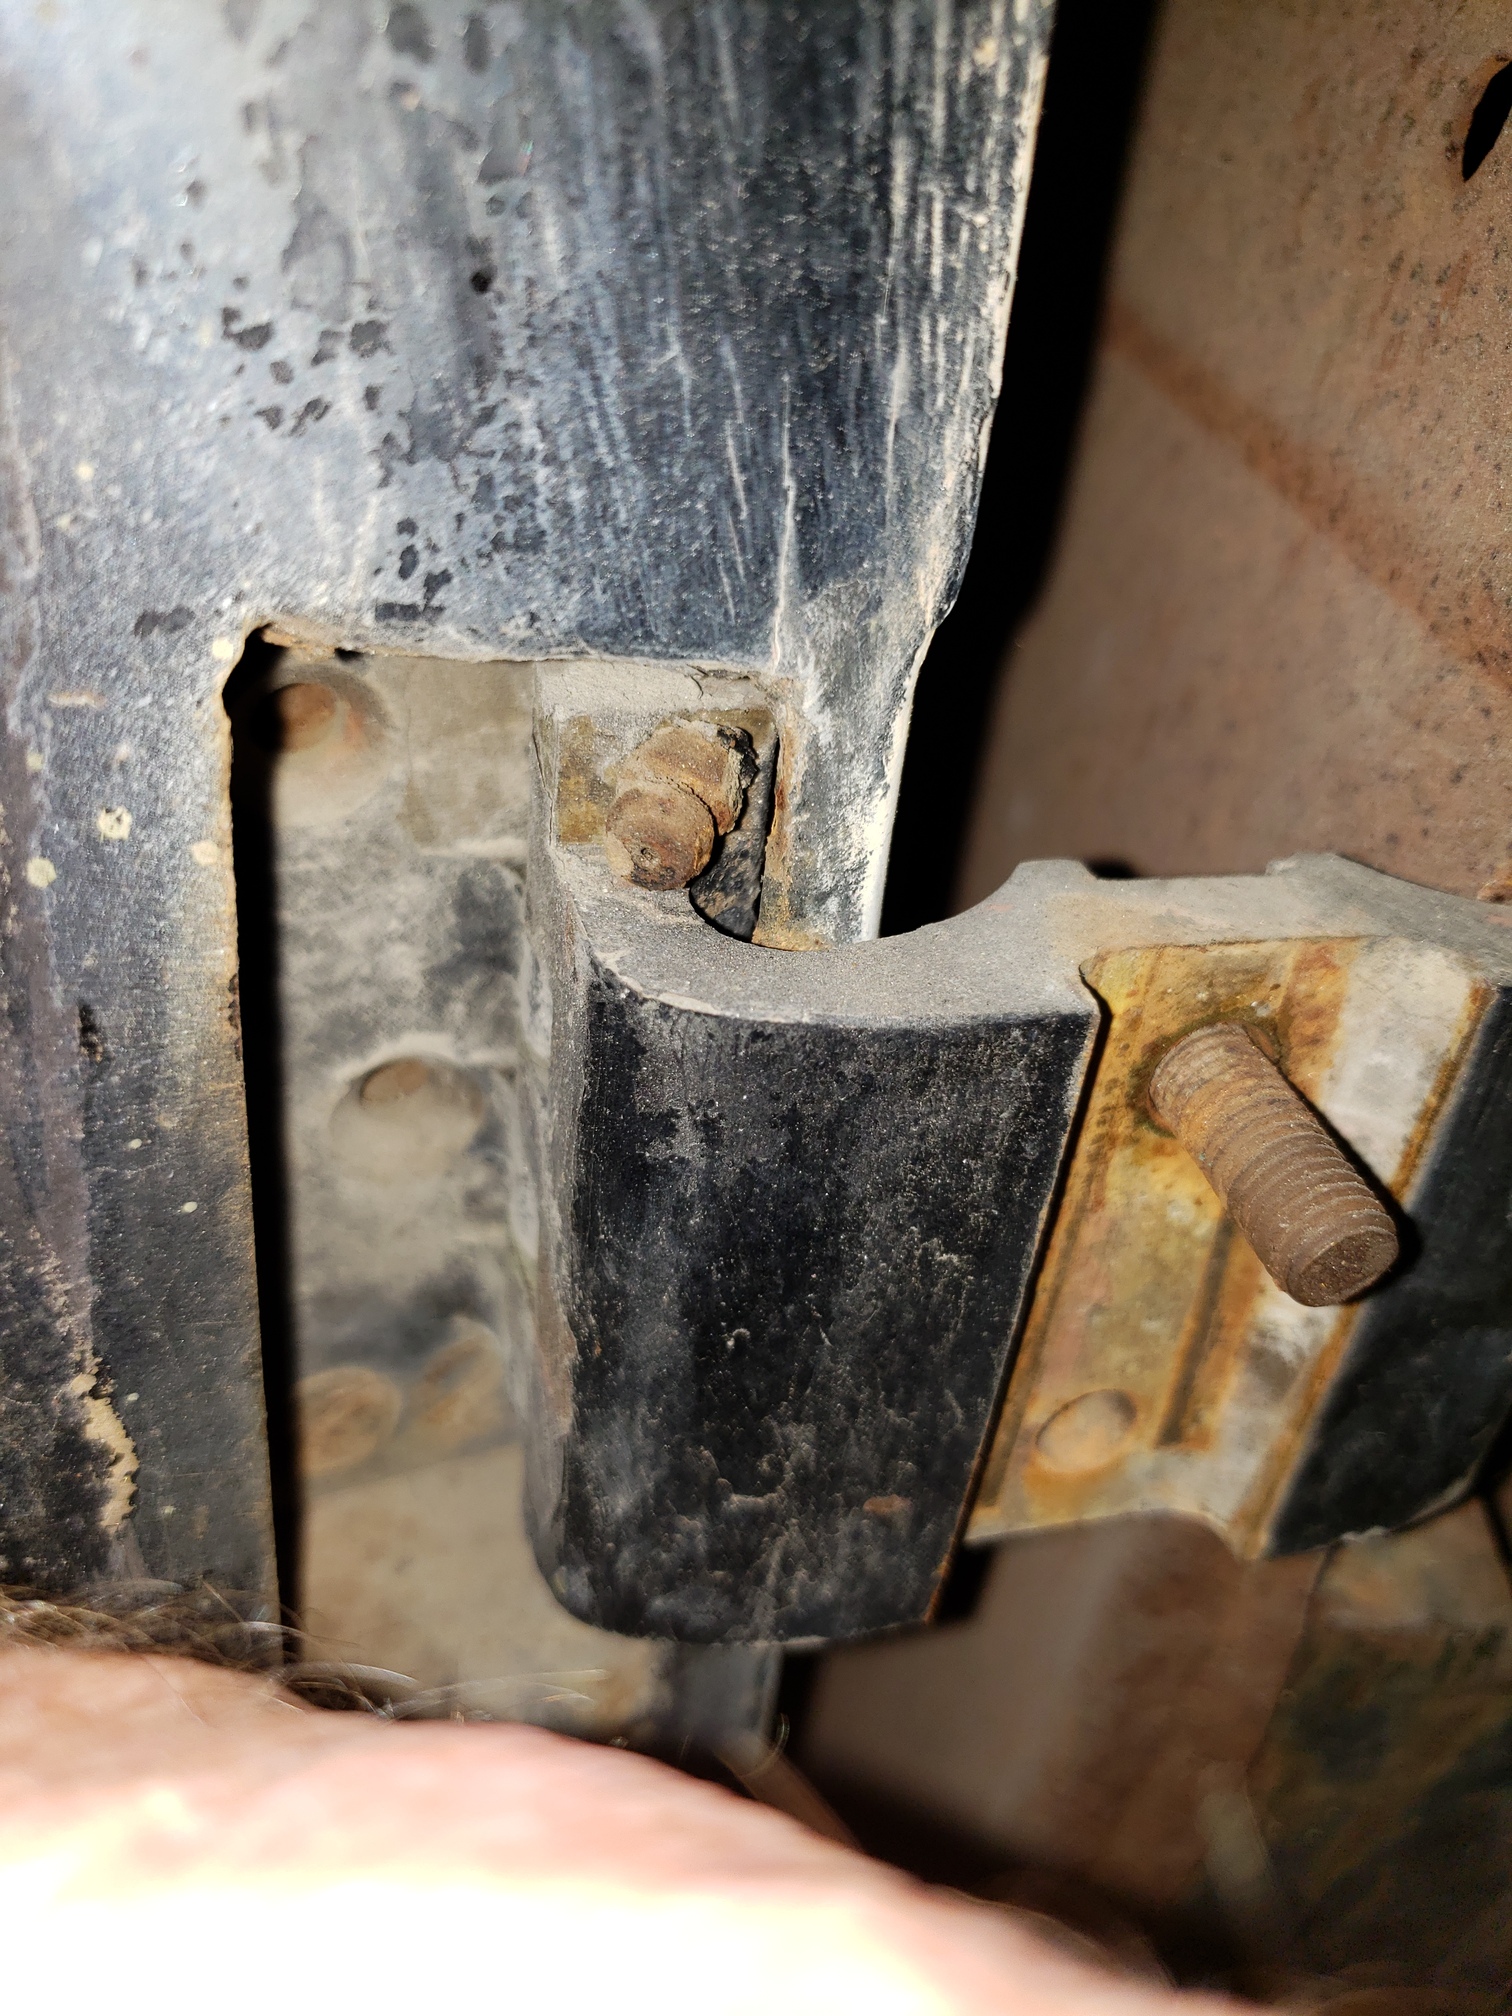
From one of the parts cars I bought, the doors came off most easily in pairs still connected on hinges. Nearly all grease fittings were sheared off long ago. Here is one which remained, maybe original.
Hi Rob, checking on the angled grease fitting above, the fitting fell off in my hand just as I started to touch it. The angle seen is due to long ago door action which nearly sheared it off, the rust in the break on the fitting looked as old as me.
So is that what they mean when they say “hanging on by a thread”…
I’m thinking it would have made much more sense for the factory to use something like these.
Reviving this thread rather than creating a new one.
I’m not satisfied with the door gap alignment on my Mark V saloon. I’m having trouble getting the right number and thickness of shims in the hinges, even though I kept a record of them and kept them in separate bags when I took the car apart. It is a lot of trouble having to take all the screws out, change a shim, and put the screws back in to see if it’s right.
For those who don’t know, the saloon doors are on a pair of double hinges. Then there is a center piece called the BD.2854 Outer Plate, 1.062" wide, which fills the gap between the two doors.
I’m trying to think how the factory guys did this on 9000 cars, 18k sets of doors. Naturally they would look for an easy way; in fact Lyons would have rewarded them for finding a quicker way.
I suspect they did them as a pair, off the car, on a bench or fixture of some kind.
The gap between the two doors would have to be set by some sort of blocks, say about 1.25" apart, and the doors pushed up to them, face down. There were probably some blocks around the other sides, to get them aligned up and down, and in and out. Then the shims were put in. But then you have to open the door to get the screws in. I’m wondering if they could have had a fixture which allowed them to get the alignment, but then held the doors in the open position. The screws were tightened last, and the pair lifted up and put in place on the body center pillar.
That’s my theory anyway. What do you all think?
I’m about ready to take the doors off and try this method.
BTW I found a couple of shims in the hinges where they were attached to the center pillar. They were nothing more than half of a long split cotter pin stuck in there.
Hello Bob
I have the same problem with my MKV doors. When I first adjusted them I replaced the slotted screws with imbus screws. This makes it easier to fit the doors and insert the spacers if necessary. Then when everything is finally done I will replace the imbus screws with slotted screws.
Gerhard
I made a frame to hold a pair of doors.
I removed the grease fittings on the hinges, which allowed the doors to open a bit more.
Then I measured the gap. I decided that the gap should be 1.25" or 32 mm.
I added shims in the upper front and upper rear. It was a little easier this way than trying to do it on the main body.
That seems to have done the trick.
I’m now having trouble with the rear passenger’s side door not closing completely. Perhaps the centre pillar hinges may have dropped slightly as I can see signs of ‘scuffing’ on the base of the front door and the ‘step’ on the bodywork? I have tried to adjust the striker plate on the rear but can’t seem to get it to close fully. Any suggestions?


 )
)