Sooo… the Mk10 finally (and briefly!) went back on the road today, having been off for several months during suspension, brake, and cooling rebuild. There are a number of issues to address before I can get a good drive and give a report of that, but on my mind at the moment is the heater core that didn’t leak last September, but certainly does now. Go figure. Anyways, the service manual is pretty basic and doesn’t address core removal, but it looks from the parts manual as if the core can be removed with the engine in place? How about the box itself? Tony advised me before about the issues with the heater box. Guess it will at least get that inspection of the box floor he talked about.
core is easy to R&R, and can even be replaced with a “Universal” or other core
Heater box is a pita to R&R
On my vehicle, the rear camshaft cap bearing stud had been ground at 45 degrees…and I believe this can only have been to allow removal of heater case, as that is how close it is
So cam cover must come off at least, and maybe unscrew the back cam bearing cap studs
I think you also have to remove the fans first
will review my “420G Heater Folder”…I had to fabricate quite a lot of metal
You may be able to inspect the area by lifting it ever so slightly without removal
If the area is good, I would leave it alone
Any rust must be attended

just taking the heater core out allows you to see the heater case floor
hopefully you dont see what I did, but be warned, its a common problem area
Thanks - very helpful. I’ll get into it in the next couple of days. When sorted, I’ll post photos of the new custom header tank and new radiator/burp tank installed. That part came out good.
Well, I took the core out today - easy as you said it would be. It’s leaking but repairable. That was the good news. The bad news is that there is a LOT of rust in the heater box floor, and as best I can tell, considerable rust in the scuttle, although hard to see. I should not be surprised, but hoped it would be better. I have the heater hoses on bypass for now. I suspect I will be removing the engine to change the transmission, and I guess I will tackle the heater box and scuttle repair then. Bummer.
Question: I don’t see any external fasteners - is the heater box held in by studs accessed from under the dash? This is not shown in the parts book.

Ron,
There should be two long bolts by the fans which connect it to the firewall. From memory, that should be all that is holding it in place. The service manual should address this.
Micah


Micah is correct, just the 2 long bolts
Be aware of what you see in my picture.
It is critical to get the location of the drainage slot correct when fabbing the floor, as it fits together male/female, so has to be exact (or make it without the flange)
Their is a bunch of seals that I had to hand make
The design is poor, the heater area is dished down, and retains water
3 layers of bare metal touch
check down behind your battery, it will probably be the same
Yes, now I see that the manual does actually cover the removal - thought I had checked that. My unit is like Tony’s with the cable controls rather than vacuum which I assume is a 3.8 feature. If I don’t condemn the transmission, I can see doing the repair with the engine in-situ. Thanks for the tip about the shape of the floor - I will be sure to get it right. I’ve got good sheet metal tooling in the shop, so that shouldn’t be a problem. Now, will I make it as pretty as Micah’s, maybe not.
I’ve had the battery out and thoroughly inspected under, completely solid.
Thanks.
You are able to make the repair with engine in situ, provided the area directly under the heater case floor is not rusted.
If it is rusted, the problem is the area is twin skinned, shaped, and spot welded together
If there is major perforation of both layers, there is no alternative but a MAJOR metal repair, dash out
I am pretty sure I mentioned this to you, as I ALWAYS advise new or prospective Zenith owners that this can be a car destroyer, very hard to find as well
Yours doesnt look too bad
mine had the heater case floor rusted out, but the metal below only needed a few pieces cut out, patches made, and welded back in
Micah looks like he has had his rebuilt…mine is also rebuilt( by me)
I gave one bloke some dimensions, and his was a masterpiece of metalwork, should have seen what he started with
the 3.8 has vacuum actuation
I have not forgotten about the clip, just a matter of searching one out !
(I found a MK7 gearbox cover, will have to email the German fella that wanted one for a MK9)
I am thinking that mine will be like yours - there is definitely rust in the scuttle, but I think it will be patchable. With the heater hoses on bypass, I’m going to put this part aside until I sort some other problems.
On my short, 2 mile test drive, the all new brakes were wonderful, but dragging on all 4 wheels. I’m going to try to sort that out today. Then get some more driving on it to test the transmission, which mostly works ok, but leaks. I suspect that before it is all over, I will convert to GM 700r4 which I have under the bench with adapter plate. Not really looking forward to that, though.
I will assume you replaced all 3 rubber brake hoses, that is mandatory !
If so, not sure on the master/booster combo you have, mayber the booster is pushing on the master, or the seals in the master cyl are not perfect size.
I had an issue after a re-sleeve, I sent it back, and the guy who, is a leading brake expert told me he had to use a seal kit from the earlier master cyl, not the later one (correct) one to make it work ?
I have heard that sometimes the master cyl seal kits are sometimes a tiny bit out
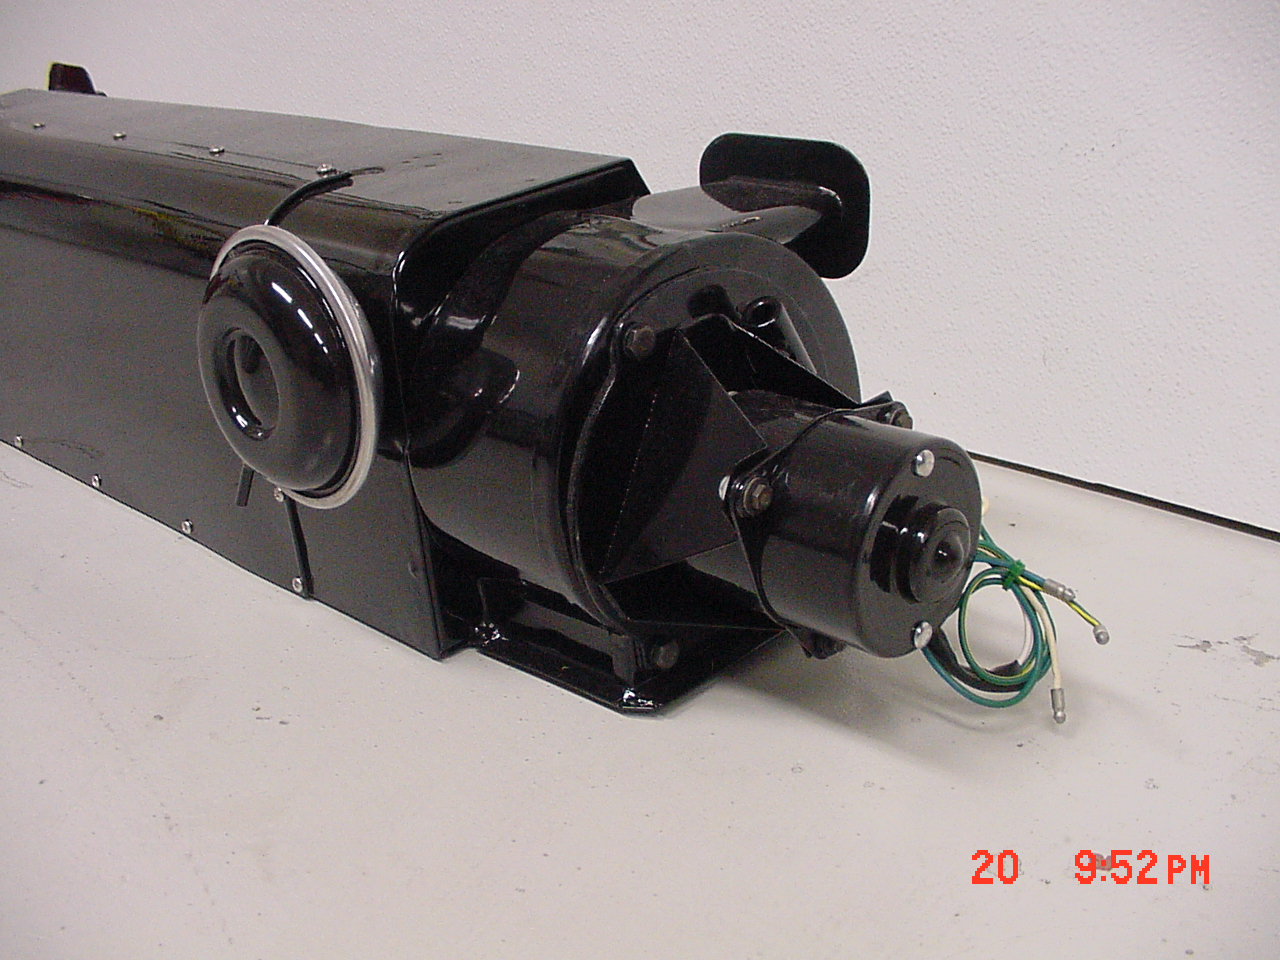
Those photos were taken around 2006 when I restored the box. I was lucky in that there was no rust and the core was still good. I had it powder coated and I put it back together with what seals were available then as well as some I made. You can see the little doughnut foam seals around the tubes and the ones I fabricated with household foam draft seals. In one of the photos, there is a metal bracket that I made to replace the one that was MIA. It holds the core in place. I cannot recall if there was one on each side.
Micah
Yes, new ss hoses, new caliper pistons front and rear, rebuilt series 2 Xj6 master and booster, although the booster rebuilder put the guts in a series 1 can to match the Mk10 pedal box. He did claim that the internals are identical and the booster seems to work very well. The brakes are fine, but after being on the road a mile or so, they start to bind and get hot. I disconnected the vacuum to the boost and it might have been a bit better, but still binding. I quickly put the car on the lift (vacuum still plugged when shut down) and jacked the front - the wheels were locked until I cracked the front brake lines, so it’s definitely hydraulic. I have two theories: I have a 2lb residual pressure valve in front and rear line because the new pistons don’t have retractor pins, and the rebuilder told me there was no rpv in the master (might be untrue). I’ll take those out tomorrow. I run them in the rear of my mk2 without issue. If that doesn’t solve it, I’ll pull the pedal box and check for free play to the pedal since there is no adjustment to the yolk. I can try shimming the booster away from the pedal box. If those don’t work, I’m stuck. I’ll let you know.
The cover on mine has a couple of standoff brackets that keep the core in place, although it was wedged in tightly enough that they weren’t necessary.
Brake problem is solved. I got to thinking about the union of the master and booster, pulled it apart, and the booster actuating rod was depressing the mc slightly when the bolts were tightened. I added a 1/10" shim and didn’t even need to crack the pipes or rebleed. I did not remove the Wilwood 2lb residual pressure valves. The brakes are excellent, as good as any car of the era I have driven, no hint of dragging now. I believe that there must have been a slight difference in the series one booster can that the rebuilder substituted for me. There was no shim on the original Series 2 XJ parts.
Of course, the motor for the driver’s window decided to try to burn up (might have succeeded - another item for the lenthy repair list) requiring a hasty return to home and disconnect.
I’m going to post a general update with a few photos of work done on the car separately now that it’s sort of on the road, for the interest of others who have helped me on the car. I appreciate your help.
1 Like
there is a thermal overload fuse, someone had this issue very recently, check it out
mine being a manual winder, I dont know much (except a taxi driver once told me manual winders are better for spewing out of, as they are faster  )
)
good pickup on the brakes
I always try and talk people out of “attempted brake upgrades”
There is absolutely no need, unless you wish to race your MKX, in which case, imo, you selected the wrong vehicle 