This is very early days for the restoration so there is not much to read as yet.
With respect to the Forum: if people are not interested, I will cease posting updates here. I do not make any money from this but it might be useful to other people doing full or partial restorations. Feedback is always welcome, I am not a professional
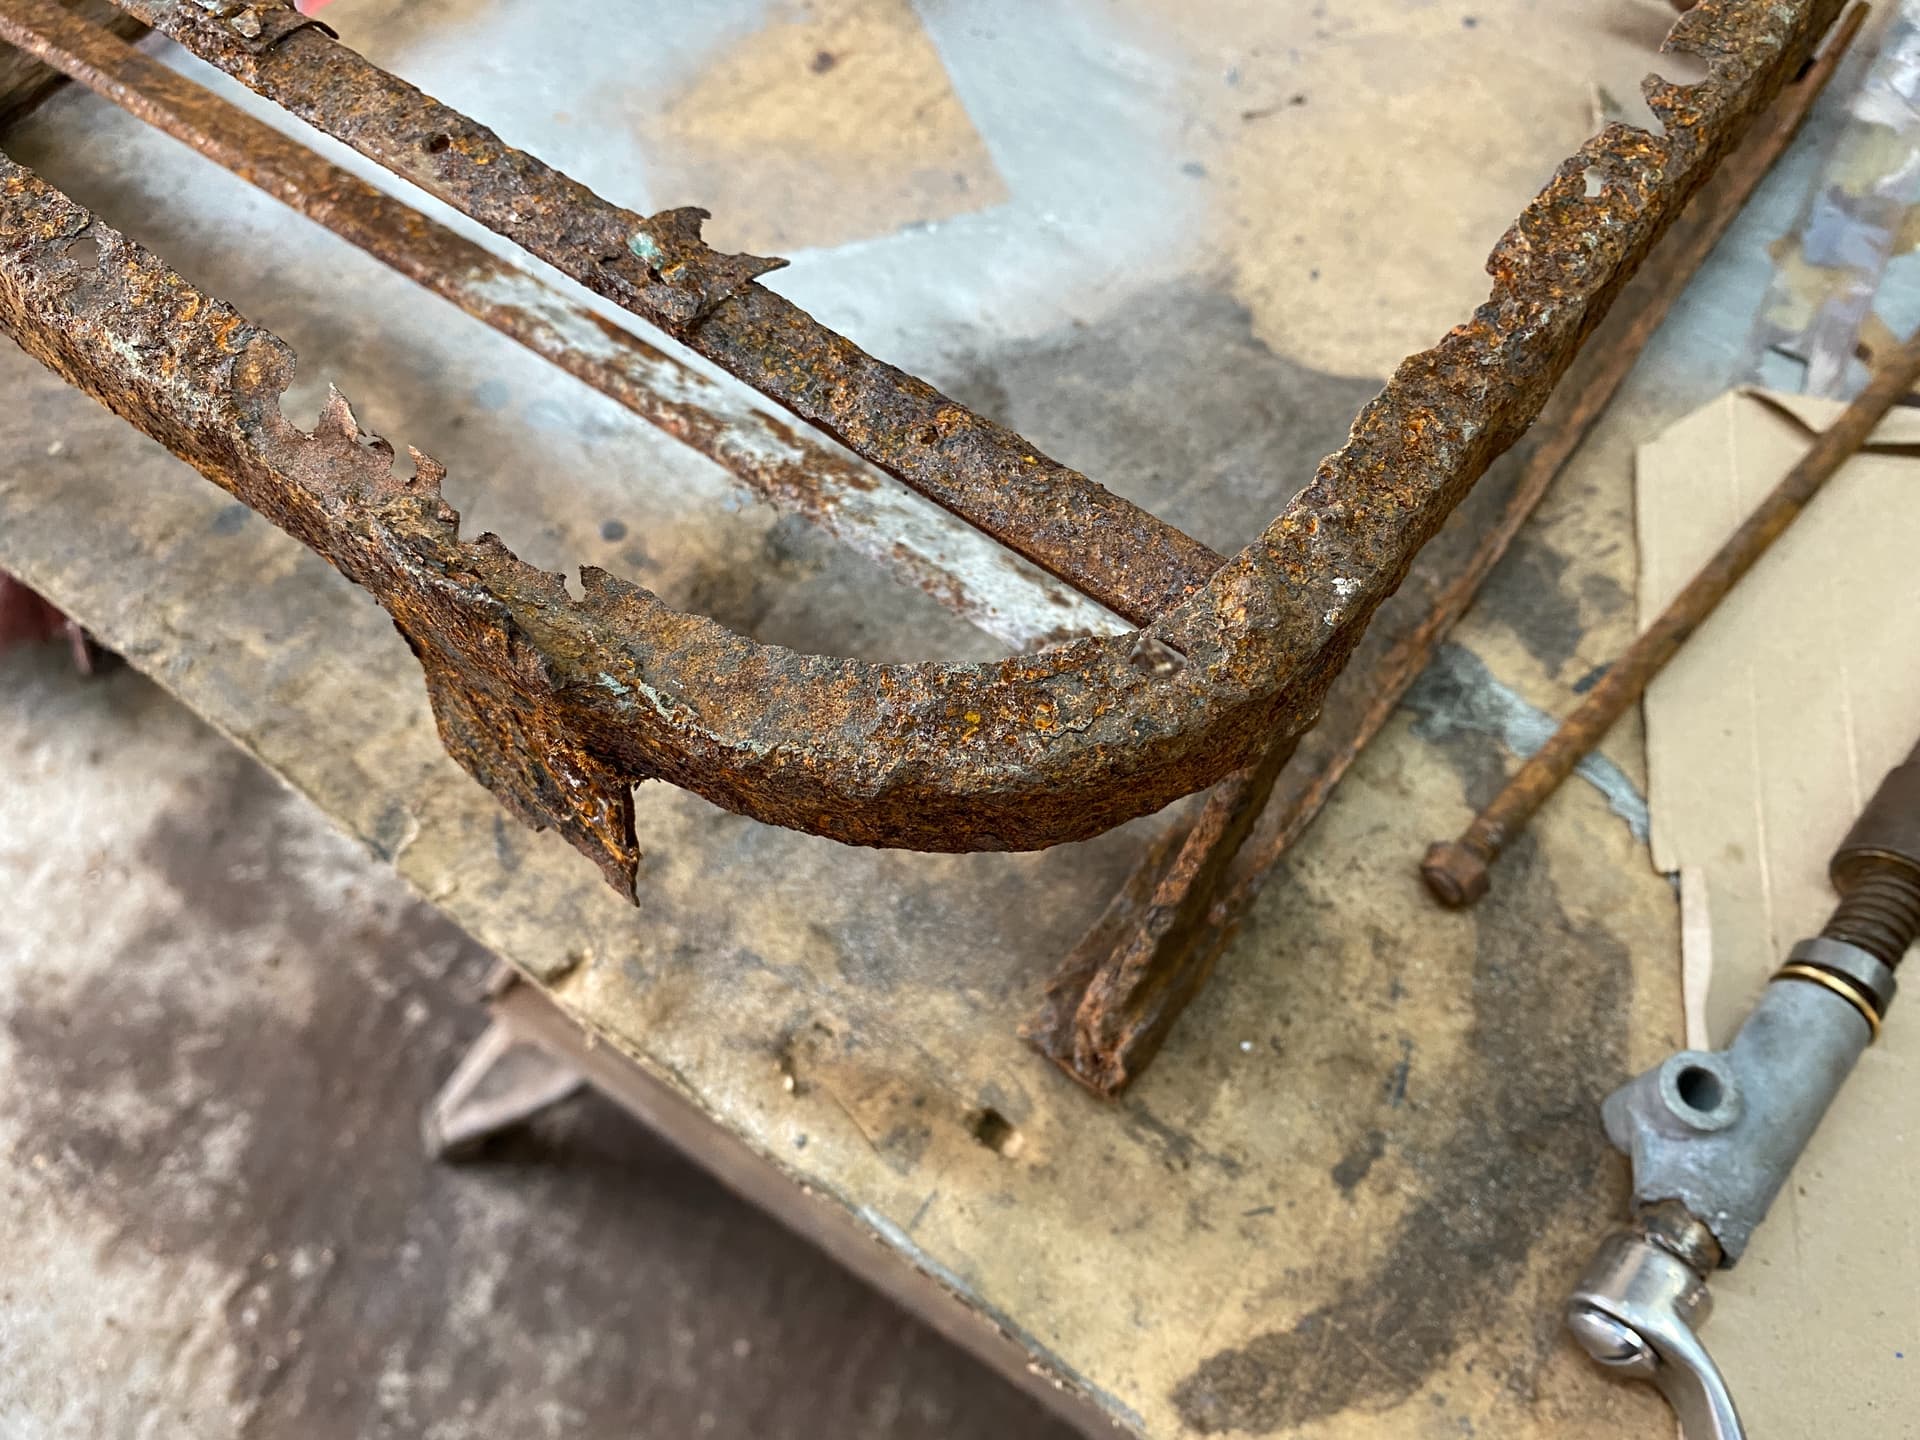
First Post is the start of the passenger seat re-construction (extreme rust has taken it beyond restoration).
I have removed and after 2 weeks of soaking in PlusGas - freed up the seat winder mechanism and today created a test piece for curved angle iron to match the original seat profile.
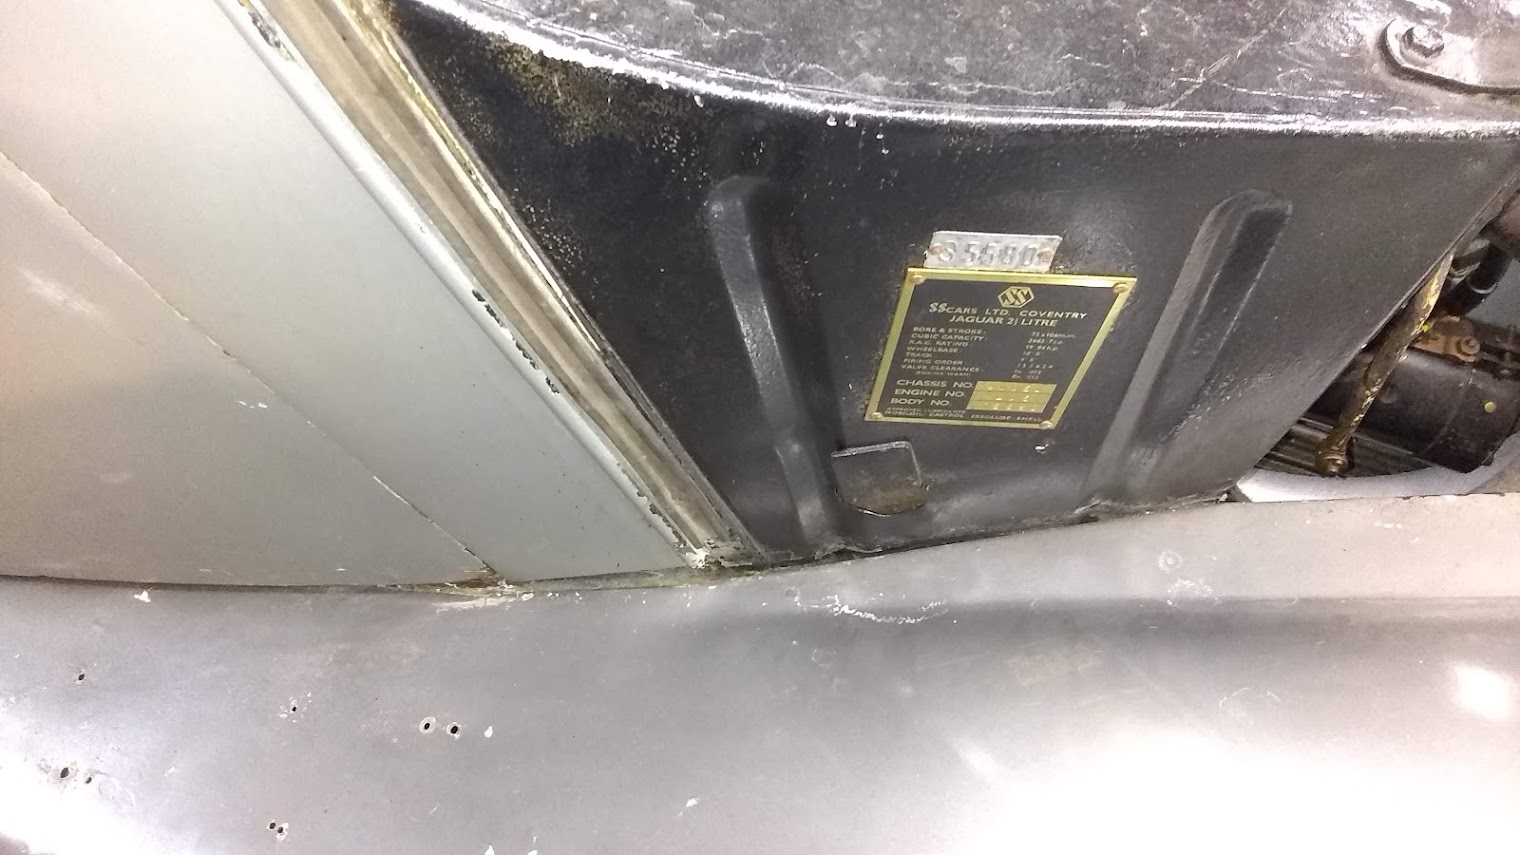
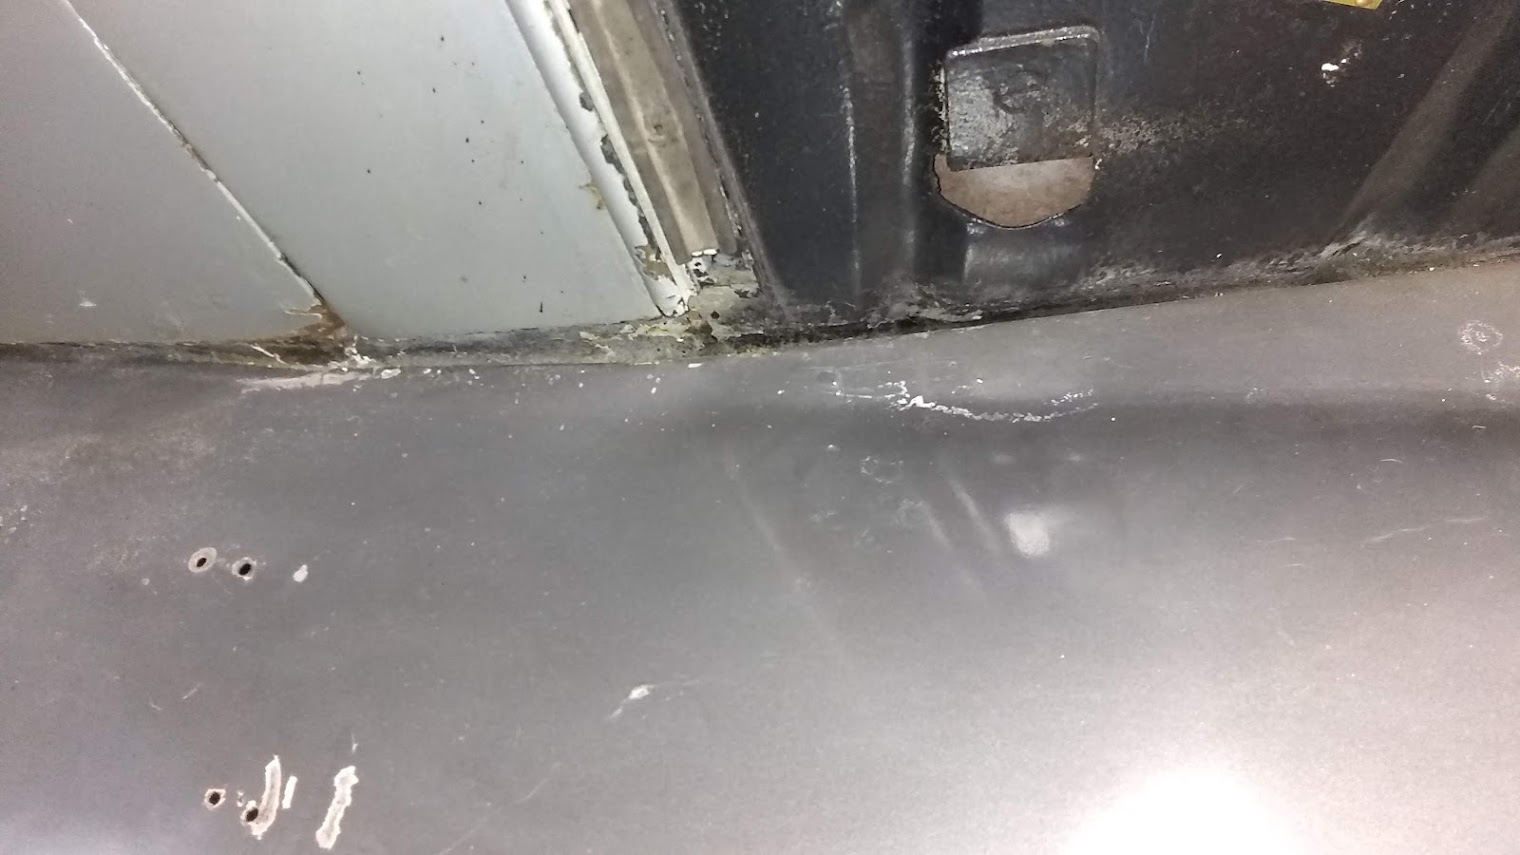
Does anyone have a half decent picture of this area (restored) please?
Its the lower under bonnet area before the bottom of the front door. The panel looks like it has been pushed in at some point and the repair can be improved upon - but I dont know what it is supposed to look like. Both sides of the car have been repaired at some point and neither are in good condition.
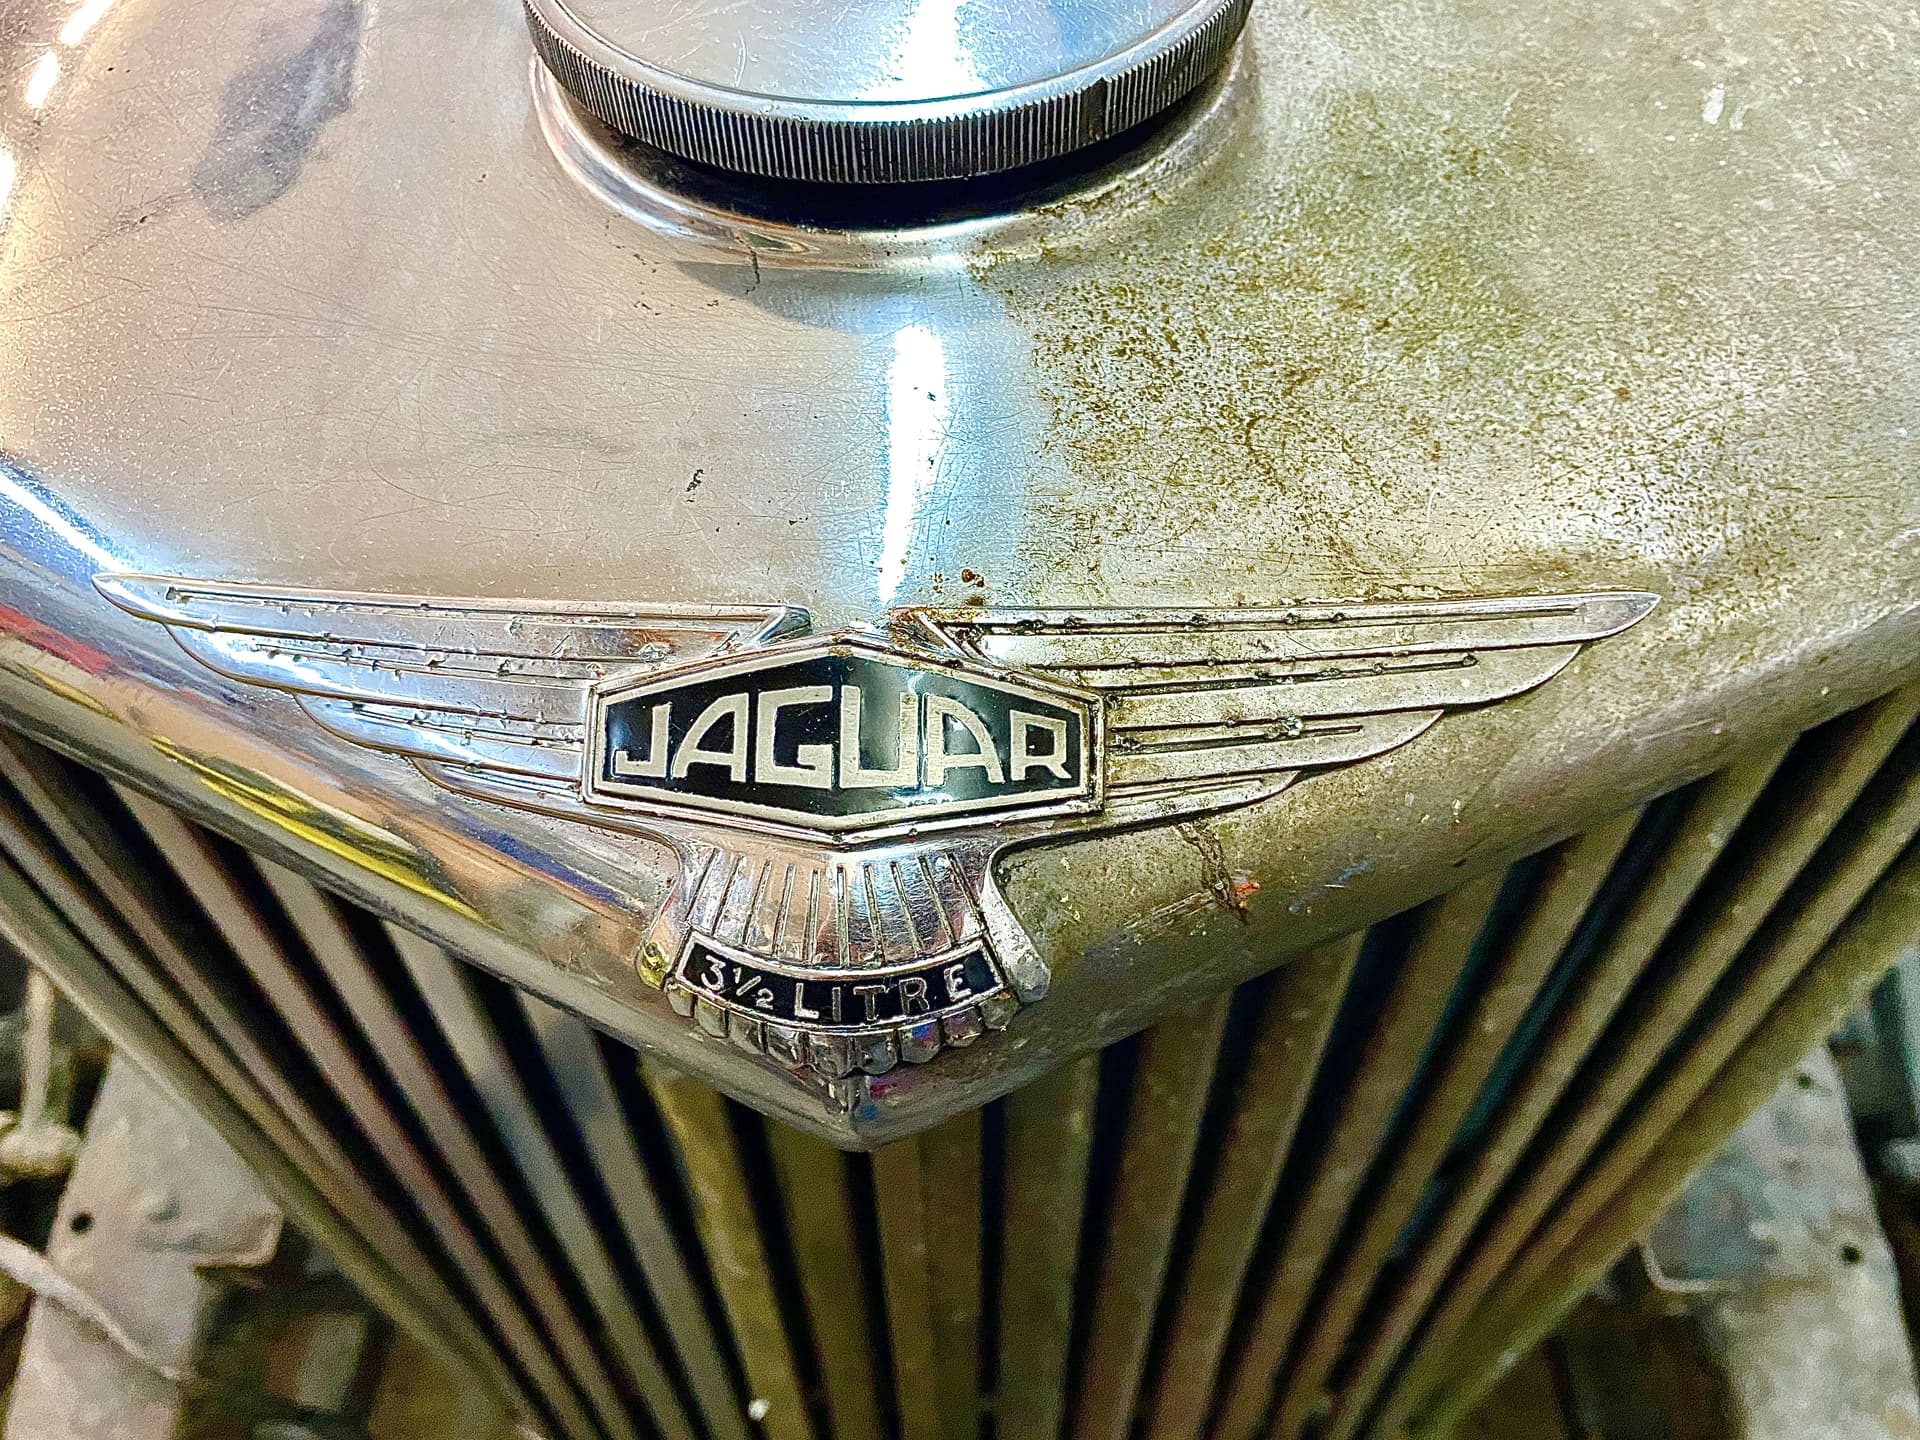
But in summary and I will keep this brief, the car is now at my workshop where the restoration can commence, I have washed off 40 years of dust, hoovered out the interior and looked over the car more closely wondering where to begin. I also sprayed some de-oxidising fluid on some of the chrome (windscreen surround, radiator grill) and the difference was amazing (picture below). All it took was a light spray, agitate with a detailing brush and wash off - I have NOT used chrome cleaner or anything similar - just the de-oxidising fluid
Exciting feeling, isn’t it.
When mine arrived at my home, the first thing I did was remove the 1960s era red shag carpeting. Jag and shag don’t go together.
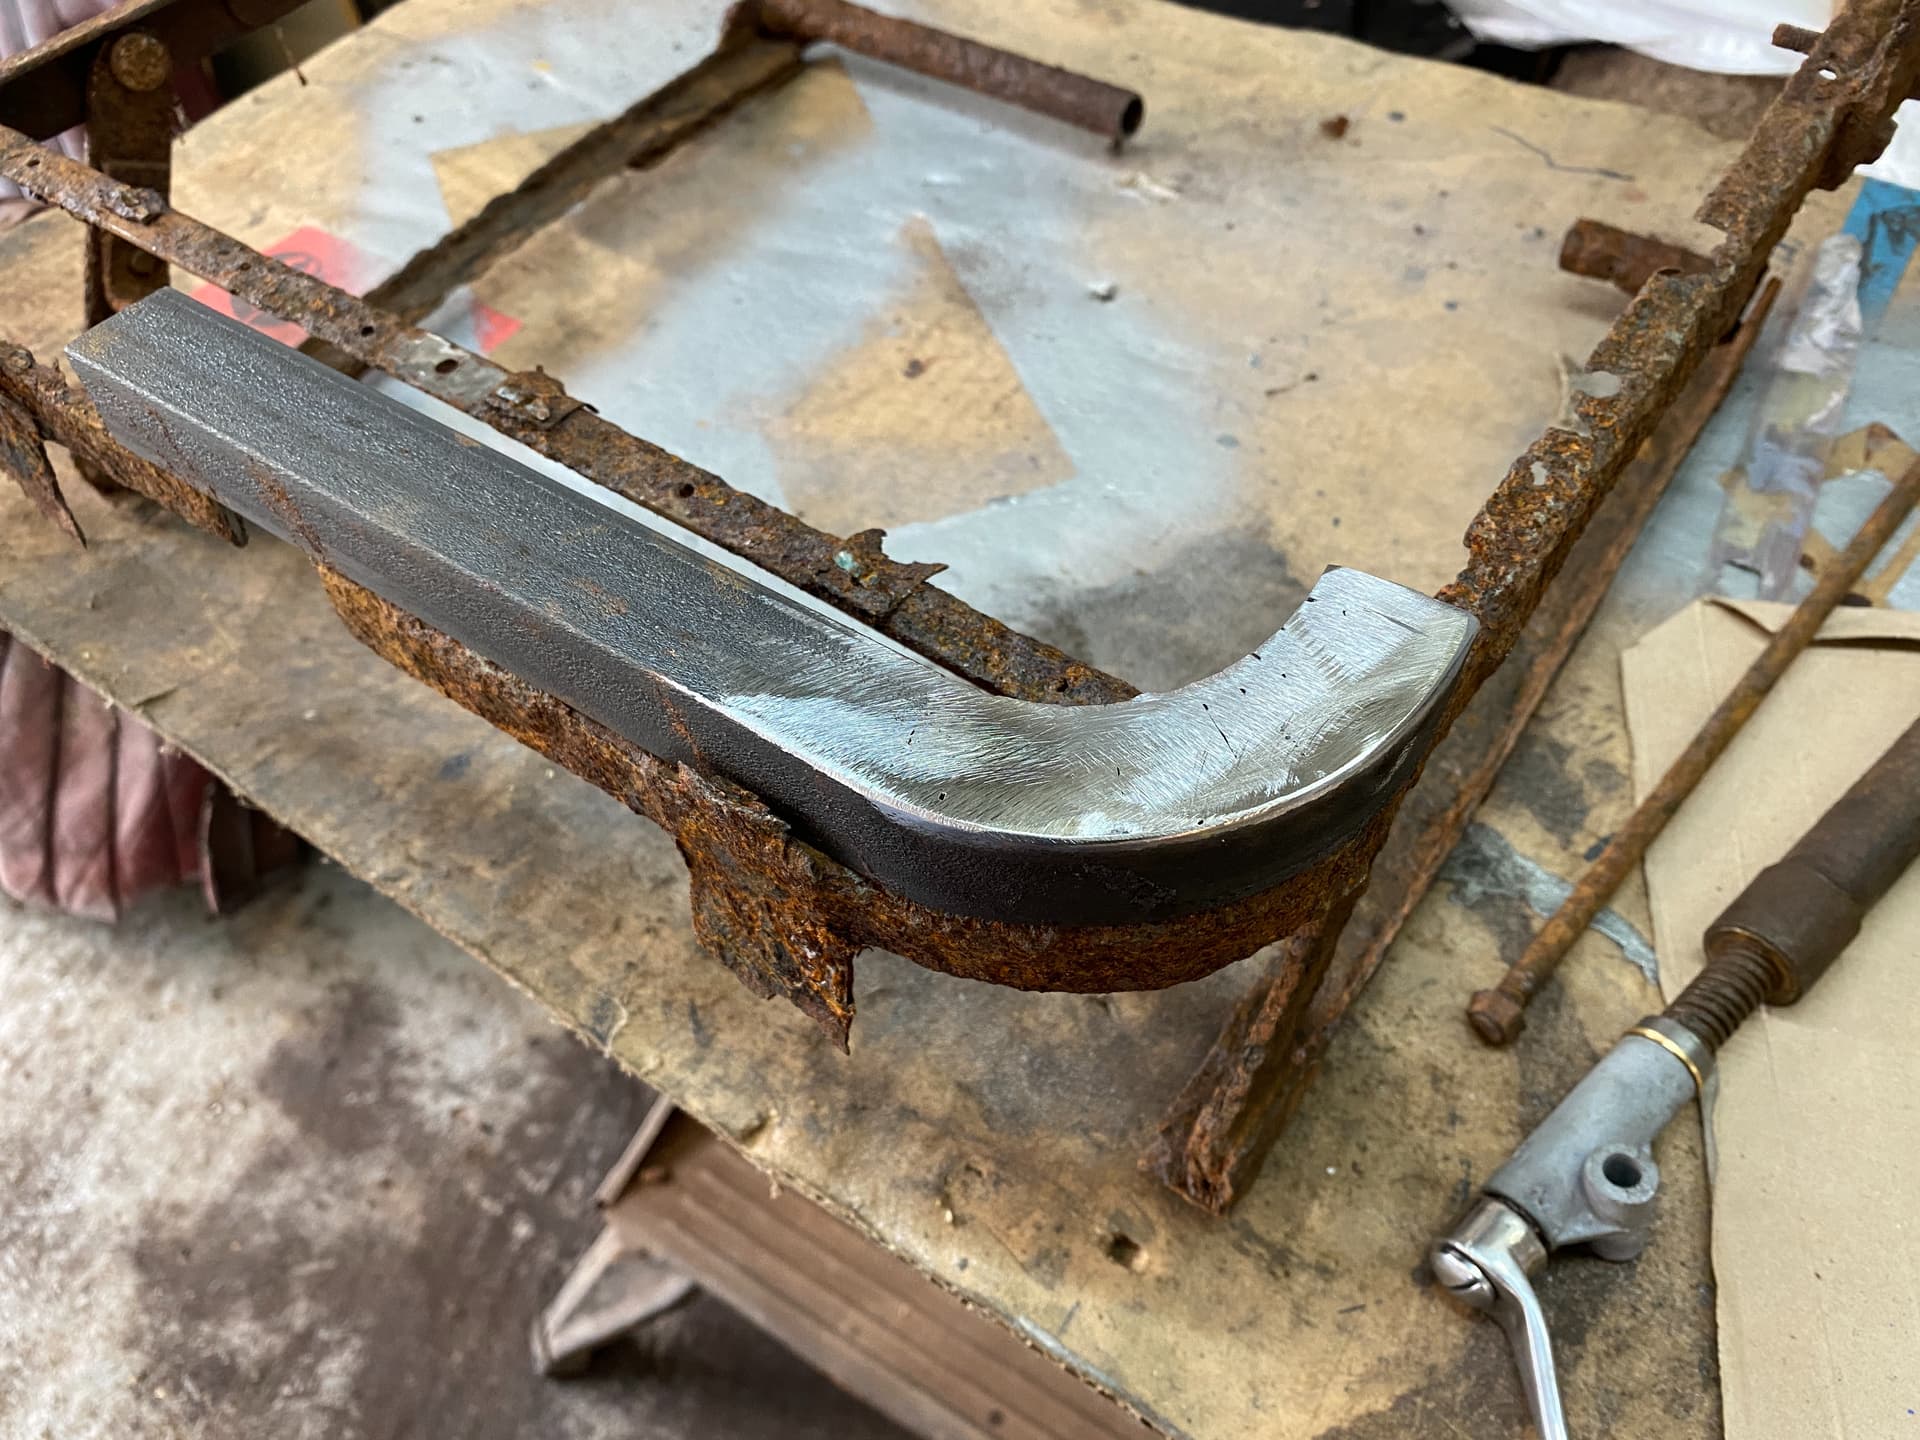
Not had much time this week and focus was on progressing re-making the passenger seat because you may remember the original one was corroded beyond use. I had to use 25mm Angle iron rather than the original 20x25mm Angle but the end result can only be stronger. I now have a decent seat base and have started making the other elements of the seat raise/lower carriage. Its coming along but its slow work because I have to keep measuring everything multiple times Hopefully by the end of this weekend I will have a working seat carriage and I can shift focus to working out to bend the seat back loop
The curved section of the seat base worked out quite nicely. Rather pleased with that.
I have updated my Restoration Blog | Rusty Metal Man which has words to go with these pictures (and a video) but work continued this weekend up to the point where I have a working seat base. Lots of metal cutting, shaping, drilling, filling, bending and welding.
Next steps are working out how to bend 22mm steel pipe to mirror the complex curves of the original seat back
A slight diversion this week, I commenced restoring the metal work, starting with the drivers footwell (for no particular reason). This area had an old repair and the panel looked distorted so I suspect the repair and the lumpy under-seal were hiding a few sins - they were. The repair panel came off relatively easily and sadly I found that it was hiding the original rusty metal which had clearly not been removed just patched over. Removing the under-seal revealed blobs of braze where a previous owner had tried to fill in the rust holes but in doing so the panel was (probably) distorted by the heat and over the years the rust expanded beyond the brazed repairs. So I cut out all the rusty metal, made a wood former to fabricate the panel strengthening bead in the patch repair so that it matched the original panel and then machined an air hammer bit that matched the profile of the beading. That air-hammer bit saved me a lot of time - hitting 1000 times a minute is a bit faster than swinging a hammer
The repair is not in its finished state, it needs a little panel beating to lift the low spots but as we know pretty much all of this area is below the front wing and needs to be covered in underseal but just because its out of sight dent mean it cant be repaired properly.
Next restoration is of course the ‘old repaired’ section that forms the body mount and the surrounding area - its all rusty as you can see. Once all the repairs in this area are complete, I will move onto the missing rocker panels as the previous owner had removed the presumably rusted through metal work and fitted an Oak plank replacement which the wings were then screwed onto. I guess it did the job but it was not how Jaguar intended
I should say that I am not a professional restorer - just an enthusiast so please cut me some slack on the repairs if you know they should have been done differently. I learn by doing…
I also am in the enthusiast category, and I have to say that air hammer and plywood former is a great idea. I will be using that when I come to do my rear inner fender panels, which are half rusted away.
I had not really intend to fit the doors until much later, but I needed to know where the inside edges were to ensure that when I weld in the rocker panels the door does not hit them and not close. So I thought I could simply refit the door, take a few measurements and then crack on with the rocker panel.
It was at this point that I discovered that the hinge pins had been sawn through rather than removing the hinge screws. I wondered why this was done so I tried to undo the hinge screws – yep they are seized. I think I would have taken a different path to the previous owner and drilled out the screws rather than saw through the hinges but we are where we are. Unfortunately this left the remains of the steel hinge pins in the hinges and I didnt want to risk bending the hinges by hammering out the remains. Heating the hinge to release the bits of steel pin did work on one piece – but not on any of the others, so I was back to having to remove the hinges from the door & door post so that I could drill out the remains.
The old school trick of heating seized components to break the corrosion grip loosened 3 of the 4 screws leaving me with one to drill out. Once removed the hinges were clamped vertically in the drill press and the pin remains drilled out.
I will need to tidy up saw marks from the hinge so they can be re-used and I will need to manufacture new hinge pins but temporarily a 6mm bolt was used although it is slightly too small so the hinge has a touch of free play, but it is good enough for me to fit the door and see where the rocker panel needs to go.
Needless to say, this took a LOT longer than it took to write this – a couple of weeks in reality, but the drivers door is now in position.
What surprised me is the panel gaps around the door are tiny – about 1mm. I had best be pretty confident on the B-Post placement otherwise the doors won’t fit…
But now I can see where the bottom of the door is – I can work out where to fit the Rocker Panel so that it clears. It was fun freeing up the door locks, window winder and the quaint quarter light window that opens with a rotary handle. I was also rather pleased to find the door closes under its own weight – which is very classy indeed.
Can I buy new hinges or hinge pins anywhere? I might be able to build up the brass with braze to replace the metal removed by the saw and then mill the gaps back to the correct spacing, but that’s quite a lot of work if I can simply buy hinges somewhere
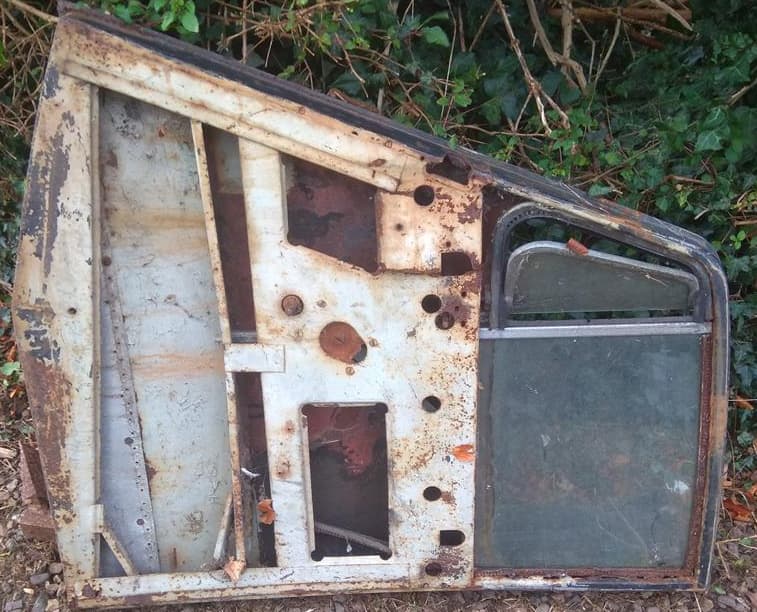
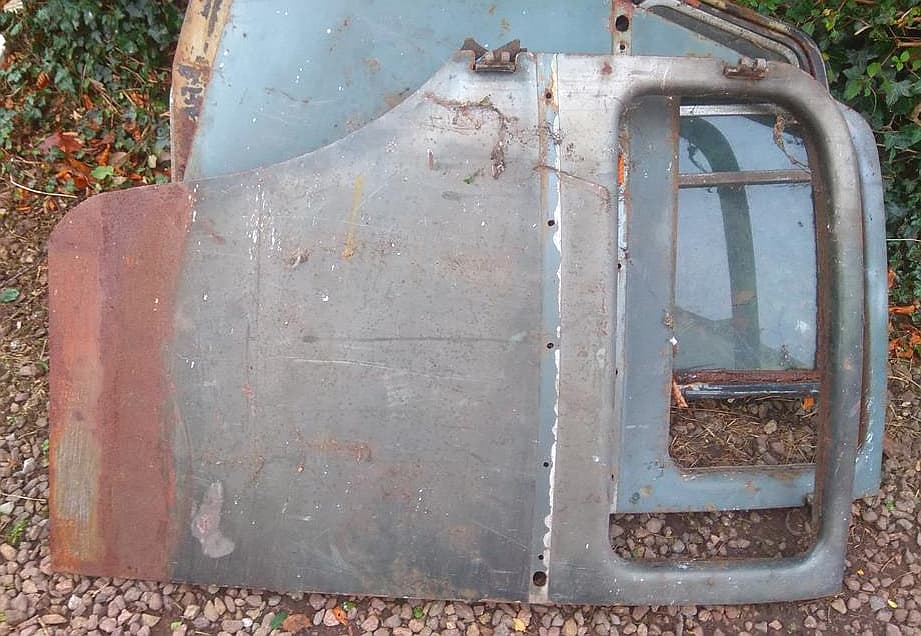
I know someone who has one rear and two front doors and if I remember correctly one front door is still attached to the B post. The rear door is not connected to the C post but may have parts of hinges. The only problem for you is that they are in East Lothian. Let me know if you are interested.
I don’t have a photo showing the B post but I do have these photos.