They provide access to the drillings that feed the bearings. The space behind them is usually filled with sludge and needs to be cleaned out thoroughly and the channels cleaned as well when a motor is rebuilt. Otherwise you stand a good chance of the grunge breaking loose and blocking a channel which oil starves a bearing… you can imagine the rest.
That is the 64000 dollar question. They are a threaded plug that is installed at the factory and then held in by staking around the perimeter. If they have been removed it should be pretty obvious on close inspection as there should be some brand new stakes and evidence of old boogered ones that have been either ground out with a small burr or possibly just crushed by backing out the plug. If you decide that you need to remove them I refer you to Wiggles as I am sure he has a lot of experience and possibly some voodoo magic. It is considered a difficult job which is why there are lots of reports of it being skipped on engine rebuilds.
Lots of penetrating oil around the outside and the inside edge. It’s sitting on a cone on the damper. If the damper’s petrified, it’s a good time to get it rebuilt, about $170. You might be able to get the pulley welded.
Then out came the pan bolts.
Note that if they’re the original pan bolts, one is shorter than the other. It goes into one of the front corner holes where a longer bolt would collide with the timing cover bolt.
The 4 studs up front are missing.
I had made sure to place the crank at #1 Cyl BDC and then jacked the bell housing.
Now that you can see it, you’ll want to rotate it so the rear lobe is as far out of the way as possible so it goes in without fuss.
There are supposed to be lock tab washers on all those main cap bolts, also on the oil pump bolts.
Better verify that the drive dog between pump and distributor moves up and down without binding.
I can’t tell which nuts were used on the con rods. Are they the 12 point XJ6 ones? If so then they’re okay without split pins so long as they were properly torqued. If they’re standard nuts though they’ll fall off and you’ll throw a rod.
You’ll need to get all that gasket goop off. 3M adhesive remover will loosen it.
The pan baffle has a bend a couple inches from the front so the pump fits without colliding. You’ll need to verify when installing the baffle again that it isn’t sitting proud on those weld beads. If it is then it can interfere with the pump and oil pipes and the pan can leak or you can bend or break the flange as you torque all the bolts.
Note, if you’re worried about the sludge plugs then you’re looking at an engine removal and almost full tear down. You really can’t clean a crank inside the car. Given the other liberties this builder took…I’d be surprised if they were removed personally. It either won’t be a problem, or it will be. They can be a bear to get out. My builder had to send mine to a machine shop to extract them.
Oh Boy! This is becoming quite the discussion thread, proof of just how valuable J-L is, and the wealth of info residing in responders like all of you. Allow me to work backwards on my responses.
Charles, where are you thinking I’d need Lock n Stitch. I know that as a technique for repairing cast iron.
Erica, I hear you on this being best done with the crank on a bench. But I can remove one to see if there’s sludge under it. On rotating the crank, by placing it at #1 BDC - and it moved slightly from there - I had absolutely no problem getting the pan past the torque plate…it just slipped right by. I’ll go look at the rod bolts. They look like 12-pts at a glance, but I spent all my time cleaning the pan yesterday and we’re packing and such today to leave tomorrow. I was looking for that short pan bolt, it was not short. You have great comments as always.
Yeah Doug, I had forgotten to take the dipstick out and after a couple of pics I raised it up so only an inch was exposed. You can see the full length in some of the first pics.
Paul and Geoff. I’ll take a close-up pic of the plug this am. I’m ashamed I didn’t know what they were. I’ve never done the machining on an engine, but by golly I have spent many hours in the machine shops. Shame on me. I thank you Wiggles for the link to Roger’s answer to JadDad thread on these plugs. That is an enlightening, if scary, thread. I’ll get to the bottom of it.
I’m off to go look at these plugs now.
Yes Erica, you are right, but they just drove it home.
I have now checked the rod bolts (nuts). They are 12 point nuts. So they are self-locking? There are no washers at all under them, and of course, no cotter keys. Am I good?
The main bolts do not have tabbed washes, nor the oil pump. I’ll fix that. Need to verify still the oil pump drive dog to distributor.
The pan baffle does sit flush on its mounting bridge. We shall verify again after my welds are done.
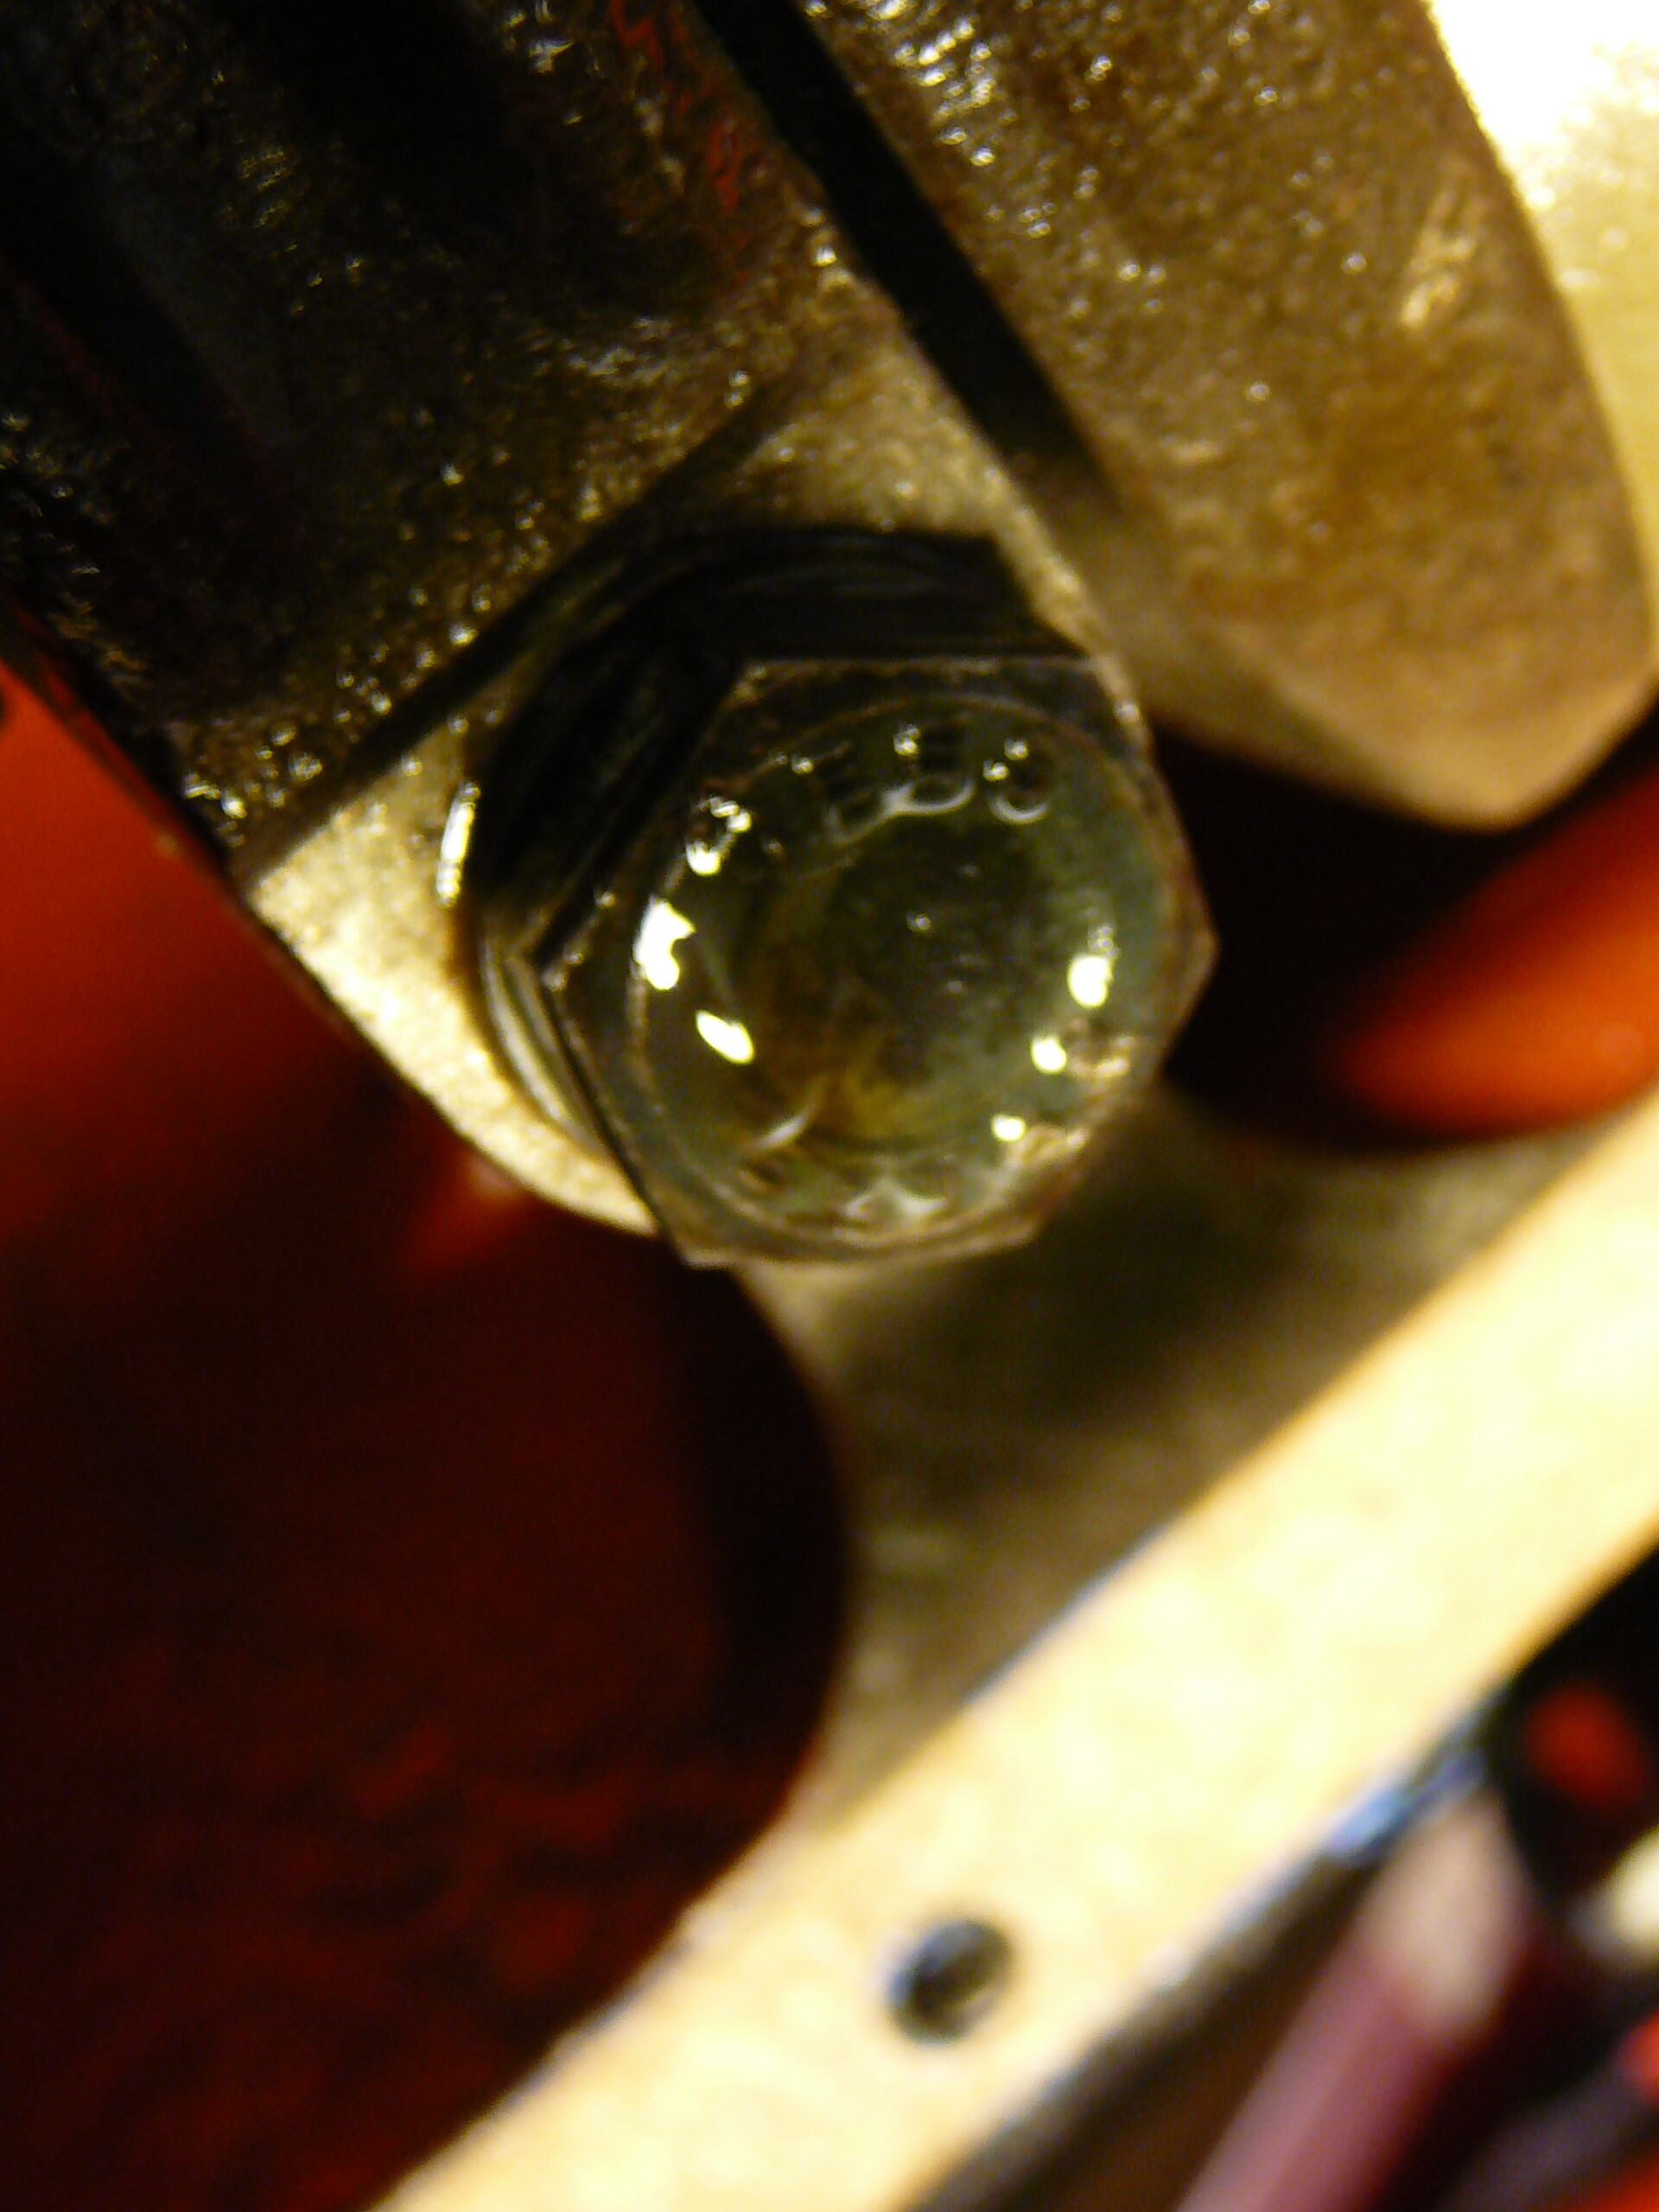
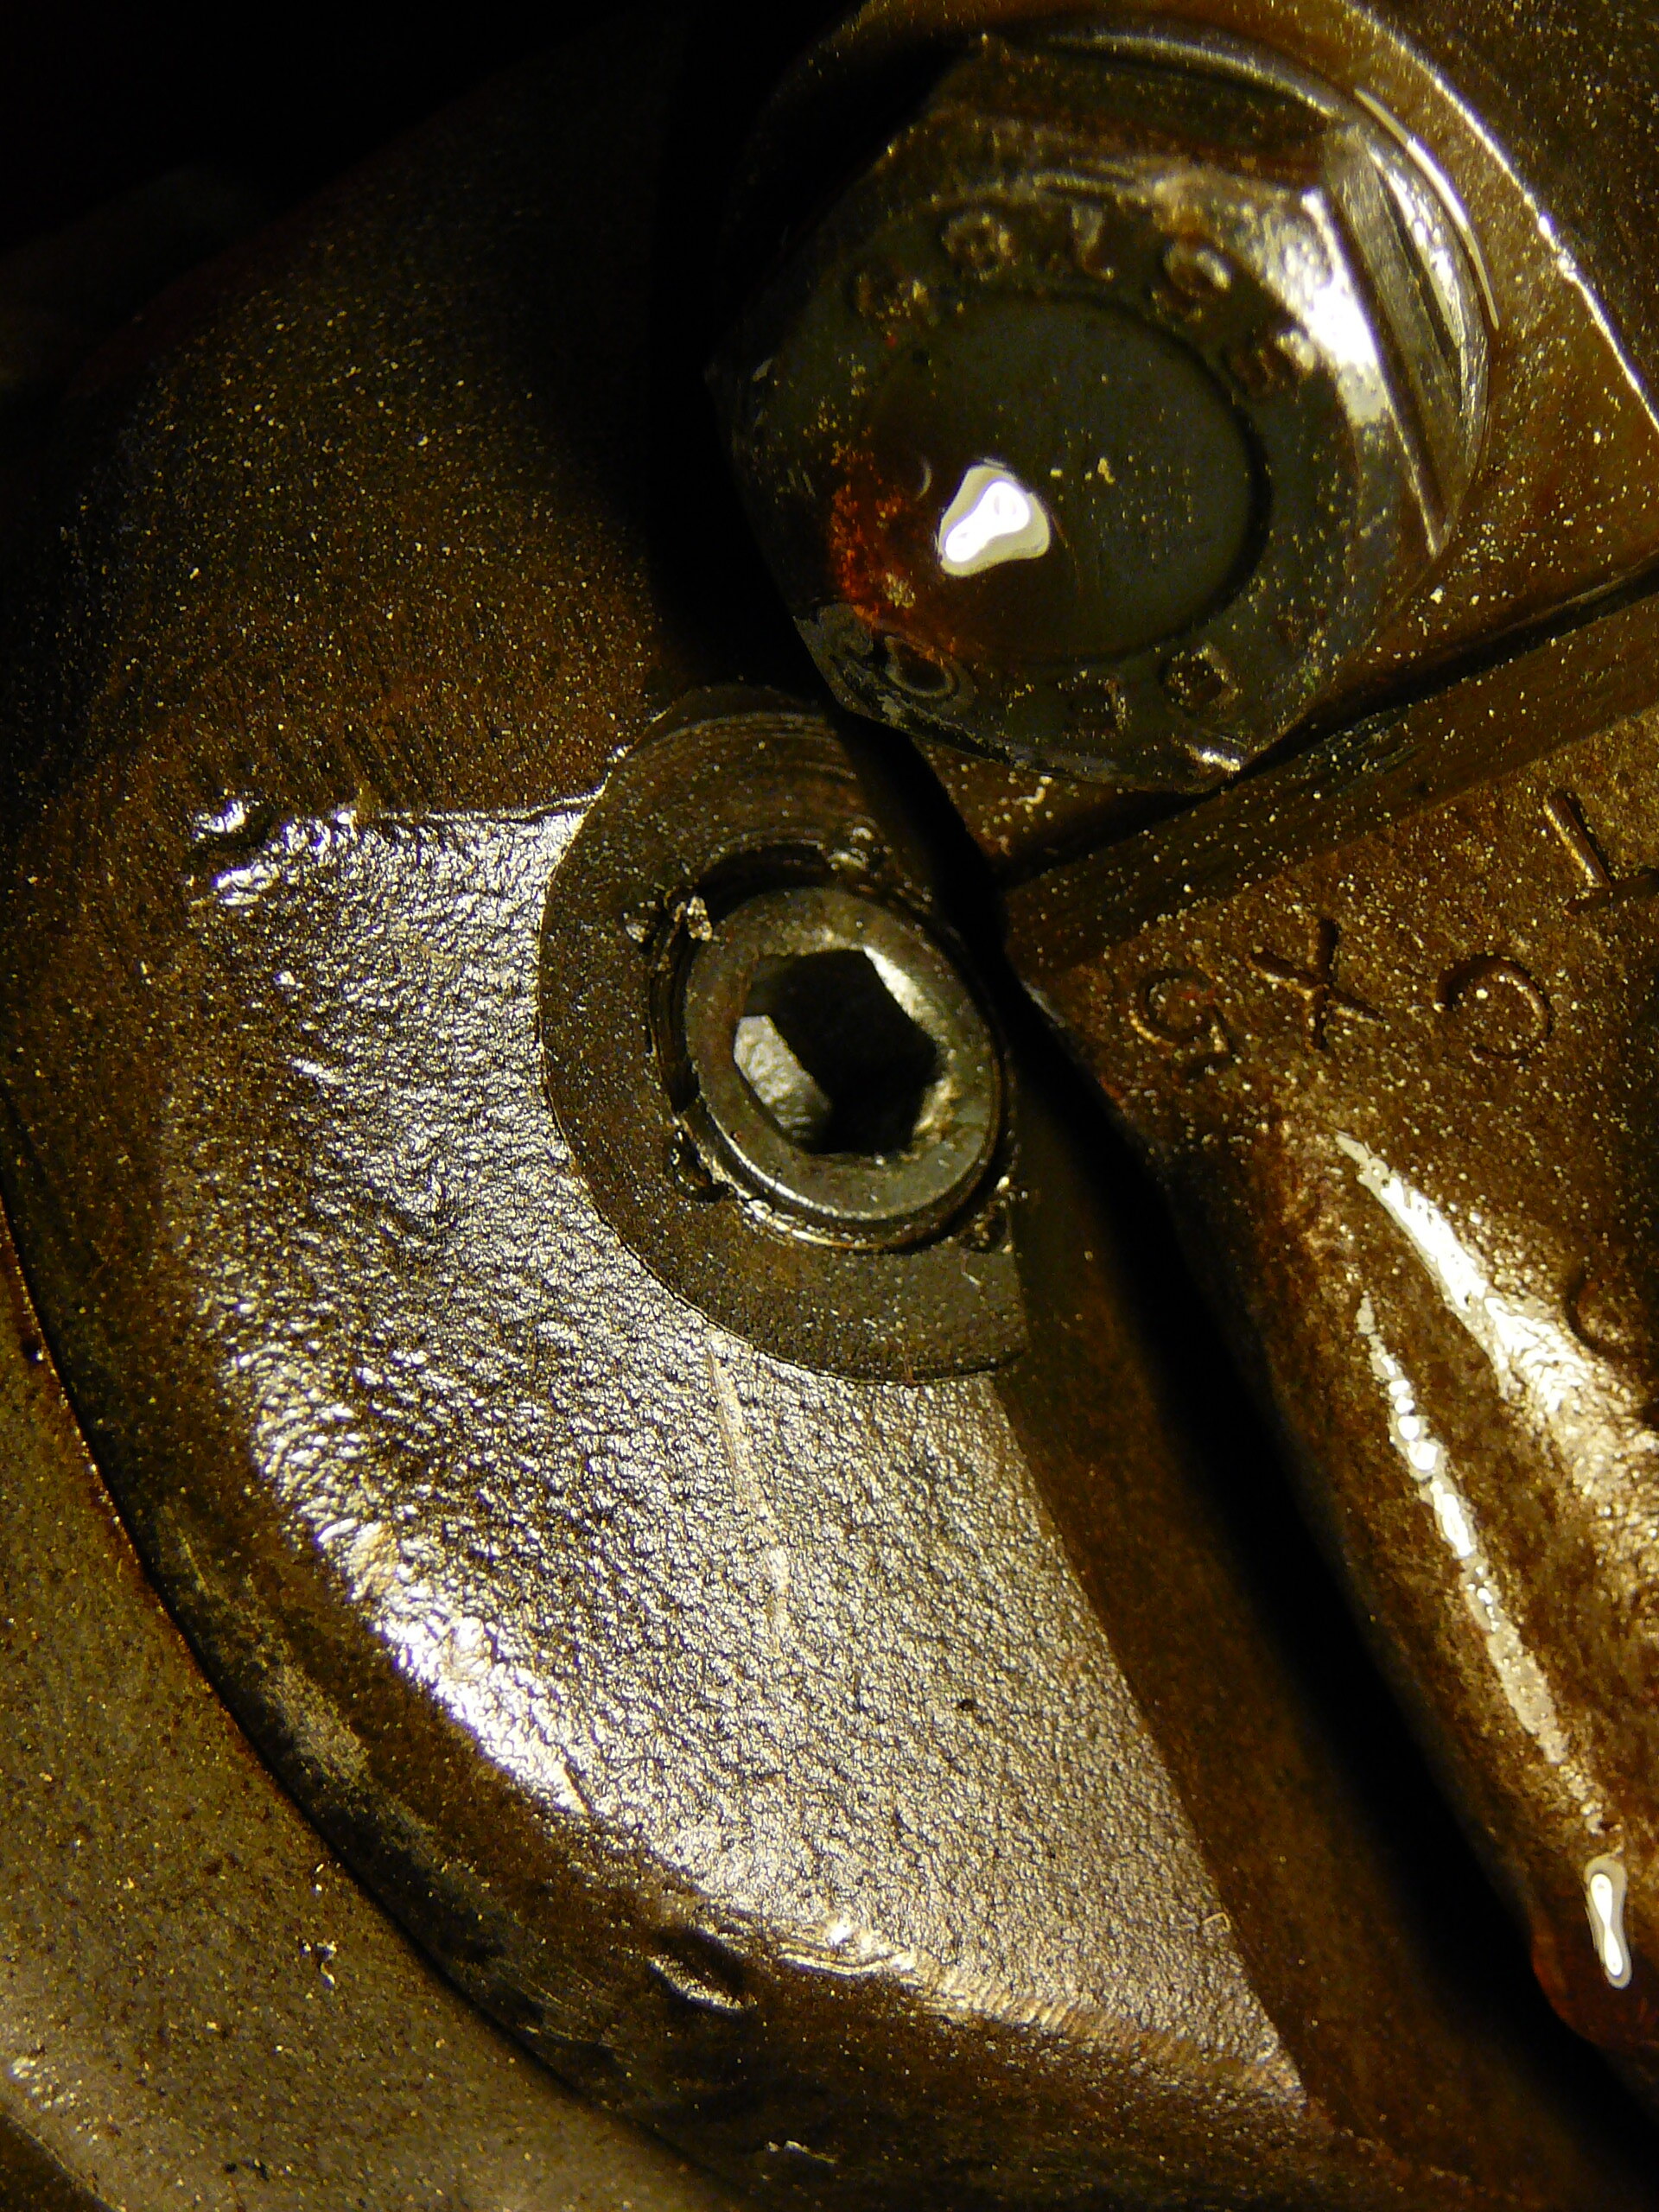
Now the best part. Pics of the Plugs and rod bolts, etc. It appears to me the plugs have been removed. It is evident the original stakes were removed and there are new ones in place…often nearly on top of the old ones. However, one rod has 4 new stakes, the other only two and a 3rd that doesn’t reach the plug. I went to rotate the crank to see the others and discovered I don’t have the damper bolt in place anymore. I’ll figure a different way to do it. Still, I’d say these have been out. What is the consensus of the Jury? Shall I still remove at least one to see if there is sludge behind it?
BTW, I did separate the pulley from the damper. The damper looks good to my eye. Erica says I can weld it, so I’m taking it with me to my sons. Just so you all know, he lives in Tampa and I’m in western North Carolina…600 miles away, 10 hours drive. I don’t just pop over to his house.
Be sure there’s a gasket under the oil pump pipe where it enters the block. Also make sure that you have the correct O-rings in the outlet in Inlet of the Oil pump. The pipes need to be snug inside the O rings.
I’d cross post to the engine list with the question about the con rod nuts. I’m not sure if those are correct 12 pointers or not. These are the ones from the Moss site. It’s what’s on my engine.
I’m going to abstain on the question about sludge plug. You are correct that it’s been removed before. Hard to say whether it was this time or not. Maybe though. The stake marks do look a little on the fresh and shiny side no?
I think you can weld on that pulley. You’ll just need to smooth it very well so it doesn’t tear up your belt.