I said I wasn’t going to start a topic on the IRS because it is already so well documented. But I will probably need some help as I go through this, hence this new thread.
My car, an early 1963 FHC built in Sep 1962, was in a restoration shop for 5 years starting in 1990. That restoration ended in failure and dispute. Much of the work done was done very well, but there are lots of anomalies I have found: missing pieces, improper installation and downright nastiness. I didn’t own the car then, my aunt did, and she was so upset she destroyed all the paperwork from that repair shop; I have no idea other than physical evidence what was done. So out with the IRS to check and validate everything as well as to install the brake lines.
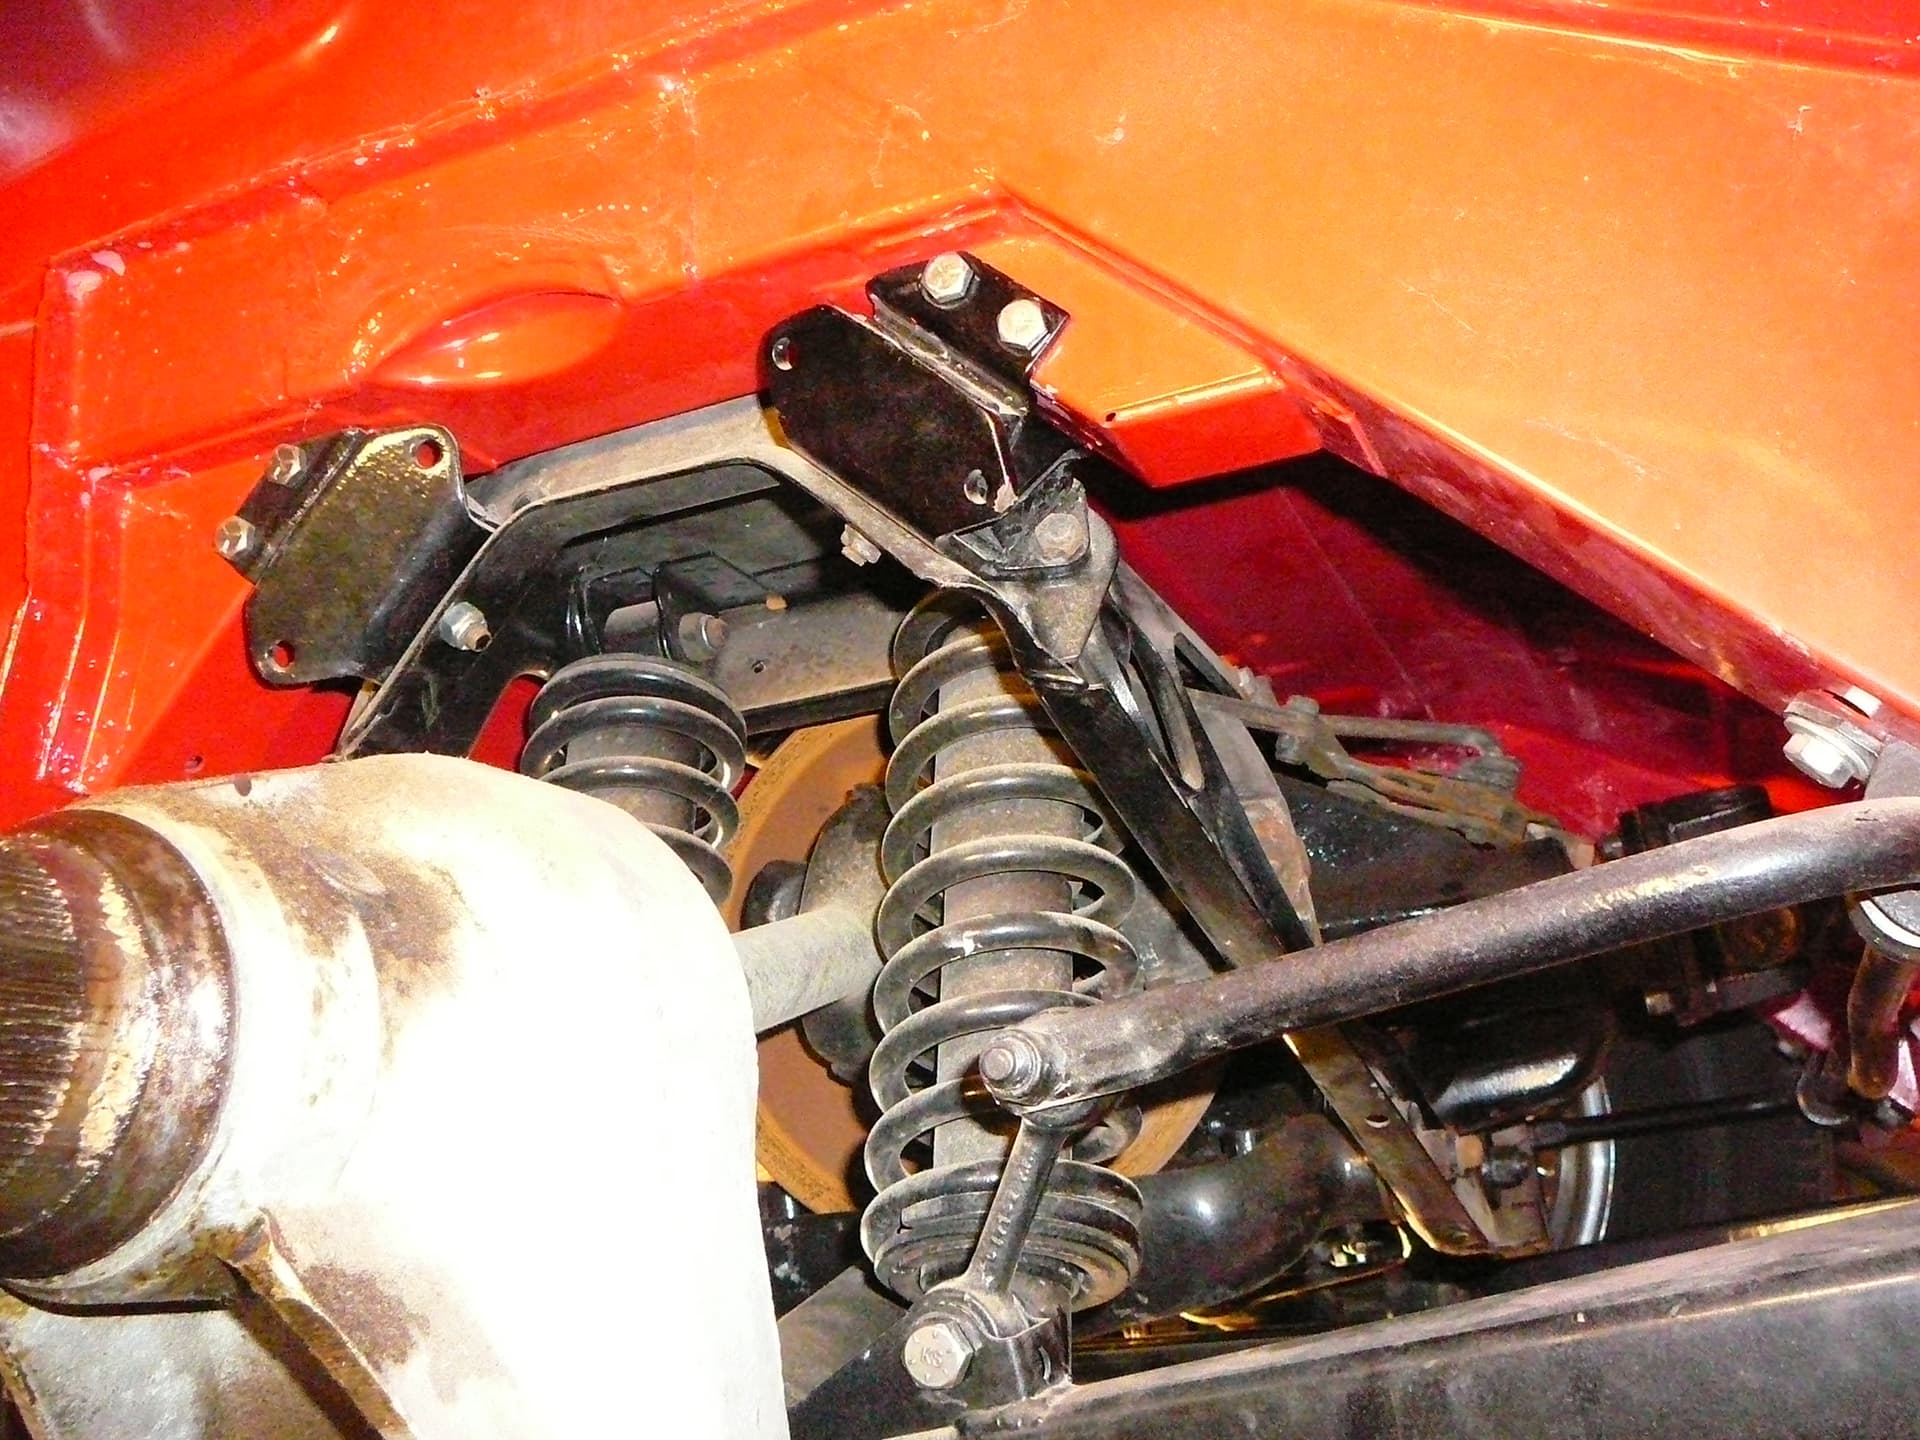
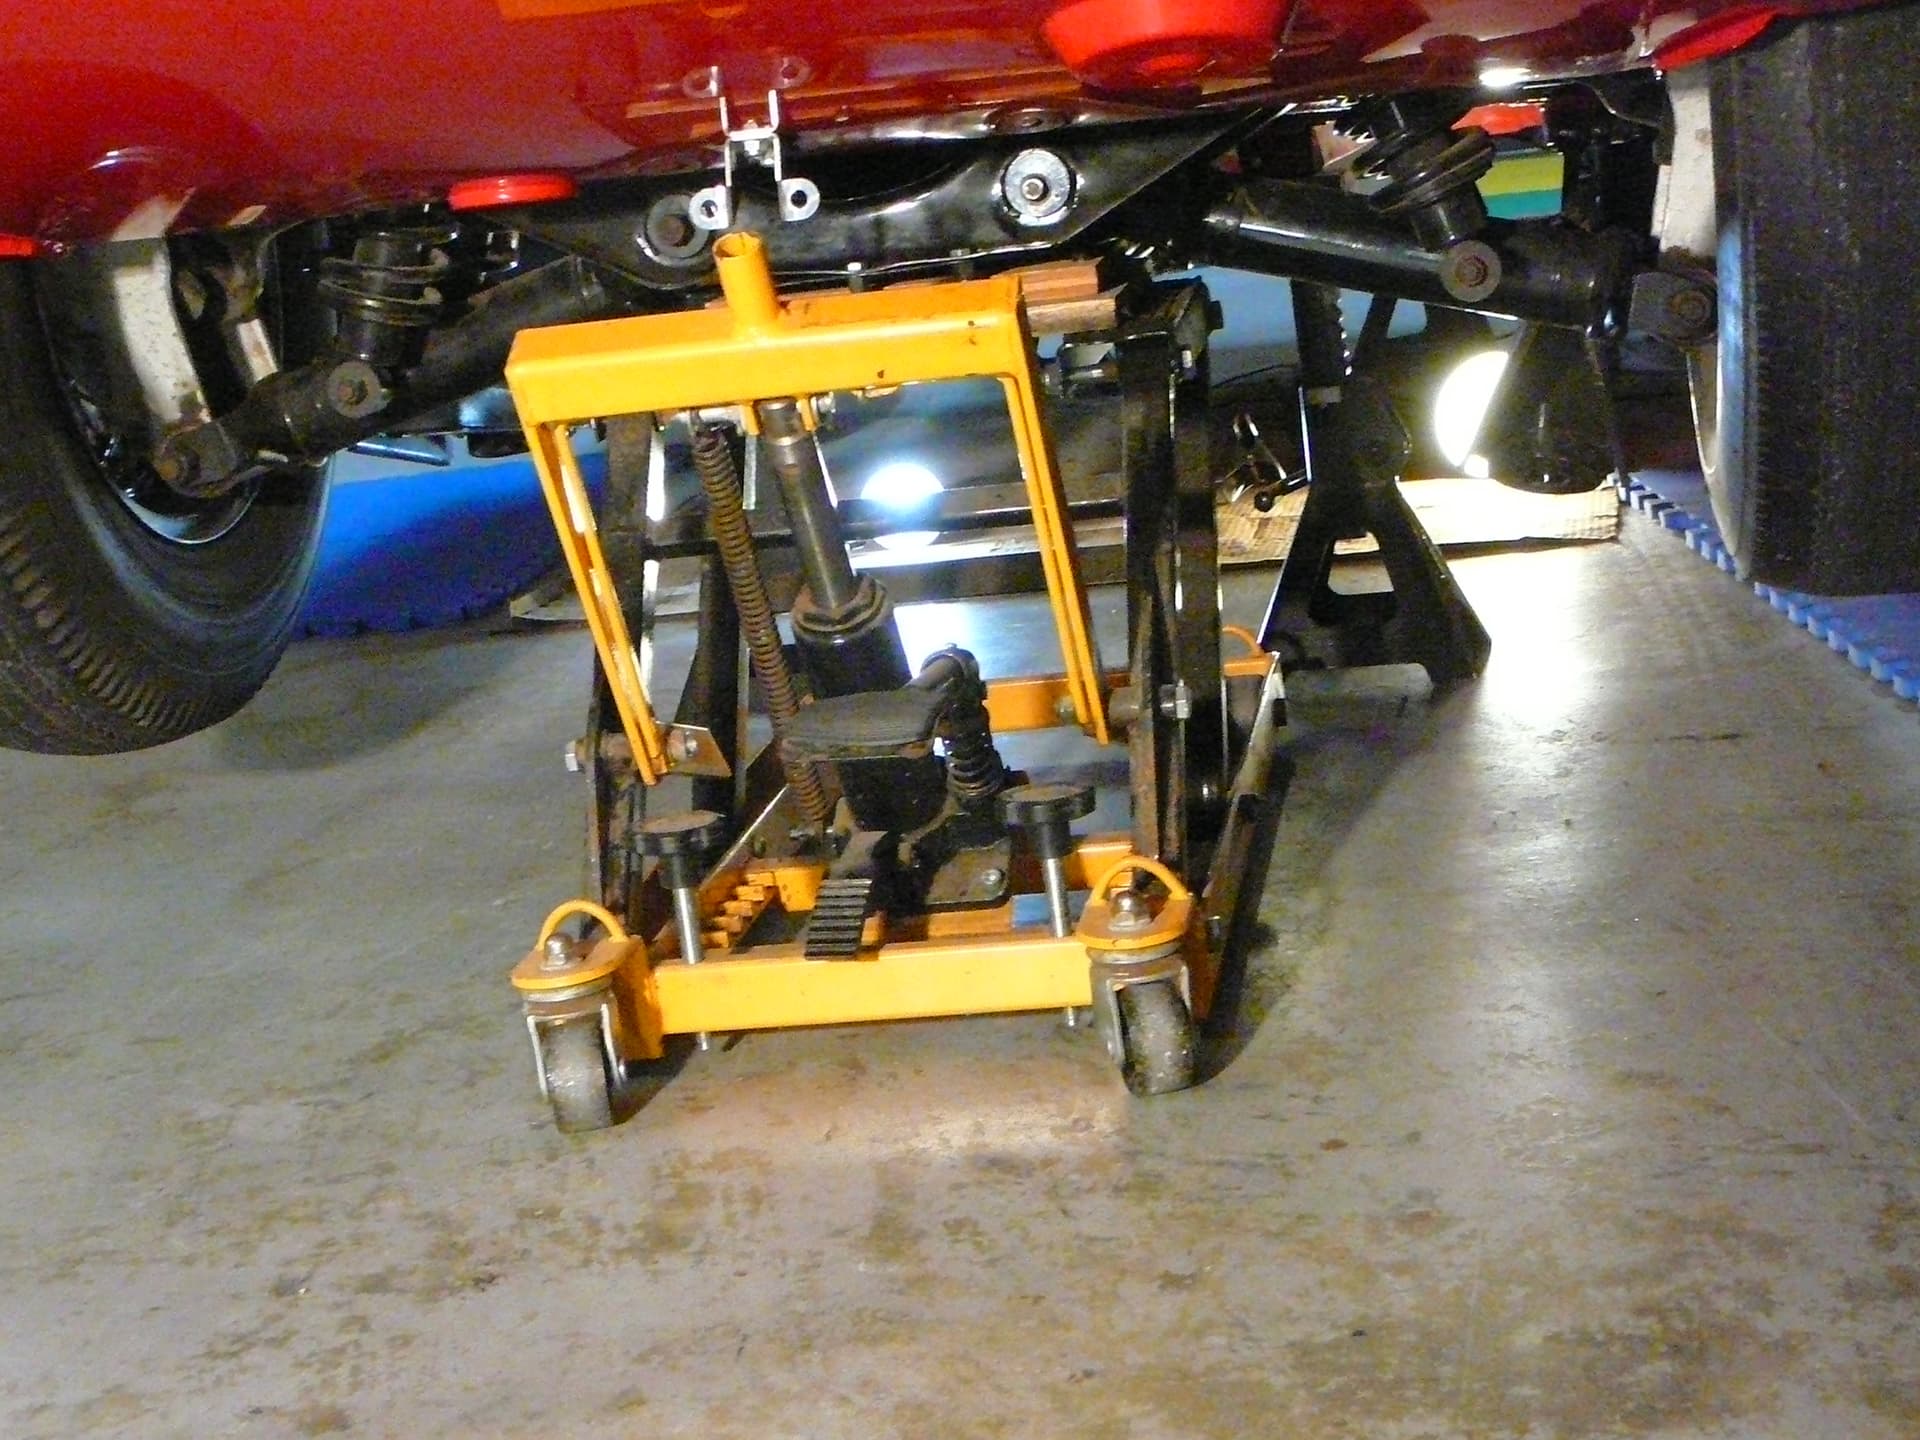
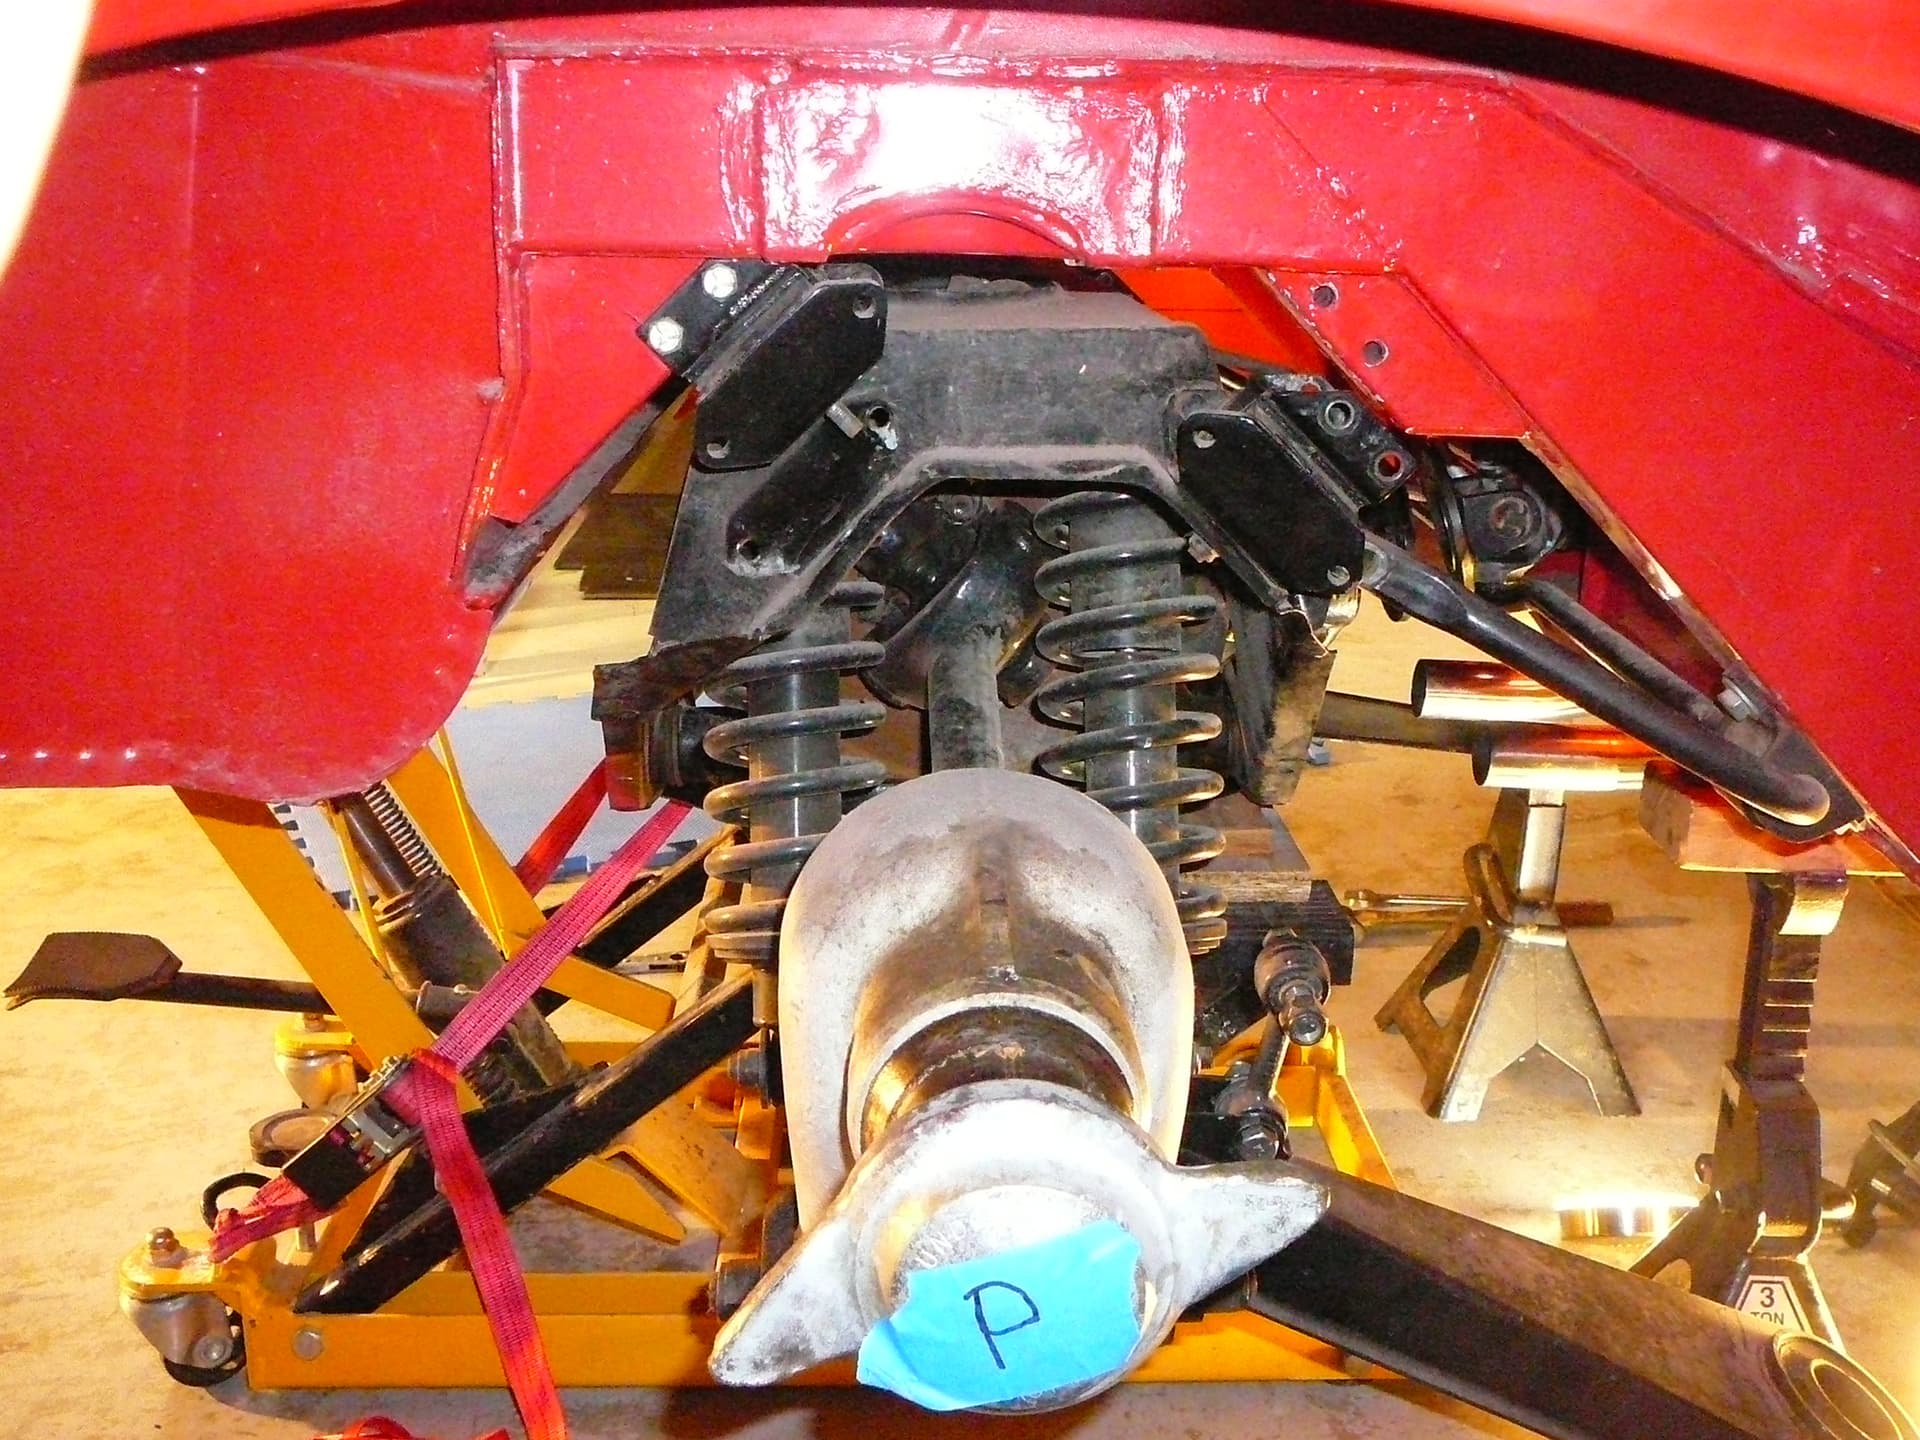
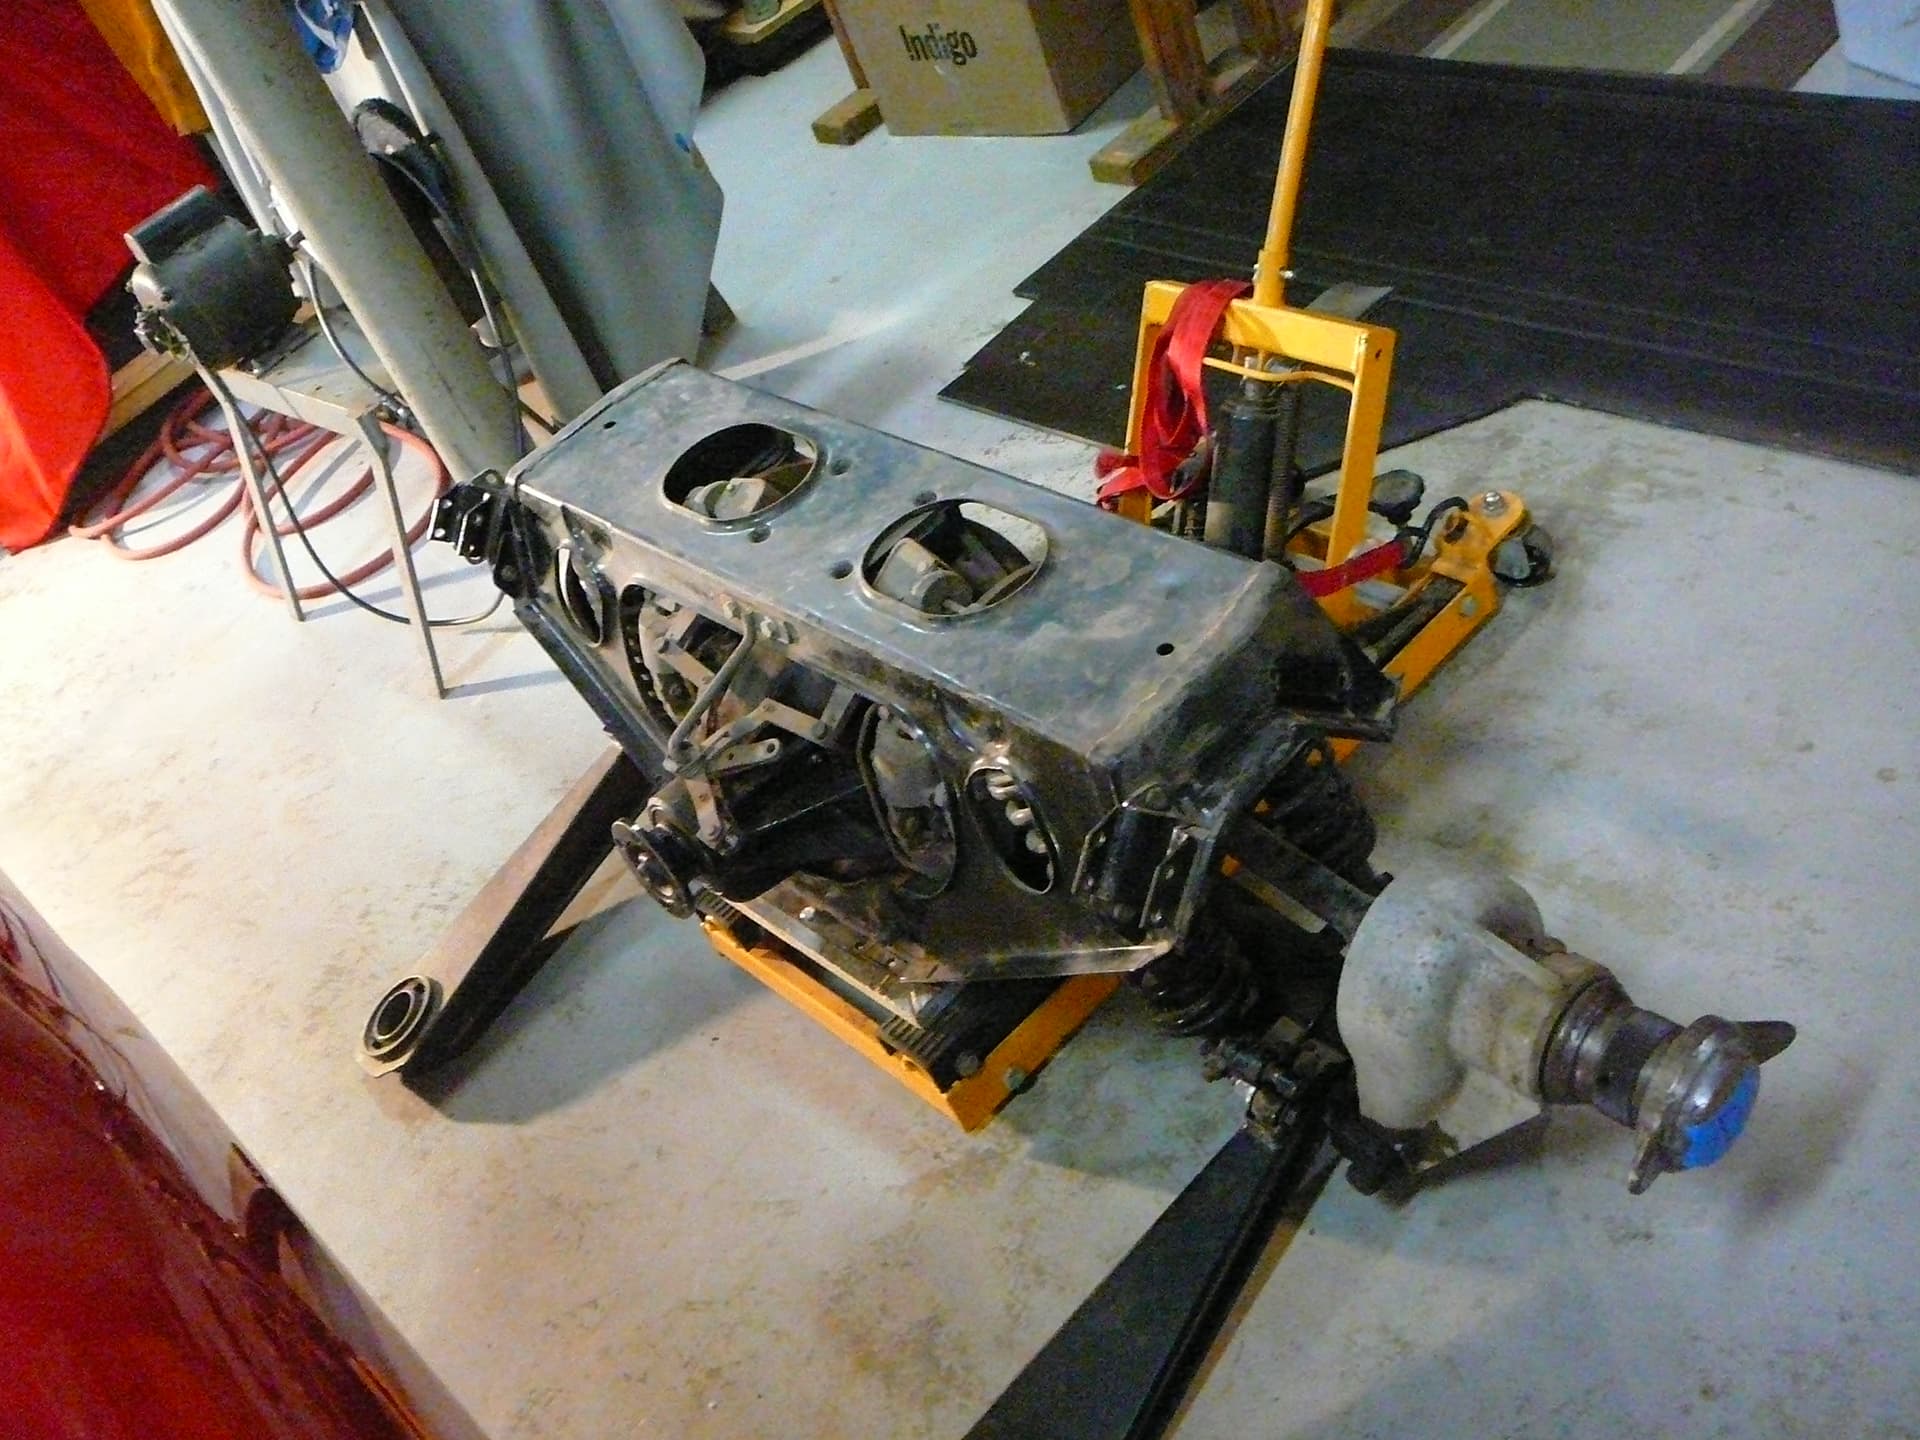
What I’ve found so far. The removal of the IRS went very easily. The car is very clean and the painted chassis looks like it was painted a few months ago. The trailing links came out without a fuss. There are no hydraulic lines connecting to the disk cylinders. The entire IRS was very clean with only a slight amount of oily dirt on any surface. I used a motorcycle jack and removed the IRS from the rear. (Actually the motorcycle jack, a good choice of jacks, would prevent the IRS from coming out the side because the jack interferes with the hubs. Coming out the back was uneventful with the car jacked up to create 19" of clearance from the floor to the bottom of the car. Here are pics of it coming out.
The following pic shows why the motorcycle jack is not a good choice for side removal: the structure of the jack hits the hubs before the lifting platform can be centered on the IRS. On the other hand, the width of the jack’s lifting platform, together with a piece of plywood (in my case two pieces) is a very stable lift and I found the safety strap to me unnecessary (I used one anyway).
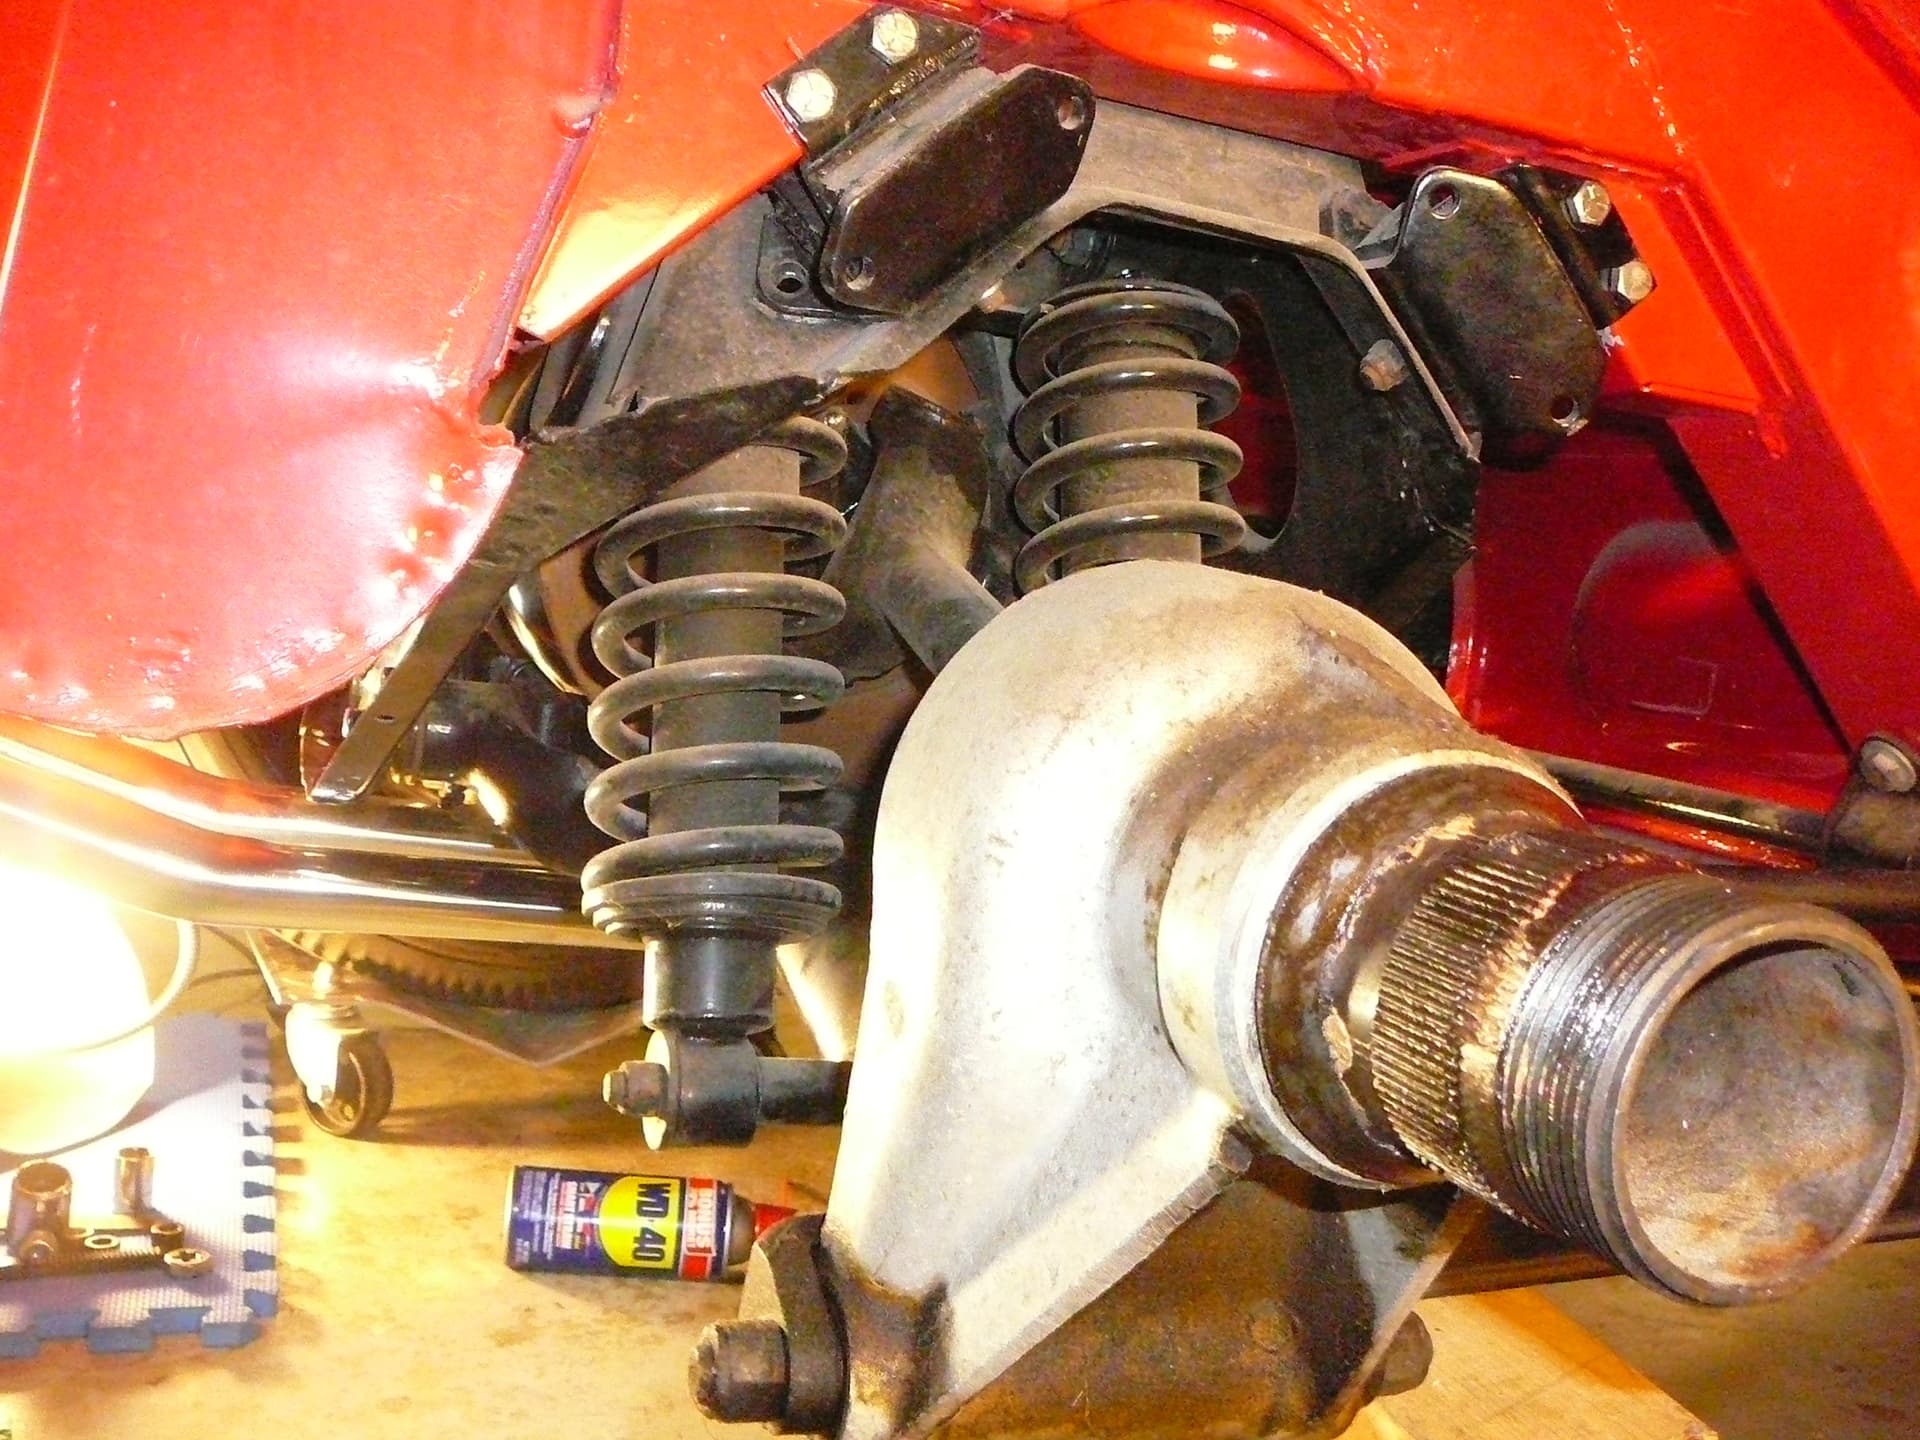
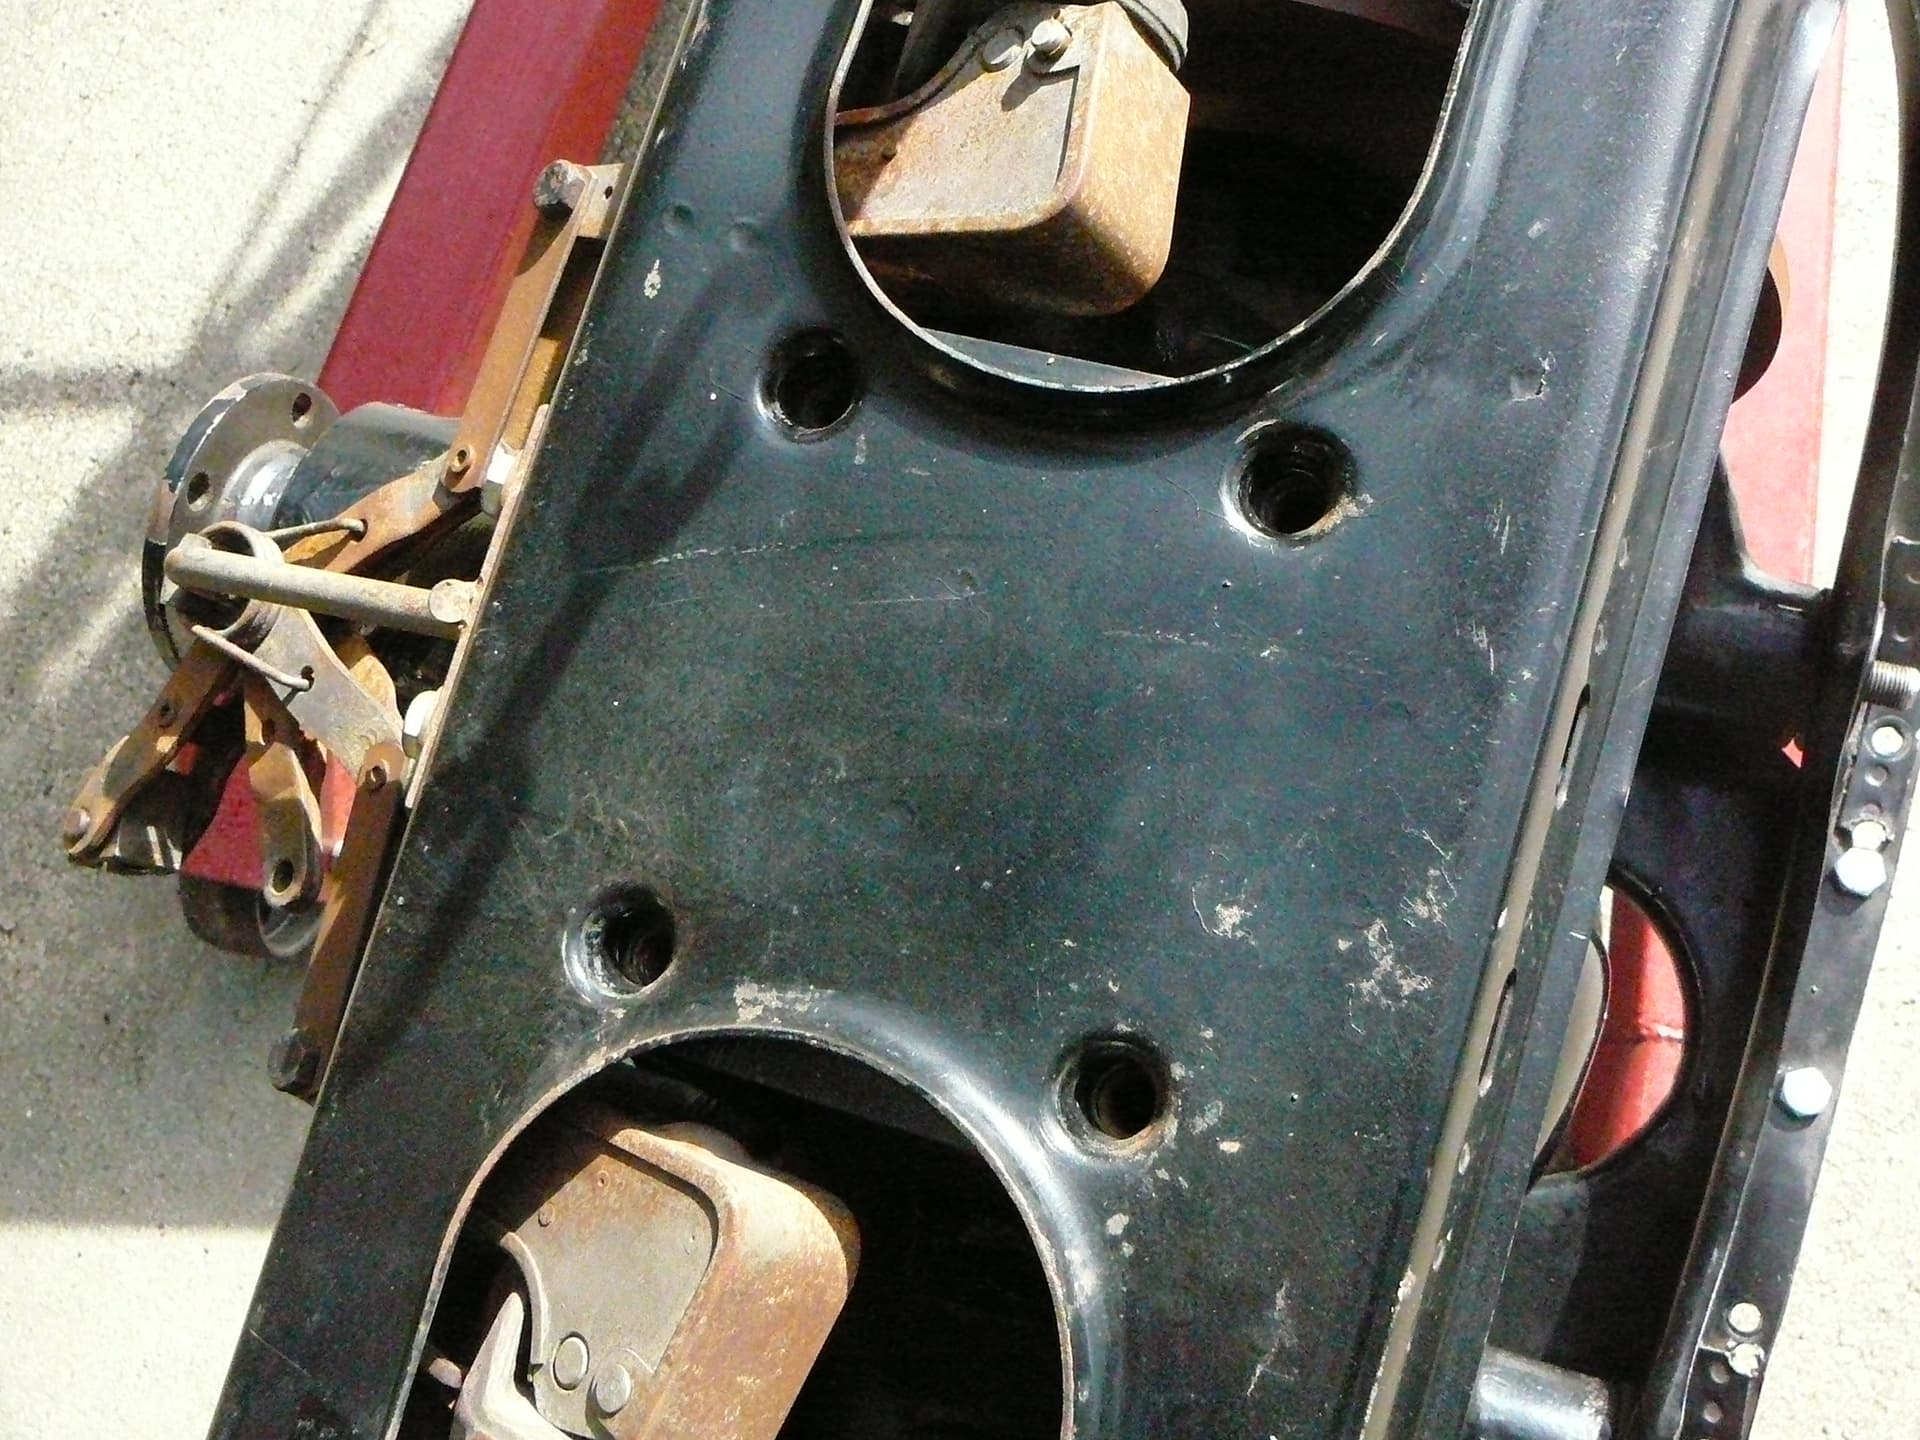
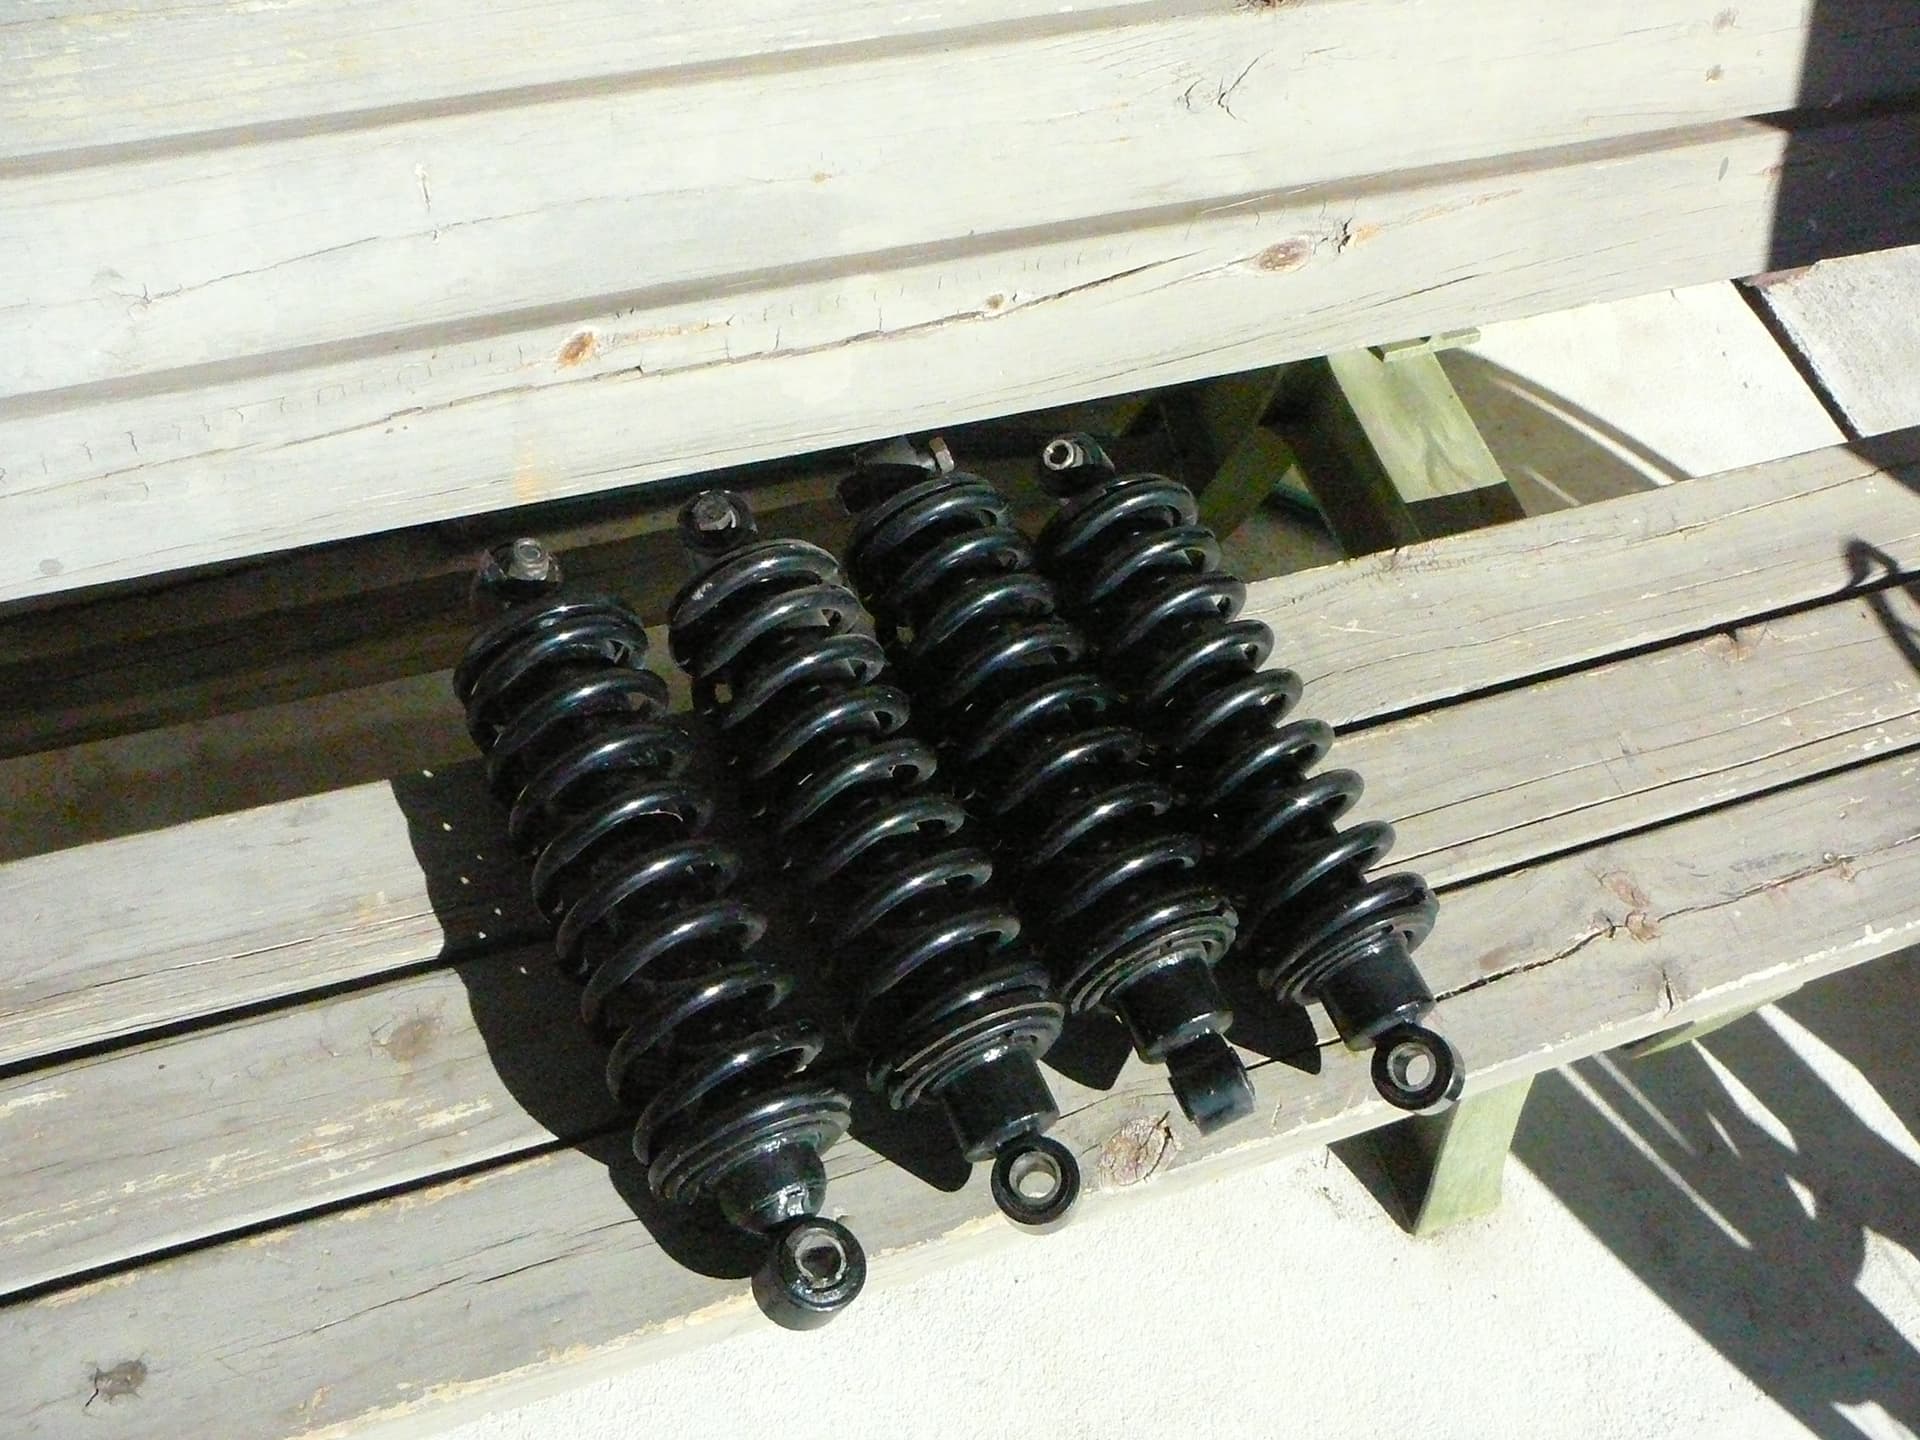
The IRS was very clean and a simple wipe off with some degreaser was sufficient, but I decided to pressure wash it anyway. It is now very clean. Observe that one of the fulcrum bolts has damaged threads and I’ve a new one to replace that. Also, the 4 bolts that hold the differential to the top of the cage are absent! The shocks/springs came out easily. And, it may be that these shocks were new back in 1995 or so; they appear to be adjustable and there is no sign of weeping and the shocks have no signs of wear except for the top bushing are misshaped due to sitting for decades.
Great photos Scott…also note the top shock bolts are around the wrong way which would mak it very difficult if not impossible to remove a shock with irs in situ…just a reminder for when you reinstall…Steve
Well here is an interesting thing. I believe the 4 rear shocks are unused and were new in 1995 or so. The 3 on the right are Koni 801491 shock I think. Made in Holland. The one on the far left is a Girling! I can’t distinguish the p/n as of yet. All 4 look unused. But the upper bushings are distorted on all 4.
Hi Scot…i notice that you have removed your bonnet by disconnecting the hinge brackets…its far easier to just remove the bolt each side that holds the top hat bush into the bonnet frame…unless they are seized. …doing it this way also enables you to remove/refit the bonnet single handed…Steve
As your into you woodwork from the big pile in your garage this bonnet stand may be of interest…plans on tne UK E forum if needed…bonnet hinge pin bolts fit into metal bracket on top of the stand The 'E' Type Forum - Login
Thank you Doug! I have those I think! running downstairs, back in a minute!
I’m back!
Okay, so like these then? I recall seeing them a long time ago and I put things I don’t recognize in my WTF are these box. And there they were!
Were they plated? Mine appear to be black oxide.
I’ll try to find it, but anyone know the torque value? Should I use blue thread locker, anti-seize, or?
They could easily be black oxide from the factory. I plated mine because I took a LOT of stuff into cad plating and basically plated all the fasteners. These are not visible so color is not important, just that they are protected from corrosion. For torque I used the standard 75% value for the size fastener (I don’t recall off the top of my head what size these are) and I assumed they are equivalent to grade 5 bolts, steel into steel. I used antisieze on the threads (so it can be disassembled if needed in the future) and then safety wired them after torquing as you can see in the photo I posted.
Thanks Steve. The bonnet hinges/springs got lost before I got the car. I bought a set from Dick Maury this past summer, but the bonnet is sitting waiting for my atttention. And, the bonnet looks like this:
The original was stolen after it was painted and fitted. So when the shop delivered the car to my aunt, this is what she got! Center section is aftermarket, the rest comes from at least two different cars. It’s my most feared task.
But, yes I do wood working and I do not have a bonnet trolley. The wood working gets in the way of the Jag project, but I manage. The trolley you have looks perfect. I’ll steal the design from e-typeUK if you don’t mind! I will take note on you hinge comment. Oh…sheesh, you’re talking about the bonnet hinges. Yes I did take them off just using the hinge bolt. I put them back on the car for safe keeping.
One of the good things about my car is it has lived its live in Texas, briefly, then Utah, then Arizona and finally to me in Tampa and now North Carolina. Since my aunt owned it, it has been an indoor cat. It is very free of rust so most fasteners simply unscrew. I appreciate the photo.
I used 0.032" as that is what I had and should be fine. I would have used larger if I had it on hand. Rule of thumb is use the largest safety wire you can easily fit through the fastener’s hole and still get a good job done. Large diam. safety wire can be a bear to wire properly.
I have only a roll of 0.41 and that is what I used on the engine’s cam gears. It was a real nuisance for sure. I’d have been happier doing 0.032" wire. These bolts though are very accessible. Your safety wires look great Doug.