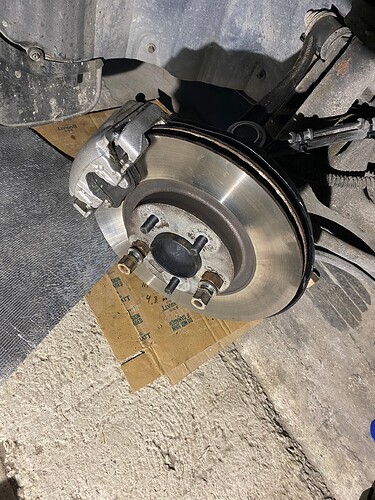
So, one day I heard the humming of a bad wheel bearing. Right front wheel. Found a workshop that would do the job, since it would require tools I didn’t have at the time. A good workshop, fixed the problem, wasn’t cheap, but cheaper than the workshop that said they would change the entire wheel hub… (First error, go with the wheel hub change if you have the option).
So, the wheel bearing is now OK, but then the ABS ring borked out. These wear down due to corrosion.
I ordered a new ring and a tool (https://www.lasertools.co.uk/Product/7001/ABS-Rotor-Nut-Socket-for-Jaguar) for it, but the same workshop that changed the bearing didn’t want to change the ring.
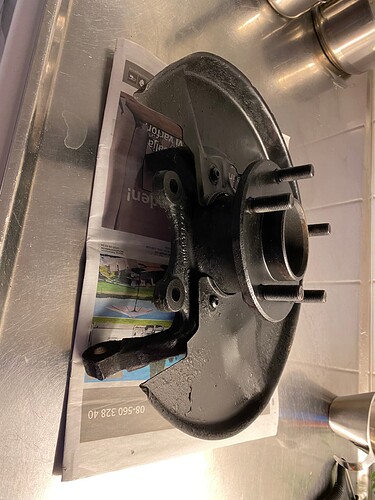
Ordered a restored wheel hub from Joe’s Garage in southern Sweden, thinking, how hard can it be?
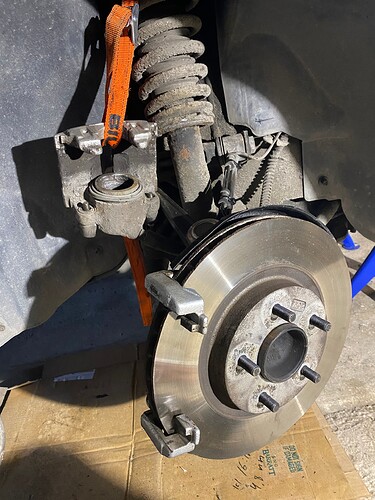
Well, removing the break caliper et al was quite straight forward, even though the garage must have used power tools on the bolts. Then one needs to split the ball joints from the wheel hub, this requires a special tool, according the the workshop manual, see link
I bought a fork instead, since it was the most straight forward way, and since none of the other tools I acquired for the job did fit. I never got the hammer trick to do it for me.
Using a fork destroys the ball joints though, so better get new ones if this is the route one chooses to go.
Then one needs a tool for pressing in and out new ball joints. A 20 ton workshop press is of course the best option. I have one now…
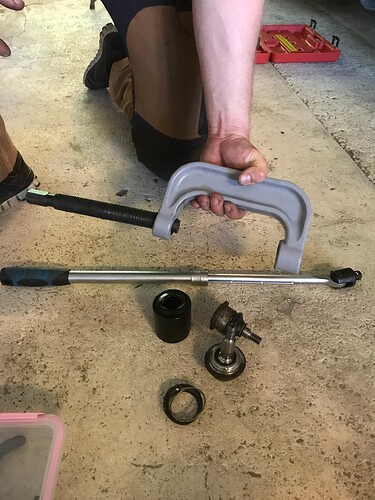
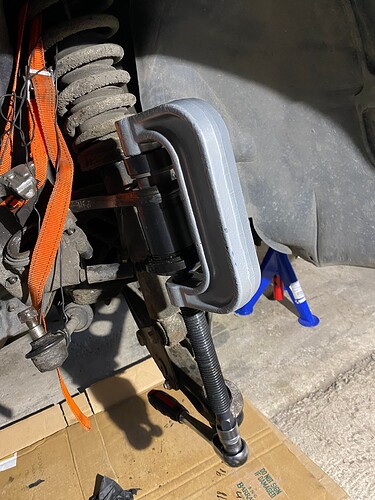
Here I used a cheap china made tool:
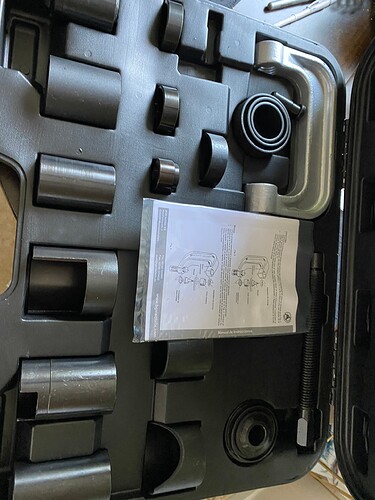
But since I bent it, I went and bought German quality, BGS 21 piece. One can tell the difference in the steel, this actually seems to be a good hardened tool steel.
https://www.amazon.de/dp/B004VRBEZS
Ball joints then. I ordered at first from Britishparts in the UK. The parts didn’t show up and then I got an email that my order was cancelled. Turned out that they had used an email address I haven’t used with them for a long time… They’ve been very good to deal with over the years so a fluke once in a while doesn’t matter to me.
In the mean time I ordered ball joints on amazon.com. These showed up quickly.
Before doing any pressing, clean the recipient hole with a rotary wire brush. Also make sure the surface is smooth, no dents or anything that might obstruct the ball joint going in. A fine emery cloth and some patience will get you there. Clean thoroughly so there’s no dust or whatnot. Apply a small bit of grease.
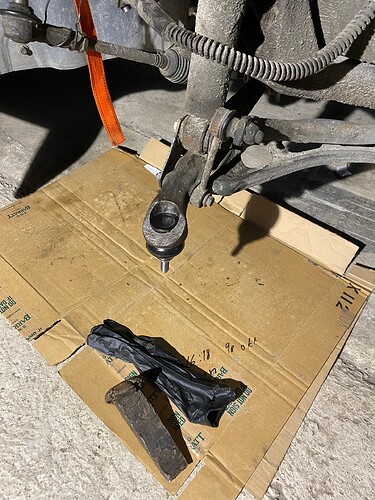
Now, pressing the lower ball joint into the lower wishbone is a bastard of a job using the ball joint assembly set.
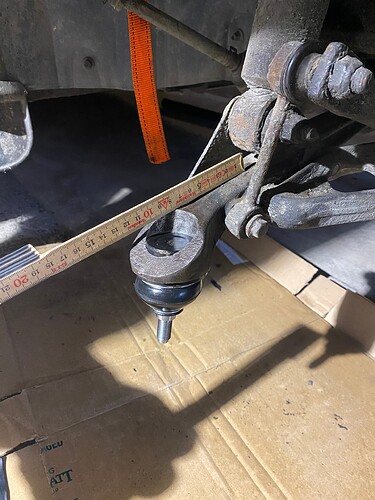
As one can see, the top surface is slanted, the ball joint also sticking up through the hole.
Rummaged around and found some scrap to use. A steel wedge with a beard.
Tied in with steel wire, this actually gave something to hold on to. With this sort of set up the ball joint came to without much drama.
So, then it’s just the upper one left, right? This must be easy after doing the lower one with angles and slanting surfaces etc… Well, depends on the ball joint. The one I got from amazon.com was made by URO.
https://www.amazon.com/URO-Parts-JLM21380-Ball-Joint/dp/B01AWY1HZU/
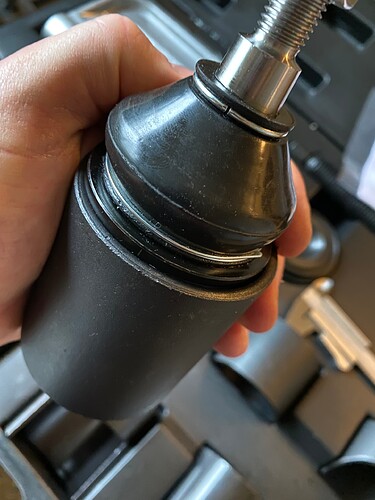
The BJ I got in the mail did not really look like the one pictured on amazon
Perhaps good if one can actually fit it, but the rubber boot is held in place with springy wire. The ends of this wire is sticking out and won’t go into the hole of the upper wishbone. One can see it in this next picture (the photo was taken to show the cup fitting, it also shows the lower BJ).
So, one needs to keep the bloody wire in check while trying to get this thing in place, and all of the sudden the rubber boot is cut open!
The next one I got was from Britishparts. It was a bloody pain trying to get it right. Got it wrong and once it has started going in in a bad way and sustaining damage to the press fitting surface you can scrap it. Fortunately there where no damage to the wishbone. Buying a replacement wishbone does have the bonus of coming with a new ball joint already installed…
So, third time is the charm. This time I got a genuine Jaguar ball joint from Rimmer bros in the uk.
I heated up the upper wishbone ring with a butane torch until perhaps 50-60 degrees C. The ball joint being a few degrees above freezing point.
This is the correct way to position the tool so it will press in a straight line:
The genuine part just slid in without any need to be muscled in there. no breaker bar needed, just an ordinary wrench.
This has taken a lot of time, more than it usually does when I do things around the workshop. But I’ve learned a lot of new things and swearwords, and also re-learned the old saying that cheapness may betray wisdom.
I’ve probably forgotten most of it now, any comments and questions that improves this post is of course very welcome.
