Bigger job than I thought, should have got a transmission jack. That thing is HEAVY. I managed to guide it down with my jack, putting brake discs upon towels, and slid it out along concrete floor. Will definitely need a good jack to get it back in, and probably a helper.
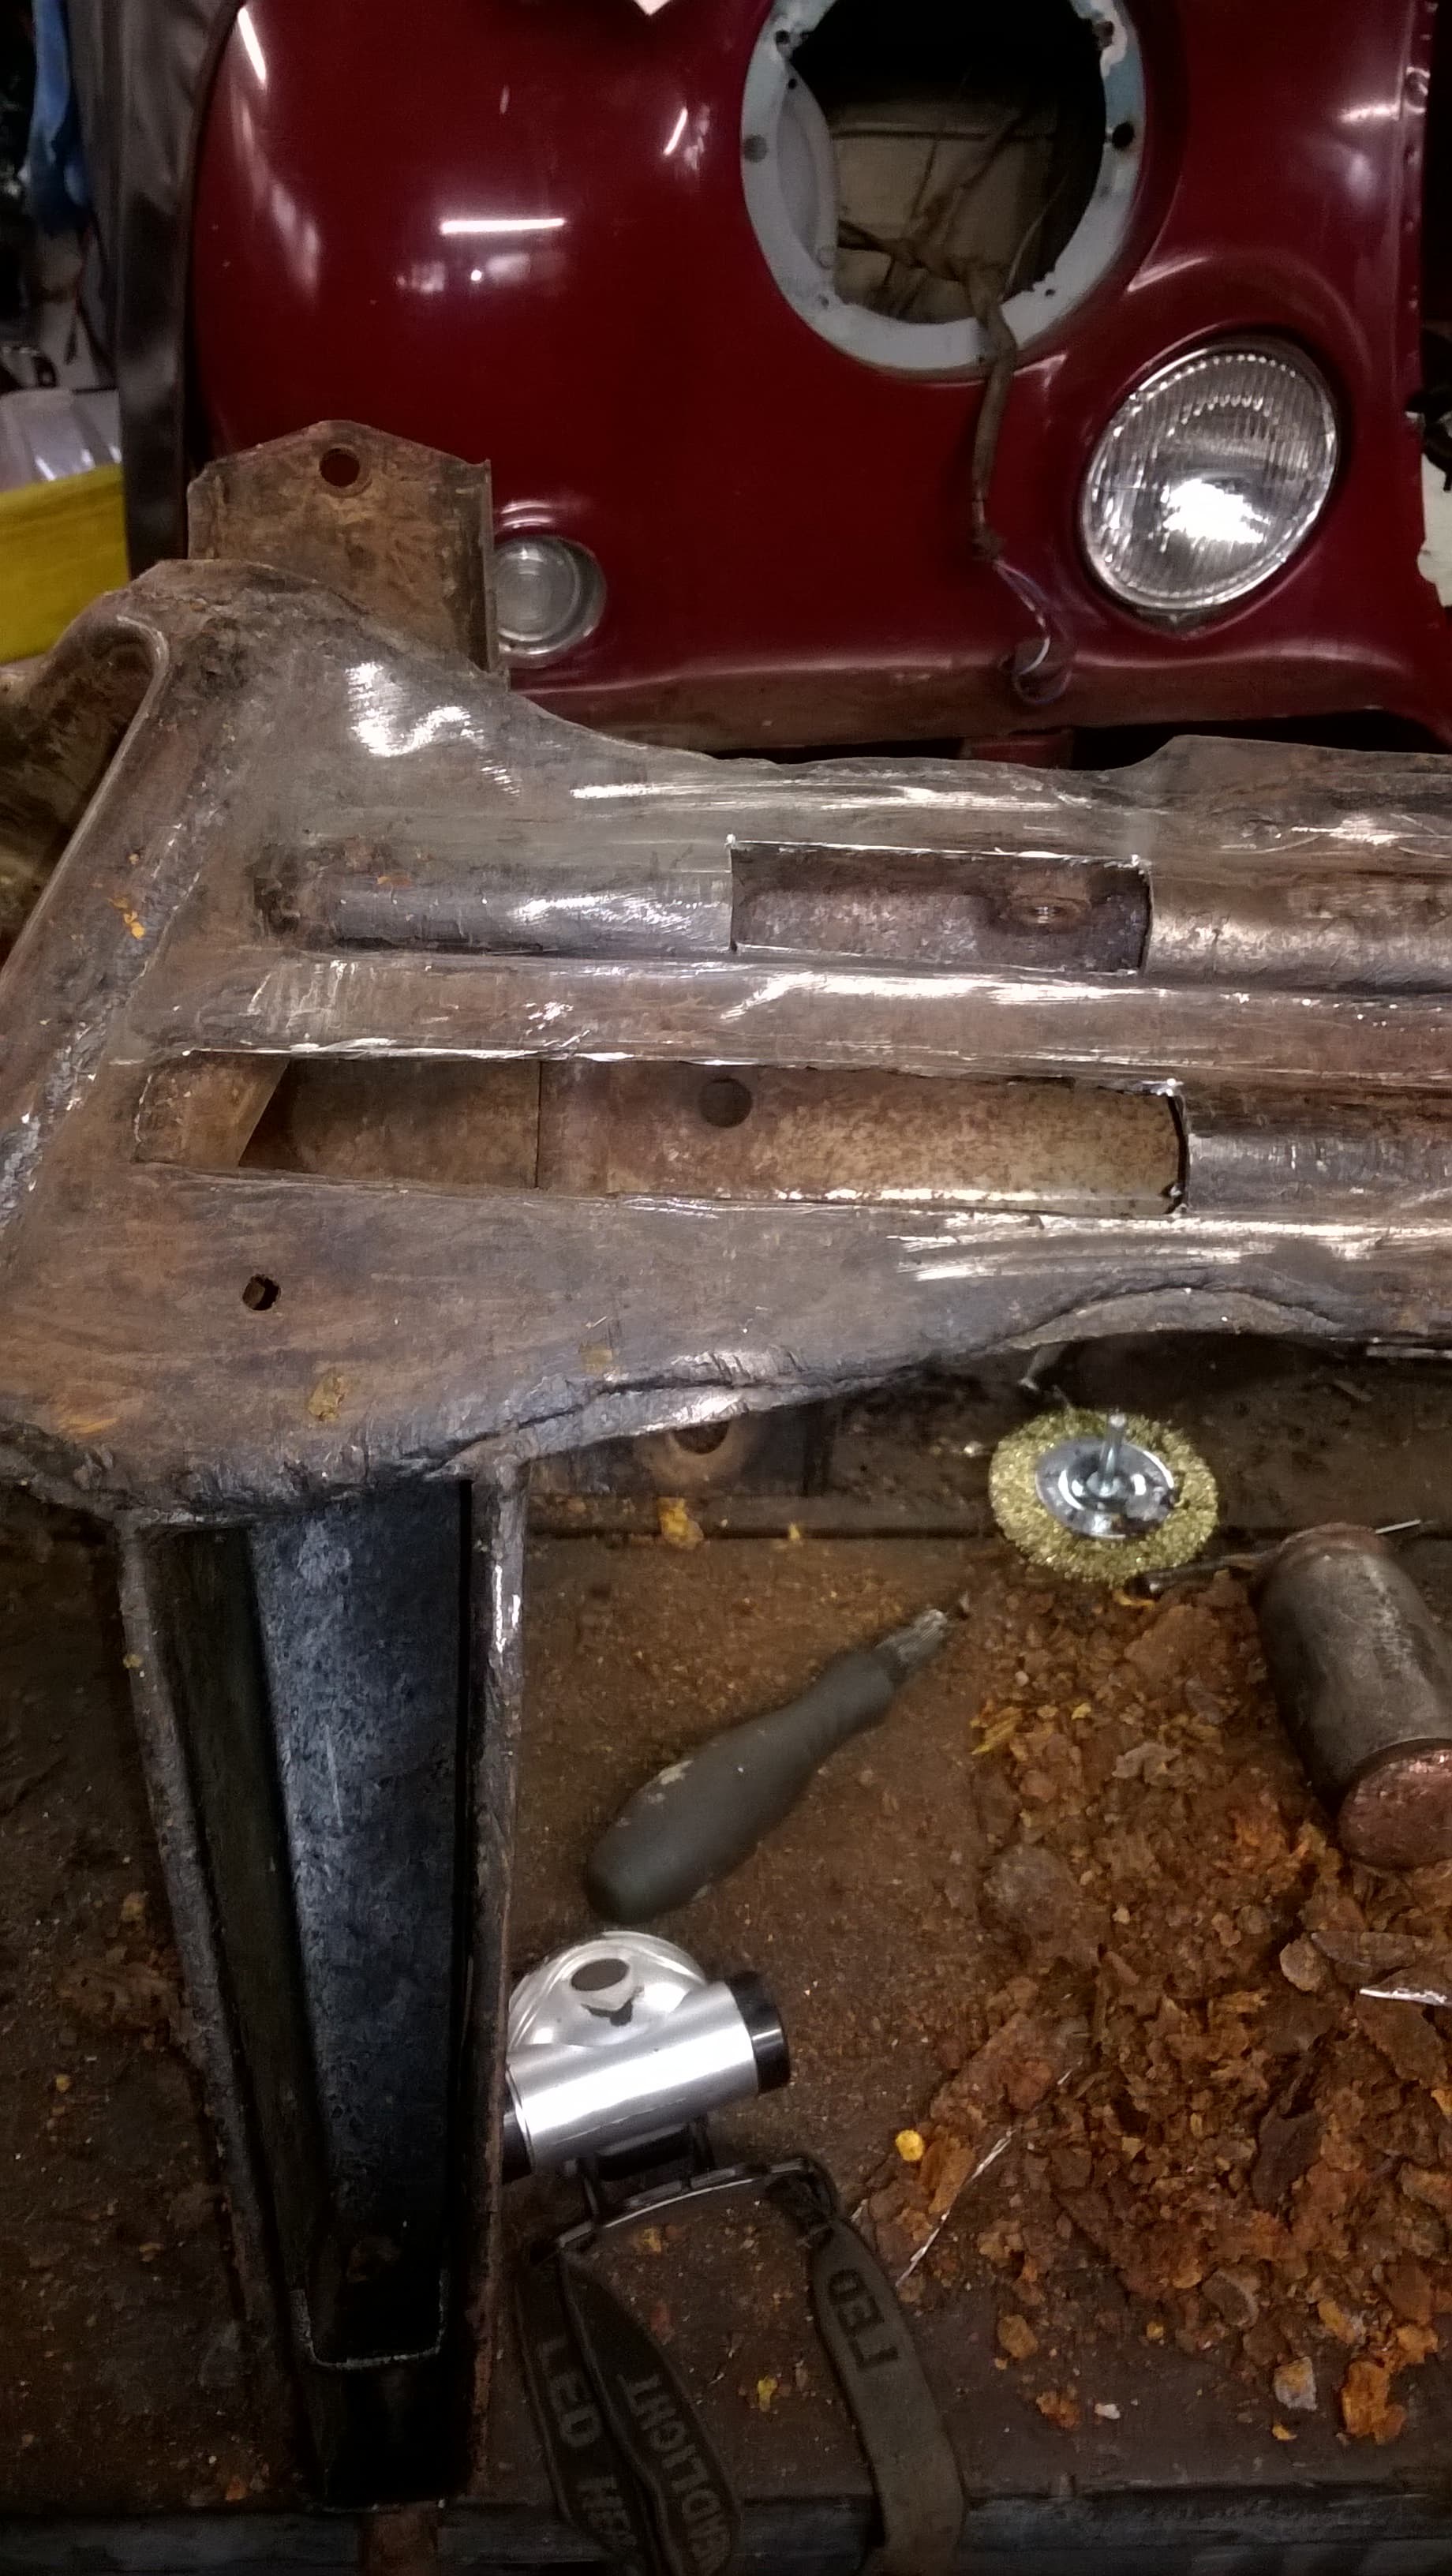
Now its PB blaster and disassembly. I’m a little concerned, around right engine mount there could be more than just surface rust. Doesn’t ‘sound’ as good as rest of subframe. I will find out soon enough.
This is one of those areas that a good quality transmission jack, or an attachment that goes on your regular jack that turns it into a transmission jack, is very helpful.
I have always found it much easier to handle, if the hubs/discs and calipers are removed before, and then installed once on the car.
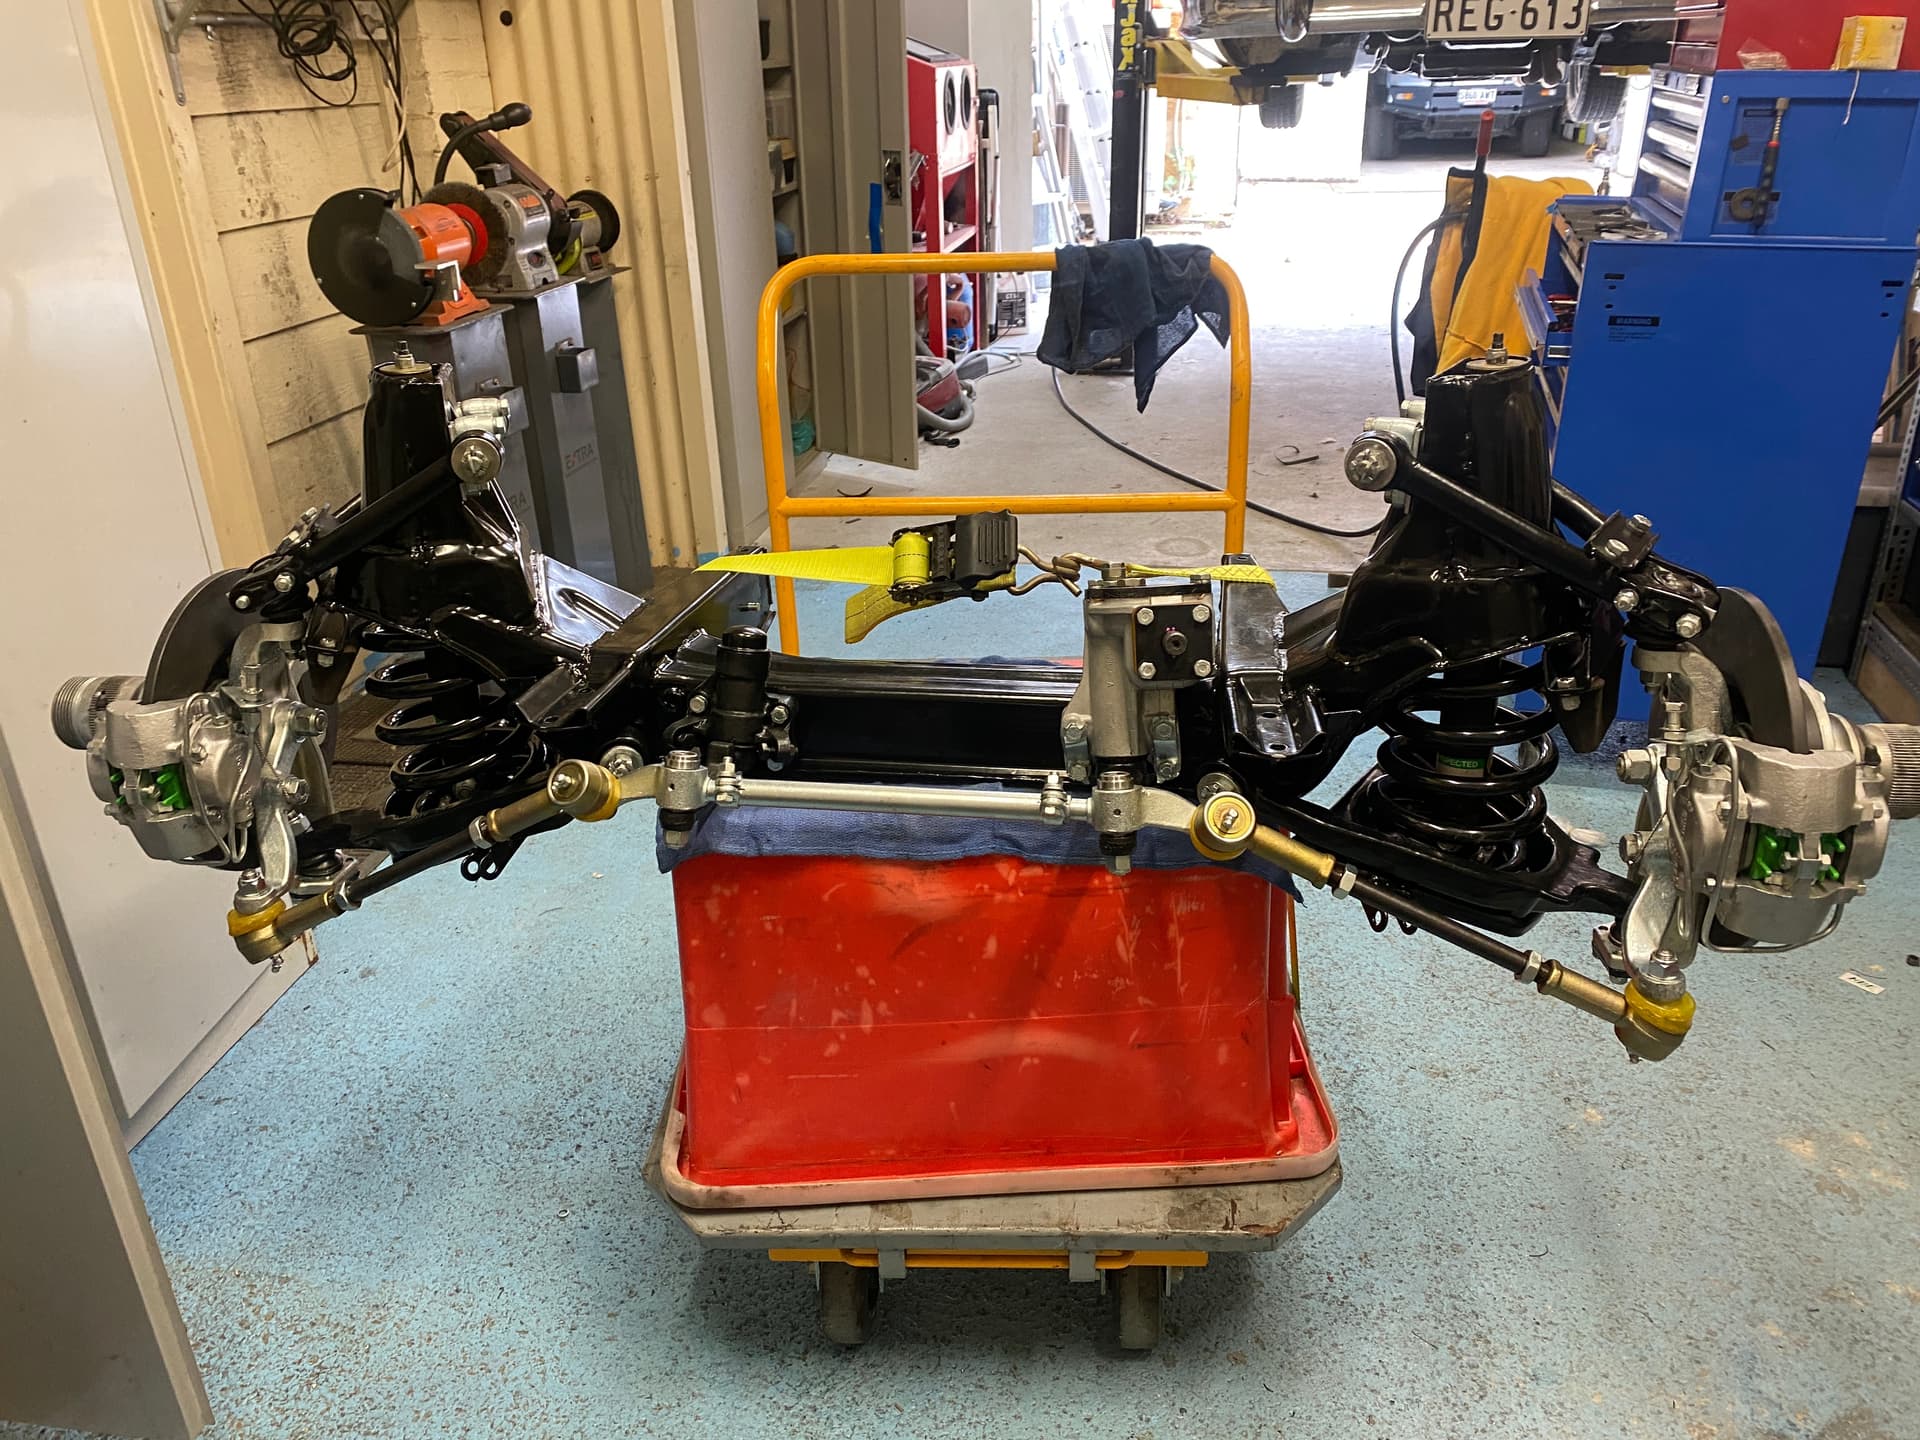
here’s the front end from my series 1 V12 ready to go back on. Stripped and painted, rustproofed inside, all new bushes, ball joints. I still need to get new nyloc nuts for some of the shafts. The low profile ones seem harder to find.
Great job Greg!
Looking forward to seeing the result.
Three things come to mind:
Get the OEM upper control arms bushings.
The aftermarket ones are useless.
Get he black steering rack poly bushings from SNG Barrat, very good and inexpensive.
I think that owder coating is not the best solution for the subframe.
It will get scratched eventually, most possibly in the assembly process, and most definitely when you start to use the car, and powder coating doesn’t like that. It will be very difficult to repair the scratches, water will be trapped between the metal and the coating, and soon enough it will be pealing like wall paper.
Primer and regular paint will do the job fine and will be very easy to repair and refresh when needed.
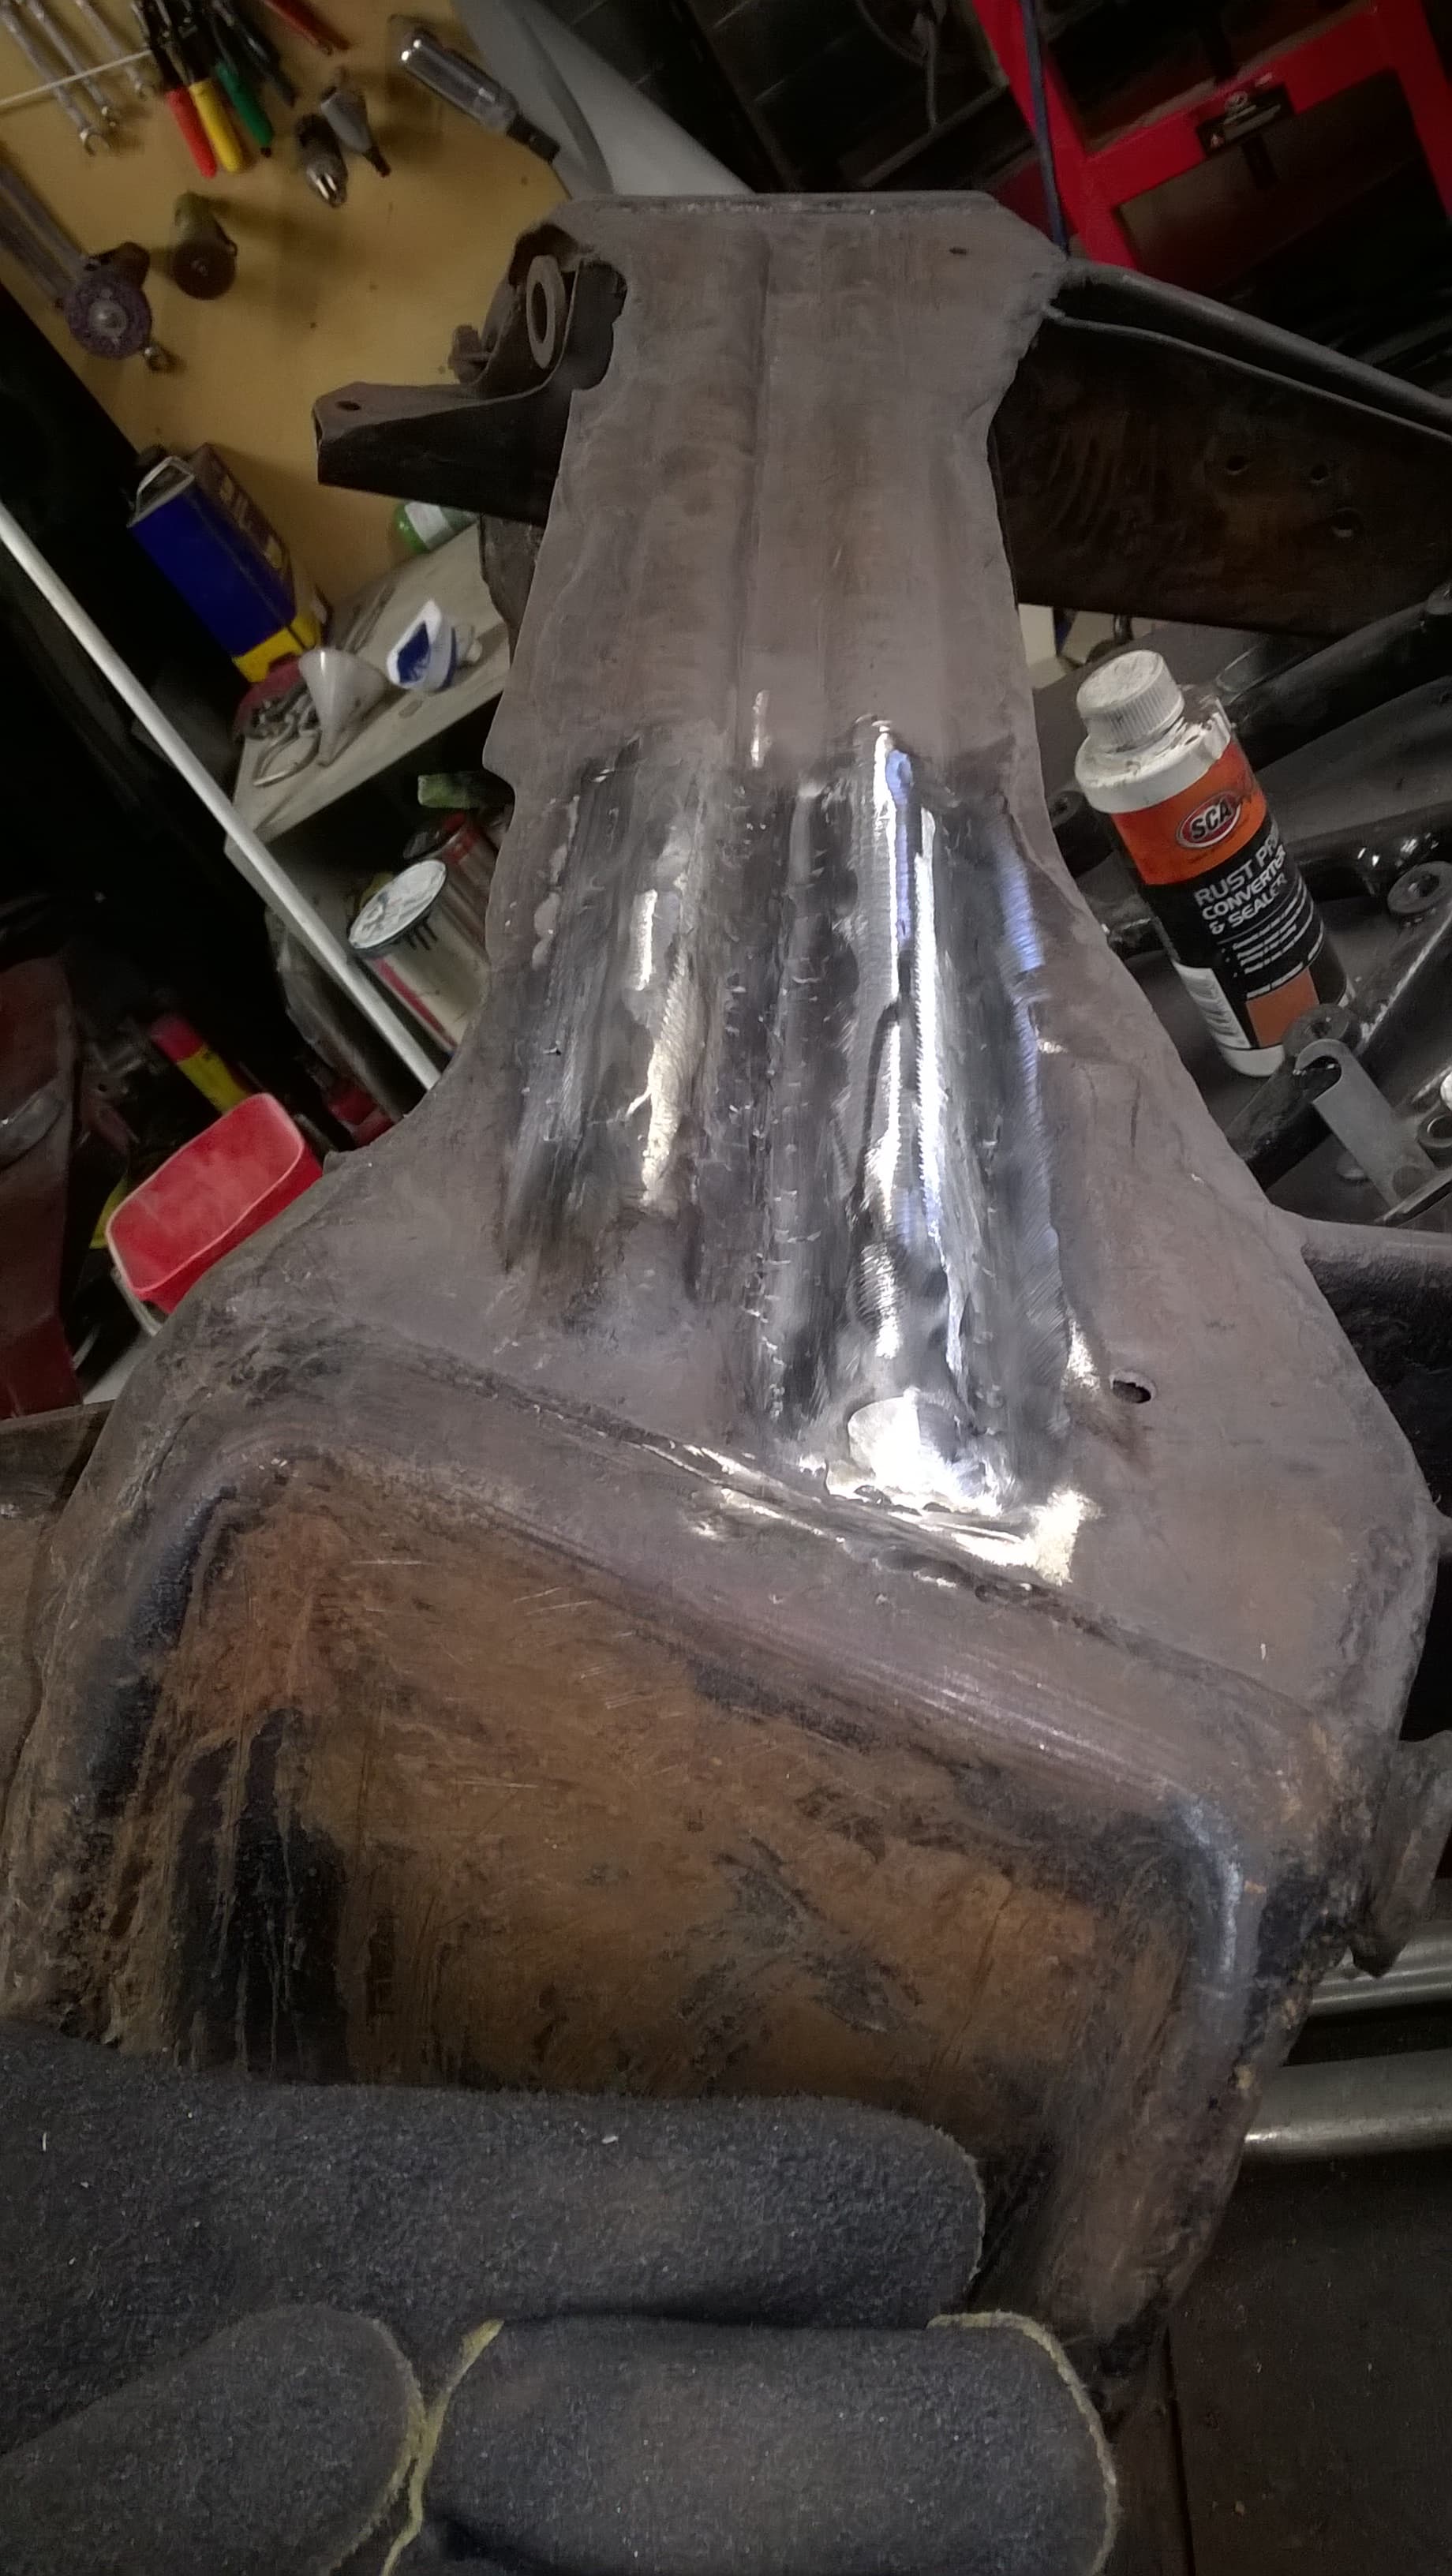
Here’s a photo.
I removed rear mounts, rotated frame down, and then removed front mounts, so subframe was tilted up 90 degrees. But even at this height, the front bushing housings would not clear upper oil pan to slide out sideways. But there was enough room to rotate subframe forward so it was flat, and then slide it out.
Thanks for the info…I will go the primer/paint method. I’ve even read some methods of mixing a zinc oxide with the primer, and putting a waxoil coat over final paint. I’ll check with body shop, they work on classics.
Yes, I learned about aftermarket upper bushings. I replaced them with poly a year ago.
I got the black poly rack bushings from Moss, i assume the same. Amazingly, the oem rack bushings look good. They also had no room to move sideways. I wonder if a PO addressed them.
Looks like I’m getting to lower control arm bushings just in time! I also bought poly.
It’s best to put them in and snug them up while the subframe is on the bench. If you install the subframe before the install you won’t have room. Torque them down afterwards when you have the full weight on the car.
I am a total believer in POR 15! I put that stuff on the battery tray of the Jaguar, and it was just a spotless 10 years after I did it is when I put it in.
DO NOT spray Por15 it becomes toxic when put into a gun. The only way I would even attempt to spray it on is with a full face respirator with outside air coming into the mask.
There isn’t any reason why the subframe can’t be handled in your own garage.
If there any rust on the subframe just use a wire wheel or whatever to take it off, and if you can’t get into the crevasses it won’t be the end of the world.
Use wipe down the sub with there Metal Ready product.
Not all that necessary, but to make sure its clean I give it a good wipe down with Mineral Spirits.
Use a paint brush to apply the Por15 of your choosing.
The subframe only weighs 60lbs so if you are able to hang it you can do the whole thing at the same time, if not just do one side and give it a few days to fully cure, then repeat the process on the other side.
I was referring to the lower control arms. Snug them up while on the bench and torque’em afterwards. As for the hubs and whatnot, they are way easier to install with the subframe out of the car. The only potential issue that I see is that it makes the entire unit a lot heavier, but your using a jack or two anyway, so.
I see no difference on putting the discs/rotors/hubs and calipers with the frame on the car or on the bench.
I did all these in situ and it was easy.
The fiddliest job was the safety wires on the calipers, but not a big deal.
Without them the frame will be considerably lighter and easier to install back in the car.
And indeed, tighten the lower bushings when the suspension has the full weight of the car.