My point was more addressing the requirement to use plastic filler and THEN have to follow it with a spray filler. If you can’t get the panel good enough with plastic filler, that you have to follow it with a spray filler, then your finishing skills aren’t that flash.
There are a number of restoration shop here in Australia that don’t use plastic filler and only moderate use of High Build primer.
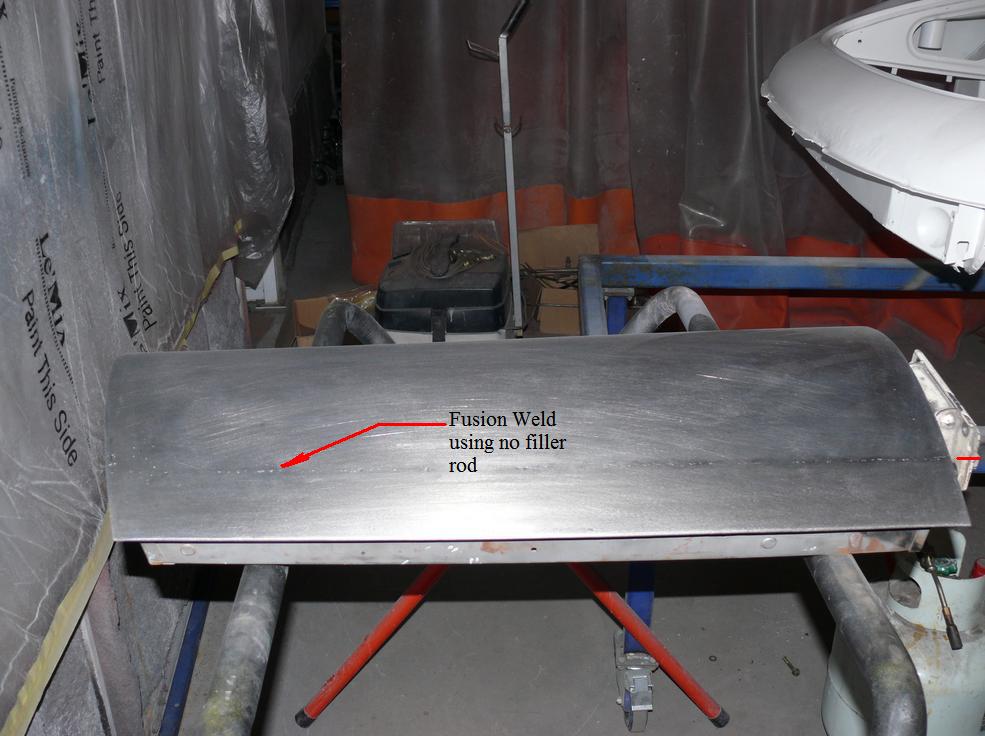
Here’s one we prepared earlier.
No plastic filler whatsoever was used in the 2+2 body pictured above, only a moderate application of Resto Finish, a direct to metal Epoxy/Poly Primer that is used as a moderate High Build and Finish Primer before Top Coat.
All the cars we do are metal finished; the door pictured above is for the OTS in the background, it’s not just the 2+2 pictured that got the full metal finish. No filler used in that repair either. Why do we do that? Because we can.
Our approach and that of a number of other restoration shops, is to have the least amount of material over the metal. Some cars we have worked on, that had been previously restored (cough), had filler over the entire surface of the car that was absolutely unnecessary and ultimately removed.
The Bonnet Centre Section, shown in the following pictures, was damaged due to a car crashing through the closed roller door of a friend’s garage, in which he had been restoring a S2 OTS.
A Checker Board grid pattern was marked inside and out of the bonnet, labeled with Alpha Characters horizontally and Numbers vertically; this allowed me to direct a helper (the owner of the bonnet) to hold a dolly in a particular position whist I planised the specified area. Zero plastic filler was used in the repair and the Epoxy Primer used is a Top Coat, non High Build Primer. The exoskeleton attached to the outside of the bonnet was to enable the bonnet to be positioned on the car without the wings and Lower Valance attached.
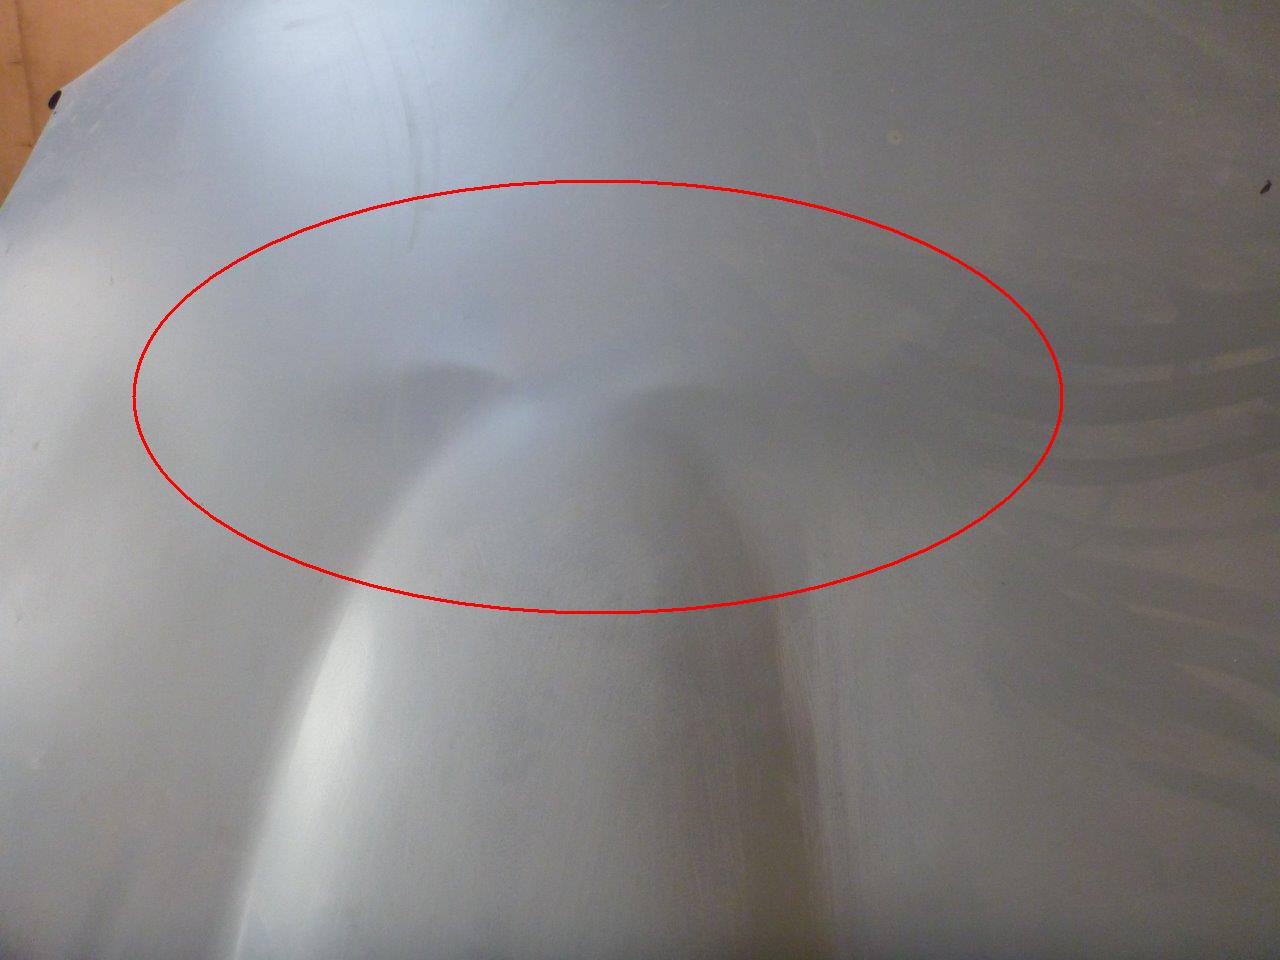
The pictures following are of the Lower Valance that is part of the Bonnet Assembly that the Centre Section above belongs. The first picture below is just after the plastic filler was removed from the inside and outside; there was something like a 14mm layer of filler on both sides of the panel. A blunt body file was lightly run over the outside of the panel to better show the rough state of this panel.
The following picture is the panel after finishing. The owner of the car, a Jointer by training, did the repair with some initial guidance from me, illustrating that you don’t have to have been in the trade for a quarter of a century to be able to complete a repair without the use of plastic filler. He is a quite capable fellow and I suspect that he gained a lot from helping in the repair of the Bonnet Centre Section. The repair was very good, with only a moderate application of High Build Primer used.
This same fellow made from the centre of the front wheel arch back of the front wings and TIG, butt welded the two sections together, then completed a metal finish with no use of plastic filler
Regards,
Bill