I dream of clean metal like that!!! :envy:
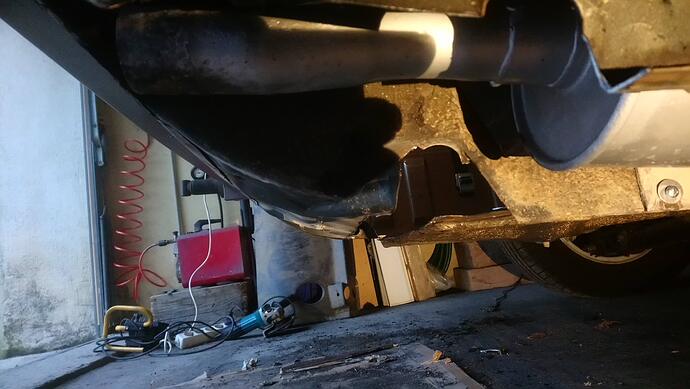
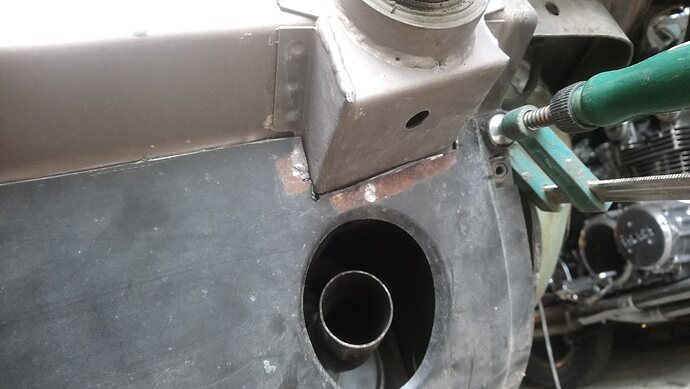
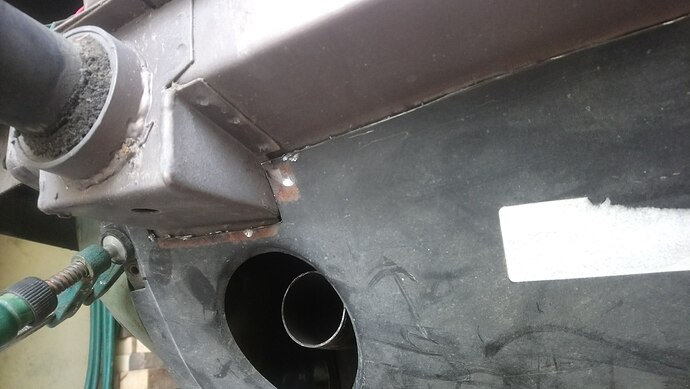
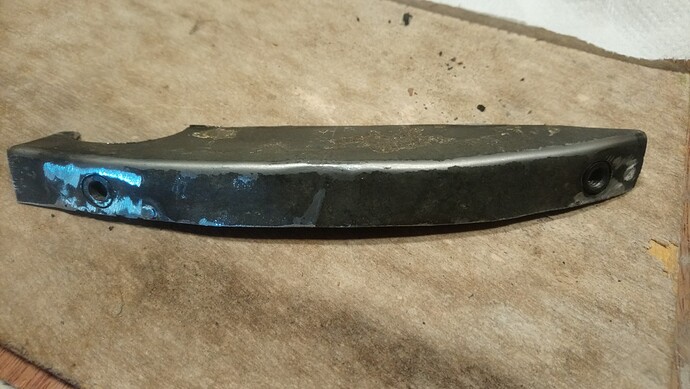
This drain tube goes around the tank and ends at the bottom of the tank side cover.
Now that the side cover is out I think that it could be possible to first mount on the filler neck and then feed it through the hole. Will have to try and see.
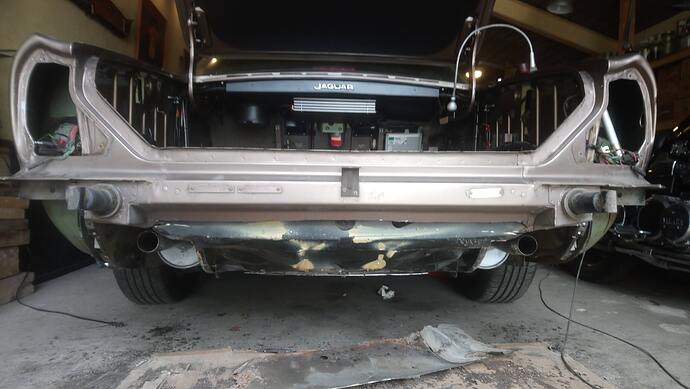
All the rust is roughly cut away.
Now I have to make nice clean cuts for the replacement pieces.
The big chalenge will be to recreate all the bends and the small circular step for the spare tyre.
There must be a way…
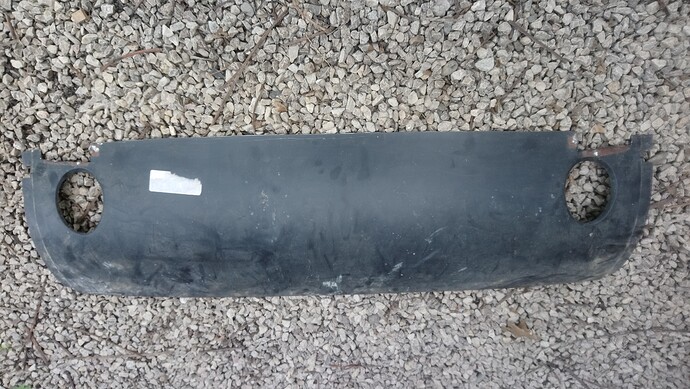
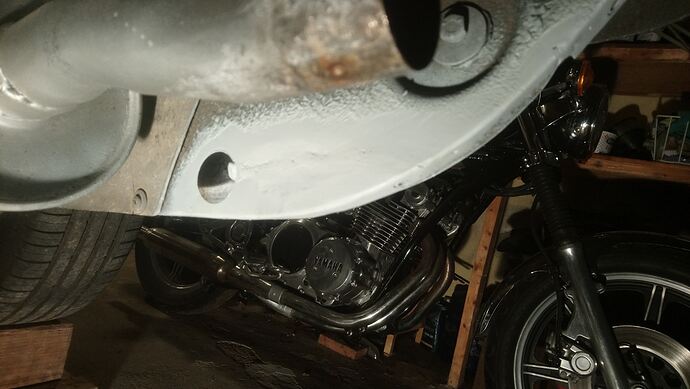
Made a straight cut on the Valance, just leaving enough for the overlaps.
.
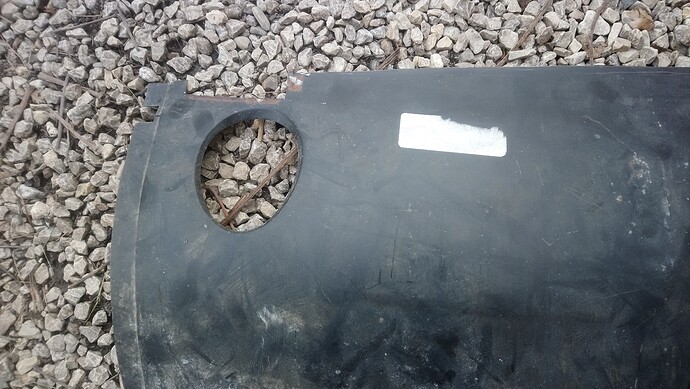
Removed he top box part and absorbers covers from the new Valance and trimmed the areas around the absorbers.
.
Trial fit.
The seams in the corners will be invisible once seam seal and a bit of mastic is applied.
So far I think it’s a good plan.
.
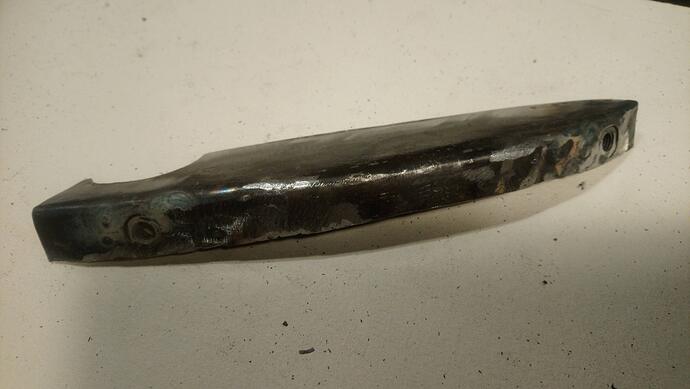
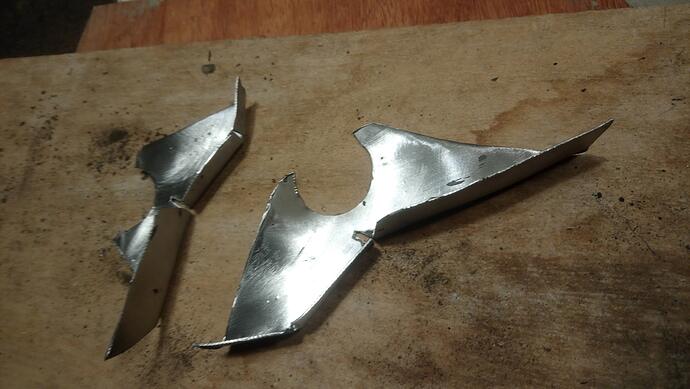
Also made this first replacement piece, not very happy with it, I think I will have an other try…
Looking good. With the lack of rust I’m sure you made the right choice.
For the smaller piece I find it easier and better now, lacking any shrinking tools, to make the flat part and weld a separate edge part to the curve and grind off where it’s visible. I find it easier to weld and grind on the outside of the corner than the inside. It also allows you make a more accurate shape.
Have you worked out how to the hold the overlap together whilst plug welding as I can’t see anyway of clamping the join?
You could use screws or cleco pins.
I thought of this too Anjum.
But after perusing the interweb I found an even better way, so I made a second attempt.
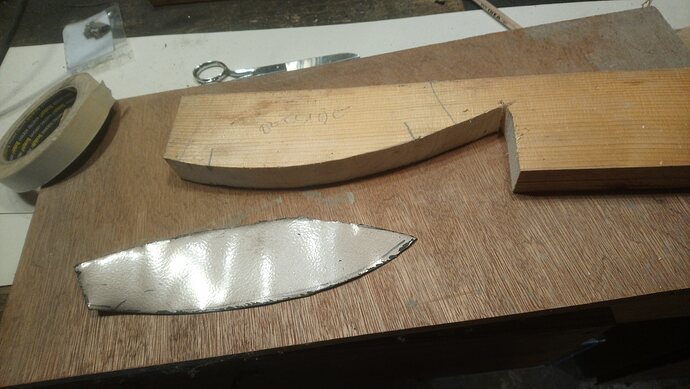
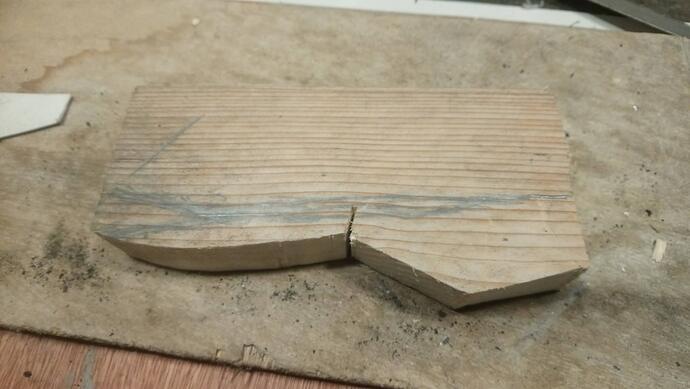
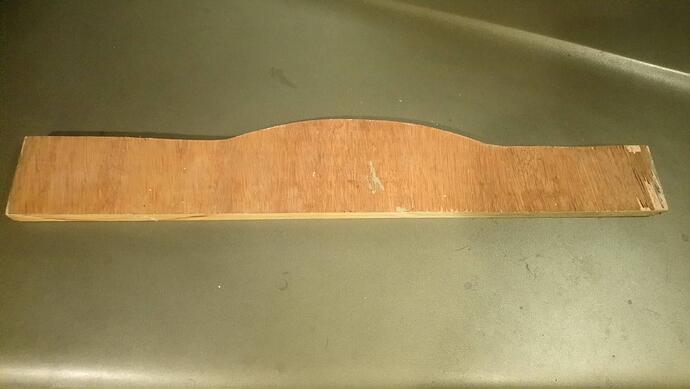
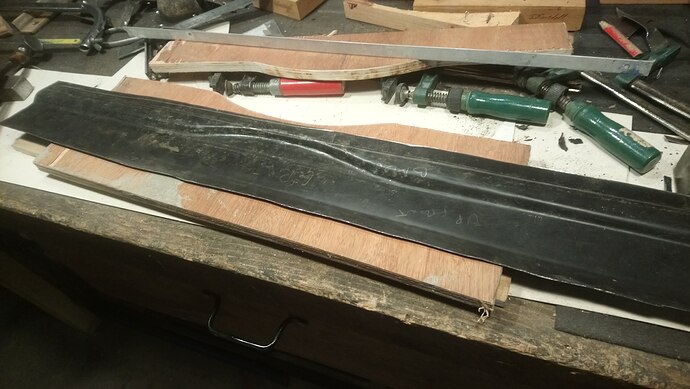
Made a curve from wood and shaped the metal on it, slowly shrinking the edge.
Not much of a visual difference, but on the first piece I had to do slits on the flange in order to fold it and the metal got too thin from all the punishing.
With the mould technique it worked very well.
Yes, this is a problem.
Thanks for the cleco pins tip, I’ve learned something new.
Screws is indeed another way. It’s the last piece to go in so I still have time to think about it.
The piece is on, welded and primed.
Quite hard welding on your back.
Not the best looking job in the world, but I think it’s ok for what it is… : )
More tomorrow!
Wow, Aristides,
with a Jaguar sitting on some block of wood and welding from underneath that is more than just impressive. Didn’t you plan for some summer vacation on a bicycle tour around Lake Constance - great food at every corner, wonderful climate and a hospitable place to do a right sill and rear valance again after some 18 years;-)?
Great job
Jochen
75 XJ6L 4.2 auto (UK spec)
Thanks for the invitation Jochen!
I have visited Constance back in 1992, when I was living in Berlin… what a lovely place!
Nice work Aristides. Looking good. I’ve never successfully managed welding upside down, or any other way for that matter!
I would join you if mine is road worthy by then, with a right sill and wheel arch 
The wooden form looks good, didn’t think there was another way than that unless you were really good. I‘d have done it exactly the same way. Welding it to shape sounds like more work to me, maybe it isn’t, anyways, good job so far!
If you want to weld your boot lid instead of replacing it, I have half a lid that‘s going to scrap. I could cut out a part and mail it at cost. Looks like you want to paint it with the badges removed. But I don’t think it’s worth the effort, they are so cheap on ebay.
It’s an art alright.
I keep watching this guy and have learned so much, panel forming, welding, painting, you name it.
Really worth watching.
But still my work looks pretty bad compared…
And lesson learned, the hard way… He said it’s imperative to leave a gap.
Well, I didn’t and the weld pinched inwards, and it’s the reason I couldn’t clean it nicely afterwards without attacking the rest of the panel.
It’s ok for there but hope to do better next time.
Thank very much for the offer Jochen, but I have a spare boot lid.
Never the less, I am not very keen in either replacing it (it has some signs of rust), either cutting the piece out, but rather try puling the dent. Will see what my friend at the body shop can do with that.
On to the next pieces…
Paper template
.
Wood template
.
The finished thing ready for welding tomorrow…
If you want to see some skill, check out Lazzemetalworking on Youtube. STUNNING. He has half a full size Ferrari 250GTO, polished aluminium body on his wall as artwork. Uses an English Wheel, shrinker, stretcher, bead roller and hand tools and can make anything, hotrod, Cobra, Willys Coupe.
Inspirational stuff.
I have been called to go to Wangen im Allgäu which is not a million miles from Lake Constance
New pieces are in, but my welding skills still need improvement.
.
Flattened the leftover piece from the valance and it will be used for the patch of the boot floor.
.
Making a template
.
After lots of hammering the curved step in the boot floor piece is more or less formed.
Now I have to figure out the sides with and the curves…
That’s great, Mike! When will you be there? Any time from spring on will be nice - it is a beautiful region north of Lake Constance and in the pre-Alpine range, not far away from the center of German hops farming region (Tettnang) - did you kow that almost three percent of the world’s original hops processed in beer are produced in and around one little town? Chances are you’ll get to Wangen through Stuttgart and south via A 96 or via A 81 and continuing eastward north of Lake Constanz. Konstanz - Wangen is around one hour driving time - less if you take the car ferry from Konstanz to Meersburg. Give me a message once you’re about to get there and I hope we can arrange for a meeting! Maybe David is around as well …
Best
Jochen
75 XJ6L 4.2 auto (UK spec)

