I’m thinking the bearing damage was caused by lack of oil pressure from the trashed pump, not from any debris. I was 1500 miles from home when I started seeing the fluctuations. I sorta taped over the idiot light and hoped I’d make it. I’ve never done that in my Ferrari. I’m sure it would be just too expensive.
Thanks for the information and link.
My goal for this car is issue free, long distance travel.
Thanks for your suggestion Nick. I’ll do that.
Ah yes of course, I was not thinking that through.
Radiator out, suspected leak, so it will be tested and if necessary re-cored. Radiator had to be moved anyway to allow …
Steering rack removed. Near side (left or passenger side in Blighty) rack bush is worn. Really not looking forward to replacing that little puppy!
All the fasteners for the rack were grunched, so they’ll need replacing, and several hoses on the radiator were shot, more replacements.
While everything is out of the way, I can clean up the front end of the engine frames and engine. Deep joy!

As some of the Aussies might say… NOICE!!!
1 Like
Do they leak ? ? ? ? ? ?
1 Like
Nope… Not yet…
1 Like
I resisted, but oh, NO! Not Ole…
1 Like
Just be thankful Lucas doesn’t make electrically heated socks.
3 Likes
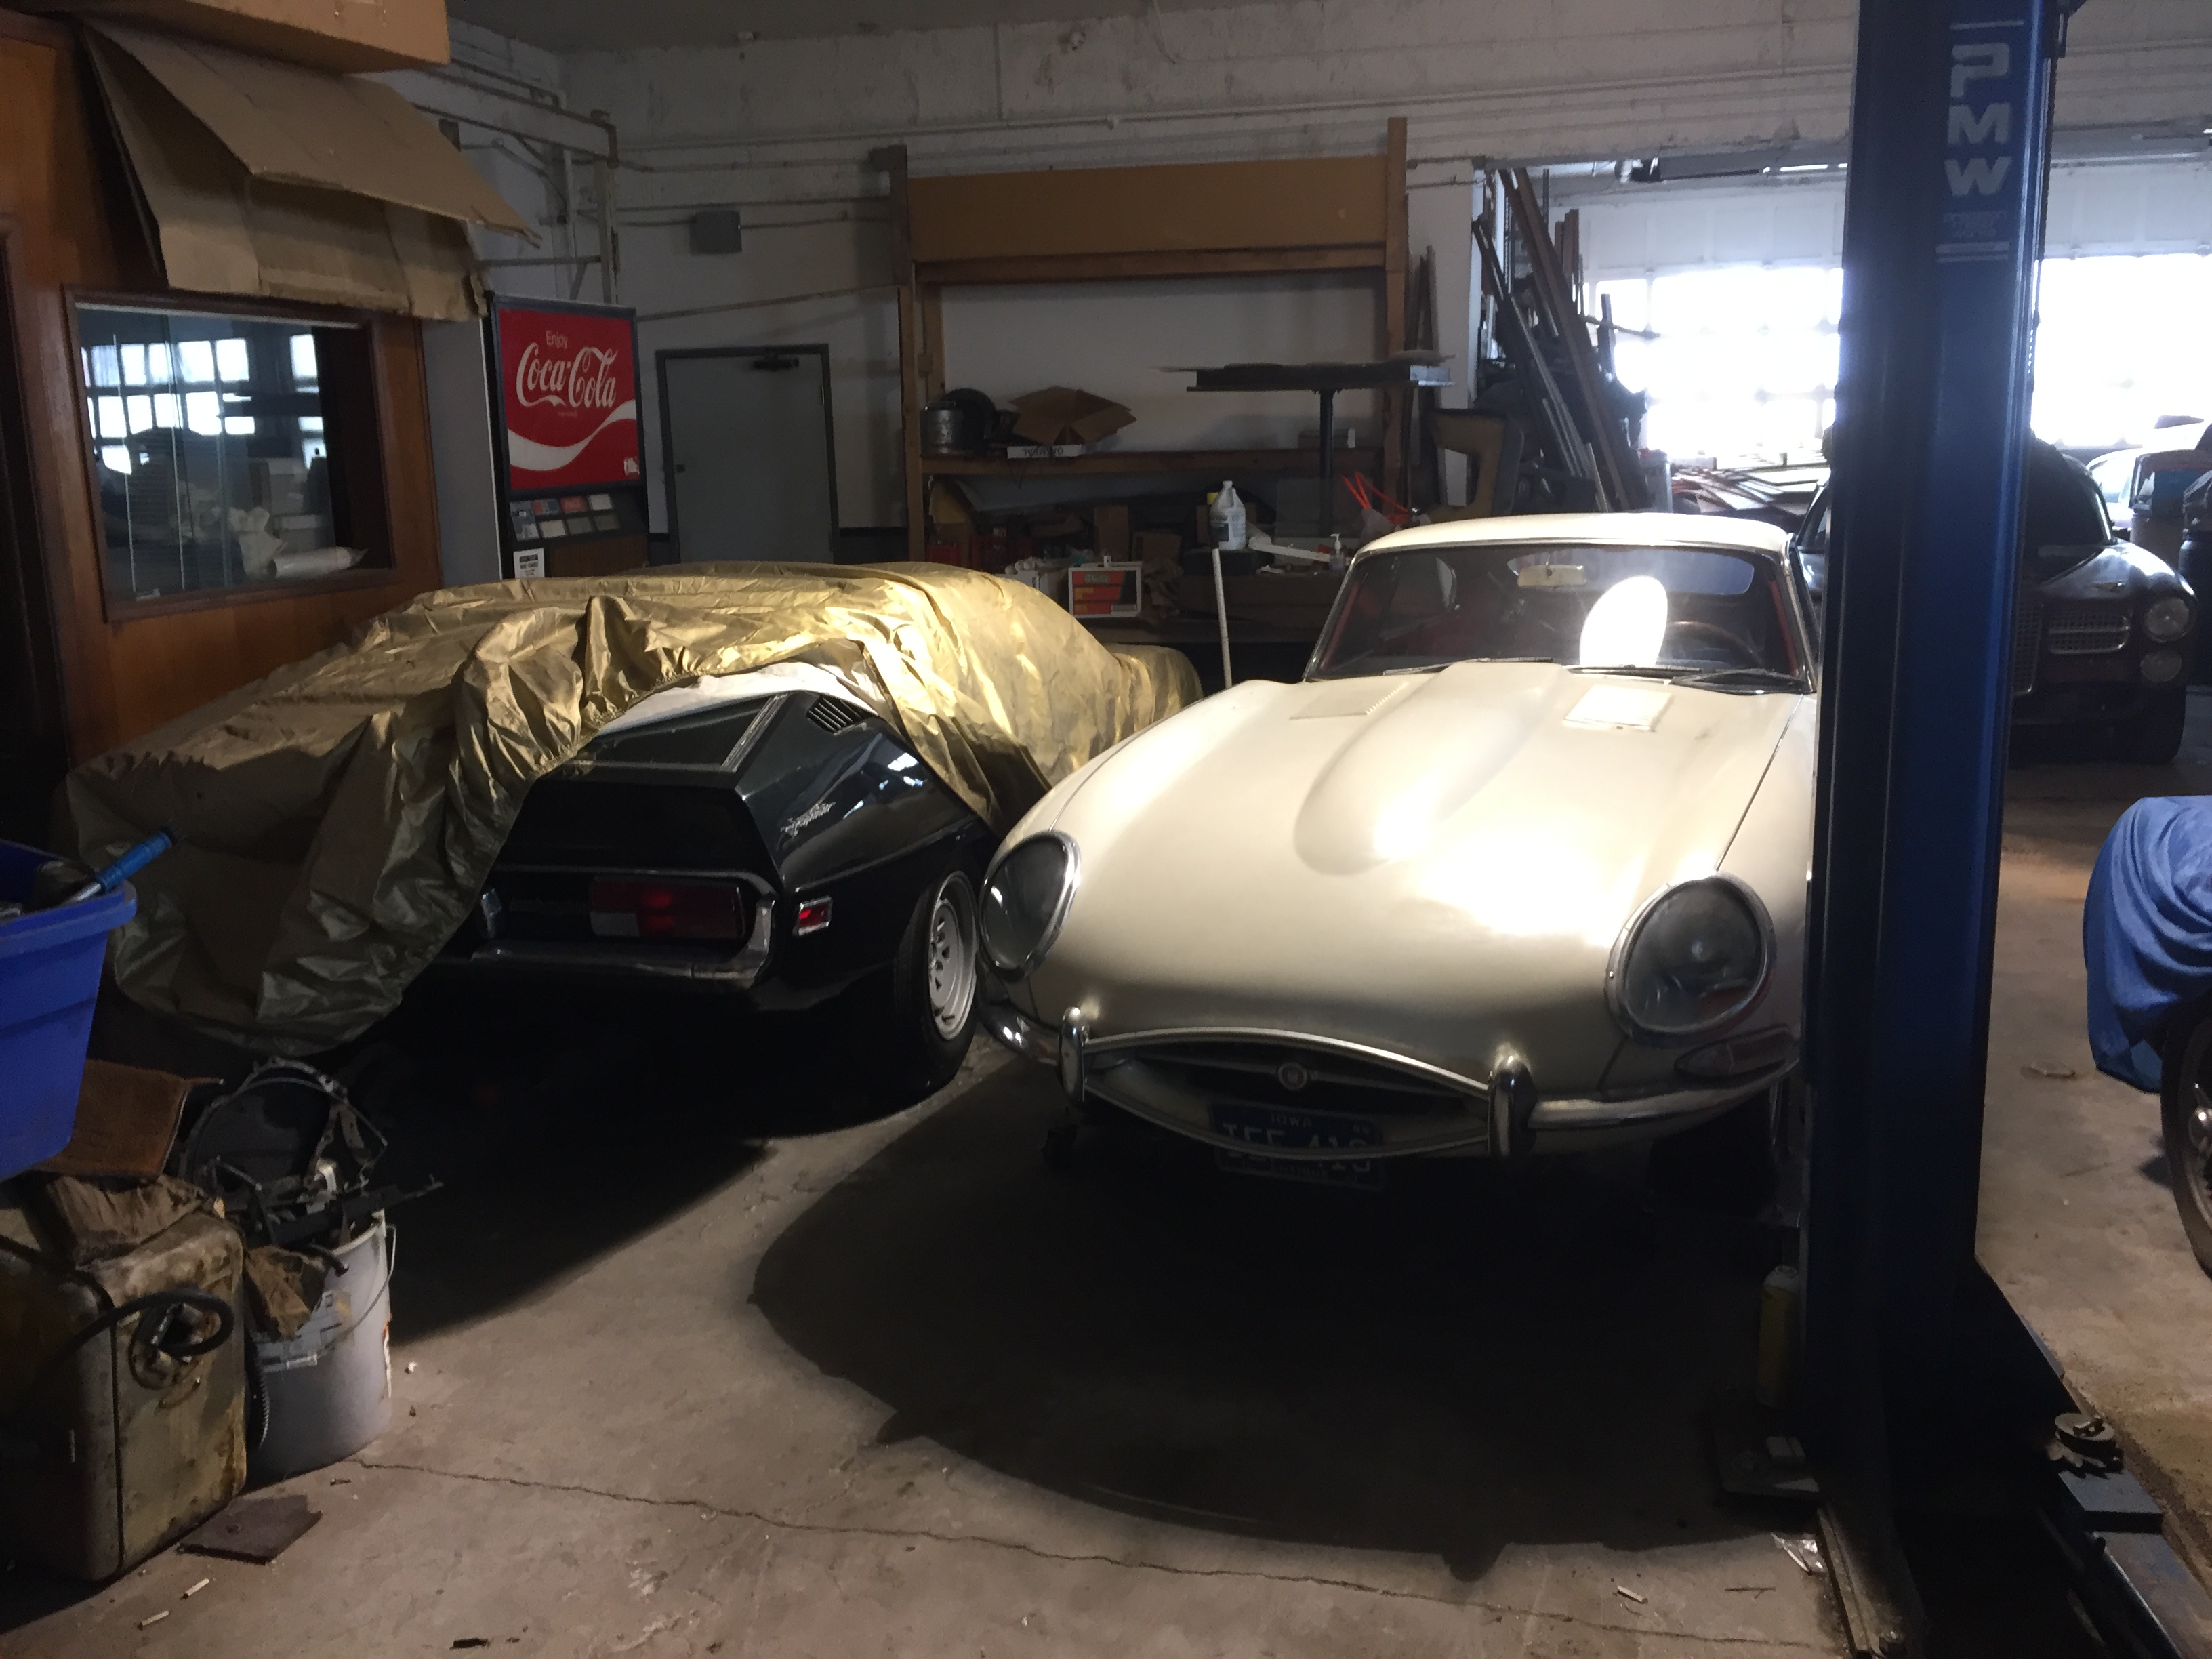
I moved it. Unfortunately, not all the way home yet. Getting closer. Getting the E out of its spot at the front of my friend’s (the seller) shop is a bit like one of those sliding tile puzzles I could never do as a kid. This one involved shuffling around the E, an MGC and a Facel Vega. I only had one set of car skates, so it also involved repeated jacking and lowering of vehicles to swap the skates between vehicles. We did manage to get it almost to the back door, blocked only by a trailer full of junk. With our harsh winter, there’s also a big ice ridge outside the back door. Maybe next weekend it will make it home.


2 Likes
A bit of progress on the Low Drag…


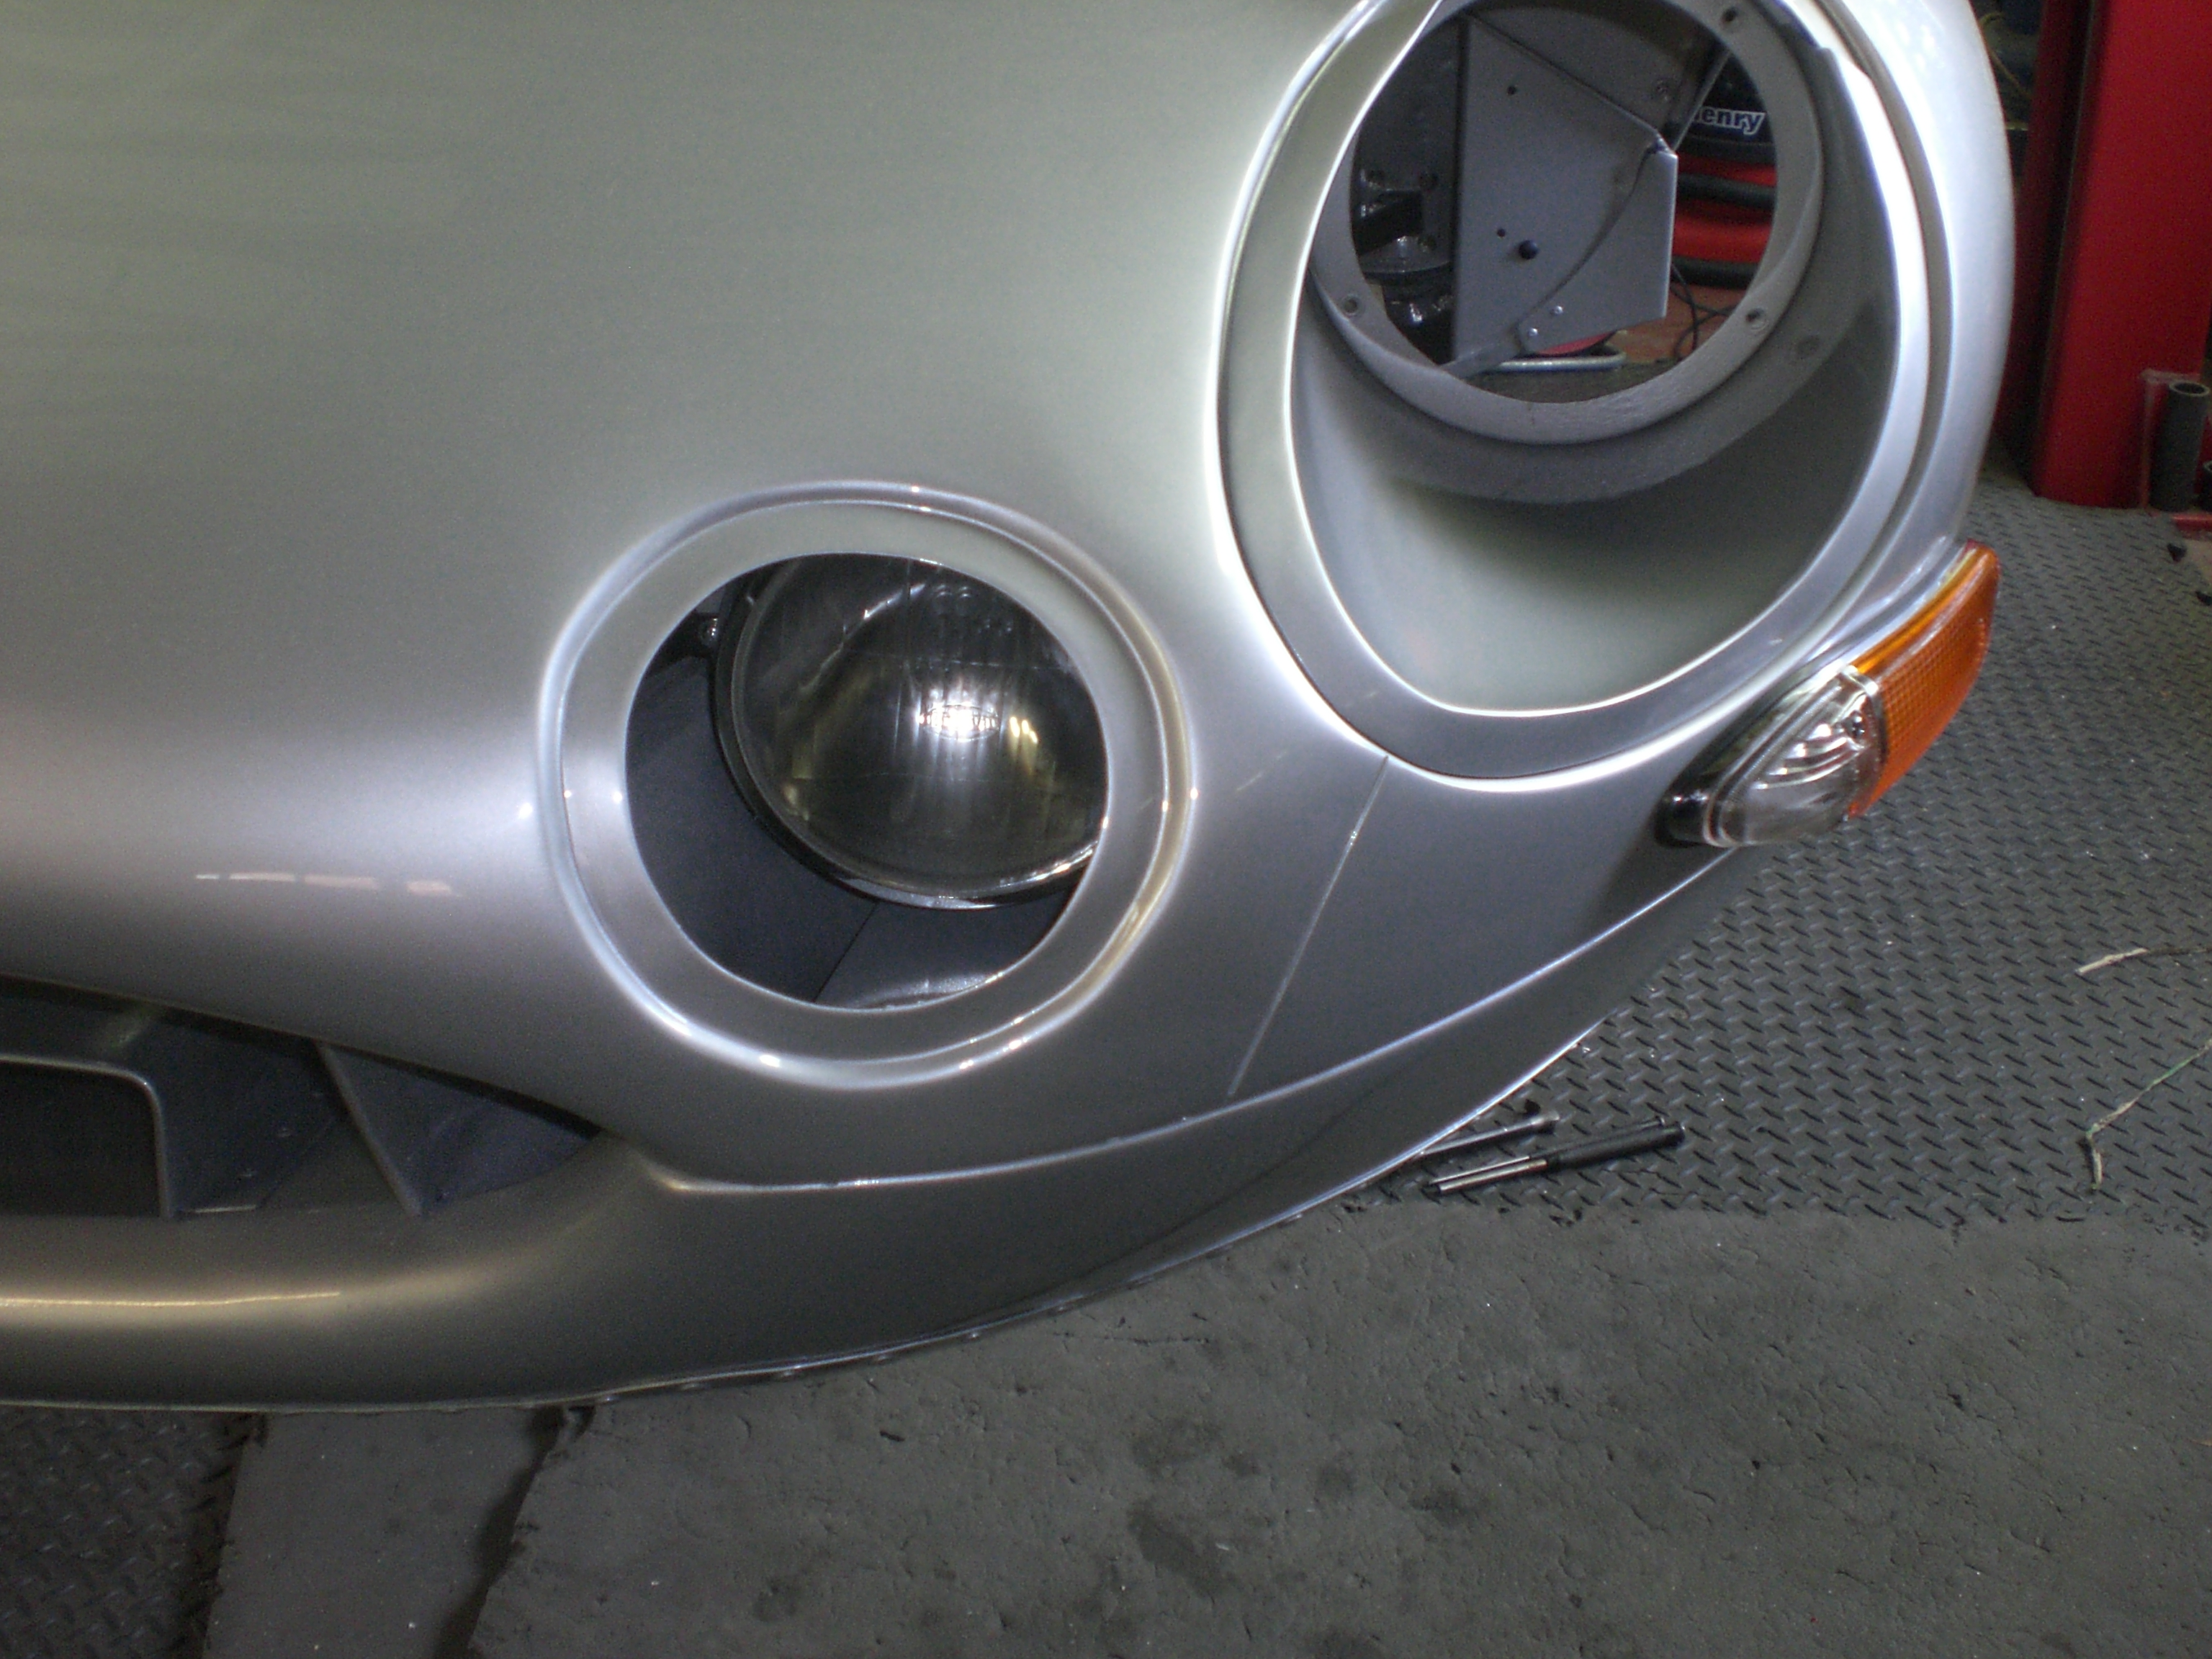

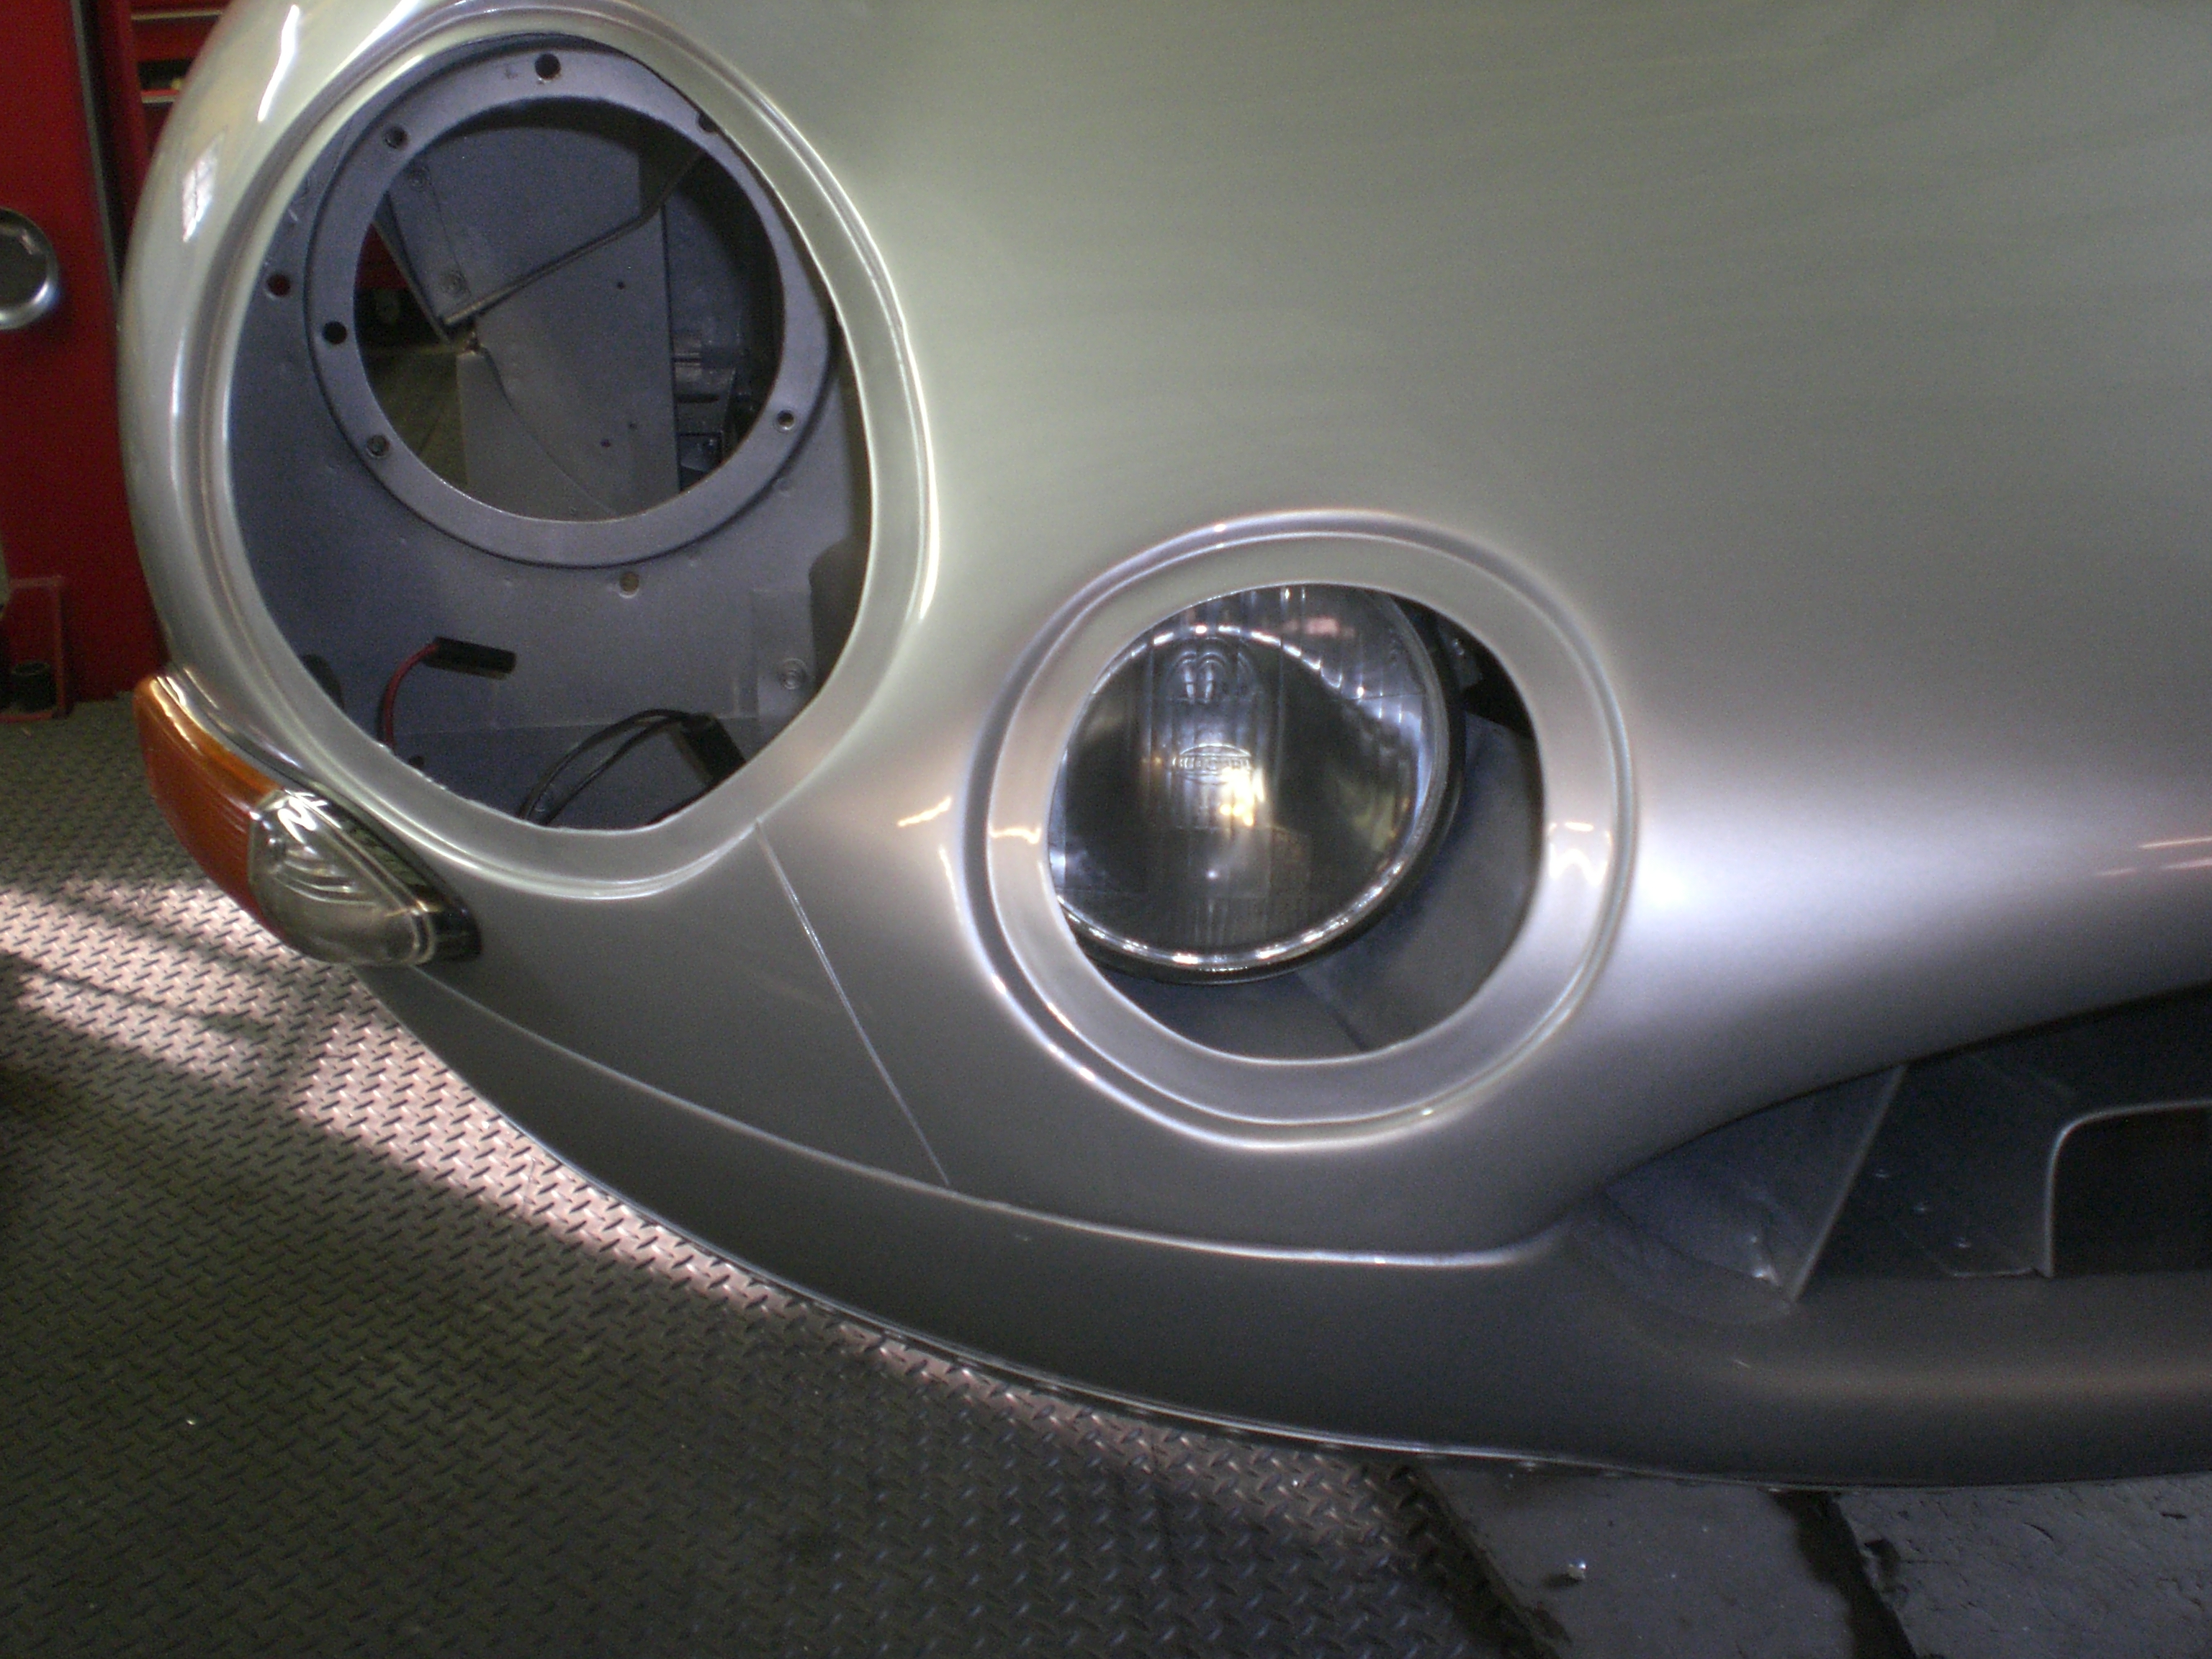


In fitting the lenses I noticed I didnt have any small rubber washers, these provide a soft landing for the lens against the base and keep a little tension on the screw to prevent them coming undone. Looking on line I found well known suppliers wanted £1.08 each plus shipping and VAT at 20%!. I made all 12 of them using a leather punch and drill in about 10 minutes.


3 Likes
That is one awesome car you’re building Pat. Respect (& envy).
Nice, very…
- What is the fourth small bottle (under the three) ?
- Made in “Germania” ?
Marco
The fourth bottle is a breather catch reservoir. The 3 bottles above are connected via breather tubes venting into the lower bottle. Thats one of next weeks jobs.
How do you title these cars: use a VIN of a donor car?
1 Like
I bought a 62 fhc as the basis for the car. All major assemblies overhauled and transferred. Similar to reshelling using, say, a Robey shell. I have the title, plates, heritage certificate etc. Its in reality an extensive restoration.
UK has tightened registration in this area. The car must be same wheelbase, number of seats major components etc to retain original number plates. It is possible to modify the car from standard provided it meets certain criteria, so webbers are allowed, upgraded brakes permitted and so on.
If you do not meet the above it is still possible to get registration but with conditions regarding annual inspection and or the use of a Q prefix registration plate which denotes the car is of indeterminate age which can be a killer to the cars appeal here in UK…
Seems like this would be a little like BUY 1 / 4 WPD since it began life as a standard production car and then transitioned to a Lightweight as Jaguar continued to modify it.
David
68 E-type FHC
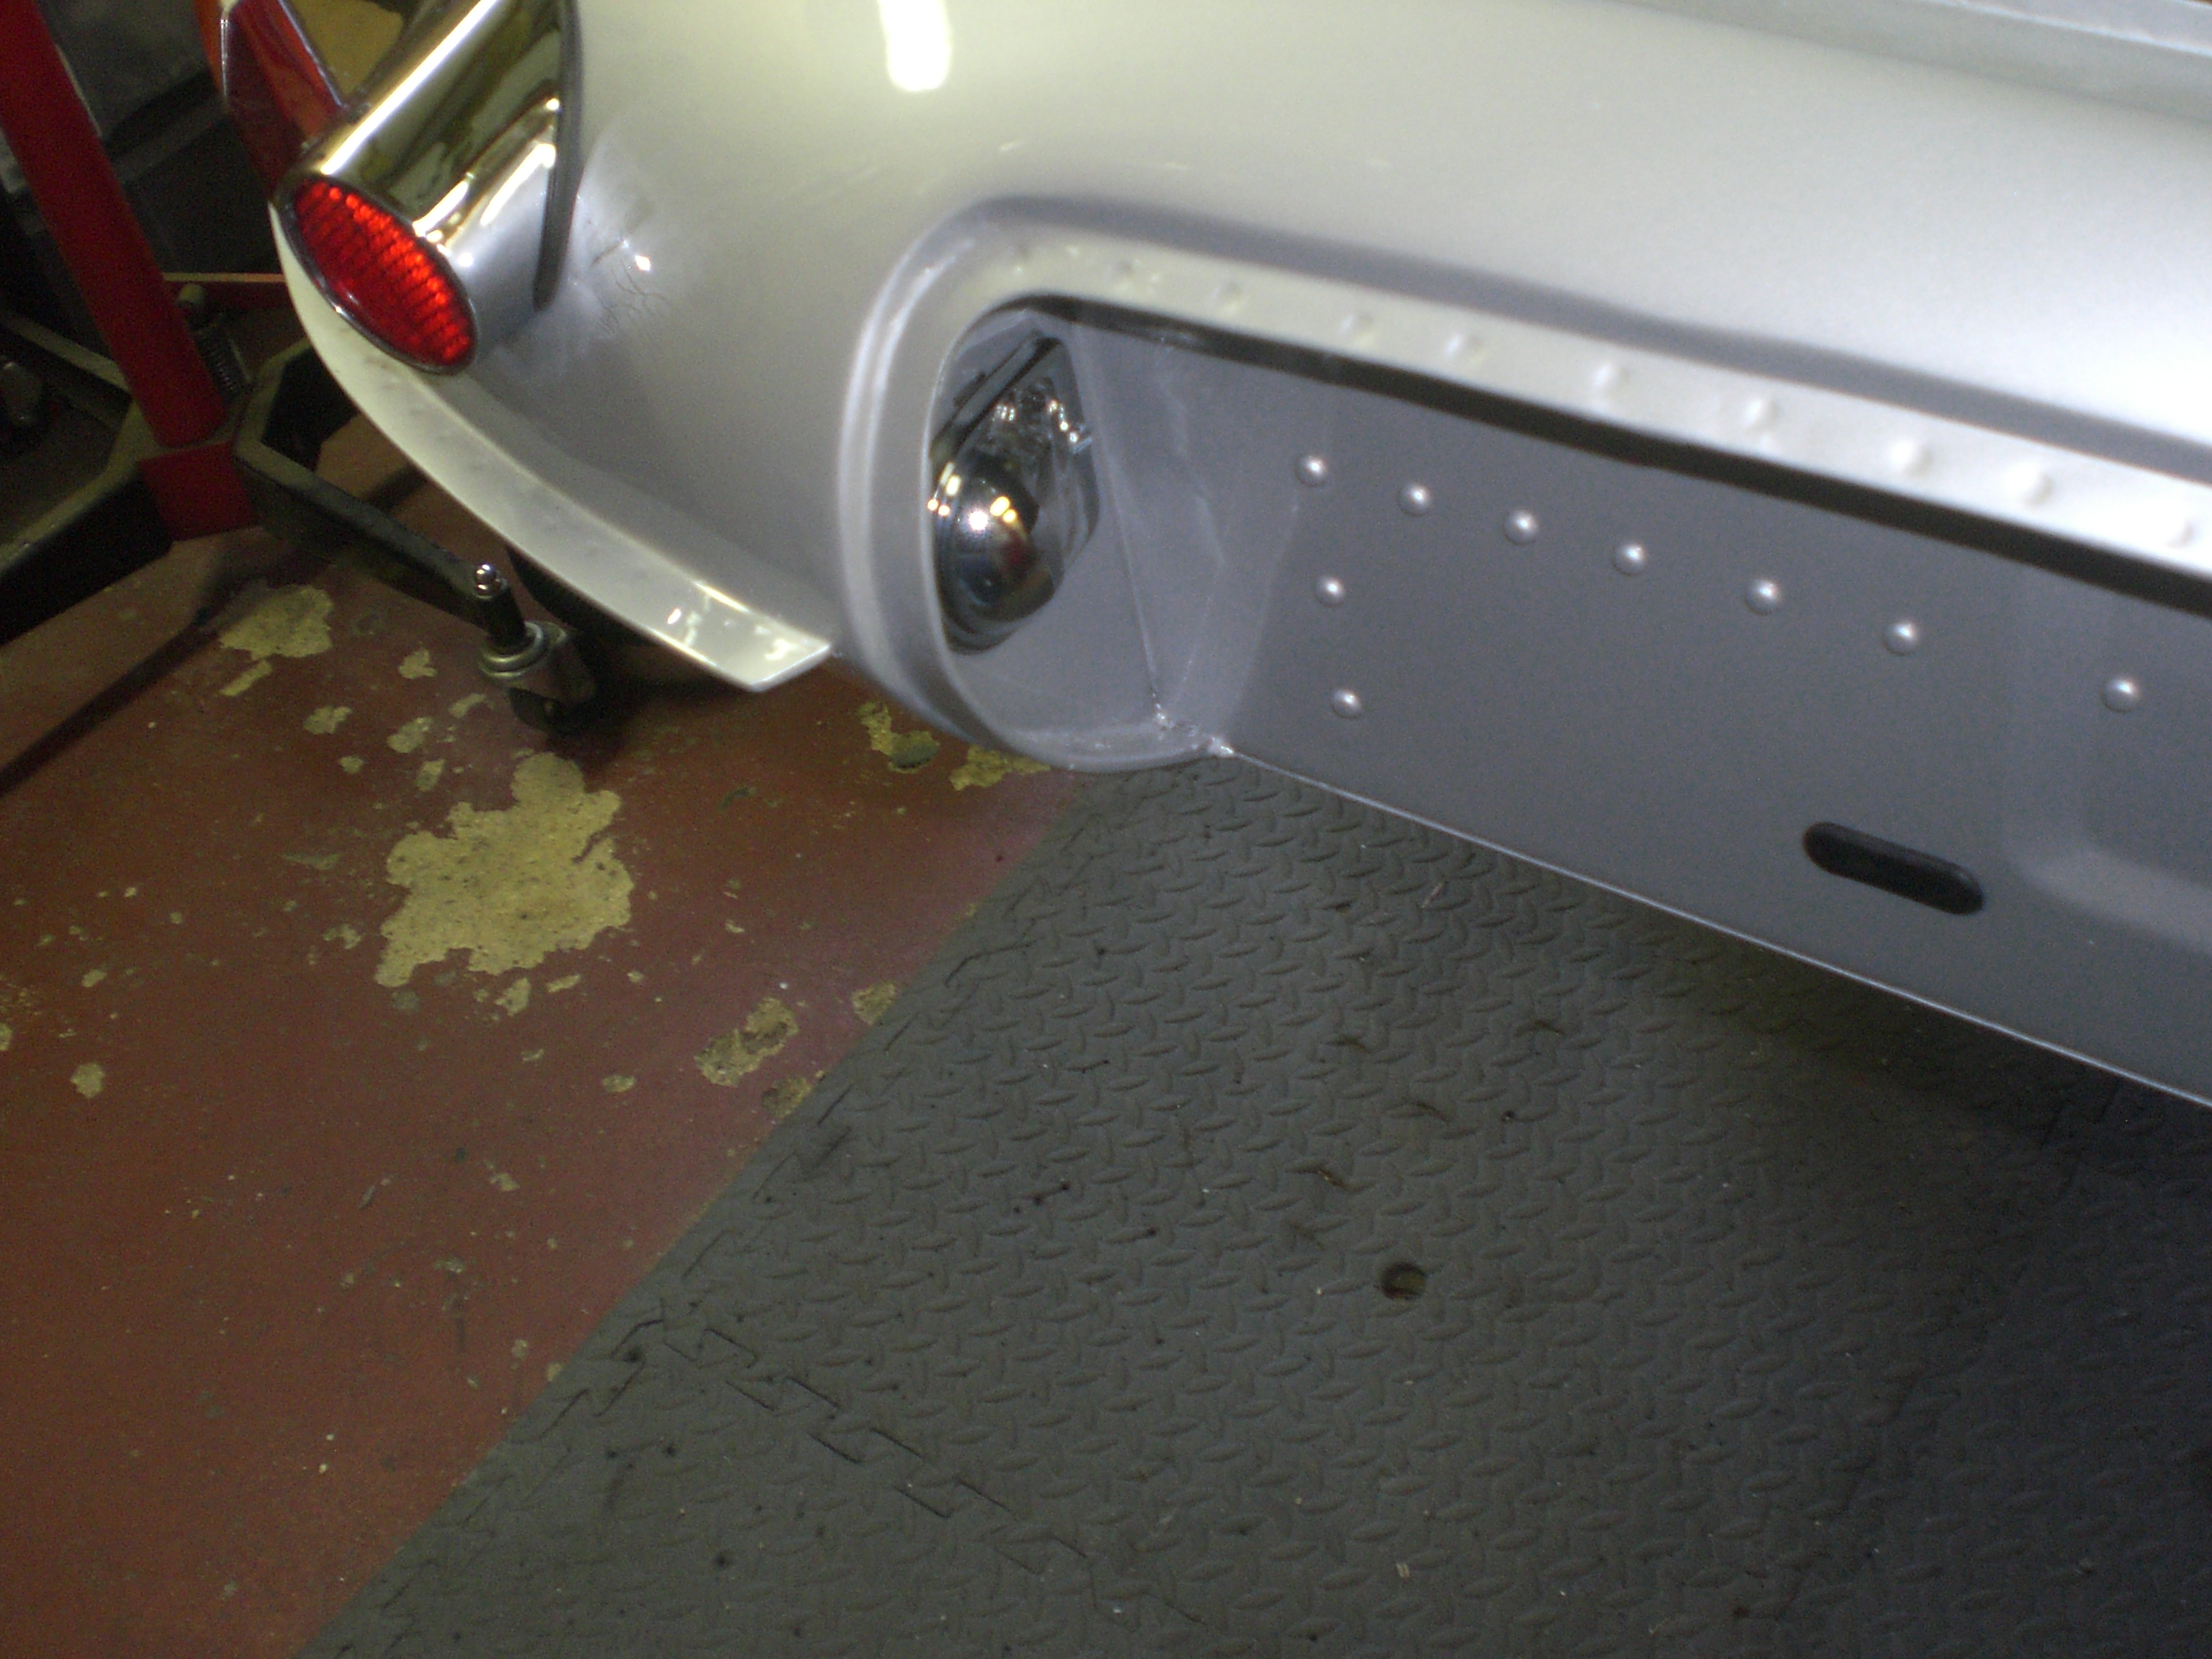
Flushed my brakes today. It’s been about 2 years and it came out only a bit more amber than fresh fluid. It was considerably easier than it’s been in the past due to the Beere rear extension kit and my new pressure flush kit. I bought a Motive European Power Brake Bleeder #0100 kit for my VW and was very pleased to find that the adapter fit right onto the Jag bottles so no need for any custom plumbing.
I didn’t bother filling the tank as designed so that I wouldn’t have to siphon some off at the end and to simplify cleanup. I just filled the reservoir, capped it and pressurized it. I paused to refill the reservoirs before they ran dry.
I have to say it renders my old MityVac kit obsolete. Nice idea but in practice it really didn’t work particularly well and all the tiny bubbles that sneak in around the nipple made it very hit or miss. The pressure system worked perfect the first time.
I bought a MityVac, back in the late 80s, thinking the same thing.
Tossed in the f**kit bucket a year later.
1 Like