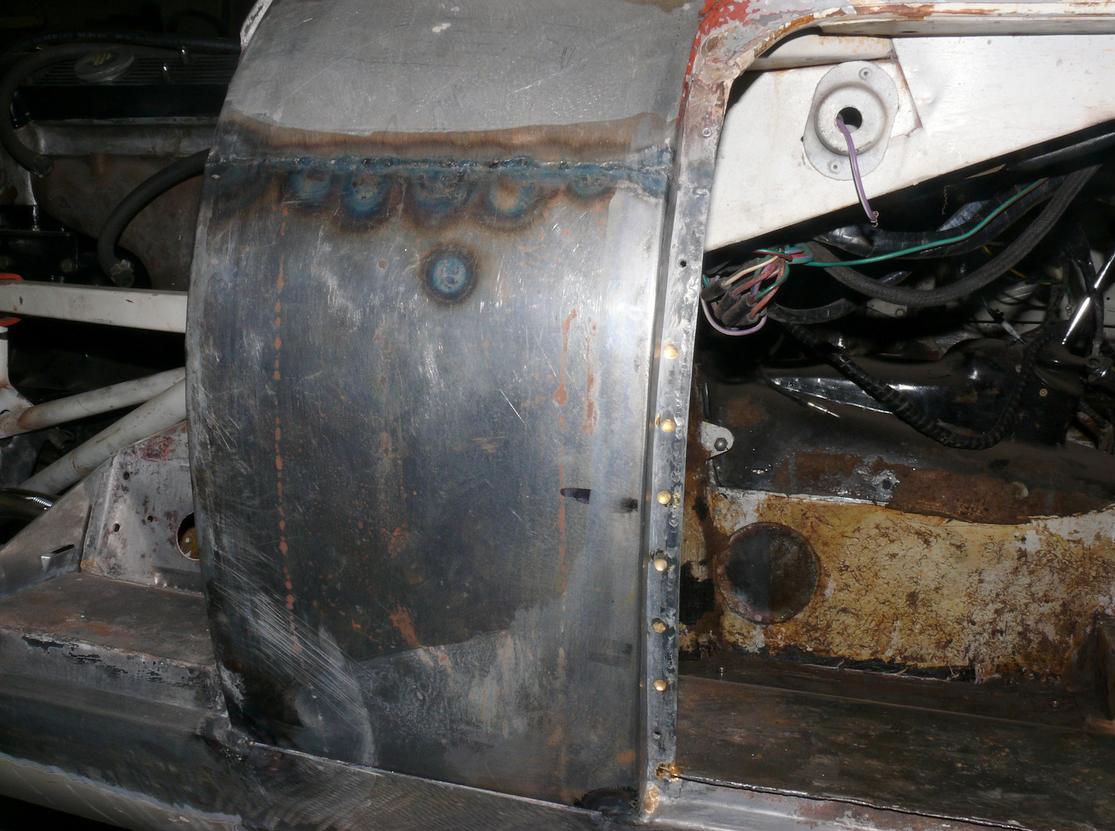
Thanks for the tip on copper blocks. Obviously they could not be put behind the A Post outer panel welds but would they be effective if placed on the surface adjacent to the weld in a similar location to the blue heat sink material?
I had a heck of time trying to mig weld butt joints on my old Morgan and then my dad gave me a big flat piece of bronze. I’ve got no idea where it came from. It did the trick. I stopped blowing holes through the sheet metal. Good welders are artists. I never got very good at it.
2 Likes
It’s practice and when you get older your not as steady don’t see as well . you stitch it not one continuous bead . The metal on a jag is about 20 gauge (thin)if you use 18 (thicker) to make your pieces they heat sink better and leave more metal to finish . You weld more towards the thicker metal to control heat and of course the thicker metal is harder to shape
It’s also a depreciating skill I’ll weld up a rusty old lawnmower for some practice when I’ve not welded for a while
Cheers
1 Like
Hi Grahame,
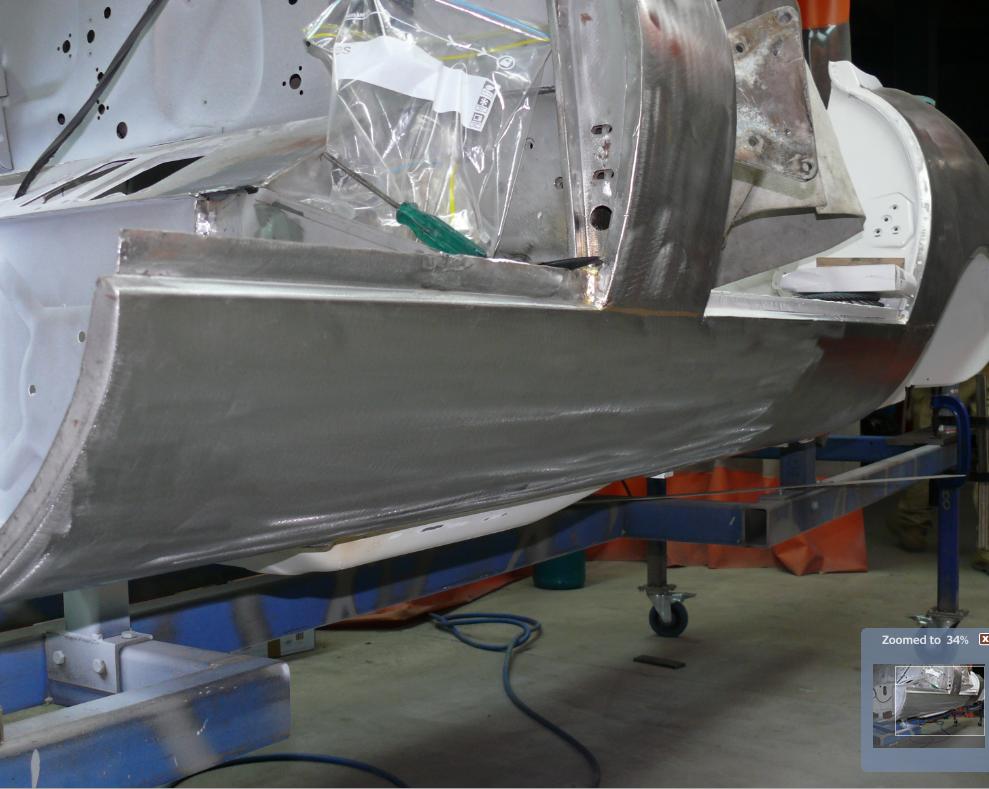
You will get better results TIG welding. The following picture is of a partial Cowl panel we installed without disturbing the original joint of the Cowl to the Scuttle panel. At the closest point, the weld was only 16mm away from the lead and no heat shielding whatsoever was used.
When installing the complete panel, we plug weld with MIG, the join at the top, then TIG braze. The joint between the bottom of the cowl and the sill we TIG braze the full length. We use no filler whatsoever at the bottom joint, not even lead.
Brent
3 Likes
The blocks are really an aid for thin metal support from behind As mentioned tig is better ( more control) but more equipment and another skill
Gas weld and hammer
Gas braze or tig braze
Mig
Flux in mig welding can interfere with paint, poor control
Gas welding has distortion and flux if braze
Tig more equipment , instant heat control ,clean
They like braze because lower heat less distortion .
Heat sinks on the outside would just be in the way . Spot weld ,cool with compressed air move 6 - 12 inches ,repeat eventually you have a filled in daisy chain of welds
In the picture they are tig brazing to the sill at a bend the panel is probably 18 gauge it’s all very stiff with low temp
No Finnish work …practice …they would weld that in 2 min once set up see how clean the area is … pretty tricky
I really admire the skill you guys have welding especially those that have not done it for a living ……I cannot ( dare not) do any bodywork at all !
1 Like
We use no filler whatsoever at the bottom joint, not even lead.
I want to say things like ‘showoff’, ‘extremist’, or ‘anal perfectionist’, but instead I’ll just go into my corner and sob. ![]()
Seriously, beautiful craftsmanship!
1 Like
Know the car that I learned how to do bodywork on?
1935 Auburn Boattail Speedster!
Really, Danny, just find yourself some old beater – maybe an old FJ! – and just give’er a go! You might find you really like it.
1 Like
Magnificent work Brent -I just wish your workshop was closer to me -I would be tempted to take the easy way out and ask you sort out my panels.
But that would be too easy and perhaps less satisfaction in the end.
You can obviously work a lot more quickly than I can and I wonder if you use any rust prevention coating on those nice shiny panels while doing other work and before you coat them with the epoxy primer.
Thanks for the tips on welding & brazing -I have MIG & TIG equipment and just need more practice before I decide to attack the Jag and of course need to get all the panels aligned first.
I fully rebuilt all the mechanicals on a 1928 Chev tourer including straightening the crankshaft by careful re-bending in an old block and then scraping in the white metal bearings. In the end after it was all assembled as a rolling bare chassis I turned the starter switch and it ran beautifully first go.
I did not have the time or the confidence at that stage to do the Chev body work so the Jag body is my next challenge. I just hope I get it completed in the not too distant future - I will let an expert do the painting.
1 Like
Thanks for the encouragement and info Jim -much appreciated
I am still trying to get an answer to my original question as to what is the overall width of the side panels at the bulkhead.
I did measure the old body I have but it is so badly damaged the dimension (1121mm) is 11mm smaller than the 1132mm dimension I have determined by careful laser measurement of the bonnet with the bottom wings held to size to match the sills.
My problems are exacerbated by the fact that the top scuttle is loosely screwed in position (as supplied by MR) and does not match the curvature of either the side panels or the doors.
I think my next move is to take a straight line from the widest part of the car (bonnet above the front wheels) back to the rear guard. But which dimension should I use the 65 1/4" (1657mm) widest part of car from the service manual or the 66 1/10" (1679mm) I have measured on my bonnet sitting on the floor?


Be careful about the measurement across the wheel arch line. Many (most) E’s I’ve observed bulge out slightly at that point due to light frontal imact or just stresses in the metal pressings.
Your words of warning are appreciated.

I am in the process of setting up the bonnet in a horizontal position as it would be on the car and I shall align the bottoms of the wings to match what I have in the sills and I will then check the straightness of the sides of the bonnet.
I think I shall then use my best assessment of the bonnet and align the doors and side panels with a straight edge front to back. This will allow me to at least shape and position the inner panels and side panels as best I can and hopefully get some suitable shape in the scuttle.
I can then modify the length of my Jig /Rotisserie to allow me to trial fit the bonnet before welding.
From the many comments on the forum the bonnet fitting is an art in itself and I have that to look forward to a fair bit further down the track.
1 Like
Nice dinner table.
Whats the wife say?
![]()
1 Like
Grahame
A thought may be to reach out to
Dan Mooney at Classic Jaguar in Austin TX Tel: (512) 288 8800 or (512) 288 9752 or (512) 301 1898
or
Chuck at Monocoque Metalworks (443) 907-2287.
Dan restores complete Jags - started with an emphasis on Series I and IIs (and then expanded into other marques)
Chuck does as will BUT he also manufacturers many/various panels and I believe he focuses nearly exclusively on E-Types
Either ought to be able to provide your dimension
I wouldn’t get to wrapped up in the measuring, what matters is how it fits on the big jig ( body)and are those lines straight . bonnet curves can be changed with the inner diaphragm to some extent, the cowl sides much tougher. It needed to be matched before the cowl sides where welded in place . You can always back it up.
Also remember you can only see one side at a time and it’s not the fit and Finnish of a modern car
You’ve gone to a lot of work to make your guide and only you can decide when it’s good enough
1 Like
That, Widdles, is the clean bench in the “clean room next to the workshop.
It has a large coffee machine on it at the moment being overhauled by my son.
The bench made by my son, is usually used to prepare the apple cider, prepare the meats (venison, pork, kangaroo) for dry curing or just sipping gin😃
1 Like
No, no, no! I’m talking about the really low, dark colored curvy one… ![]()
2 Likes
Where about are you Grahame?
Brent
