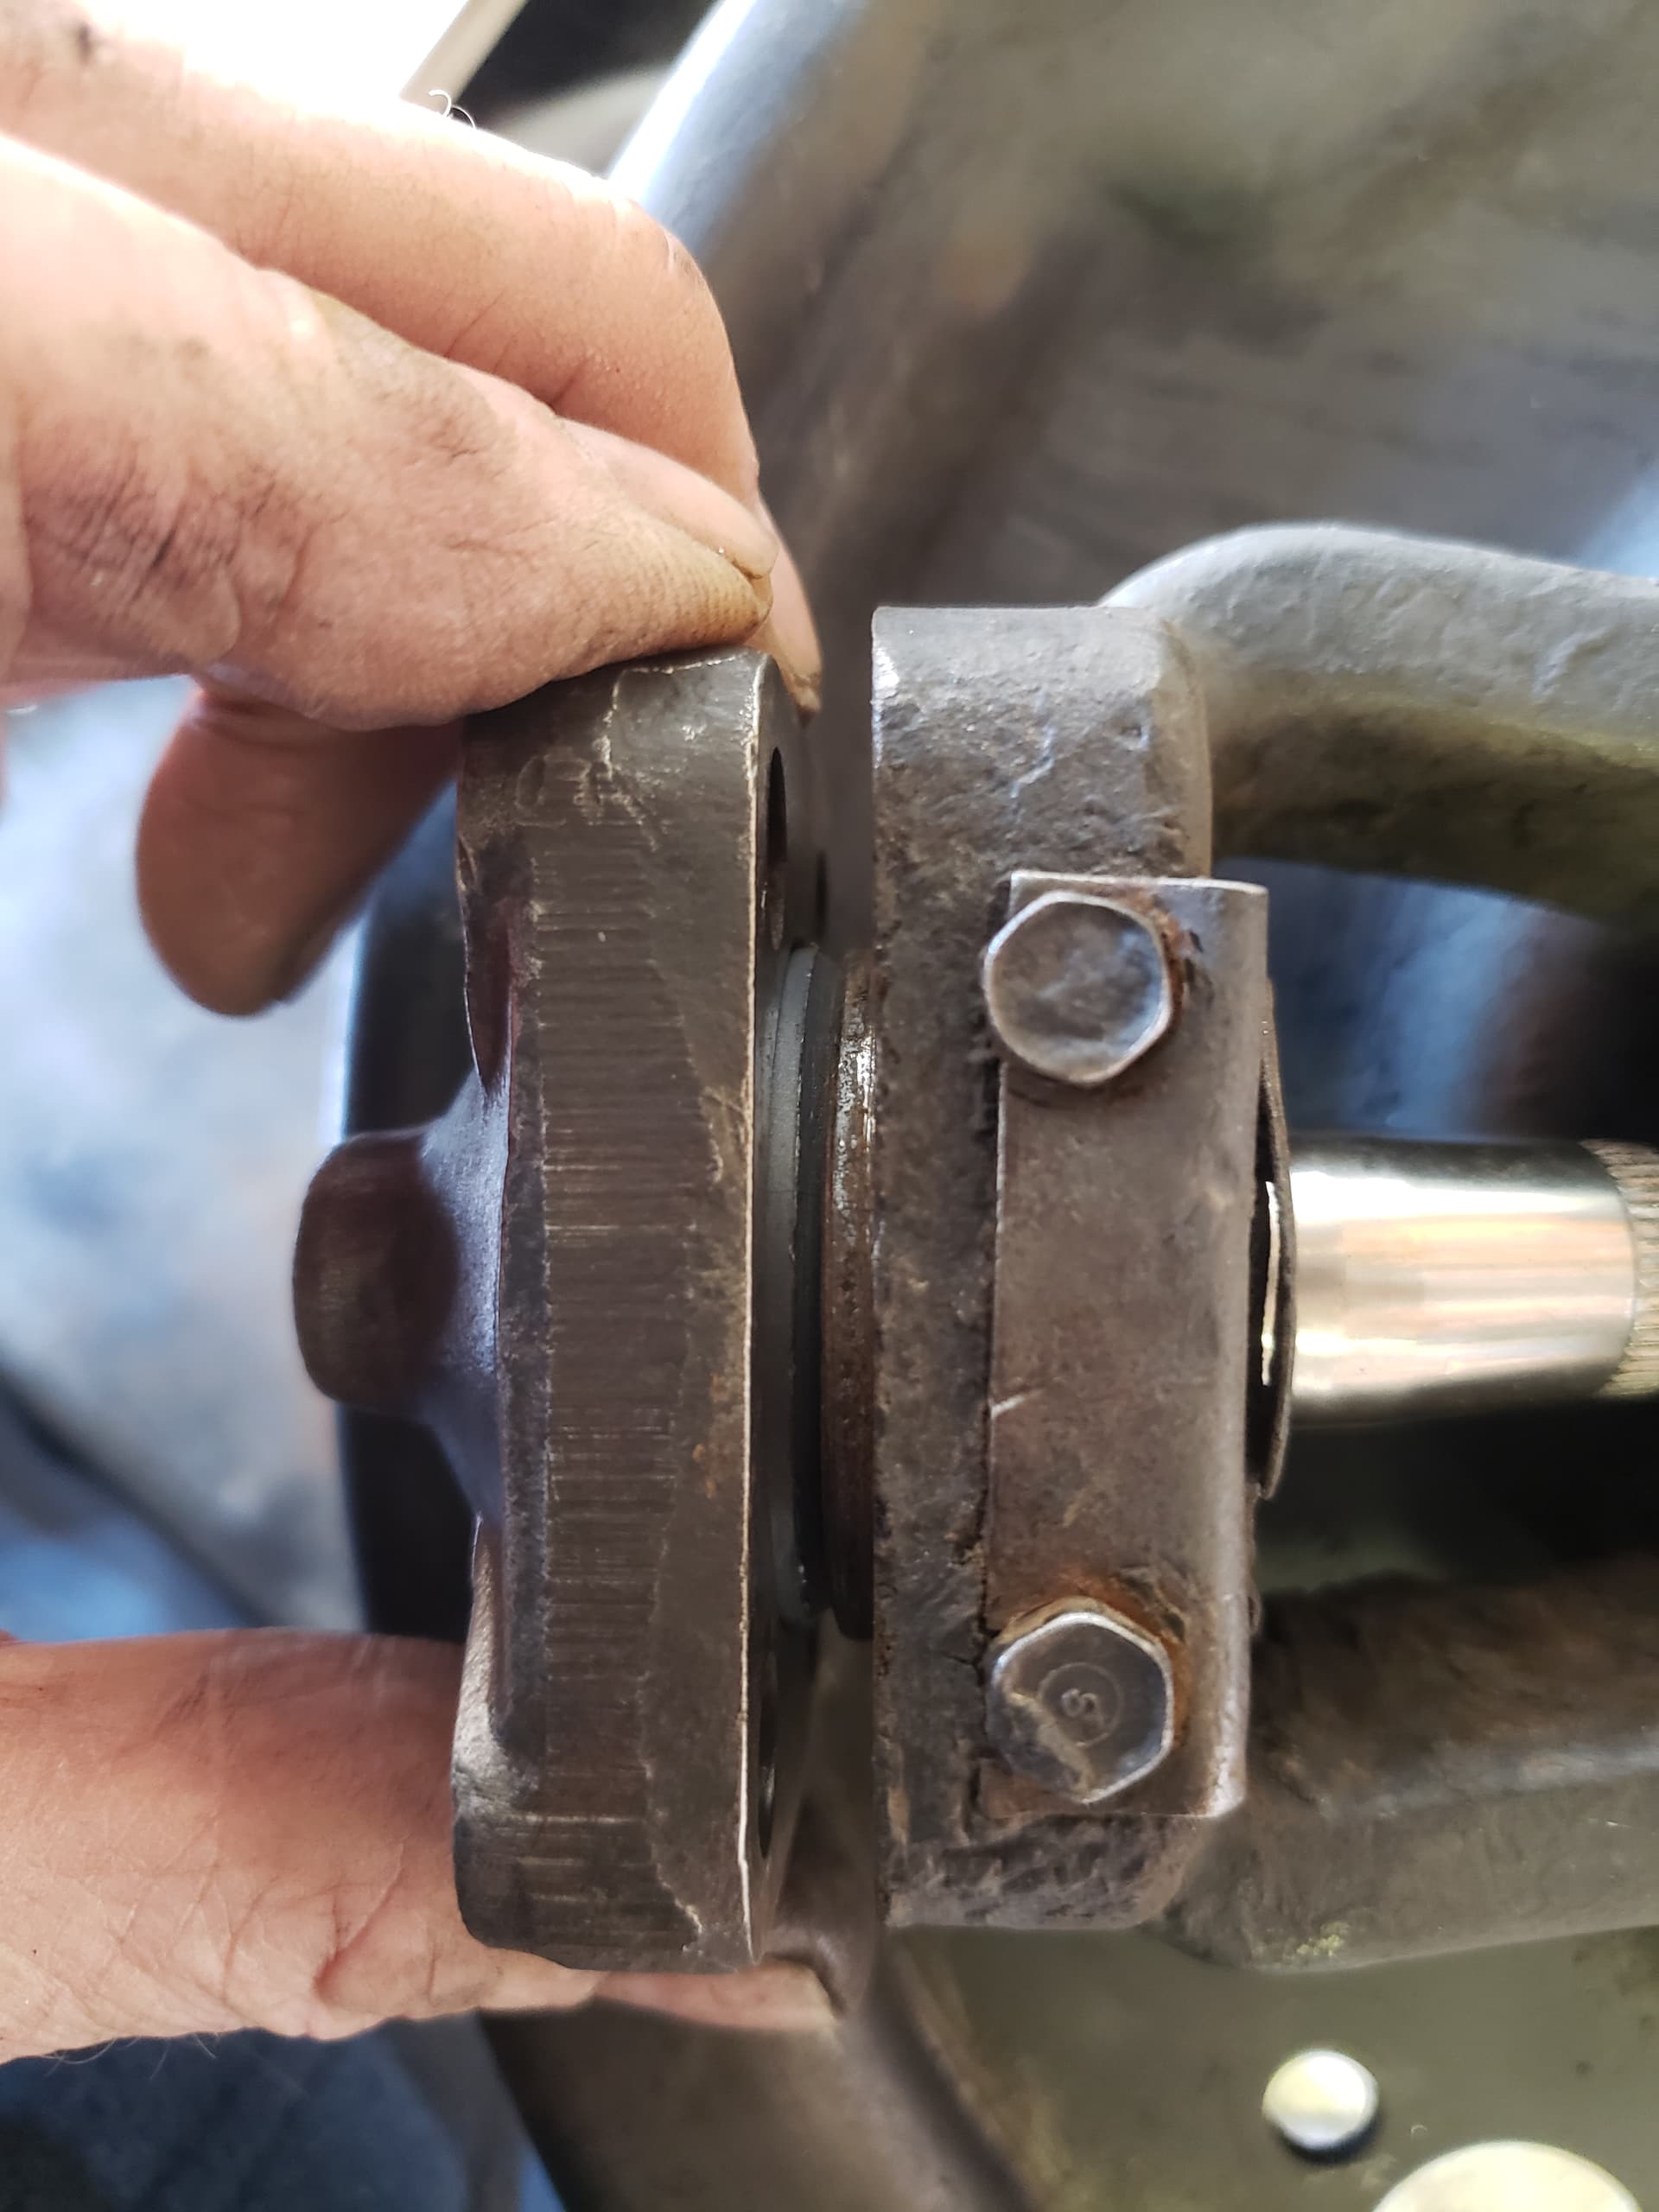
Just got my new ball joint replacement kit from MOSS but there’s a problem. It comes with a plastic lower half ball cup that the ball joint sits in. Problem is that the plastic cup sits too high on the mating surface so there is approx 1/4 inch play in the ball joint. It’s not a shim issue. I took the best picture I could to try and show the problem. The original plastic call insert was powder when I took it apart so there is no way to compare it. Anyone know what I’m missing? Thx.


HI,
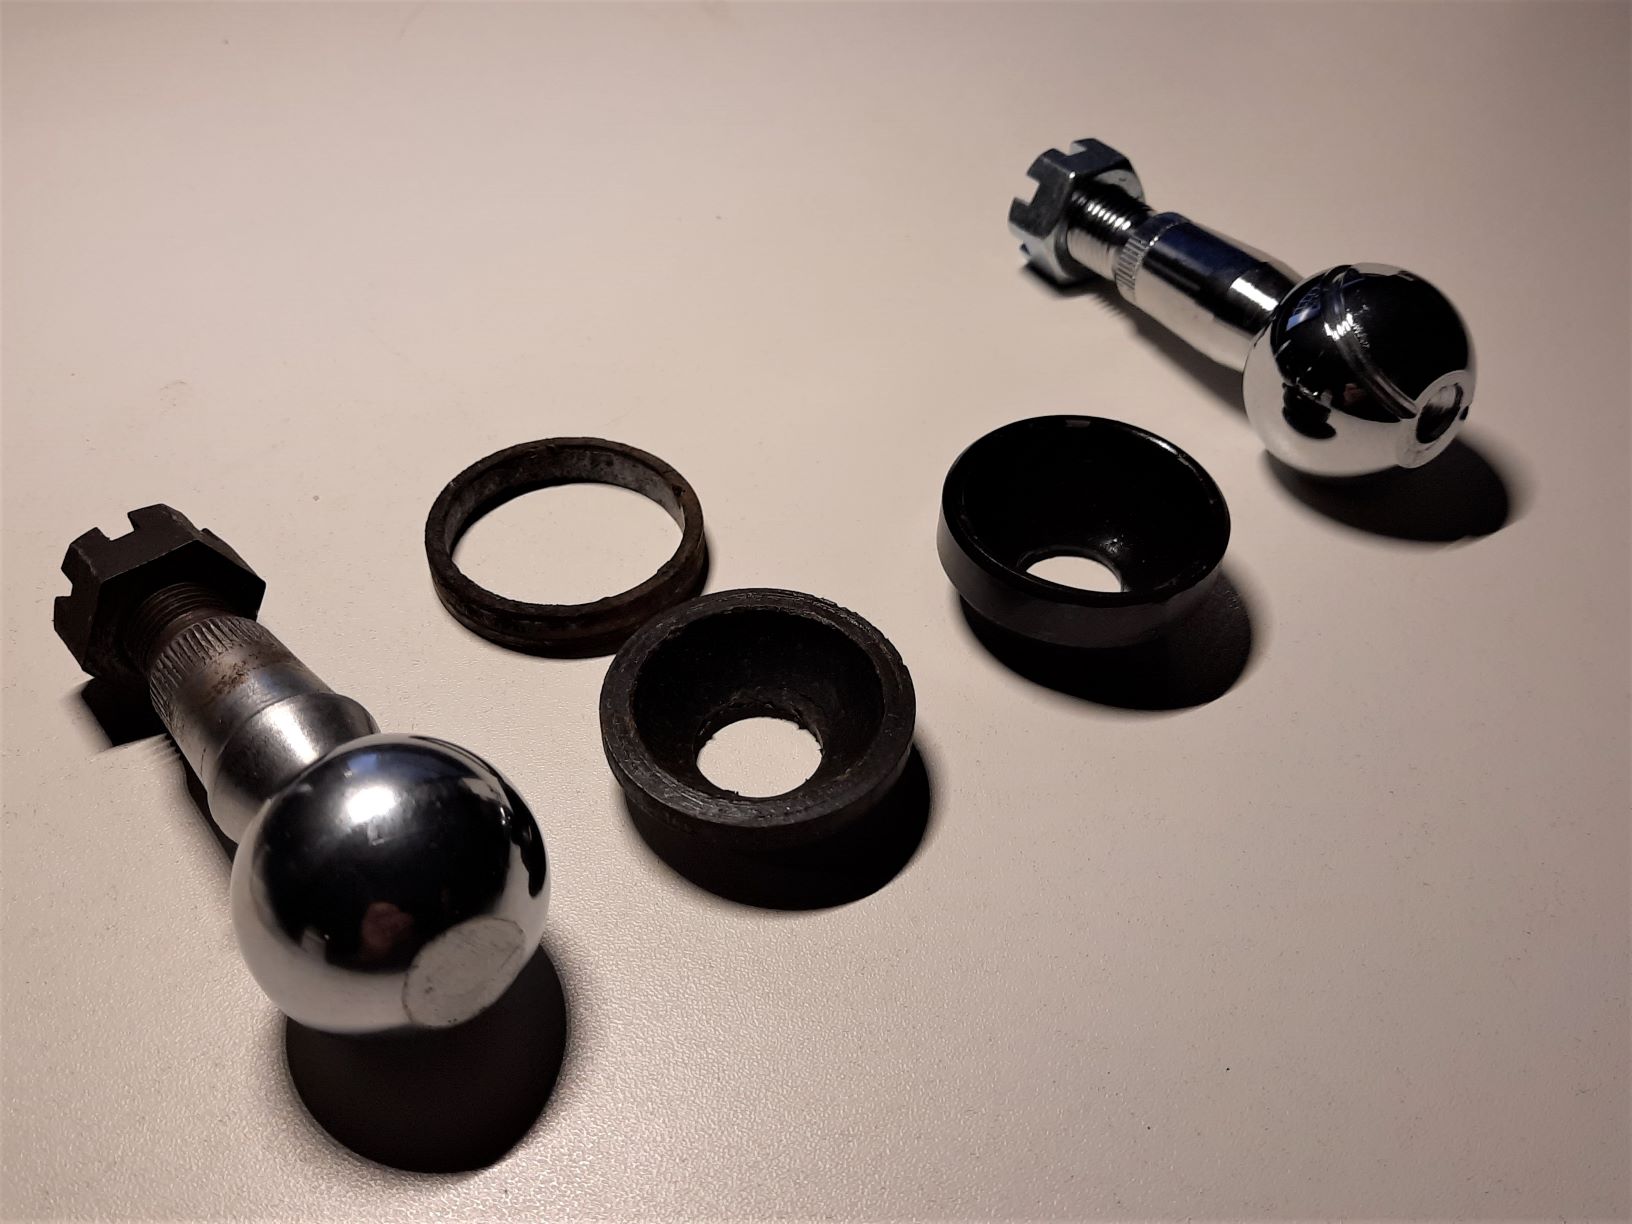
As far as I remember, the “modern” replacement version assumes that you will remove the steel ring in the other section. See photo below.
Bob K.
I see what you mean but I can’t get it out so I’ll hunt for a shop that works on these cars i the morning. I have a feeling it won’t be easy! Thanks for the info.
I had the same problem on my 150 and had to trim the plastic cup. The castings need to rest on the shims. I shimmed mine until the steering was snug.
Pat H
That ring is called a C3024 spigot over ball pin.
It was to align the top and bottom when they used the short Morganite bronze or Ferrobestos cups.
Hit them on the side with a hammer and chisel and they’ll come out.
The new cups are designed taller to align themselves.
Yours appear to be from the no grease fitting era, a short period when the factory felt they could make these without needing grease.
Many of us drill and tap the tower on the bottom for a grease fitting, as indeed the factory did on most of them.
Hi Rob, yeah, I saw a post of yours that you installed a grease fitting. When I took this apart, the socket at the bottom of the ball was just dust so I think that fitting is the way to go. I finally got that ring out with a lot of tapping around it. Put it all back together with 4 shims and all good. On to the brake line! I’ll be asking some more questions real soon. Thanks to all who gave input on this, this forum is great.
Yep, that dust was what was left of the Ferrobestos cup, a sort of phenolic fabric resin experiment that Jaguar tried from about '50-'53 that didn’t work out. Earlier and later cars had the grease fittings.

Hello, does this look like it still as the old ring in it? Is it a ring only? Bob K’s picture shows a cup that is perhaps held in place with a ring, so, two pieces. Am I seeing it right? Thanks.
john

One more question… this is the old ball with the old Ferobestos cup still intact. There is about 1/8" play. I tried to post a video but couldn’t. These two pictures show the amount of free-play. Have I left out something? Thank you.
john


That’s the Ferrobestos cup, or what’s left of it, worn down to the bottom, any more and it would be wearing into the bottom cover. That’s why there’s so much play. Chip it out with a chisel. Your ring is still stuck in the top part. Another candidate for the grease fittings.
Thanks Rob. That’s good to know.
john
Im just about to fit front lower balljoints to a 150…the plastic ball cup is a loosish fit in the lower houseing…is this acceptable or should i be looking at “bonding” them in place…my lower ball cup houseing does have grease zerk (nipple)…plastic ball cups are from Coventry Auto so i assume are as good if not better than other suppliers…thanks…Steve
Loose-ish meaning finger tight, or able to spin, or a gap all around?
If it was my car I would feel better if I used a good bonding adhesive, can’t hurt.
All I’ve ever done have been size on size, an easy press fit. I think I tapped them in upside down on the work bench.
I’ve gotten them from a Jaguar dealer (Unipart), XKs Unlimited and Moss.
I removed the Ferobestos bushings and fitted the new ball joints and cups. It seems that it will require more shimming than the original to keep the ball from binding against its plastic cup. Is there a way to trim the plastic cup so a reasonable number of shims are required? Thanks.
john
Hi Rob…thanks for the reply…loosish…yes should have been clearer…they just drop in…they can spin and if i turn the bottom houseing upside down the cup falls out…they are a reasonable fit though with on gaps…think i will bond them in…as you say it cant hurt…
Hi John…you have a 120…im doing a 150…parts on the bench now…what is your plastic cup fit like in your lower houseing…as per my post above…havent shimmed mine yet but will have the opposite problem to you…looks like i will need very minimal shims if any…plastic cup would be easy to cut down if required but personally i would have the cup in the lower houseing…turn it upside down onto a sheet of fine abrasive paper…then just abrade the cup down…but are you useing new ball pins and is there any wear in the upright where the ball drops into…also is the raised lip of the cup once fitted actually slotting into the recess where you removed the ring from…Steve
There is not really a standard number of shims, it’s more like be sure your parts are clean and your cup is fully inserted. You can put it together without shims and measure the gap with feeler gauges to get a starting point. Then shim until the ball pin can swivel easily and doesn’t rattle.
With the help of Rob Reilly, I removed the steel ring on the top part which allows the new plastic replacement to fit into the area where the ring was. It took 4 shims to make it fit right. I had thought it would be a real issue but thanks to this forum, I did it myself and saved a LOT of money. No wear on anything but the bottom of the ball and a little on the stem. Obviously it was the original.
1 Like
With regular greasing, those ball joints were as durable as any of the period.
My customers were generally on a 3-month PM cycle, and I would always grease ball joints/tie rod ends/u-joints/anything with a zerk.
The ones on my S1 E Type were still in fine shape, after 40 years/150,000 miles. I only put the Lemforders in, so that I never had to grease them again!
Steve, Rob, right at a 1.5mm gap is where the ball starts binding. My old ball joint had about 1mm worth of shims. But what I did not know at the time I made the post yesterday was that the new ball joint kit comes with three shims, so utilizing two of the new shims, plus all of the old shims fixed my problem.
john