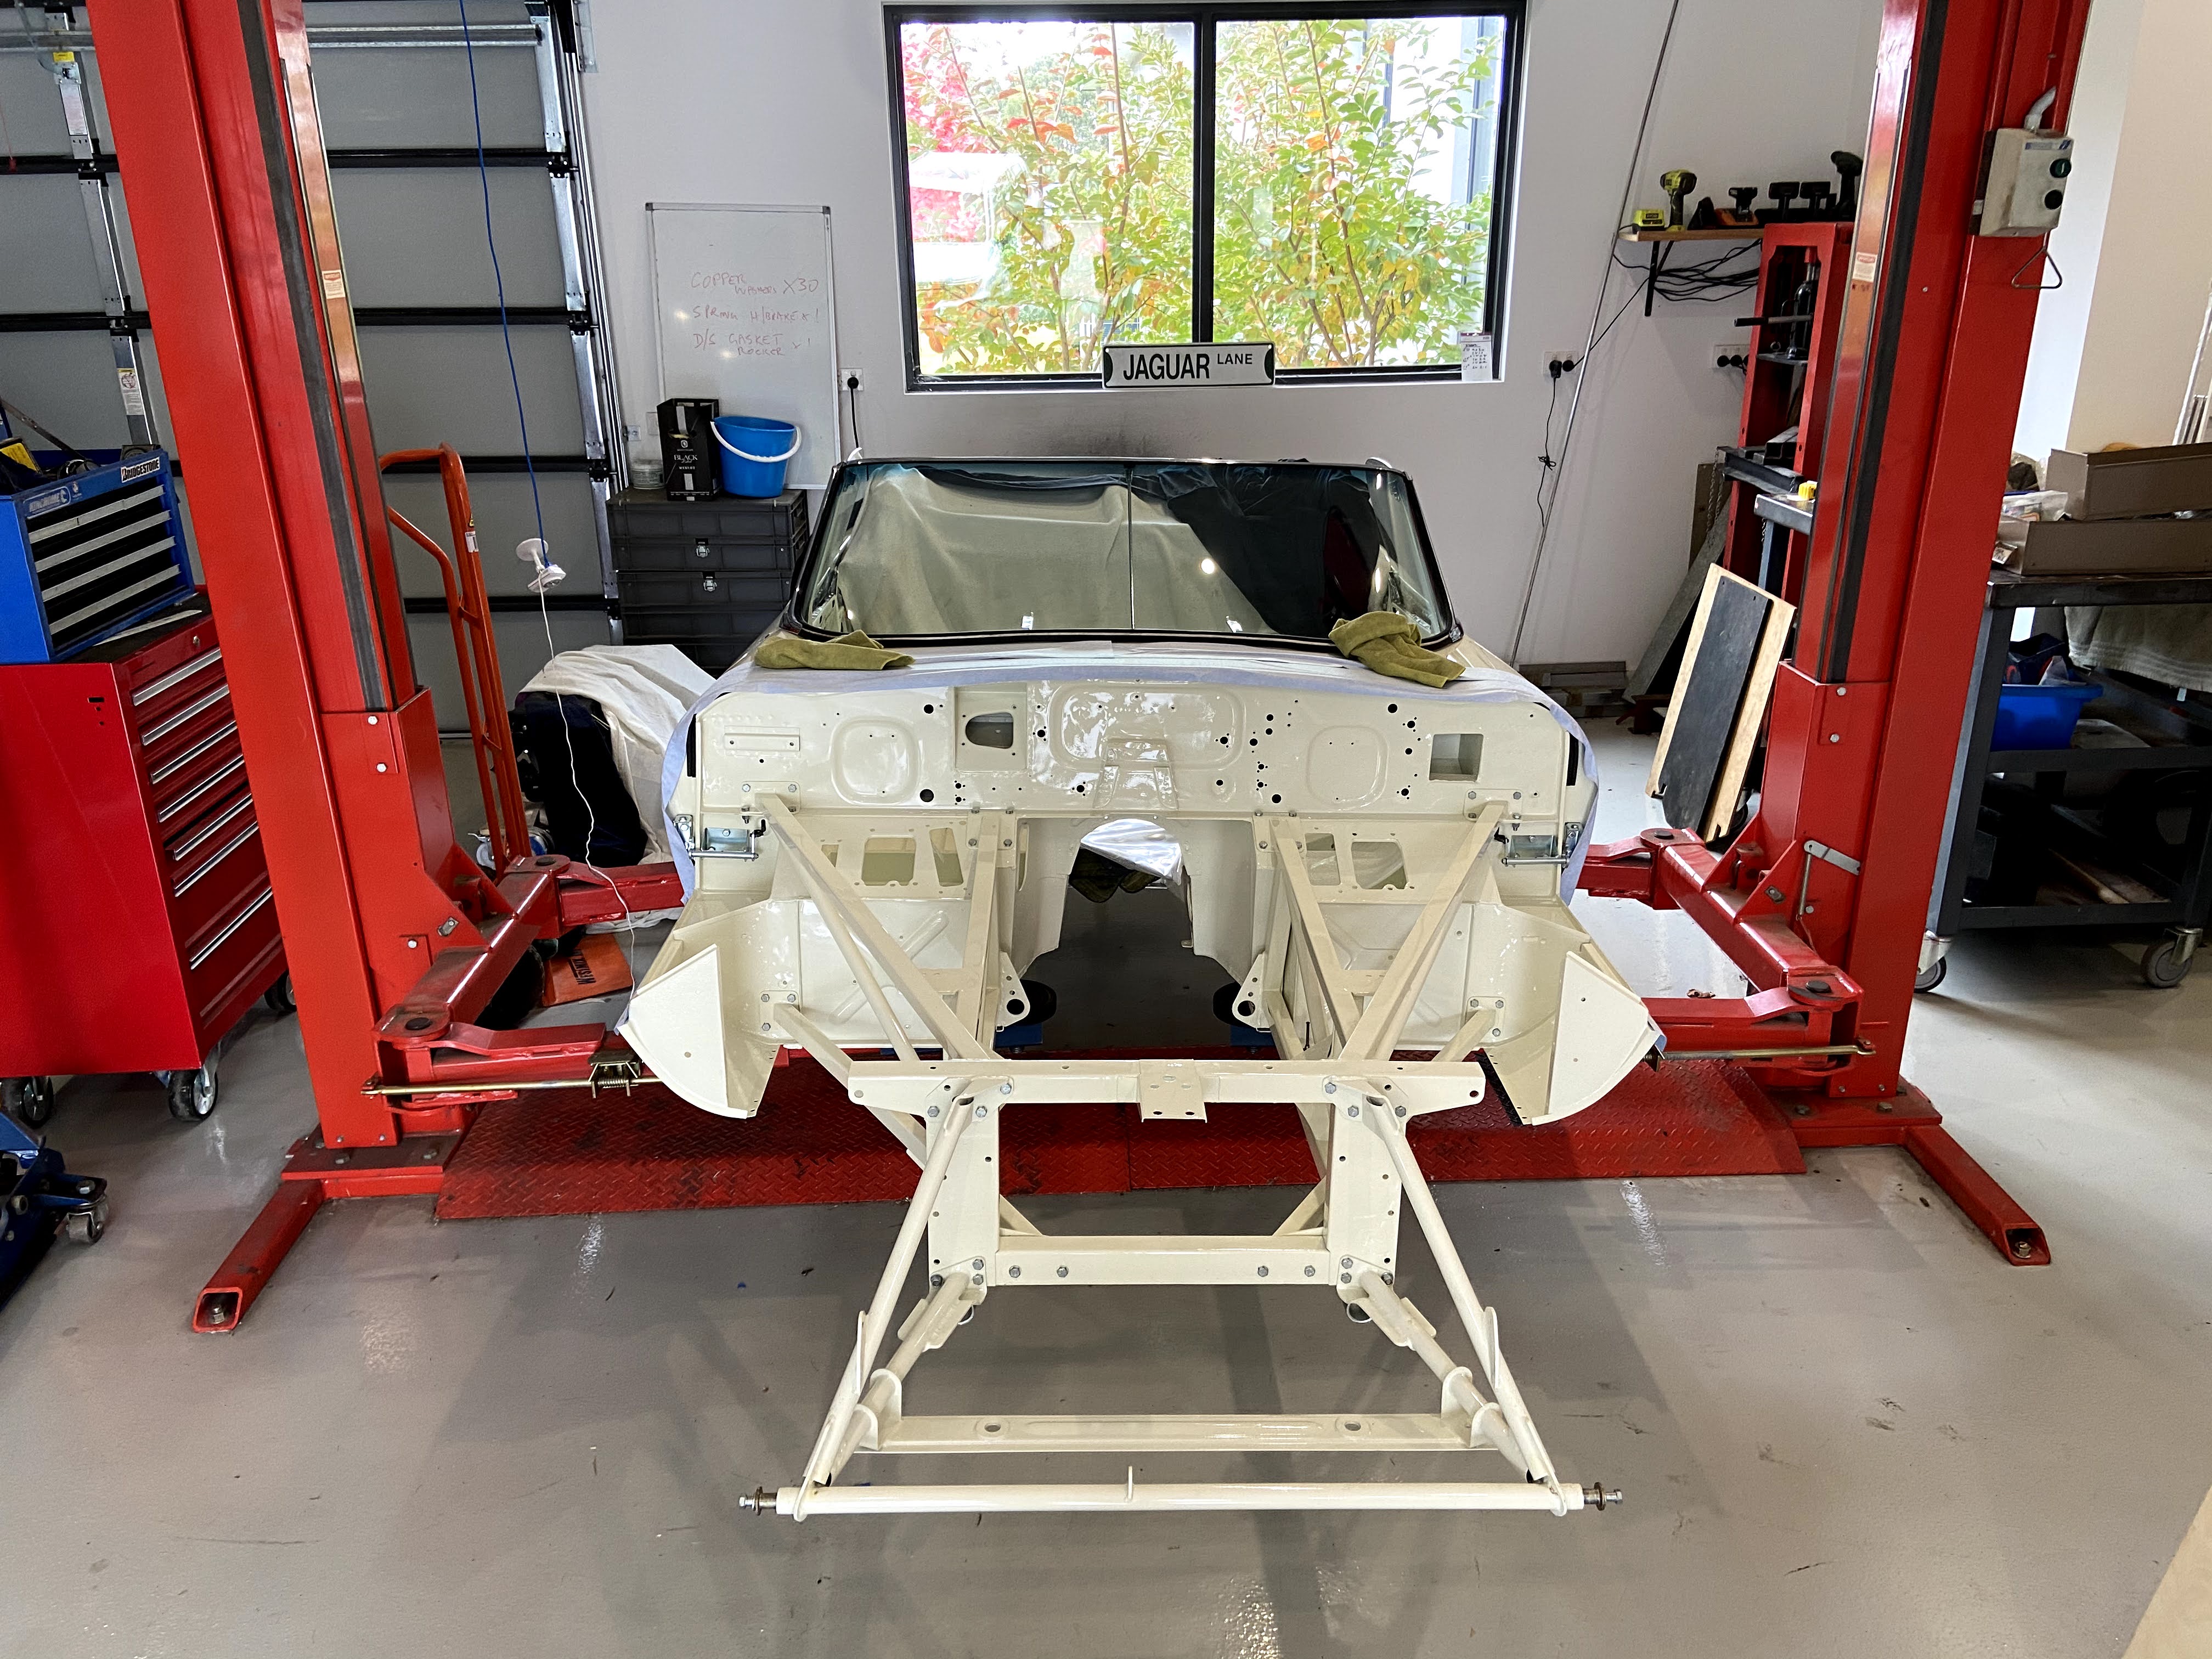
Hello there everyone… I am about to start on the assembly of this car… I have had the shell, drive train rebuilt, I did the rear end… so I thought I’d start this to take over from Joey… now that he is finished his primrose car.
So here are the first photo , will post as I do stuff…not every day… hope your interested.
Dont forget your clutch arm clearance before you fit the engine and box. There seems to be a rash of clutch arms hitting bell housing slots at the moment! All caused by the wrong throw out bearing heights.
You dont need to take the bonnet off to fit the engine and gearbox! Just pull it up form below through the gap.
Yep clutch has been adjusted etc… all pipes and ancillaries on…will be removing bonnet and frames ( assembled) …fitting firewall parts , heater and vac pipes etc and wipers … roll drive train into place refit frames and build suspension etc… I have a special stand for the bonnet… standby for more soon
All chrome and fittings assembled before car was painted … so no adjustments hopefully … need to remove screen and have chromingdone so will look bare again for a while… but at least I know it will go back together
It looks like copper fuel line. Sorry to say copper is not recommended for gas lines as it acts as a catalyst and can cause fuel to deteriorate faster.
There is lots of info on the web that I don’t trust on the subject. Here is scientific paper.
Just remember, an expert knows more and more about less and less until he knows everything about nothing… https://pubs.acs.org/doi/abs/10.1021/ef049849h
“because it is a catalyst of radicalar oxidation reactions and it accelerates peroxidation. Therefore, this metal must be avoided in any metal alloy that comes into contact with gasoline in the feeding system of engines.”
I was talking about the rubber lines to the fuel bowls and all
Is this a trailer queen or driver?
The rubber would look great but the clear would be luscious
Gtjoeu13-4
Ok so the fuel line is steel with a copper like coating on the outside… so don’t panic… I do lots of research… and before you say but it should have the nylon fuel line I best point out that this is a March 66 car …
So my handle appears misleading … my handle car is another project for me to complete…
It will be my last car… as I’ll be 70 before I start it
So back to the question of the quality of the resto … this car will be driven but will be done to the highest standard I can achieve .
I will be using as many of original parts refurbished and replacements … yes it will have the original style nylon hookup pipes so you can watch the fuel get guzzled by those mighty HD8 SU’s
The car started life in USA and I imported it … for myself to be restored…but plans changed a bit when I found my 1961 RHD flat floor
Today Sans bonnet…( 4 cups of coffee and many thanks to my Jag mates) change of plan … rear end in first … when bonnet off could lift front 1 finger…oops… so wasn’t game to take off frames … good thing I already had built the rear end!.. when it’s in I’ll support with a stand under it and revert to original plan.
You really are mini Gtjoey!
By next week when your ready for a drive how much tire pressure do you use:grinning:
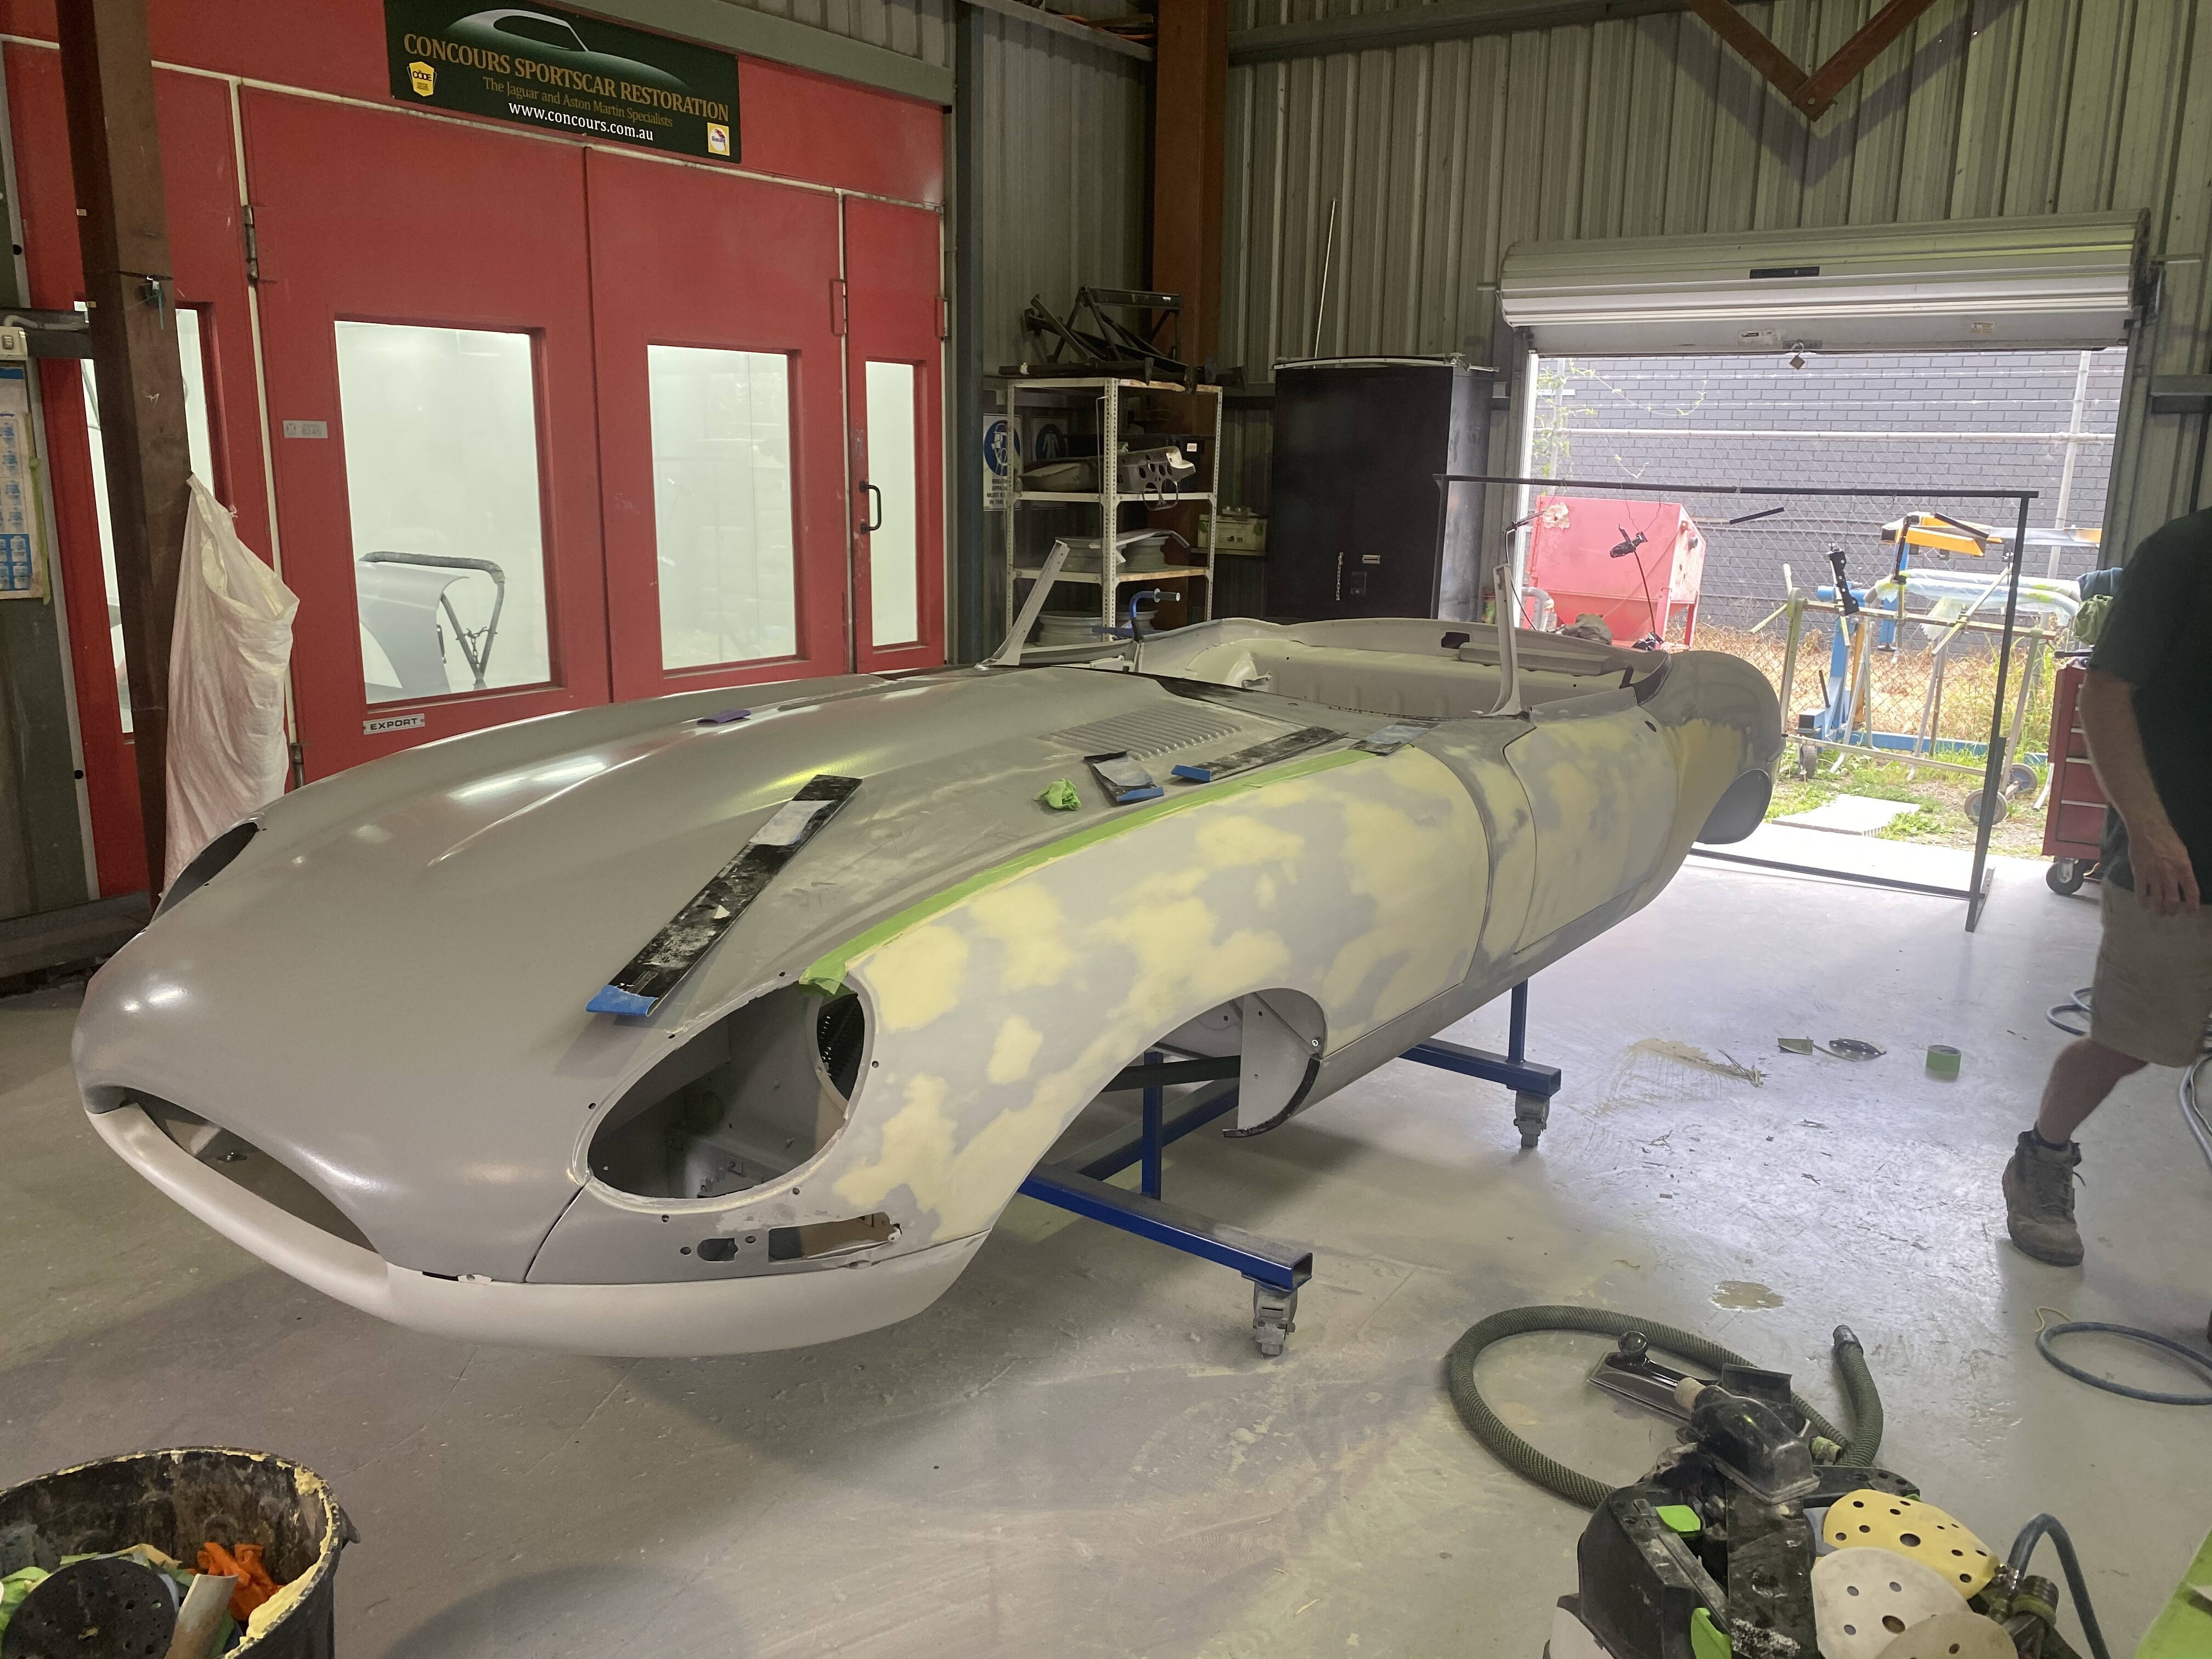
Is that a NEW body? Or restored?
It looks flawles
Restored see photos above of the car when I sent it off ( red) … it looked pretty good and the guy I had look at it in Oklahoma said it was rust free… that’s obviously because they had bodged some of the floors etc… when we stripped it we decided to do do it right … so new floors, new boot floor …it had a new one but the repairs were shocking… butt welded and bad fit… new sills and other panels at front so we basically rebuilt as a new car! …yep looks great … but so it should . Every spot weld and lead loaded is correct …thanks to my great body restorer Gavin ( he also did the motor)
Whole body and motor in 14 months…( I stopped counting hours) … to be fair he does have other clients… he is one of 2 guys that do this level of work here in Oz … both have a lot of cars under their belts and specialise in e types and in Gavin’s case also XK120’s … he is doing an aluminium body one at moment ( not for me)