Is there a thread on here already for installation?
Will hopefully take pictures and document as Paul walked us through the installation. ![]() before he left.
before he left.
Is there a thread on here already for installation?
Will hopefully take pictures and document as Paul walked us through the installation. ![]() before he left.
before he left.
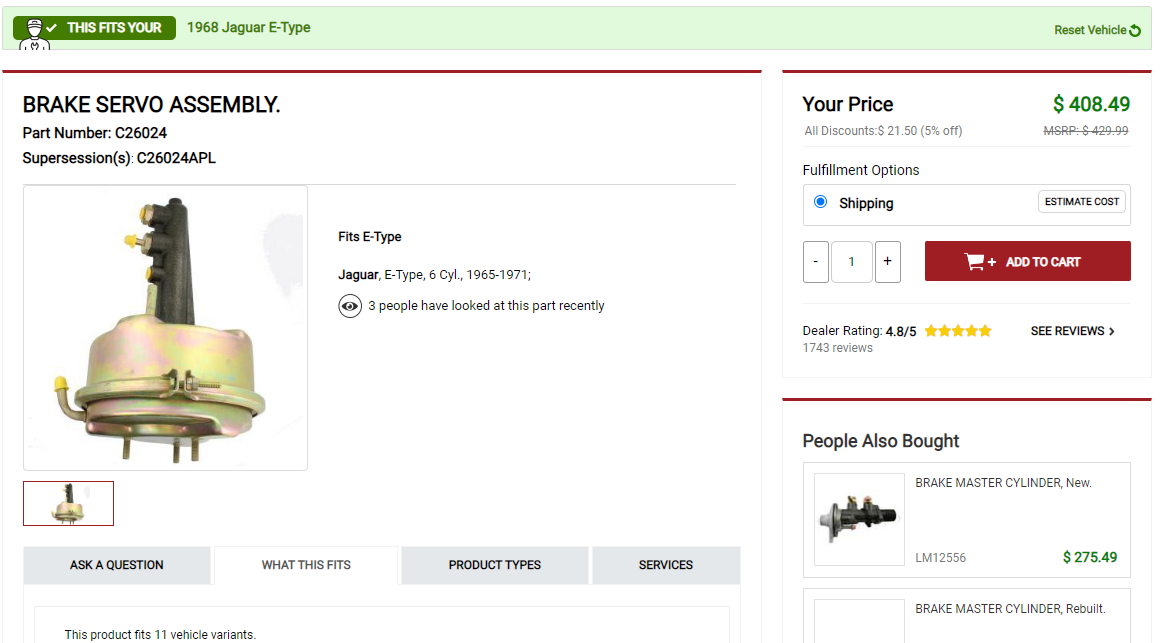
FYI for anyone else in the market for a new one.
Rick at Terry Jag was very helpful. this was the best deal I could find on EnglishParts.com, guess they are linked to Terry’s Jag.
Wow. In 2016 I paid $215 at Welsh for a new one.
That cost would be awesome, seems inflation has increased prices dramatically. Would have been far more than that to ship to/from White Post and get mine rebuilt.
From past experiences, would avoid Apple like the plague…
I bought a new oem style ftom Welsh no complaints…
Moss Motors is an anomaly because not only do (did?) they still send out printed catalogs, the catalogs had prices listed. We’ll see if that changes as inflation continues into 2023 (haven’t seen a new catalog yet.)
2019 catalog - C26024 4.2L brake servo - $279.99
2020 catalog - C26024 4.2L brake servo - $279.99
2021 catalog - C26024 4.2L brake servo - N/A
2022 catalog - C26024 4.2L brake servo - N/A
2022 catalog - C26024APL (Lockheed) 4.2L brake servo - $429.99
Maybe the vendor of the “inexpensive” C26024 is gone now and only the “Lockheed” (perhaps made by 920E, the successor to AP/Lockheed brakes?) is offered?
Moss also offers the rebuild units - $699 in 2019, $1299 in 2022. Labor isn’t cheap anymore!
Dave
That was a very straightforward and easy to follow instructive video. Even I would be willing to try it all.
Maybe this guy has another video detailing the installation of the heat shield – – or do you have Norm on permanent retainer?
I shopped around when I was buying. At that time Welsh had the best price by far. I think everybody else was over $250. Who would have thought 2016 would be "The-Good-Old-Days. ![]()
Right! ![]()
Seems most everything has shot up in cost.
Good thing is I’ll soon be parting with a treasure trove of extra parts.
The brake servo shield was no walk in the park, I was gonna cry a little if Paul said that needed to come off. Getting the upper and lower shielded on and the bottles and hoses on was a multi day project.
Wow. That quite a price jump in such a short period of time.
MB. How many miles would you expect to drive the car per year? Brass or Stainless, what does it matter with most driving less than 2,000 miles/year. Something more important is how often the braking system fluid is changed! Every 2 years, a complete flush with new fluid should keep the system in top operating condition for at least 15 or more years. If driven less than 500 miles a year all bets are off! Also, using the correct fluid (seal compatibility) is ultra important too!
Cheers,
Dick
You’re right Dick. I suspect low usage would negate any need for a more durable material. And I didn’t consider corrosion as @Thelastrodeo mentioned. Which is only exasperated by lack of the excellent maintenance procedures you recommend.
I had a Rover P6B brake master sleeved by White Post many years ago. Memory fades, but as the car had sat for a while prior to my ownership, corrosion was likely the reason. They did a great job. And they are only around 18 miles from me…so it’s always fun to see what they are working on. Mike
Candiece, you will be able to do that yourself. Just do your usual good work, take photos and make notes of how it came off. I did mine before stuff like this was posted on YT. Protect nearby areas from brake fluid, especially the interior and yourself as well. The joke I heard at the time was that they built the car around this booster.
You’re not kidding! Was glad Paul was there to tell us what all to pull off and knew how to quickly remove the rivets etc and we pulled the shields. Did some bagging and tagging, so that should make things helpful as well.
Funny we were talking about the tight spaces and Paul laughed and said be thankful you don’t have a V-12 then showed us pictures of @Craig_Balzer car! WOW!!! ZERO space in there. “Glass 1/2 full”.
We didn’t take any photos beforehand but hopefully what we already have will be helpful.
Anyone w/ pictures of what we have would be helpful. Installing slave/booster now. Want to have things looking “correct” so we do not have to do it a 3rd time.
Already have the new one!? ![]()
So, unless the diagram is different than my setup, the lines are not going to the same holes as is stated in the diagram sent with item. SOLVED: (read on below)
.
![]()
![]()
![]()