I’m about to recover my FHC cantrails. I’ve read many posts, with helpful advice.
Can anyone suggest how to cut the vinyl to cover the cantrails? Can I make the bends from one, long, straight piece, or do I need to lay the cantrail on the vinyl sheet, and cut a large piece that follows the shape? The later would consume a lot of vinyl, and cause considerable waste.
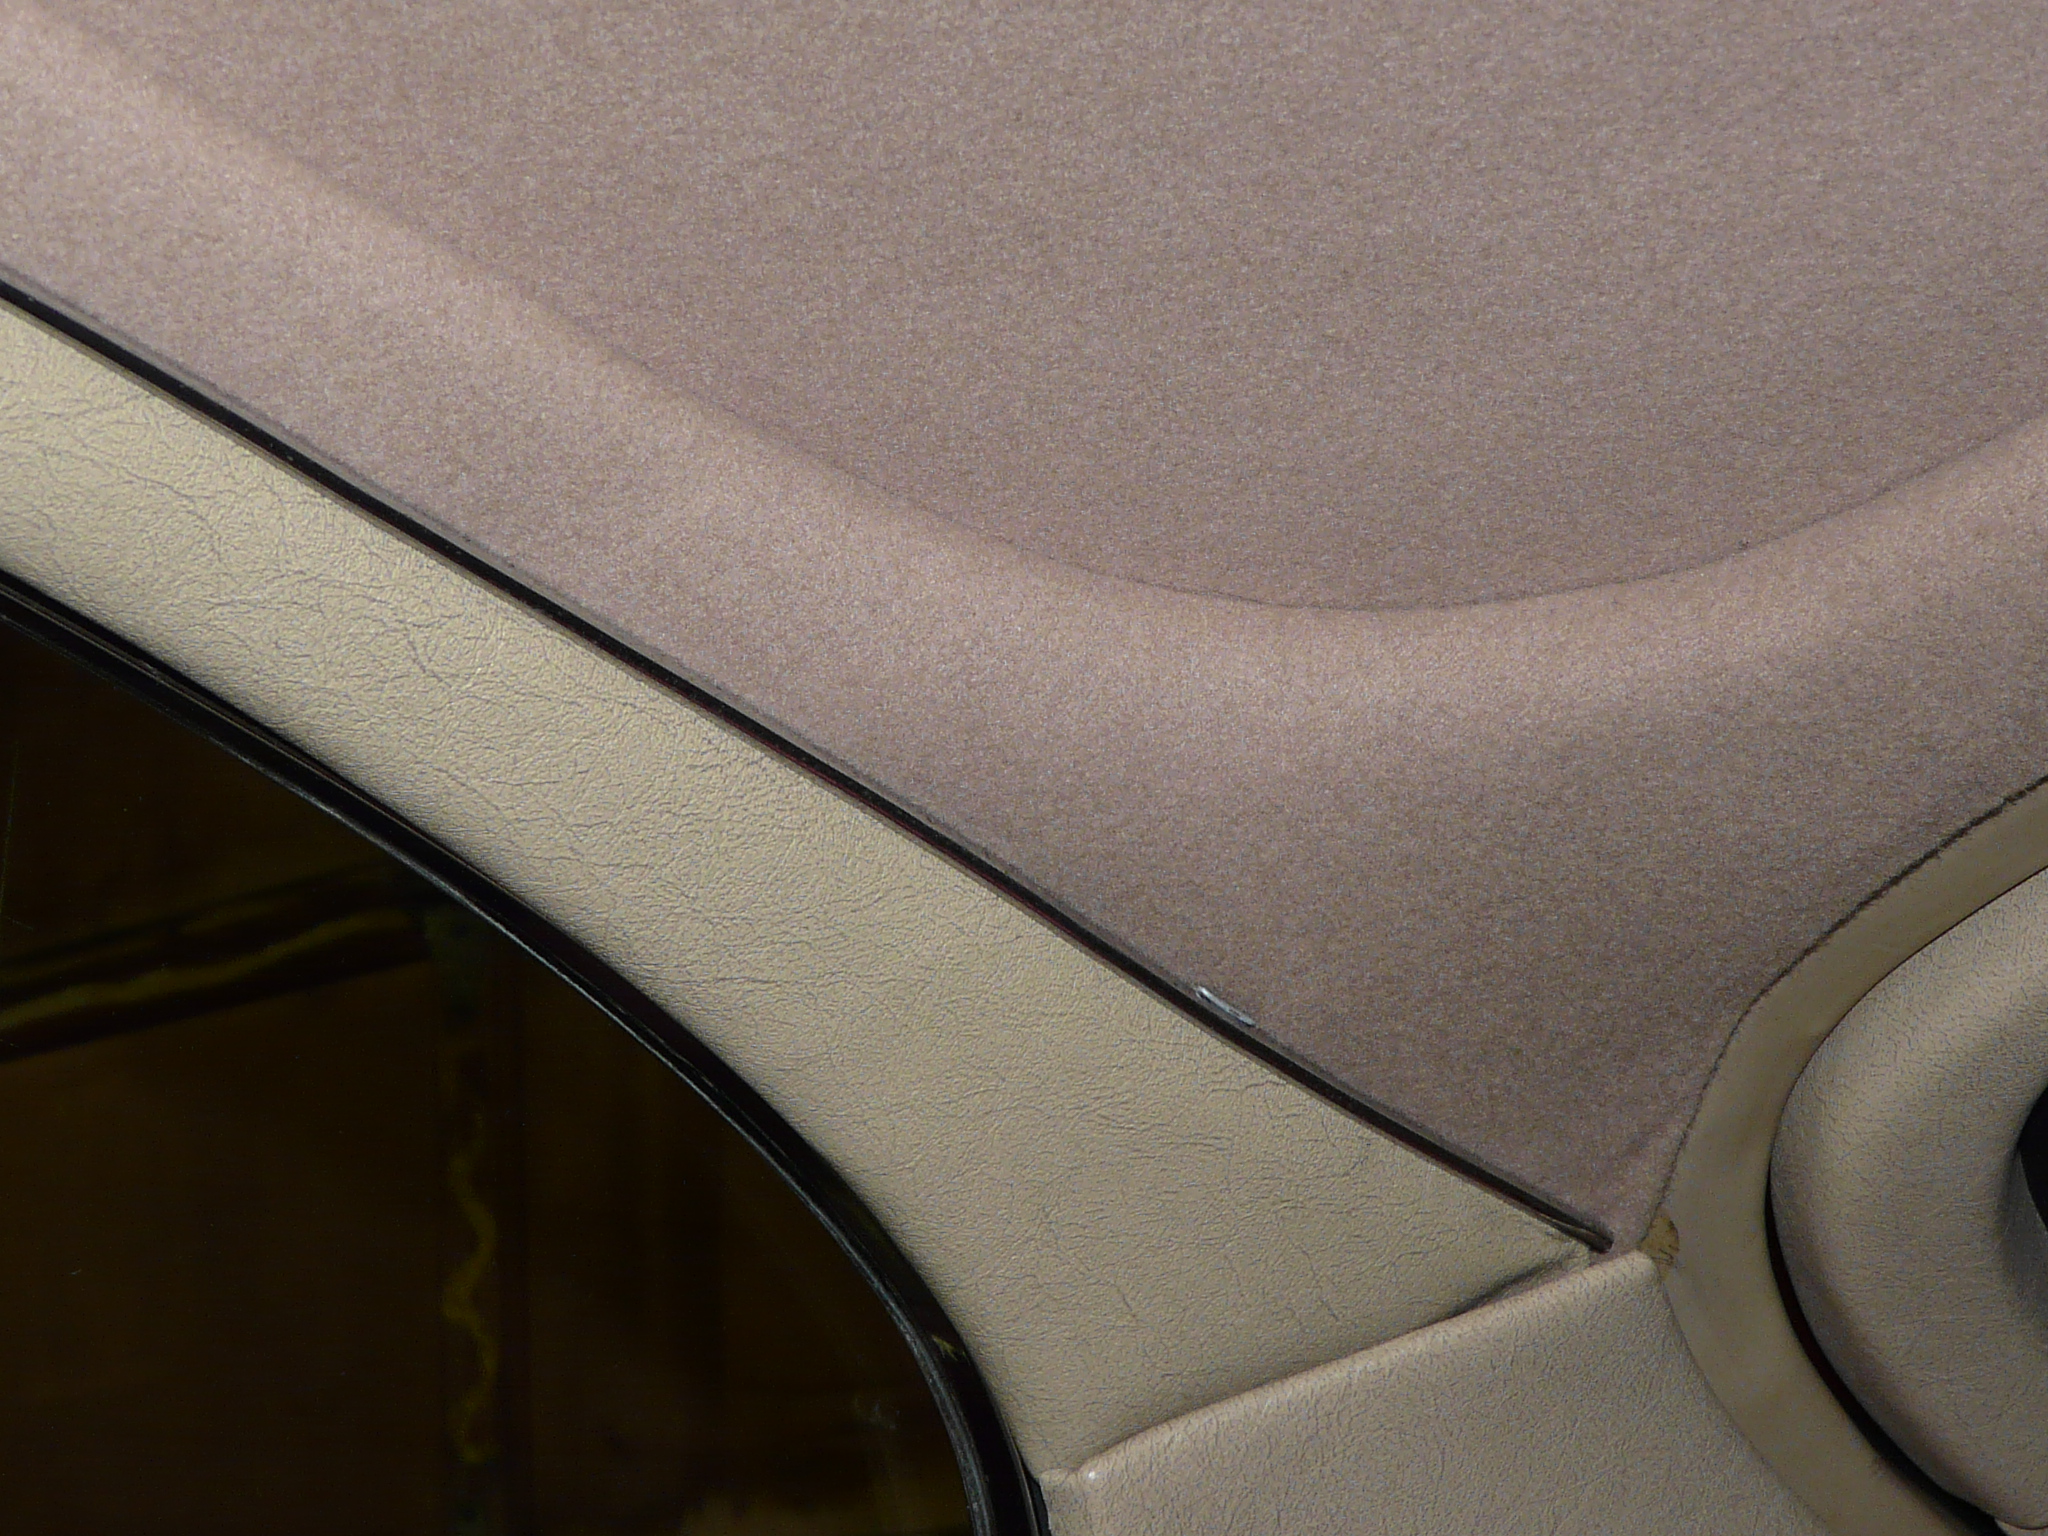
If you look at the old cantrail material you will get the idea. It has lots of v-cuts where it has to fold around the back of the cantrail.
Once laid flat, the material needed to cover a cantrail is much wider than a cantrail.
Lay the cantrail on the material and mark the shape. Make sure you cut too much so you can bend the cloth around it so you can glue the material to the back of the cantrail as well.
Mark your glue lines with chalk. Once you start to go in the wrong direction you have had it. You will miss the end of the cantrail woith the material. For that reason some people glue the top length of the cantrail to a large rectangle of material before trimming it at all.
Glue all along the top length first. Then deal with the wrap arounds, making V cuts as you go to remove excess material on the corners.
Hi,
I do not know if the S2 cantrail also used metal profiles - I have applied the silver U-profile on one side to keep the vinyl in place, then glued the vinyl and changed to the other side. The most difficult area to cover was at the front with the foam underneath. It was hard to remove all folds there and required some tearing back and forth …
BR, Tom
I obtained an interior kit from Suffolk & Turley and the vinyl pieces for the cantrails were cut roughly to shape. To get the shape for the the half-round section, I used some foam pipe insulation since that part was not supplied. I think my early car was a bit different in that area, the cantrails being one piece front to back but here are a couple of pics:-
Doug;
My car is a 2+2, S 2, and I don’t know if the FHC cantrails are the same but I will tell you what I did.
I cut the vinyl in the shape of the cantrail. I glued the front part first then started on the part extending back over the door and quarter window. I glued one edge at a time and used large binder clips to hold the vinyl till it was set then started on the other edge.
I used a product called K-Grip and put it in a sprayer, worked well. I do have some photos if you think they would be helpful.
Thanks, John. Your video is very helpful. You didn’t mention the cantrail chrome piping. I’m carefully prying mine off. I think I will need to open it up with a screwdriver, awl, or wedge, since the original vinyl is a bit thinner than what I have now. As long as I don’t scar the side that shows, I think it will clean up well.
When reinstalling, it looks like the back side was hit with something like a ball-peen hammer in spots every 6" or so, to crimp it tightly. Did you do something like this?
Doug,
No but if they were pried open to remove them that may have caused the trim to open wider than it was, so it then needed to be pressed closed. Mine were removed carefully so then were able be pressed on again without any added punches or compression.
Thanks for all of the advice and John’s helpful video. I just finished both Cantrails, and they look great! Four hours on the first one, and two on the second. Smooth, with no wrinkles. Care and patience carries the day.