I saved some pics when this topic went around before:


Though in the end I used a jack to put force on the arm:

One popped right off, on the other the rubber bushing tore off leaving the metal cup and the Dremel went to work on it.
I saved some pics when this topic went around before:
Though in the end I used a jack to put force on the arm:
One popped right off, on the other the rubber bushing tore off leaving the metal cup and the Dremel went to work on it.
With method 1, with a 2 ton jack you have 2 x X/Y force trying to move the end of the radius arm by Y/X amount of the movement at the jack at the small arrow to lever off the big bush.

With method 2, you have a quarter of the weight of the car x a/b of force trying to move the big bush by b/a of the amount that the jack moves as the radius arm pivots about the parquet block.

Since method 1 was enough to tear the rubber bushing anyway, I would prefer to use method 2 as it tries to move the bushing less, hence will tend to not tear it. I would leave the bushing under the maximum tension that doesn’t tear it and tap the centre of the bushing with a rubber mallet if it hasn’t already popped off.
kind regards
Marek
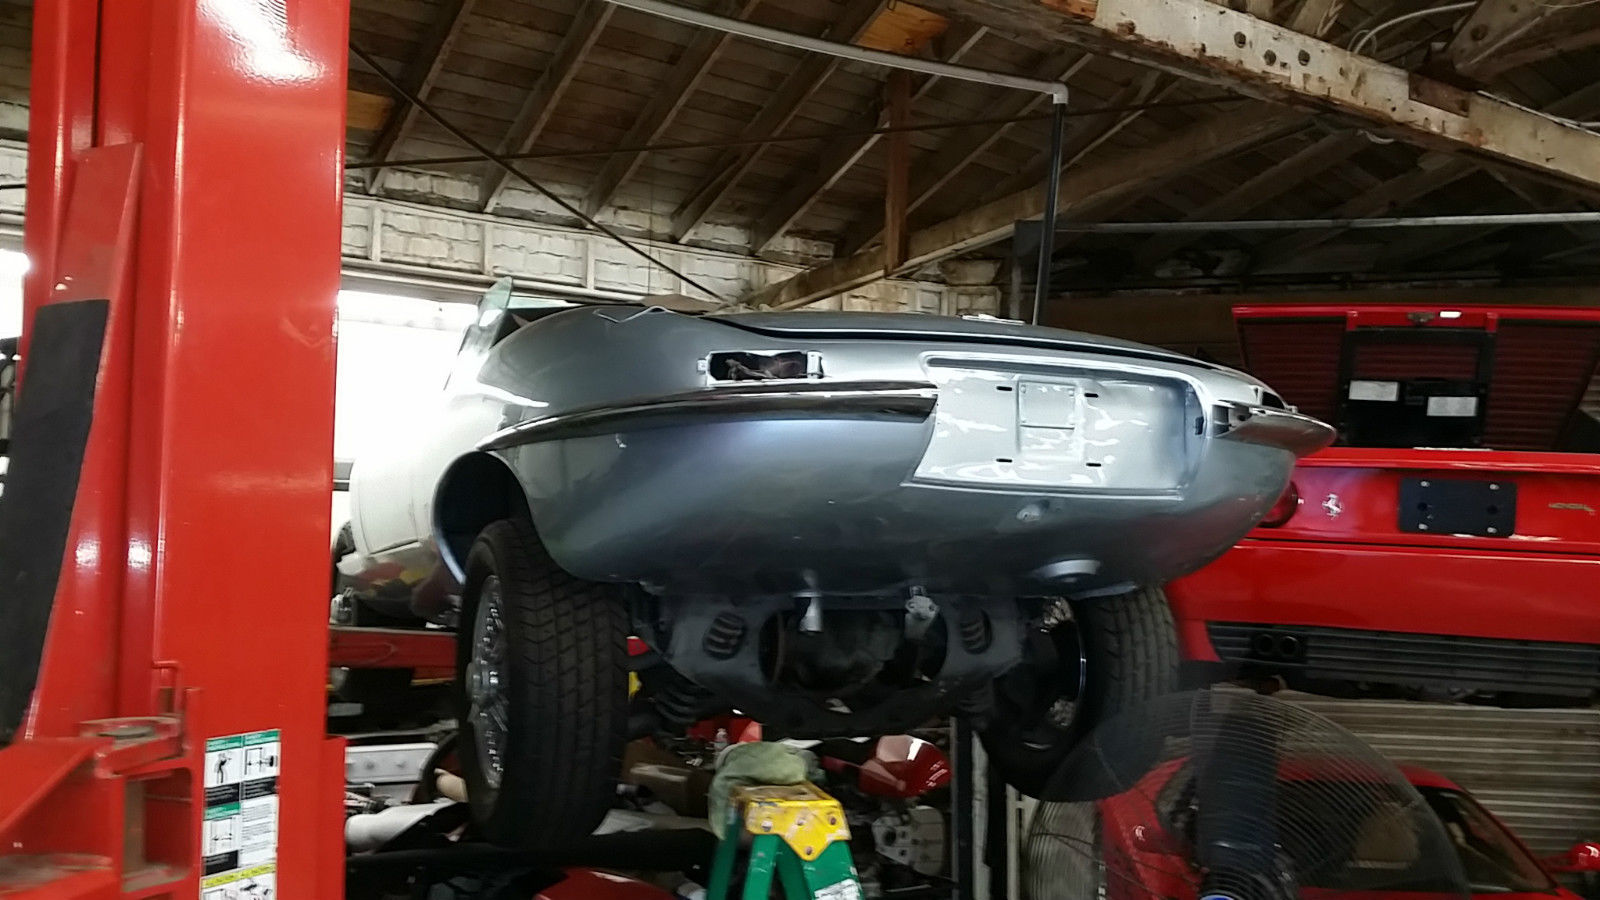
That is a better leverage arrangement. Just to be clear, we’re talking about this:

Not this:

Thank you so much! This is going to be very helpful. I don’t have any ¼” plate, but I do have 5/16, a cutting torch and an angle grinder. I noticed that one of the chisels has been modified, is that a necessary modification?
Now, the jack is a cleaver idea. I thought I thought outside the box, I guess not. Kudos! Was the string to the bolt necessary? I’m wondering what that is all about.
The rope was in case the jack fell out (car on a lift).
I did not make either of the tools shown, just saved the pictures for reference.
Many methods out there but I’d say nothing is ‘sure-fire’ – these things can be pretty stuck.
Good idea with the rope. I’d have to learn that the hard way. haha.
Sooooo pleased you clarified that point Geo  Pun intended.
No the chisel isnt modified, just a slim one from my old tools that fitted in, there isnt much gap, only about 10mm, so plate thickness is an issue.
in addition, it is important that the radius of the cut be as exact as possible (unlike mine) as this affects what % of the tool bears upon the bush…being u-shaped its less than optimal.
I will say this shifted one in particular that was VERY tight, I would estimate the pressure exerted was in the tons range before it popped, I do not believe any prybar action would ever have shifted it.
the force is also exerted directly metal to metal, not indirectly or via rubber.
So much force was exerted that it started to deform the sheetmetal that the radius arm stub big end attaches too…a thinner plate could be made to distribute the upward force of the chisels
Thx George for re-activating those pics
wish to add another way, (which I think someone on this forum gave me the idea),
I had to remove an IRS that was too difficult to get the tool in place
So I just burnt them out with a butane torch, took just a few minutes to catch fire, and one even dropped the inner ring as well, judicious use of a grinding blade, or more heat would no doubt allow the inner ring on the other side to be displaced.
Obviously some care should be taken not to cause damage to the vehicle paint, but if one is careful, and takes some precaution that is avoidable. (no damage was done to any other parts or paint when I did it, (sheetmetal, asbestos, or some other heatproof material would protect even the most pristine paintwork)
(This vehicle is being wrecked and has a 3.54 LSD)
For the really old members…
Mantequilla!"
HO-HO-HO times 20
Large gear puller.
Put the pin in the centre, hook around the arms, crank it up.
Go have coffee. 10 min later the rubber is torn out and the arm comes down, leaving the metal centre of the bush on the car. If the remaining metal doesn’t come off easily, a 0.1 second burst with and air hammer and blunt attachment will pop it off. I could have possible used a ball peen hammer but I figured I would probably hit the car with it.
Just learned my word of the day
One thing to watch out for. Make sure the IRS is well supported after you take off the radius arms, and that the body is supported separately. Do not depend on the 4 old and potentially rotten mounts to hold the irs with the arms off. Without the radius arm support, the front-heavy irs can rotate on the bushings and tear the front, then rear metalastic mounts, letting the whole thing come down. I’ve seen it. You don’t want to be under it if that happens.
I recently decided to make Tony’s tool for radius arm removal, but got it 1mm too big, and it wouldn’t work. I think the tool is great, but you have to get it just right. I’ll weld it up for the next time. I was impatient and resorted to my former method of acetylene torch heat to the cup, an open end wrench with one ear jammed in the opening and a hammer applied to lever the other end. The first side was 5 minutes. The second resisted, heated again and walked away, bang, it released itself. 20 minutes for both sides. Be careful with the heat if the interior is intact (mine wasn’t).
Words worth repeating!
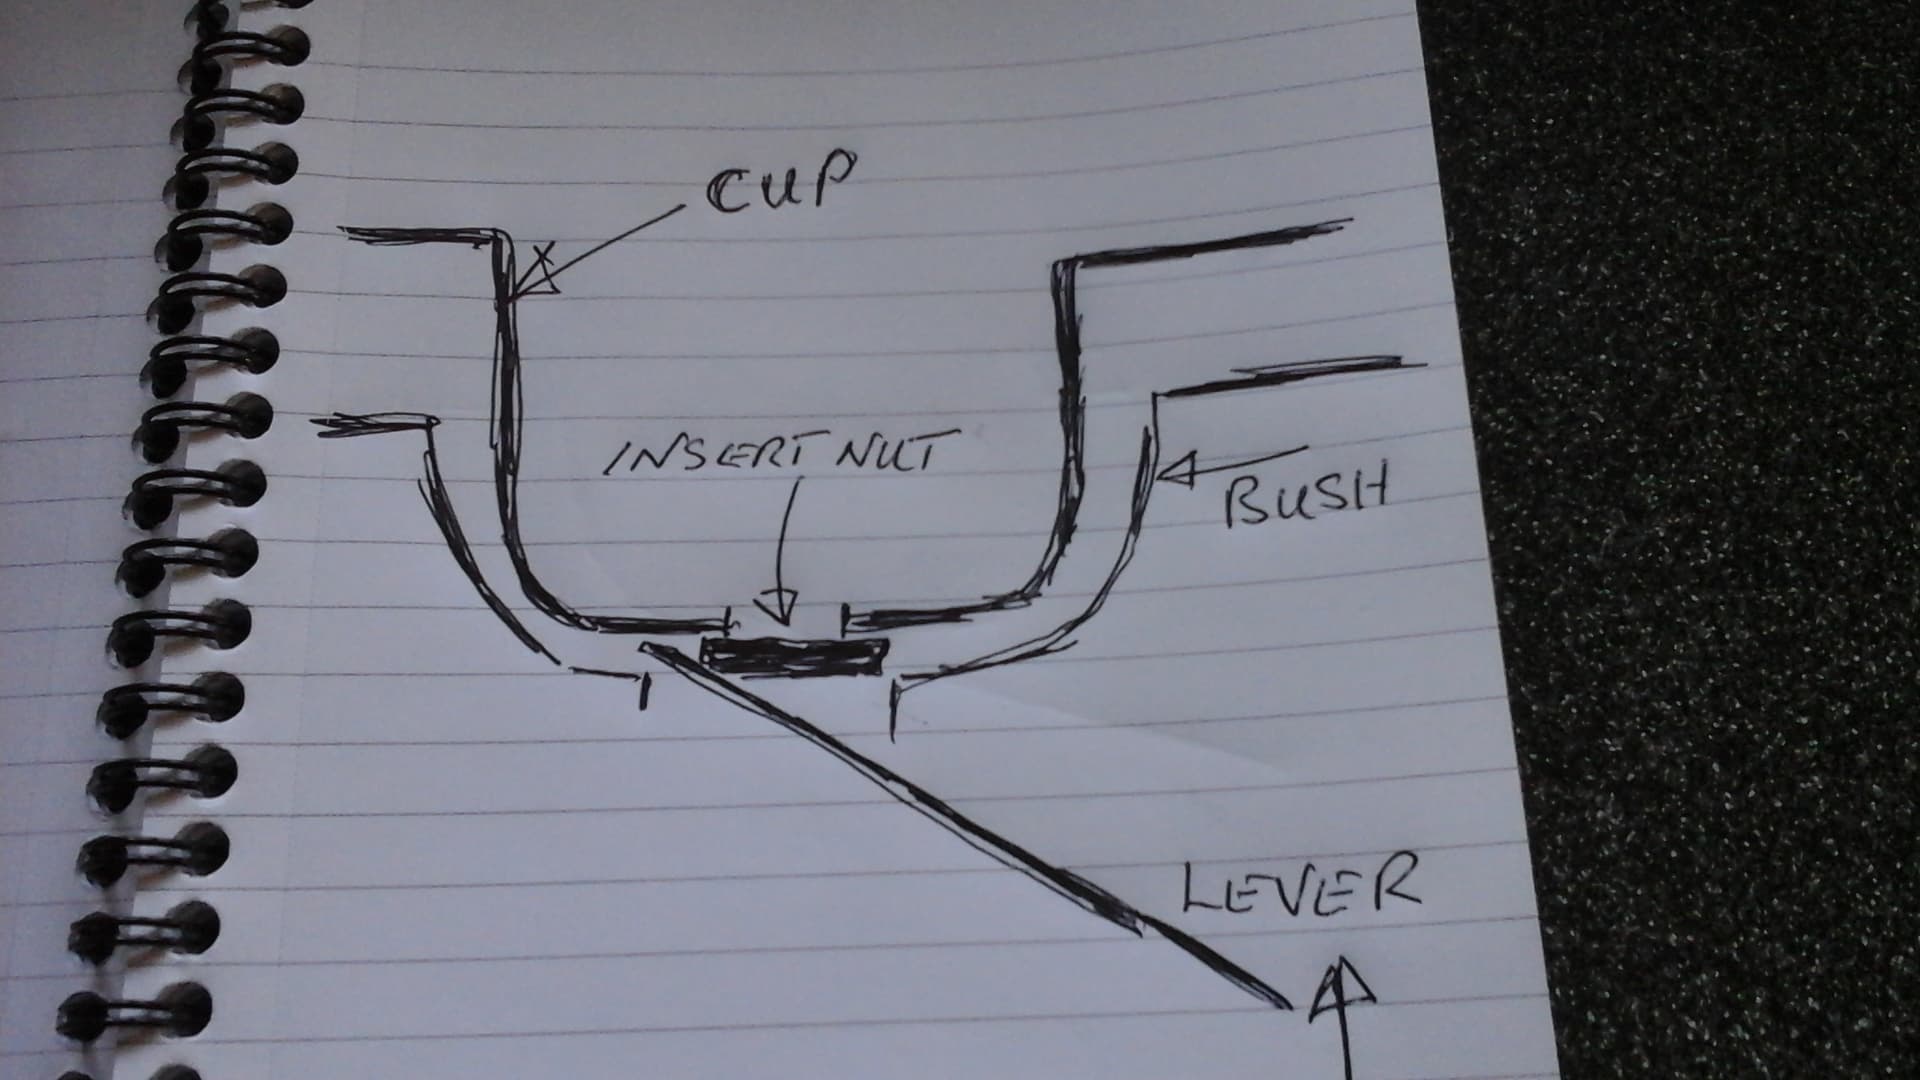
Just to add a different way of doing things thats never failed me and simple…once youve removed the bolt insert an old nut/thick washer/ or piece od scrap…put in a lever and push up…or jack up…done this dozens of times never fails. …Steve
I have used an open end wrench (about 1”) as you describe and they pop right off.
Once you have them off and work your magic with new bushings there will come a time to reinstall them. Don’t reinstall the big ends over the cups dry. Slather the cups with chassis grease, or maybe anti-seize. You’ll be glad you did if you need to remove them in the future.