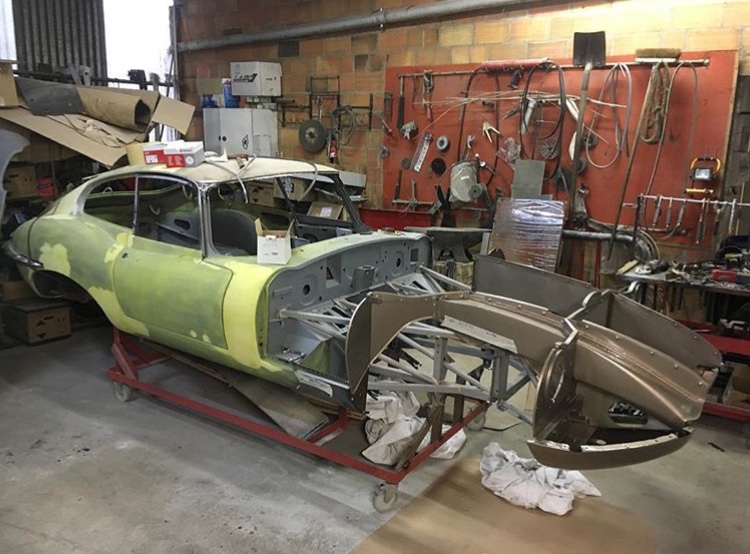
I found these pics on Instagram of a fhc, undergoing a rebuild in France (I believe).
It gives an interesting perspective on the construction of the hood that I had never seen before.
I found these pics on Instagram of a fhc, undergoing a rebuild in France (I believe).
It gives an interesting perspective on the construction of the hood that I had never seen before.
First time i see that view too. Very interesting
Interesting indeed. Makes one wonder what reassembly and flange bonding sequence has been chosen. Certainly not conventional.
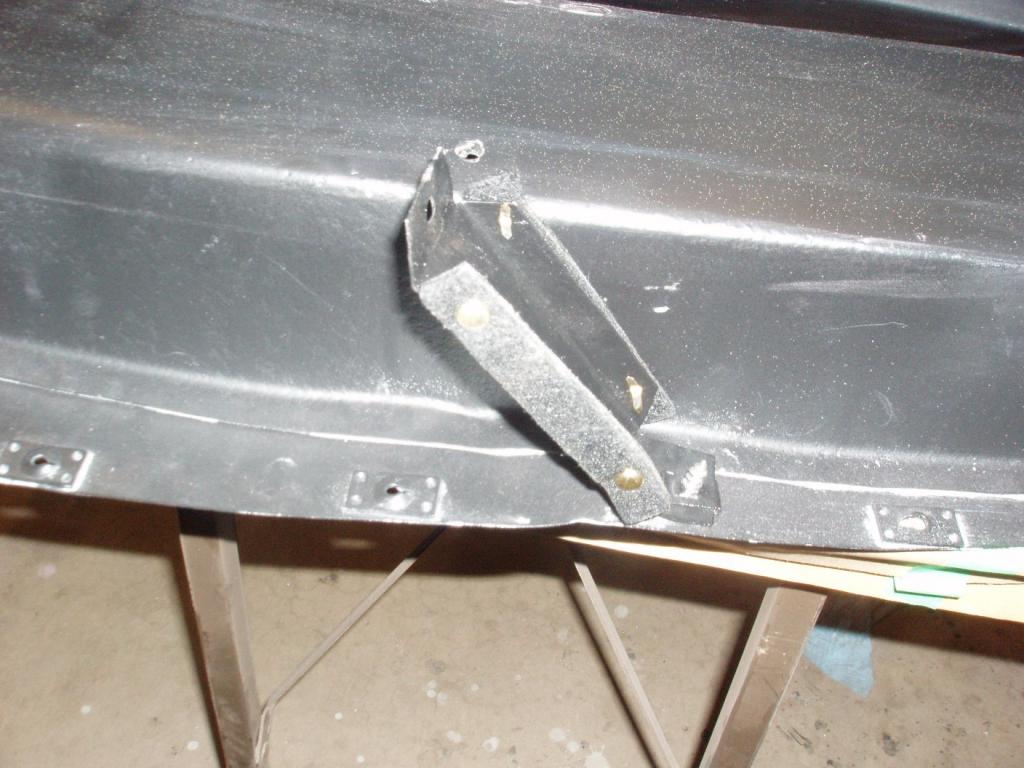
Over the years listers have puzzled over an obscure bonnet part and where it goes. This one:
Your first pic is the first time I’ve seen the placement of that piece clearly:
It’s like a Med school Anatomy text book ![]()
Fascinating, thanks for posting that.
There’s more to this piece than I realized. At the end of my recent repaint the man doing the work asked if I had the thick felt that attaches to those pieces. I said no and he said he would put a similar short piece of felt there for the time being. When I got the car home and began adding the fittings to the car I found the long (and thick) stone guard top felt I had ordered from SNG may have been the felt he was asking about. Anyone know more about this?
–Drew
The SINGLE bonnet rebuilt I ever did–and vowed, like replacing the starter on a Chevette, or adjusting Corvair valves, to NEVER do again–was done like this.
Seemed logical to me, and it went together pretty well.
Ah yes, the good old Corvair valve adjustment, otherwise called oil in your face,been there, done,that!
are they using the engine frames to hold up the bonnet as they reassemble it?
I don’t think I can get the air dams in with the bonnet assembled do you?
I made a set of half valve covers, for the job: helped but…barely!
The felts for the air dams are about 1/4” thick. The stone guard felt is thicker, closer to 1/2”.
Possible, I think, depending on whether or not you’re still flexible enough to do the limbo.