Thank you Robin. It was about as much effort as cracking an egg, very satisfying!
Now the IRS is out I can see I have 1 out of 4 handbrake pads left. And the LH disc is covered in diff oil weeping from the output shaft.
The radius arms and shrouds have a lot of surface rust.
I need to decide whether to follow Aristides down the rabbit hole… or stick to the brief and repair the diff and handbrakes as simply as possible. Any suggestions welcome!
In order to change the output shaft seals you have to:
Remove the hubs
Remove the half shafts
Remove the wishbones and bearings
Remove the callipers and brake discs
Remove the output shaft bearing assemblies
Dismantle the output shaft bearings
Change the seal
And then reverse the process to reassemble.
Basically the only part that could stay in place is the differential.
Only difference would be if you are buying and installing new bearings & seals or not.
Definitely change:
The output shaft bearings and crushing sleeve
The calliper seals, rubber boots and calliper pistons (if needed)
Wheel bearings
Brake rubber hose
De-rust and paint
Compared to the amount of work involved to get there, the extra work and cost is very little.
For all the rest you could see and decide, but definitely check everything.
The cross overs look more like straight copper pipes rather than Kunifer or cupronickel.
Copper work hardens and I’m pretty sure thats why they are a no no.
Sideshowbob
(Robert Moore 90 XJS V12 Convertible Marelli)
26
Looks to me like the trailing arm bushings need replacement as well.
Adrian, as I stated earlier I just finished the same job (with a leaking brake caliper as a cause) and dropped the IRS. In my opinion it is worthwhile to go for the entire rebuilt as per Aristides’ list: It is so much easier to access all components with the IRS dropped. Like Bob, I also strongly recommend to replace the radius arms bushings. If you replace the pinion seal don’t forget to seal the splines on the flanges (this is what happened to me, see separate post).
Thanks. It’s going to be a long haul so I’ll approach it one bit at a time.
I tried to remove a hub this afternoon to get started. My puny puller would not purchase on the chamfered flange. I will need a much more substantial puller with deep jaws to actually reach the back of the hub.
Most probably someone mounted the stub axle with Loctite, maybe to eliminate play, or just because.
Makes it a big pain to remove it, you might need a press. Heat helps to brake the Loctite.
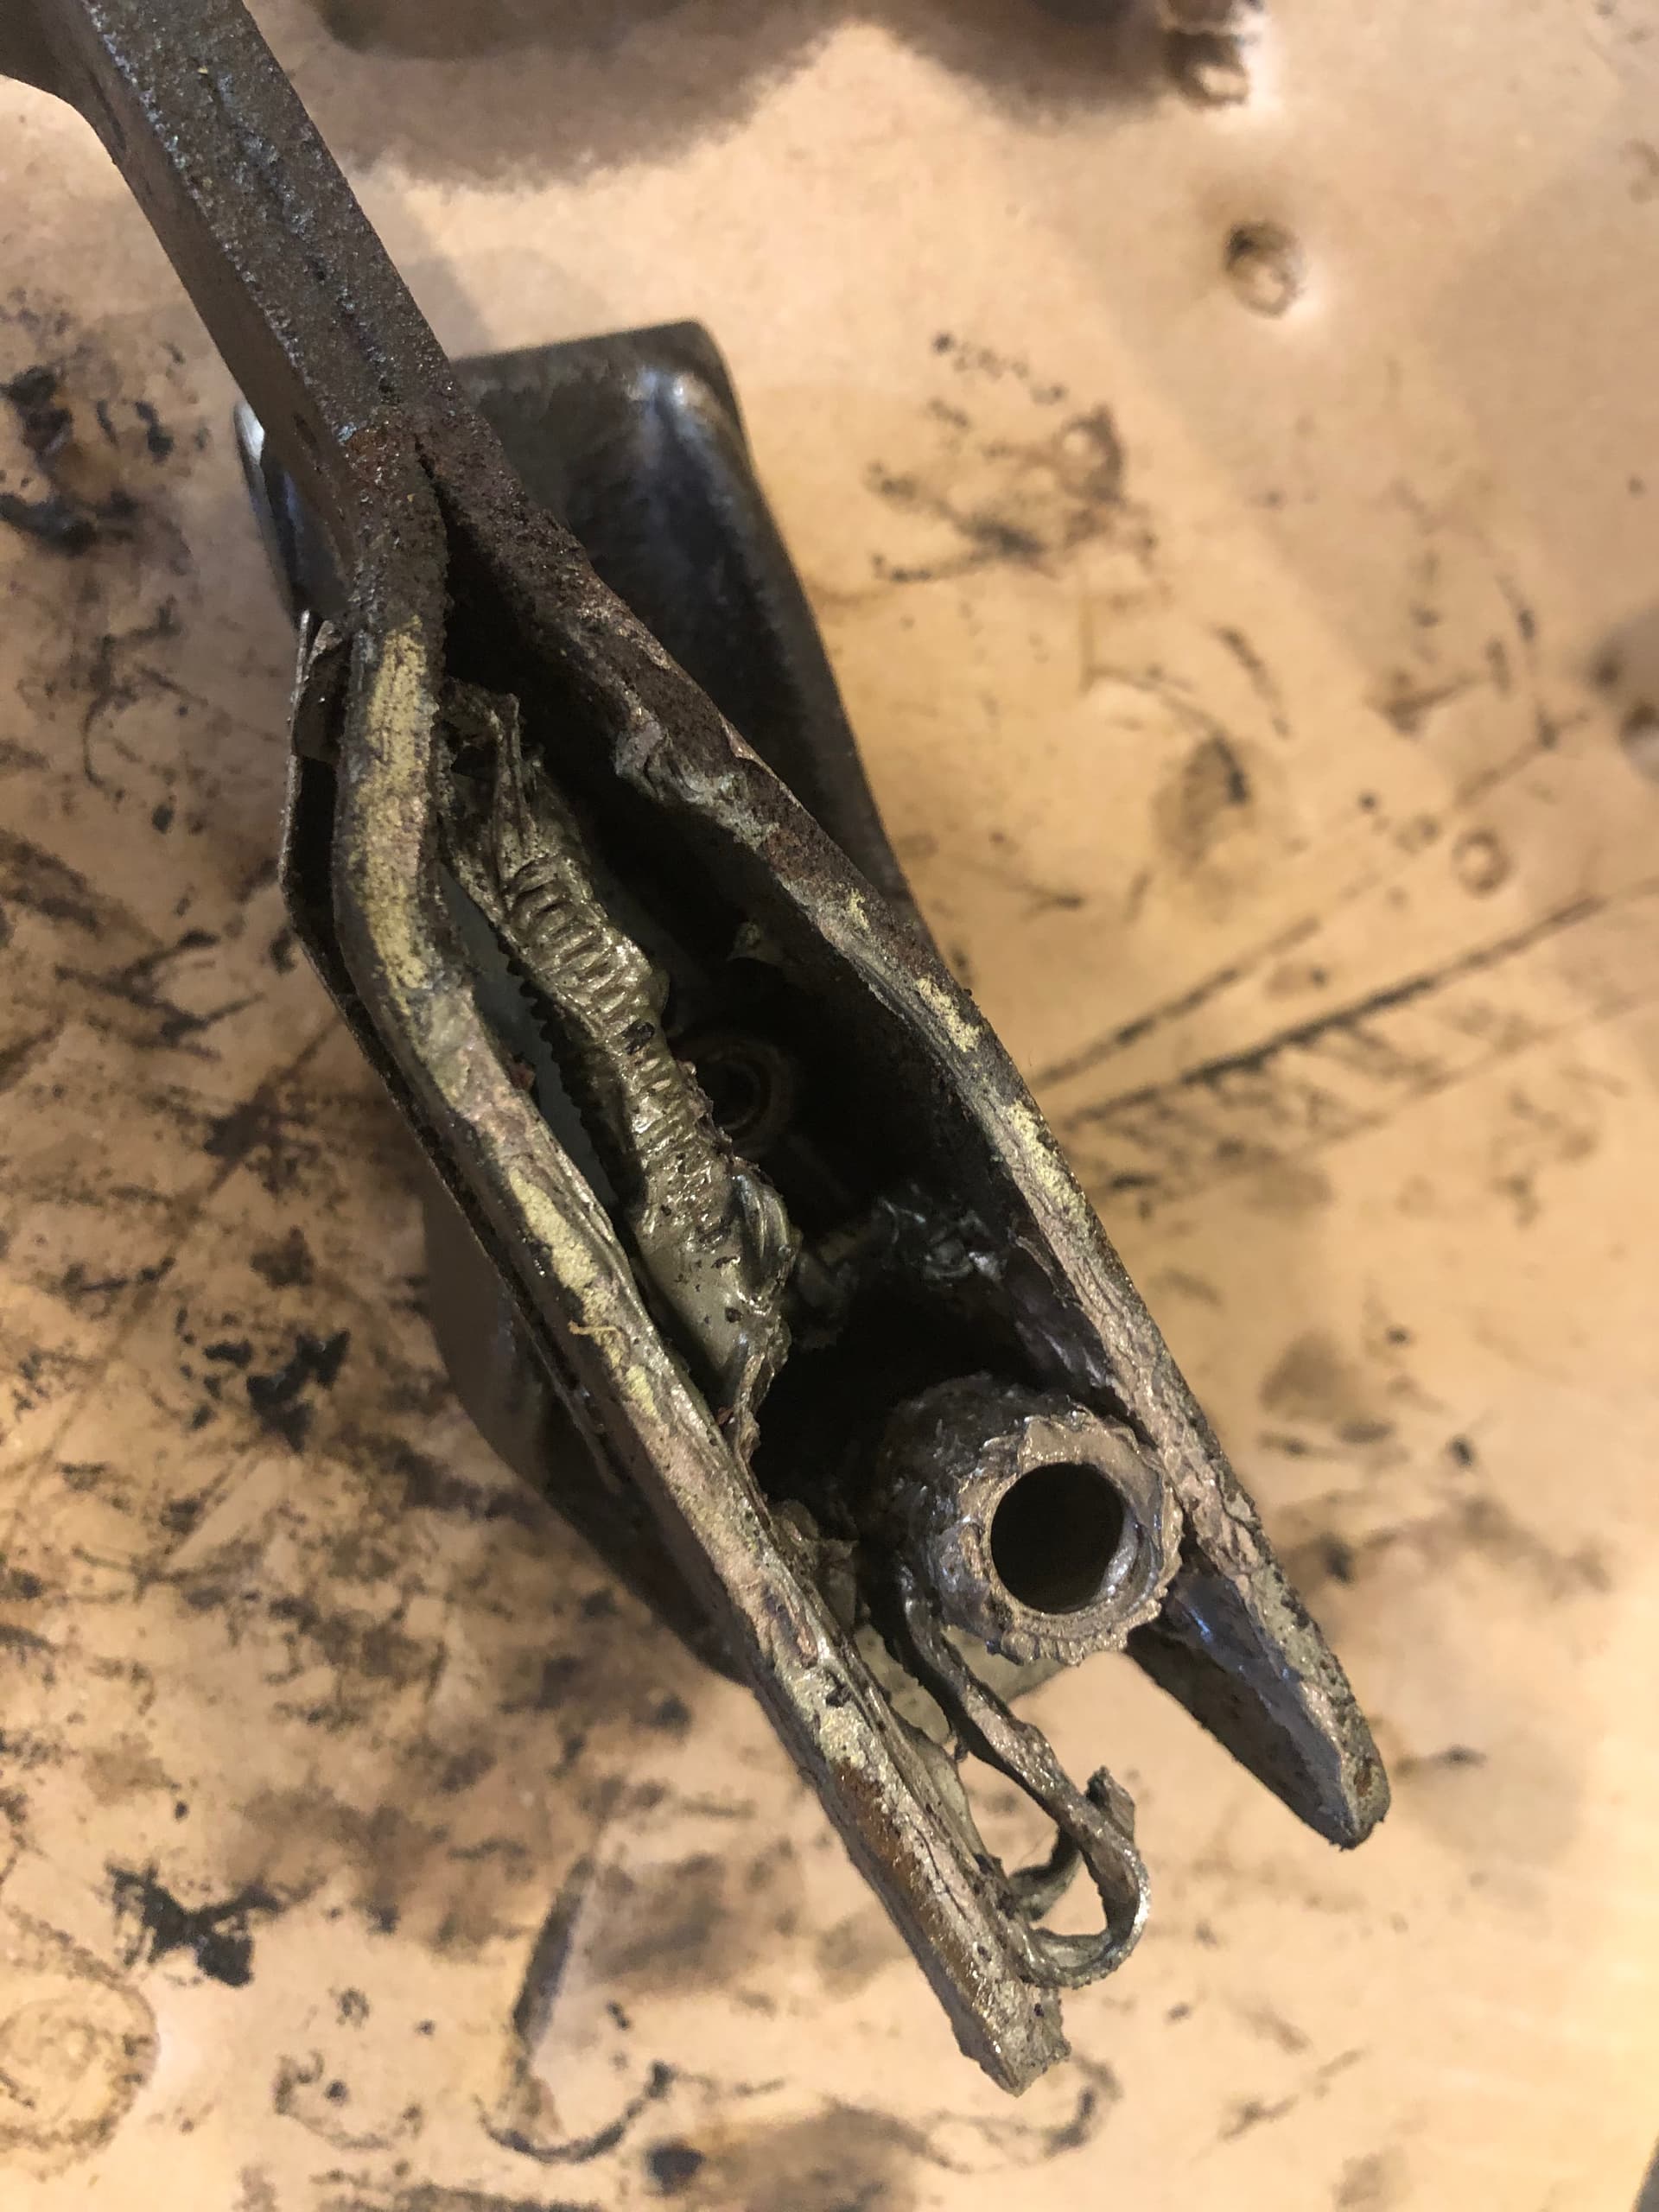
Output flange, disc, caliper and handbrake assembly now removed and I have started to disassemble.
I am looking at the handbrake mechanism to decide how amorous I feel given Janusz’s suggestion that it will need some good loving. It looks pretty good and we’ll greased up inside already…?
I am not going to all this trouble without modding the handbrake mechanism - whether that is just to cut up and drill a larger brake pad, or the more full-blown suggestion that involves welding a shoulder to the handbrake caliper.
Hopefully both problems - leaking output shaft seal, knackered handbrakes - are doable in reasonable time so the car can get some use during the summer.
When parking on a hill, if you suspect that the handbrake may not hold, then after you have stopped the car, put it back in gear and leave it parked that way. (If pointing forwards uphill, leave it parked in first; if pointing forwards downhill, leave it parked in reverse.) It is now very much harder for the wheels to turn, as they are not “free”, but have to turn the gearbox, crankshaft and also against the compression in a couple of the cylinders.
If you have ever tried (and failed) to bump-start a car, then you’ll realise how hard it is to push past all of those forces.
There is a bit of me saying - fix the seal, repair the handbrake, slam it back together, move on.
But having seen the pictures of refurbished ones I can’t help thinking about the preventative maintenance advantages of going through things more methodically.
A rebuild service (with blasting, powder coating etc.) seems to be anywhere between £2500-£3500 which I can’t really justify, especially as I already need a new exhaust system…
It would help me decide whether it is worth doing it myself to understand how much is involved in dismantling/reasssembling it (and outsourcing the blasting/powder coating of course).
Is it just a matter of undoing everything in sight and sending off the bits? Is it easy to find all the necessary bushes, bolts, washes etc. if I was to renew every point of failure?
Never having had parts renovated like this, what happens with apertures/ports etc. in the castings? Or will a competent powder coater know what to do, and use airline to clear all debris when they are done? Should I invest in an industrial drum of 85% phosphoric acid as Janusz recommends?! Or if everything is being blasted, will that take care of any rust? Is there preparation before blasting (removing internal grease etc.)?
Is reassembly idiot-proof if I follow the Haynes manual? I hear there are lots of little shims used… if thousands of an inch make a difference, what happens when I have powder coated all the parts etc.?
I may be overthinking things! If it is easy enough to dismantle, and to get the parts needed to reassemble, then I’d be tempted even if it took a little while to get everything back together.
And if you can park next to a curb, turn your wheels so if the car rolls, the front wheels roll immediately to the curb and stops the car from rolling farther. Left hand drive cars parking uphill against a right hand curb, turn wheels full turn left. If car starts rolling back the front swings right, front wheels hit curb and car stops moving. LHD downhill against a right hand curb turn steering wheel full right. Front end swings right if car starts rolling and wheels are against curb.
Of course in England and other such driving countries, reverse the thinking.
Isn’t it smarter the other way, friction will hold the car just the same but even if compression did it would be higher if the engine was turning the correct way round? So first if downhill, reverse if uphill
Imagine how frustrated you will be if in six months you discover that your output bearings have play or that your brake calliper is leaking…
Also keep in mind that if the output bearings have play, the seal will not last very long.
Neither would I…
Thoroughly clean with a wire brush, sandpaper and what not, a coat of primer and paint, I actually didn’t even use spray, but used Hammerite paint and did it with a paintbrush… easier to reach all he corners and do a nice thick coat. Total cost not even 30 Euros, a very decent result and very easy to touch-up.
I would not recommend powder coating regardless, by the time you finish installing everything and put the IRS back to the car there will be plenty of scratches and chips… Impossible to repair, and if, and when, with all that flexing, new cracks develop, rust will be doing it’s thing underneath without you knowing it until sheets of the powder coating start to peel.
Everything is available from SNG, e-Bay and elsewhere.
It’s basically bearings and seals, I think mine costed about 500 Euros in total, including fluids and brake disks.
There are some peculiarities but it’s all common sense.
Between the Haynes manual, Kirbert’s Book, my write-up and the Forum here you have nothing to fear.
Just ask questions.
Be methodical, take lots of photos and record every step (there are many).
Label every part and every shim has to go back where it was.
Most difficult and fiddly step is determining bearings preload.
An el-cheapo luggage scale works very well.
Get Timken bearings.
Do the modification on the Hub Lower Pivot Bearing Seal.
Logic says that if the cam opening and closing profile is symmetrical then compression achievable is the same either way around. Doing it my way around has some benefit in that if the ignition coil were powered, the car will not want to bump start and then run on as it’d attempt to turn the wheels in the opposite direction to the slope. That would cause a stall, rather than accelerate into a run on.
I watched some YouTube videos of pristine IRS restorations and that was quite off-putting. I just don’t have the time for that, nor do I care about the aesthetics of parts I am not going to see. But whilst that is one extreme, so is ignoring rust and parts that are blatantly end-of-life. There is a happy medium, that you are describing.
Plus today I got a proper hub puller (less than £20 from Amazon, the one the guy in the Jag Mods videos uses) and it took both hub carriers off today, no drama. You were right, one had been loctited…. So that has shown me that with the right tools, and a methodical approach, it should all be feasible.
This may prove to be quite a long thread as I run into issues though…
Oh yeah, if I am not shotblasting but scrubbing, sanding and painting… do I need a vat of 85% phosphoric acid as Janusz says? It makes sense that throwing some of these manky parts in a vat of strong acid would be a good start?