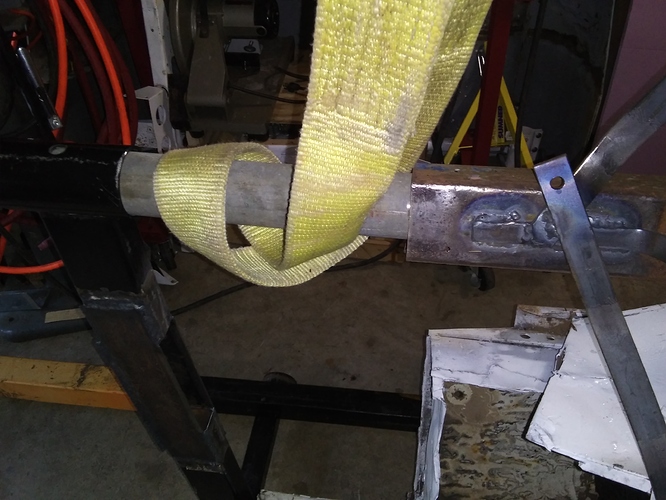
The first picture is looking at the fire wall. The crane is straddling the engine stand and reaching over it where a strap is loosely around the galvanized pipe that connects the stand to the firewall. That pipe is inside the trailer square tubing by 4’ as a safety means. The body now swivels 360*
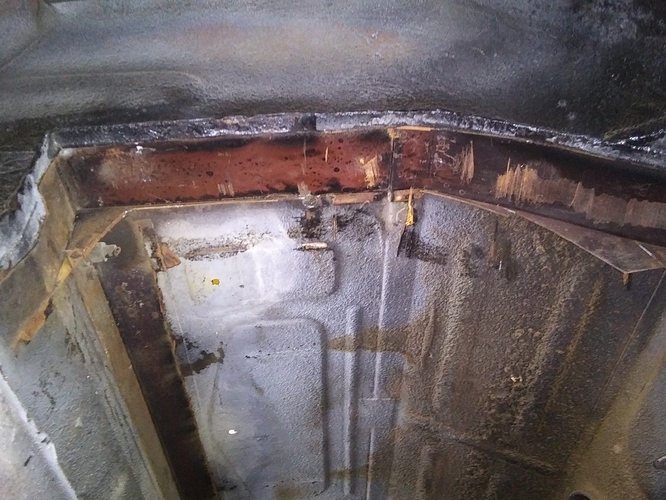
The second picture is a side view of the front connection. Rotater/engine stand black on the left, galvanized pipe middle, end of trailer frame on right. There are three 1/4" straps bolted to fire wall with 1/4 " hardware. Unfortunately I will have to cut the straps away when I remove the backbone. I should have made a square tube slider setup that fit over the backbone for those straps.
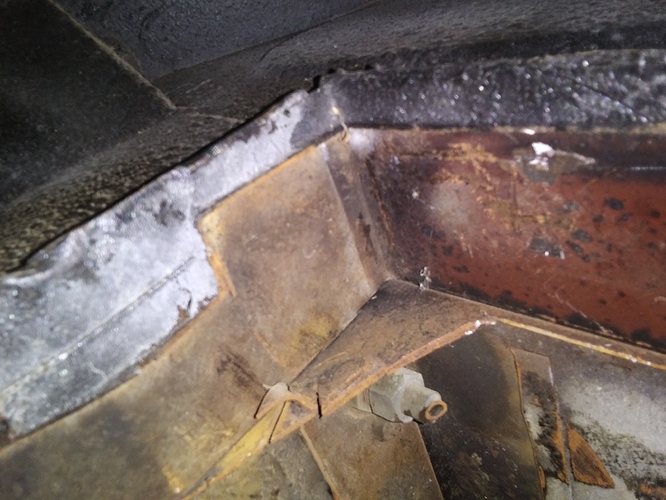
Third picture is looking forward from the rear and you can see a lateral strap spanning across just to the rear of the IRS hump. The cross piece is one piece and bolted to the smaller straps for easy removal of the backbone.
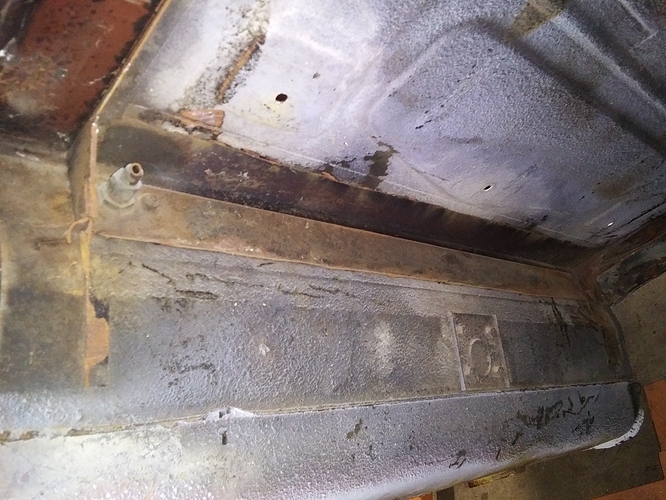
The forth picture is inside the body looking at the license plate mounting area. I welded a bunch of 3/16 straps together for tig practice. This should have been made from a one piece plate. Also I think adding 2 extra straps from the tube out to the edge of the plate on each side would have been a good idea. It is only butt welded to the plate. On the other hand I ground down the trailer tube pretty good and I think the tig welds are fine. I have made up my mind to drill two more mounting holes through the middle strap and use 1/4’ A/N aircraft hardware for those holes instead of the garbage hardware store stuff in the other holes. The aircraft bolts will have their shanks penetrate the whole sandwich and washers to keep the thread out of the stack. The inner and outer plates are in shear so there should be no threads in the stack. The additional two bolts will penetrate the body with new 1/4" holes which I wanted to avoid but I will sleep better with the aircraft hardware in there in shear. “For want of two holes the body was lost  " .
" .
One important point on this mounting is that two separate pieces of 1/2” plywood are on either side of the hump in the middle of the license plate area to level everything out on the mounting. They are not visible in the picture because of the “lip” that hides them.
Also note the safety strap loosely around the rear backbone and it goes up to the Harbor Freight scaffold at the rear of the car. The front crane and the scaffold (capacity 1000#) lifted the car into position to slide the rotators into position. The pivots have to be “up” and level since there is no wahy to lift the body to while mounted in the rotators.
The fifth picture shows the external license plate area. Note cardboard protector/gasket to provide some friction.
Sixth,Seventh and eighth pictures shows the missing IRS sheetmetal. The flanges are still there so I can get most dimensions from them. I also discovered from looking at Bill’s pictures that I am missing another long lateral body piece across the rear of the hump. I think someone was smoking something when they started this “restoration”. Again the flanges are there so should be an easy Fab job. Good times! Still not finding much rust.
Finally I am so pleased with the Harbor freight scaffold I have. I can slide it back and forth to hold lights, tools etc and totally clears the car. It lifts the whole body with regular ratcheting straps and acts as a safety with my questionable setup.
Why not buy the brackets I need? Well I started this project to sharpen my sheet metal skills. I can now take my A&P test as I have my letter of authorization from the FAA that I have completed my 4000 hour apprenticeship. Next is the A&P written. I have aced all the practice test segments except sheet metal (and jet engines) with all of the details of bend allowance a failure. I have always cheated in the past and avoided the planning and math. These pieces will force me into doing and learning and KNOWING all of that. And that is my goal.


