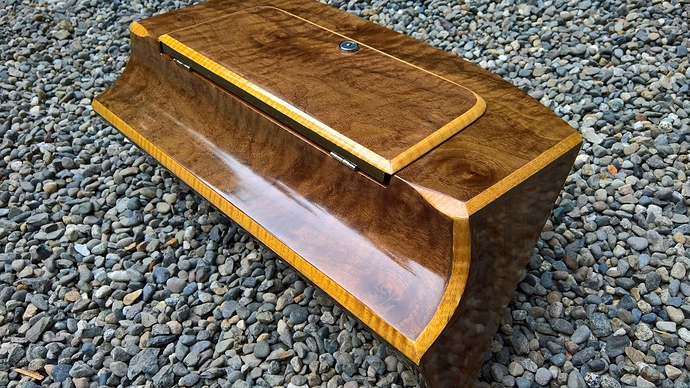
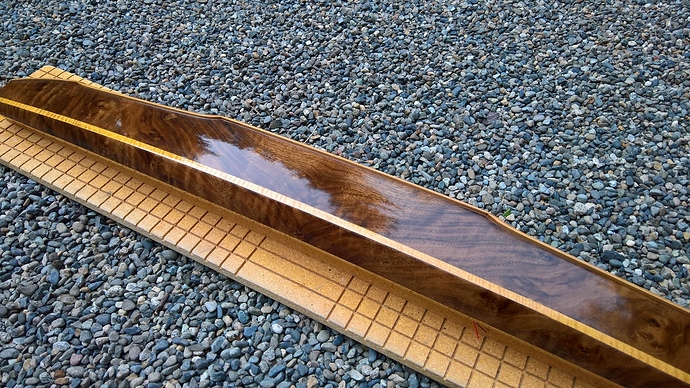
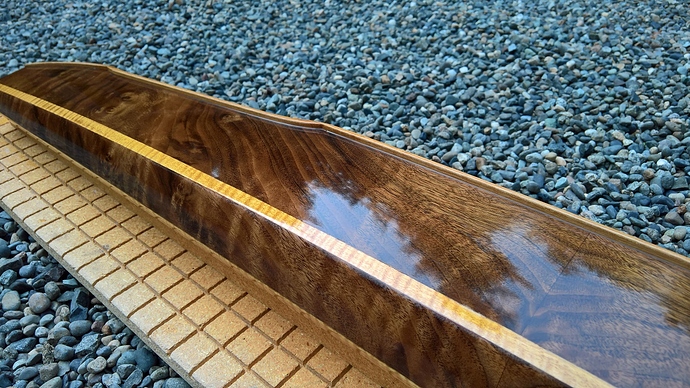
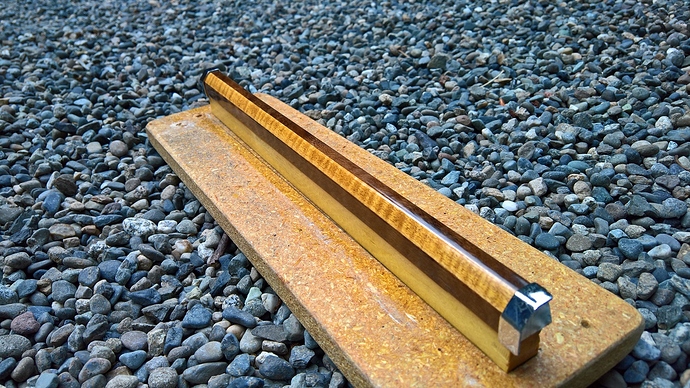
For grain filling I’ll put down a sealing shellac (which is dewaxed) then use alcohol and pumice to create a slurry of sawdust from the walnut. The alcohol softens the shellac temporarily which enables the shellac to act as a binder for the sanding dust. I haven’t tried it yet on a joint…but did try it on a flat test piece and the results are quite amazing. Walnut is very porous with open grain as you can see if you zoom in on the pics. Filling makes it perfectly smooth and creates a really nice old-world look.
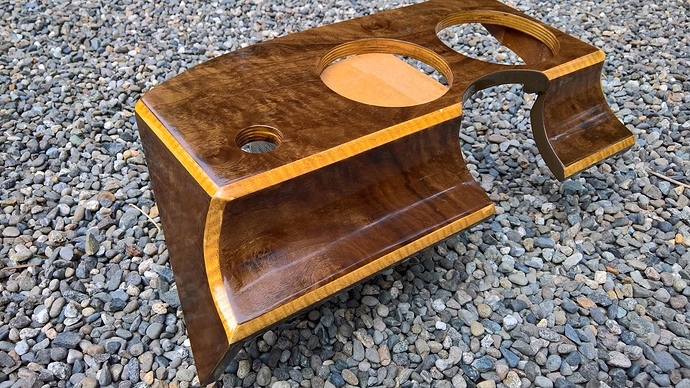
Dashboard is done! That was a long, but rewarding, project. When I last updated the forum I was planning on bending the aniger for the backsplash on the leading edge of the dash cap. I found a 1"x3" piece that I ripped into 3/16" strips. Having plenty of pieces to afford to make some scrap I tried boiling and bending the pieces that go around the defoggers. This did not work very well even though I boiled the wood for about an hour, it just didn’t become much more flexible. After having a momentary moment of clarity I decided to build up the contours using smalls pieces laminated together with structural epoxy. I then “machined” down the wood using a flapper disc on my angle grinder and then hand sanded to get the right shape. In reality I think this worked better anyway as I could get a more precise fit to the shape of the dash. End result is the backsplash is made of five pieces of aniger butted and epoxied together (as well as screwed and epoxied to the dash cap).
For the finish I ended up using Epifanes gloss marine varnish. Was going to use a consumer-grade polyurethane that had UV protection and was “spar” poly. I did a test sample with this and it produced a very thick glossy finish. Looked good, but appeared thicker than what I wanted. Online woodworking forums steered me to Epifanes (a Dutch company). If it was made for marine life it should withstand the in-car environment. In addition, the Epifanes instructions to thin the first coat 50% in order to get it to soak into the wood made complete sense. It’s not a one and done varnish as I used eight total coats (five brushed with a foam brush and three sprayed with HVLP) in addition to lots of sanding in between. The consumer-grade finishes don’t tell you to thin…which I think would scare most people away. Most nerve wracking point was taking sandpaper to my final coat…it looked great but had small bumps in it. Final steps was 600 grit wet (with soap and water) sanding up to 300 grit, then buffing with an electric buffer and chrome/metal polish and a coat of wax. If you do this you need to let the final coat harden a good couple weeks else it won’t polish. The end finish is slightly less glossy that what Epifanes will produce right out of the can and is supper soft and smooth. For reference, I never did use 100% strength varnish especially with HVLP since that requires lots of thinning to flow correctly.
Other points of interest: used whitener to lighten up the dark glue color for the seams in the aniger. This turned out to be too white and I ended up having to touch up the joints in places where the white showed. For touchup I used oil based paint sourced from my local Home Depot. The walnut is pretty easy to match, the lighter aniger not so much. In addition the paint obliterates and visible grain, which is really only noticeable on the aniger. The dark paint was also used on the plywood edges around the glove box and under the dash panels. I applied this before I started to varnish. I ended up grain sealing the walnut with the Epifanes…which is a harder (takes longer) and more expensive process. I originally planned on using a dewaxed shellac, but was concerned about compatibility. The glove box door was the most tedious part to veneer and I ended up veering from my original plan (referenced in prior post) and probably did it the way it should have been anyway with the walnut and aniger butted together (instead of walnut over the aniger). Came out well, but it was a puzzler. I was never fully able to make the seam in the middle of the dash cap go away (where the pattern mirrors). I think it’s okay, but this is a situation where the grain sealing with dewaxed shellac probably would have helped as it would have blended the two pieces better.
More wood to go in the car, but the hard stuff is done!
edit – sanding up to 3000 grit…not 300 
Truly beautiful work. Congratulations.
Dave
Outstanding! Are you taking orders?
Peter
Yeah, sure…that’ll be $19,999 payable in small unmarked bills  I’d have to charge a fortune to make that profitable for me based on the speed I work. Besides, my day job building out the cloud keeps me plenty busy. Maybe as a retirement gig… Ping me in 5-7 years!
Dash remains nicely wrapped and stored in my house awaiting the eventual return to the car. Most immediate effort is to get the rebuilt engine running on a test stand, likely next weekend. I’ve been completing an EDIS conversion on this. Target to have car on the road is next year…of course dependent on how much scope-creep happens between now and then.
Tom
I’ll do it for half that… I won’t even charge for materials!
