little more progress…

And more towards the beginning
How’s your panel beating skills?
[quote=“user1036, post:21, topic:439094, full:true”]
little more progress…
The challenge will be working out the mess left by the previous bodywork. It looks like he used a ballpeen hammer and a two-by-four. File marks too,
Have fun with it.
The lighting is a little rough, but its coming along nicely. Small moves. They really did a number on this fender. Im slowing down a little as I get closer…
Looking pretty good! Maybe a couple of double wet coats of high build primer will smooth it out before paint. Or maybe a skim of body solder before epoxy.
Looks like you’re enjoying the process. All that matters.
Does anyone still use body solder? I used it exclusively but I’m pretty much done with body work now, and I have a lot of it left over.
I have a few pounds of 30/70 left over. There are some advantages (and hazards) to body solder.
I am going to attempt little body solder, but I will need some- Mike PM me if you need to dispatch with any.
This car is a Picasso to me- a dream that I didn’t think I would fulfill so I am putting every effort into originality and quality in this restoration.
I’ve got stretching and shrinking metal and understanding how it telegraphs under my belt, one by one I am getting closer to my renaissance man patch.
I got a tiny bit closer yesterday, here is the update- ignore my tool mess, I work in a tight space ![]()
Harting was a German knock-off copy of the original SU pump.
I don’t know if you care about such details, but the steering column was painted all-over black at Burman’s.
Hi,
See an older article on the subject of SU pump “clones”.
https://www.bobine.nl/jaguar/03-fuel/su-fuel-pump-clones/
Harting was a player in the German/European market for aftermarket pumps, including those for Porsche. Parts will be very difficult to find. I once saw a set of replacement points for Harting pumps on eBay.
Bob K.
Thank guys- I’ll tear it down and see if there is a way to repair, and then (likely) spring for a period correct SU.
Any other thoughts on the steering box being bare aluminum? It just looks fantastic… two questions:
I have one here that you are welcome to if you pay the postage. No idea what it looks like internally.
Mike
Towson, Maryland
Moss has the square nut cages, part 802-065.
But I made my own, and the nuts, since I needed BSF thread.
Here’s one where the factory worker missed a spot weld.

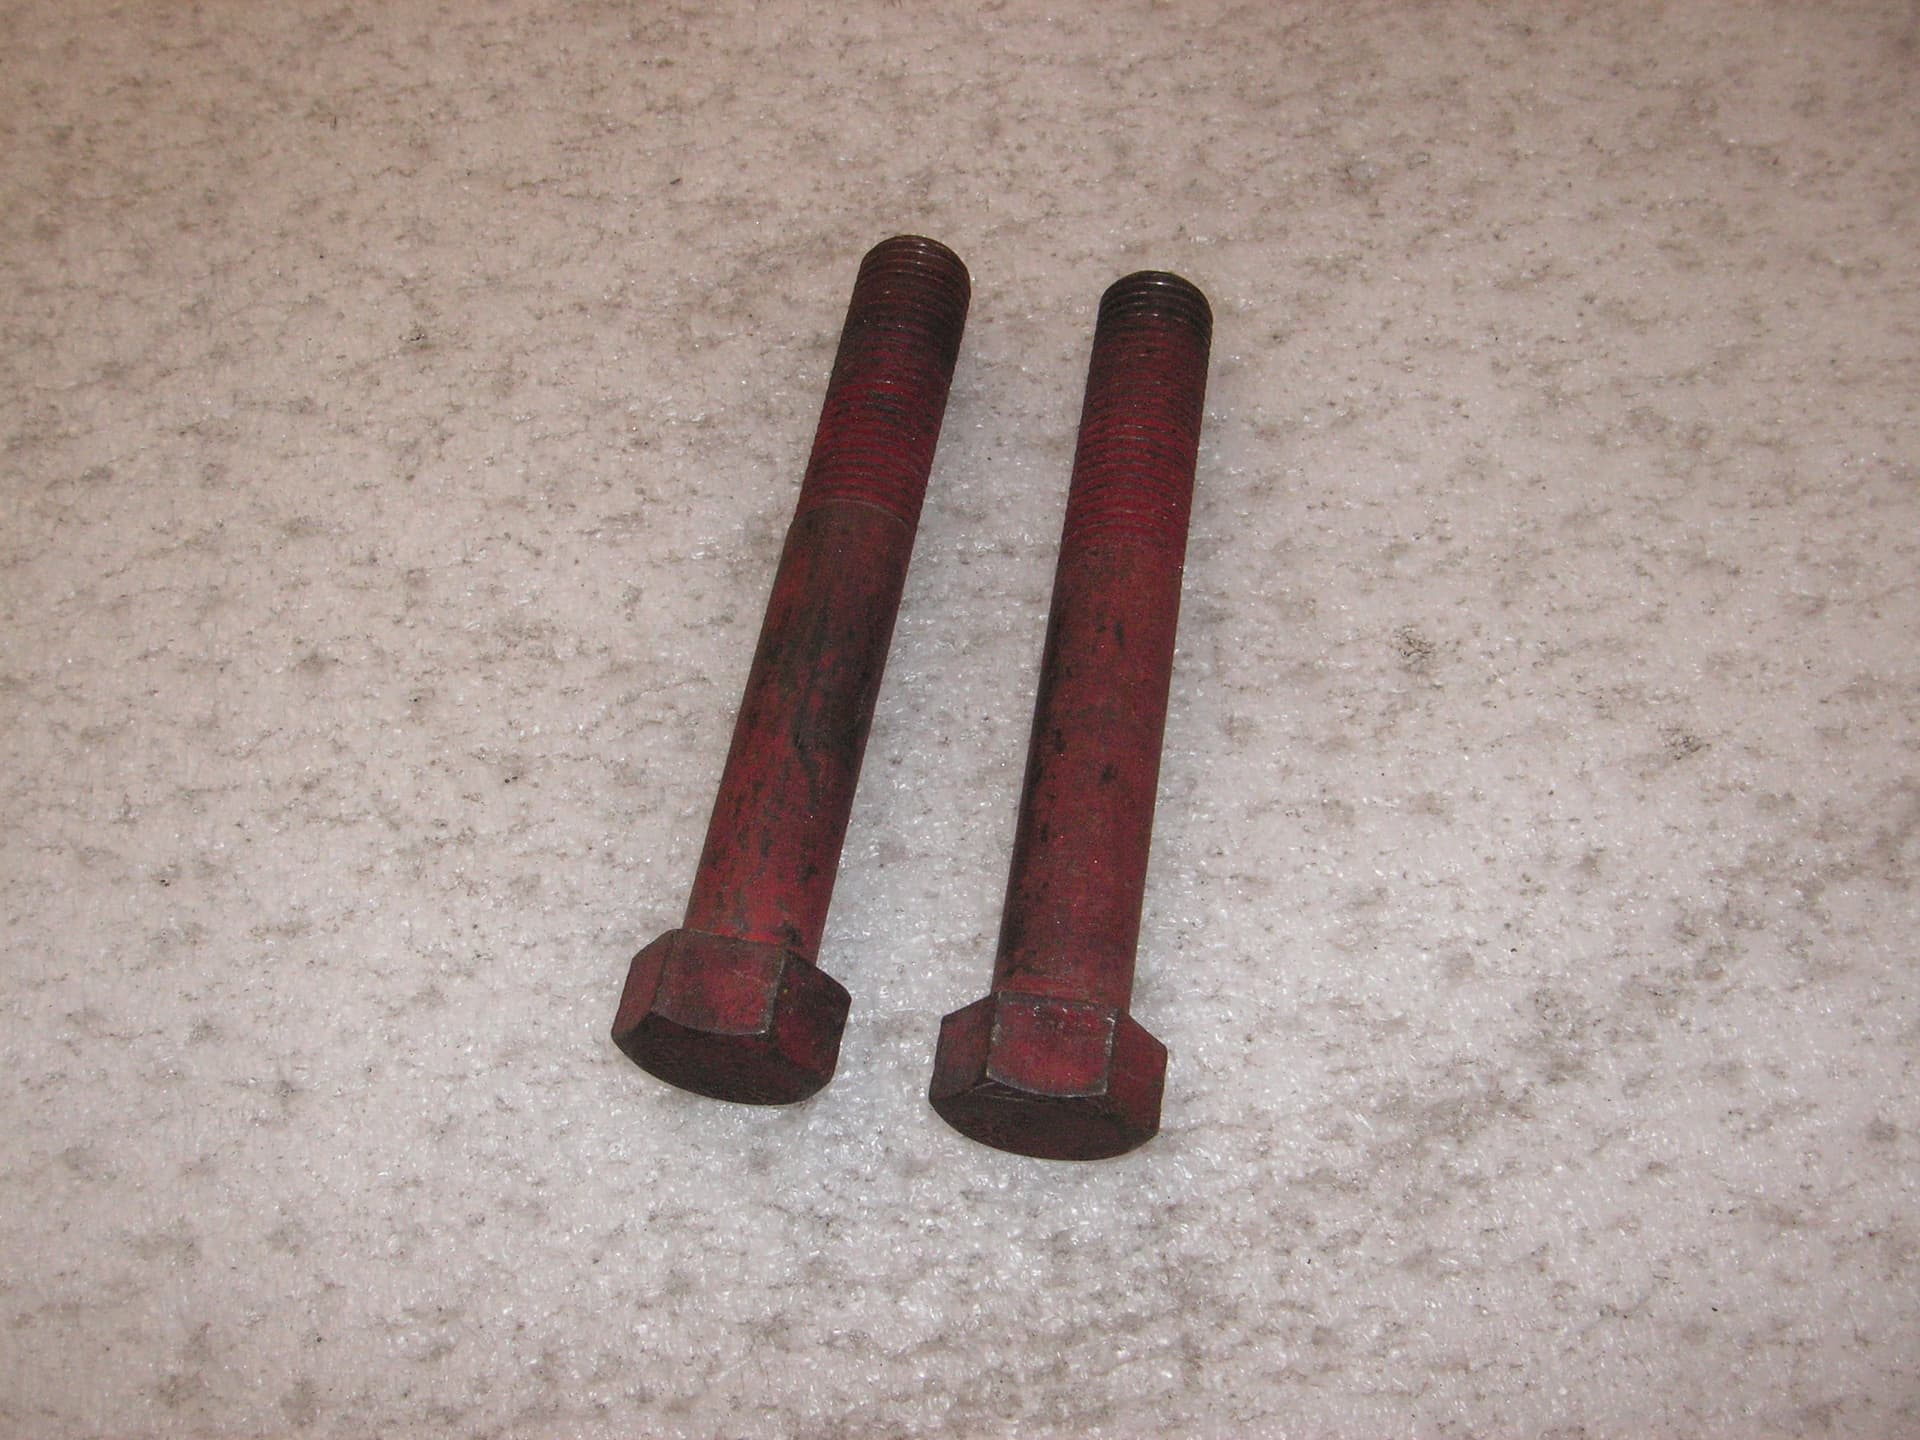
I don’t recall that anybody has attempted to exactly match the red bolts. It was sort of a thin wash dip, and only on those which were ANF thread. I just used a medium red Rustoleum.
I get square caged nuts from McMaster Carr. Nothing in BSF so one has to switch to a standard fine thread.
UPDATE TIME!
Ok, so whilst my assistant is out of town, I am working on cleaning, polishing brass, black oxiding and painting the little bits here and there. Need to get a plating kit for the silver finished bolts and nuts though.I am terrible about taking before shots when I start on a piece…gotta correct that. I bought out a 30 year restoration shop of much of his hardware, so I actually have some fasteners from back in the day that work for the small stuff which is nice…
The boot lid. wow. I did my best to fix it without removing any wood, but the bottom piece was broken anyway and the steel insert was rusty so I made short work of the bottom piece and am doing some minor surgery. Same body guys as the front I suppose, no major damage, but they LOVED their pick hammer and grinder. here is some before and after shots. I had my welder fix up some cracks, but it looks like I will have to take it back so he can make some adjustments and fill a few holes. Ignore the dark grey material, that was a poor choice that I made and will be removed.
What is color sanding?
That is the process by which you wet sand the color coat of a paint job, then either buff ot back to brilliance, or overcoat it with a clearcoat, which can also be sanded and buffed.
Similar to some furniture finishes especially with lacquer. Thank you.